Read the sequence from the top before cutting, painting, or moving pieces.
Handmade $100 Wooden Countertops from Old Doors
Submitted By The Mustard Ceiling
Update Nov 2015: This walkthrough has been so popular, but Elizabeth has stopped blogging and shut down her site to focus on other endeavors. You can still leave your love for her kitchen in the comments!
I know many of you have read my posts about how we re-purposed three solid oak doors from Habitat for Humanity, turning them into kitchen wooden countertops.
Since I posted the final reveal of our kitchen, I have had several emails to write a walkthrough on how we did it. Technically I have a couple posts on the how-to, but I thought I would take the time today to put it all in one place.
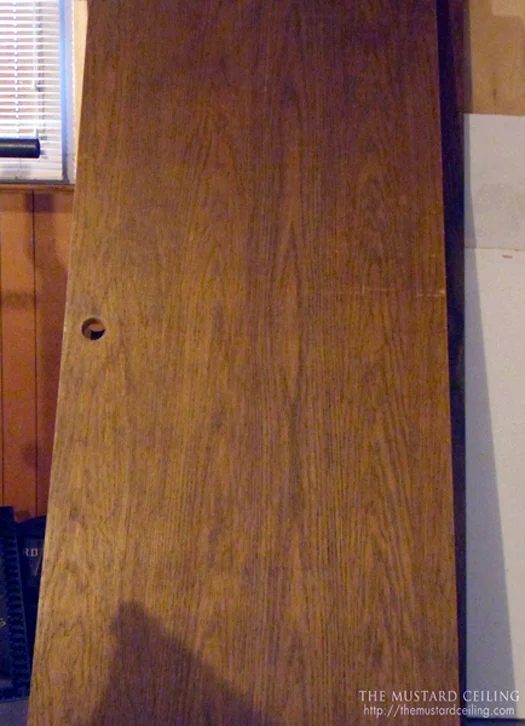
We took these…3 solid oak commercial grade doors and turned them into…
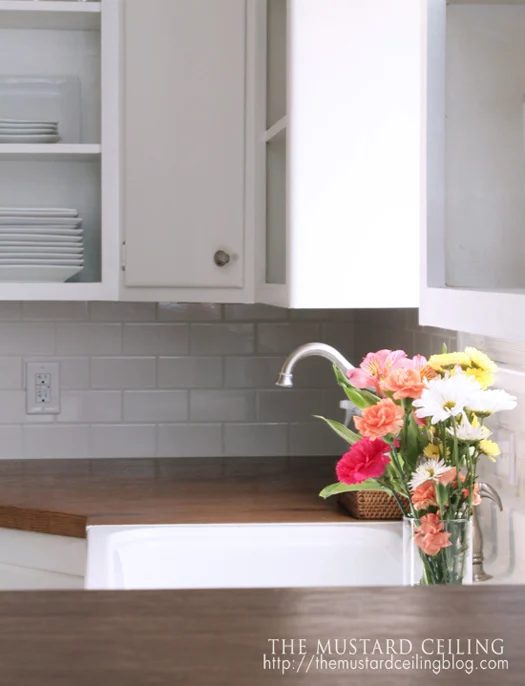
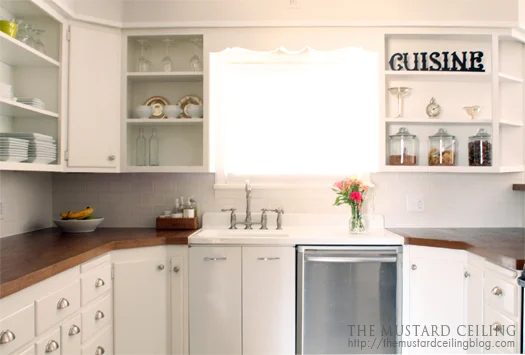
STEP 1: DEMO THE OLD COUNTER TOPS
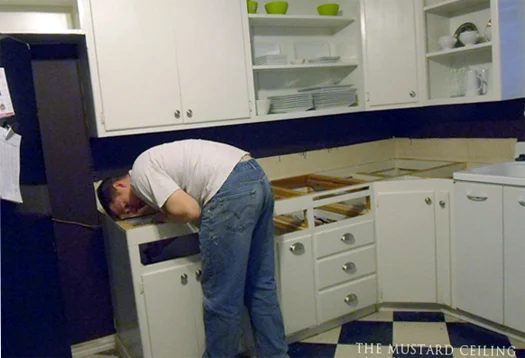
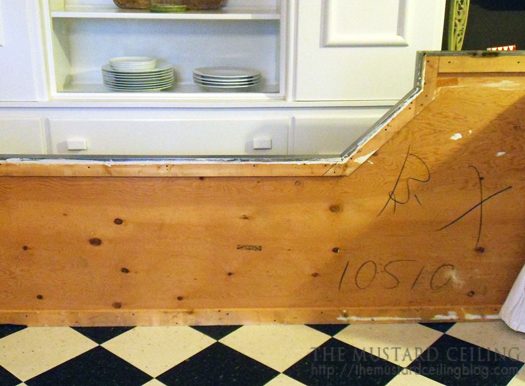
First, we ripped out the ancient 1950′s laminate countertops, the old laminate top is what we used to create a template for the cuts.
STEP 2: CREATE TEMPLATE FOR NEW COUNTERTOPS AND CUT
It was as straightforward as laying the old countertop on top of the wooden door and tracing the shape.
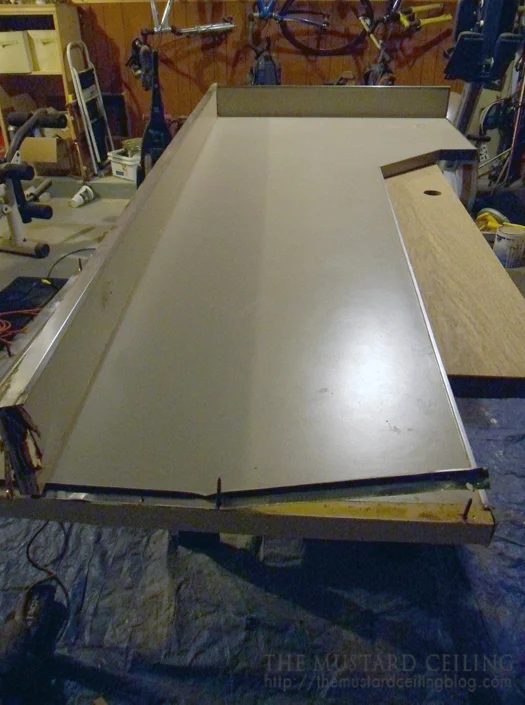
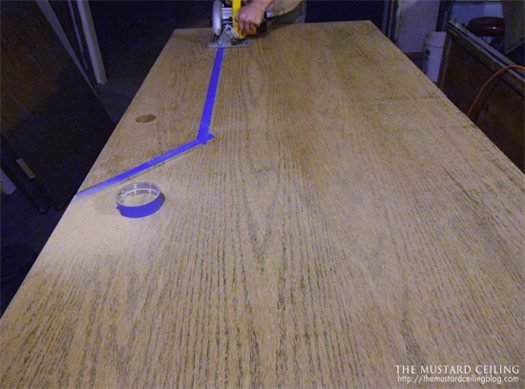
Sand, Tape…and cut
STEP 3: INSTALL
After making the cuts for the new countertops, it is time for the fun part….installation.
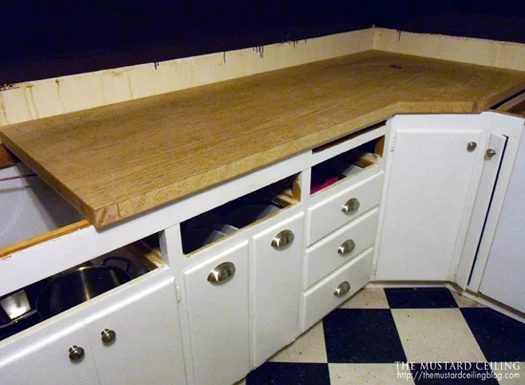
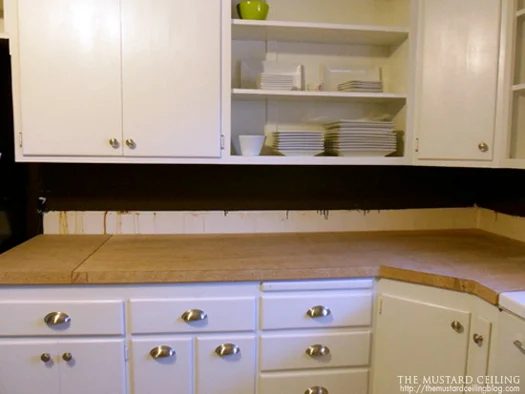
The first part of installation is straightforward, simply lay the countertop on top of the cabinets. We had to use one door + a couple of pieces from the second door to make the first countertop. Above you can see where we had to add a couple pieces.
Next, simply screw the countertop in place.
Step 4: DRESSING IT UP
Now it’s time to make these bad boy’s pretty
First step, we had to piece together the large portion of the counte top with the two extra pieces…straightforward
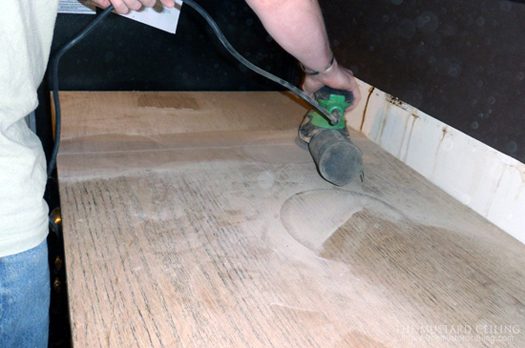
We simply used a wood filler and sanded. I was a little concerned that the wood filler would not stain properly, but it worked beautifully.
Next, add the veneer edging. When we first bought the doors we thought they were solid oak throughout. Once we cut them we realized they were oak veneered with a heavy duty particle board filler. Still a nice product for countertops, but we had to add a veneered edge so the interior particle board would not show.
After inspecting the grain we decided to use a white oak 1 1/2″ iron on veneer for the edging. I bought it on Amazon.
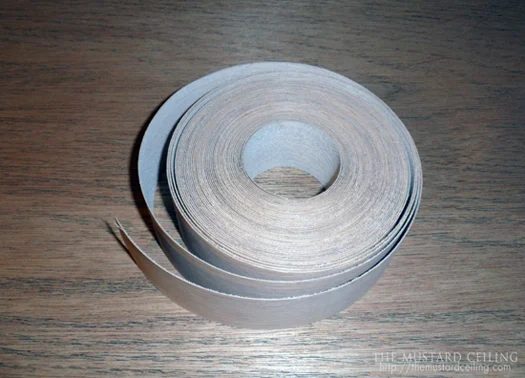
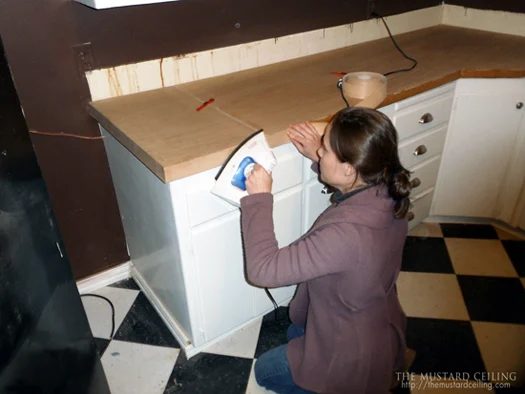
We bought the iron on edging. I lined the top edge of the the veneer with the top edge of the countertop and started ironing. The edging was a little wider than the width of the countertop. To trim it down Alfred ran an exacto knife along the bottom edge, trimming it to size.
After we touched up the cracks and installed the edging. We sanded the countertops down a third time and wiped them to remove the sawdust. Then we applied wood conditioner, in preparation for the final steps…stain and polyurethane.
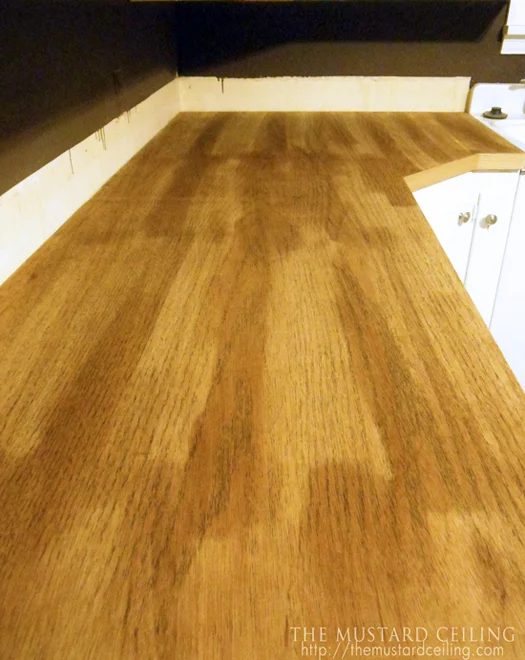
To stain the wooden countertops we used Minwax color Special Walnut.
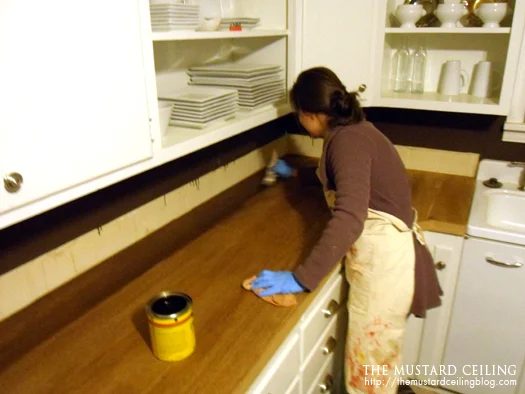
The stain was applied by brushing it on using even strokes. We allowed it to penetrate through the wood a few minutes and then wiped the excess off with a soft rag (basically we followed the directions on the container).
After two coats of stain and 24 hours of drying time….it was time for the protective finish, polyurethane.
We used Minwax Wipe-On Poly in a satin finish. It was applied with a lambs wool applicator (you can find these in Lowe’s in the wood floor re-finishing section). The lambs wool applicator applied a nice, even finish to the wooded countertops. We applied one coat, let it dry, then sanded it down with a very fine steel wool. This step we repeated approximately four times. The Poly raises the grain in the wood, we continued to apply poly and sand until the countertops were smooth and had a nice protective finish.
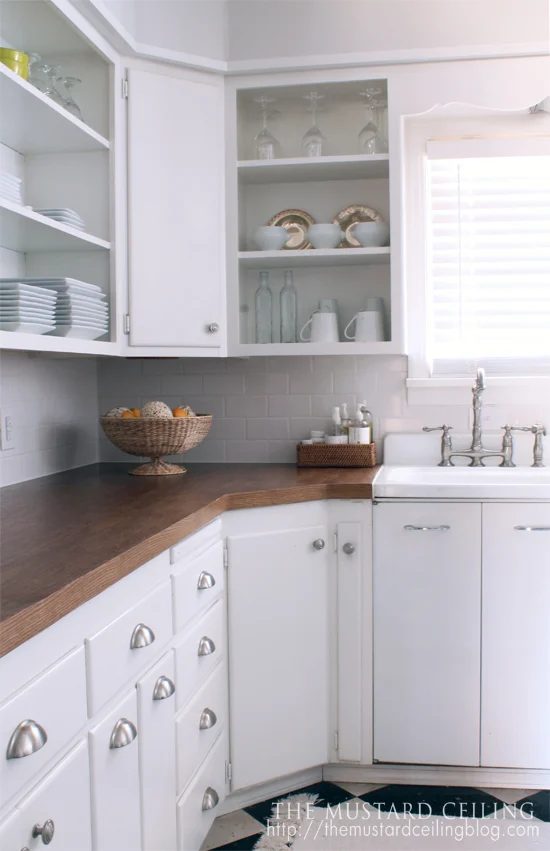
STEP 5: ENJOY!
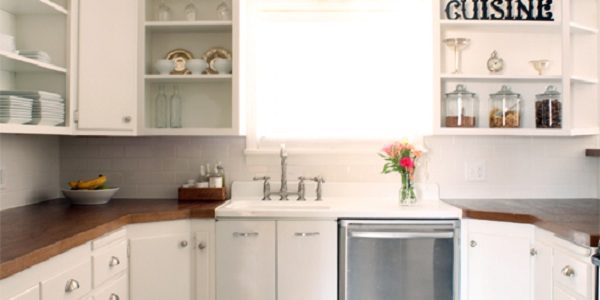
I cannot tell you how much I love our new wooden countertops, they really add warmth to the kitchen and they are durable. I had a question from one of my reader’s as we were going through the process. She asked if we were going to cut on them, like butcher block. We do not use them as a cutting surface, but I think as they get worn in they will still be striking.
Wow, this was a long post. Thanks for sticking through to the end of our wooded countertops .