Read the sequence from the top before cutting, painting, or moving pieces.
Today’s post is brought to you by Gorilla Glue. Opinions and Handmade plans, as always, are our own.
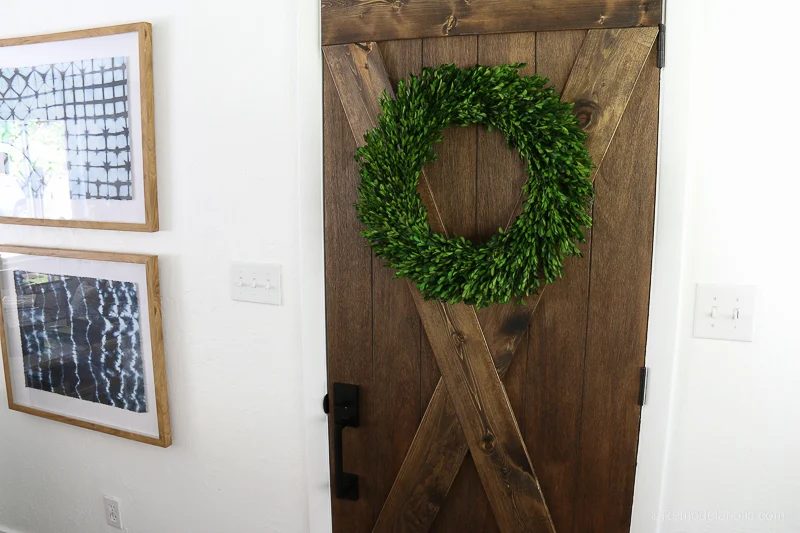
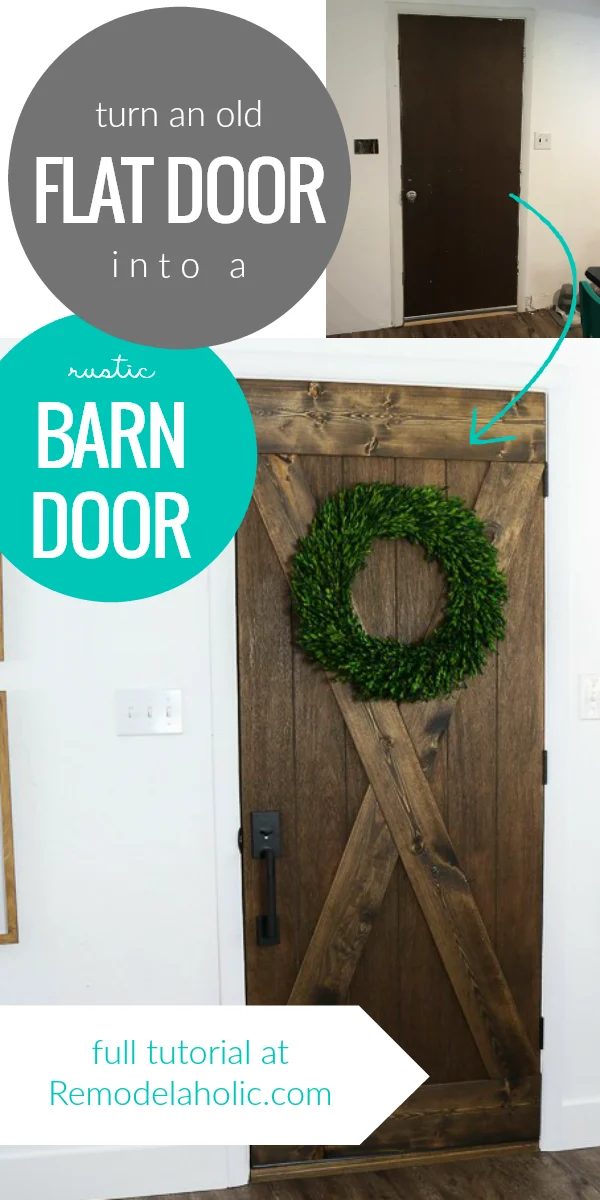
You guys will not believe what we did with our 40 year old door to our garage. I am telling you the transformation is strong! This Barn Door Upgrade from an existing door is the best!
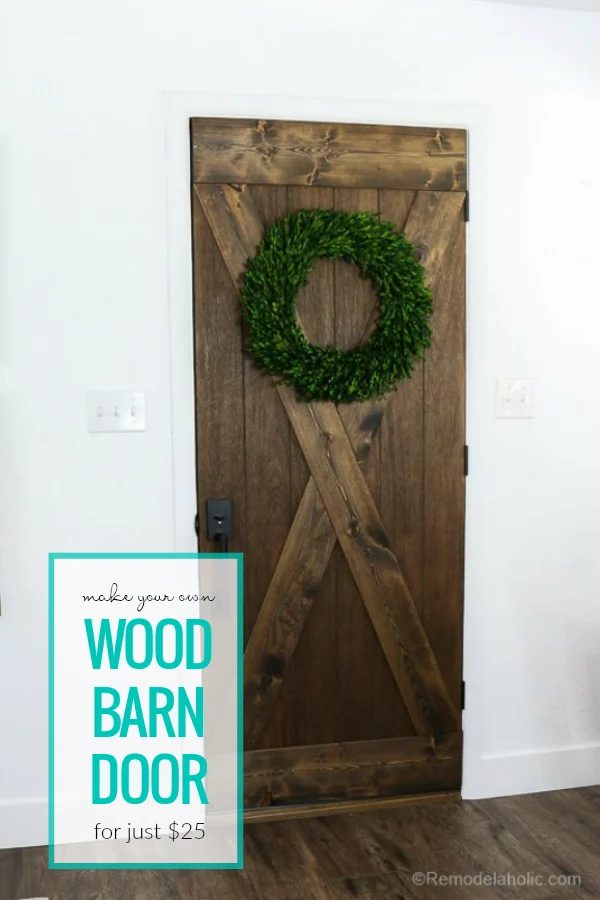
We took a plain old door and gave it a new barn door look for around $25 for wood and Gorilla Construction Adhesive. That’s right?!! A totally affordable door transformation… if you have an existing solid core door to work with, we are totally going to show you how to make it look insanely solid!
We took this sad looking door here…
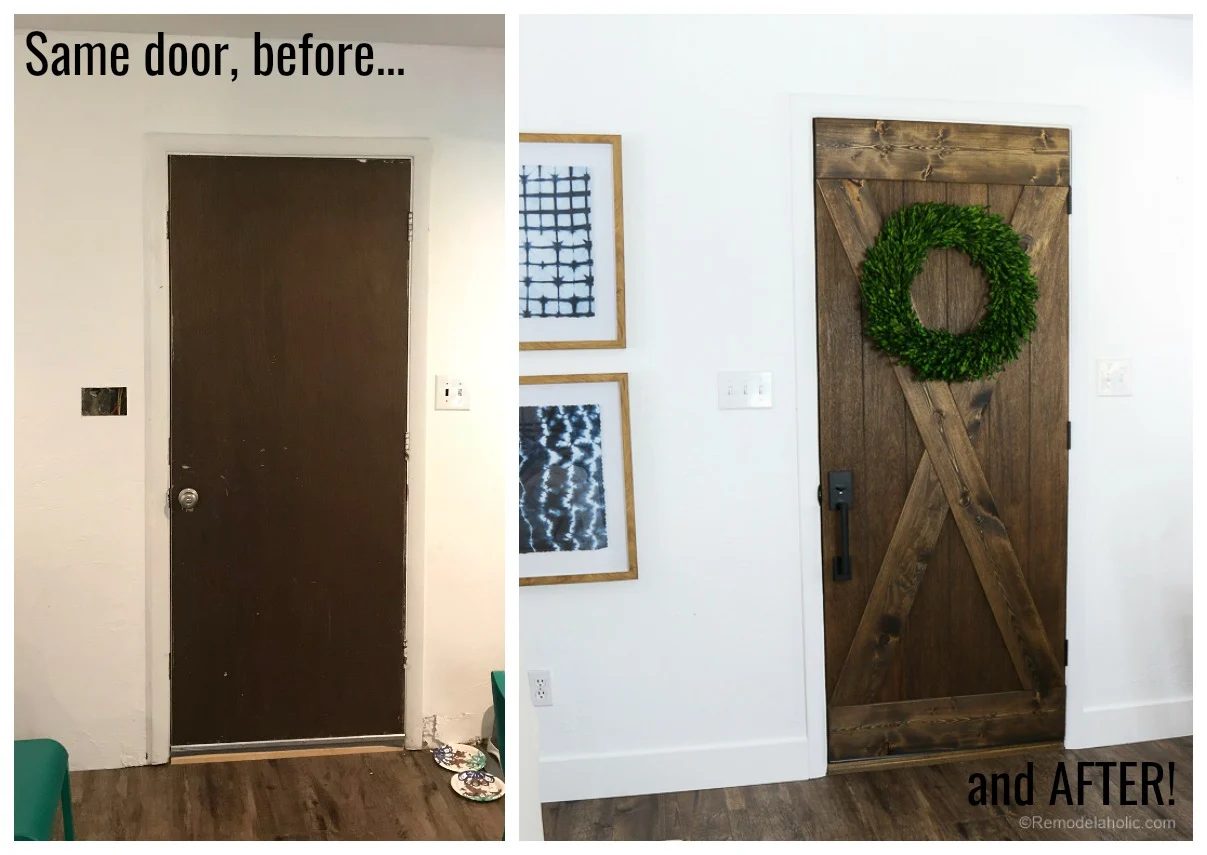
and made it look like this barn door! Cue angels singing…. What do you think? Pretty cool right!
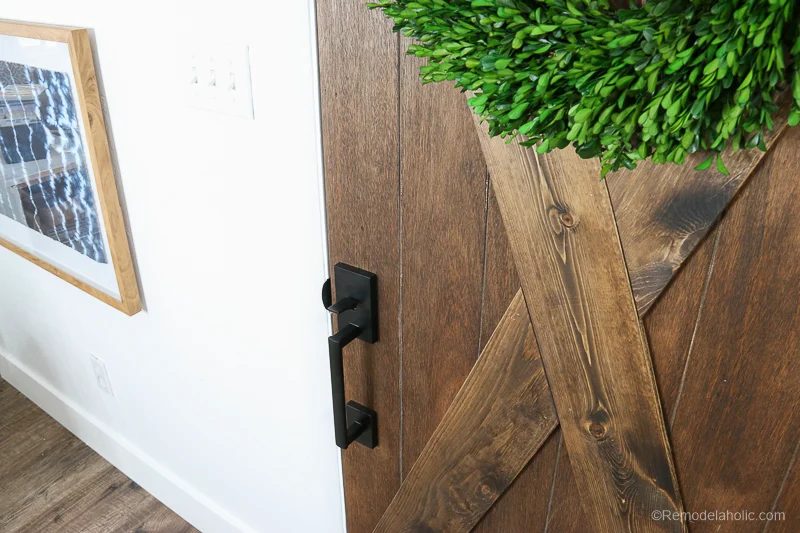
Now, creating the look of the barn door is actually really affordable! However one splurge not added into the cost is some outdoor hardware. It did cost a bunch extra for the hardware (about $150, link below) but was worth every penny for how it turned out and TOTALLY OPTIONAL!!. Just know that you in NO way have to spend money like that to create your version of this door! You could easily have the same great wooden farmhouse door with a regular knob — either an affordable new one or by spray painting your old one with this tried and true method.
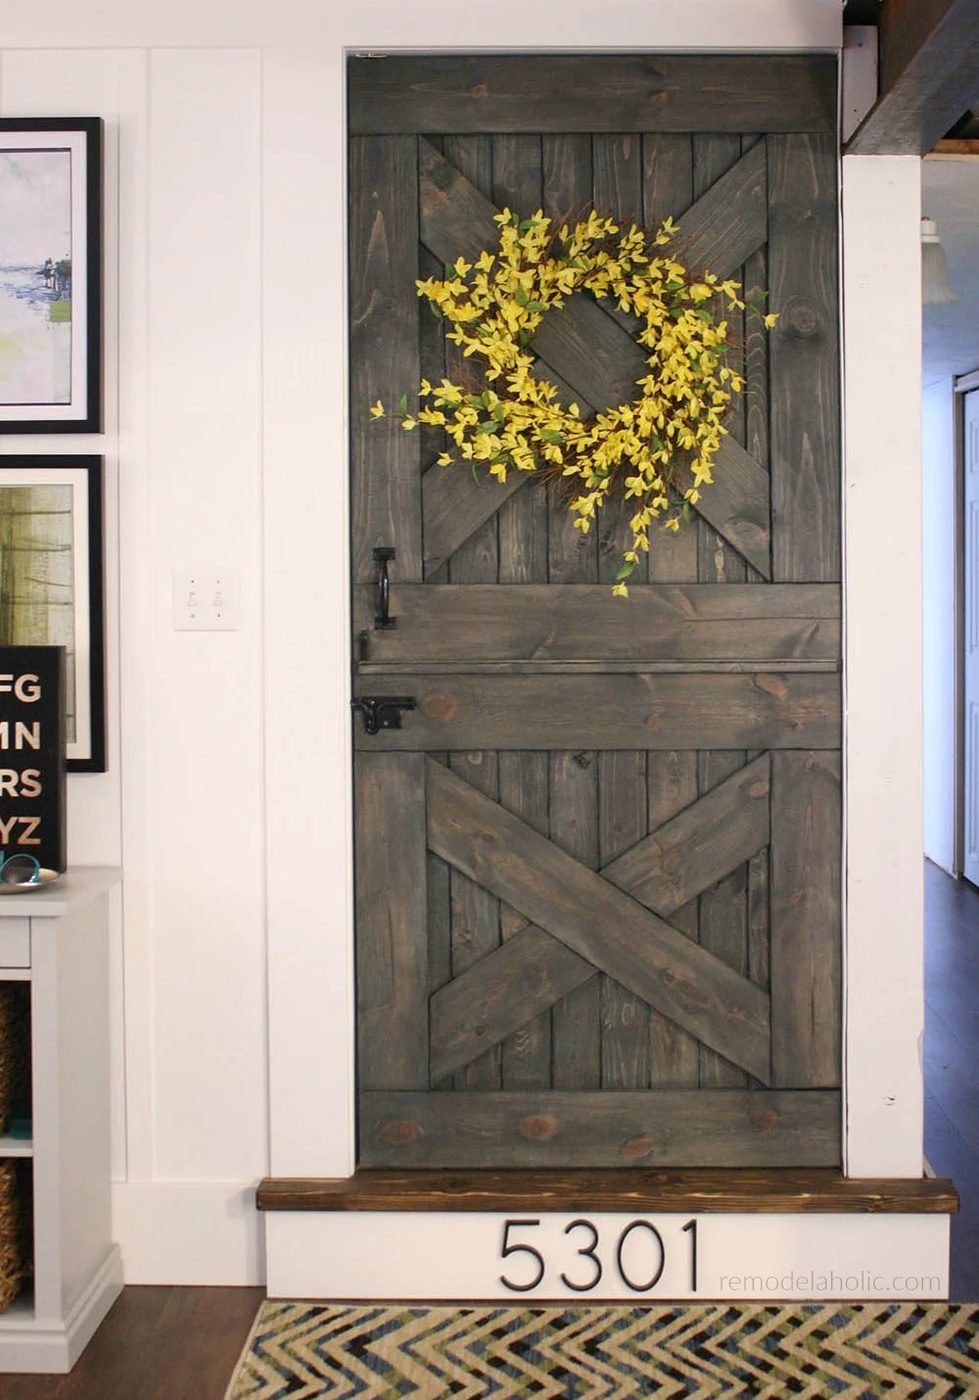
We’ve been in love with rustic wood farmhouse style barn doors since long before the look became popular on cable home improvement shows — we built this split dutch barn door baby gate combo almost 8 years ago, and it’s still one of our favorites! We also loved the updated wood look of this flat to 5 panel door update, but the added wood does require adjusting hinges and door framing, so when we set out to make this new hinged barn door, we wanted to make sure that it was as straightforward as could be and could use the original hinges. (If you want to make a sliding barn door from an existing door, look at this post.)
Now I want to show you step-by-step of how I did it. You could do this with any solid core wood door for a very affordable, fabulously farmhouse update!
Let’s start at the very beginning… with the plans:
First we fooled around in Sketch-Up to decide on the design of the door. One main concern was not increasing the thickness of the door everywhere, so that we didn’t have to worry about changing the hinges or hardware to something crazy custom (like with this door update). That means we were selective about the framing on the door: we decided on NOT framing out the whole door. Instead we were particular about how we placed the bracing. After playing around with options, we designed some plans that we liked. Then we had to pick a winner.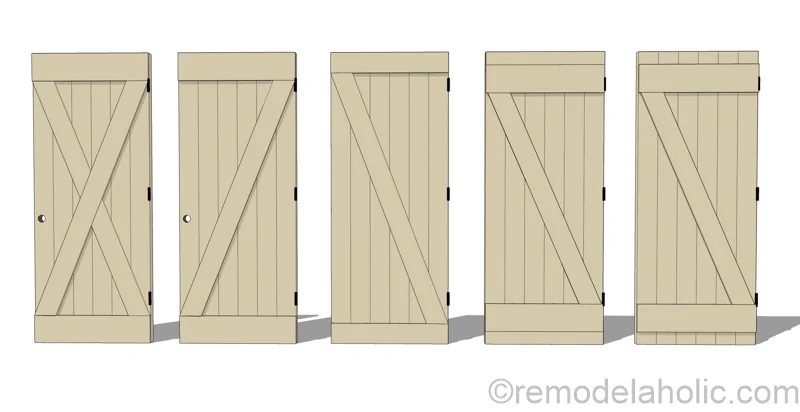
And the winner is…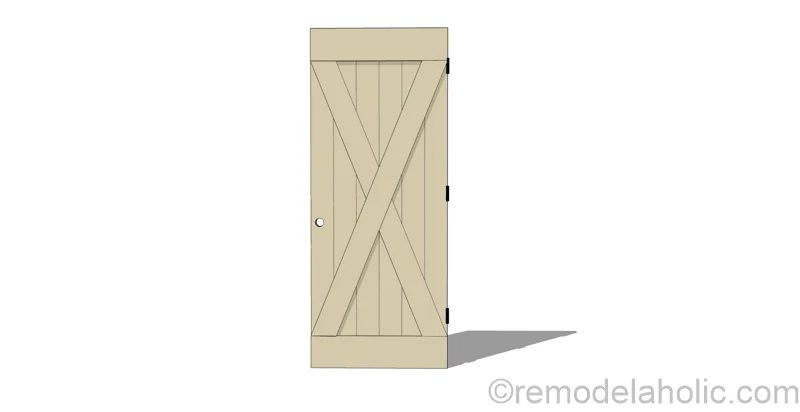
barn door with a direct X design!!!
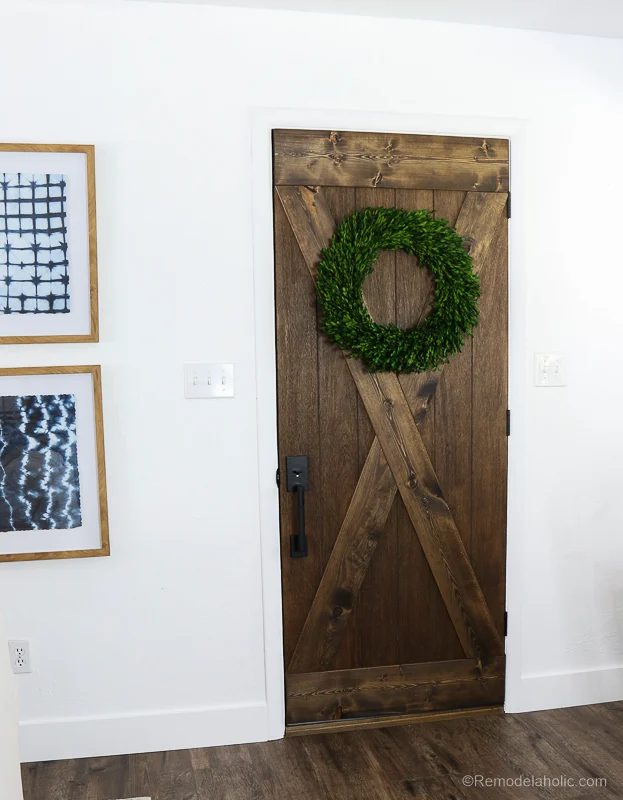
In addition to being a classic style (like the Xs on this farmhouse sideboard and this double X console table) the “X” design also mirrors our stair railing, so we felt like it would fit well in the house and design.
How to Make a Farmhouse Style Wood Barn Door from a Flat Door
This post may contain affiliate links; see our full disclosure here.
Let’s get started building shall we! PLEASE NOTE: while we chose to plane down our pine boards, that is optional. This project could be done with as little as a miter box and hand saw, utility knife, caulking gun, hammer and nails.
Tools Needed:
- Circular Saw – For cutting the grooves. (alternately can be done by hand following this walkthrough)
- Drill or Screwdriver– For installing the door knob and hinges.
- Orbital Sander (optional) with 100 grit sand paper
- Belt Sander with 80 grit sand paper belt (we needed to remove and clean up the old wood- this may not be necessary for your project)
- Miter Saw – For cutting boards to length.
- Planer (optional- we wanted 1/4 thick bracing boards, but you could absolutely skip this step!)
- Saw Horses or Work Bench
- Utility Knife – For hand cutting the beveled edges of the grooves.
- Wood Clamps – Four or more.
- Caulking Gun – For applying the Gorilla Construction Adhesive.
- Pencil
- Tape Measure
- Speed Square
- Safety Glasses
- Ear Protection
Materials Needed:
- (1) – Existing Solid Core Door – My door is 6′-8″ tall x 32″ wide.
- (2) – 1×6 x 8′ long Wood Boards – I used white pine boards. You could use other types of wood to match the existing veneer if you want. My existing veneer is oak, but I wanted the price of pine!!
- (1) – 1×8 x 6′ long Wood Board –
- (3) – (Optional) New Black Hinges – You could use your old ones if they are in good shape.
- (1) – (Optional) New Door Knob
- (1) Tube of Gorilla Construction Adhesive from Lowes!!
- (1) Pint of Stain – I used Dark Walnut that I already had.
- (Many) Stain Rags
- Rubber Gloves
- Foam Brush
- Polyurethane – Clear
One trip to Lowe’s for the Gorilla Construction Adhesive, lumber and the other odds and ends we needed, and we were ready to get to work!
Cost Breakdown of Project:
- $25 for the wood boards and Gorilla Construction Adhesive to make the new barn door — so affordable!
- $160 for the new handle (TOTALLY optional)
- $12 for new black hinges (optional- if ours hadn’t been painted five times we would have used them! – you can also strip old paint if needed)
$197 Total — but the bulk of that was for the new doorknob that we splurged on.
We also added a classic Boxwood Wreath (optional and REALLY solid!) if you want the whole look like ours.
Cut List:
(This is dependent on the size of door you are working with. You will need a measuring tape to double check all your own measurements and cuts before beginning your build!)
- (1) 31 7/8″ x 7 1/2″ x 5/16″ – Top Board
- (1) 31 7/8″ x 5 1/2″ x 5/16″ – Bottom Board
- (1) rough 72″ x 5 1/2″ x 5/16″ – Long Diagonal Board
- (1) rough 72″ x 5 1/2″ x 5/16″ – Short Diagonal Boards (before cutting in half)
Handmade Wood Barn Door From a Flat Door
Step-By-Step Instructions:
Start by removing the door off the hinges. Then remove all the hardware. Because this project took a couple days we screwed a sheet of inexpensive OSB that we had to the door frame in the garage to keep any critters outside, and our kitty inside.)
Sand off any old layers of stains or paints. CAUTION: You must beware of lead paints; do not sand down lead paints. If your home is built around or before 1978 in the USA, please be sure to do a lead test before beginning to remove any paint.
If you wanted a painted door instead of a wood door, you can choose not to do this step. I did this because I wanted to get down to the wood layer without having the old stain on it. This way I had a fresh start for a new color of stain. I ended up using a belt sander, with 80 grit sand paper, to quickly take of the old layer of stain.
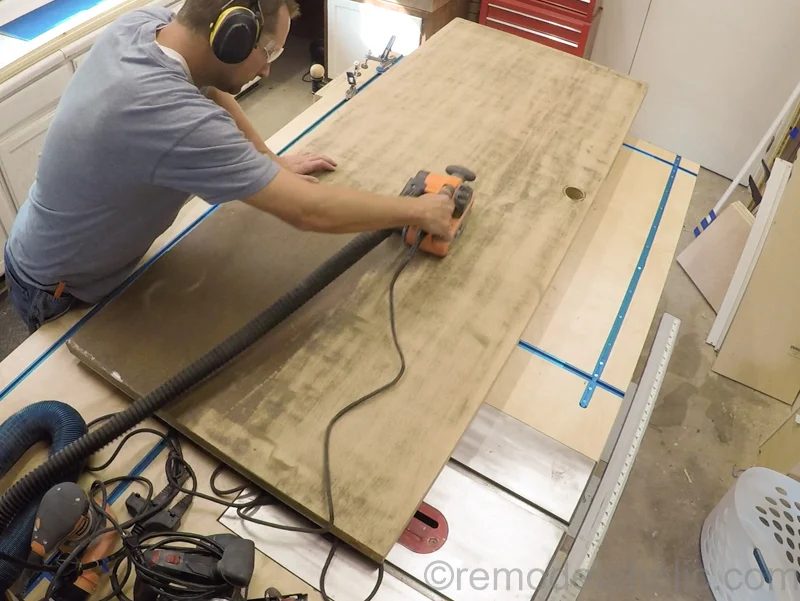
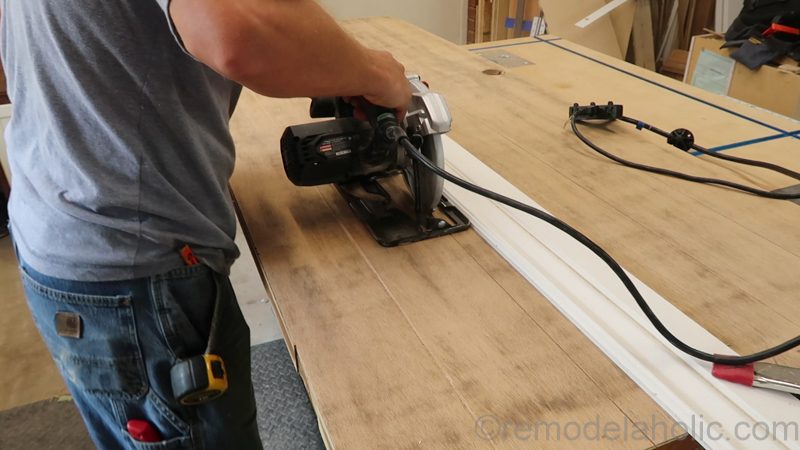
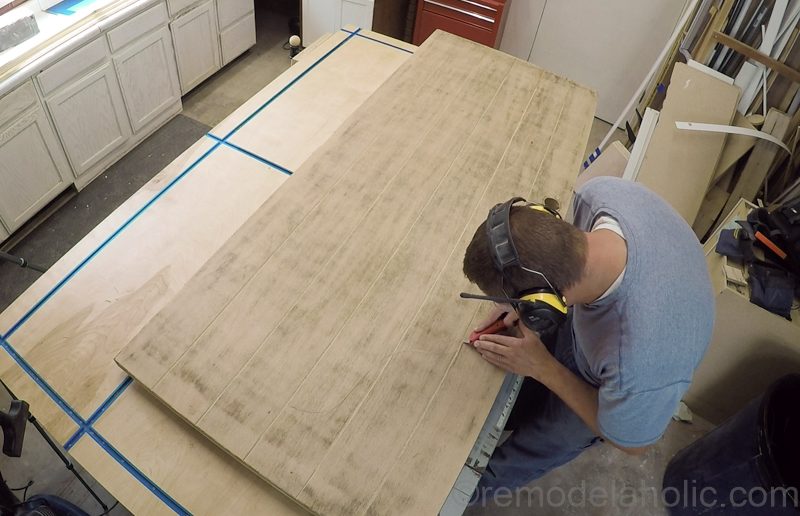
I divded my door into 6 equal spaces and the cut five, 1/8″ deep grooves, spaced evenly on the door going vertical from top to bottom using the circular saw and a straight edge (like this walkthrough shows). Remember that if you don’t have access to a circular saw, you could use the straightforward technique that was used in this walkthrough!
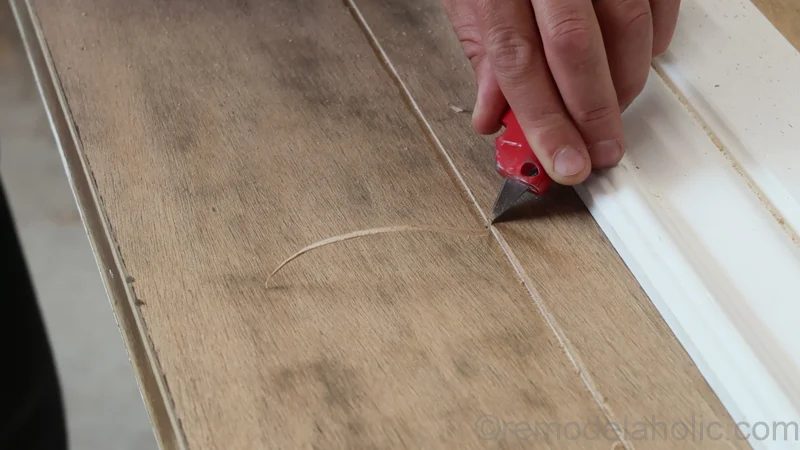
Use a razor blade to slowly cut an angled edge on each side of the 1/8″ deep grove. Cut about 1/6″ bevel on both sides of the 1/8″ deep groove. This will give the door a nice look of six planked wood boards at about 5 5/16″ apart.
Plane down three boards to 5/16″ thick. This step is optional. If you don’t have a planer that is okay. You can still do this project with 3/4″ boards. You could also try using the thinner “craft boards” available at many stores now — but they are usually shorter in length, FYI.
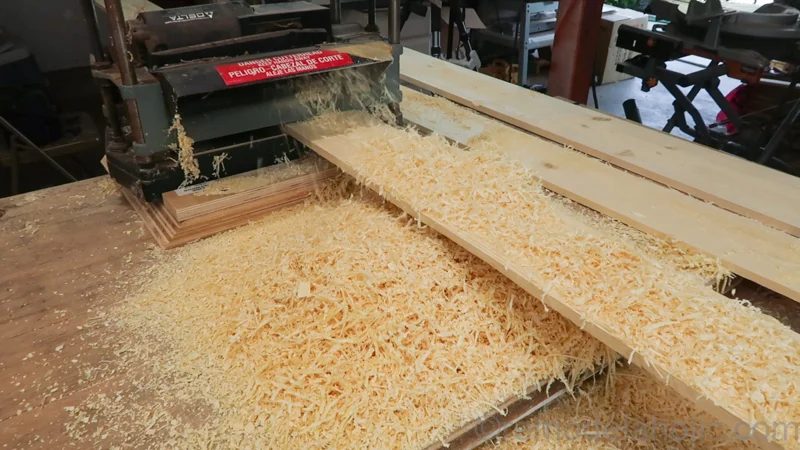
I just didn’t want my boards to be 3/4″ think, I wanted them to be thinner than 1/2″. You can just leave them at 3/4″ thick and skip this step. Just make sure you have enough room when you open the door against the door moldings. Thicker boards might prevent the door from opening all the way if your door moldings are chunky!
(You could also avoid this problem, of not being able to open the door completely, by chamfering the edge of the 1×8 ends and cutting a bevel from the corner of the board to allow for additional swinging space.)
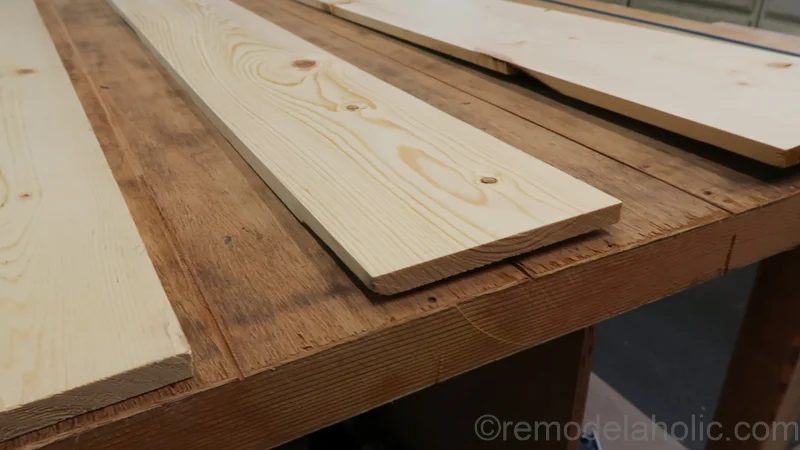
Cut the top and bottom wood boards to length of 31 7/8″ or tho the width of your existing door, and clamp them in place.
Sand the boards with at least 100 grit sandpaper and sand a slight bevel to the corners so they aren’t so sharp.
Clamp the top and bottom wood boards in place temporarily.
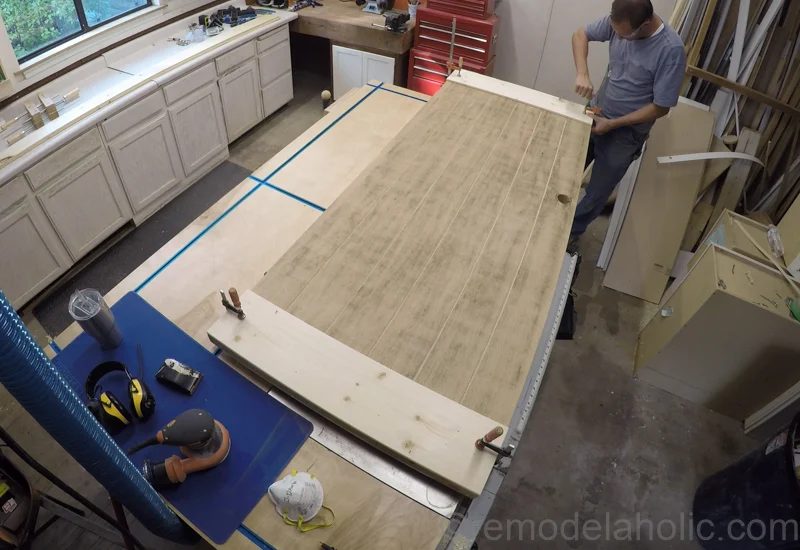
Cut the long diagonal board to the rough length of 72″. Lay the board across the top and bottom boards with the corners over lapping.
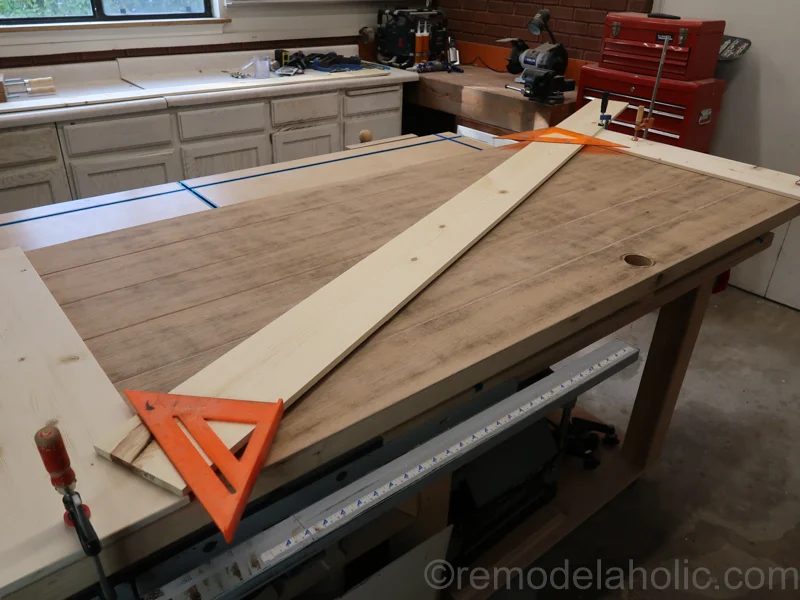
Draw a straight line on the diagonal board where you will be cutting it to length to fit in between to top and bottom boards. A square is invaluable for jobs like this!
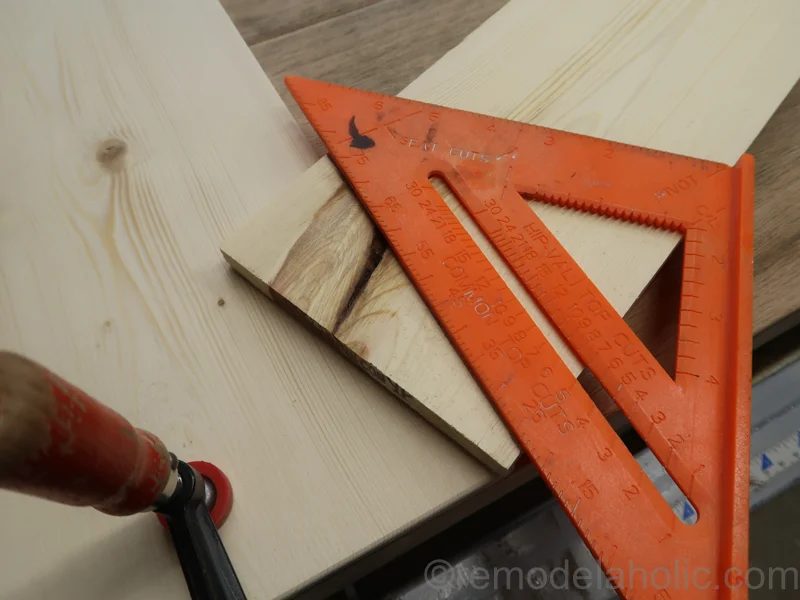
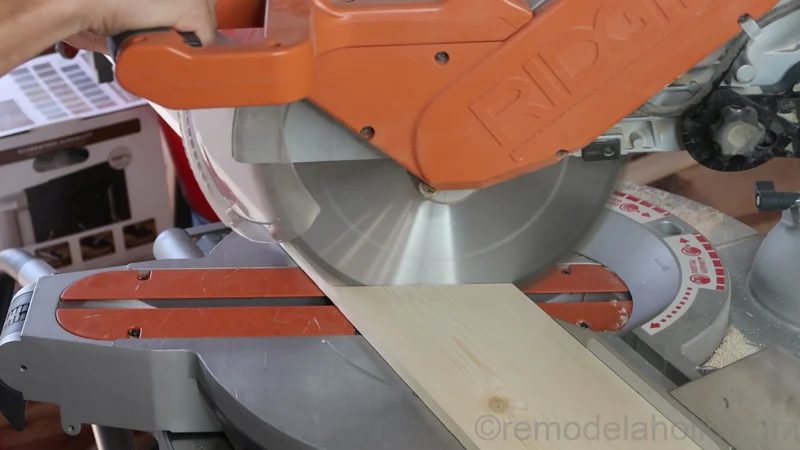
Cut the diagonal board to length on both ends.
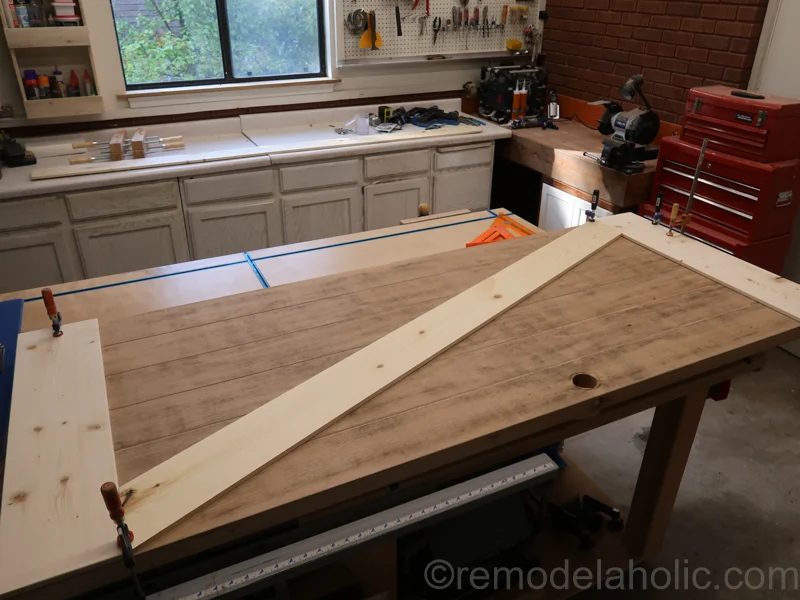
Clamp it in place temporarily.
For the two diagonal boards, lay the second board across the top and bottom boards and the long diagonal board.
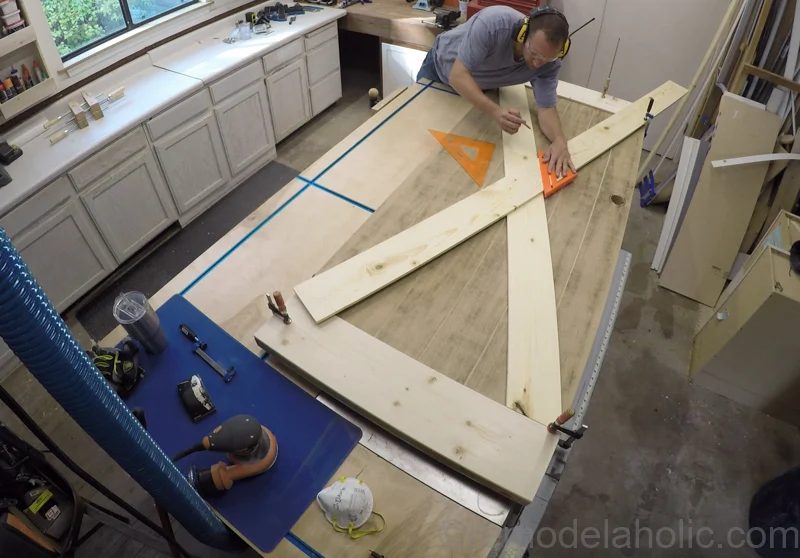
Draw a straight line across the four edges of the overlapping boards.
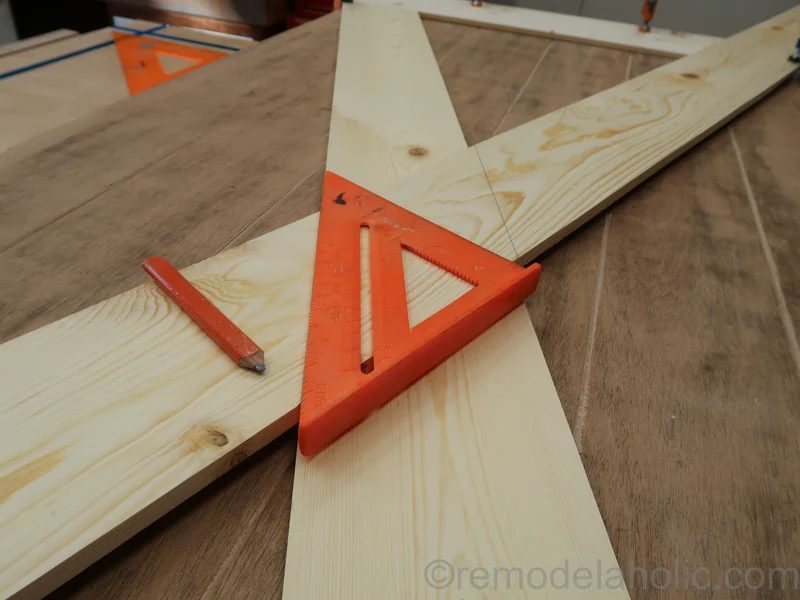
Miter cut along the four lines to create the two diagonal boards.
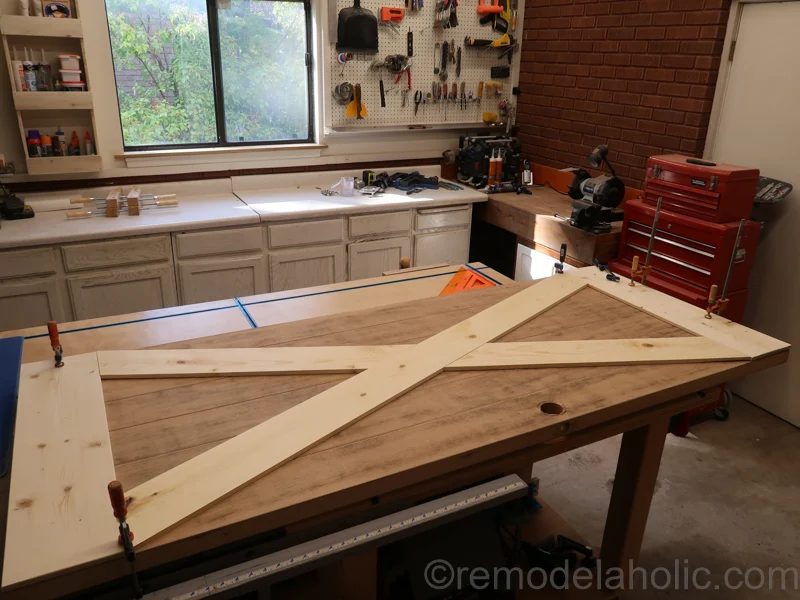
Sand the surfaces of all the boards and sand off the corner edges with a small beveled edge.
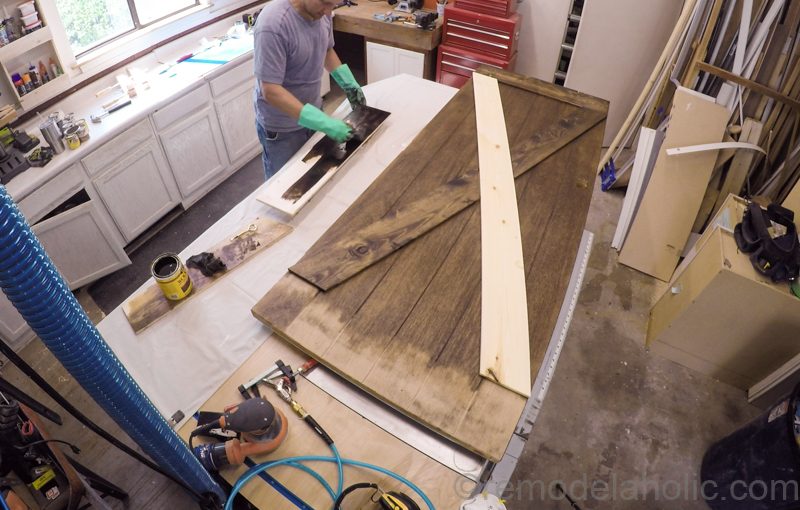
Stain the door. I tried to not stain under the X boards so the glue had a clean surface to adhere to. But because our woods are different (oak and pine) we stained them differently since the pine needed more stain and the oak needed only a light coat)
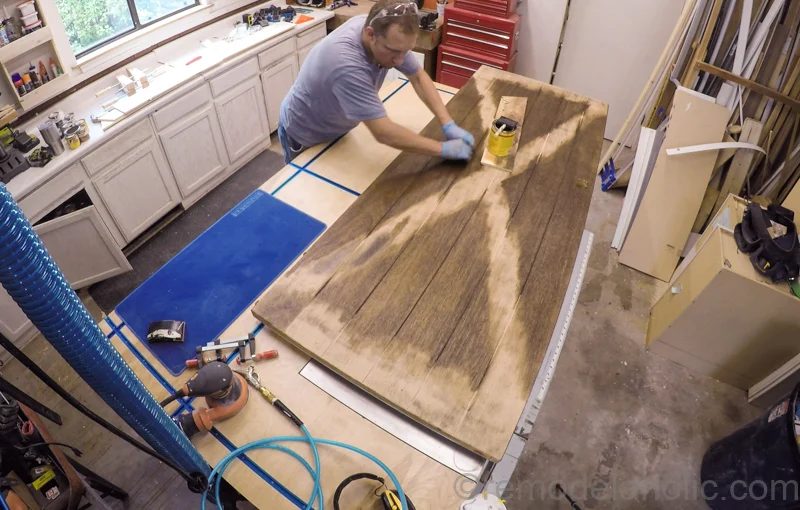
Stain all the five wood boards before gluing. Do not stain the back of the board only the front and sides.
Apply the Gorilla construction adhesive that you picked up at Lowe’s on the back side of the boards. I really wanted the boards to be attached with a strong adhesive because this is a door that we use a lot!!
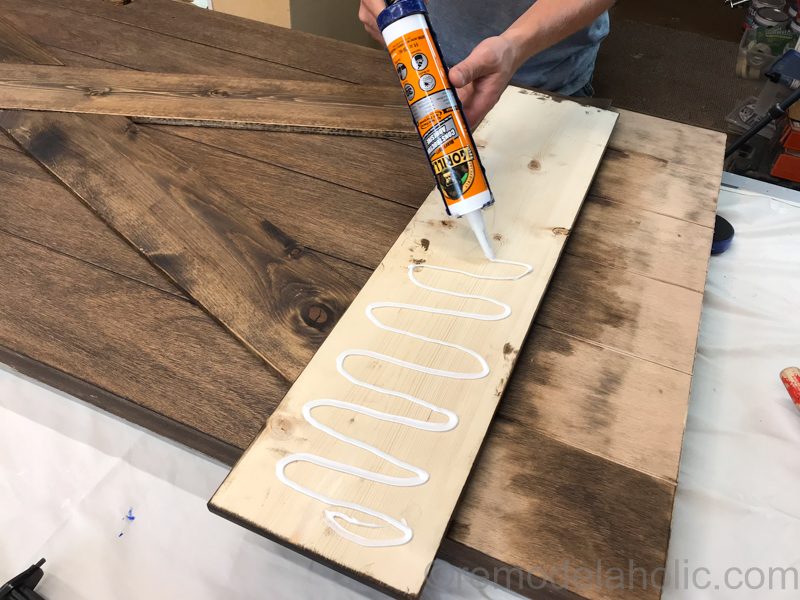
Clamp the boards down while gluing.
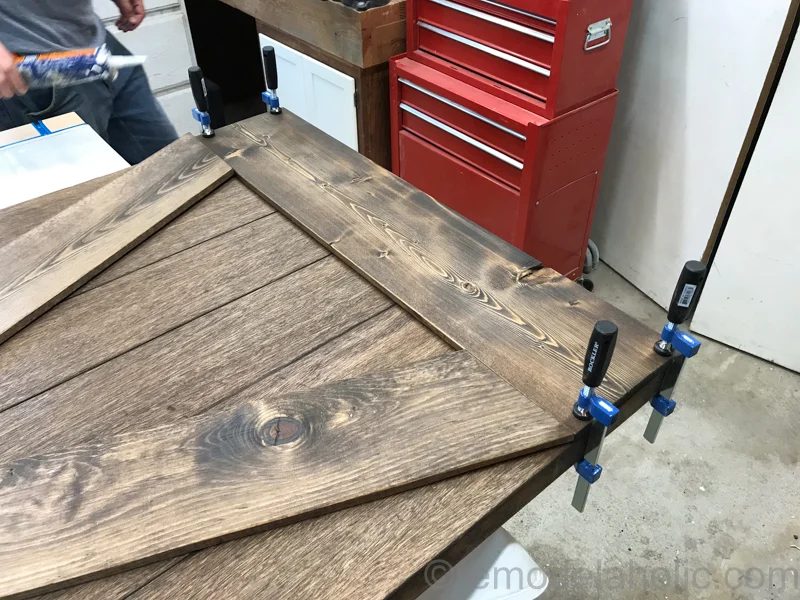
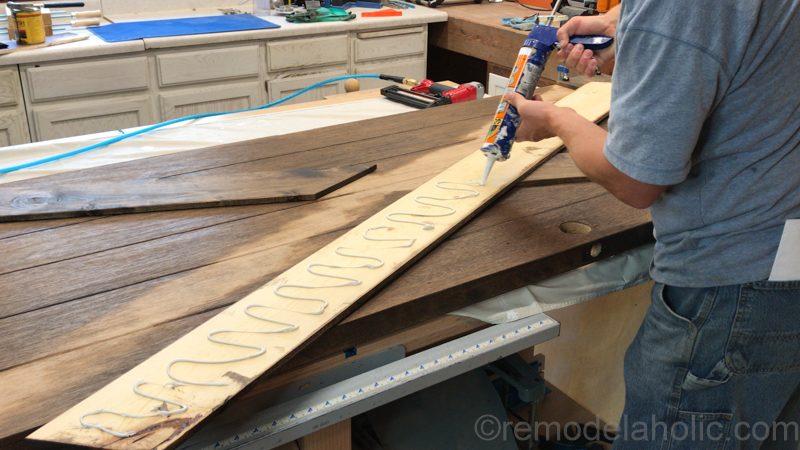
You can also nail it down with a few brad nails to hold it while the Gorilla Construction Adhesive dries. The middle of the door was harder to clamp the boards down, so the nail gun came in handy.
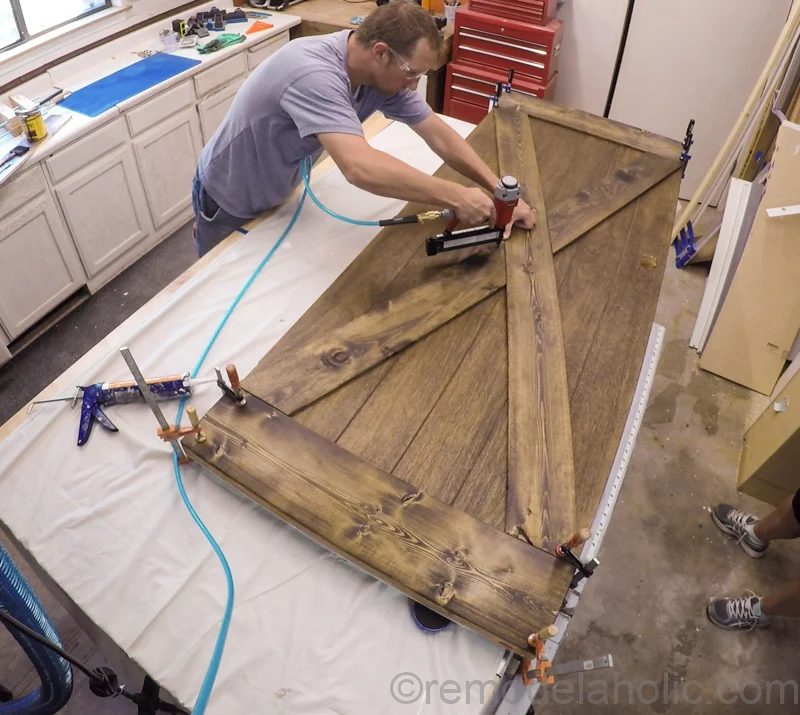
And there you have it. A (sorta) BRAND SPANKIN’ new door without all the cost of a new door.
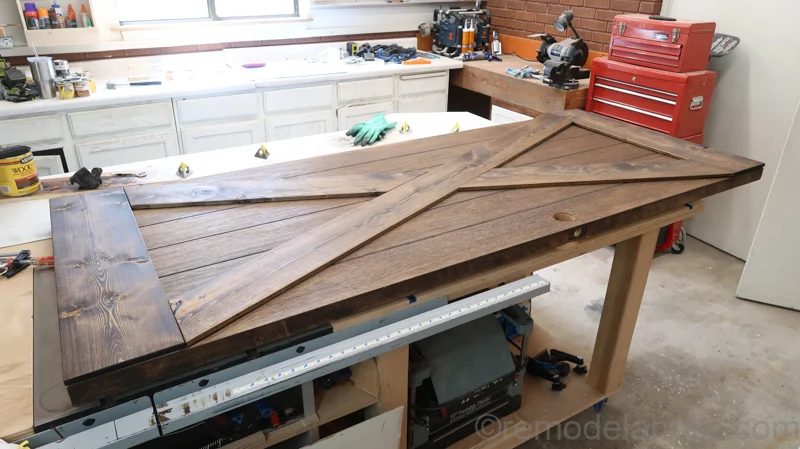
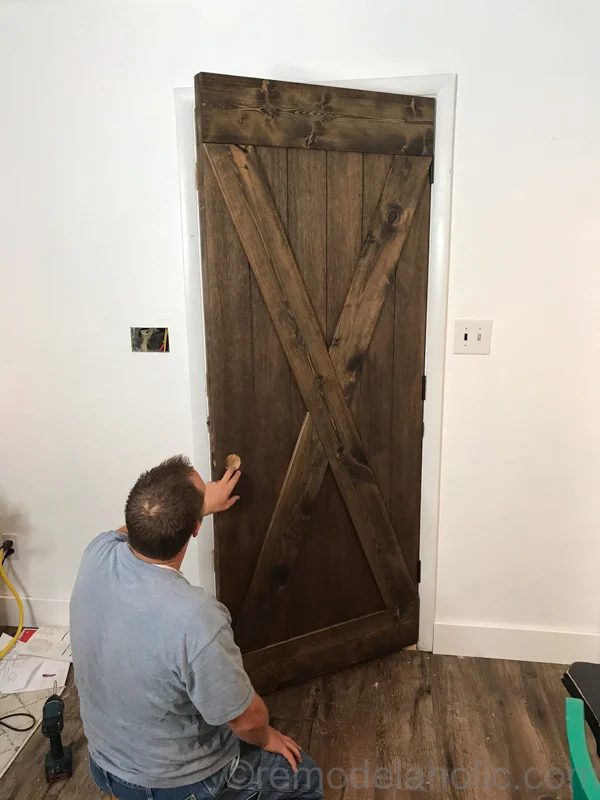
Here it is hanging it up!
And finally, with our new splurge-worthy hardware:
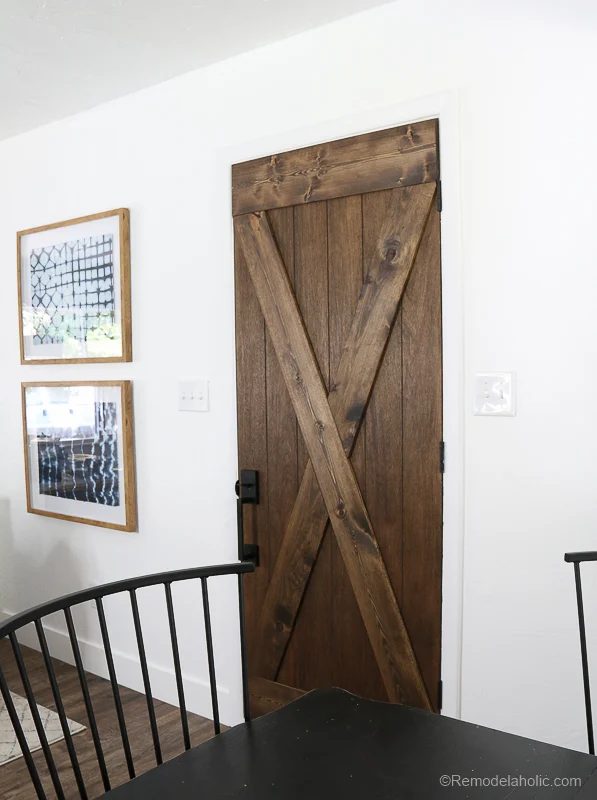 Now we just need to find a really great door rug/mat to help protect our new flooring. Have any suggestions?
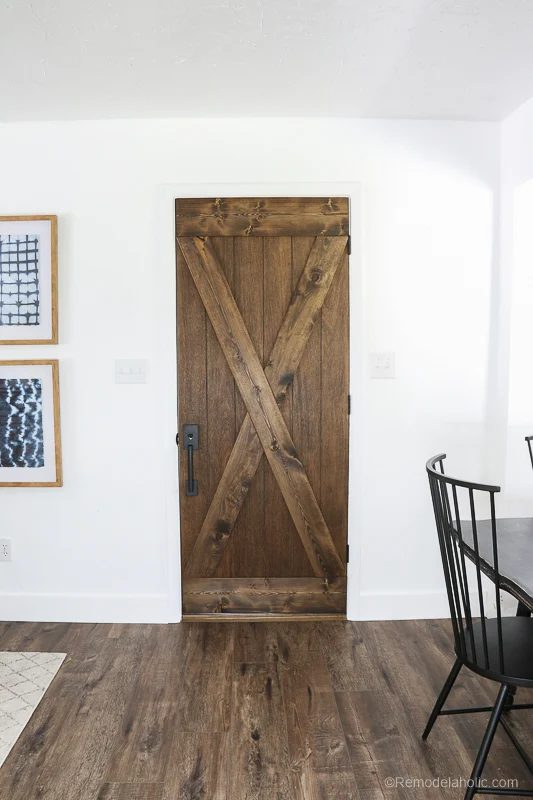
You can find a striking boxwood wreath like this here!
Let us know in the comments below what you think of the our new barn door. Is this something you would be willing to tackle? Just one trip to Lowe’s for the Gorilla Construction Adhesive and lumber make this a great “weekend win” project!
More Handmade barn door options:
If you like barn doors you can also look at the barn door baby gate we made here.
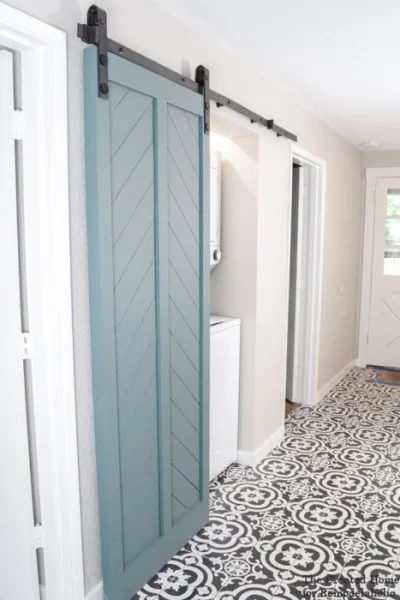
or how to use an interior door to make a sliding barn door here:
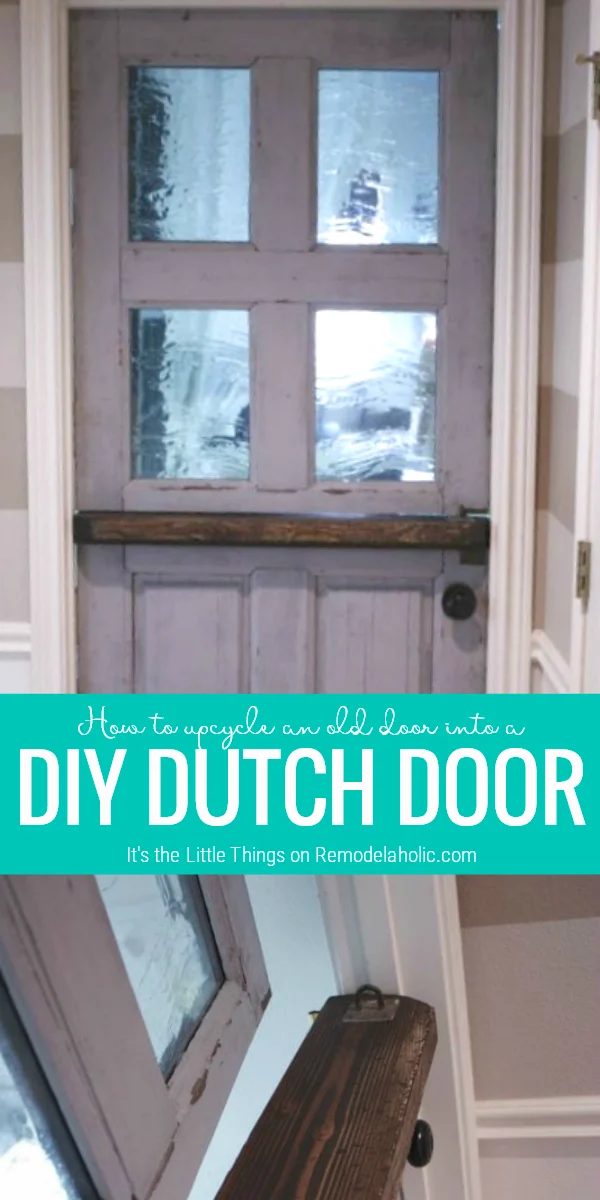
and another existing door, but transformed into a dutch door:
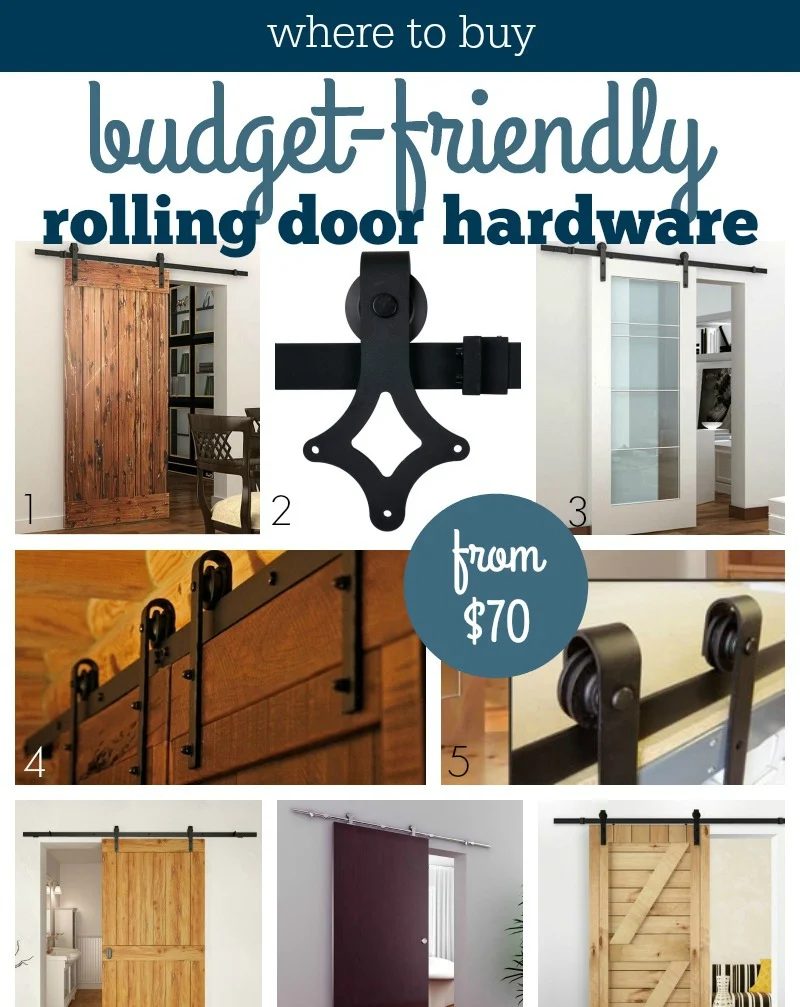
plus more of our go-to Handmade barn doors AND hardware options (both Handmade and premade) here:
This is a sponsored conversation written by me on behalf of Gorilla Glue. The opinions and text are all mine.