
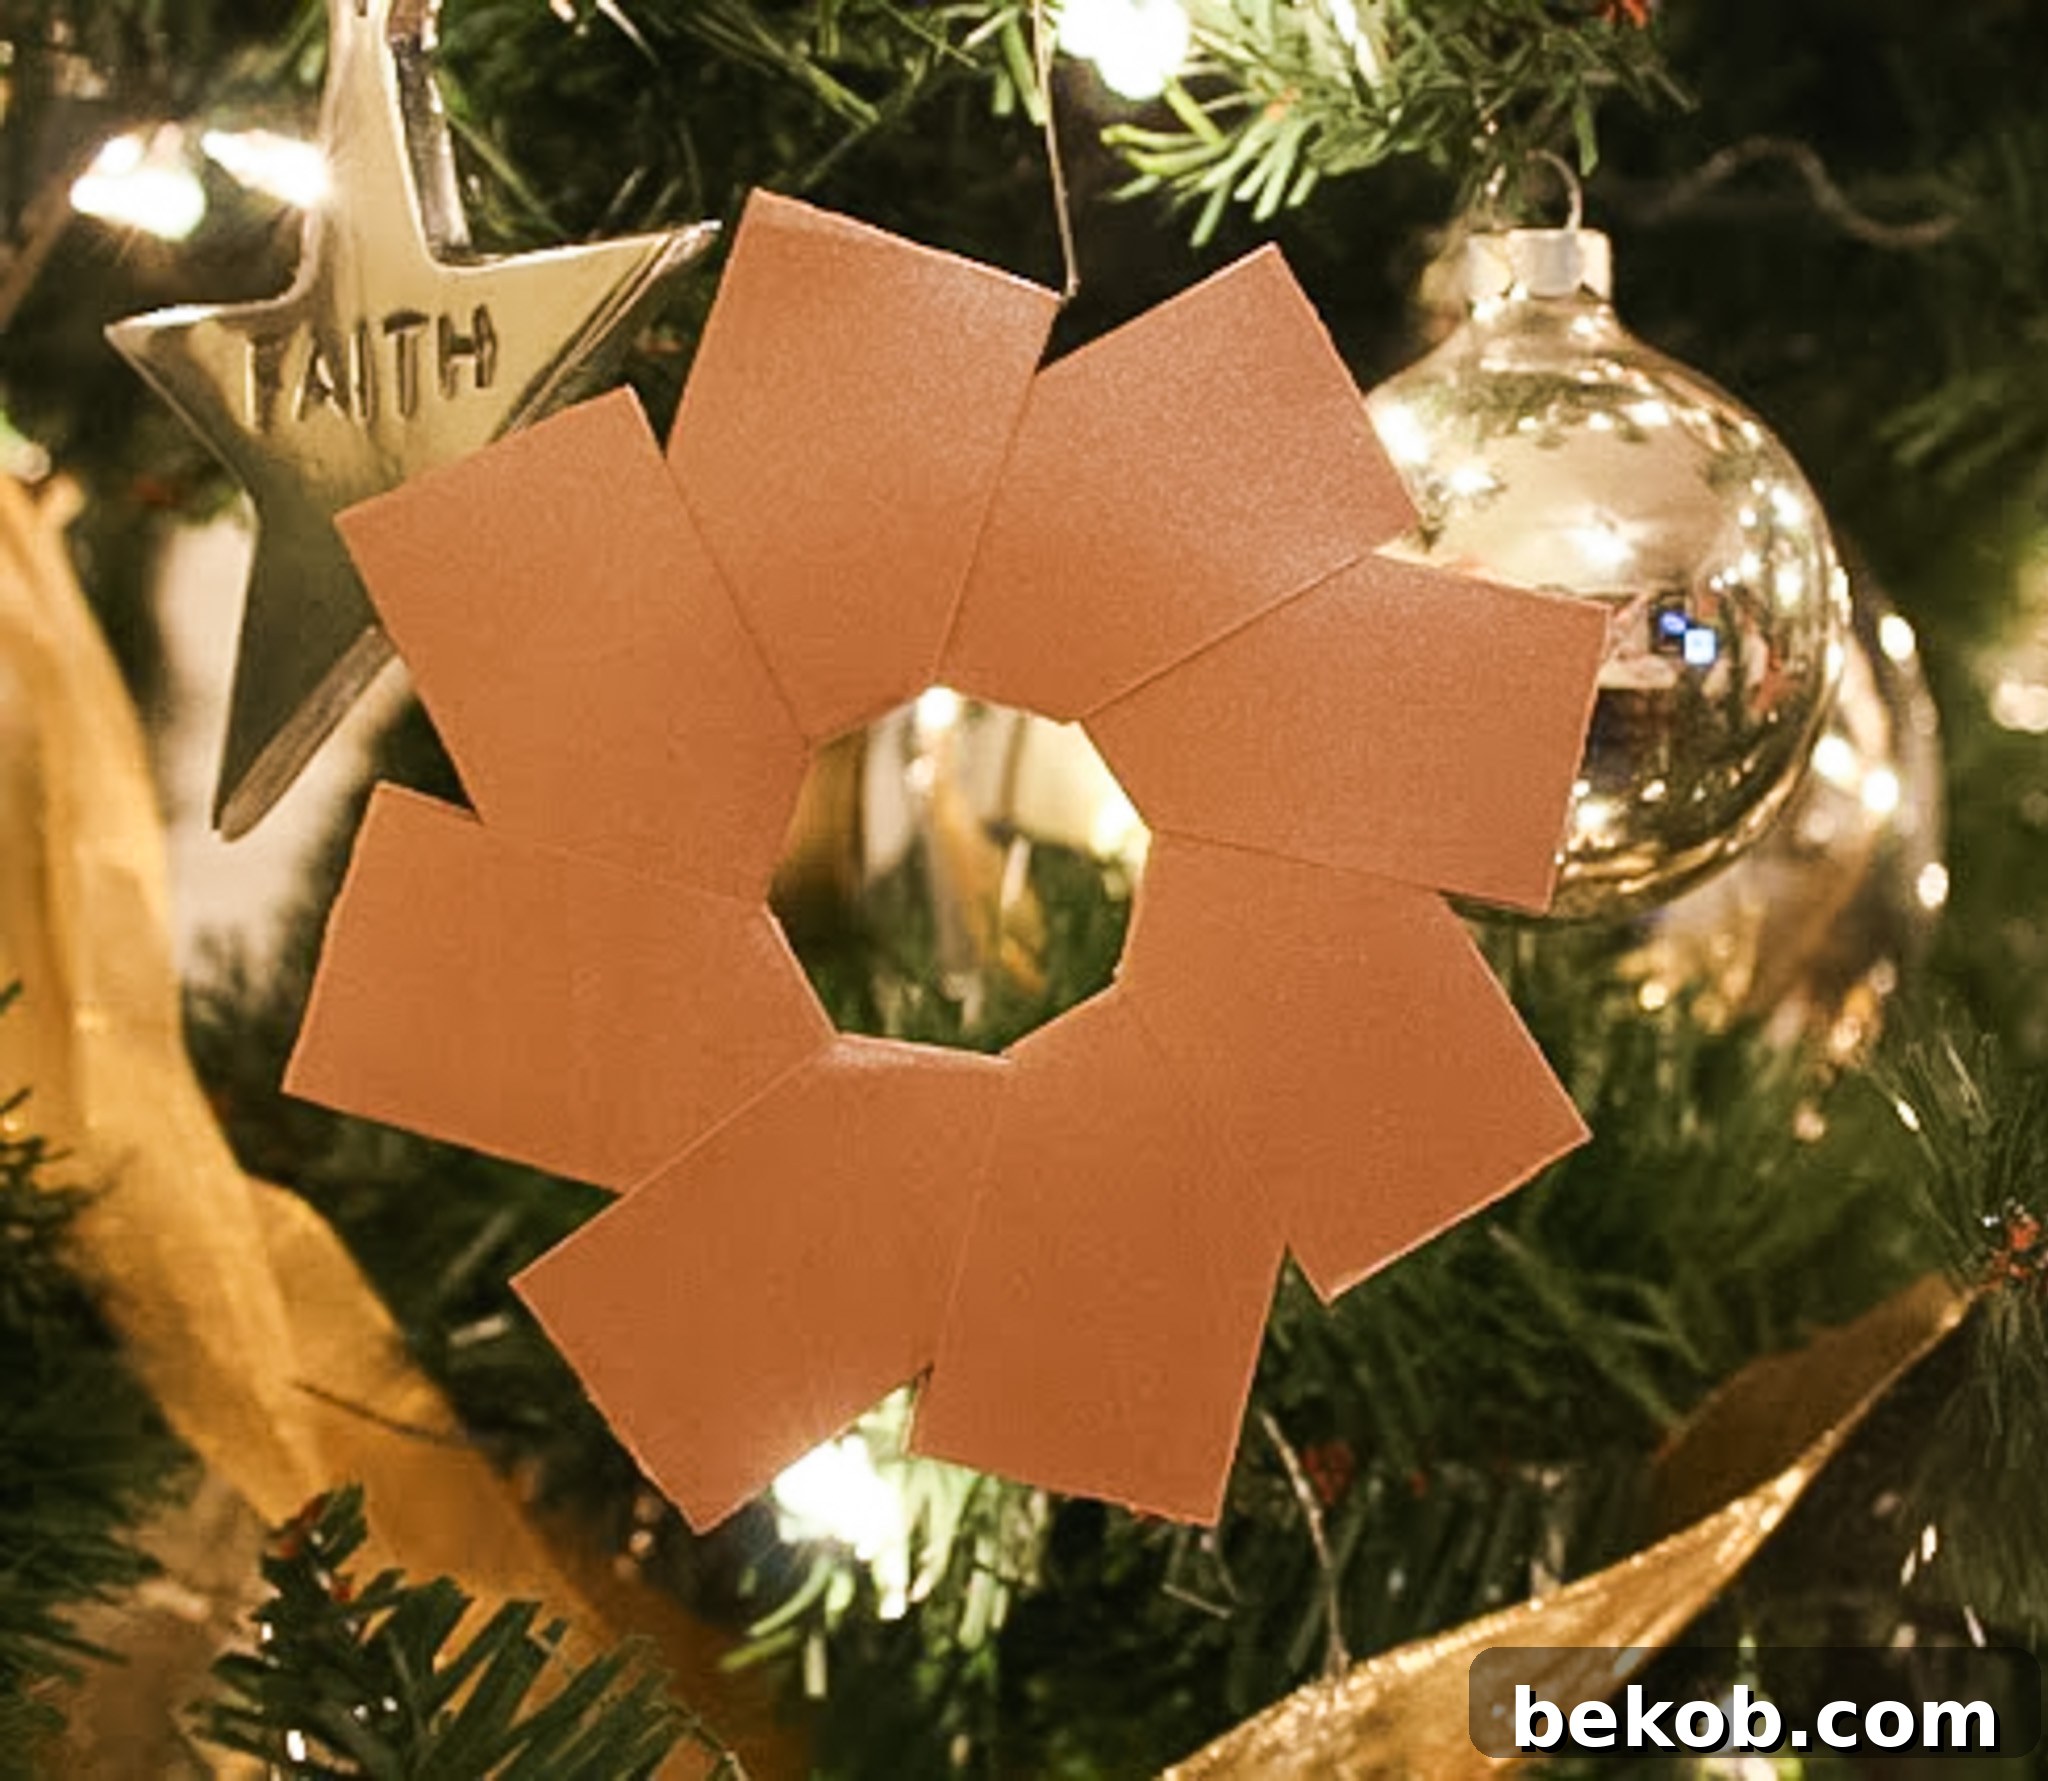
Discover the Joy of DIY: Your Guide to a Stunning Origami Wreath
Welcome back to our festive crafting series! As we reach the fifth day of Christmas, our hearts – and hands – are filled with the spirit of creation. Today, we’re particularly thrilled because we’ve found a way to bring one of the most iconic lines from “The Twelve Days of Christmas” to life in a truly unique and beautiful form: Five Golden Rings! But not just any rings; we’re talking about an exquisite origami wreath that radiates warmth, elegance, and the unmistakable charm of handmade holiday decor.
Imagine a decoration that not only adorns your home with festive cheer but also carries the pride of your own craftsmanship. This DIY origami wreath tutorial is designed to guide you through creating a captivating piece that perfectly embodies the “golden rings” theme, making it a stellar addition to your Christmas decorations. So, let’s sing along – “5 Golden Riiiiiiiiings…” – and prepare to fold, create, and celebrate the magic of the season!
There’s something incredibly satisfying about transforming simple paper into a beautiful, three-dimensional piece of art. This origami wreath project is not only a fantastic way to engage in some mindful crafting but also an excellent opportunity to personalize your holiday decor. Whether you choose shimmering gold card stock to truly capture the “golden rings” essence or opt for vibrant festive colors, this wreath promises to be a conversation starter.
We’ve meticulously designed this guide to be clear, concise, and incredibly easy to follow, ensuring a delightful crafting experience for both seasoned origami enthusiasts and beginners alike. Let’s gather our materials and embark on this creative journey to craft a stunning DIY Christmas wreath that will be cherished for years to come.
Step 1: Gathering Your Materials – The Foundation of Your Festive Paper Wreath
The beauty of this origami project lies in its simplicity and accessibility. You don’t need a vast array of specialized tools or expensive supplies. The star of the show is quality card stock paper, which will give your wreath the necessary structure and durability. For an authentic “golden rings” look, metallic gold card stock is highly recommended. However, feel free to experiment with any color or pattern that complements your existing holiday decor!
You will need 8 pieces of card stock paper. The critical aspect here is the ratio: each piece must be in a 2:1 length-to-width ratio. This specific proportion is essential for the modules to interlock correctly and form the perfect circular wreath shape. For instance, if you choose a length of 4 inches, the width should be 2 inches (4″ x 2″). Other excellent examples for different wreath sizes include 6″ x 3″, 8″ x 4″, or even larger pieces for a more substantial statement wreath. Just ensure that the length is precisely twice the width.
Before you begin folding, cut all 8 pieces accurately to your chosen dimensions. Precision in this initial step will greatly contribute to the final symmetrical beauty of your DIY Christmas wreath. If you’re using patterned paper, consider how the pattern will look when folded – typically, you’ll want the pattern to be visible on the outside of your finished modules.
Step 2: The Initial Fold – Creating Your Modular Units
Once your paper pieces are cut, it’s time to begin the folding process. This project relies on creating identical modular units that will then interlock to form the wreath. So, pay close attention to the precision of each fold.
Take one of your 2:1 ratio card stock pieces. For example, if you chose 4″ x 2″ paper, the following measurements apply. You will now fold all 8 pieces in half lengthwise. This means bringing one long edge to meet the other long edge. Press firmly to create a crisp crease along the fold line. After this fold, your 4″ x 2″ piece will now measure 4″ x 1″. If you are using patterned paper, ensure that the patterned side remains on the outside after this fold. This first fold establishes the central axis for our subsequent folds and creates a strong, elongated base for each module.
Step 3: Refining the Module – The Second Lengthwise Fold
Continuing with the same piece of paper that now measures 4″ x 1″ (or your chosen dimensions folded once), you will perform another lengthwise fold. This time, fold the piece in half again, bringing the two shorter ends together. This will effectively halve the length of your paper. So, your 4″ x 1″ piece will now measure 2″ x 1″. This fold is crucial for defining the compact shape of each module and preparing it for the next intricate steps. Make sure your creases are sharp and the edges align perfectly.
Step 4: Creating the Interlocking Points – The Corner Folds
Now comes the step that creates the distinctive “points” and “pockets” essential for the wreath’s interlocking mechanism. With your 2″ x 1″ piece (or equivalent) still folded, you should have four distinct corners at the open ends (two on each side). You will now take these four corners and fold them down towards the center, aligning each corner’s edge with the bottom edge of the folded paper. Essentially, you are creating small triangular flaps at both ends of your module.
To elaborate: imagine your 2″ x 1″ piece laid flat, with the main fold running horizontally across the middle. At each end, there are two layers of paper. For each corner, fold the top layer down so that the corner point meets the middle crease and the edge aligns with the bottom edge of the paper. Repeat this for all four corners. When you’re done, you should have a central rectangular section with two triangular “points” extending from each end. These points are what will later tuck into the “pockets” of other modules. Refer to the provided image above for a clear visual representation of this critical fold. This step transforms your simple folded paper into a complete, ready-to-assemble module for your captivating origami wreath.
Step 5: Assembling Your Golden Origami Wreath – Bringing It All Together
Once you have created all 8 identical modules, the exciting part begins: assembly! This is where the magic of modular origami truly shines, as individual units come together to form a cohesive and beautiful structure.
Take one of your folded pieces. You’ll notice that the triangular points you just created form small “pockets” on one side and “points” on the other. Orient your first module so that the “pockets” are facing upwards or outwards. Now, take a second module and carefully insert its “points” into the “pockets” of the first piece. The fit should be snug, and the paper should hold itself together without needing glue initially. You’ll be essentially sliding the pointy ends of one module into the open slots of another.
Continue this process, adding one module after another, always tucking the points of the new piece into the pockets of the previously added one. As you add more pieces, the wreath will gradually start to curve and take on its circular form. Don’t worry if it doesn’t look perfectly round at first; the final shaping comes at the very end. The key is to maintain a consistent direction as you add pieces, ensuring that each module interlocks smoothly with the next.
Once all 8 pieces are interlocked, you will complete the circle by connecting the points of the last module into the pockets of the very first module you started with. This completes the continuous chain of modules. At this point, the wreath might look a little loose or not perfectly circular. Gently push and coax the entire structure into its desired circular wreath shape. The folded card stock has enough rigidity to hold its form, and a gentle push will help it settle into a perfect, elegant ring. And just like that, your stunning DIY origami wreath, reminiscent of “5 Golden Rings,” is done!
For added durability, especially if your wreath will be handled frequently or stored for future holidays, you can apply a tiny dab of craft glue to the interlocking points during assembly. This will secure the modules permanently and ensure your beautiful paper craft lasts for many Christmases to come.
Why Choose a DIY Origami Wreath for Your Holiday Decor?
Beyond the simple satisfaction of making something with your own hands, this origami wreath offers numerous benefits as a festive decoration:
- Cost-Effective: Paper crafts are notoriously budget-friendly. All you need is some card stock, and you can create a high-impact decoration without breaking the bank.
- Customizable: The possibilities are endless! Choose metallic gold, silver, classic red and green, or even unconventional colors to match your unique holiday theme. You can also experiment with patterned papers for a truly bespoke look.
- Eco-Friendly: If you use recycled or sustainably sourced paper, this craft becomes an excellent way to create beautiful decor with a minimal environmental footprint.
- Meditative Process: The repetitive folding and precise assembly can be incredibly calming and mindful, offering a wonderful break from holiday stress.
- Versatile Decoration: Hang your origami wreath on a door, above a fireplace, use it as a centerpiece on a table with a candle in the middle, or even as a unique gift topper. Its elegant design makes it suitable for various placements.
- Beginner-Friendly: While the result looks intricate, the individual folds are straightforward, making this an ideal project for crafters of all skill levels, including families looking for fun Christmas craft ideas.
You can further personalize your finished wreath by adding a touch of glitter glue along the edges, attaching small bells or beads, or weaving a thin ribbon through the center. Let your creativity guide you!
We hope you enjoyed crafting your very own “golden rings” origami wreath. This beautiful piece is just one of many ways to bring a personal touch to your holiday celebrations. The joy of handmade decor is unparalleled, and we encourage you to explore more of our festive paper craft ideas. Make sure to check out our previous posts in this inspiring series to discover even more DIY Christmas decoration projects:
Day 1: Our First Festive Creation,
Day 2: Expanding Your Paper Craft Skills,
Day 3: A Touch of Holiday Elegance,
Day 4: More Unique Paper Decor Ideas
Stay tuned for more exciting DIY projects as we continue our countdown to Christmas!