
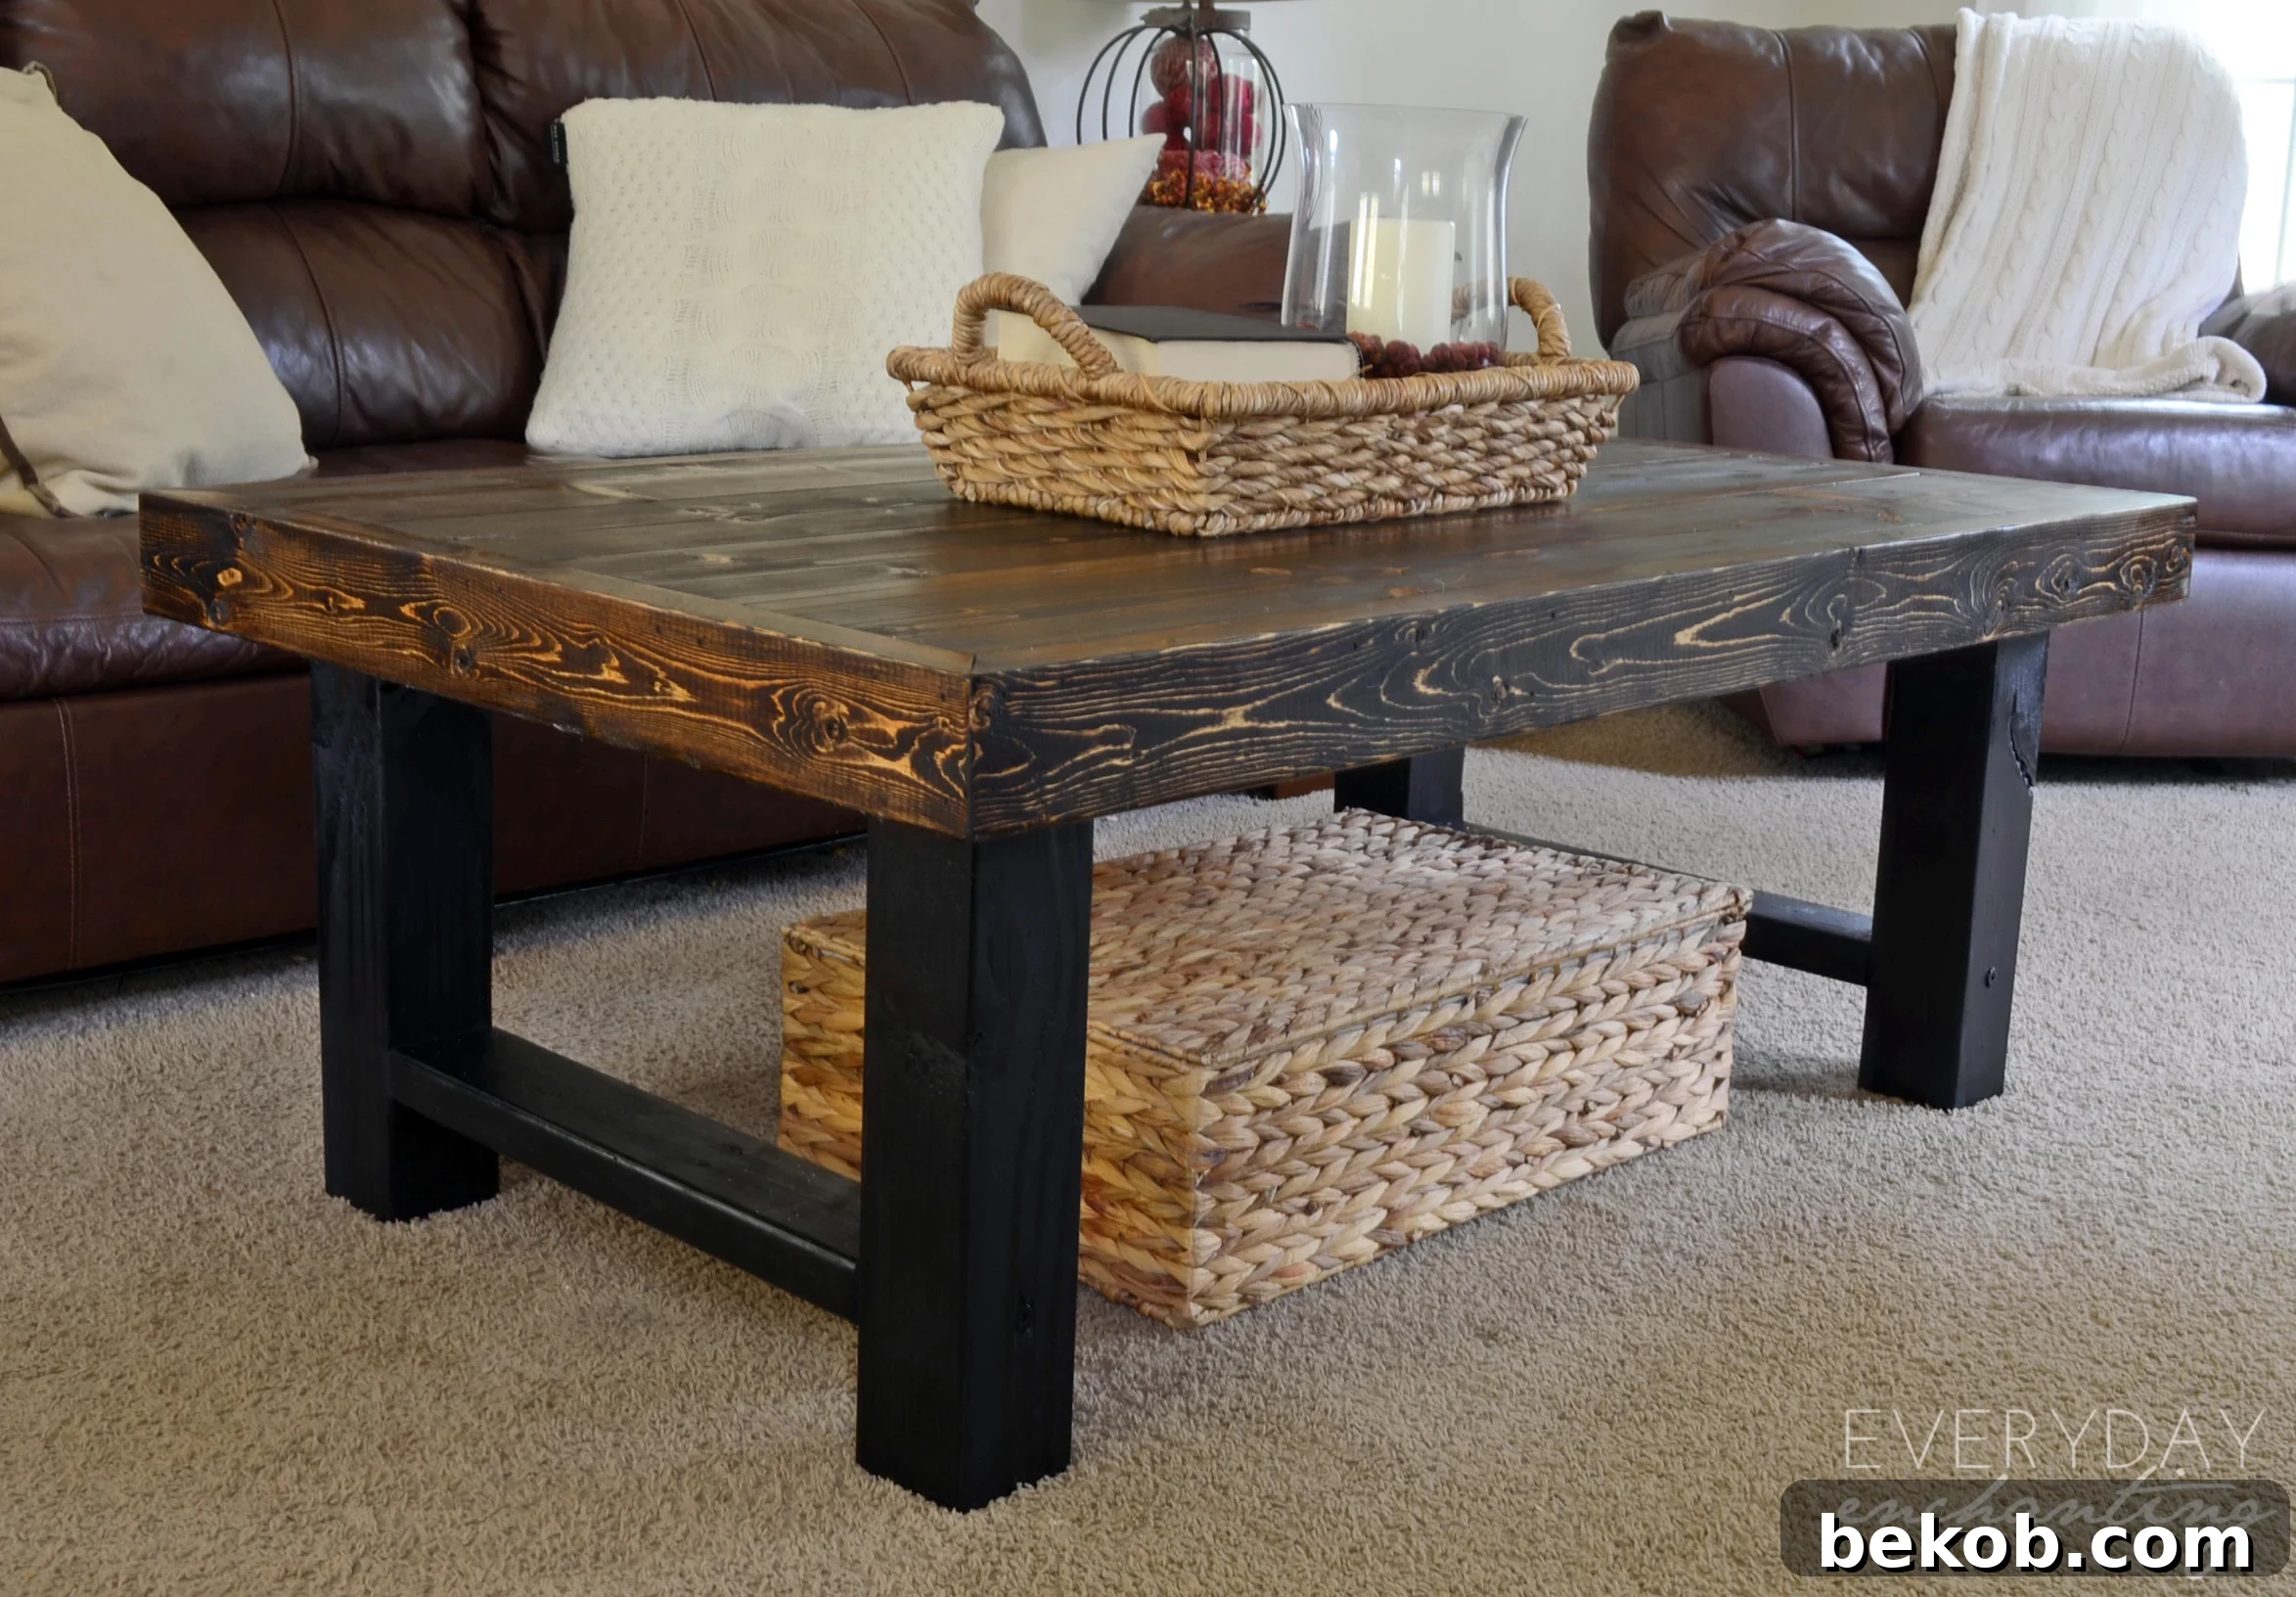
Hello, fellow home decor enthusiasts and DIY warriors! Nina here from Everyday Enchanting, and I’m thrilled to share our latest and most rewarding furniture build: a stunning DIY Wood Slab Coffee Table. As many of you know, my family and I are deep in the trenches of transforming our 1980s fixer-upper. Some days it feels like an endless list of projects, but the satisfaction of seeing our vision come to life, one DIY project at a time, is truly unparalleled.
Our family room has been a particular focus, primarily involving cosmetic and decorative updates rather than major structural overhauls, with the notable exception of our fireplace remodel. Our goal has always been to furnish this space with pieces we genuinely love, creating a cohesive and inviting atmosphere, all while adhering to an extremely tight budget. It’s a challenge we embrace wholeheartedly, always seeking out clever ways to achieve high-end looks without the hefty price tag. You might remember my previous contribution here, detailing our Ikea Hack/Pottery Barn Knock-Off Apothecary Cabinet. Today’s project follows that same cherished theme: indulging my Pottery Barn taste through smart, budget-friendly DIY solutions!
via Pottery Barn
The inspiration for this custom coffee table came from the gorgeous Griffin Metal Wood Slab Coffee Table at Pottery Barn. This piece truly captivated me with its beautiful blend of industrial and rustic styles. It features a stunning reclaimed wood slab top perched atop robust metal legs. For our family room, this style was a perfect fit; it provides a much-needed counterbalance to the softer, more feminine elements in the room, such as our newly remodeled fireplace and the tufted slipper chairs we had on order. The dark, sleek legs of the Griffin table also resonated beautifully with the black hardware on our DIY apothecary cabinet, ensuring a harmonious visual flow throughout the space. Another practical aspect I adored was the ample clearance beneath the table, making it incredibly easy to vacuum – a significant bonus when you have a golden retriever like our Lucy, who sheds quite a bit!
So, what was the catch? The formidable $699 price tag. While I fully appreciate that a significant portion of this cost accounts for the authentic reclaimed pine slab and the expertly crafted metal legs, it was simply beyond our budget for this room. This challenge sparked my creativity and sent me on a mission to brainstorm how we could replicate this high-end look for a fraction of the cost, using more accessible and modest materials. We recently had tremendous success building a farmhouse table for my mom using standard 2x8s, which gave me confidence that we could achieve a similar effect for this rustic industrial coffee table. I envisioned a combination of readily available lumber: 2x8s for the tabletop, 4x4s for the sturdy legs, and 2x4s for structural support and clever detailing. And so, our journey to build a DIY wood slab coffee table began!
Building Your Own Rustic Industrial Wood Slab Coffee Table
Creating custom furniture doesn’t have to be intimidating or expensive. With a clear vision and a bit of elbow grease, you can achieve stunning results that perfectly complement your home. Our DIY wood slab coffee table project is designed to be beginner-friendly while delivering a sophisticated, custom look. Here’s a breakdown of what you’ll need and how we brought this dream table to life.
Finished Dimensions: 51″ wide x 32″ deep x 19″ high
These dimensions were carefully chosen to provide a generous surface area for drinks, books, and decor, while maintaining a comfortable height relative to our seating. The substantial size grounds the family room, acting as a functional centerpiece.
Estimated Cost: Approximately $50
This incredibly low cost demonstrates the power of DIY. By opting for readily available lumber and doing the work ourselves, we saved over $600 compared to the Pottery Barn inspiration piece!
Materials List:
- 2 – 2 x 8 x 8′ boards
- 1 – 4 x 4 x 8′ post
- 3 – 2 x 4 x 8′ boards
- Wood glue
- Wood screws (various lengths, including long rustic black screws for visible accents)
- Finishing nails or brad nails
- Wood filler (optional, for minor imperfections)
- Sandpaper (60-grit, 120-grit, 220-grit)
- Minwax Dark Walnut wood stain
- Satin polyurethane finish
- Polyshades in Ebony (all-in-one stain and poly for legs)
Recommended Tools:
- Miter saw or circular saw (for accurate cuts)
- Drill/driver
- Kreg Jig (optional, for stronger tabletop joints)
- Bar clamps or pipe clamps (essential for gluing the tabletop)
- Tape measure
- Pencil
- Safety glasses
- Hearing protection
- Orbital sander (speeds up sanding process significantly)
- Stain rags or brushes
- Polyurethane brush or foam applicator
Estimated Time: 1 1/2 hours for active building, plus 24-48 hours drying time for stain and polyurethane
Step 1: Crafting the Impressive Wood Slab Tabletop
The foundation of our rustic industrial coffee table is its robust tabletop, designed to mimic the thick, solid appearance of a reclaimed wood slab. We began by taking our 2x8x8′ boards and cutting them down to four equal pieces, each measuring 48 inches in length. Precision in these initial cuts is crucial for a seamless tabletop. Once cut, we arranged the four 48-inch planks side-by-side, carefully aligning their edges. We then applied a generous, even layer of wood glue along the long edges where the planks would join. Using multiple bar clamps, we firmly clamped these planks together, ensuring tight seams and a strong bond. It’s important to apply even pressure across the entire length of the tabletop to prevent gaps. We allowed the glue to cure according to the manufacturer’s instructions, typically for at least several hours or overnight.
After the glue had fully dried, creating a single, solid panel, we further secured the tabletop by attaching two 2x4s cut to 32 inches across the width of the tabletop. These 2x4s act as battens, preventing warping and providing additional stability. We attached these battens from the underside of the tabletop using wood screws, ensuring the screws were long enough to penetrate the 2x8s sufficiently without coming through the top surface. In the past, we’ve received questions about potential cracking of tabletops constructed with this method, due to wood expansion and contraction. I can confidently say that, even with a five-year-old table built in the exact same manner, we haven’t experienced any cracking. We also appreciate the character of rustic furniture, so minor imperfections wouldn’t detract from our enjoyment. For those more experienced DIYers who prioritize maximum stability and prefer to accommodate wood movement, biscuit joinery or pocket holes (using a Kreg Jig) could be excellent alternatives for joining the planks. However, to keep this tutorial approachable and beginner-friendly, we opted for our tried-and-true gluing and batten method.
To truly achieve the illusion of a thick, substantial wood slab, my husband, Mack, came up with a brilliant idea: wrapping the tabletop perimeter with 2x4s. This technique not only visually enhanced the thickness but also cleverly concealed where we would later attach the legs, giving the table a clean, finished appearance. We began by accurately measuring the perimeter of our assembled tabletop. We then cut the 2x4s to size, mitering the corners at 45-degree angles to create seamless joints. To ensure perfectly straight edges for a flush fit, we ran the 2x4s through the table saw. With the cuts made, we applied wood glue to the edges of the tabletop and the back of the 2×4 wrap pieces. We carefully positioned the 2x4s around the perimeter, aligning the mitered corners, and clamped them securely in place. While clamped, we reinforced the bond by nailing the 2x4s onto the perimeter, taking utmost care to ensure they were perfectly flush with both the top and bottom surfaces of the tabletop. This step is critical for achieving that custom, built-in look.
Step 2: Constructing the Sturdy, Faux Metal Legs
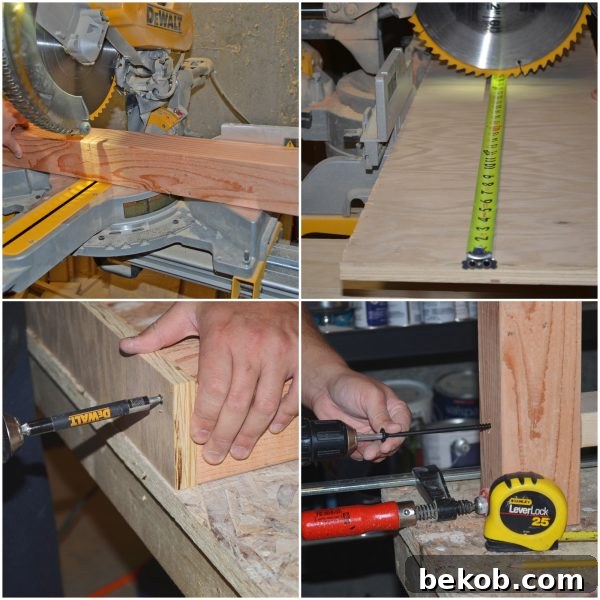 The legs are crucial for both the stability and the aesthetic of our industrial rustic coffee table. To mimic the robust appearance of metal legs without the cost or complexity of working with metal, we opted for 4×4 posts. We cut two 4x4s down to 17 inches each. This height, when combined with the tabletop thickness, would result in our desired overall table height of 19 inches. To create a strong and cohesive leg unit, we joined these two 4×4 posts at the top using a piece of scrap plywood cut to 3.5 inches by 26 inches. This plywood piece effectively bridges the two 4x4s, providing a solid anchor point for attaching the entire leg assembly to the tabletop.
Next, to further enhance the stability and complete the industrial aesthetic, we added cross-braces between the 4×4 posts. We cut two 2x4s to a length of 19 inches. These cross-braces were then attached horizontally between the two 4×4 posts, positioned approximately 4.5 inches up from the ground. We used long, rustic black screws for this attachment. These screws not only provide a very secure hold but also add to the industrial charm, becoming an intentional design element. To prevent any potential spinning or twisting of the 2×4 cross-braces, we also added nails at an angle from the opposite side. This “toe-nailing” technique significantly increases the rigidity of the leg structure, ensuring that your custom coffee table remains steadfast and wobble-free. This careful construction of the leg assembly is what gives our DIY coffee table its sturdy foundation and that high-end, bespoke feel.
Step 3: Finishing Touches – Sanding, Staining, and Sealing
The finishing stage is where our DIY wood slab coffee table truly transforms from raw lumber into a piece of custom furniture. We began by thoroughly sanding all the wood components. Since the lumber started quite rough, we began with a coarse 60-grit sandpaper to quickly smooth out any major imperfections and rough spots. After achieving an initial level of smoothness, we switched to 120-grit sandpaper to refine the surface further, preparing it for staining and ensuring a silky-smooth finish. It’s crucial to sand with the grain of the wood and to remove all sanding dust between grits for the best results. A final pass with 220-grit sandpaper can take it to the next level of smoothness, though 120-grit is often sufficient for a rustic look.
Once sanded and thoroughly cleaned of dust, it was time for staining. For the tabletop, we applied two coats of Minwax Dark Walnut stain. This rich, deep color beautifully enhances the wood grain, giving it a sophisticated, aged appearance reminiscent of reclaimed wood. We followed the manufacturer’s directions precisely, applying the stain evenly and wiping off any excess after the recommended dwell time to prevent a splotchy finish. After the stain had completely dried (which usually takes 6-8 hours or overnight), we applied two coats of polyurethane in a satin finish. Polyurethane provides durable protection against spills and daily wear and tear, and the satin finish offers a subtle sheen that looks natural and complements the rustic aesthetic.
For the legs, our goal was to mimic the look of sleek, industrial metal. To achieve this, we opted for an all-in-one stain and polyurethane product called Polyshades in Ebony. This product is fantastic for convenience, as it stains and seals in one step. It provided really great coverage, transforming the 4x4s into dark, almost black, industrial-looking supports with just two coats. The beauty of this choice is that it visually contrasts with the warm walnut top, effectively replicating the mixed-material appeal of our Pottery Barn inspiration.
After the requisite drying time for all the finishes, which we meticulously adhered to for optimal durability, Mack brought the completed components upstairs. He then securely attached the finished legs to the underside of the tabletop using basic wood screws, ensuring the entire structure was stable and robust. Finally, it was my favorite part: styling the newly built coffee table! It’s incredibly gratifying to have a coffee table that not only fits our space and aesthetic perfectly but also one that we know will hold up beautifully to the inevitable wear and tear from our active kids. This entire project was surprisingly simple and quick, fitting seamlessly into the rustic industrial style we’ve been cultivating in our family room. And, of course, the fact that this custom, high-impact piece cost us only about $50 makes it all the more satisfying! It truly embodies our philosophy of achieving Pottery Barn taste on a sensible DIY budget.
—————————————-
We hope this detailed guide inspires you to tackle your own furniture projects. There’s immense satisfaction in creating something with your own hands, especially when it saves you a significant amount of money and perfectly matches your home’s unique style. If you’re hungry for more coffee table inspiration, check out these fantastic DIY projects from our archives:
Modern Coffee + End Table Set
If sleek lines and contemporary design are more your style, this project offers plans for a cohesive coffee and end table set that will elevate any modern living space. It’s a great way to introduce geometric forms and minimalist aesthetics into your decor.
Reclaimed Wood Coffee Table with Hairpin Legs
For those who love the natural beauty of aged wood combined with a touch of mid-century flair, this reclaimed wood coffee table featuring elegant hairpin legs is a must-see. It’s a fantastic way to incorporate sustainable materials and vintage charm into your home.
Bucket Coffee Table
For a truly unique and incredibly functional piece, consider this clever bucket coffee table. Perfect for outdoor spaces or quirky indoor setups, it combines storage with surface area in a fun, unexpected way.
Pedestal Dining Table into Coffee Table
Discover how to cleverly repurpose an old pedestal dining table into a charming coffee table. This upcycling project is fantastic for transforming outdated furniture into a stylish and functional centerpiece, giving new life to forgotten pieces.