
Unlock Space and Style: Your Comprehensive Guide to Installing a Pocket Door
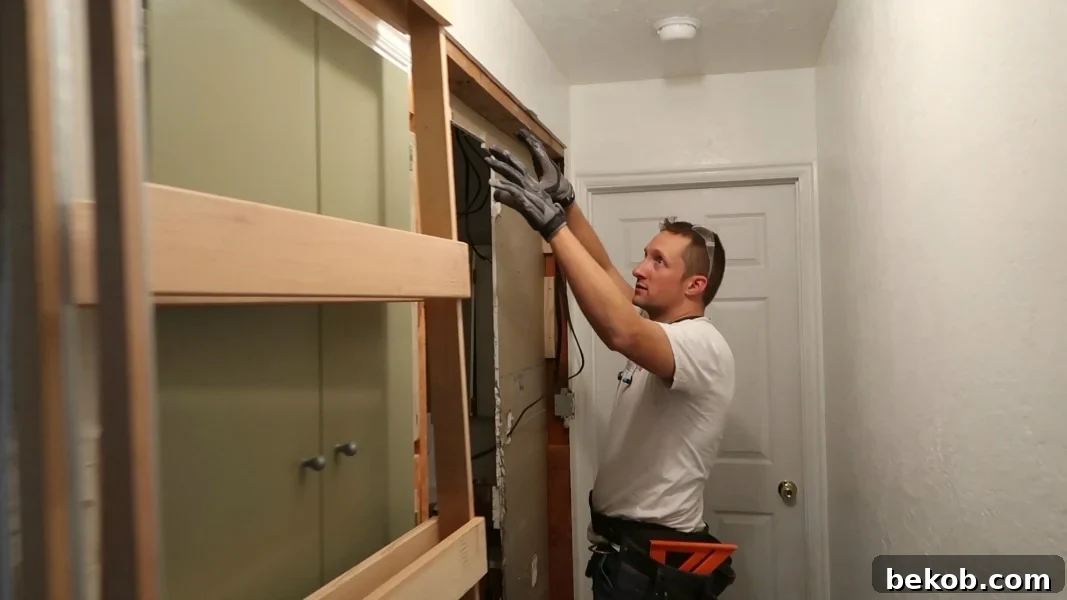
Before diving into our exciting built-in bathroom storage plans, we’ve got a crucial step to tackle: installing a sleek and practical pocket door. As highlighted in our recent vlog, this addition is a game-changer for any home, especially in smaller spaces. A pocket door slides discreetly into the wall, immediately freeing up valuable floor space – typically 8 to 9 square feet – that a traditional swinging door would occupy. This not only opens up the area behind the door for our upcoming built-in storage but also, and significantly for us, prevents those inevitable finger-pinching accidents when our girls argue over bathroom access. (Yes, sisterly squabbles start early!) Ready to transform your space? Watch our video for an easy, step-by-step guide to installing a pocket door frame, and remember to subscribe to our channel for more inspiring bathroom projects.
Why Choose a Pocket Door? The Benefits Beyond Space-Saving
This post contains affiliate links. Learn more and read our full disclosure policy here.
We opted for the simplest pocket door installation method by utilizing a pre-made pocket door frame and reusing our existing bathroom door. While installing a pocket door might take a little more time than a surface-mounted sliding barn door, the advantages are well worth the effort, especially for long-term functionality and aesthetic appeal. As we’ve mentioned before, the sleek, space-saving benefits are paramount, particularly in a narrow hallway where every inch counts. Beyond reclaiming floor space, pocket doors offer superior privacy compared to some barn door styles and provide valuable uninterrupted wall space for decor. We’re always looking for new ways to decorate hallways, and a pocket door helps achieve that seamless look.
Let’s delve deeper into why a pocket door is an excellent choice for modern homes and renovations:
- Unmatched Space-Saving: The most obvious benefit. By eliminating the door swing, you gain back valuable square footage that can be used for furniture, storage, or simply a more open feel. This is revolutionary for small bathrooms, utility rooms, closets, or any tight space where a swinging door would be inconvenient or impossible.
- Enhanced Accessibility: With no door swing to contend with, accessibility is greatly improved. Wheelchairs and strollers can navigate more easily, and it allows for full, unhindered access to built-in features like the storage units we’re planning.
- Sleek & Modern Aesthetics: Pocket doors offer a minimalist, clean look. When open, they disappear completely into the wall, creating an expansive, uncluttered visual. This contemporary appeal integrates seamlessly into various interior design styles, from modern farmhouse to ultra-sleek minimalist.
- Increased Privacy: Unlike some barn doors that might leave small gaps, a properly installed pocket door closes fully within its frame, offering the same level of privacy and sound dampening as a traditional hinged door. This is crucial for bathrooms, bedrooms, and home offices.
- Child Safety & Peace of Mind: For families with young children, the elimination of hinges means no more pinched fingers – a common and painful mishap with swinging doors. This small detail can significantly reduce household hazards and provide greater peace of mind for parents.
- Optimized Wall Space: Because the door slides into the wall, you gain back all the wall space that would otherwise be dedicated to the door’s swing arc. This opens up possibilities for artwork, shelving, light fixtures, or as in our case, integral built-in storage solutions.
Ready to see how we finish this bathroom project and what’s next? Click here to subscribe to our channel!
Important Safety Disclaimer: Always consult a qualified engineer or structural professional if you have any questions or concerns about the structure and stability of your home before undertaking any renovation project. Remodelaholic will not be responsible for any injury or damage incurred while following a tutorial from our site. None of our posts should be considered expert advice; please consult a professional when needed, read all safety and instruction manuals, and take all necessary safety precautions. All projects performed following instructions found on this site are done at your own risk.
A Look Back: We’ve tackled pocket doors before! Check out our photo tutorial from our Park House in Texas back in 2012 here, and explore more of those half-bath projects here.
Your DIY Pocket Door Installation Guide: Step-by-Step
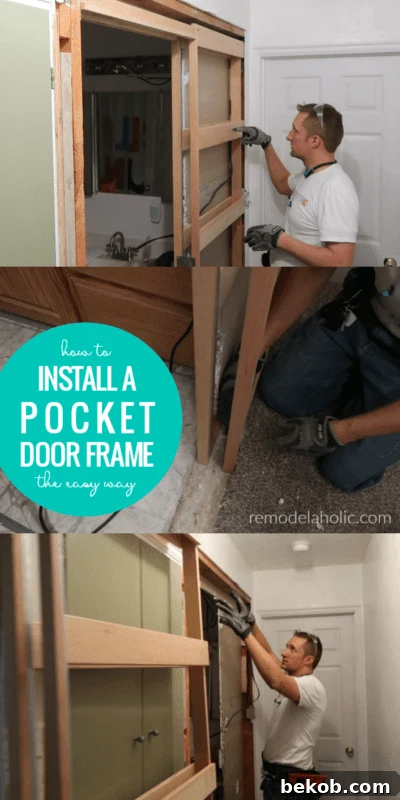
Installing a pocket door frame, especially a pre-made one, is a manageable DIY project that can significantly elevate your home’s functionality and aesthetic. Here’s a detailed look at the process, ensuring a smooth transformation for your space.
Materials and Tools for Pocket Door Frame Installation:
- Pre-made Pocket Door Frame Kit: Essential for simplifying the installation.
- Existing door or new premade pocket door slab: Ensure it’s the correct size for your frame.
- Pocket door handle, edge pull and/or privacy lock: Specific hardware for pocket doors.
- Wood shims: Crucial for leveling and plumbing the frame.
- Utility knife: For precise cuts in drywall and other materials.
- Crowbar and/or reciprocating saw: For efficient demolition.
- Measuring tape, level, stud finder, drill, fasteners, safety glasses, dust mask.
The Installation Process:
- Planning and Preparation:
- Assess Your Wall: Use a stud finder to locate existing studs. It’s crucial to ensure the wall where you plan to install the pocket door is not load-bearing. If it is, consult a structural engineer immediately.
- Check for Utilities: Verify there are no electrical wires, plumbing pipes, or HVAC ducts running through the section of the wall where the door will slide. This is critical for safety and to avoid costly repairs.
- Measure Accurately: Determine the rough opening needed for your pocket door frame. This will be wider than a standard door opening to accommodate the door and its frame within the wall.
- Demolition and Framing:
- Remove Existing Door and Frame: Carefully dismantle the old door and its jamb. Use a utility knife to score the paint along the trim, then a crowbar to gently pry off the casing.
- Open the Wall: Cut out the drywall to the required dimensions for your pocket door frame. You’ll need to remove studs in the area where the door will slide, often replacing them with new framing to support the pocket door kit. A reciprocating saw can make quick work of studs.
- Header Installation: Install a new header above the rough opening to support the weight of the wall above.
- Assembling and Installing the Pocket Door Frame:
- Assemble the Kit: Follow the manufacturer’s instructions to assemble the pre-made pocket door frame. These kits typically include a head track, vertical studs, and a floor guide.
- Position the Frame: Carefully place the assembled frame into your prepared wall opening. Ensure the head track is level and the vertical studs are plumb.
- Secure and Shim: Fasten the frame securely to your new header and floor plate. Use wood shims as needed to ensure the frame is perfectly level and plumb in all directions. This step is critical for smooth door operation.
- Hanging the Door:
This is the part we briefly missed in our video, but it’s straightforward! Your pocket door frame kit will come with specific hardware for attaching the door to the overhead track. Typically, this involves:
- Attaching Hangers to the Door: Screw the hanger brackets (usually two per door) to the top edge of your door slab according to the kit’s instructions. Ensure they are evenly spaced and secure.
- Mounting to the Track: Lift the door and engage the hanger wheels with the track inside the pocket door frame. This often involves a simple clip or lever mechanism. Test the door’s movement to ensure it glides smoothly.
We promise to provide better documentation for this specific step if we install another pocket door in the future!
- Finishing Touches:
- Drywall and Finishing: Once the frame and door are installed and operating correctly, install new drywall around the pocket door frame. Finish the seams with tape and joint compound, sand smooth, and prime.
- Install Trim: Add door casing and baseboards to match your existing home trim.
- Hardware Installation: Install your chosen pocket door handle, edge pull, and/or lock. These are specially designed for pocket doors, allowing them to fully retract into the wall.
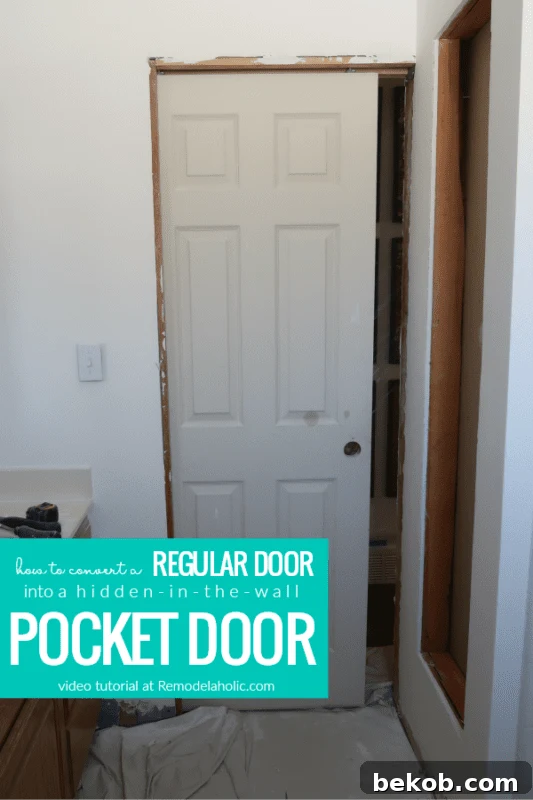
We hope this detailed guide helps clarify the process and empowers you to undertake this rewarding home improvement. The ease of using a pre-made pocket door frame makes this project accessible to many DIY enthusiasts. Now, we turn to you: will you be installing a pocket door in your home to reclaim space and add modern functionality? Let us know in the comments!
Elevate Your Entryways: More Door Upgrade Ideas
Beyond pocket doors, there are countless ways to upgrade, update, or otherwise enhance the doors in your home, adding both style and value. Explore some of our favorite ideas:
DIY Barn Doors & Affordable Hardware Options
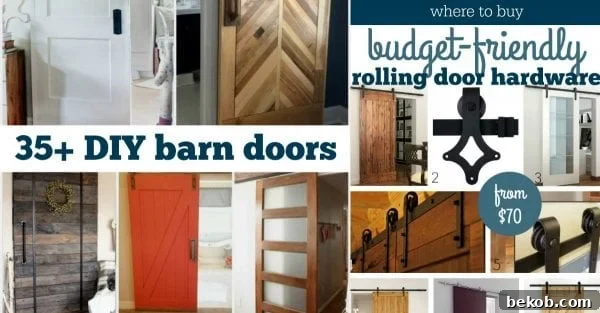
If a rustic or industrial touch is what you seek, DIY barn doors are a fantastic option, and we’ve got you covered with affordable hardware choices.
Master the Art of Interior Door Painting
A fresh coat of paint can dramatically transform any door. Get our 26 tips for painting interior doors to achieve a professional finish.
Creative Ideas for Updating Flat and Bifold Doors
Don’t replace, update! Discover inspiring ideas for updating flat doors and upgrading bifold doors to give them a custom look.
Transform Bifold Doors into Elegant French Doors
Looking for a more sophisticated upgrade? Learn how to transform standard bifold doors into beautiful French doors.
Explore Over 50 Beautiful Doors and Front Door Color Ideas
Get inspired by our curated collection of 50+ beautiful doors and find the perfect front door paint colors to make a statement.