
Our newly completed patio now serves as a central hub, directly visible from our kitchen window. This direct line of sight has significantly influenced every aspect of our outdoor living project planning. From the very beginning, a key consideration has been creating a captivating view, especially through the vibrant colors of a well-tended flower garden. The strategic placement of this central flower bed allows us to concentrate our efforts and investment in high-impact color in one prominent area. It’s a focal point that enriches the visual experience from multiple perspectives across the yard, instantly making the entire space feel meticulously cared for and thoughtfully designed. This intentional approach ensures that even with limited planting areas, we achieve maximum aesthetic appeal.
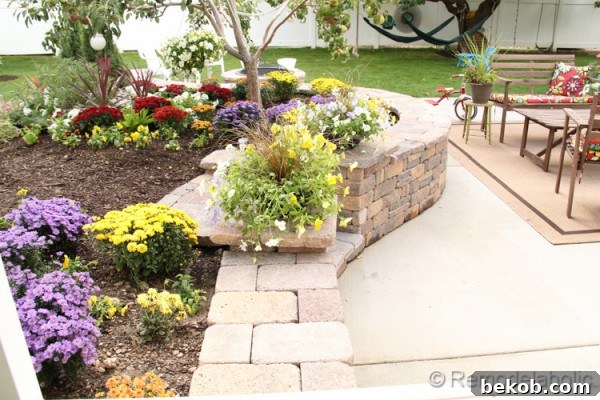
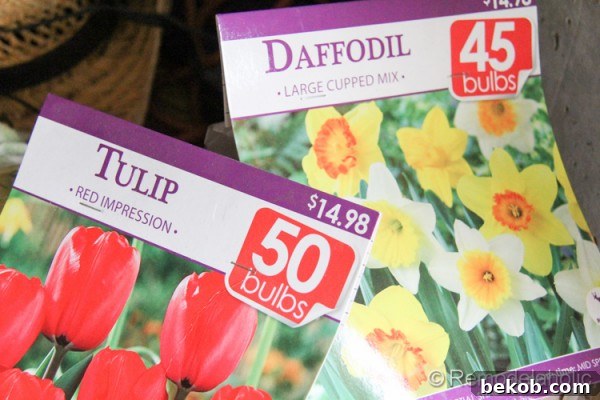
While this central bed is our primary focus for seasonal color, we actually don’t have other dedicated flower beds in the backyard. The front yard, on the other hand, boasts a more established landscape. However, we do have plans to enhance its spring display by planting an abundance of tulip and daffodil bulbs. These early bloomers promise a delightful burst of color to welcome the warmer months. Although we won’t be providing a step-by-step tutorial for bulb planting in this article, for those interested in mastering the technique, you can find excellent guidance on how to plant spring-flowering bulbs here. Learning the right methods for bulb placement and soil preparation can make a significant difference in the success and longevity of your spring garden.
In fact, our excitement for this flower bed began even before its structural elements were fully complete. We had already started planting several flowers while still in the process of building the retaining/seat wall that defines its border. (We’ll share all the details about that transformative project very soon!) Observing our yard this past summer, watching the flowers flourish and their vibrant colors cascade across the landscape, has been an immense source of pleasure. The gradual spread of hues, akin to a beautiful blanket unfolding, brought an indescribable joy. It’s moments like these that truly connect us to our home and outdoor space, making even mundane tasks like doing dishes (well, almost!) feel a little lighter, knowing such beauty awaits just outside. This deep satisfaction underscored our desire to extend the season of color into the fall.
Having thoroughly enjoyed the summer’s botanical bounty, we were particularly thrilled when The Home Depot extended an invitation to partner with them for a fall planting project. This collaboration provided the perfect opportunity to transition our garden from summer’s peak to autumn’s charm. Our current location falls within USDA Hardiness Zones 6-7. Given that winter and its accompanying frosts can arrive relatively early in our region, we made a conscious choice to select hardier plant varieties capable of withstanding colder temperatures for a longer period. A significant advantage of purchasing plants from your local Home Depot store is that they often simplify the guesswork associated with hardiness zones. Their inventory is typically curated to thrive in the specific climates where their stores are located, ensuring that with proper care, the plants you choose have an excellent chance of flourishing in your garden. This localized selection made our fall planting decisions much more confident and successful.
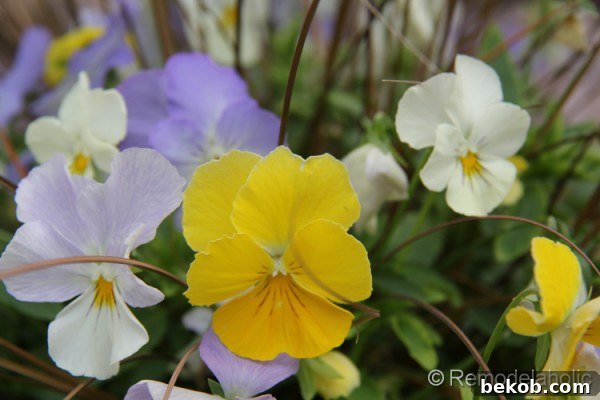
For our fall planting, we decided to specifically focus on the quintessential autumn blooms: chrysanthemums (mums) and pansies. These resilient and colorful flowers are renowned for their ability to bring cheer and vibrancy to the garden well into the cooler months, making them perfect choices for extending the visual appeal of our patio flower bed.
Embracing Autumn: Our Fall Planting Journey Begins
 |
 |
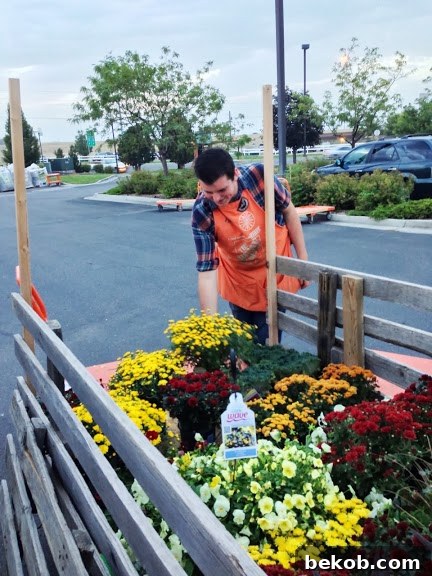
Our shopping cart quickly filled with a delightful profusion of mums! Initially, our color selection was heavily influenced by the warm, inviting hues synonymous with autumn: rich reds, fiery oranges, and sunny yellows. These colors inherently evoke the cozy feeling of fall – think pumpkins, changing leaves, and even a comforting mug of hot chocolate (though not a plant color, it perfectly captures the autumnal spirit!). These warm tones provide a comforting and classic fall aesthetic. However, as we continued to browse, we recognized the importance of adding structural elements to ensure year-round interest. A strong desire for evergreens emerged, particularly for the desolate winter months when our backyard typically appears quite barren. The absence of lush, green, leafy trees in winter can be quite disheartening for me; trees are often a decisive factor in my appreciation for a home’s landscape. Incorporating evergreens would provide much-needed life and structure during the colder seasons, offering a constant green backdrop that combats winter’s starkness and provides visual depth even when other plants are dormant.
After careful consideration and multiple trips, here is a comprehensive list of the vibrant fall flowers and resilient plants we selected from our local Home Depot, all destined for our approximately 100-square-foot patio flower garden. This curated selection aims to deliver both immediate autumnal beauty and lasting structural interest throughout the year, truly optimizing our outdoor space for every season.
Essential Fall Flowers and Plants for Your Patio Garden
Crafting a garden that bursts with color in autumn and retains structure through winter requires thoughtful plant selection. Here’s a detailed breakdown of what made it into our 100 sq. ft. patio garden, chosen for their beauty, hardiness, and year-round appeal.
| Common Name | Botanical Name | Color | Features & Care Tips |
| Bulbs (Perennials: Will grow back each year for spring display) | |||
| Tulip | Tulipa spp. | Red | Iconic spring bloom; plant in well-drained soil in fall for vibrant spring color. Requires full sun. |
| Daffodil | Narcissus spp. | Yellow and White | Deer resistant spring bloom; naturalizes well. Plant bulbs 2-3 times their height deep in fall. |
| Annuals (Seasonal: Won’t typically grow back after a hard frost) | |||
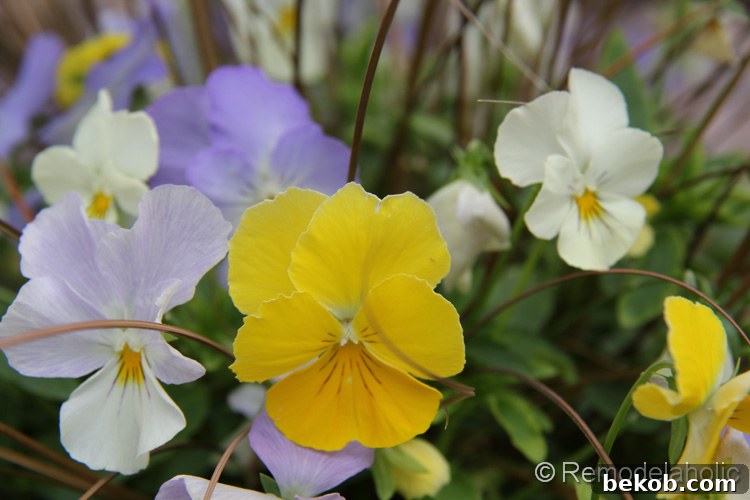
| Pansy | Viola wittrockiana | Yellow, Purple | Excellent for cool-season borders and containers; provides cheerful color until deep frost. Prefers full to partial sun. |
| Cool Wave Pansy | Viola x wittrockiana | Yellow, Purple | Spreading habit, ideal for cascading from containers or as a groundcover; highly cold tolerant. |
| Flowering Kale | Brassica oleracea acephala | Green, Purple, Cream | Adds vertical structure and unique texture; colors intensify with colder temperatures. Edible, but grown for ornamental appeal. |
| Cordyline | Cordyline australis | Purple, Bronze | Striking vertical accent with sword-like foliage; provides dramatic height and contrast in beds or pots. Can be perennial in warmer zones. |
| Perennials (Will return each year with proper care) | |||
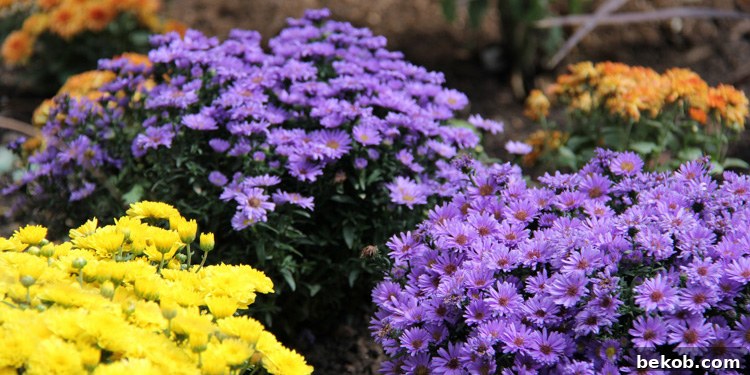
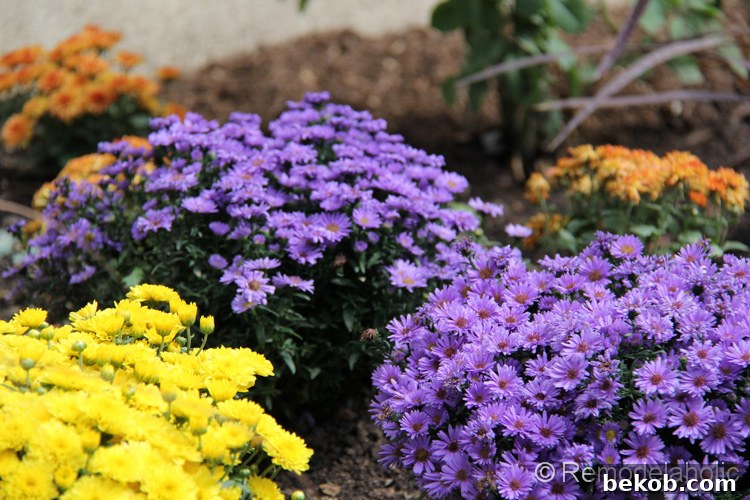
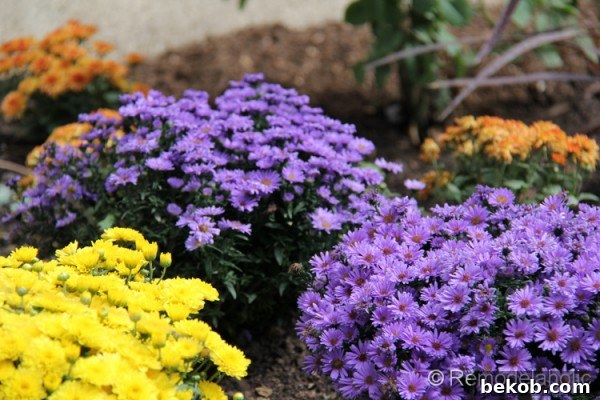
| Aster | Aster novi-belgii ‘Days’ | Purple | Late-season bloomers that attract pollinators; offers a beautiful contrast to warm-toned mums. Prefers full sun. |
| Garden Mum | Chrysanthemum morifolium | Red, Yellow, Orange | Classic fall flower with a long blooming season; provides dense, vibrant color. Pinch back in spring for bushier growth. |
| Shrubs (Long-lived woody plants for structure and evergreen appeal) | |||
| Dwarf Alberta Spruce | Picea glauca ‘Conica’ | Evergreen | Slow-growing, conical evergreen; perfect for year-round structure and privacy screening. Low maintenance. |
Our plant acquisition journey involved two separate trips. The first was a lively family outing to the Lindon, Utah Home Depot store, where we happily selected the bulk of our plants. The second trip, a more focused solo mission to the Provo, Utah store, was necessary to fill in any gaps in our plant list – thankfully, sans kiddos, which made for a slightly more efficient, albeit less entertaining, experience! During our family visit, the garden center cashier was incredibly kind and understanding with our girls. Her thoughtful gesture of providing them with a few stickers proved to be a lifesaver, as after about 30 minutes of plant selection, their patience was definitely wearing thin! On a humorous side note, at least we managed to avoid any potty training accidents this time around, unlike our last major Home Depot excursion, which certainly added an unexpected element to our shopping trip. These little moments are all part of the real-life experience of gardening with a family.
After approximately 40 minutes of carefully selecting our perfect array of fall flowers, we efficiently loaded our trusted little utility trailer. This humble yet invaluable “stead” has been our faithful companion for over a decade of remodeling projects, proving time and again that a full-sized truck isn’t always necessary for heavy hauling. It’s a testament to its reliability and the countless projects it has helped us complete. With our selections secure, the anticipation for transforming our patio garden grew.
 |
 |
During one of our supply runs, I tasked my husband, who is a skilled landscape architect, with a quick return trip to the store. He came back with a delightful surprise: some brilliantly hued bluish-purple Asters. While these certainly challenged my initial “warm color” palette vision for the fall garden, the striking violet shade provided an unexpected and captivating contrast to the reds, oranges, and yellows we had already chosen. Recognizing his professional expertise and wanting to foster collaboration, I truly made an effort to let him have more say in the overall design. I confess, I sometimes struggle with “design control issues” – a common trait when you have a strong vision! But, considering he is a landscape architect, it only makes sense to trust his artistic eye and knowledge of plant combinations. So, I ultimately ceded control and allowed him to decide on the precise layout and arrangement of the flower beds, a decision that proved to be wonderfully rewarding as the garden began to take shape with his unique touch.
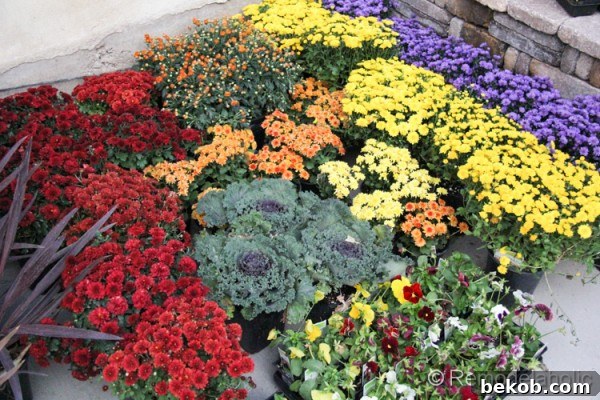
My husband’s design approach involved creating small, intentional groupings of color throughout the bed, ensuring a harmonious visual flow. We thoughtfully preserved a few elements from our summer plantings, specifically the delicate white petunias and a small border of vibrant portulaca (ice plant), allowing them to transition gracefully into the fall display. Before embarking on any major planting, especially if you’re new to fall gardening, I highly recommend watching this informative video from The Home Depot. It’s an excellent resource that covers essential techniques for planting fall annuals and bulbs, along with crucial steps for preparing your garden beds to ensure lasting color and plant health. Proper preparation is the cornerstone of a thriving garden, and this video offers invaluable guidance.
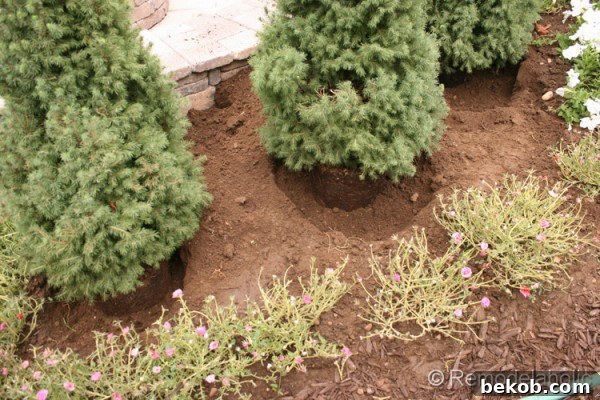
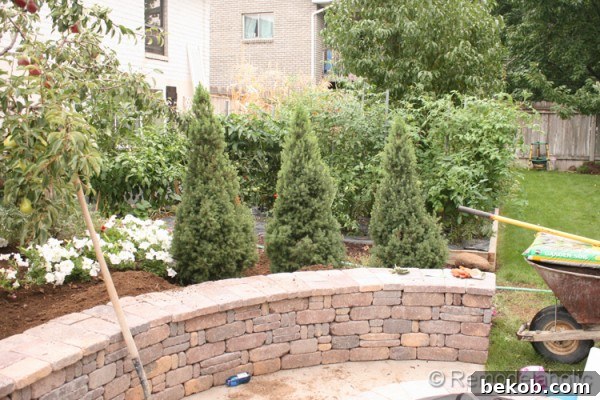
We kicked off our fall planting project by establishing a foundational “hedge” or screen. Our new fire pit, the central gathering spot (with more details coming soon!), currently enjoys ample privacy thanks to the lush, full vegetable garden. However, during the dormant seasons, when the garden isn’t in its full glory, we wanted to maintain a sense of seclusion. To achieve this, we strategically planted a small screen consisting of three cone-shaped evergreens known as Dwarf Alberta Spruce. These delightful conifers will provide year-round structure and a gentle visual barrier. For anyone looking to incorporate similar shrubs or even larger trees into their landscape, The Home Depot offers comprehensive guides. You can find detailed instructions on how to plant shrubs here or delve into the specifics of how to plant a tree here. These resources are invaluable for ensuring your new plantings get the best start possible.
 |
 |
One invaluable lesson we carried over from our experience with our Texas backyard is the remarkable efficacy of spike fertilizers. While we aren’t typically inclined towards highly involved, demanding yard upkeep, we absolutely desire for our plants to thrive – a seeming oxymoron, perhaps? Not at all, especially with the strategic use of fertilizer spikes. These discreet yet powerful tools work wonders for plant health and growth. Years ago, in Texas, we placed these spikes by every tree in our backyard. The transformation was astonishing: clearance crepe myrtles, which were initially struggling, barely 3 feet tall and purchased for a mere $15 each, had burgeoned into magnificent 9-foot tall, incredibly full specimens by the end of their very first summer. The moral of this success story is clear: consistently feeding your plants with the right nutrients will yield impressive and rewarding results. For this project, we stocked up on several bags of various fertilizers, including specific tree and shrub spikes, evergreen food, and even fruit tree spikes, ensuring each plant type received its tailored nutritional boost for optimal growth and vitality.
With the strategic evergreen screen successfully in place, our vision for the rest of the garden began to crystallize, allowing us to precisely determine where each additional plant would find its perfect home. Our first step was to thoroughly weed the entire bed, carefully removing any lingering pink summer flowers that didn’t align with our fall aesthetic. More importantly, we meticulously replenished the bed with enriched, nutrient-dense soil. The existing soil had, regrettably, been neglected for some time and was in dire need of a complete nutritional refresh to support our new plantings. (Our girls, ever “helpful,” enthusiastically assisted by digging out cups full of soil and, quite adorably, pouring it directly onto our brand-new seat wall – next time, we’ll try to get them more involved in catching worms to divert their focus!)
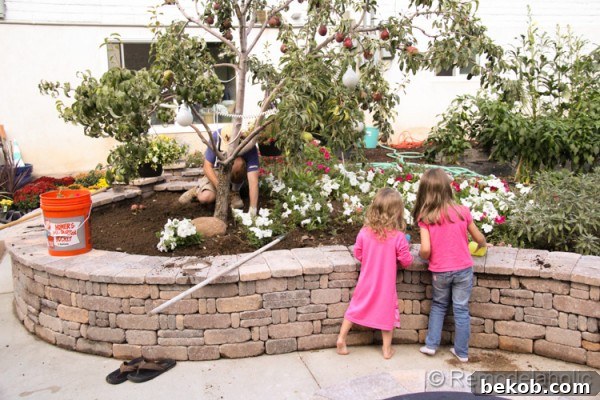
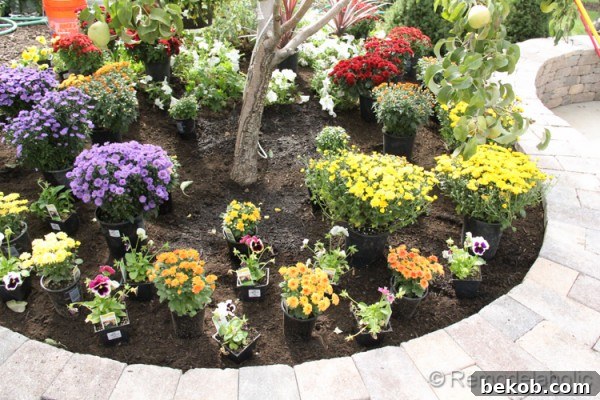
Our reliable Homer bucket proved to be an indispensable tool for efficiently collecting all the weeds as we meticulously cleared and prepped the garden bed. Once the bed was thoroughly cleaned and ready, I confidently handed over the reins to Justin to work his magic. (Although, who am I kidding? He had already done all the initial bed preparation himself too! Oops.) With his landscape architect’s eye, he masterfully orchestrated a breathtaking arrangement of color groupings, creating a visually stunning mosaic throughout the entire bed. The resulting vibrancy and harmony of the colors are truly amazing! Every glance out the window now brings an instant wave of happiness and satisfaction. The following series of photographs showcases the thoughtful layout of the plants, illustrating exactly how they were positioned to complement each other before they were finally nestled into the revitalized soil.
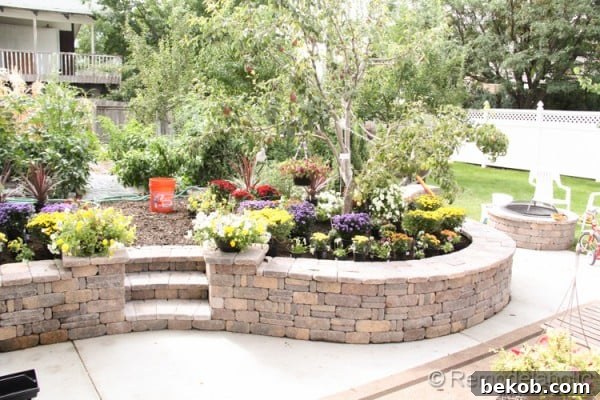
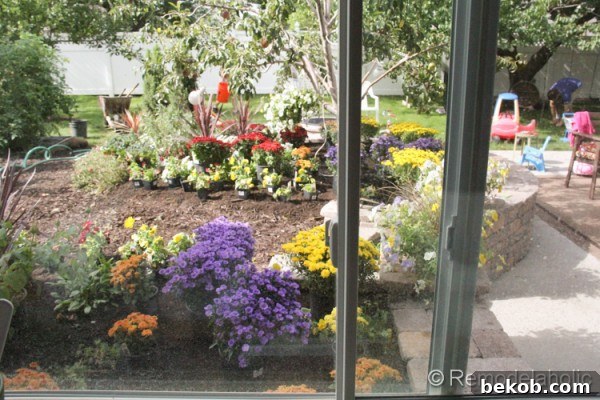
This carefully planned arrangement is precisely how our new fall garden will appear from the kitchen window. The effect is simply delightful! (And yes, I should probably get around to washing those windows soon… my apologies for the current state!) The vibrant colors and thoughtful design are already making a significant impact on our daily view, adding a layer of beauty and cheer to our home.
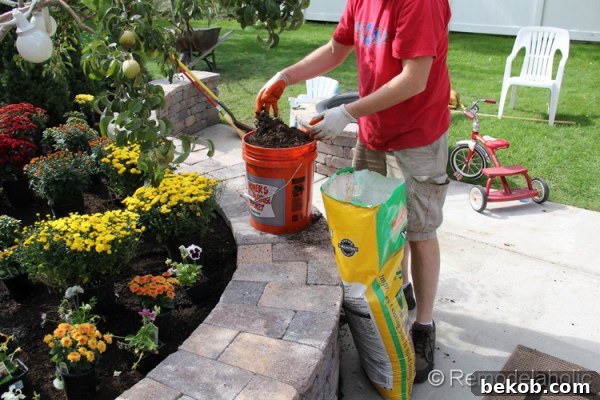
The actual planting phase was a collaborative, albeit sometimes contentious, effort between Justin and his brother, Josh. They engaged in a lively debate over which plants to place where, a testament to their shared passion for creating the perfect garden. Together, they spent approximately three hours meticulously planting. That’s a truly significant number of mums, transforming our garden bed into a vibrant tapestry of autumn colors! Their combined effort and good-natured rivalry ultimately resulted in a beautifully composed and robust fall display that exceeded our expectations.

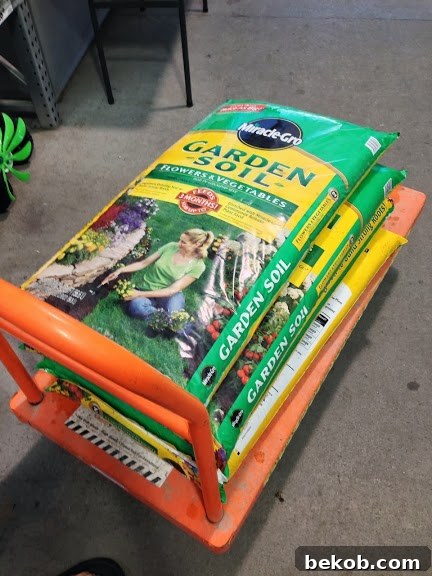
For enriching the soil and ensuring our plants received the best possible start, we relied on Miracle-Gro Garden Soil for Flowers and Vegetables. This premium soil is specifically formulated to provide essential nutrients and improve soil structure, creating an optimal environment for plants to thrive. Each bag conveniently provides clear guidelines on how much soil is needed based on the size of your garden, simplifying the purchasing process. Throughout the planting, our trusty Homer bucket proved incredibly useful for effortlessly toting soil and plants around the bed. It made the entire process much more efficient and less strenuous, truly demonstrating the value of having the right tools for the job.
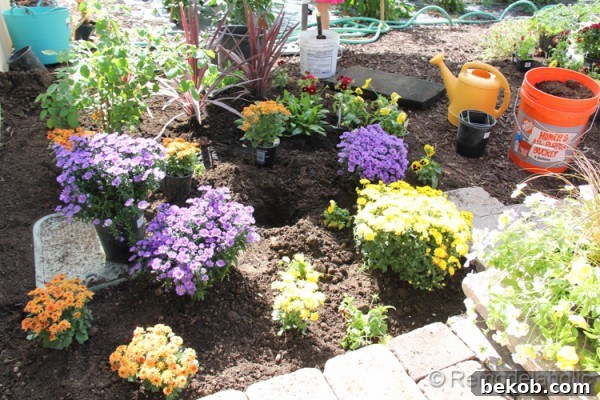
Once all the plants were nestled snugly in the ground and had received their initial, much-needed drink of water – conveniently followed by a two-hour downpour of rain shortly after we finished planting – our work was largely complete. This natural watering was a serendipitous bonus, effectively settling the soil around the new root systems. With the hard work behind us, we were finally ready to sit back, relax, and simply revel in the beauty of our newly transformed fall garden. The immediate reward of vibrant color and fresh greenery brought an immense sense of accomplishment and renewed appreciation for our outdoor space.
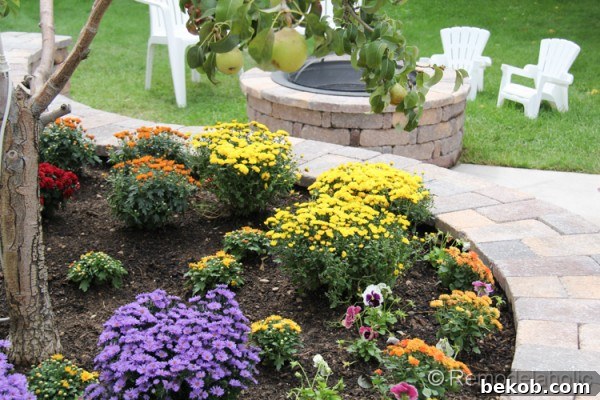
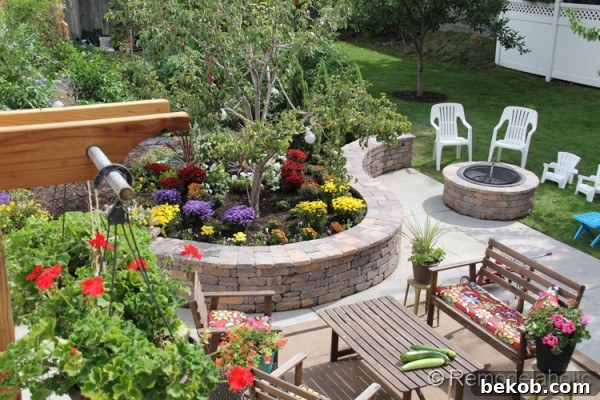
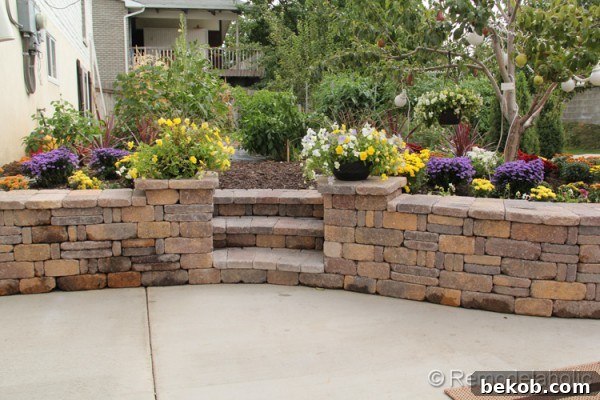
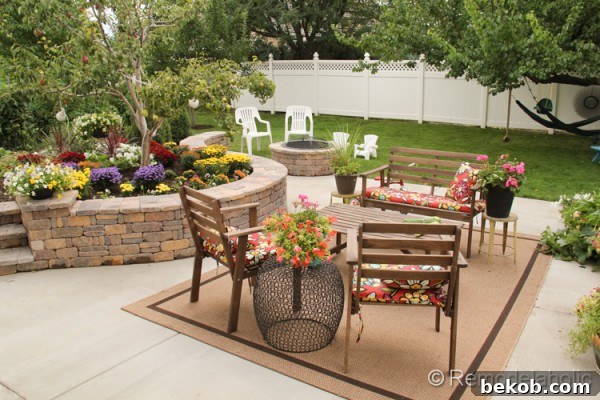
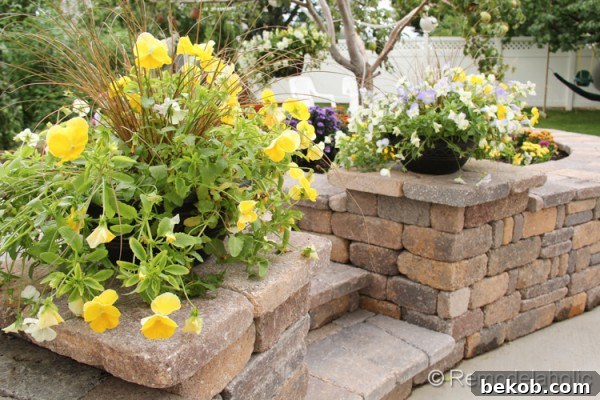
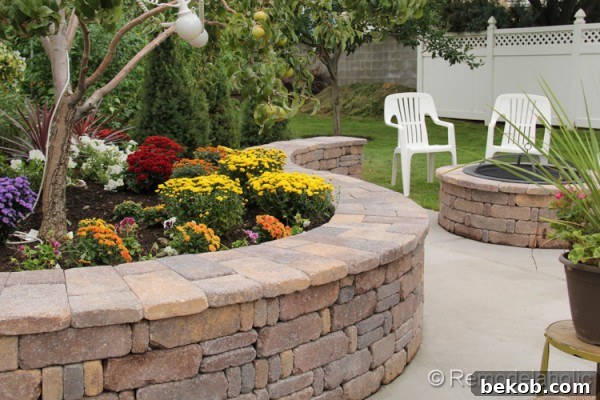
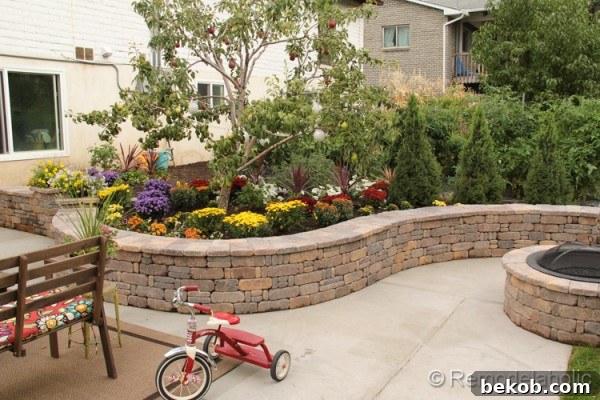
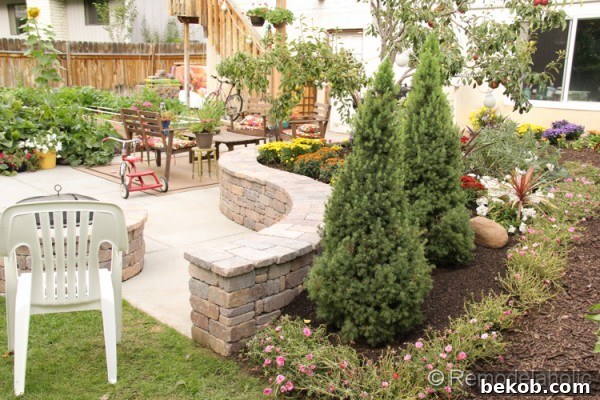
And once again, that absolutely delightful view from our kitchen window that we cherish so much! The vibrant colors and thoughtful design have completely transformed our daily outlook, making every glance outside a moment of simple joy and appreciation for our beautiful outdoor space.
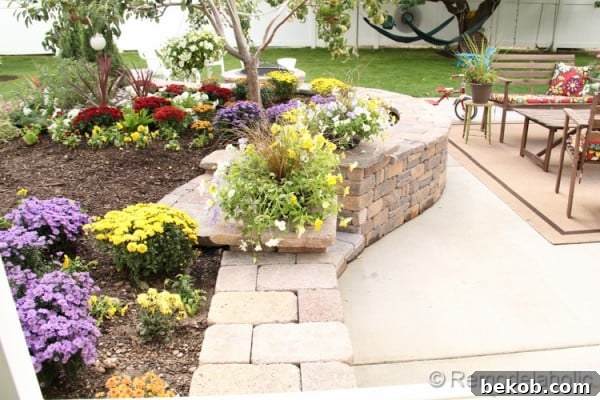
What exciting planting projects are you currently working on or planning for the season ahead? Share your gardening adventures with us! Let’s cultivate beauty together and “Do This!”
“I acknowledge that The Home Depot is partnering with me to participate in this fall planting project. As a part of the fall planting project, I am receiving compensation in the form of cash and gift cards, for the purpose of promoting this post and The Home Depot. All expressed opinions and experiences are my own words. My post complies with the Word Of Mouth Marketing Association (WOMMA) Ethics Code and applicable Federal Trade Commission guidelines.”