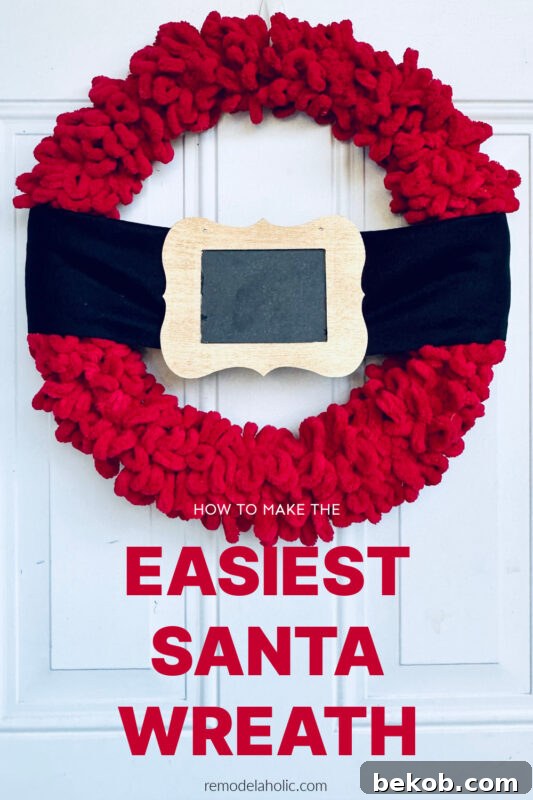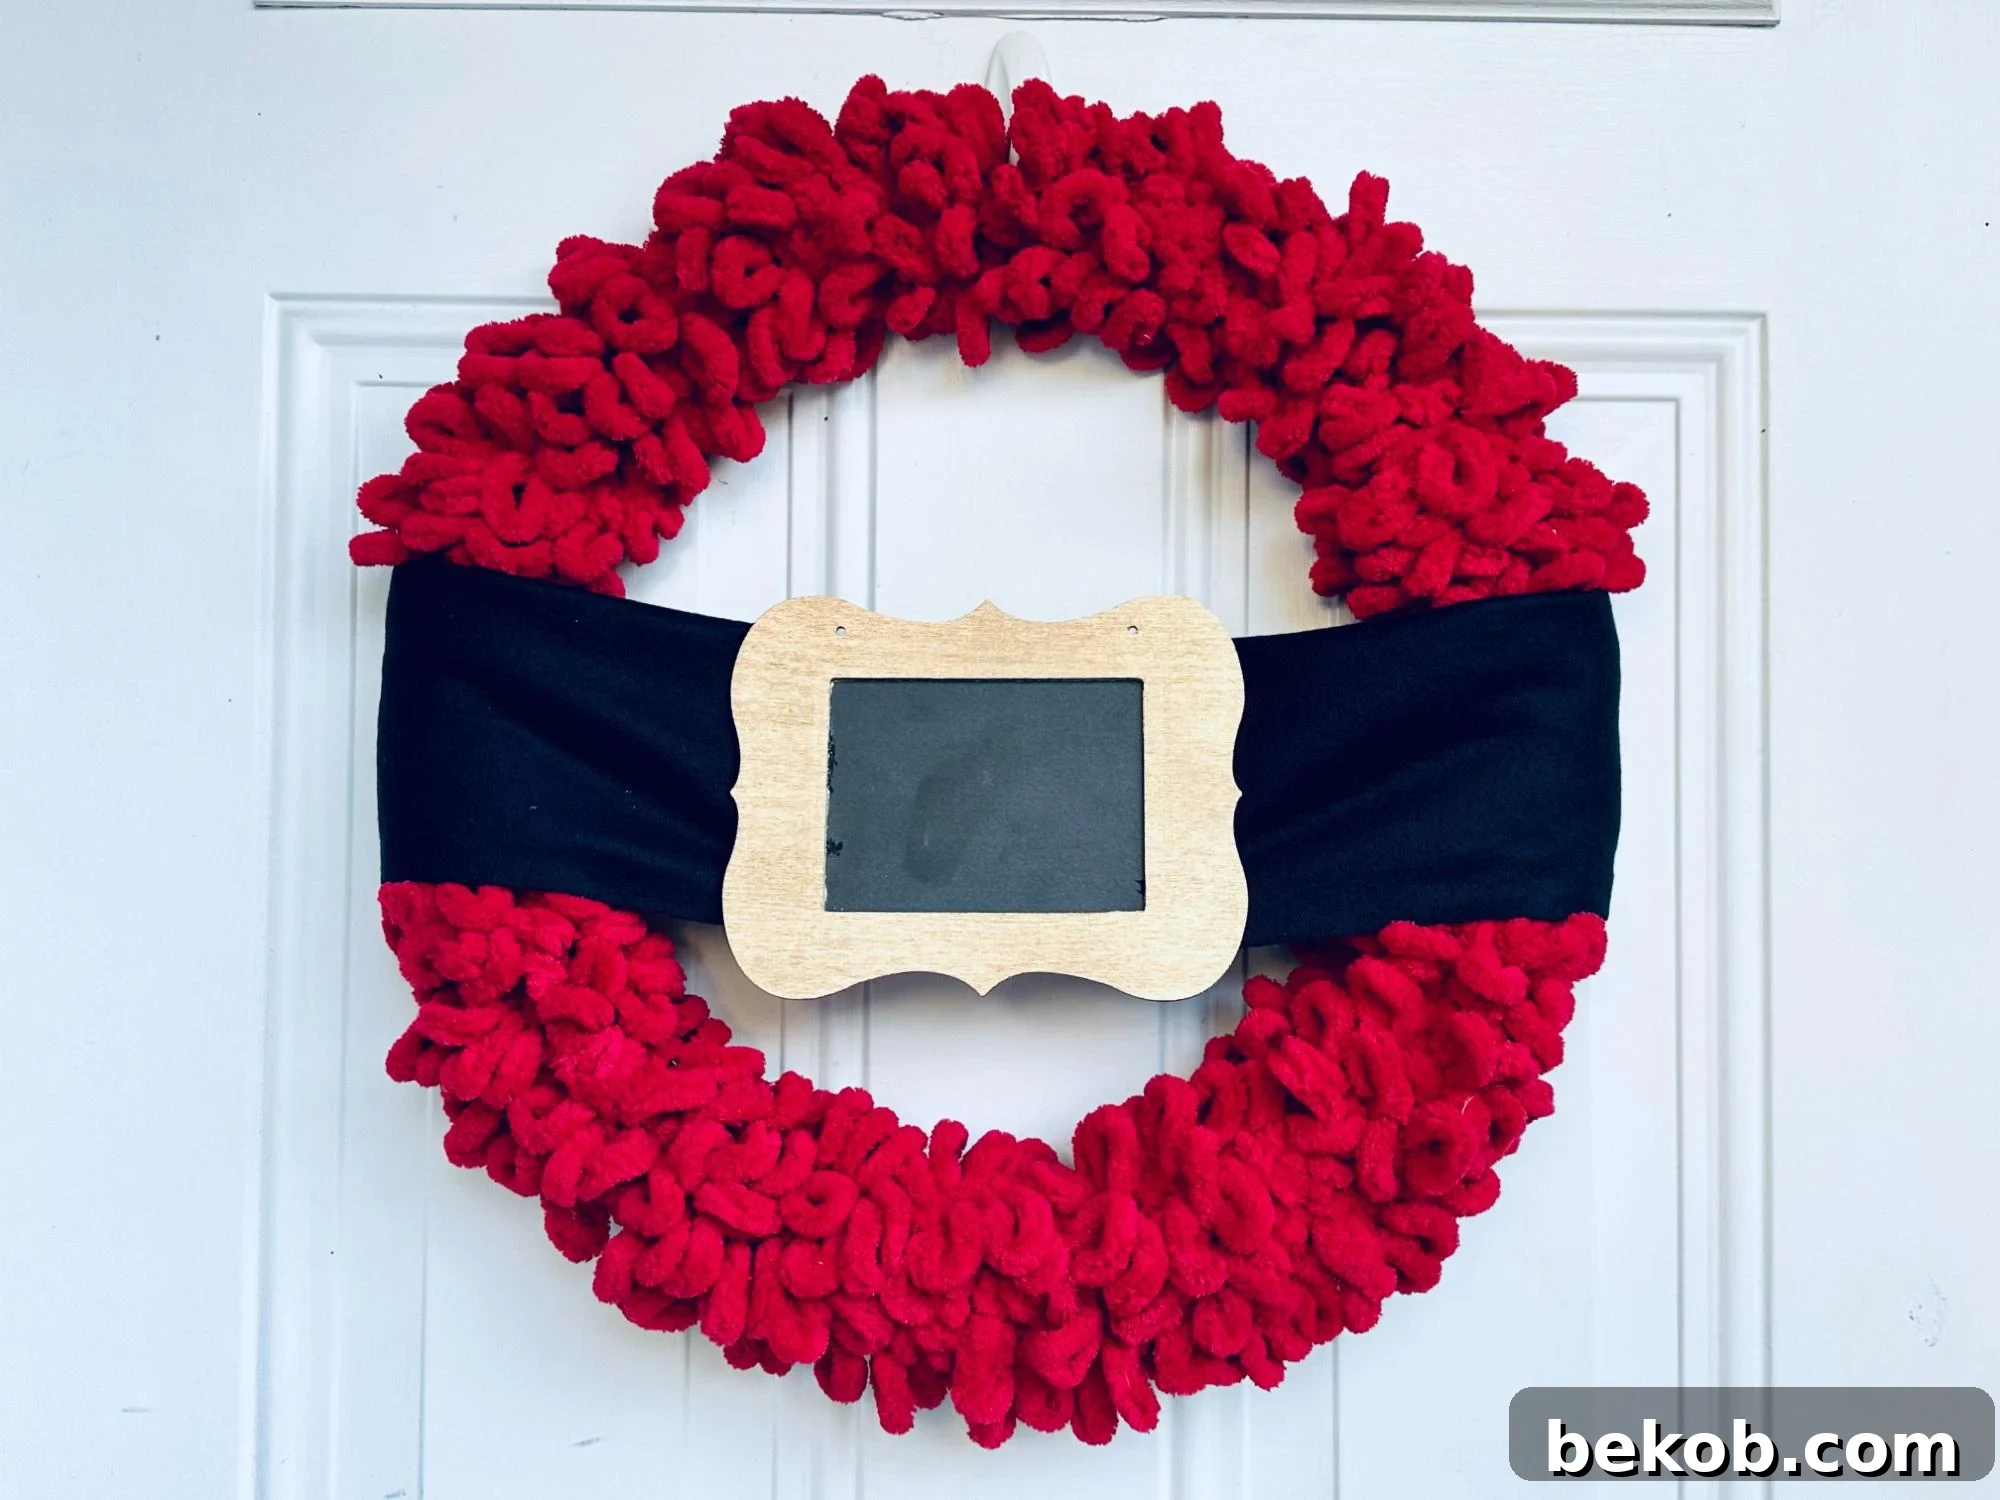
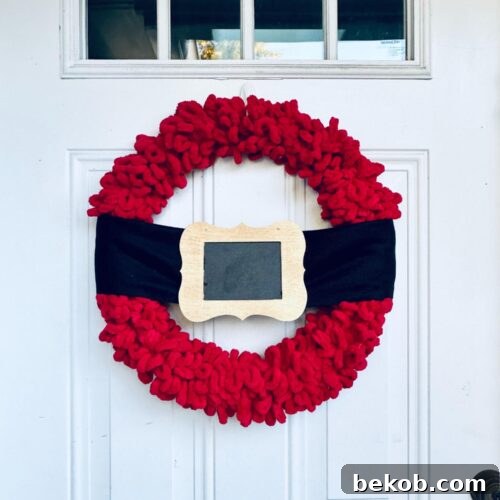
Transform your front door into a festive wonderland this holiday season with an incredibly charming and budget-friendly DIY Santa Wreath! Featuring Santa’s iconic belt, this easy Christmas decor project requires no fancy skills and can be whipped up in under 30 minutes. Get ready to impress your guests with a handmade touch that radiates holiday cheer.
Looking for more enchanting holiday crafts? You’ll also love our Santa Belt Dollar Tree Christmas Swag, this whimsical Santa-inspired DIY Christmas Gnome Wreath, and the delightful Paper Santa and Reindeer Garland perfect for your mantelpiece.
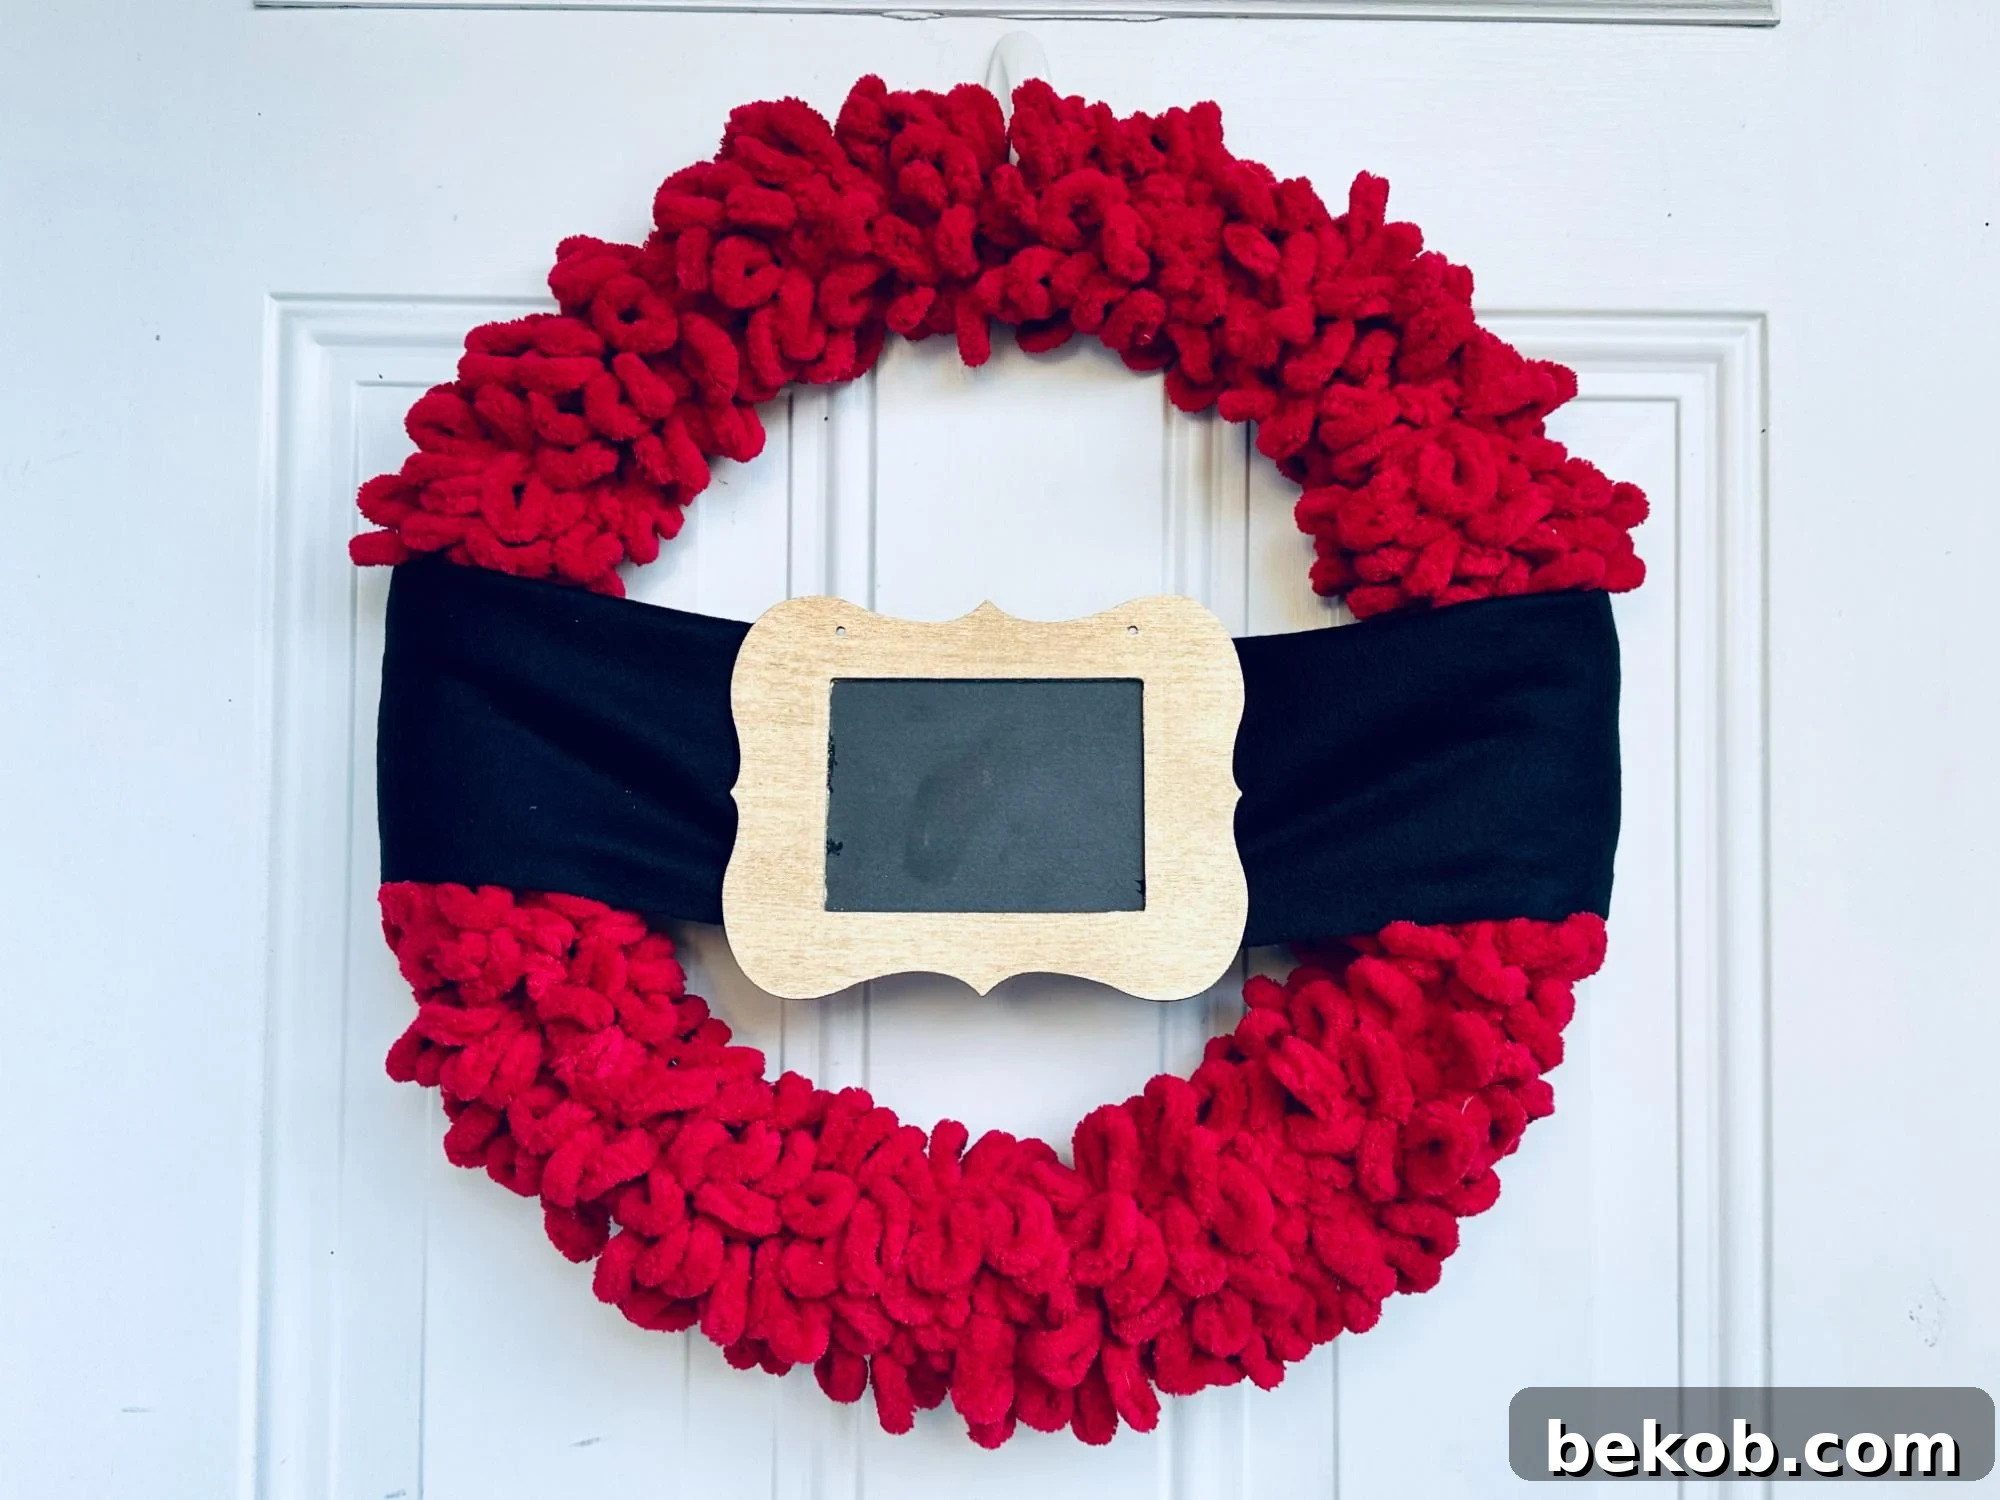
Create a Festive Entryway: The DIY Santa Wreath
The enchanting Christmas season is just around the corner, bringing with it a desire to fill our homes with warmth, joy, and personalized touches. What better way to welcome the festivities than by crafting a delightful DIY Santa Wreath? This project is not only a fantastic way to express your creativity but also an incredibly simple and budget-friendly holiday decor idea. Imagine your front door adorned with Santa’s iconic belt, instantly spreading smiles and festive spirit to everyone who passes by. This step-by-step tutorial will guide you through creating a charming loop yarn wreath that’s both engaging to make and a beautiful addition to your Christmas decorations.
Our Favorite DIY Christmas Projects
See All Christmas Projects >
Why a Loop Yarn DIY Santa Wreath is the Perfect Christmas Craft
The Santa Belt Wreath transcends a simple crafting project; it’s a tangible representation of the holiday spirit of giving, joy, and homespun charm. What makes this DIY Christmas wreath so special? For starters, its affordability is unmatched. Crafted from readily available materials, many of which can be found at your local Dollar Tree and craft store, this project truly embodies the essence of Christmas – creativity and accessibility, all for under $20! This makes it an ideal project for those on a budget or looking for a quick, impactful decoration.
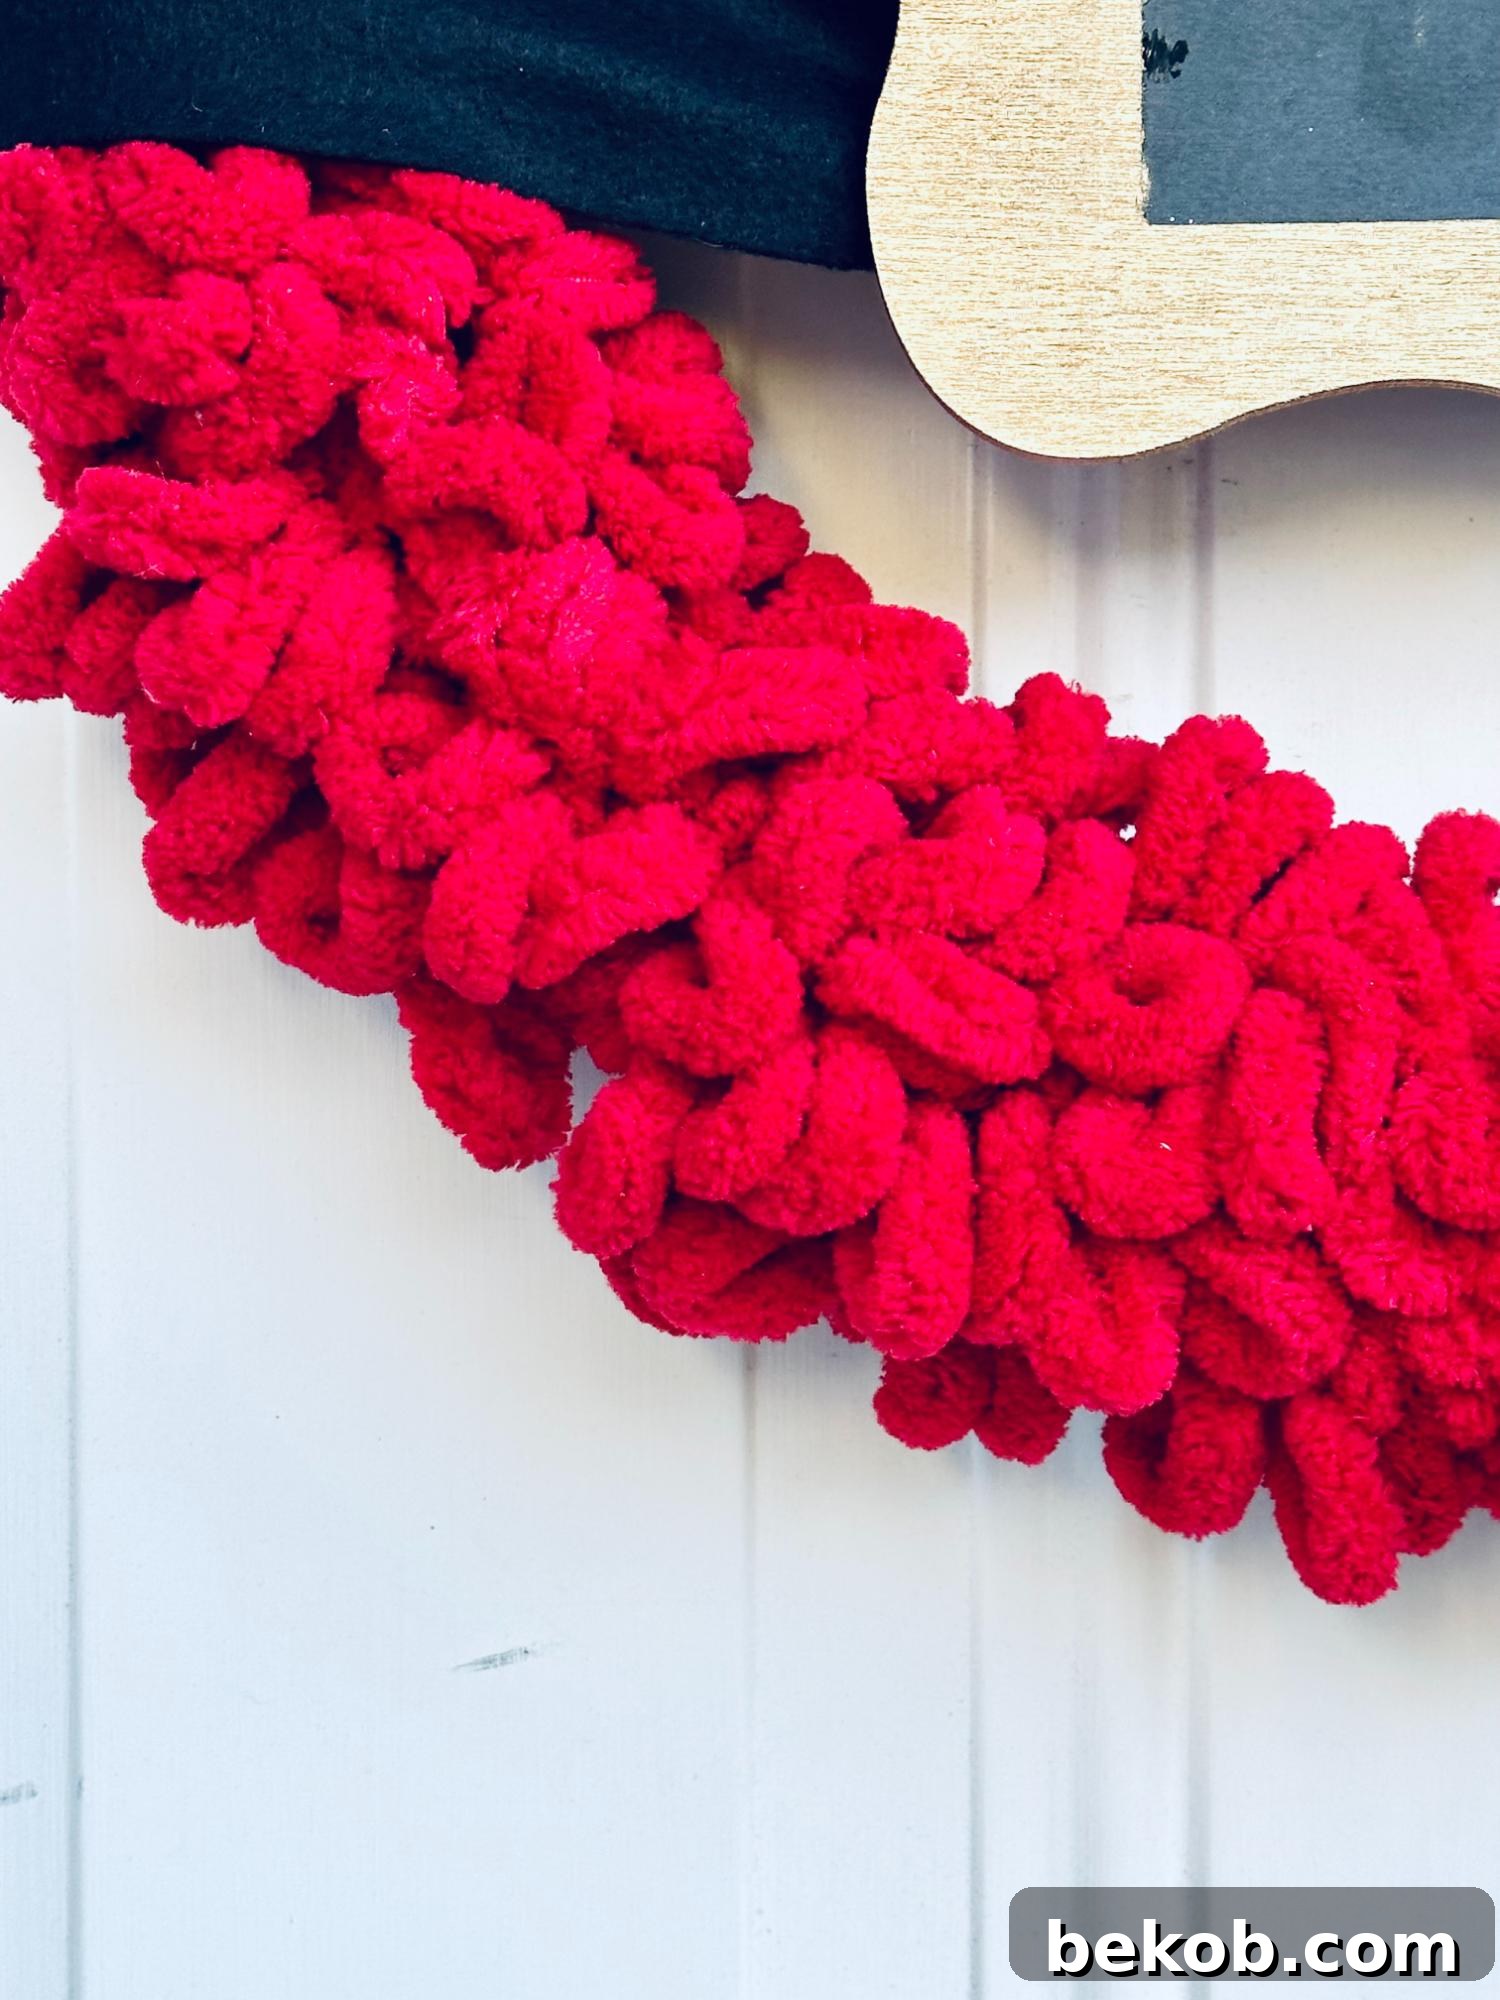
The unique loop yarn wreath base is a game-changer, making this one of the quickest and simplest wreaths you’ll ever create. Its forgiving nature makes it an excellent craft even for kids, fostering their creativity and involvement in holiday preparations. The Santa belt itself is fashioned quickly and easily using Dollar Tree materials – a fleece scarf for the belt and a picture frame for the buckle. This inviting combination results in a wreath that is both darling and charming, a perfect beacon to welcome your holiday guests. Beyond its aesthetic appeal, the process of making this wreath offers a wonderful opportunity for family bonding, creating cherished memories alongside a beautiful piece of festive decor. It’s a delightful way to add personalized warmth and a touch of Santa’s magic to your home.
Discover more about how to make a loop yarn wreath, and explore the cutest yarn reindeer wreathfor more creative inspiration.
How to Make a DIY Santa Belt Wreath – Step-by-Step Tutorial
Ready to craft your own festive Santa Belt Wreath? Gather your materials and follow these simple steps to create a beautiful and unique piece of Christmas decor for your home. This DIY project is designed for all skill levels, ensuring a fun and rewarding crafting experience.
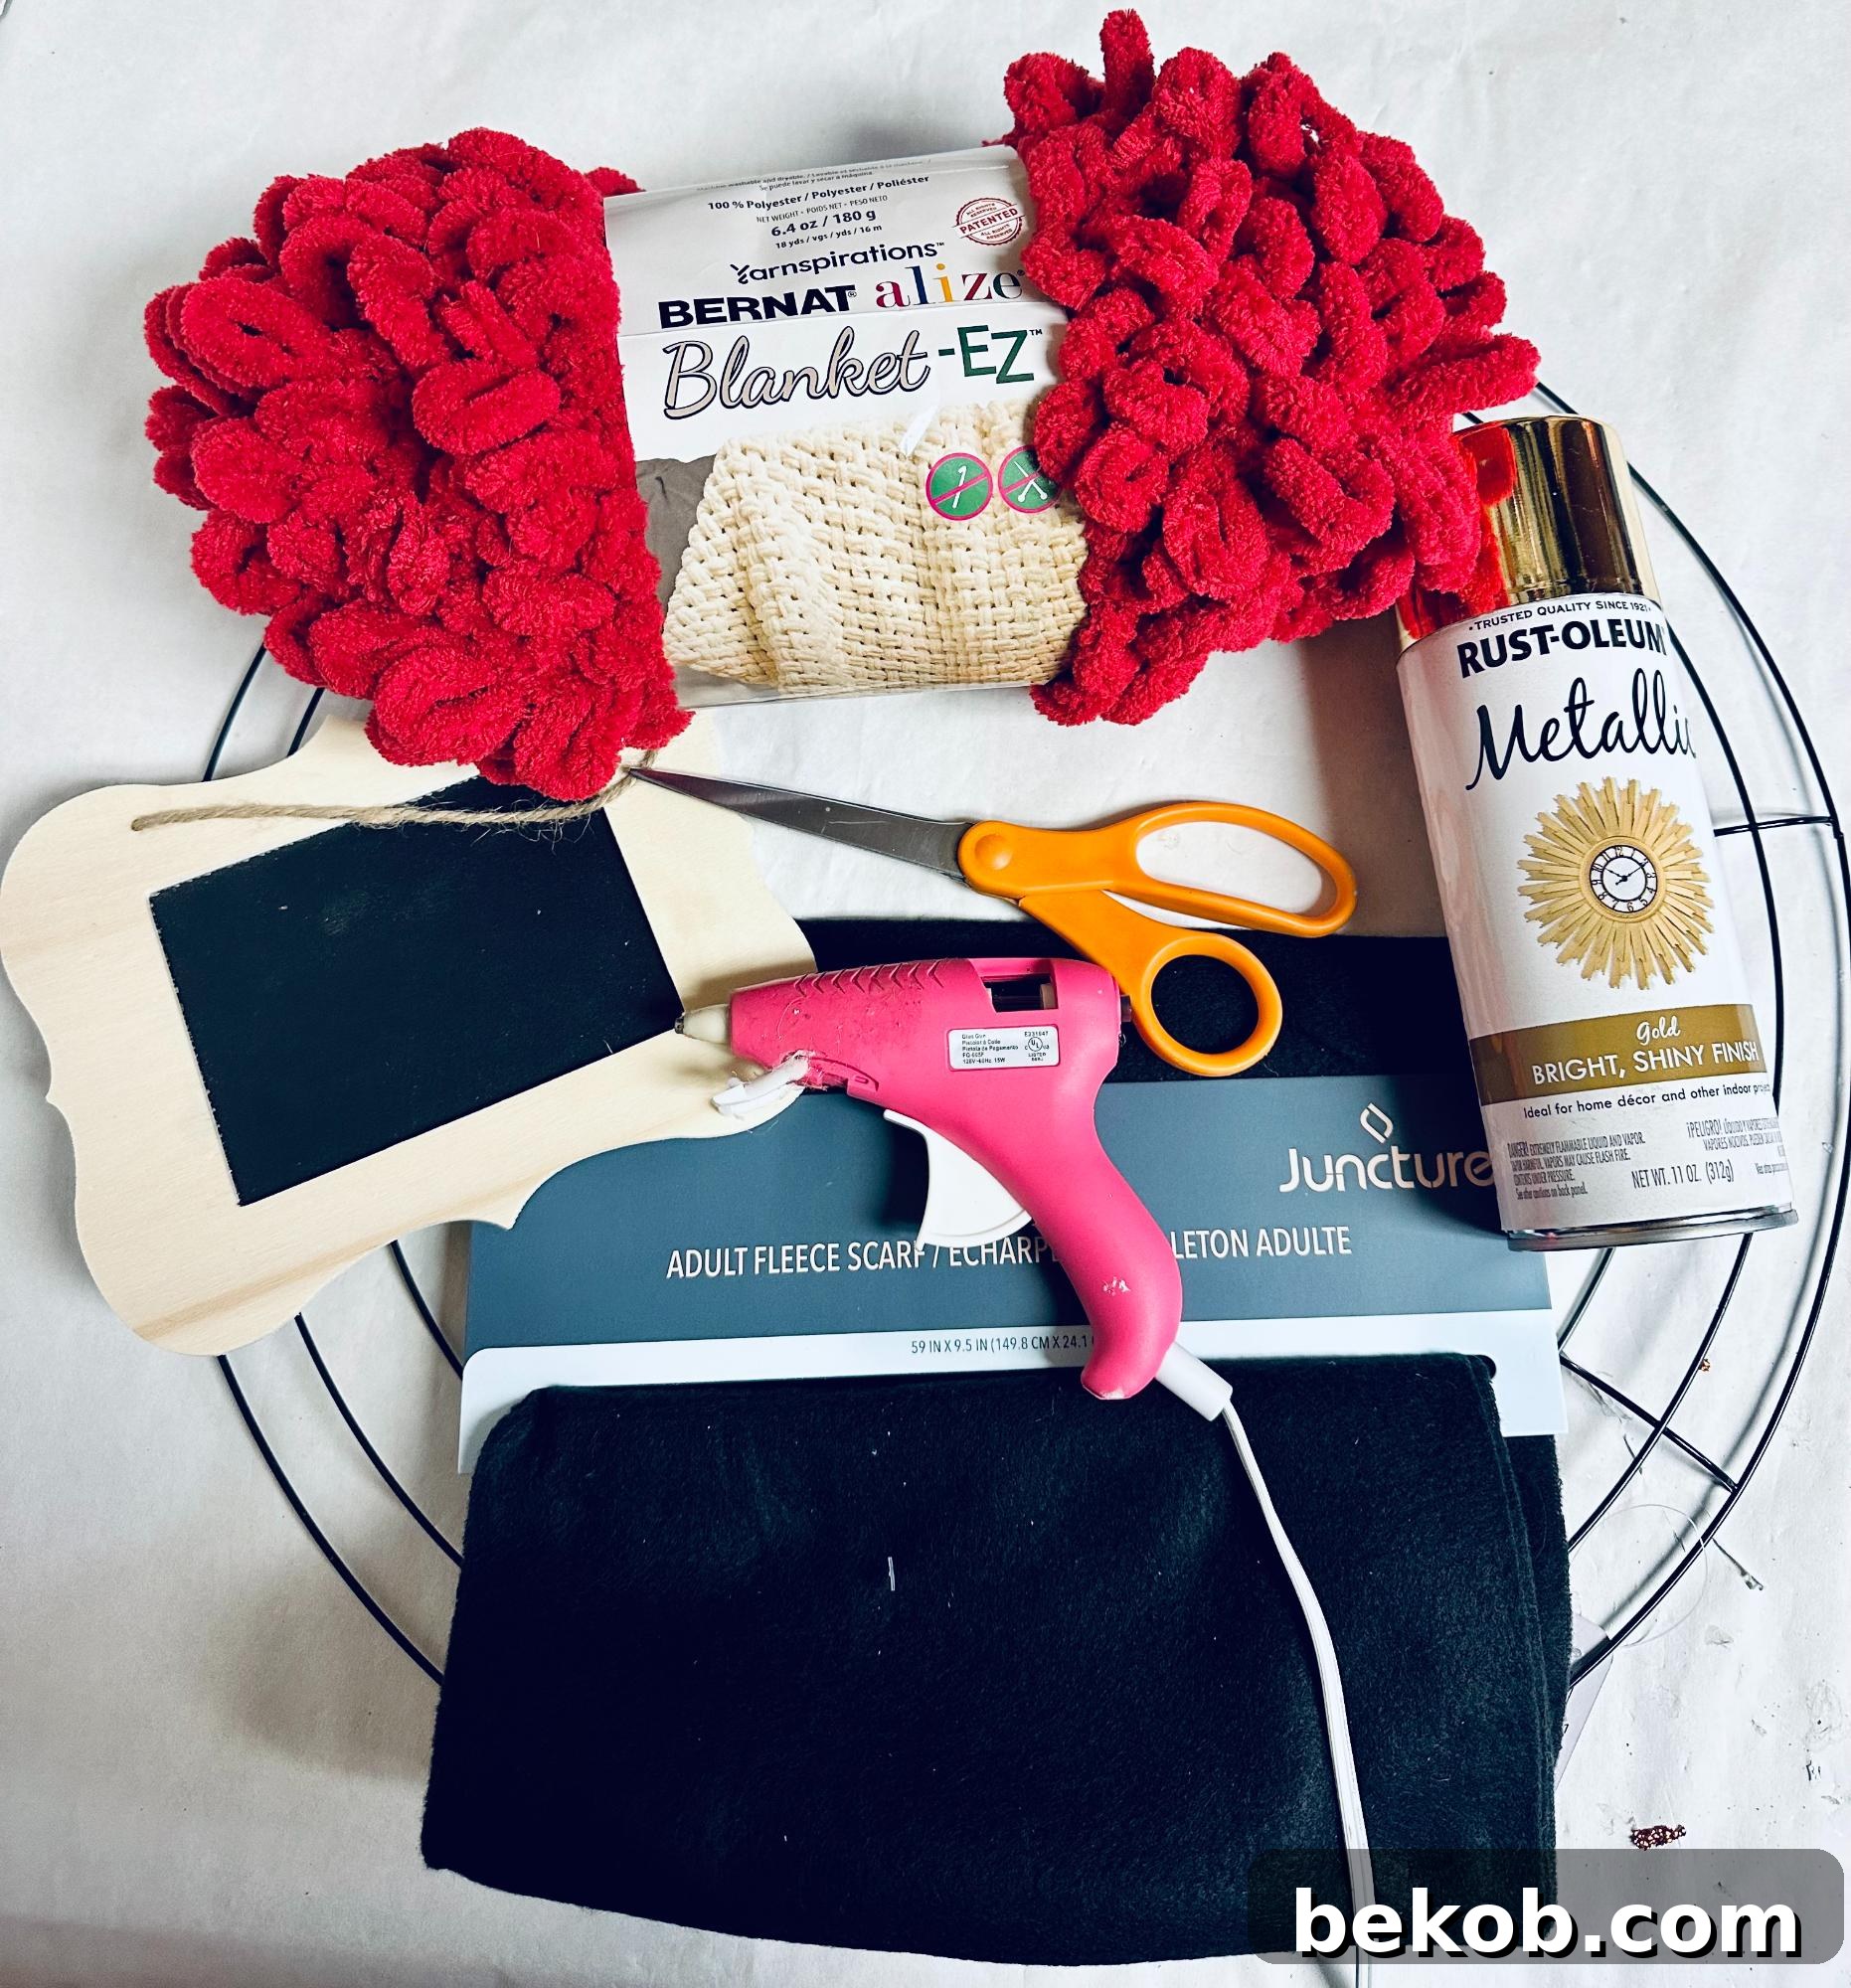
Materials You’ll Need:
- 18-inch wire wreath form (easily found at Dollar Tree or craft stores)
- Black Fleece Scarf (Dollar Tree is a great source for this)
- Scalloped wooden frame with chalkboard center (or any suitable decorative frame, often available at Dollar Tree)
- Gold Spray Paint (for that classic buckle shine, or opt for gold acrylic paint)
- Blue Painters tape (or any paper to mask areas)
- Hot Glue Gun and glue sticks (essential for quick adhesion)
- Red Loop Yarn (we recommend Bernat Alize yarn in Crimson from Joann for its plush texture; similar loop yarn can be found at Walmart, on Amazon, or Etsy. A great alternative is fuzzy chenille yarn for a similar effect.)
- Scissors
Pro Tip: If you’re planning to make several holiday wreaths for Christmas or throughout the year, consider buying wreath forms in bulk from Dollar Tree online! Many other crafting materials are also available in small quantities, allowing you to stock up and indulge your creative impulses whenever inspiration strikes.
Step-by-Step DIY Santa Wreath Construction:
Step 1: Wrap the Loop Yarn Base
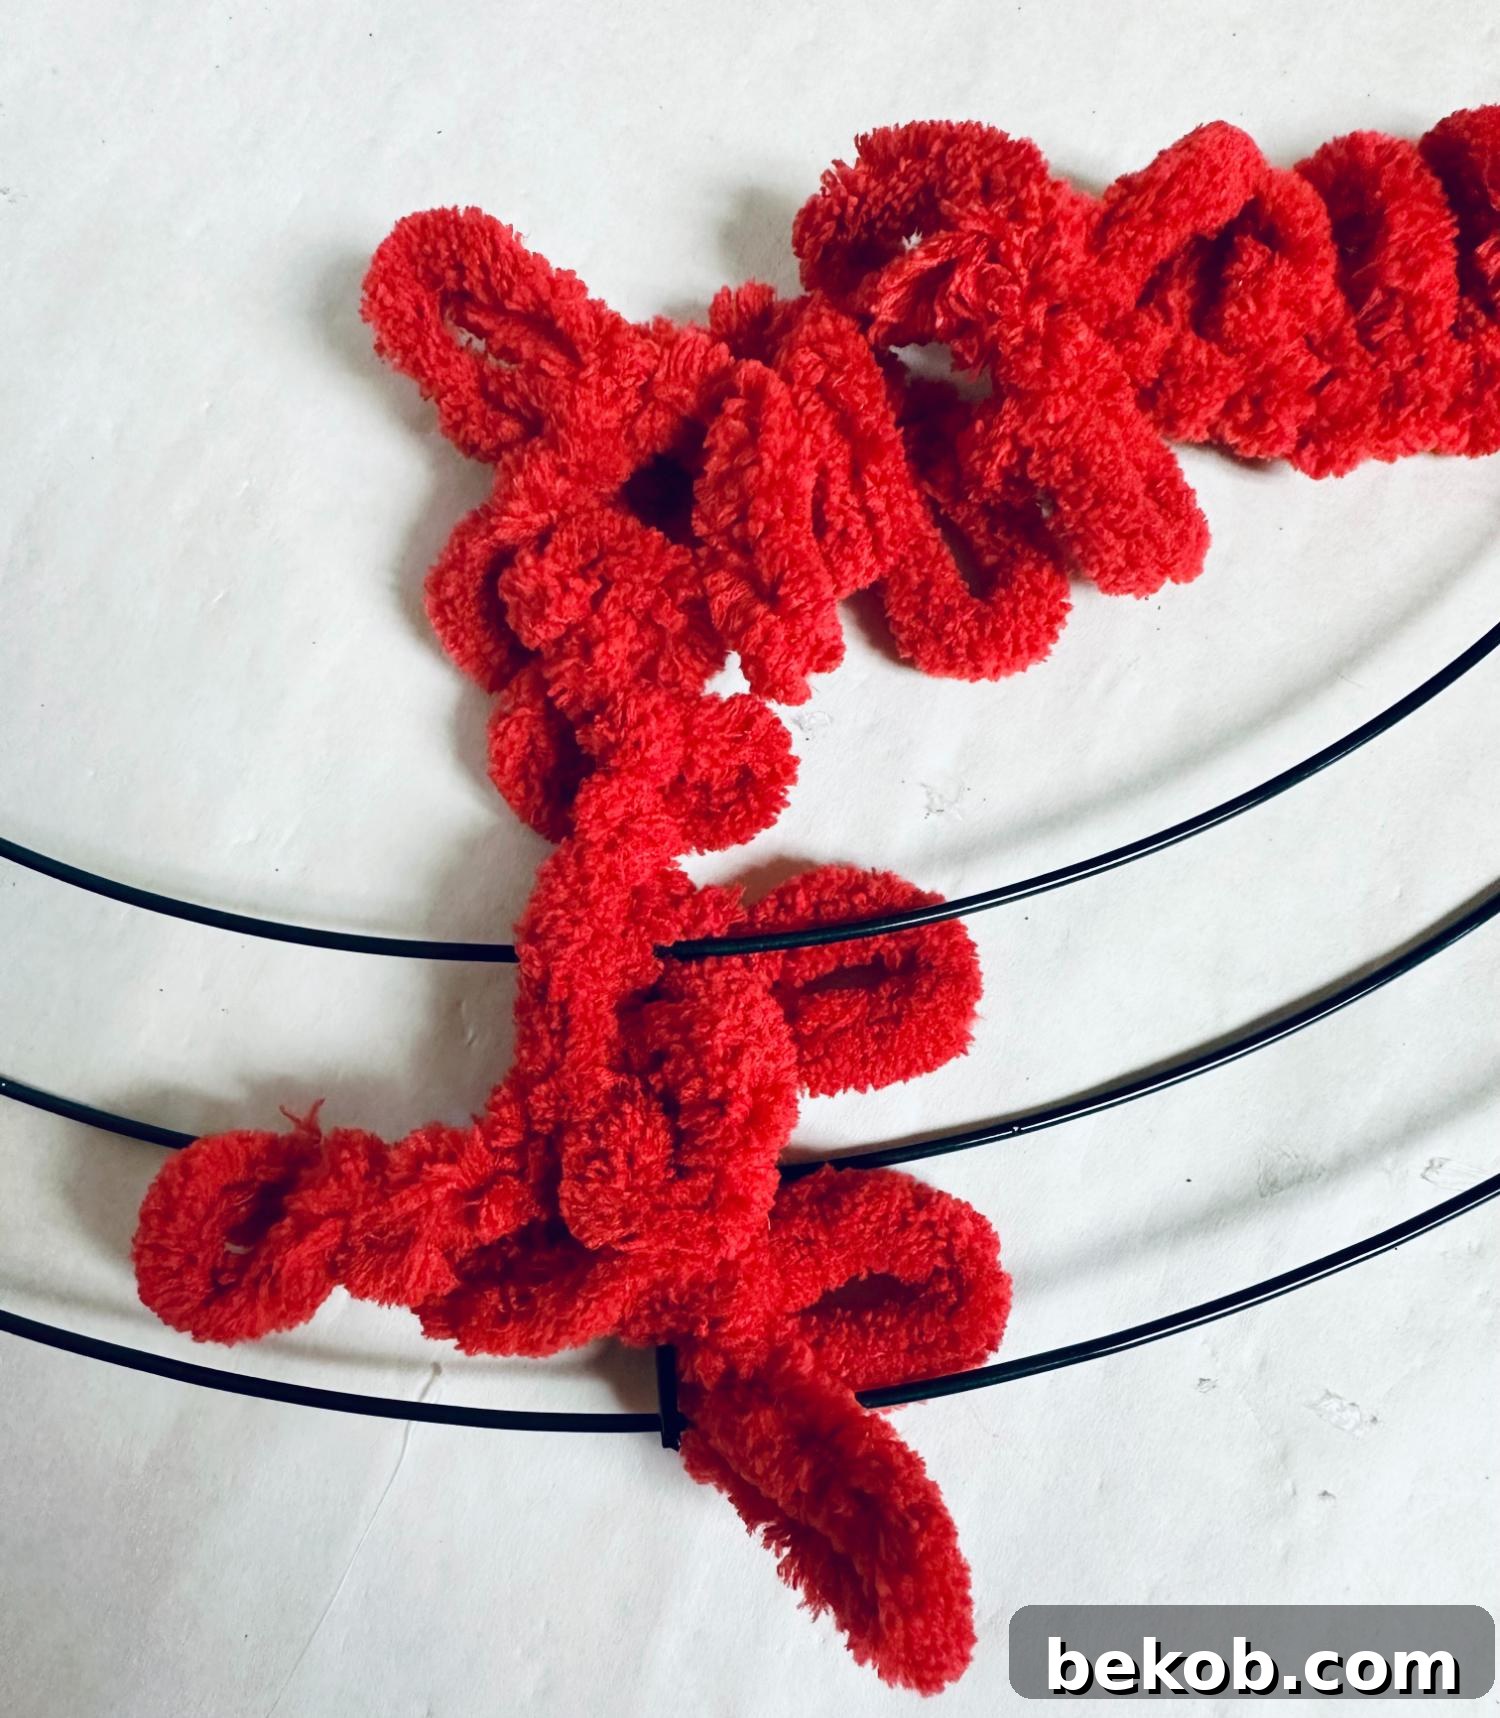
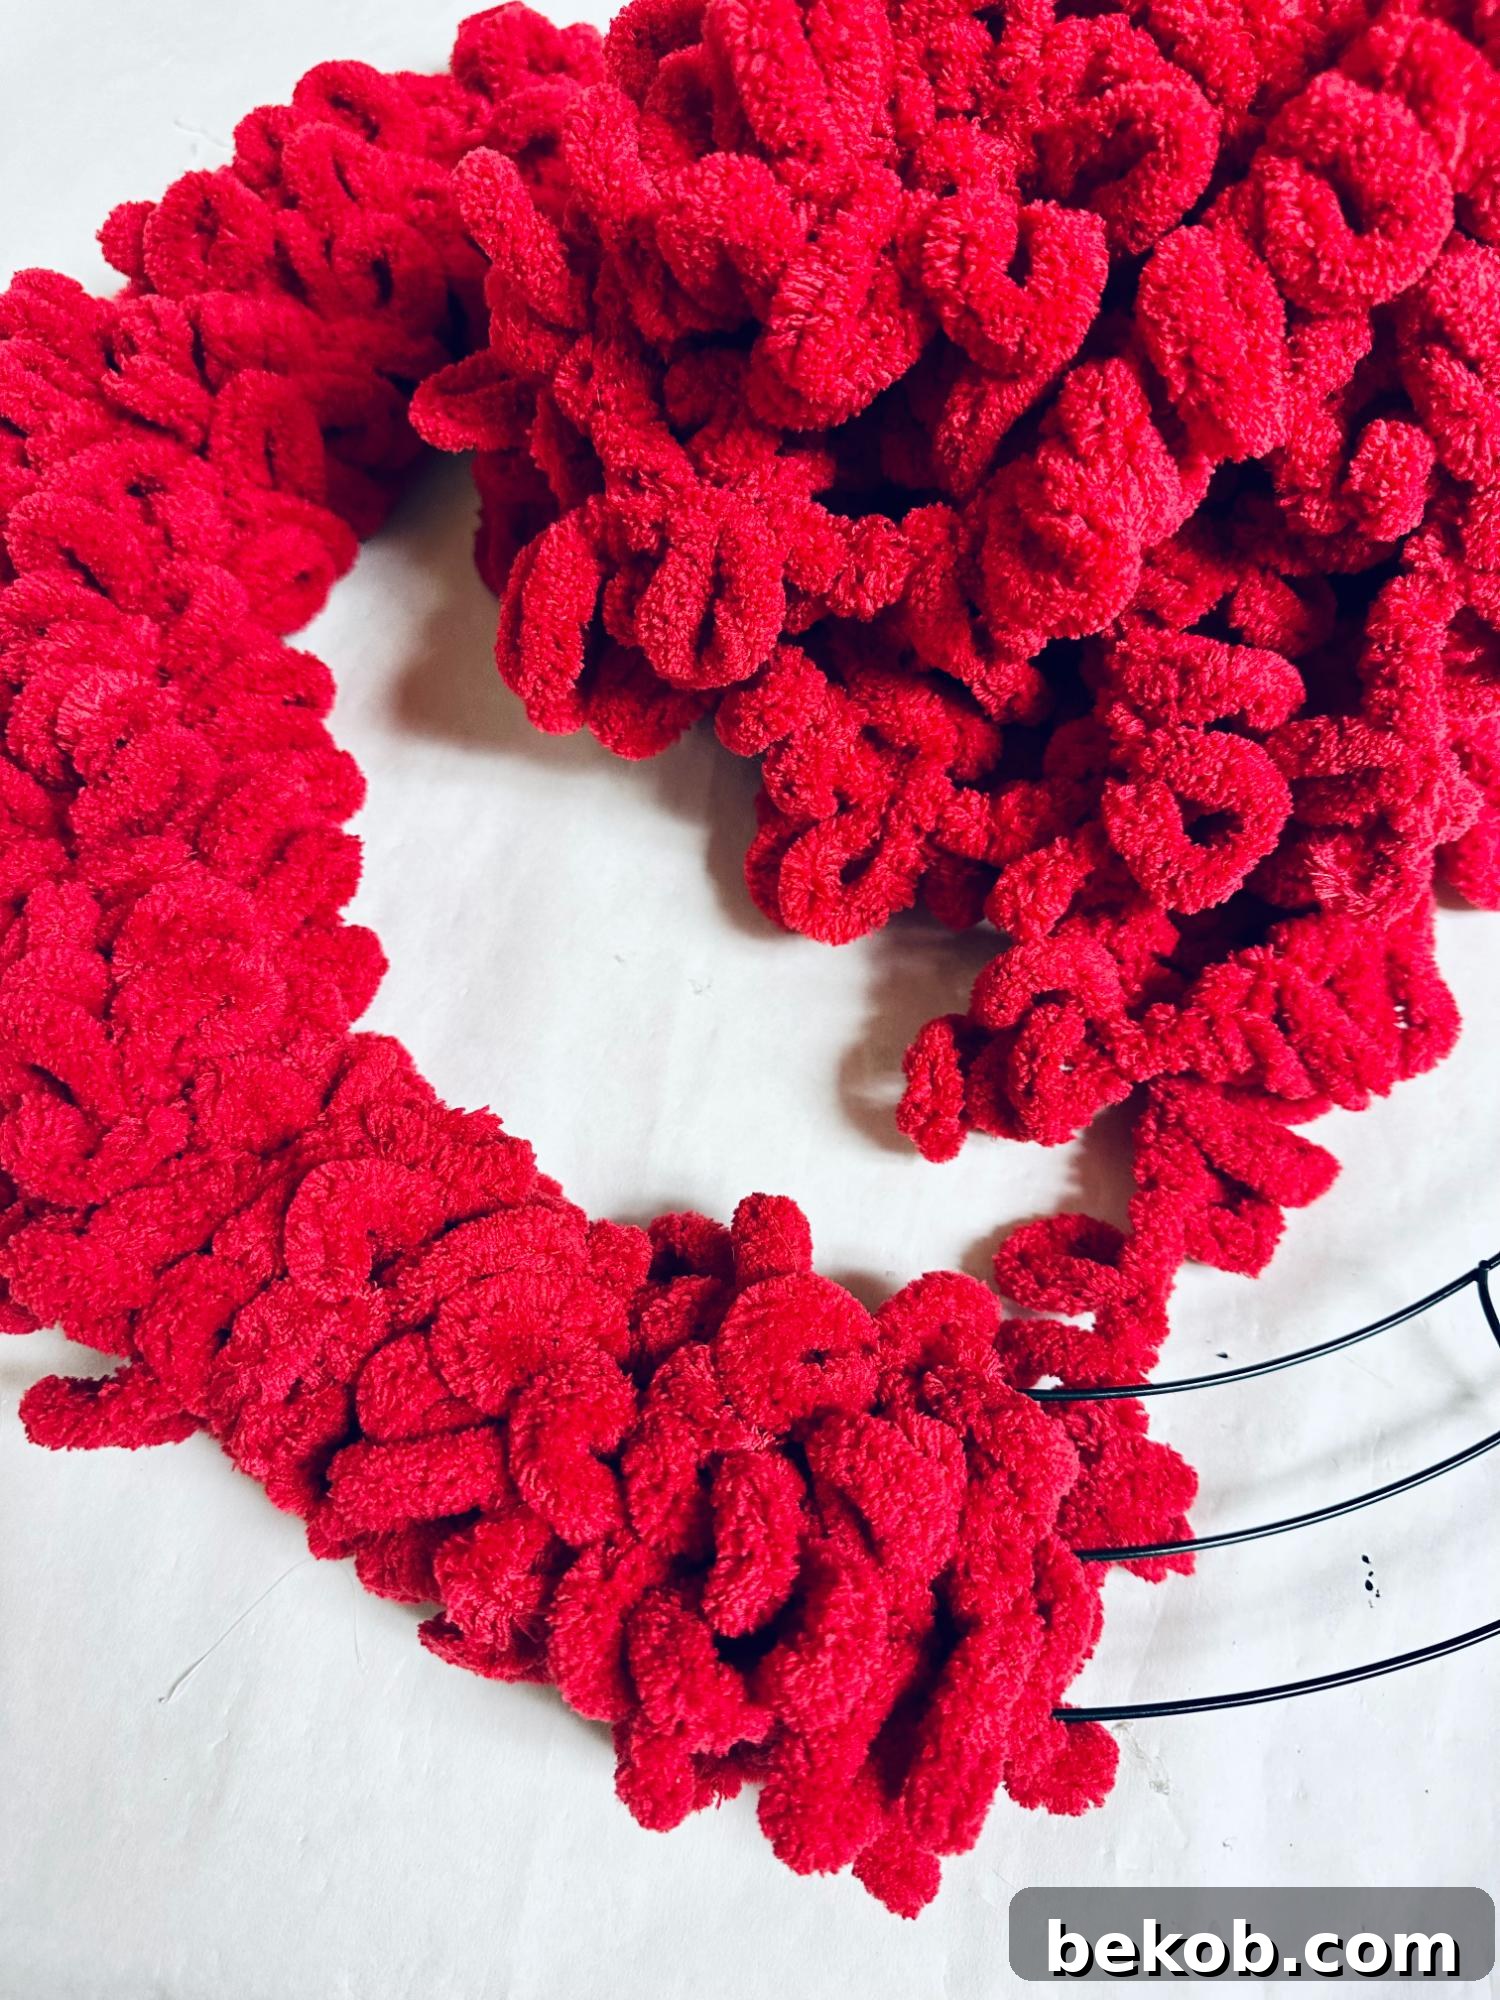
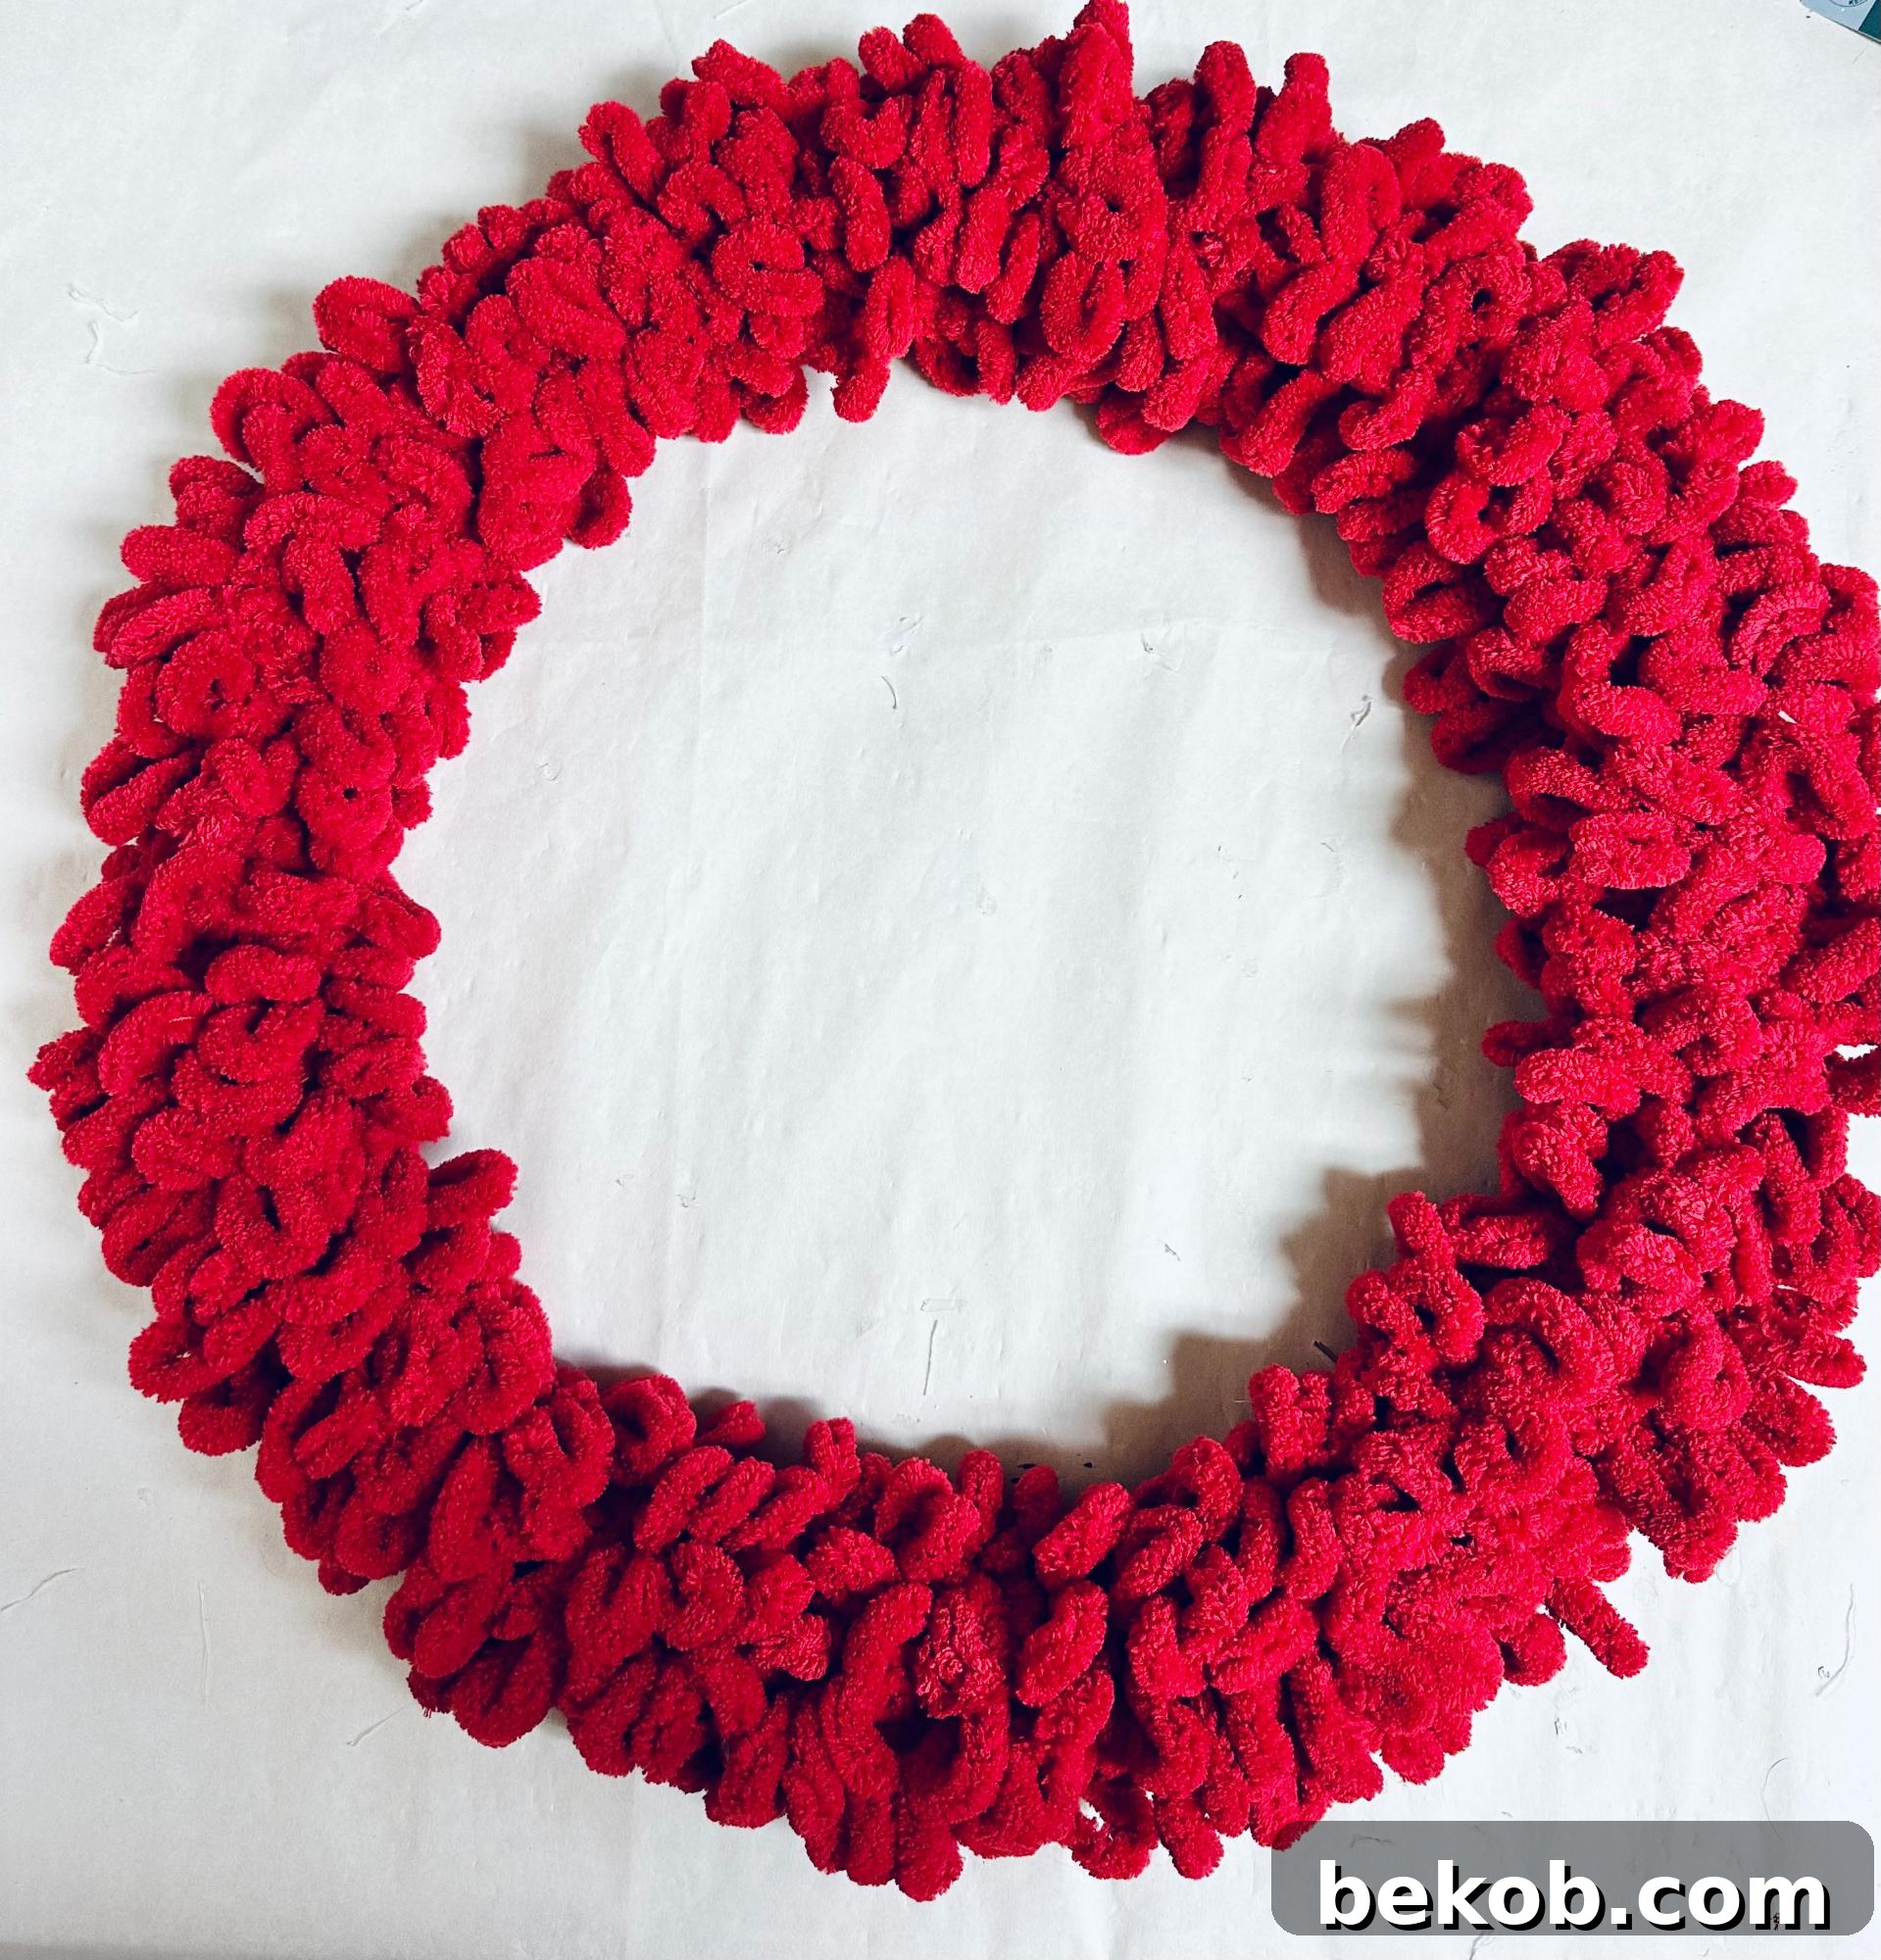
To begin your festive Santa Wreath, take your red loop yarn and secure one end by tying it firmly around the outer wire of your 18-inch wreath form. This initial knot will provide a solid anchor for your wrapping. Now, carefully wrap the yarn tightly around the entire wire wreath form. The key here is to ensure each loop is snugly placed next to the previous one, completely covering the wire and creating a full, plush appearance. Continue this process, working your way around the entire wreath until the entire bundle of yarn is used and the form is completely concealed by the vibrant red loops. If you find any sections that seem a little loose or want extra security, a few dabs of hot glue can be applied discreetly on the backside of the wreath to hold the yarn firmly in place. This forms the cozy red “suit” of your Santa wreath.
Step 2: Create Santa’s Belt from the Scarf
Next, we’ll transform the black fleece scarf into Santa’s iconic belt. Take your black fleece scarf and fold it neatly in half lengthwise to create a narrower, belt-like strip. Lay this folded scarf across the center of your red yarn wreath, positioning it horizontally to mimic a belt. Using your scissors, trim the scarf to approximately 24 inches in length. This measurement provides the ideal width to span your 18-inch wreath form comfortably, leaving enough overlap on the back for secure attachment. Ensure the scarf lays flat and evenly across the wreath, ready for the buckle.
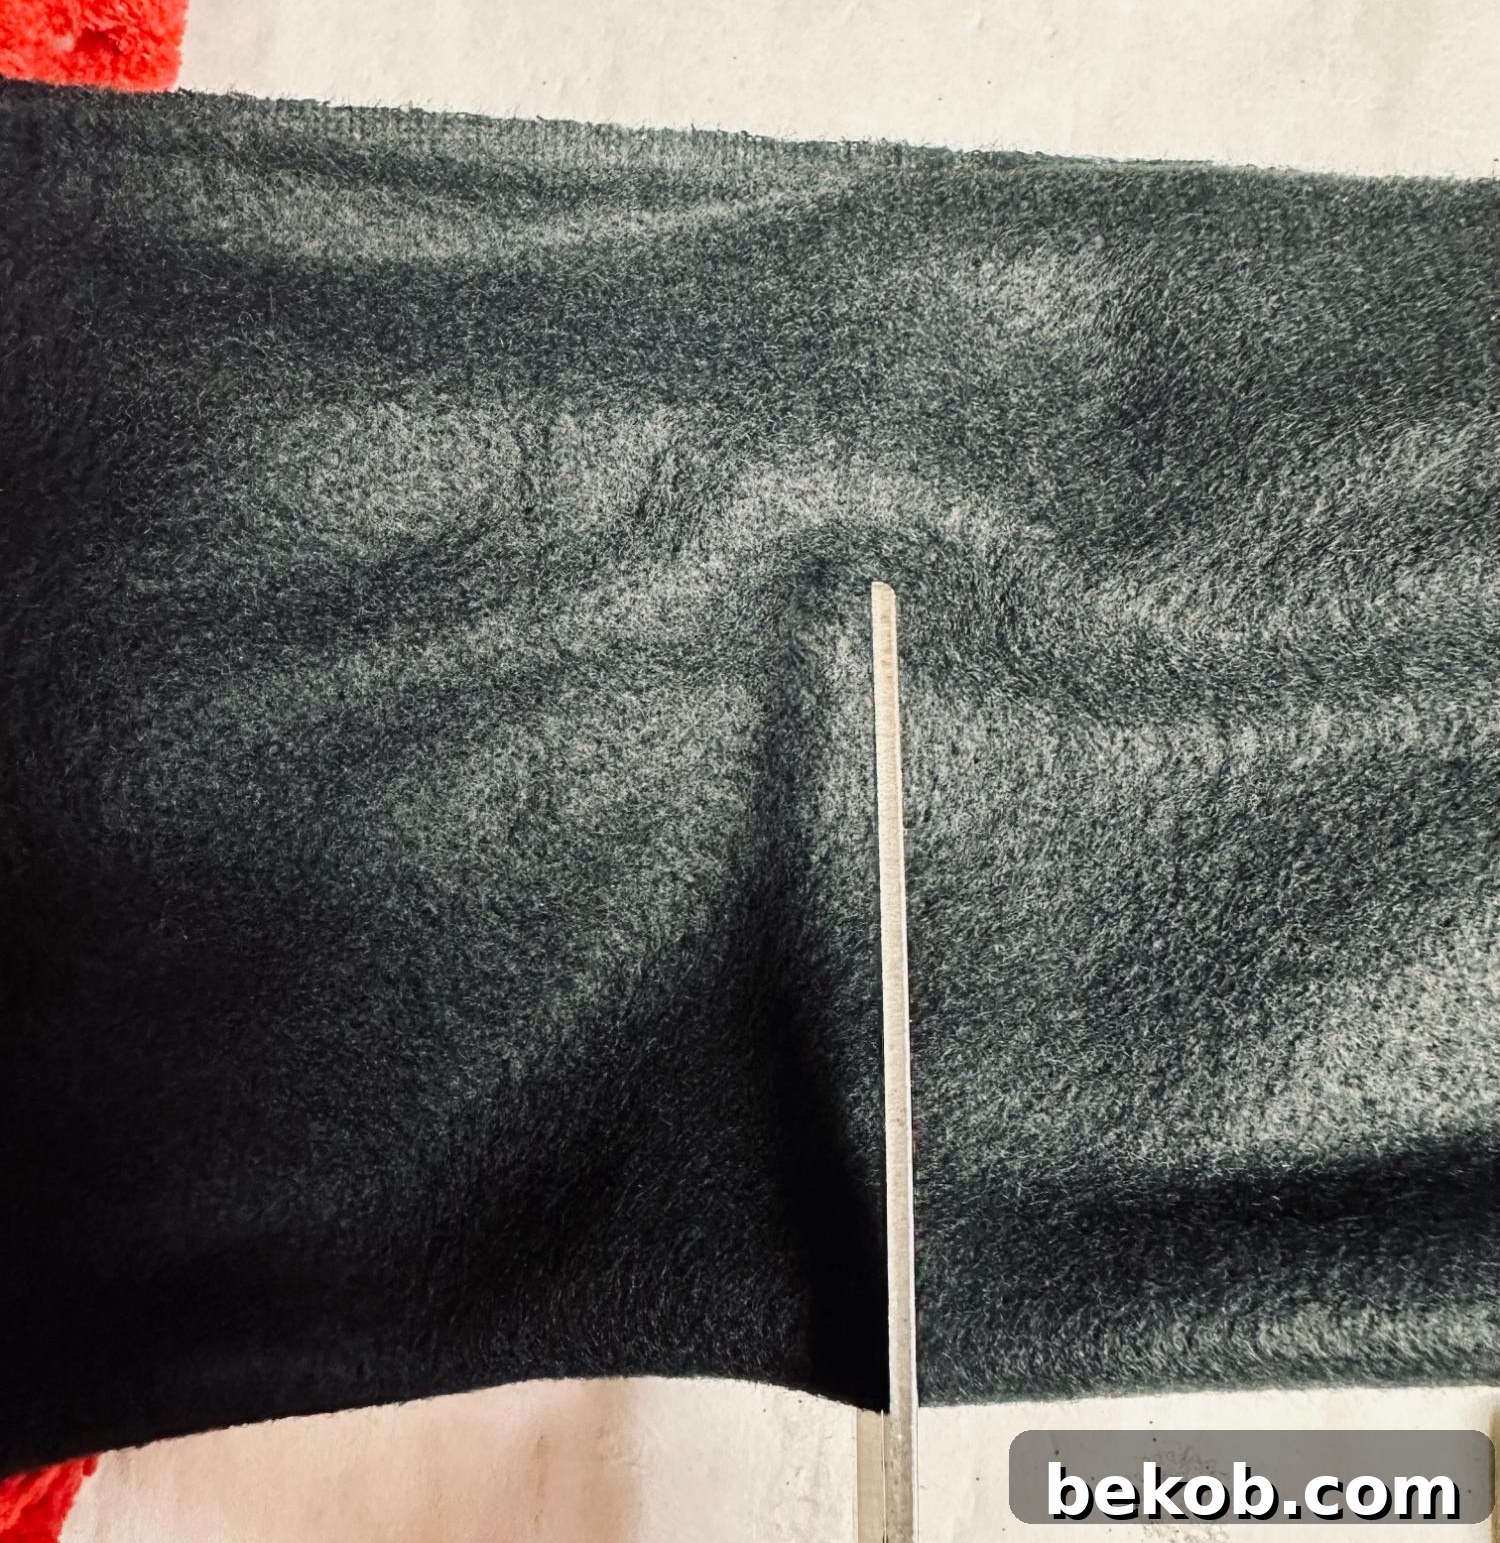
Step 3: Prepare the Golden Belt Buckle Frame
Now, let’s create the dazzling belt buckle. Take your scalloped wooden frame with the chalkboard center. Carefully cover the inner chalkboard portion of the frame with blue painter’s tape or a piece of paper, ensuring that only the outer wooden edges are exposed. This masking protects the center while you apply the paint. In a well-ventilated area, spray the exposed wooden frame with gold spray paint, or meticulously paint it with gold acrylic paint. Aim for even coverage to achieve a rich, metallic finish that truly pops. Allow the paint to dry completely according to the manufacturer’s instructions before proceeding to the next step. A perfectly dry frame prevents smudges and ensures a crisp, clean buckle.
Step 4: Securely Attach the Belt Buckle Frame
Once your gold frame is completely dry, it’s time to attach it to the scarf. Apply a generous amount of hot glue to the backside of the painted frame. Carefully center the frame over the black fleece scarf, which is already laid across the red wreath. Press down firmly for several seconds to ensure a strong and lasting bond between the frame and the fabric. For an alternative, more integrated look, especially if the center of your frame is removable, you can take out the backing, tuck the center of the scarf/belt into the frame opening, and then replace the backing. This method holds the scarf in place without visible glue, creating a seamless buckle appearance.
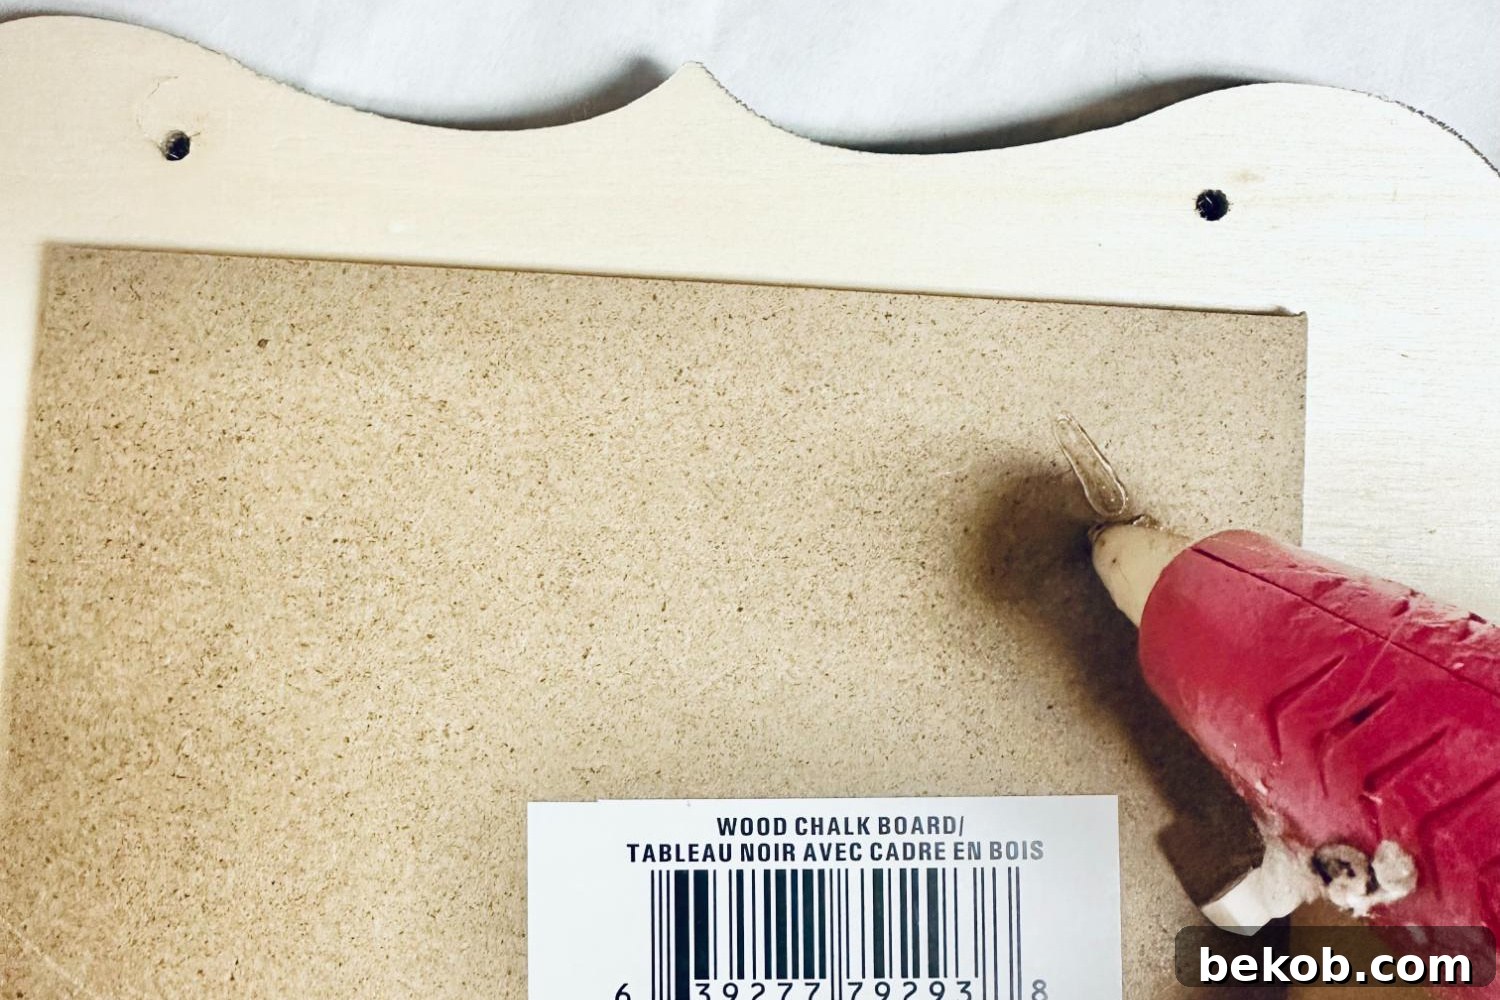
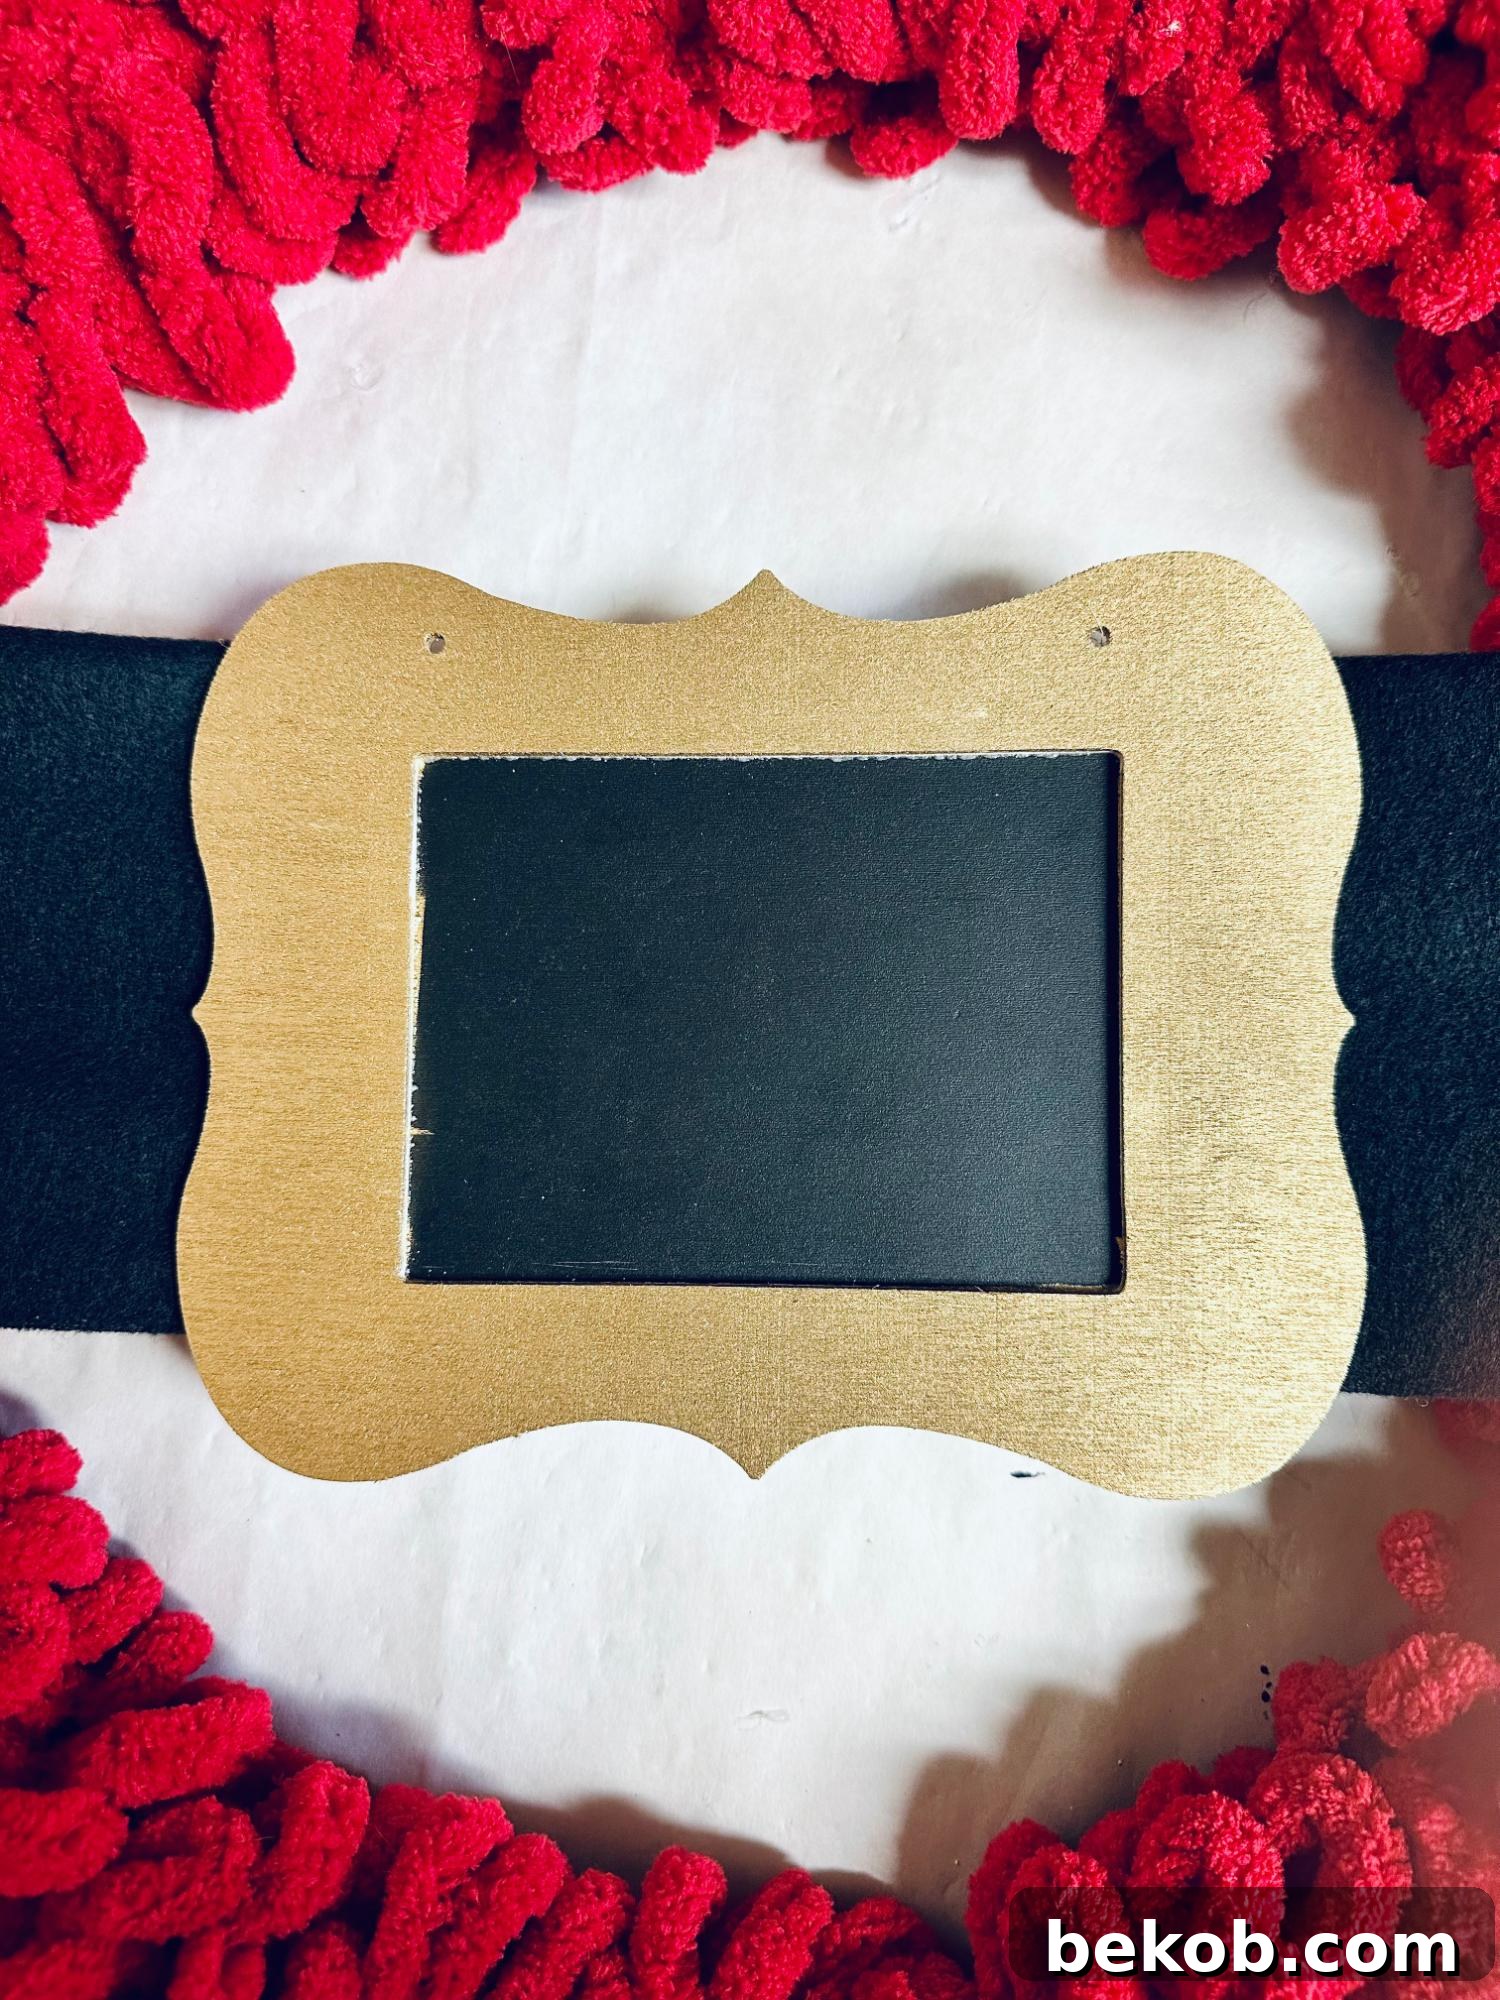
Step 5: Secure the Scarf to Complete the Belt
With the buckle in place, it’s time to secure the entire belt to the wreath. Apply a line of hot glue to one end of the black fleece scarf on the backside of the wreath. Press it firmly against the yarn-wrapped form, ensuring it adheres well. Now, stretch the scarf tautly across the front of the wreath, maintaining its straight and even position beneath the buckle. Once stretched, apply hot glue to the other end of the scarf on the opposite backside of the wreath and press firmly to secure. This final step creates a neat, finished appearance, mimicking Santa’s classic belt wrapped around his jolly red suit. Your DIY Santa Wreath is now complete and ready to spread holiday cheer!
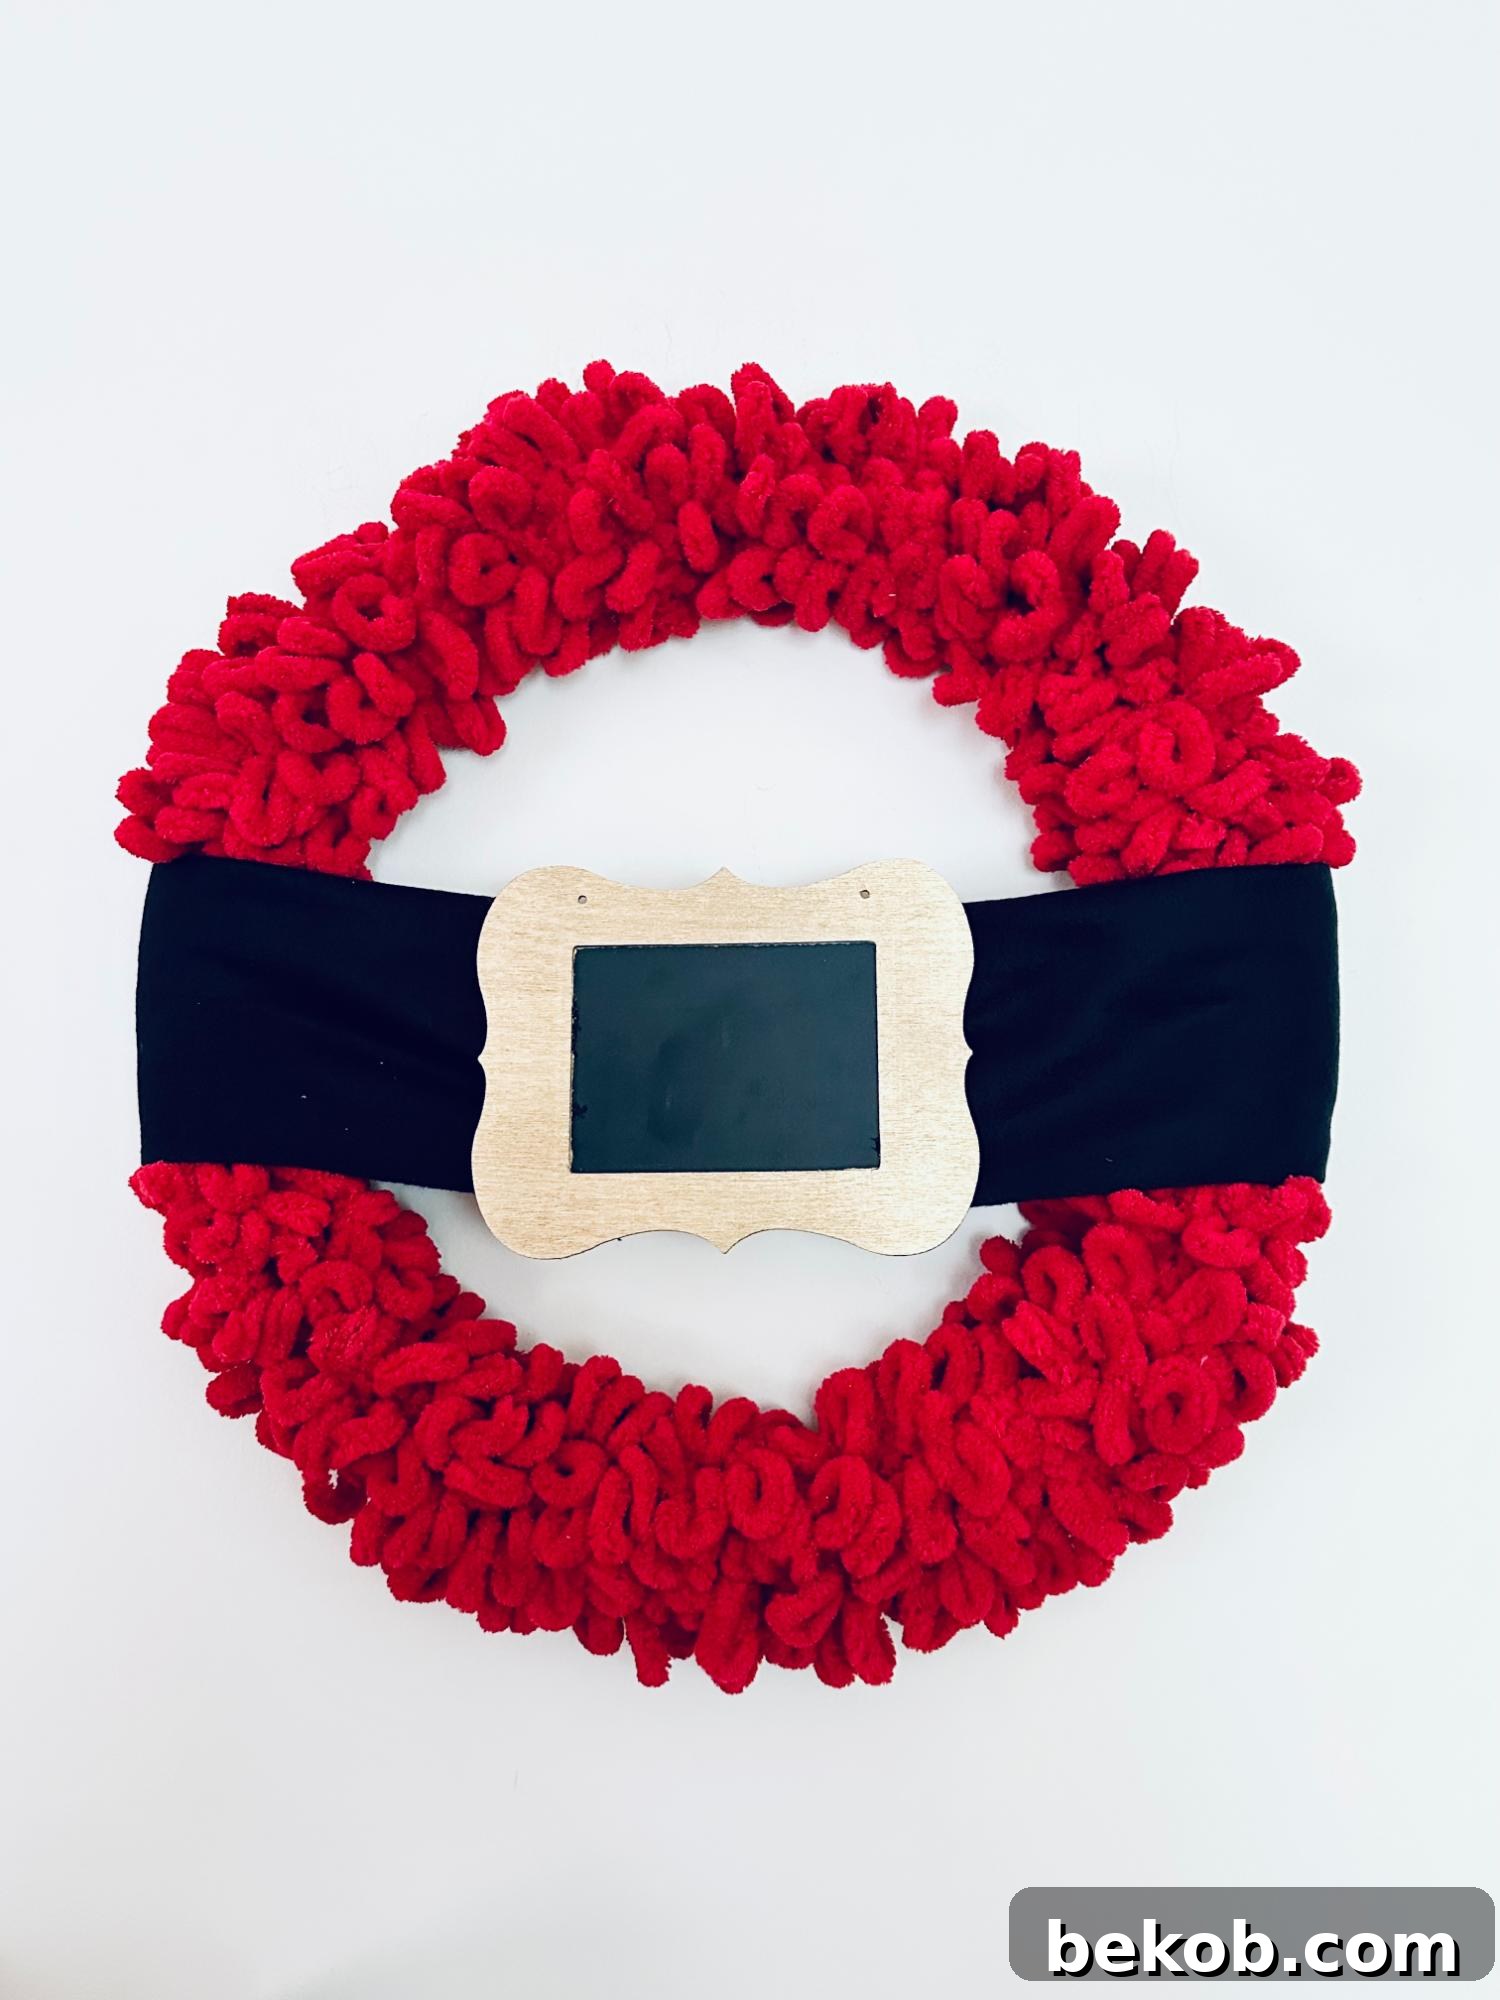
Creative Variations for Your DIY Santa Wreath
While the classic Santa Belt Wreath is charming on its own, don’t hesitate to personalize it with these fun variations to make it uniquely yours:
- Top It Off with a Santa Hat: Elevate the Santa theme by adding a miniature Santa hat to the very top of your wreath. You can secure it with a few stitches or a dab of hot glue for an extra whimsical touch.
- Ornament Embellishments: For added festive sparkle, attach small Christmas ornaments or decorative baubles around the red yarn portion of the wreath. Choose colors that complement the red and gold, like white, silver, or green.
- Add Greenery: Nothing captures the essence of Christmas quite like natural elements. Tuck a few sprigs of artificial pine, eucalyptus, mistletoe, or magnolia leaves into the red yarn. You can also incorporate small pine cones and red berries for a rustic, traditional holiday feel.
- Santa’s Little Helpers: Introduce a playful element by incorporating miniature Santa figurines, elves, or even tiny reindeer around the wreath. Position them peeking out from behind the belt or nestled in the yarn.
- Ribbon Magic: Use colorful ribbons to tie decorative bows around the top or sides of the wreath. A green or white ribbon can offer a beautiful contrast against the red and black, adding another layer of texture and color.
More Dollar Tree Christmas Ideas
See All Dollar Tree Christmas Ideas >
For Christmas decor on a budget, it’s truly hard to beat the creative possibilities offered by Dollar Tree! Enjoy these simple crafts, festive decor, and thoughtful gift ideas.
DIY Santa Wreath FAQs
Can I substitute the fleece scarf with a different fabric for Santa’s belt?
Absolutely! The beauty of DIY projects is customization. You can definitely experiment with different textures and colors to personalize your Santa Belt Wreath. Felt is a great alternative for a clean, classic look, or you could try faux leather for a more sophisticated finish. A wide black grosgrain or satin ribbon could also work beautifully, offering a different sheen. For a truly unique and eco-friendly approach, consider using a real black belt with an existing belt buckle, which you might find at thrift stores. Just ensure your chosen material is sturdy enough to hold the buckle and can be easily glued or sewn to the wreath.
Where can I find the loop yarn for this project?
Loop yarn is a popular crafting material, known for its ease of use and plush texture. We specifically used Bernat Alize yarn in Crimson for our wreath, which can often be found at major craft stores like Joann Fabric and Craft Stores. If you’re unable to find it locally, a quick search online will yield many options. Similar loop yarn products are readily available at Walmart, on Amazon, and from independent sellers on Etsy. For a slightly different but equally soft and textured look, you can also substitute fuzzy chenille yarn.
What can I use for the red wreath base if I can’t find the loop yarn?
While loop yarn provides wonderful bulk and texture with minimal effort, there are several fantastic alternatives if it’s unavailable. You can use regular red yarn, though it might require more wrapping to achieve the desired fullness. For a wreath bursting with personality, consider making a red pom-pom wreath! You’ll need a pom-pom maker (or our clever trick for making many pom-poms quickly) to create a collection of fluffy red yarn pom-poms. These can then be tied onto the wire wreath form, secured with floral wire, and/or hot glue, forming a delightful, textured base before adding the Santa belt. Other creative options include wrapping your wreath form with red deco mesh for a shimmering effect or using red burlap, similar to how we crafted our popular snowflake wreath, for a rustic touch.
Can I use a different style of frame for the belt buckle?
Certainly! The scalloped wooden frame with a chalkboard center from Dollar Tree works perfectly, but feel free to explore other options or repurpose frames you already have on hand. The key is to find a frame with a relatively flat surface for painting and attachment. A simple rectangular or oval frame would look equally charming. If you can’t find a chalkboard-style frame, simply use a regular picture frame and paint its center black or a contrasting color to create the background for your gold buckle. You could also get creative with non-frame items – perhaps a gold painted wooden plaque or even a sturdy piece of gold-painted cardboard cut into a buckle shape. Another unique idea would be to spray paint a faux pine wreath red and then attach the belt, or create a paper curl wreath like this one we made, and add the belt details.
More Easy DIY Christmas Wreath Ideas
See All DIY Christmas Wreaths >
How to Make a DIY Santa Wreath – Quick Guide
Print Recipe
Ingredients
- 18-inch wire wreath form (Dollar Tree)
- Black Fleece Scarf (Dollar Tree)
- Scalloped wooden frame with chalkboard center (Dollar Tree)
- Gold Spray Paint (or acrylic paint)
- Blue Painters tape (or paper)
- Hot Glue Gun/glue sticks
- Red Loop Yarn (Bernat Alize yarn in Crimson from Joann; similar yarn at Walmart, Amazon, or Etsy, or sub in fuzzy chenille yarn)
- Scissors
Instructions
- Tie the end of the red loop yarn around the outer wire of the wreath form. Wrap the yarn tightly around the entire wreath form, ensuring it’s snugly wrapped for a fuller appearance. Use the entire bundle of yarn to completely cover the wreath form. Use a few dabs of hot glue to hold the yarn in place if needed.
- Fold the black fleece scarf in half lengthwise and lay it over the center of the wreath form. Cut the scarf to be approximately 24 inches long, creating a perfect fit for the wreath.
- Cover the center of the wooden frame with blue painter’s tape (or paper), leaving the outer edges exposed. Paint the exposed frame with gold spray paint (or acrylic paint). Allow it to dry completely.
- Apply hot glue to the backside of the frame and carefully place it in the center of the fleece scarf on the wreath. Press firmly to ensure it adheres securely to the fabric.
- Apply hot glue to one end of the scarf and press it firmly to the backside of the wreath. Stretch the scarf across the front of the wreath and glue down the other end to the backside, creating a neat and secure appearance.
Notes
Variations for Your DIY Santa Wreath:
- Top It Off: Add an extra Santa touch by adding a Santa hat to the top of the wreath.
- Ornament Embellishments: Attach small ornaments or baubles to the wreath for added festive charm.
- Add Greenery: Nothing says Christmas like greenery! Add a sprig of pine, eucalyptus, mistletoe, or magnolia leaves, pine cones, and red berries for extra holiday cheer.
- Santa’s Little Helpers: Incorporate miniature Santa figurines or elves around the wreath for a playful touch.
- Ribbon Magic: Use colorful ribbons to tie bows around the wreath, introducing a pop of contrasting color.