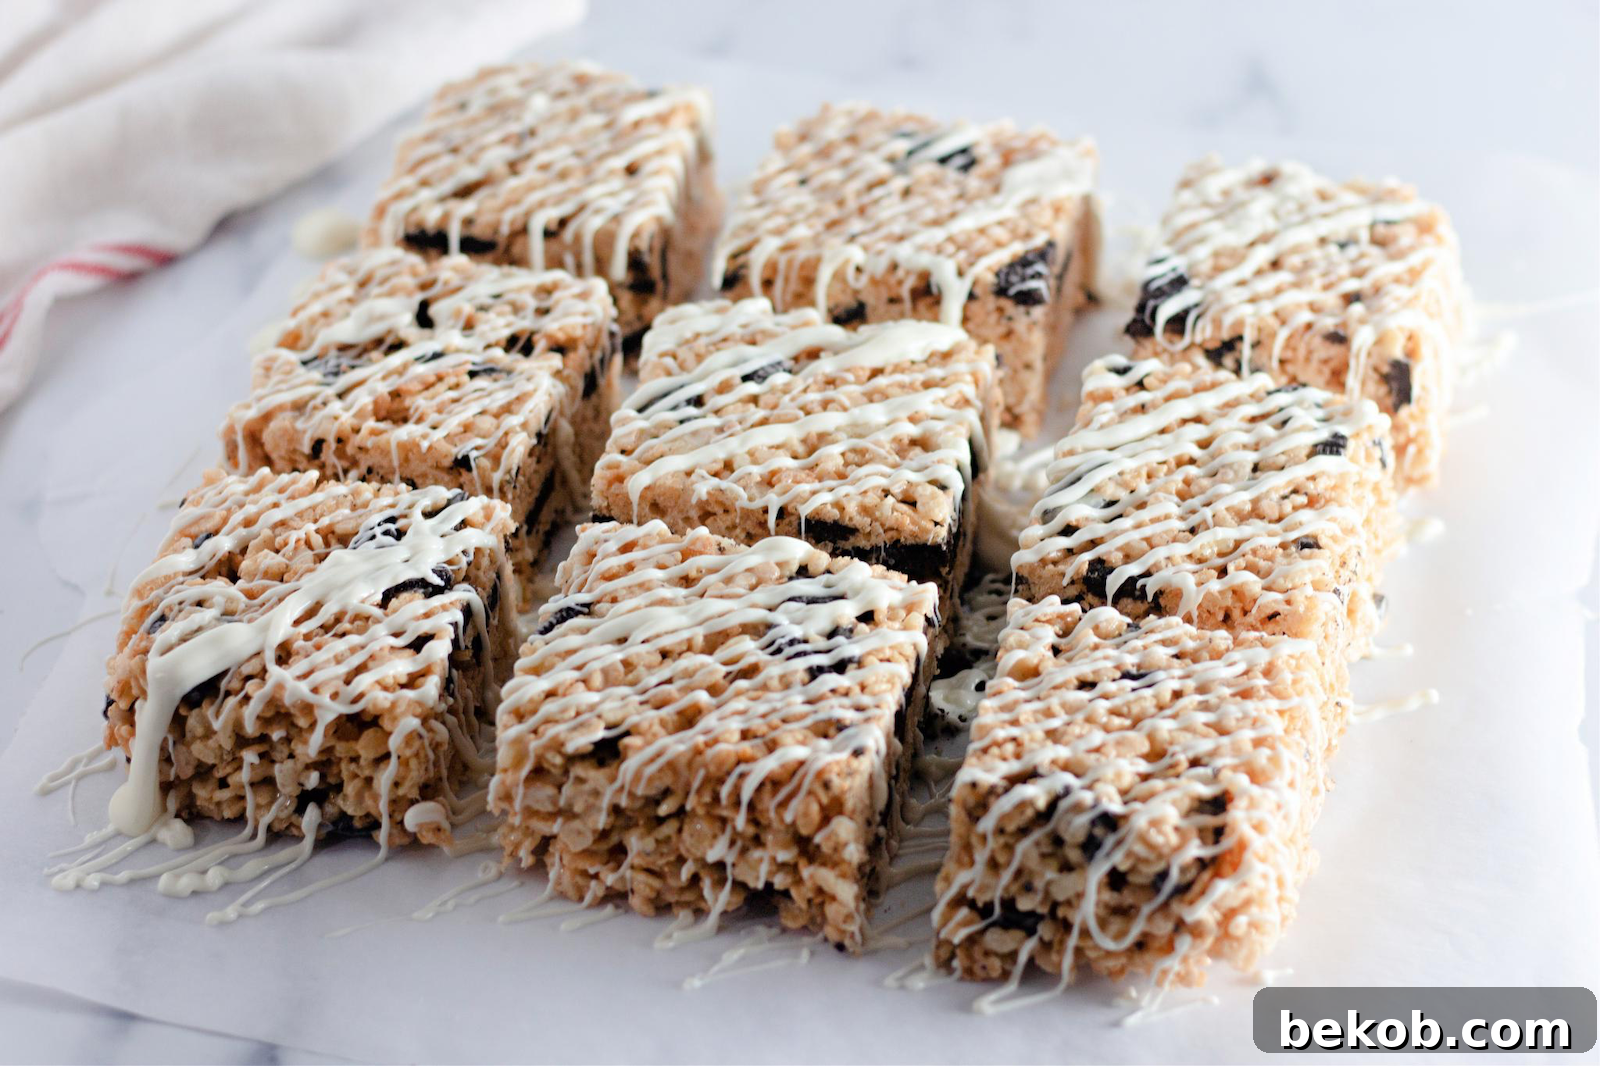
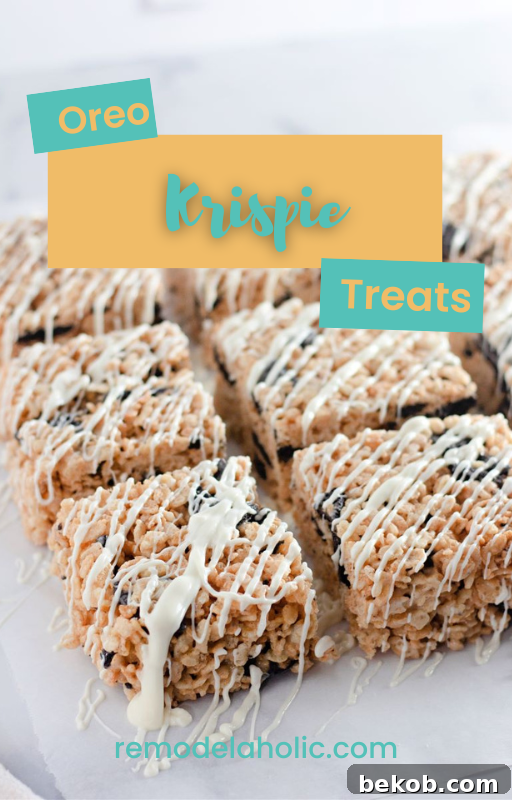
Oreo Krispie Treats: The Ultimate No-Bake Cookies and Cream Delight
Indulge in a truly extraordinary dessert with these irresistible Oreo Krispie Treats. This recipe takes the beloved classic rice krispie treat and elevates it to new heights, blending the familiar crunch of crispy rice cereal with gooey marshmallows, generous chunks of everyone’s favorite Oreo cookies, and a delicate drizzle of melted white chocolate. The result is a symphony of textures and flavors that promises a sweet sensation in every single bite.
Perfect for any occasion, these no-bake cookies and cream rice krispie treats are incredibly easy to make, making them an ideal choice for busy bakers, impromptu gatherings, or simply satisfying a sudden sweet craving. Forget the oven – this simple dessert comes together in minutes, offering a delightful twist on a timeless favorite that will have everyone asking for more. Get ready to experience the perfect fusion of two iconic treats!
While we absolutely adore these indulgent treats, if you’re exploring other delightful options, you might also enjoy these Raspberry Granola Bar Cookies, the rich Rocky Road Bars Recipe, or these wholesome Healthy Oatmeal Apple Raisin Cookies.
Why You’ll Fall in Love with Oreo Rice Krispie Treats
Traditional rice krispie treats hold a special place in many hearts, evoking childhood memories of simple, sweet pleasures. But imagine enhancing that nostalgic experience with the rich, chocolatey goodness of Oreo cookies. That’s exactly what our Oreo Rice Krispie Treats deliver – a fusion that transforms a classic snack into an irresistible dessert masterpiece. If you appreciate desserts that are both quick to prepare and incredibly delicious, these treats are destined to become your new obsession.
Unbeatable Flavor and Texture Combination
- A Symphony of Sensations: Each bite offers a delightful interplay of textures and flavors. You get the satisfying crispness of rice cereal, the chewy sweetness of perfectly melted marshmallows, and the rich, iconic chocolatey crunch of Oreo cookie pieces. This multi-layered experience is truly addictive, making it nearly impossible to stop at just one.
- Sweet and Salty Balance: The optional use of salted butter in the recipe is a game-changer, subtly amplifying the sweetness of the marshmallows and Oreos, creating a sophisticated sweet-and-salty dynamic that excites the palate.
Effortless Preparation and Versatility
- Simple & Speedy No-Bake: This is a genuinely easy no-bake dessert recipe. With just a handful of readily available ingredients and straightforward steps, you can whip up a batch in under 20 minutes of active prep time. There’s no need to preheat an oven, making it a perfect last-minute treat for unexpected guests or a quick dessert fix.
- Kid-Friendly Fun: The simplicity of this recipe makes it an excellent activity for involving children in the kitchen. From crushing Oreos to stirring the marshmallow mixture (with adult supervision for heat), kids will love helping to create these delicious treats, fostering a sense of accomplishment and making sweet memories.
- Perfect for Any Occasion: Whether it’s a birthday party, a casual potluck, a school bake sale, a holiday gathering, or just a cozy night in, Oreo Rice Krispie Treats are always a crowd-pleaser. Their universal appeal and easy portability make them a go-to dessert for any event.
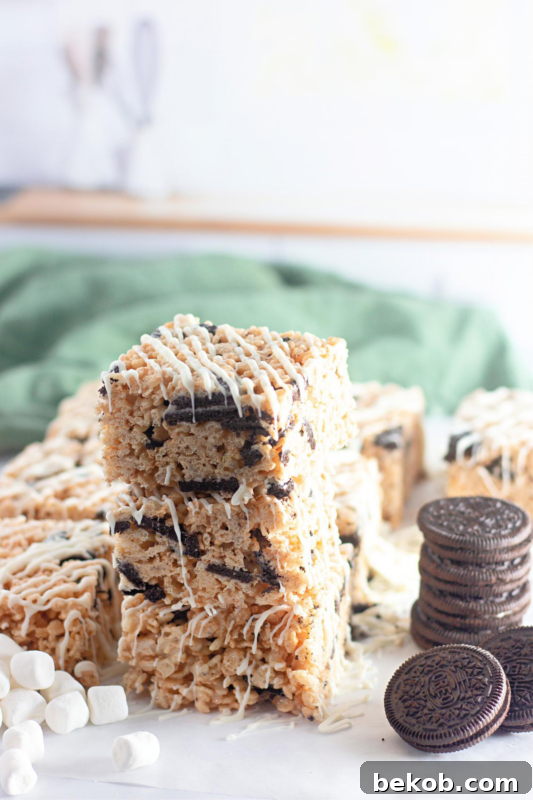
- Impressive Presentation: Drizzled with white chocolate, these treats look as good as they taste. They can be dressed up with additional toppings or presented simply for an elegant touch that belies their easy preparation.
Crafting Your Perfect Batch of Oreo Krispie Treats
Get ready to delight your taste buds with this fantastically fun and easy dessert recipe. These homemade rice krispie treats with Oreos are bursting with flavor, incredibly simple to make, and guaranteed to satisfy any sweet tooth. Let’s gather our ingredients and get started on this journey to deliciousness!
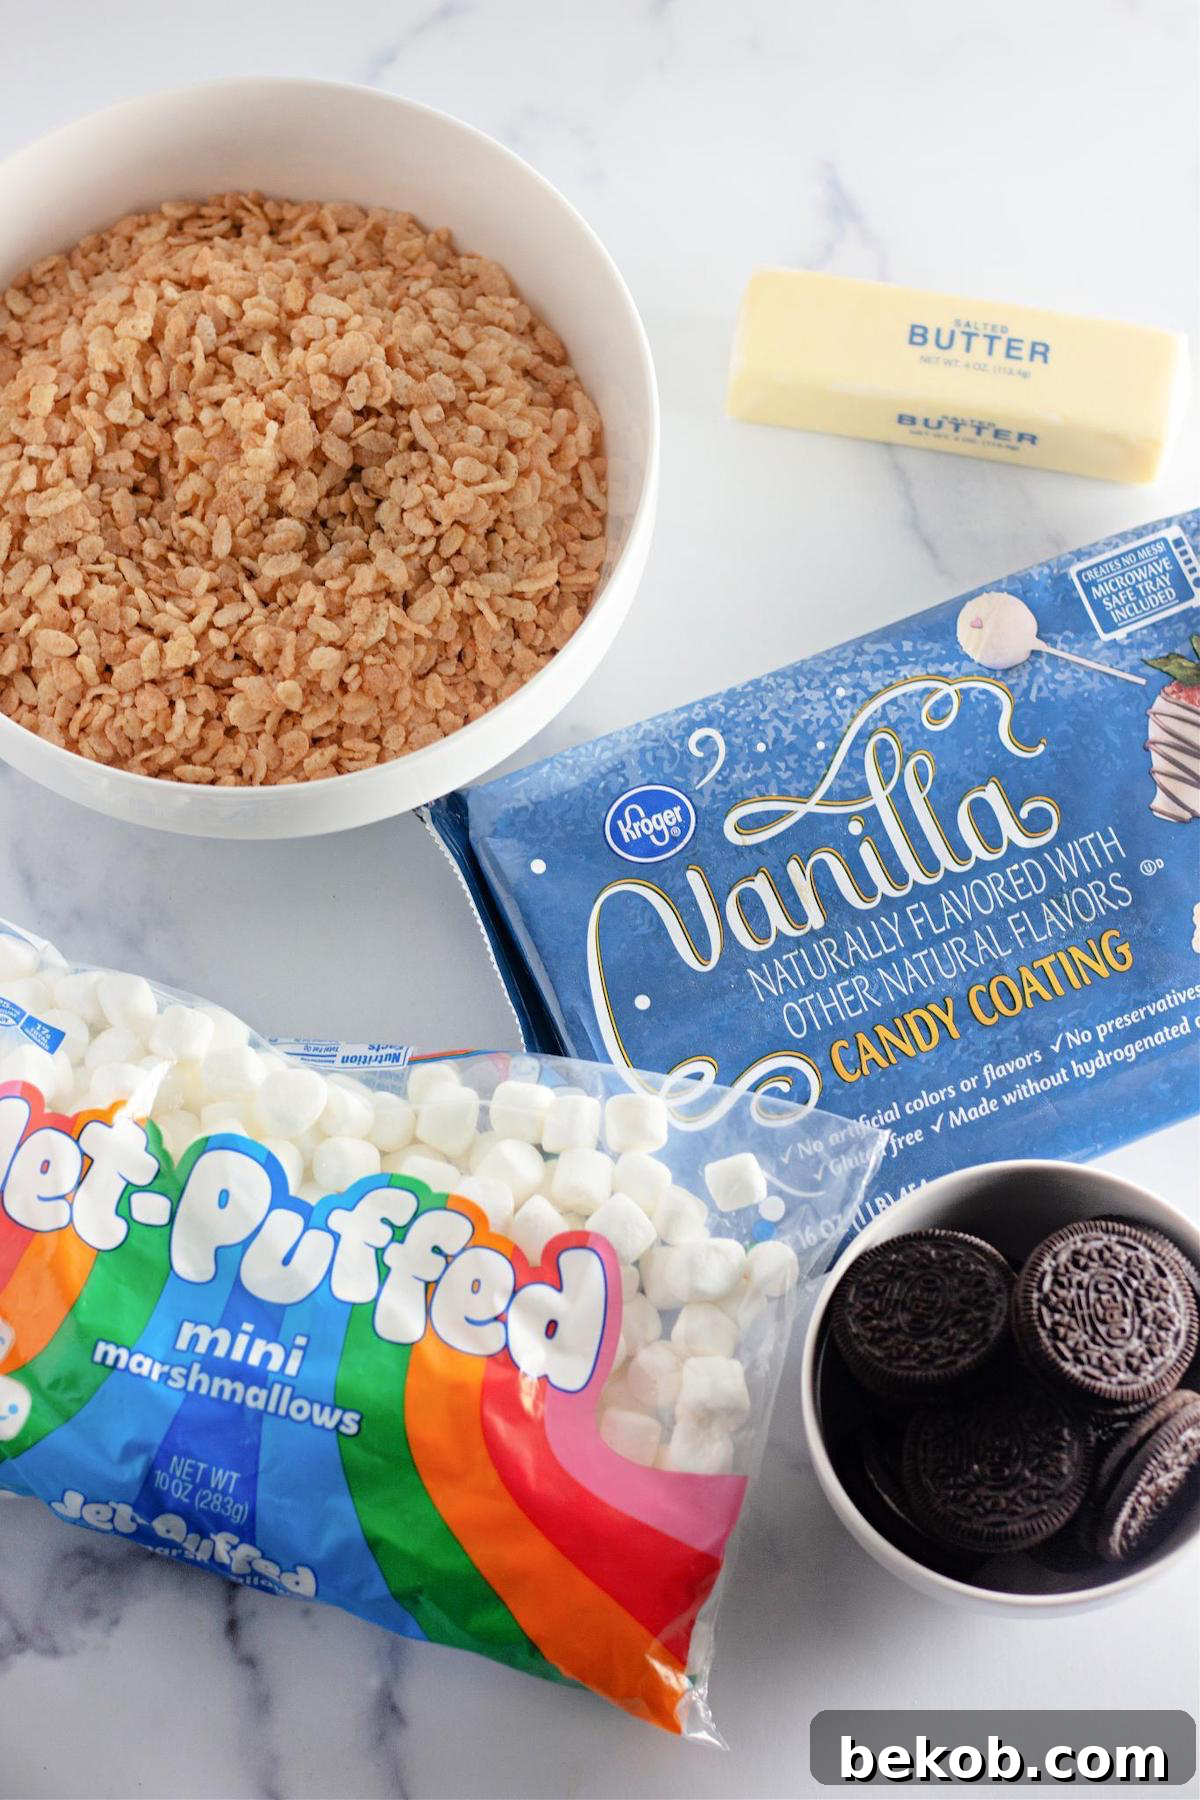
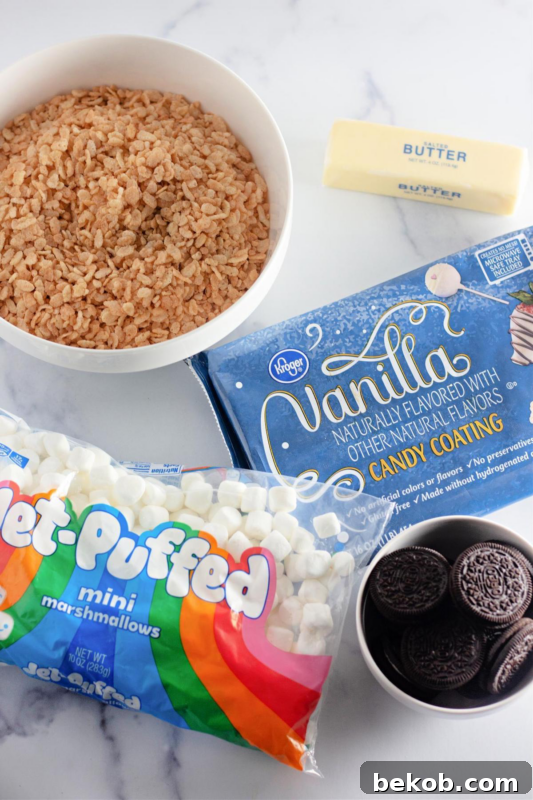
Essential Ingredients for Homemade Rice Krispie Treats with Oreos
The beauty of this recipe lies in its simplicity and the readily available ingredients. Here’s what you’ll need to create these heavenly treats:
- Crispy Rice Cereal: The foundation of our treats. Any brand of classic crispy rice cereal will work beautifully to provide that signature crunch.
- Oreo Cookies: The star of the show! Original or DoubleStuf Oreos are perfect. You’ll want to roughly chop them, creating a mix of crumbs and larger chunks for varying texture throughout the bars. We recommend about 20 cookies, which typically translates to 2 cups of chopped cookies.
- Butter: Salted butter is highly recommended here. The hint of salt truly enhances and balances the sweetness of the marshmallows and Oreos, preventing the treats from being overly saccharine.
- Mini Marshmallows: These melt quickly and create that essential gooey binder. A 10 oz bag (about 5 ½ cups) is ideal. If you only have large marshmallows, approximately 40 regular-sized marshmallows will suffice, just be sure to cut them into smaller pieces for faster melting.
- Vanilla Extract (Optional but Recommended): A dash of vanilla adds a warm, aromatic depth that elevates the overall flavor profile. Don’t skip it if you have it!
- White Melting Chocolate or White Chocolate Chips: For that elegant drizzle and an extra layer of sweetness. Melting chocolate wafers tend to melt more smoothly than chips, but both will work.
Step-by-Step Instructions for Your Best Oreo Krispie Treats
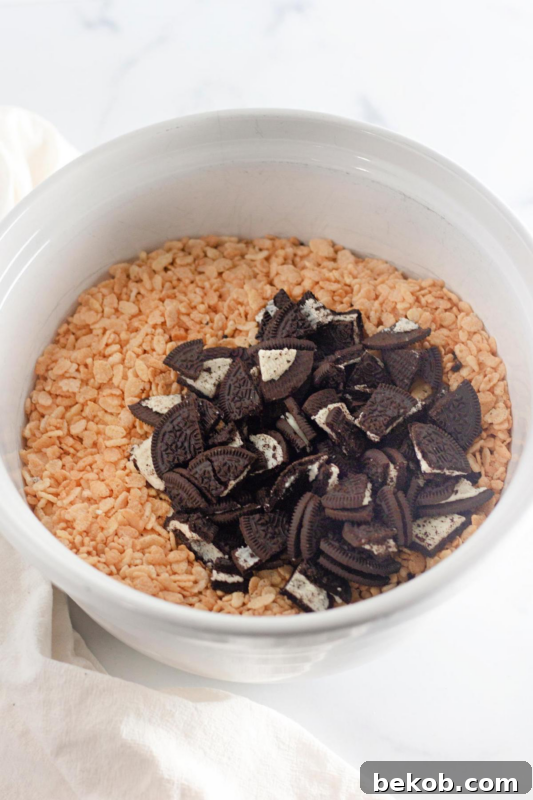
- Prepare Your Pan: Begin by preparing a 9-inch square pan or a 9×13-inch baking dish. Generously grease it with softened butter or cooking spray. This crucial step will prevent sticking and make for easy removal of your finished treats. In a large mixing bowl, combine your crispy rice cereal with the roughly chopped Oreo cookies. Set this mixture aside for a moment.
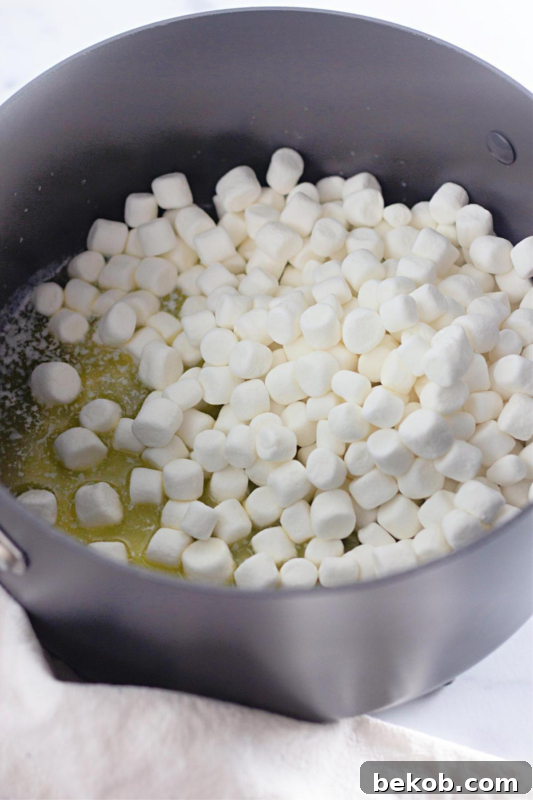
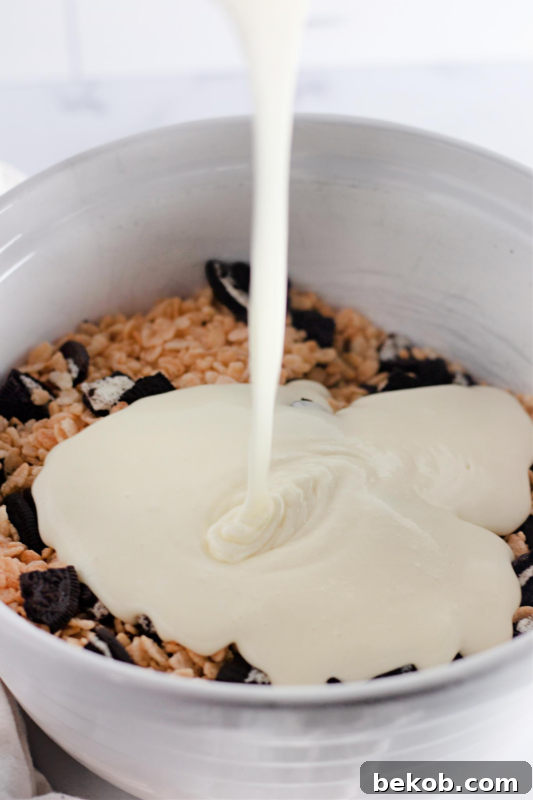
- Melt the Marshmallow Mixture: In a large saucepan, melt the butter over medium heat. Once the butter is completely melted, reduce the heat to low. Add the mini marshmallows and continue to cook, stirring constantly with a rubber spatula, until the marshmallows are completely melted and smooth. Make sure there are no lumps remaining. Remove the pot from the heat and stir in the optional vanilla extract, if using. Immediately pour this warm, gooey marshmallow mixture over the cereal and Oreo mixture in your large mixing bowl.
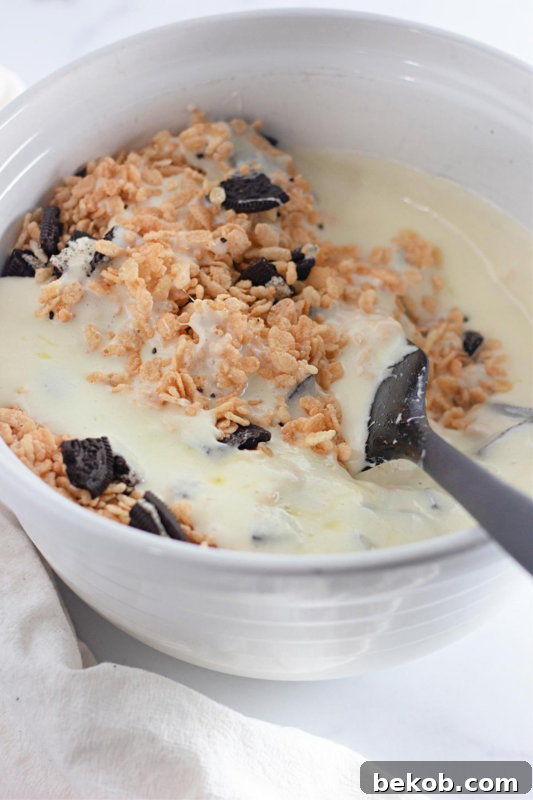
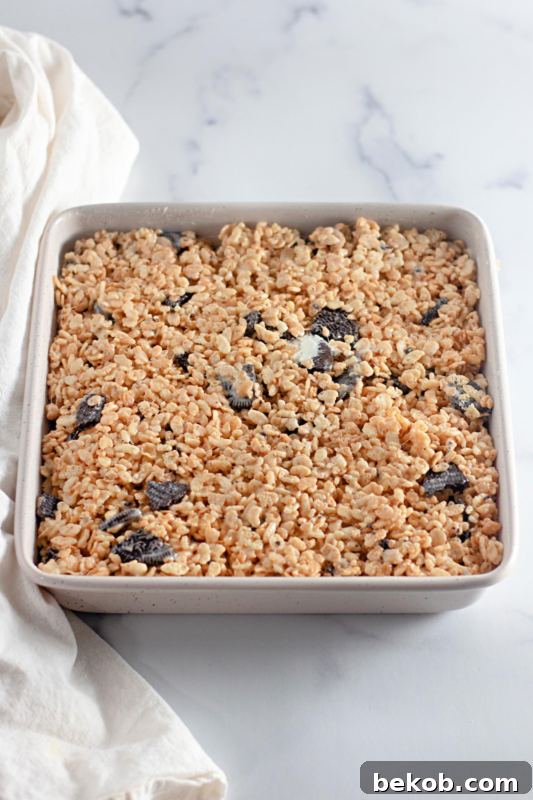
- Combine and Press: Using your rubber spatula, stir the cereal, Oreos, and marshmallow mixture together quickly and thoroughly until everything is evenly coated. Work swiftly as the mixture will become stickier as it cools. Scoop the entire mixture into your prepared pan. To press it down evenly and firmly, you can lightly dampen your hands or the rubber spatula with a little water or butter – this prevents the mixture from sticking to you. Press down gently but firmly to create an even layer without compacting it too densely.
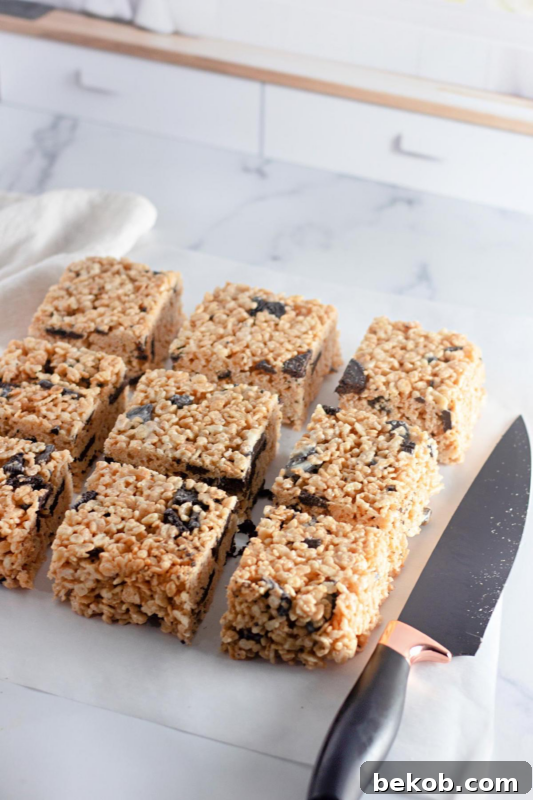
- Cool and Cut: Allow the bars to sit at room temperature for at least an hour to set completely. For a quicker set, you can place them in the refrigerator for about 30 minutes. Once firm, turn the pan over onto a clean cutting board and gently shake to release the treats. Use a sharp, lightly greased knife to cut them into squares of your desired size.
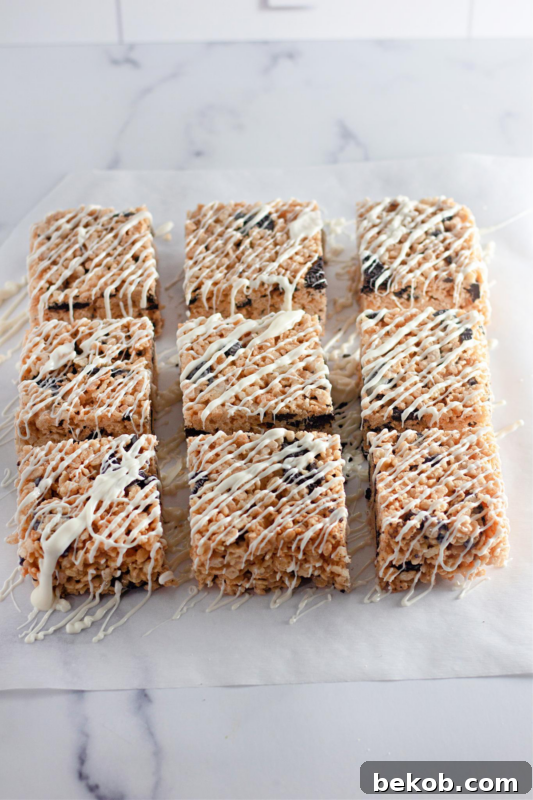
- Drizzle and Serve: Finally, melt your white melting chocolate or white chocolate chips according to package directions (usually in a microwave-safe bowl in 30-second intervals, stirring in between). Drizzle the melted white chocolate artfully over the cut bars. Allow the chocolate to firm up completely before serving. This can be done at room temperature or by placing them briefly in the refrigerator.
Delicious Variations for Customizing Your Oreo Krispie Treats
While classic Oreo Krispie Treats are a delightful indulgence on their own, one of the most exciting aspects of this recipe is its incredible adaptability. There are endless possibilities for customization, allowing you to tailor these treats to your exact taste preferences or to suit any occasion. Here are a few creative ideas to inspire your next batch:
- Double Chocolate Delight: For the ultimate chocoholics, swap out the white melting chocolate drizzle for milk or dark chocolate. You can even chop up extra chocolate bars and mix them directly into the cereal and Oreo mixture for an intensely chocolatey experience. A sprinkle of sea salt flakes on top of the chocolate drizzle can further enhance the flavor.
- Nutty Crunch Addition: Introduce a layer of irresistible texture and earthy flavor by adding a handful of chopped nuts. Almonds, pecans, walnuts, or peanuts would all be fantastic choices. Toasting the nuts lightly before adding them can deepen their flavor profile even further. This adds a sophisticated dimension to the otherwise sweet treat.
- Candy Craze Explosion: Make these treats extra festive and fun by incorporating your favorite candy pieces into the mixture. Think colorful M&M’s, peanut butter Reese’s Pieces, or mini chocolate chips. This is an excellent option for parties or for customizing treats for specific holidays or themes.
- “Next Level” Oreo Flavors: Don’t limit yourself to just original Oreos! The world of Oreo flavors is vast and exciting. Experiment with different varieties to completely transform the taste of this delicious dessert. Golden Oreos offer a vanilla base, peanut butter Oreos provide a rich, nutty twist, and birthday cake Oreos are perfect for a special celebration treat. seasonal flavors like peppermint or pumpkin spice Oreos can also create unique and memorable variations.
- Holiday Magic: Beyond special Oreo flavors, consider adding festive sprinkles, colored melting chocolates (green and red for Christmas, orange for Halloween), or even a few drops of food coloring to the marshmallow mixture to match holiday themes.
Feel empowered to get creative and experiment with these suggestions. The beauty of Oreo Krispie Treats is their forgiving nature, making them a perfect canvas for your culinary imagination!
Storing Your Oreo Krispie Treats and Making Them Ahead
One of the many benefits of Oreo Krispie Treats is their convenience, including how easily they can be stored and prepared in advance. This makes them an ideal dessert for meal prepping for the week or for having a ready-to-go treat for unexpected guests.
- Room Temperature Storage: For optimal freshness, texture, and flavor, store your Oreo Krispie Treats in an airtight food storage container at room temperature. This will keep them wonderfully gooey and crunchy for up to five days. Avoid placing them near direct sunlight or heat, which can make them too soft.
- Individual Wrapping: To maintain freshness even longer and for easy grab-and-go portions, you can wrap individual squares tightly in plastic wrap before placing them in the airtight container.
- Refrigeration (for Extended Freshness): If you need to make your Oreo Rice Krispie Treats several days in advance or live in a very warm climate, you can store them in the fridge in an airtight container for up to two weeks. While refrigeration will extend their shelf life, it can also make the treats a bit firmer. For the best texture and flavor, allow them to come to room temperature for at least 30 minutes before serving.
- Freezing (Not Recommended for Best Texture): While it is technically possible to freeze Oreo Krispie Treats, we generally recommend enjoying them fresh or just refrigerated. Freezing can alter the texture, making the cereal less crisp and the marshmallows a bit tougher after thawing. If you must freeze them, wrap individual portions tightly in plastic wrap, then place them in a freezer-safe bag or container for up to one month. Thaw at room temperature before serving.
Proper storage ensures that every bite of your delicious treats is as perfect as the first, maintaining that delightful balance of gooey and crunchy.
Try These Oreo Krispie Treats TODAY!
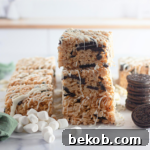
Oreo Rice Krispie Treats
These Oreo Krispie Treats combine gooey marshmallows, crunchy rice cereal, and chunks of Oreo cookies drizzled with melted white chocolate for a sweet sensation in every bite.
Ingredients
- 6 cups Crispy rice cereal
- 2 cups Oreo cookies (original or DoubleStuf), roughly chopped (about 20 cookies)
- 8 Tbsp Butter (salted recommended)
- 10 oz Mini marshmallows (about 5 1/2 cups, or about 40 regular marshmallows)
- 6 oz White melting chocolate or white chocolate chips
- Optional: 1 tsp Vanilla extract
Instructions
- To start, prepare a 9×9-inch or 9×13-inch pan by generously greasing it with softened butter or baking spray. In a large mixing bowl, combine the crispy rice cereal with roughly chopped Oreo cookies. Set this mixture aside.
- Next, in a large saucepan, melt butter over medium heat. Once melted, turn to low heat and stir in the mini marshmallows, cooking and stirring until completely melted and smooth. Remove the pot from heat, stir in the optional vanilla extract, and pour the melted marshmallow mixture over the cereal and Oreo mixture. Stir well until everything is evenly coated.
- Scoop the mixture into the prepared pan and press it down evenly. (Getting your hands or a rubber spatula slightly wet helps prevent the mixture from sticking as you are pressing it firmly into the pan.) Let the bars sit at room temperature for about an hour, or refrigerate for 30 minutes, until set. Once set, turn the pan over onto a cutting board and shake gently to release the treats. Use a sharp, lightly greased knife to cut them into squares.
- Finally, drizzle melted white chocolate over the bars and allow it to firm up before serving.
This post contains affiliate links. Learn more and read our full disclosure policy here.
Common Questions About Making Oreo Krispie Treats
As a popular dessert choice, Oreo Krispie Treats often spark a few common questions among home bakers, especially those new to this delightful twist. Here are some of the most frequently asked questions and their detailed answers to help you achieve perfect results every time:
- Can I use regular Oreos instead of DoubleStuf? Absolutely! The beauty of this recipe is its flexibility. Feel free to use whichever variety of Oreos you prefer or have on hand. Classic Oreos provide a great chocolate-to-cream ratio, while DoubleStuf will give you a bit more creamy filling in each bite. Both work wonderfully and contribute to the signature cookies and cream flavor.
- Can I use milk chocolate instead of white chocolate for drizzling? Of course! While the recipe suggests white melting chocolate for a visual contrast and an extra layer of sweetness, you can easily substitute it with milk, dark, or even semi-sweet chocolate if desired. A dark chocolate drizzle can add a rich, slightly bitter note that balances the overall sweetness beautifully. Feel free to experiment with different types of chocolate to find your favorite combination.
- Can I freeze Oreo Krispie Treats? While they can be frozen, it’s generally best to enjoy them fresh or within a few days of refrigeration for optimal taste and texture. Freezing can sometimes make the crispy rice cereal a little less crisp and the marshmallows a bit tougher once thawed. If you must freeze them, wrap individual treats tightly in plastic wrap, then place them in an airtight freezer-safe container or bag. They can be frozen for up to a month. Thaw them at room temperature before serving.
- Can I make Oreo Rice Krispie Treats in the microwave? Yes, absolutely! This is a fantastic and convenient option, especially if you’re involving kids in the cooking process. In a large, microwave-safe bowl, combine the butter and marshmallows. Microwave on high for 1-2 minutes, stirring after 1 minute, until the marshmallows are completely melted and smooth. Be careful not to overheat them, as they can become stiff. Then, proceed with the rest of the recipe instructions, adding the cereal and Oreos to the marshmallow mixture.
- Can I make gluten-free Oreo Rice Krispie Treats? Yes, it’s entirely possible to adapt this recipe to be gluten-free! Simply substitute gluten-free Oreos (many brands now offer these) and ensure you use a certified gluten-free crispy rice cereal. Brands like Malt-o-Meal Crispy Rice (linked in original content as Malt-o-Meal Crispy Rice) are excellent choices. Always double-check ingredient labels to ensure all components are gluten-free.
- What if my treats are too sticky? This often happens if the marshmallow mixture wasn’t cooked quite long enough, or if you didn’t grease your hands/spatula sufficiently when pressing. If they are very sticky, try chilling them for a bit longer. If it’s a persistent issue, next time ensure marshmallows are fully melted and consider adding a tiny bit more butter to the melting process.
- Why are my treats hard? Overcooking the marshmallows can make your treats hard. Ensure you remove them from heat as soon as they are fully melted. Also, pressing them too firmly into the pan can result in dense, hard bars. Press gently but evenly.
Fascinating Facts About Oreos: The Iconic Cookie
The Oreo cookie, a global phenomenon, plays a starring role in our delightful Krispie treats. Beyond its delicious taste, the Oreo has a rich history and some interesting tidbits:
- A Century of Sweetness: Oreos were first introduced to the world on March 6, 1912, by the National Biscuit Company (which later became Nabisco). They were originally sold in bulk tins for 30 cents a pound and have since grown to become the best-selling cookie in the United States and one of the best-selling globally.
- The Name’s Origin: The exact origin of the name “Oreo” is a bit of a mystery, but several theories exist. One popular theory suggests it comes from the French word “Or,” meaning gold, which was a common color for early Oreo packaging. Another idea is that the two ‘O’s represent the two chocolate wafers and the ‘re’ in the middle stands for “cream.”
- Global Reach: Oreos are produced in numerous countries around the world, with local variations in flavor and sweetness to cater to regional tastes. This global presence underscores their universal appeal.
- Twist, Lick, Dunk: The iconic “twist, lick, dunk” ritual is deeply ingrained in pop culture, showcasing the unique way many people enjoy their Oreos, particularly with milk.
Oreo Krispie Treats are more than just a dessert; they are a delightful twist on a classic favorite, offering a harmonious blend of flavors and textures that are sure to satisfy your sweet tooth. Whether you whip up a batch for a special occasion, a casual get-together, or simply to indulge your cravings, these treats are guaranteed to be a hit with friends and family alike. Their ease of preparation and universally loved ingredients make them a fail-proof choice. So go ahead, give this recipe a try, and prepare to be amazed by the irresistible magic of these homemade cookies and cream marshmallow treats!
More Delicious Recipes to Try:
If you loved these simple yet sensational no-bake treats, you might be eager to explore more easy and delicious dessert options. Here are some other recipes that promise to tantalize your taste buds and expand your baking (or no-baking!) repertoire:
- Delicious Chocolate Dipped Oreos: A simple way to elevate your favorite cookie, perfect for gifting or special occasions.
- Irresistible Nutella Swirl Bread: A rich, chocolatey bread that’s perfect for breakfast, brunch, or an afternoon treat.
- Vegan & Gluten-free: Easy Chocolate-covered Banana Popsicles: A healthy and refreshing dessert that’s simple to make and naturally sweet.
- 20 No-Bake Desserts Kids Can Make: A comprehensive collection of easy, fun, and oven-free dessert ideas perfect for little helpers in the kitchen.