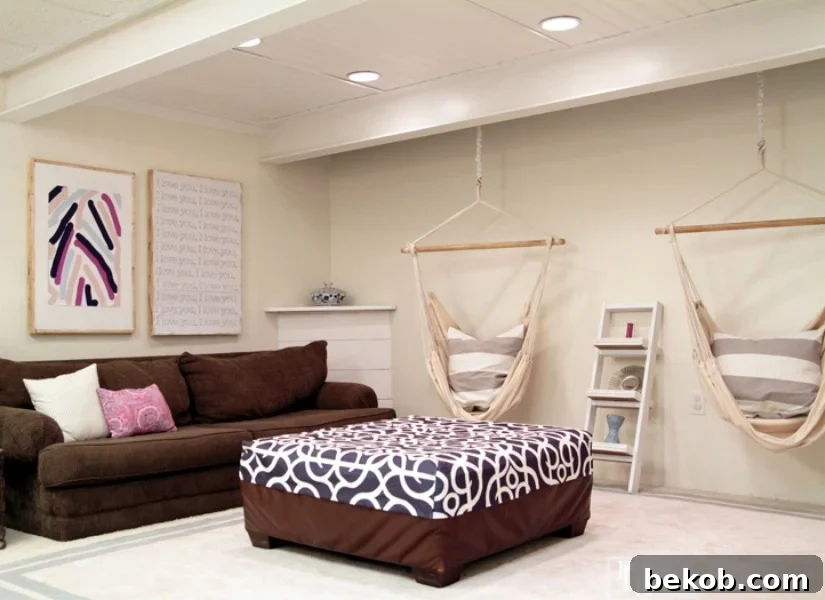
Are you tired of your outdated drop ceiling hindering your home’s aesthetic appeal? With a limited budget, transforming your basement ceiling into a stylish focal point is entirely achievable. Discover how a simple beadboard installation can dramatically revamp your space, just as it did for my basement!
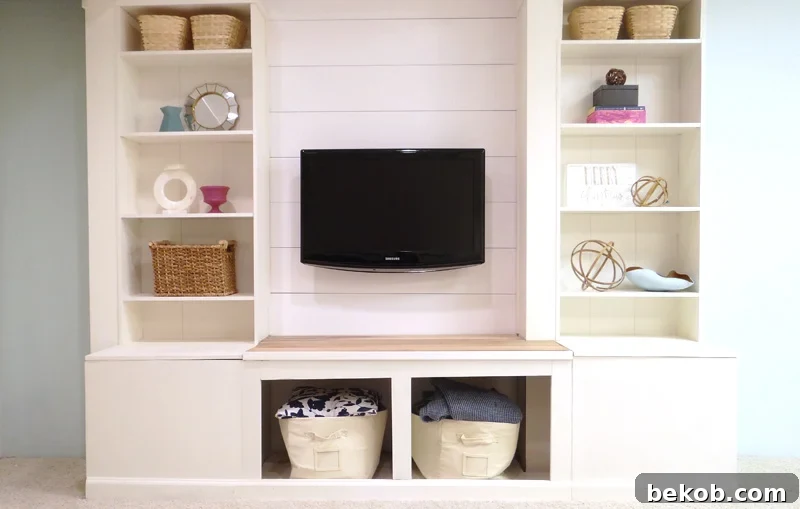
Hello, fellow Remodelaholics! Tamara from Provident Home Design here, eager to share another impactful DIY project that promises to elevate your living space. You might remember my previous guide on creating this Built-in Media Wall Unit, a project that maximized storage and style. Today, we’re tackling a different challenge: the often-overlooked and underappreciated basement ceiling.
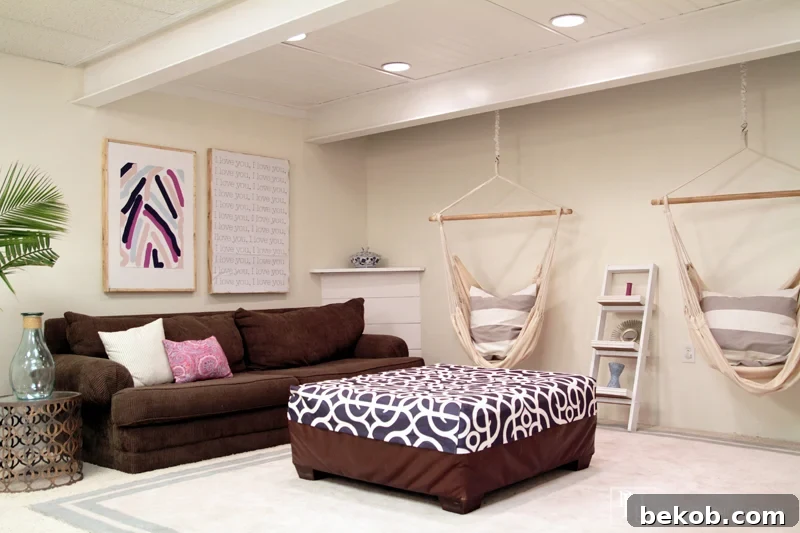
This time, I’m thrilled to unveil a cost-effective DIY solution that transformed my basement from a dark, uninviting space into a bright, beautiful retreat. If you’re grappling with an unattractive or damaged drop ceiling, this guide offers an inspiring and practical alternative that won’t break the bank.
The Common Drop Ceiling Dilemma: Why an Upgrade Was Essential
Our basement, like many others, came with a drop ceiling installed by the previous owners. While functional, these ceilings often lack aesthetic appeal and can make a room feel cramped and dated. The main problem in our basement was particularly pronounced: one section between two beams hung significantly lower than the rest, creating an undeniable “dungeon-like” atmosphere. This unevenness visually chopped up the space, making it feel smaller and less welcoming.
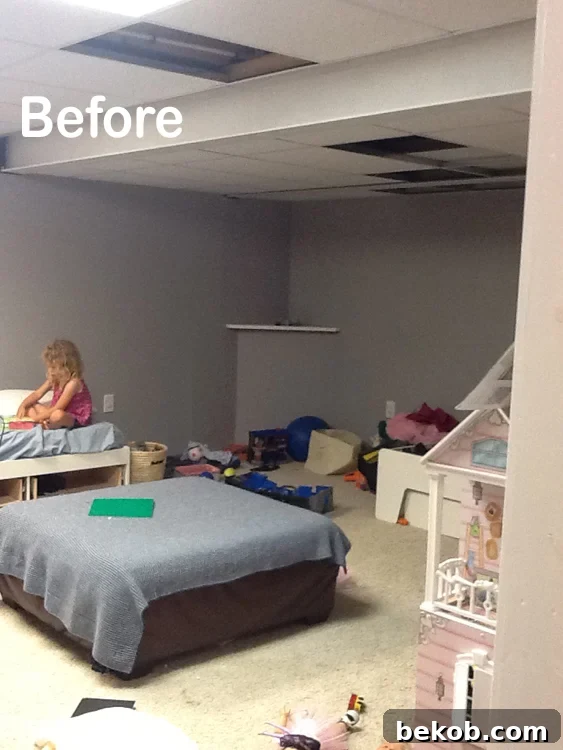
To compound the issue, a leaky refrigerator damaged several of the drop ceiling tiles directly underneath it. This not only added to the visual blight but also highlighted the fragility and maintenance drawbacks of traditional drop ceilings. The idea of living with mismatched or stained tiles was simply unacceptable, pushing me towards a much-needed ceiling transformation.
Seeking an Affordable and Stylish Ceiling Solution
My desire to replace the drop ceiling was strong, but the quotes for a professional finish, including essential additional lighting, were daunting. Estimates soared close to $2000, a figure that was well beyond my budget for this particular basement renovation. Faced with this financial hurdle, I knew I had to explore a DIY approach. It was time to take matters into my own hands, and looking back, I’m incredibly glad I did. The solution I found not only saved a significant amount of money but also delivered a stunning aesthetic upgrade: a beadboard ceiling.
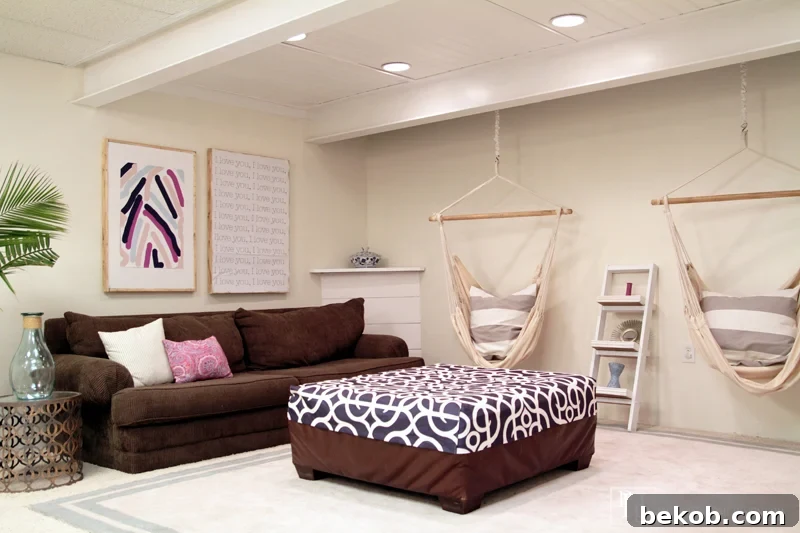
This project proved that a beautiful, custom look doesn’t always require a hefty investment or professional intervention. With a bit of elbow grease and smart planning, anyone can achieve a similar transformation. Below is the incredible “After” shot of my newly installed beadboard ceiling, a testament to the power of DIY:
Your Guide to Installing a Beadboard Ceiling: From Drab to Fab
Ready to embark on your own basement ceiling upgrade? This comprehensive, step-by-step tutorial will guide you through the entire process of installing a beautiful beadboard ceiling, replacing that old drop ceiling, and enhancing your home’s appeal on a budget.

7 Essential Steps for Installing a Beadboard Ceiling in Your Basement
Step One: Demolish the Existing Drop Ceiling (If Applicable)
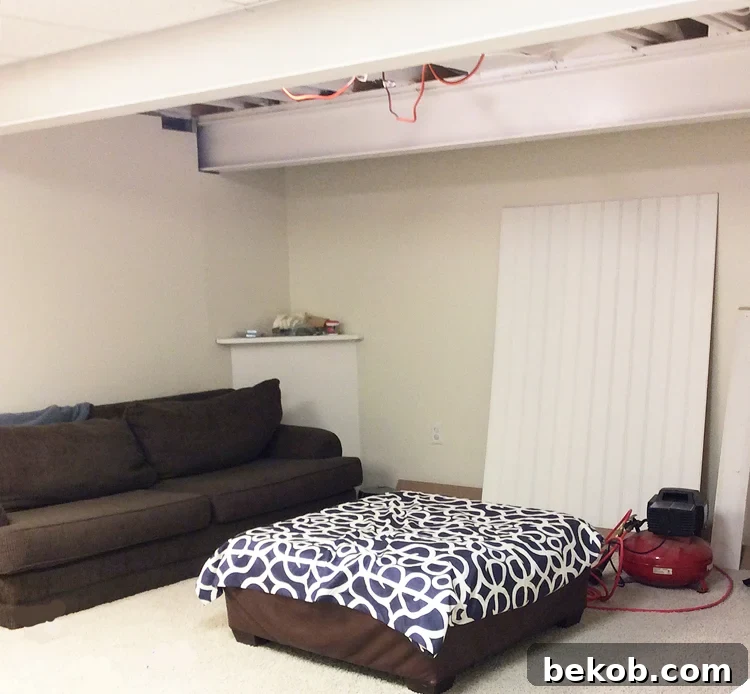
Your first task is to clear the canvas. Begin by carefully removing all the old drop ceiling tiles. This is often a surprisingly straightforward process, as most tiles simply lift out of their grid. Once the tiles are down, proceed to dismantle the metal support grid system. This usually involves unhooking or unscrewing the various components. While relatively easy, remember to wear appropriate safety gear, including gloves and eye protection, as dust and debris can fall. Proper disposal of the old materials will give you a clean, unobstructed view of the structural elements above, preparing your space for its stunning transformation.
Step Two: Integrate New Electrical Wiring and Lighting
One of the major advantages of renovating your ceiling is the opportunity to upgrade your lighting. In my case, I wanted to replace the dismal basement lighting with modern, energy-efficient can lights to brighten the space. Electrical work, especially with new installations, often requires specialized skills and adherence to safety codes. For this crucial step, I enlisted the help of a friend’s extremely handy husband, who expertly installed six recessed can lights. (Remodelaholic note: For those interested in a detailed DIY guide, Tasha shared her method for installing recessed can lights without attic access here.) If you’re not comfortable with electrical wiring, always hire a licensed electrician to ensure safety and compliance.
Step Three: Measure Your Space and Procure Materials
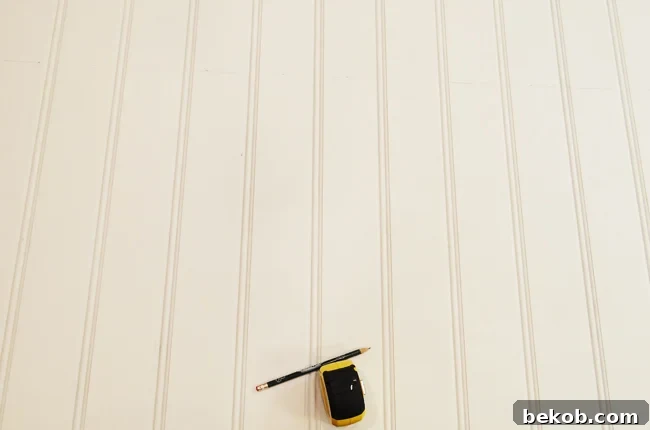
Accurate measurement is key to a successful project. Carefully measure the length and width of the area you intend to cover to calculate the number of beadboard sheets you’ll need. Always factor in a little extra for cuts and potential mistakes. I opted for (4) 4×8 sheets of wide beadboard, which cost me a total of $120 at Home Depot, priced at $30 per sheet. Standard beadboard panels work just as well, so choose the style that best suits your aesthetic.
Before making any cuts, visualize the orientation of your beadboard. Do you want the planks to run vertically or horizontally across your ceiling? This decision impacts the visual flow of the room and how you’ll manage seams. For my project, the beadboard was installed between two existing beams, so my initial cut involved sizing the 4×8 sheets to fit this specific span. A jigsaw is an excellent tool for precise cuts, though a table saw can offer more efficiency for straight lines. Don’t hesitate to ask for assistance at your local hardware store (like Home Depot or Lowe’s); many offer cutting services, which can save you time and effort.
Step Four: Determine New Ceiling Height and Install Support Framework
This critical step involves deciding the final height of your new beadboard ceiling. Examine the existing structure of your basement: are there sturdy wood beams, or do you have steel beams, plumbing pipes, or ductwork that will dictate a lower ceiling plane? You might be able to attach the beadboard directly to existing wood joists, which simplifies the process.
In my basement, the tops of the steel beams were lower than the wood beams, making it more practical and visually cohesive to align the beadboard ceiling with the level of the steel beams. This created a uniform ceiling height across the entire renovated section. To achieve this, I measured the distance from the bottom of the wood beams to the desired ceiling height (which matched the top of the steel beams) and cut 2×3 pieces of wood to that specific depth. These 2x3s then serve as the new support framework, screwed securely into the existing wood beams. This creates a level plane for your beadboard panels.
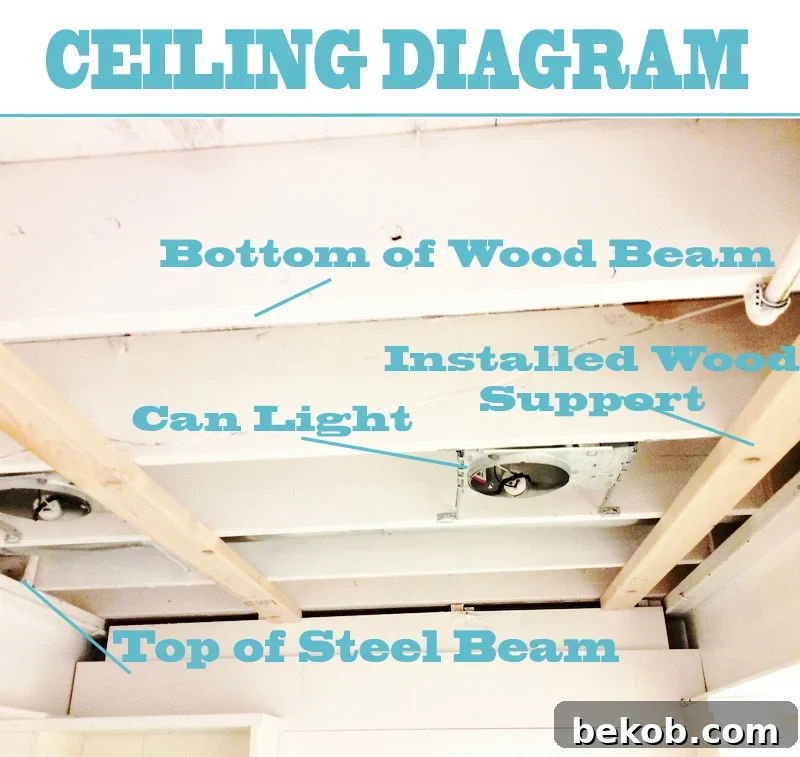
Ensure these support pieces are level and securely fastened, as they will bear the weight of your beadboard. This meticulous preparation guarantees a professional-looking finish for your DIY beadboard ceiling.
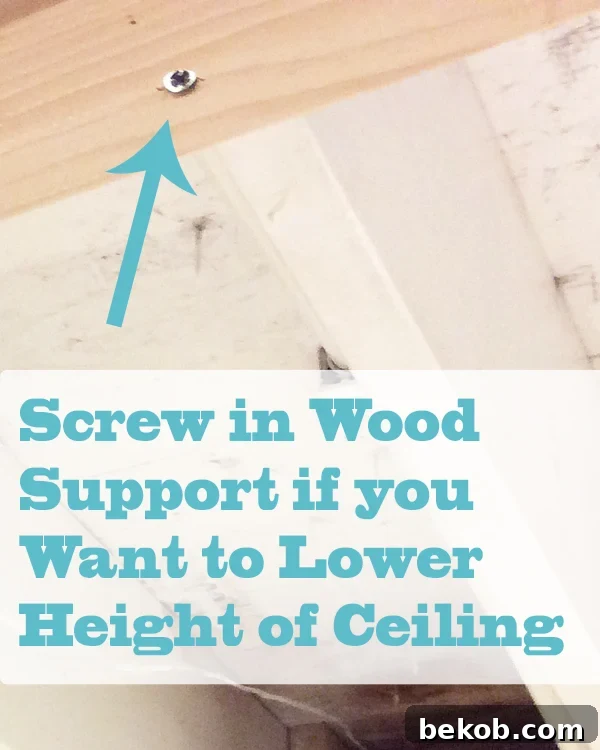
Step Five: Precisely Cut for Lights and Other Obstructions
Before you lift those beadboard panels into place, you must account for any ceiling obstacles. This includes the new can lights, pipes, vents, or junction boxes. The key here is precision. Measure and mark the exact locations of these obstructions on the back of your beadboard panels. For complex shapes, a simple template can be incredibly helpful: trace the obstacle onto a piece of paper, cut it out, and then transfer this template onto your beadboard. Once marked, use a jigsaw to carefully cut out the necessary holes. Taking your time on this step will ensure a clean, seamless fit around all fixtures and prevent frustrating re-dos.
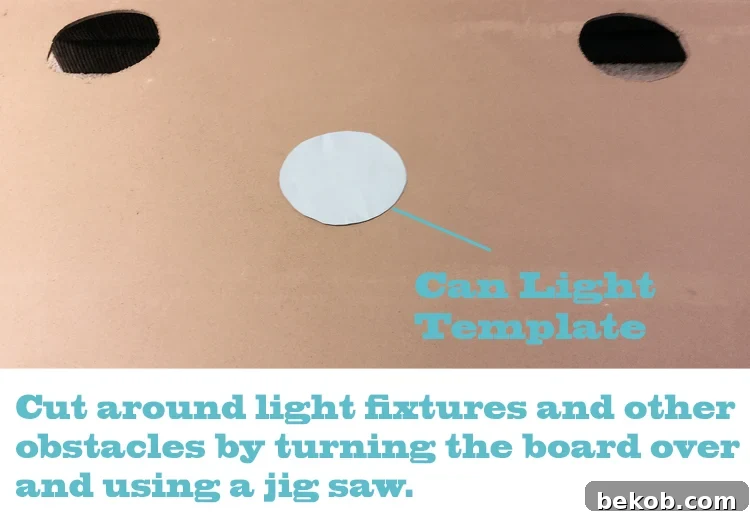
Step Six: Securely Attach Beadboard Panels to Supports
Now comes the exciting part: seeing your new ceiling take shape! This step is definitely a two-person job. Holding a large, unwieldy beadboard panel overhead while trying to operate a drill is nearly impossible alone – trust me, I learned this the hard way! With a helper, lift the beadboard panel into position and begin screwing it into your newly installed wood supports (or directly into your wood beams if that’s your chosen method). Use flathead screws, as their design allows the screw head to sit flush with the surface of the beadboard, creating a smoother finish.
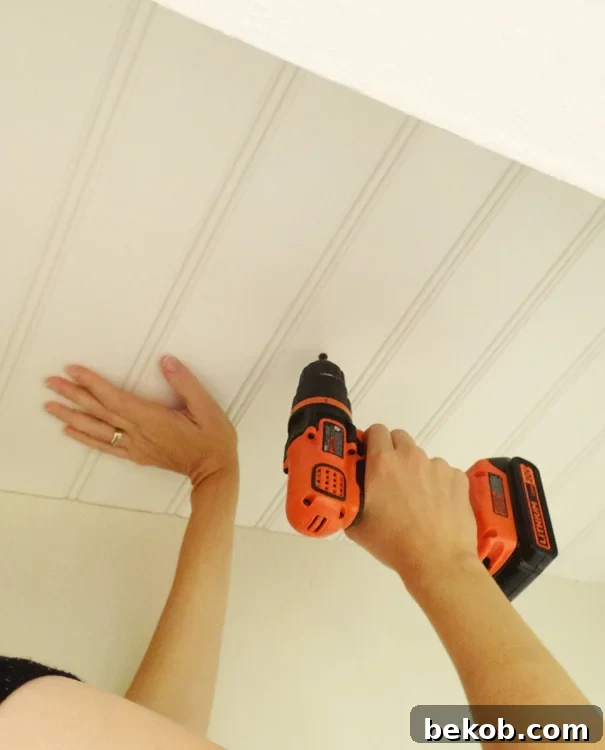
Install enough screws, spaced approximately 18 inches apart, to ensure the board is firmly attached and doesn’t sag. As you add subsequent panels, butt the beadboard ends snugly against each other, leaving a small 1/4-inch gap in between. This slight gap accounts for any material expansion and will later be covered by trim. Don’t worry if the ceiling doesn’t look perfectly finished at this stage; those minor imperfections will be addressed in the final step. The goal here is secure attachment.
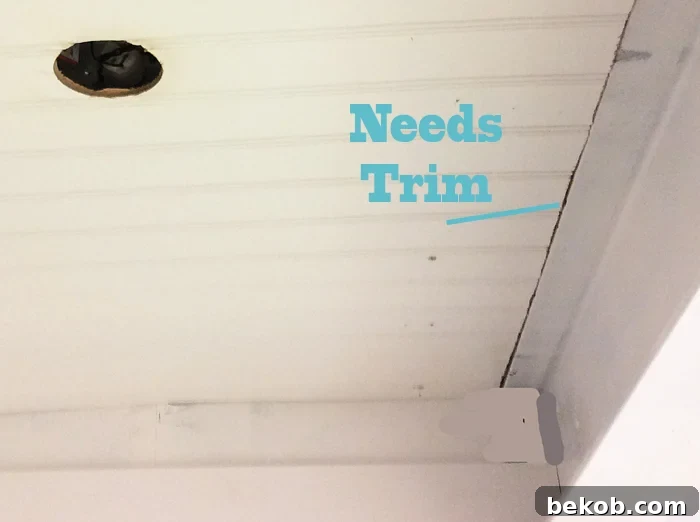
Step Seven: Final Touches – Trim, Fill, and Paint
This is where your DIY beadboard ceiling truly comes to life! To conceal the gaps between the beadboard sheets and achieve a polished look, you’ll install trim. I used 1-1/2 inch lattice strips, which are lightweight and effectively cover the seams. You can use a nail gun for a quick and secure attachment, or if working with lightweight trim like lattice, Liquid Nails adhesive can also work. If using adhesive, painter’s tape can temporarily hold the trim in place while it dries.
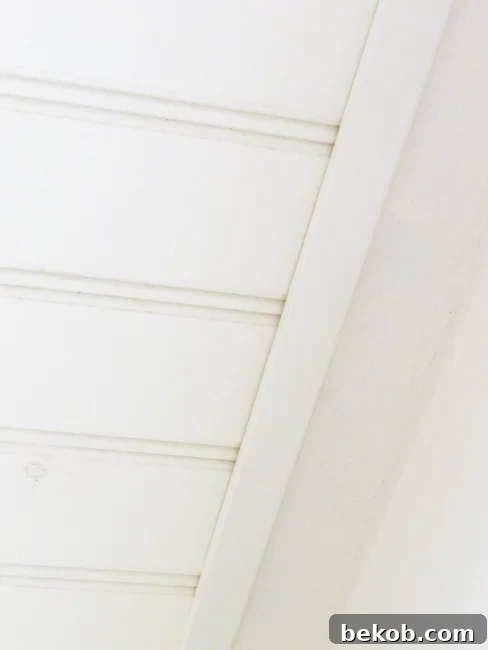
Once the trim is in place, fill all screw holes and any minor imperfections with spackle. Allow it to dry completely, then lightly sand for a smooth surface. The final step is painting! Apply a high-quality primer, especially if your beadboard is unfinished. Then, paint the entire ceiling – beadboard, trim, and all – in your chosen color. Light, flat ceiling paints are often preferred as they help to reflect light and make the room feel more expansive. With these finishing touches, your beautiful new beadboard ceiling is complete!
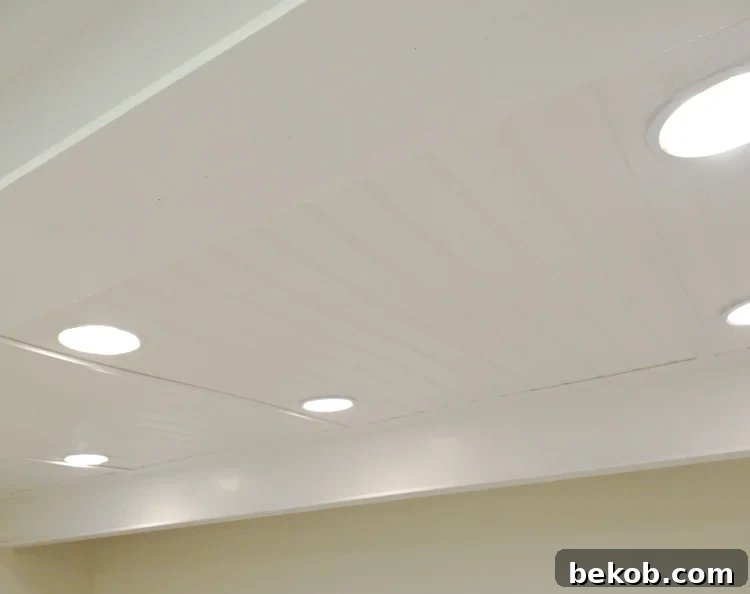
Embrace Your Transformed Basement!
I am absolutely thrilled with the outcome of this DIY beadboard ceiling project, not only for its stunning visual impact but also for the significant cost savings it provided. My basement now feels brighter, more open, and infinitely more inviting – a true extension of our living space rather than a forgotten dungeon. This transformation proves that with a bit of dedication, you can achieve professional-looking results on a DIY budget.
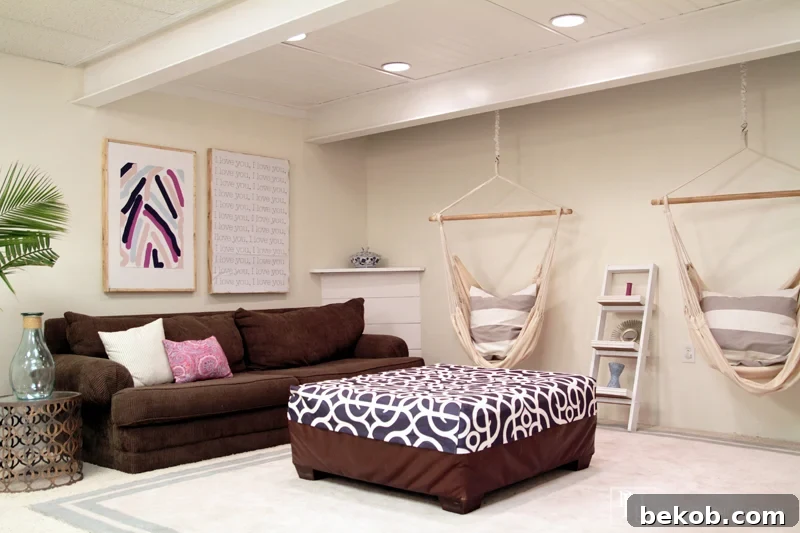
If you have any questions about this project or need further clarification on any of the steps, please don’t hesitate to ask! I’m always happy to help fellow DIY enthusiasts. For more insights into my complete basement makeover on a budget, you can Click HERE. And for an abundance of other budget-friendly home ideas and exciting DIY projects, be sure to visit my website at Provident Home Design! Have a fantastic week and happy remodeling!
Explore More Creative Ways to Enhance Your Ceilings:
Looking for alternative ceiling renovation ideas? Discover how to elevate your home’s design with these inspiring projects:
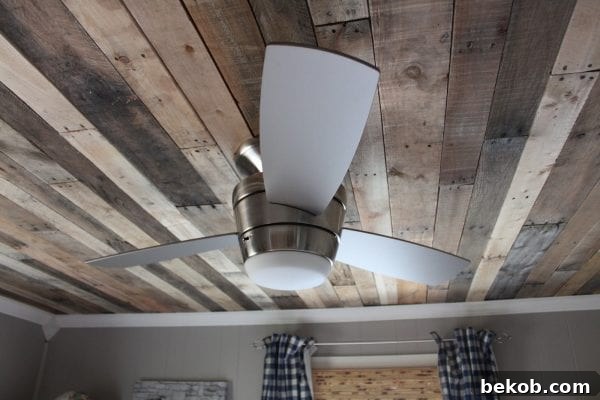
Craft a Rustic DIY Pallet Wood Ceiling