
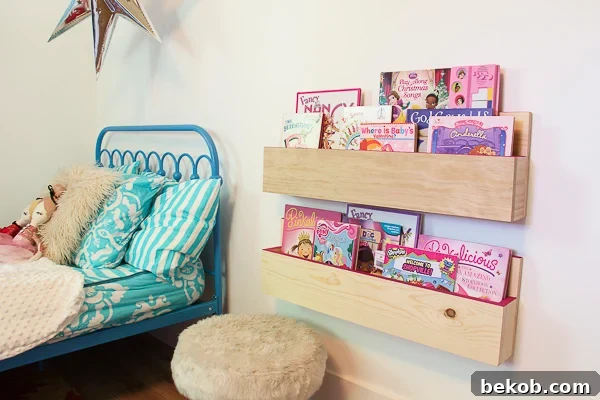
DIY Easy Build Pocket Shelf with Bosch: A Beginner’s Guide
Growing up, my dad was incredibly handy, always working on projects. He was even a chainsaw wood sculptor! I never learned to use a chainsaw myself, but being around tools and creativity instilled in me a confidence to tackle DIY projects. The accessibility to tools, gave me the confidence to try things myself.
Now, as a 35-year-old with two daughters and a super-handy husband, I’m incredibly grateful for his skills! And here’s a little secret: if you want your partner to complete those home projects, the right tools make all the difference. It’s like getting a new gadget – the excitement to use it is contagious! It works the same way!
My husband is not only skilled and willing to learn new things, but he’s also a very patient father. One of my biggest goals for my daughters is to empower them to believe they can accomplish difficult tasks, or at least learn how to. We try to teach them little skills every chance we get.
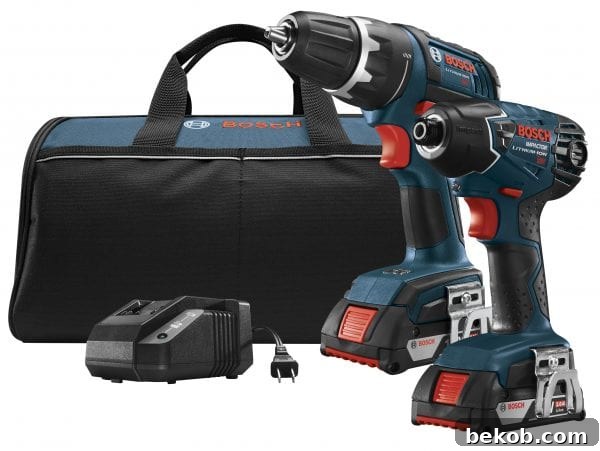
Father’s Day was approaching, and I was thrilled to give my husband the perfect gift: the Bosch CLPK232A-181 18V Drill Driver / Impact Driver Combo Kit. It was the perfect gift. We have some exciting outdoor projects planned for this summer, including building a playhouse for the kids. While our friends gifted us a perfectly good playset, our recent trip to Disneyland sparked tons of ideas to make it even more amazing!
To celebrate, we’re excited to partner with Bosch for a giveaway!
Build a Simple Pocket Shelf: A Quick and Easy Project
For this project, we decided to build a small bookshelf inspired by one we saw at a home show. It reminded me of the pallet wood shelves, but a little less rustic. The best part? This project takes less than 20 minutes! We used mostly scrap wood from our garage, but you can easily buy new wood if needed. It’s a great way to use up those leftover pieces. All it takes is cutting, pre-drilling holes, and assembling.
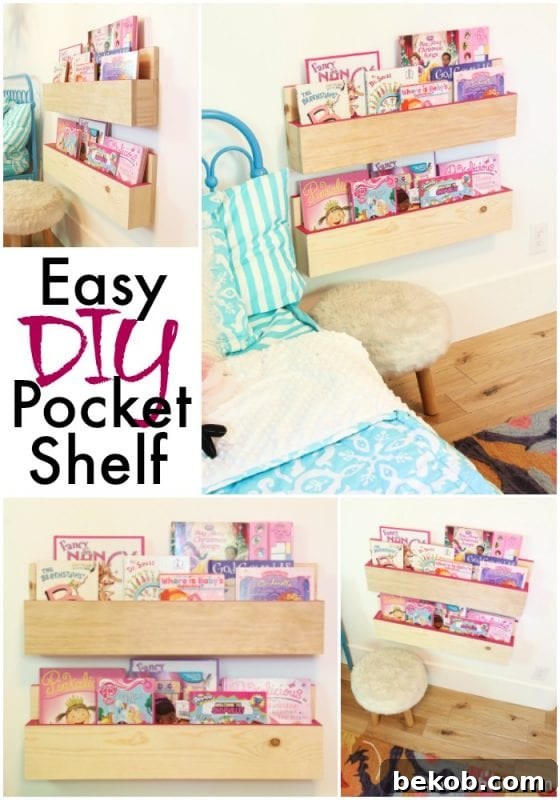
Easy Build Book Pocket Shelf With Bosch
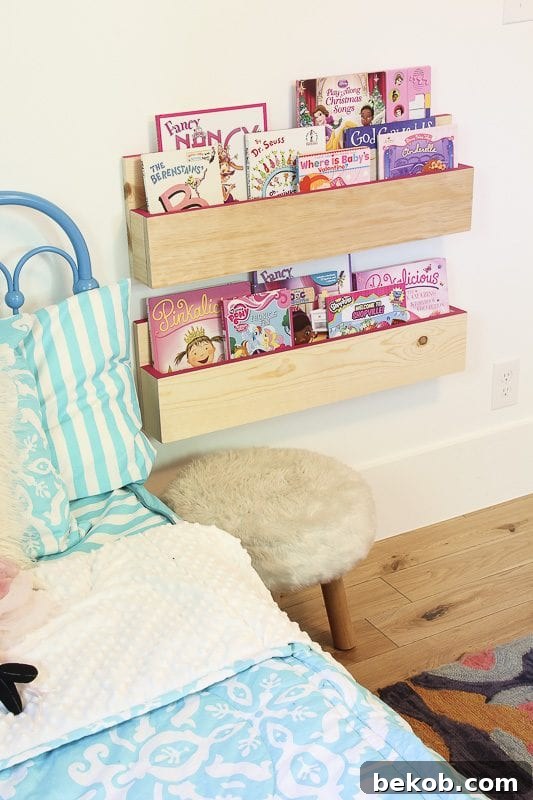
For this project, we made two 30″ long pocket shelves. All dimensions can be altered to fit any length you need. So feel free to change the size to fit your specific needs and style! You can do it!!
Supplies:
- 30″ 1 x 10 Pine (or other wood)
- approx 36″ 1 x 6 Pine (or other wood)
- 28 1/2″ 1 x 3 Pine (or equivalent)
- 1 1/4 Course Threaded Pocket hole screws OR 1 1/2″ wood Screws
Tools:
- Bosch CLPK232A-181 18V Drill Driver
- Hand Saw or Miter Saw
- Optional: Pocket Hole Jig
Instructions:
Step One: Cut the Boards to Length
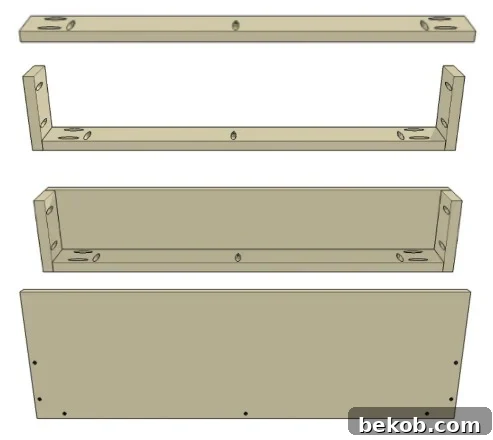
The back board is the 1 x 10 (actual dimensions 9 1/2″) and should measure exactly 30″ long. The front piece, 1 x 6 (actual dimensions 5 1/2″) should be 30″ long as well. You also need to cut 2 – 2 1/2″ pieces from your 1 x 6 (these will be the sides – see diagram. Once cut the two pieces will measure 5 1/2″ x 2 1/2″ ). The bottom will be 1 x 3 (actual dimensions 2 1/2″) cut down to 28 1/2″
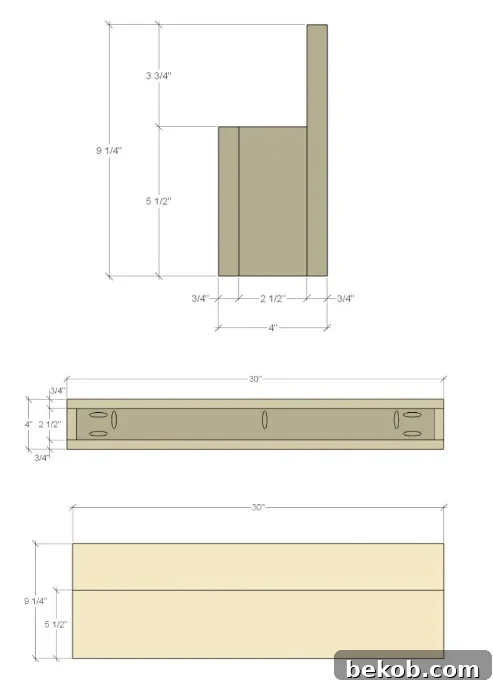
Step Two: Drill Pocket Holes (or Nail)
We decided to use a pocket hole jig for the boards. We were able to hide the pocket holes inside the “pocket of the shelf” (we learned this on our second shelf). The final screws were on the back of the board, so when it is attached to the wall you will never see them.
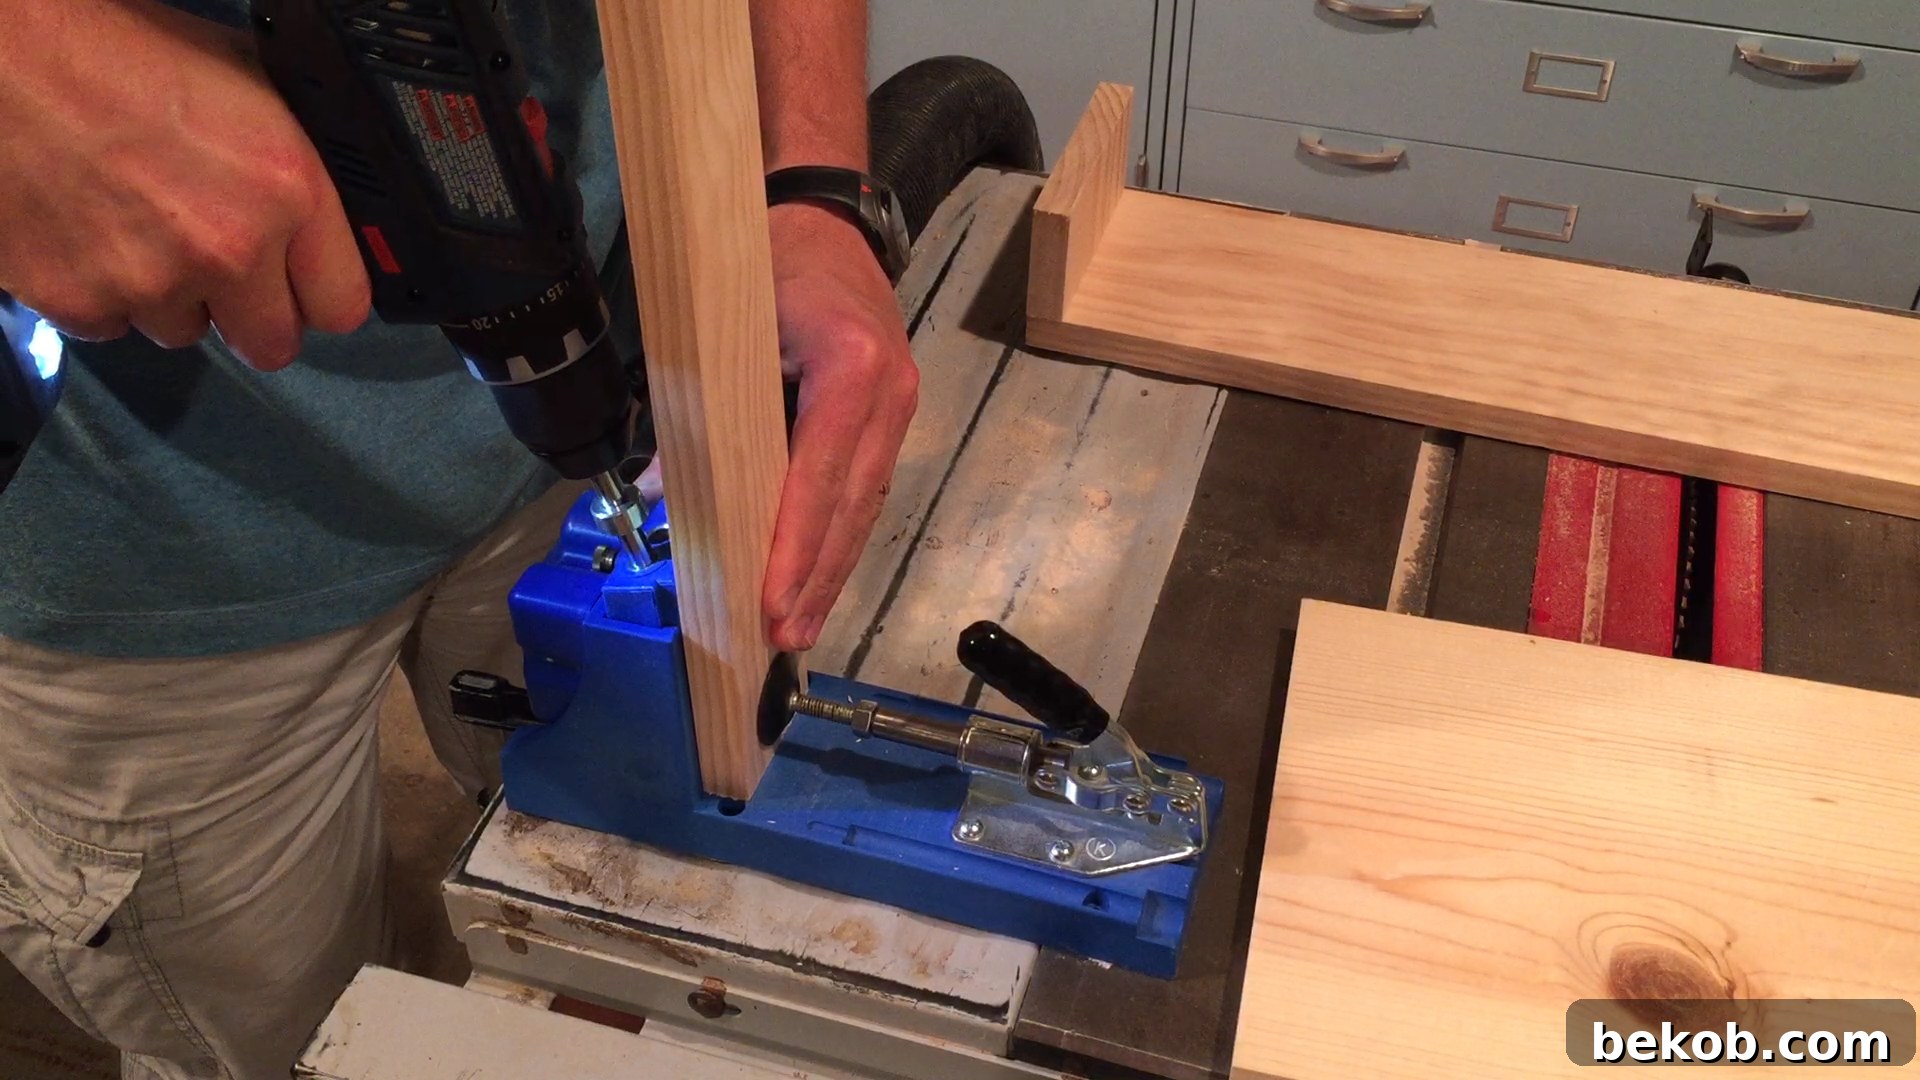
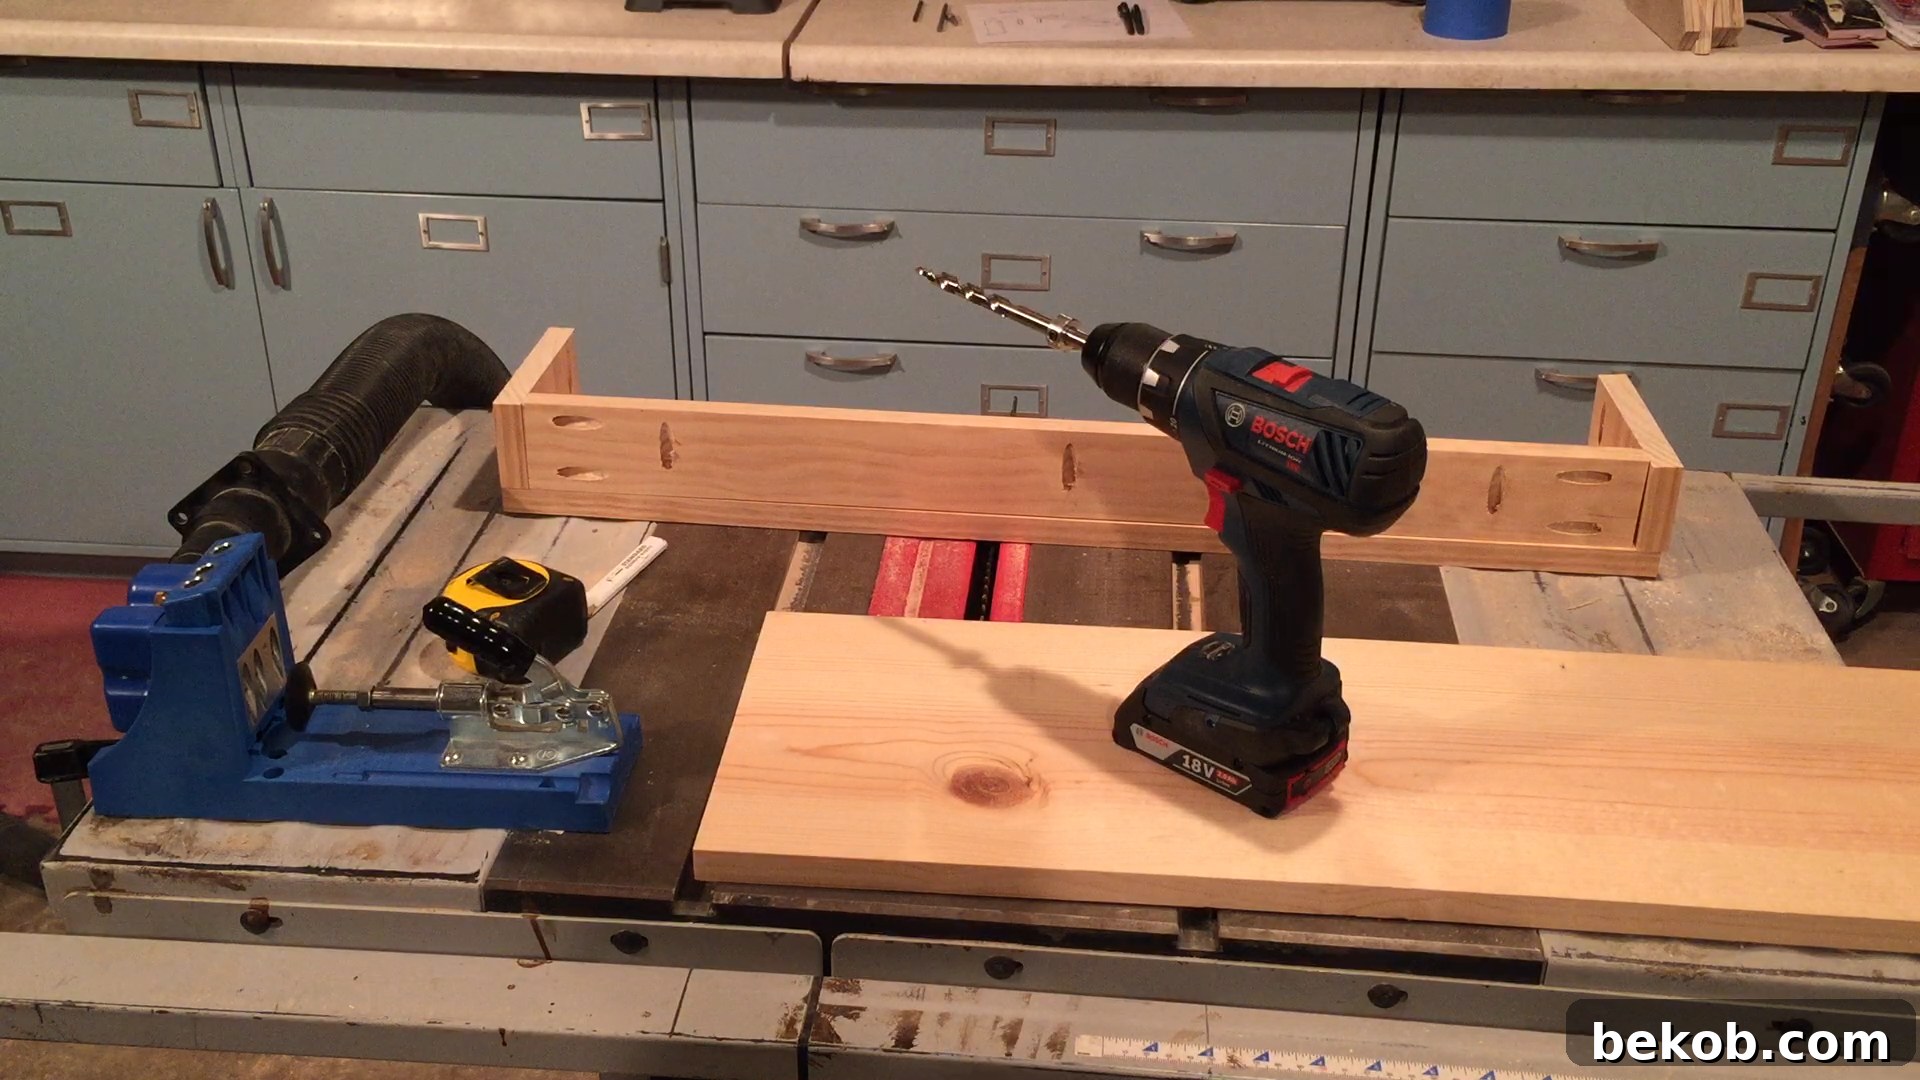
Tip: On the second shelf, we realized we could flip the board around to hide the pocket screws. So, if you’re building yours, have the pocket screws on the inside of the shelf to hide them!
If you don’t have a pocket hole jig, you can simply nail the pieces together. You can use small finish nails and drive the heads in and patch them, or use nails with small heads and leave them exposed for a more farmhouse/industrial feel. To secure everything together, I would nail in a similar set up to the back screw diagram below. Simply nail 2 nails per side piece, and 3 along the bottom; repeat this process on both the front and back panel. At this point, your shelf is ready for finishes. Skip ahead to step 4.
Step Three: Assemble the Shelf
Screw it all together in this order: Bottom to the sides, then to the front, and finally attach the back.
Step Four: Sand and Finish (Optional)
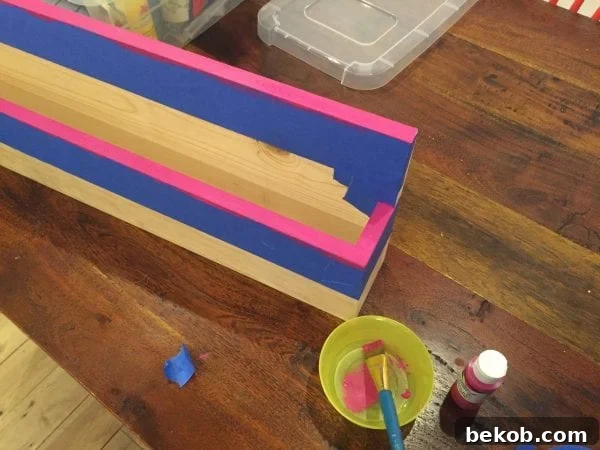
At this point, use a hand sanding block to knock down the sharp edges. Sand those mitered corners, because they can get pretty bad if you don’t. Once sanded, I decided a simple edge painting would be perfect! Since we have a raw pine ceiling in their room, we left most of the pine and just painted the top edge and ledge edge a hot pink – just a fun touch of color!
We found a stud in the wall and screwed the shelf to the wall, using a level to make sure it wasn’t crooked. It’s on there nice and tight!
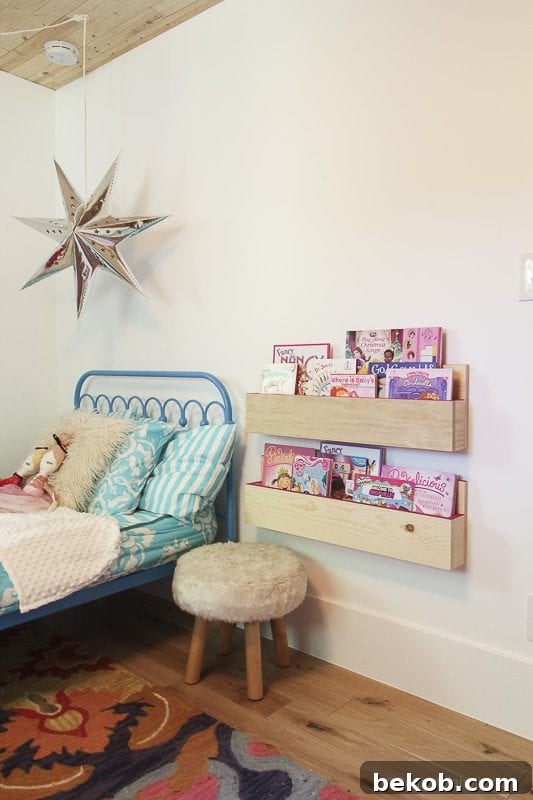
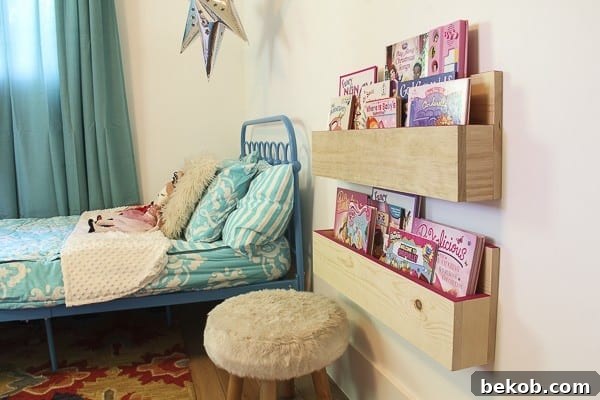
Here are some more examples of how you could build these same shelves for a boys room or family room.
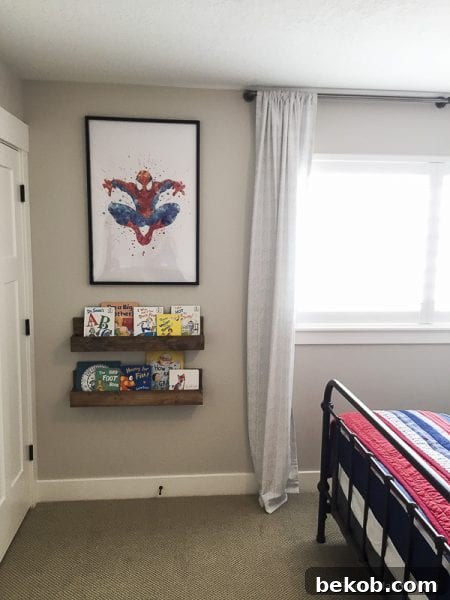
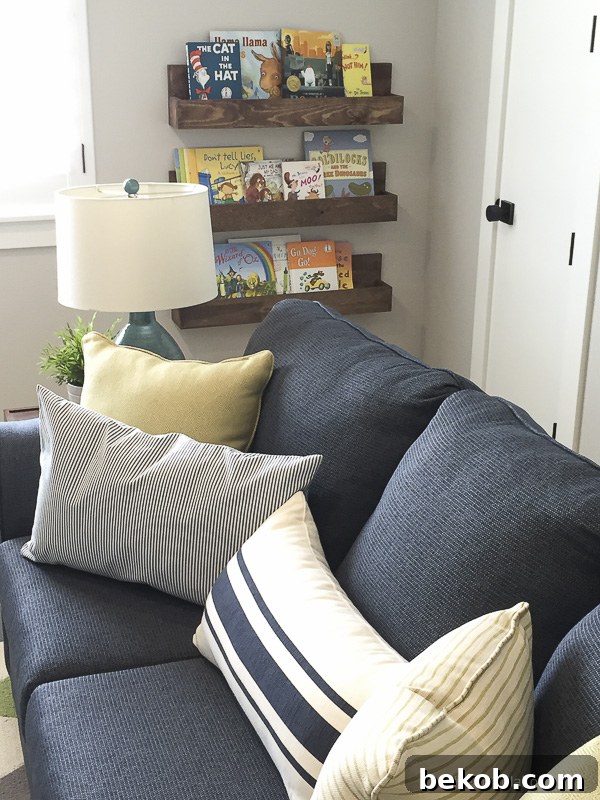
Thank you to Bosch for sponsoring this project. I received the drill set from Robert Bosch Tool Corporation to partner on this project. All opinions are my own.
Why This Pocket Shelf is the Perfect DIY Project
This DIY pocket shelf project is perfect for beginners because it requires minimal tools, basic woodworking skills, and can be completed in under an hour. It’s a great way to add storage and style to any room, from a child’s bedroom to a living room or even a home office. The simplicity of the design allows you to customize the shelf to fit your specific needs and aesthetic preferences.
Benefits of Building Your Own Pocket Shelf
- Cost-Effective: Using scrap wood or inexpensive lumber makes this a budget-friendly project.
- Customizable: Adjust the dimensions, wood type, and finish to match your existing decor.
- Quick and Easy: With minimal steps and basic tools, you can complete this project in under 20 minutes (excluding drying time for paint or stain).
- Functional and Stylish: Provides a convenient storage solution while adding a decorative touch to your space.
- Empowering: Successfully completing this project can boost your confidence in your DIY skills.
Tips for Customizing Your Pocket Shelf
While the instructions provide a basic framework, feel free to get creative with your pocket shelf. Here are some ideas to customize your project:
- Wood Choice: Experiment with different types of wood, such as oak, maple, or cedar, to achieve different looks and textures.
- Finish: Choose a stain or paint color that complements your room’s decor. Consider using a distressed finish for a rustic look or a glossy finish for a more modern feel.
- Size: Adjust the dimensions to fit your specific needs. Create a larger shelf for books or a smaller shelf for displaying decorative items.
- Hardware: Use decorative screws or nails to add a unique touch to your shelf.
- Backing: Add a decorative backing to your shelf using fabric, wallpaper, or even reclaimed wood.
Safety First: Essential Precautions for Woodworking
Before you start any woodworking project, it’s essential to prioritize safety. Here are some important precautions to keep in mind:
- Wear Safety Glasses: Protect your eyes from flying debris.
- Use a Dust Mask: Prevent inhaling sawdust, which can be harmful to your lungs.
- Work in a Well-Ventilated Area: Ensure proper ventilation to avoid inhaling fumes from finishes or adhesives.
- Secure Your Workpiece: Use clamps or a vise to hold your workpiece securely in place while cutting or drilling.
- Be Mindful of Your Surroundings: Keep your workspace clear of clutter and distractions.
- Unplug Tools When Not in Use: Prevent accidental starts by unplugging your tools when you’re not using them.
By following these tips and instructions, you can easily build a beautiful and functional pocket shelf that will add charm and storage to your home. Happy building!