
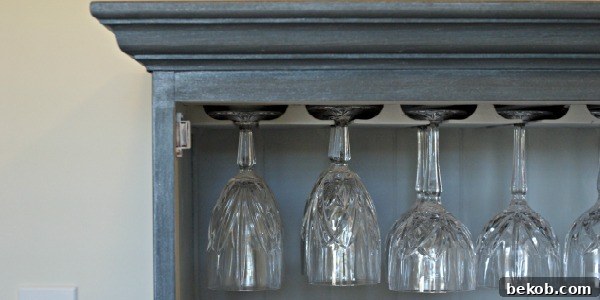
Mastering the Antique Zinc Finish: A Comprehensive DIY Furniture Refinishing Guide
Welcome to a truly inspiring journey into the world of furniture transformation! Today, we’re thrilled to host a remarkably talented guest blogger who will demystify the art of achieving a coveted antique zinc finish on your furniture. Get ready to unlock your creative potential and gain the confidence to apply this sophisticated technique to your next DIY project. This detailed tutorial will guide you through every step, ensuring a stunning, professional-looking result that elevates your home decor.
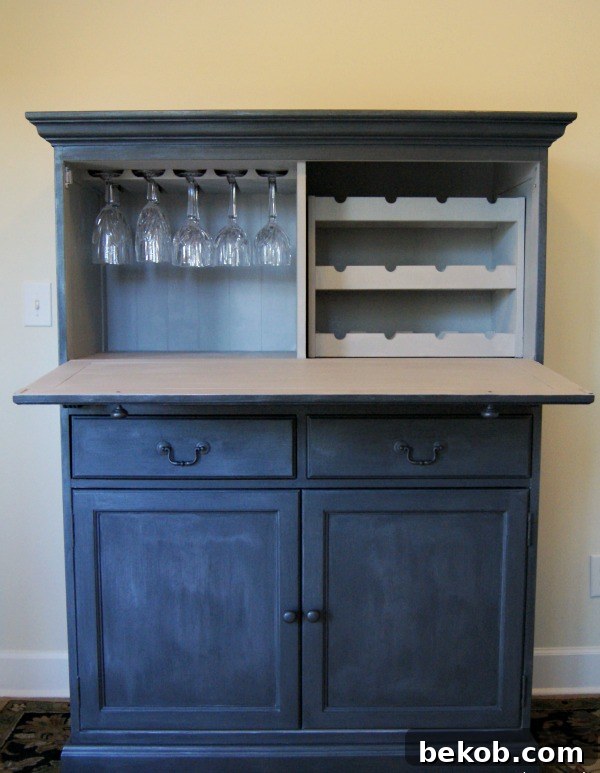
The Allure of Antique Zinc: A Timeless Trend for Modern Homes
The image above showcases the breathtaking outcome of the tutorial you’re about to delve into. This once ordinary hutch has been artfully refinished to emulate the distinct, aged appearance of antique zinc – a finish that’s currently a hot trend in interior design. Its unique blend of rustic charm and industrial sophistication makes it a versatile choice for a variety of styles, from modern farmhouse to urban chic. The beauty of a faux zinc finish lies in its ability to add character, depth, and a touch of vintage elegance without the hefty price tag or maintenance of real zinc.
Curious about how this intriguing new/old look manifests in different pieces? Let’s explore a few other inspiring projects that brilliantly showcase the versatility and appeal of the zinc aesthetic:
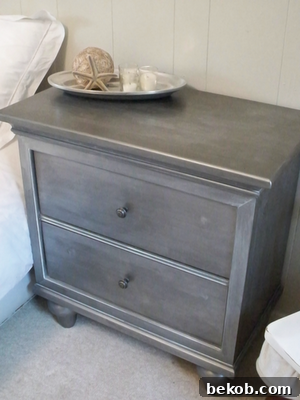
Zinc Finish Nightstand | Freckled Laundry
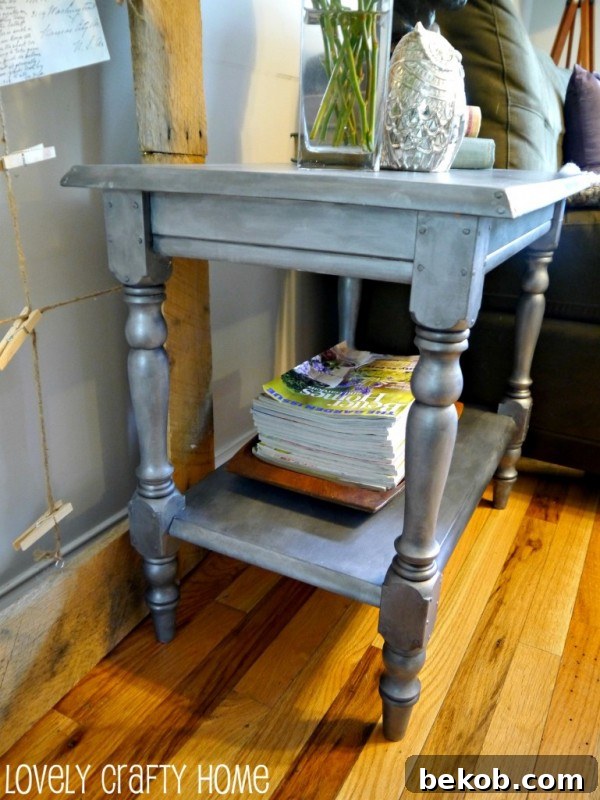
Faux Zinc End Table | Lovely Crafty Home
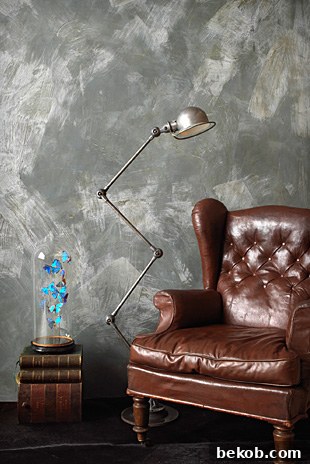
Liquid Zinc Wall Treatment | Porter Paints
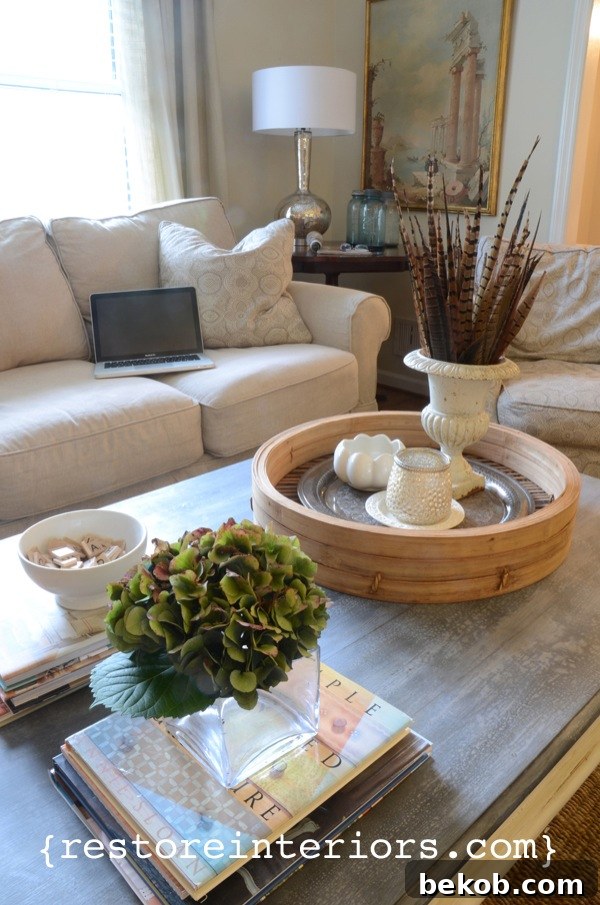
Faux Zinc Coffee Table | Restore Interiors
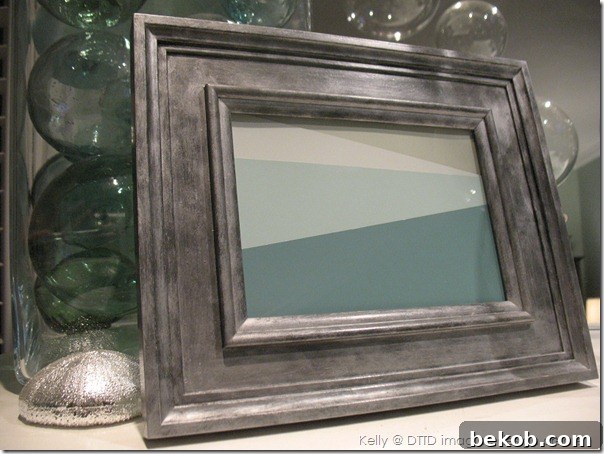
Zinc Finish Makeovers | DTTD Imagine Design Create
Now, let’s turn our attention to the remarkable “zinc-ified” transformation of a classic bar cabinet, brought to you by our incredibly talented guest blogger. Get ready to be inspired!
Meet the Expert: Kristin from Chi-Chi Studio
Hello everyone! I’m Kristin, the creative force behind Chi-Chi Studio. While my passion primarily lies in the art of painting and transforming furniture, my blog also features a diverse range of creative endeavors, including crafts, photography tips, and innovative home design concepts. I’m absolutely delighted to share my DIY Antique Zinc Finish tutorial with you today, walking you through the process of recreating this sought-after look.
The Inspiration Behind the Zinc Finish Project
Thanks to the pervasive influence of platforms like Pinterest, many of us have admired countless interpretations of the faux antique zinc finish. The fundamental goal of these techniques is to replicate the sophisticated aesthetic often seen in high-end designs, such as this iconic look from Restoration Hardware. For a long time, while I appreciated the beauty of this finish, I never quite imagined attempting it myself. I envisioned needing a dedicated space and an abundance of personal furniture to use for experimentation before tackling such a specialized technique.
However, fate, as it often does, had a different plan. I met a client at C’est Moi who presented me with a Restoration Hardware catalog, pointing directly to the zinc-finished piece that would serve as her inspiration. Suddenly, my hesitation vanished, replaced by a surge of excitement and a healthy dose of nerves. This wasn’t just any piece; it was a client’s furniture destined for an attorney’s office – a significant project with high expectations. The pressure was on, but so was the thrill of embracing a new challenge!
The Foundation: Before the Transformation
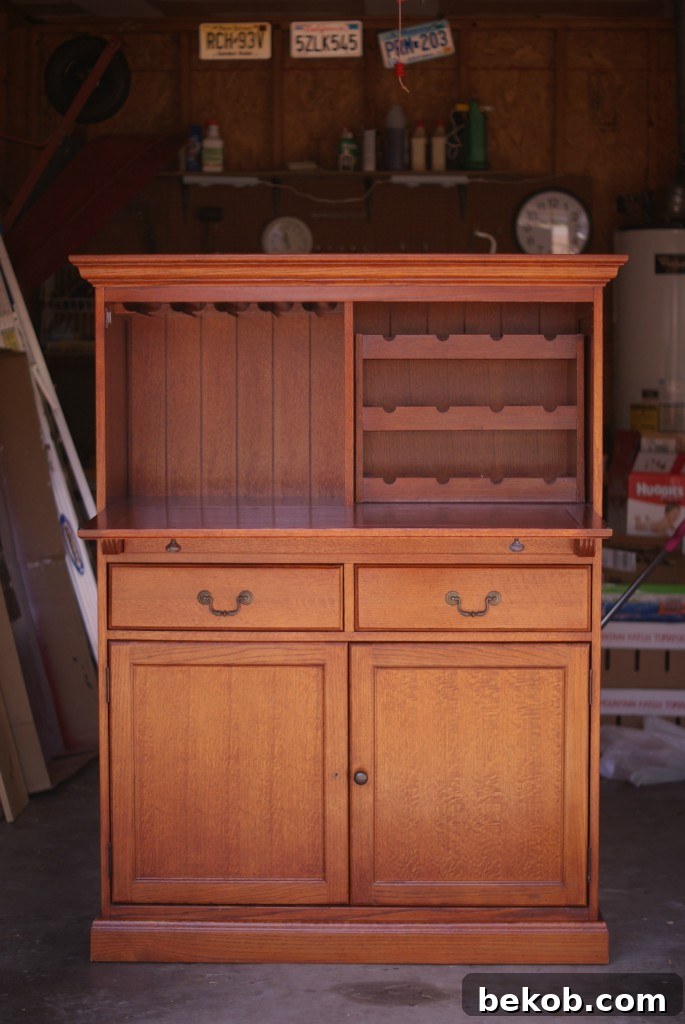
Before we dive into the intricate details of the zinc finish application, let’s take a moment to appreciate the “before” state of the bar cabinet. This is the piece that served as our canvas for this exciting transformation:
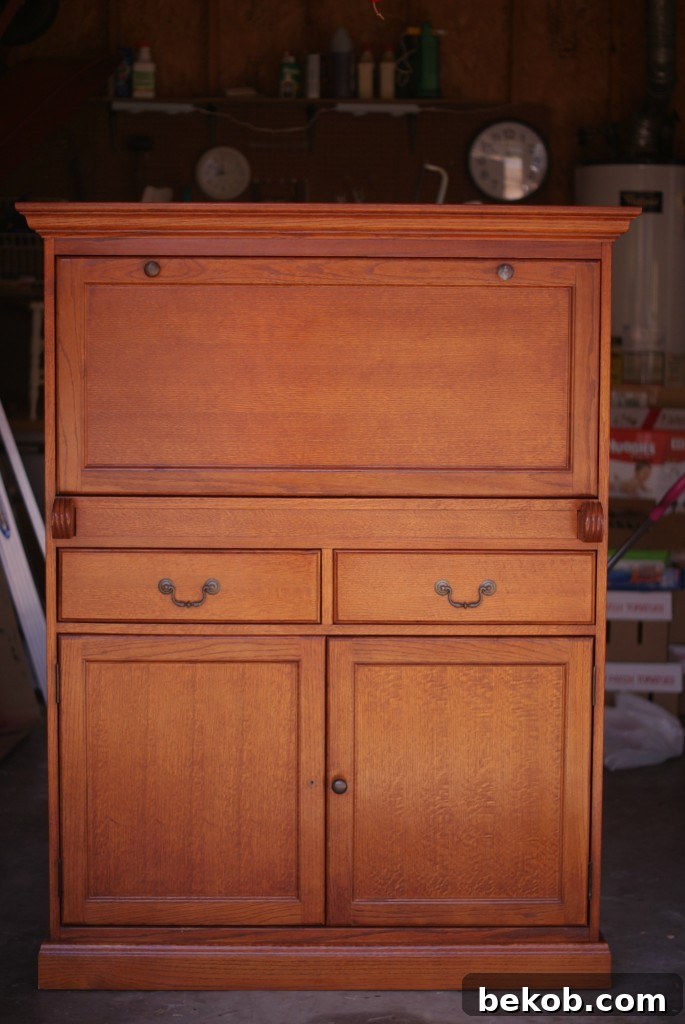
As you can see, it was a solid piece with good bones, but it lacked the distinctive character we were aiming for. The interior also presented an opportunity for a complementary finish:
Gathering Your Essential Supplies for the Faux Zinc Effect
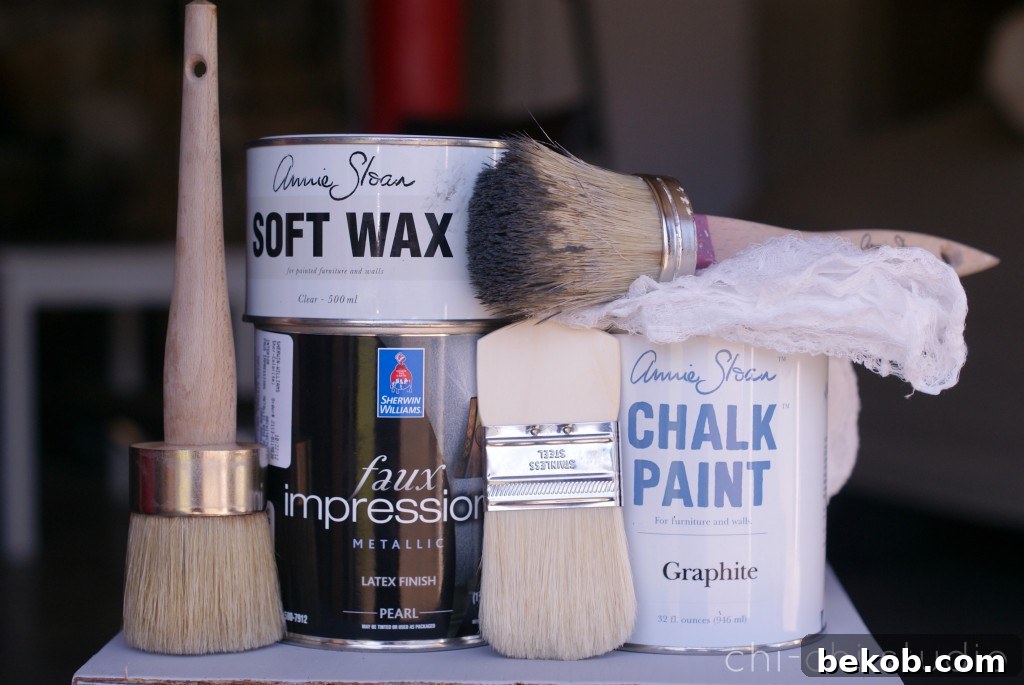
Achieving this antique zinc finish requires a specific set of tools and materials. Here’s a detailed list of everything you’ll need to replicate this stunning look:
- Annie Sloan CHALK PAINT™ in Graphite (for the base coat, and touch-ups if needed)
- *Sherwin Williams Faux Impressions Metallic Pearl Finish in DISTANCE SMET (This designation means “Distance Metallic.” It’s the metallic counterpart to their latex color “Distance,” identified by the number SWF315.)
- Annie Sloan Clear Wax (for protection and a subtle sheen)
- Annie Sloan medium paint brush (for applying Chalk Paint)
- Annie Sloan wax brush (for applying the clear wax)
- Chip brush (for applying the metallic glaze)
- Cheesecloth (for blending and wiping excess glaze)
*Note on Metallic Glaze: I specifically used only the glaze itself. While it’s typically designed to be applied over a Sherwin Williams Faux Impressions Base Coat, I opted to use the Graphite Chalk Paint as my base. This approach allowed for a deeper, more integrated zinc effect.
Why This Method? The Rationale Behind My Material Choices
You might be wondering about my specific choice of materials and this particular method. Here’s a breakdown of my rationale, which I believe will offer valuable insights for your own projects:
- My Affinity for Chalk Paint: My preference for Annie Sloan Chalk Paint is well-known. Its minimal prep requirements, excellent adhesion, and beautiful matte finish make it my go-to choice for almost all furniture projects. It provides a superb, forgiving base that’s ideal for layering specialized finishes.
- Efficiency and Durability for Large-Scale Projects: While many beautiful faux zinc finishes have been created using various combinations of small bottles of acrylic paint (like those expertly demonstrated by Jami at Freckled Laundry and Amy at The Salvage Collection), tackling a large piece like this hutch with numerous small acrylic bottles would have been incredibly inefficient and, frankly, overwhelming. Furthermore, when working on client pieces, I prioritize durability and a professional finish. Acrylic paints, while versatile, can sometimes lack the robust qualities needed for heavily used furniture unless properly sealed and applied. For a client project, I lean towards products I trust implicitly for their longevity and finish quality.
- Valuable Expert Advice: A significant factor in my decision was a fortunate encounter. While meeting my client at C’est Moi, Tawnya graciously referred me to a friend who had successfully used metallic glazes over Chalk Paint. Providentially, this friend was actually visiting the shop that day (all the way from North Carolina, if I recall correctly!), giving me the invaluable opportunity to ask questions and receive first-hand advice. This personal guidance significantly boosted my comfort level and confidence in attempting this particular technique for the first time on a client’s piece.
With our supplies gathered and our inspiration firmly in mind, let’s embark on the detailed step-by-step tutorial to achieve this exquisite Antique Zinc Finish.
The Antique Zinc Finish Tutorial: A Step-by-Step Guide
Step 1: Laying the Foundation with Graphite Chalk Paint
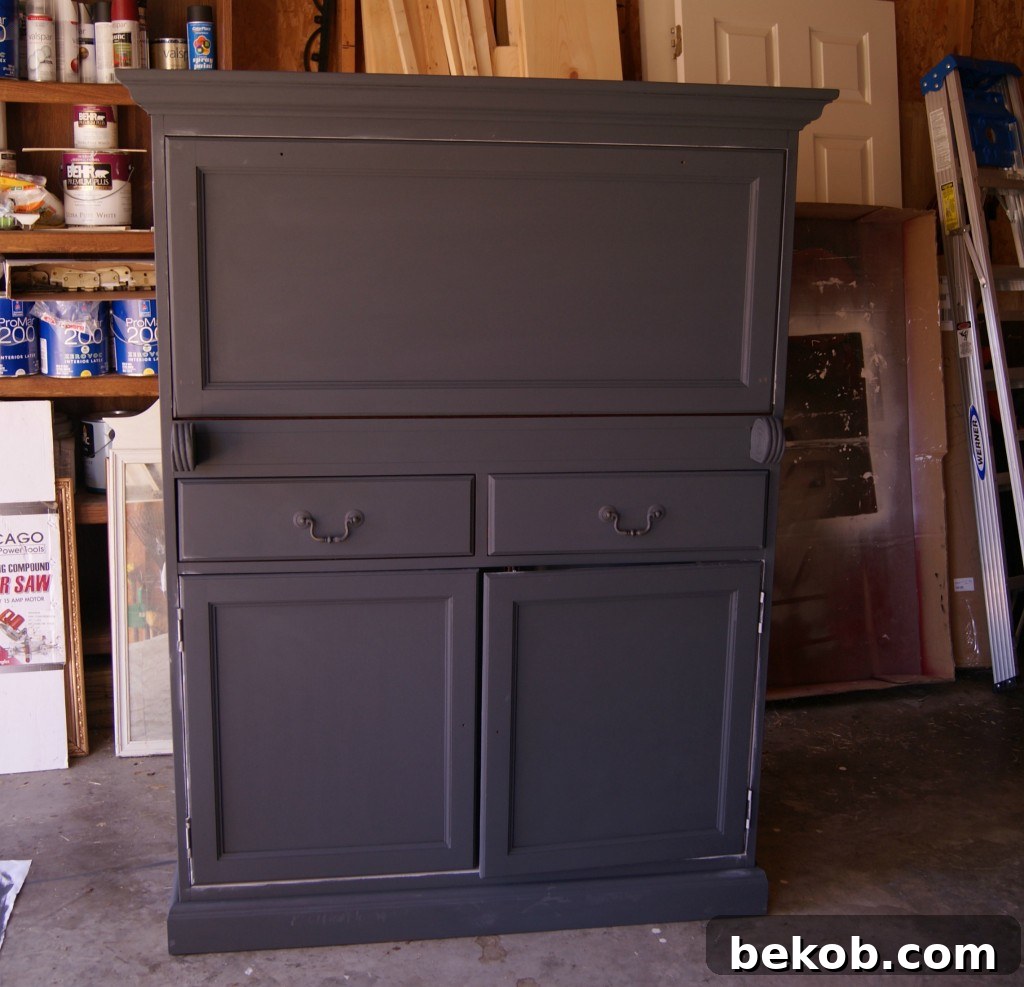
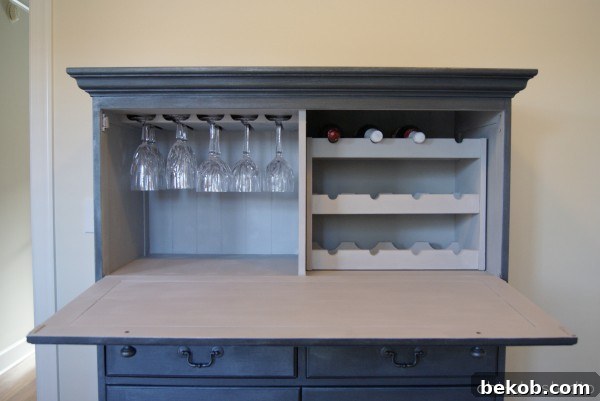
The first crucial step in this transformation was to apply a solid base coat. I meticulously painted the entire exterior of the cabinet with Annie Sloan’s Graphite Chalk Paint. Graphite provides a rich, deep, almost charcoal black that serves as the perfect undercurrent for the metallic glaze, mimicking the natural dark tones of aged zinc. For the interior, I chose Annie Sloan’s Paris Grey Chalk Paint – a soft, warm grey that creates a lovely contrast. You can catch a glimpse of this subtle interior peeking out in the photo below. Before moving on to the next phase, I made sure to carefully touch up any areas where the Paris Grey might have crept onto the exterior, ensuring a pristine Graphite base. Apply your Chalk Paint evenly, allowing each coat to dry thoroughly before applying the next, typically two coats are sufficient for full coverage.
Step 2: Selecting the Perfect Metallic Glaze – A Leap of Faith
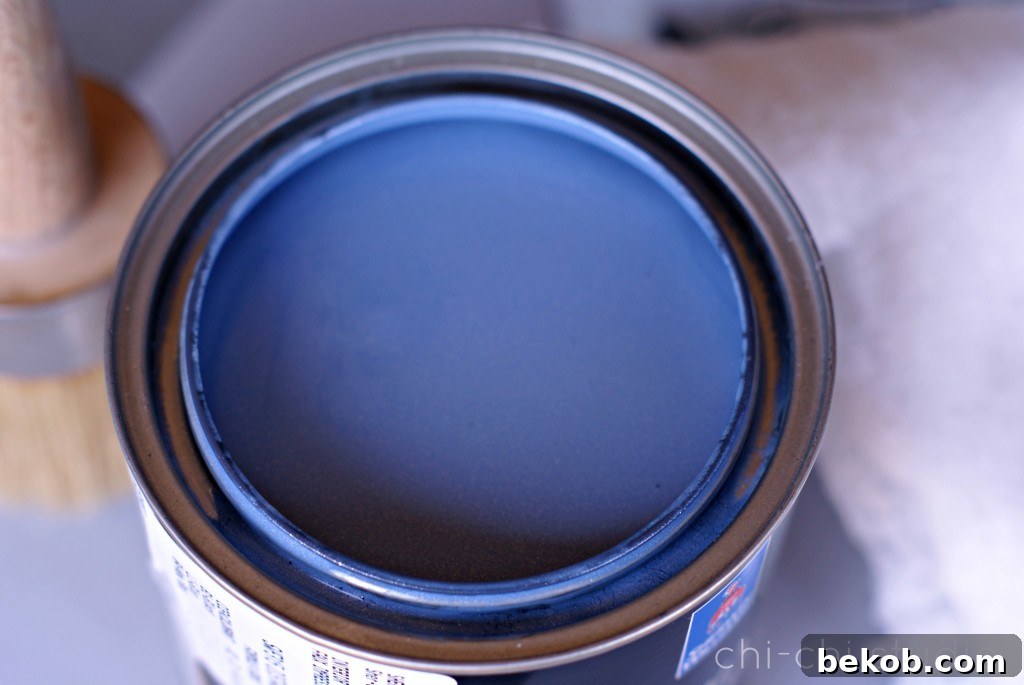
For the metallic overlay, I opted for a Sherwin Williams Faux Impressions Metallic Pearl Finish. There’s a wide array of metallic glazes on the market; Tawnya’s friend, for instance, had recommended one by Behr. However, I had already purchased the Sherwin Williams product based on a store swatch that appeared to be a suitably dark silver tone. I was aiming for a deeper, more authentic zinc look, which is inherently darker than a bright silver. My initial confidence wavered when the freshly mixed glaze revealed a much bluer tone than I anticipated. Given that glazes are typically non-refundable, I felt a knot of apprehension!
However, a key insight from a conversation at C’est Moi resurfaced: actual aged metal often exhibits subtle blue undertones. This small detail provided a glimmer of hope. Furthermore, the helpful staff at Sherwin Williams assured me they would remix the color free of charge if it didn’t work out. This reassurance was enough to encourage me to take the plunge. I reasoned that a glaze’s inherent transparency would allow enough of the dark Graphite base to show through, effectively neutralizing the blue and yielding the desired antique zinc patina. Fingers crossed!
Step 3: The Initial Glaze Application – Confronting the Fear
Seeing the vibrant blue on my chip brush, as shown below, my hands were visibly shaking. I was genuinely holding my breath for this step. My primary comfort came from knowing my client was exceptionally kind and not under a strict deadline. My fallback plan? If it turned out to be a disaster, I could always re-apply a fresh coat of Graphite and start over. (A quick self-comforting nod and arm rub were definitely needed!)
Despite the fallback, the feeling was akin to walking into an exam completely unprepared – a sensation I, as a lifelong academic “nerd,” had never actually experienced, always having studied diligently. Yet, I could now vividly imagine the trepidation! Finally, I mustered the courage to begin applying the metallic glaze. Because glazes are inherently transparent, I laid it on quite thickly to ensure sufficient coverage and metallic shimmer.
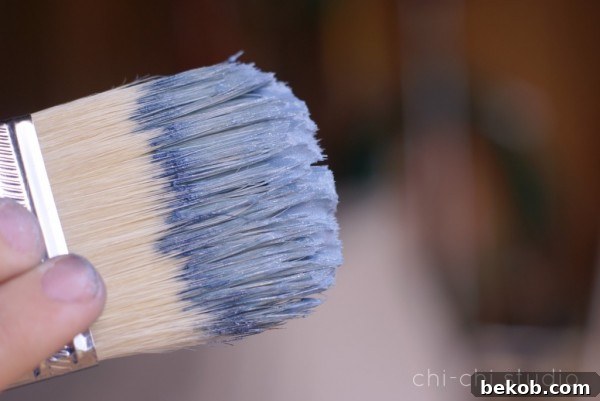
Here’s what the glaze looked like immediately after brushing it on, a thick, slightly uneven application:
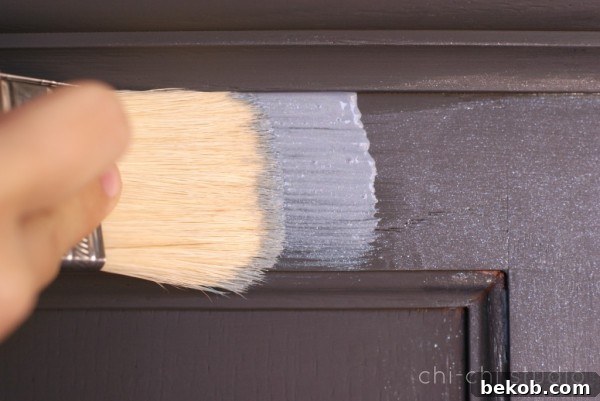
And the initial appearance across a larger section, prior to blending:
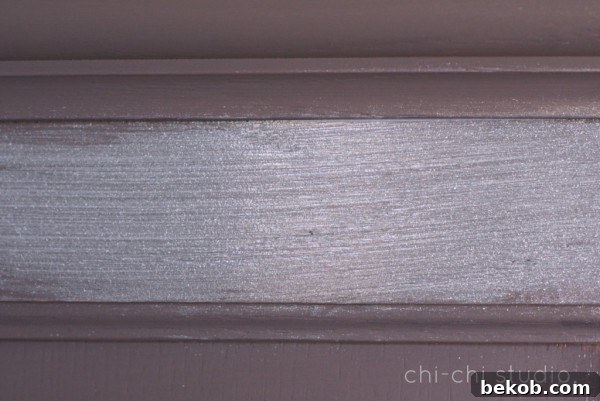
Step 4: Blending and Refining with Cheesecloth – The “Aha!” Moment
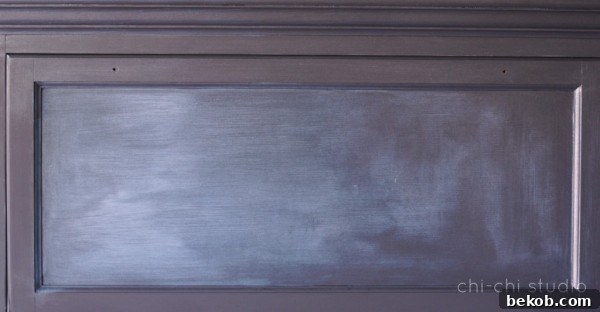
After applying the glaze, the next critical step was to blend it and remove any visible brush strokes to create a seamless metallic sheen. I immediately reached for the cheesecloth to gently wipe off the excess glaze and soften the application. You can observe a distinct brush stroke to the right of the cloth in the image below – the goal is to make that disappear entirely. It’s vital to note that this particular glaze, and most metallic glazes, dry incredibly quickly. This necessitates working in small, manageable sections to avoid the glaze drying before you can properly blend it.
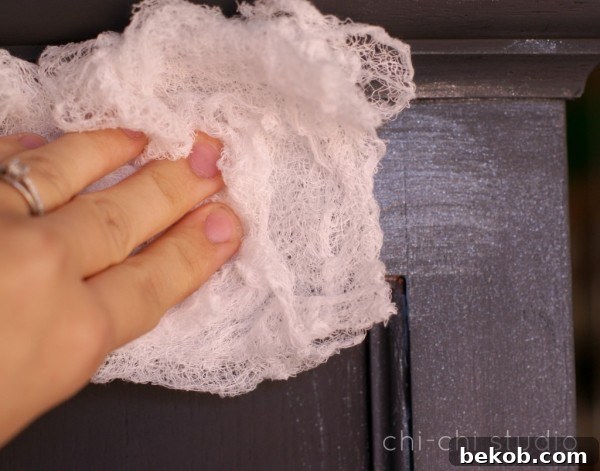
As the glaze began to dry, a wave of relief washed over me: plenty of the underlying Graphite was indeed showing through, and the finish wasn’t turning blue! Success! However, I quickly realized that I was removing a bit too much glaze with the cheesecloth in my initial attempts. To rectify this, I went back and applied a second, lighter coat to the first two areas I had glazed.
It was during this refinement process that I experienced an “aha!” moment. I discovered that by continuously working the glaze in with my brush – alternating between vertical and horizontal strokes – the brush strokes would effectively disappear. The glaze would transform into a slightly more “pasty” consistency, allowing for much smoother blending without needing to rely as heavily on the cheesecloth. This technique creates a beautifully even, almost buffed appearance.
You can clearly see the drying process in the image below. I worked from right to left, and you’ll notice how much bluer the freshly applied glaze on the left appears compared to the right side, where the glaze had already started to dry and meld with the Graphite base. This visual demonstrates the transformative power of the drying process and the dark base coat.
Step 5: Sealing with Clear Wax for Durability and Depth
Once the metallic glaze had completely dried – I usually allow a full 24 hours for optimal curing – I proceeded to apply a coat of Annie Sloan Clear Wax. This step is crucial for several reasons. Firstly, it provides robust protection for the newly created finish, making the furniture more durable and resistant to wear and tear. Secondly, the wax deepens the color and adds a subtle, refined sheen, enhancing the overall antique zinc effect and giving it a professional, lasting quality. Apply the wax thinly and evenly with a wax brush, then buff gently with a clean cloth.
The Grand Reveal: A Stunning Antique Zinc Transformation
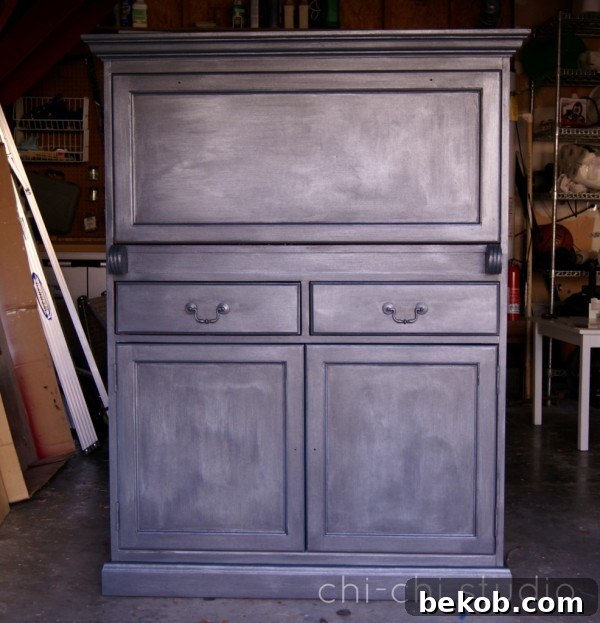
And there you have it! After all the meticulous steps, the careful application, and a little bit of creative courage, the bar cabinet was finally complete, radiating the beautiful, aged character of antique zinc. Here she is, freshly finished in my garage:
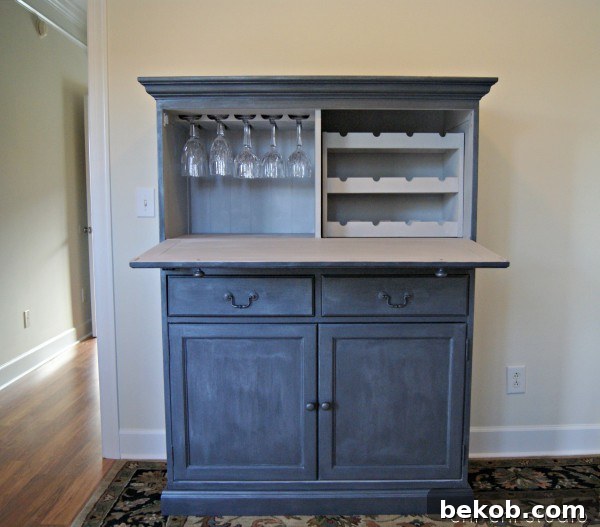
The real magic, however, happens when a piece finds its new home and seamlessly integrates into its intended environment. Witness the antique zinc bar cabinet in its proud new setting – an attorney’s office, where its sophisticated and unique presence undoubtedly adds a touch of bespoke elegance:
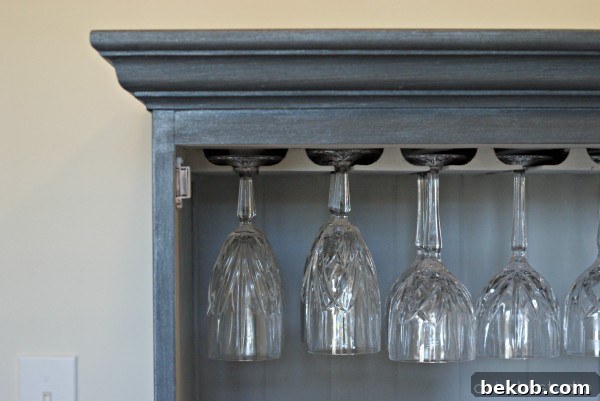
Wow, Kristin! The finished product is truly nothing short of stunning! Your courage to experiment with this technique, even under pressure, has paid off beautifully. Thank you so much for sharing your detailed painting techniques and your invaluable insights with us today. This transformation not only demonstrates skill but also the incredible potential that lies in refinishing furniture. It certainly makes me want to pull out my own painting pants and get started on a new project!
If this comprehensive Antique Zinc Finish Tutorial has ignited your passion for furniture refinishing and specialized painting techniques, then you’re in luck! We have an extensive library of resources designed to help you explore different products and methods. Dive deeper into the world of furniture painting by checking out our in-depth reviews on other popular and specialized paints and refinishing products that we’ve shared right here at Remodelaholic. Expand your knowledge and find the perfect product for your next masterpiece!
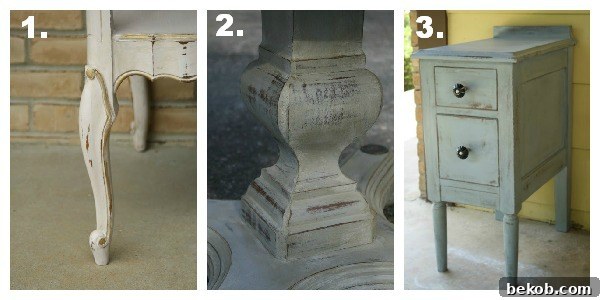
CeCe Caldwell’s Paint Review | Annie Sloan Chalk Paint Review | Old Fashioned Milk Paint Review