Materials and the sequence of the job sit together on this page.
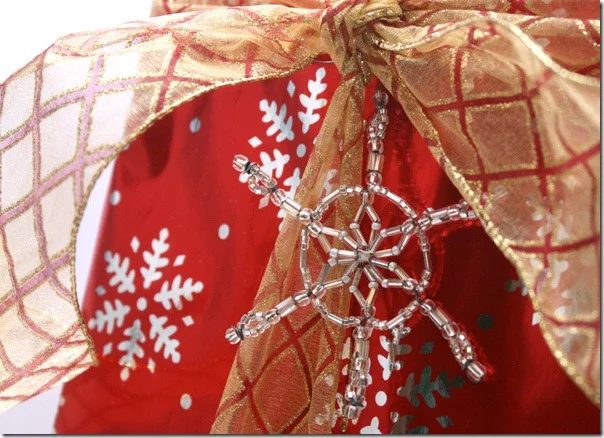
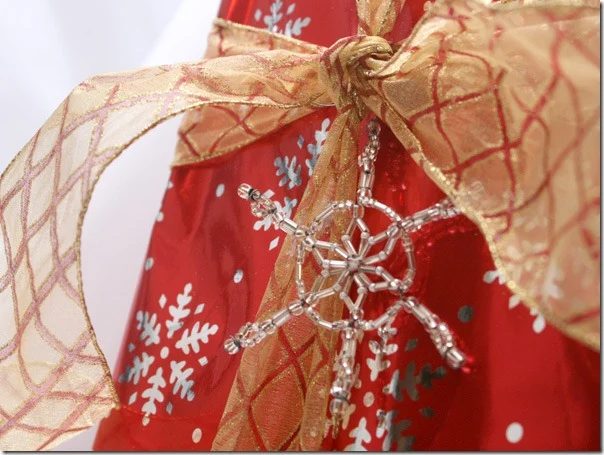
I thought it would be fun to show you an ornament that I have been making for a few years, my little beaded snowflakes. Also, Stephanie Lynn invited me to be a part of her 25 homemade ornaments this year. Please go look at my post over at Under the Table and Dreaming for another fun beaded ornament!
The thing that I love about these little snowflakes is how delicate they, how they glitter and shine on your tree or how great they look attached to the bow on a plate of cookies!
Supplies you will need:
Various glass beads
26 gauge wire
string
Tools:
Needle nose/wire cutting pliers
Step One:
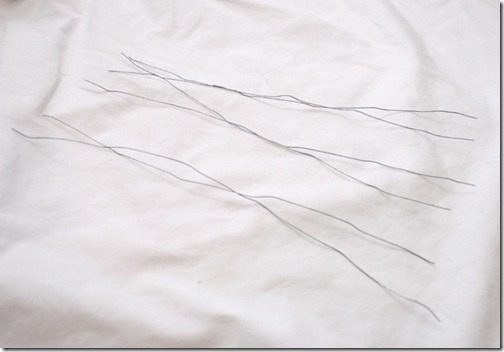
Cut your wire to length. You will need 6 pieces about 9 –10 inches long.
Step Two:
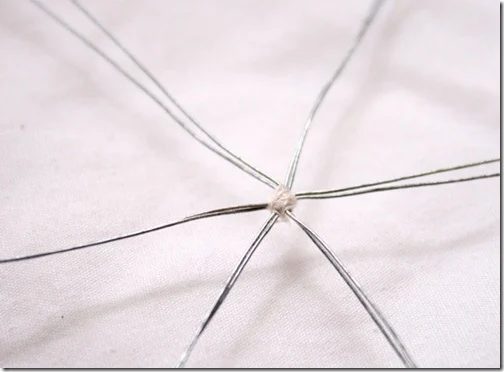
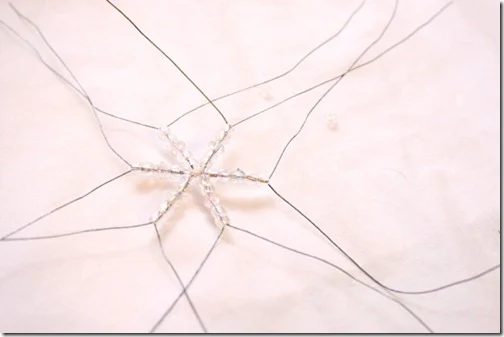
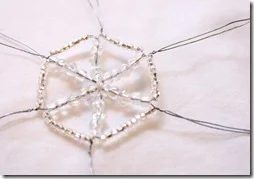
Bundle the wires together and tie with strings in the center. You want to make 6 arms. So separate your wires into 6 arms of two. Weave in and out of the strands, with your threads, tie and trim excess. It should look like the image below.
Step Three:
Start adding beads. I usually just copy the bead placement on each arm around the circle. To hold the beads in place as you string the next arm, just bend one of the wires down.
Step Four:
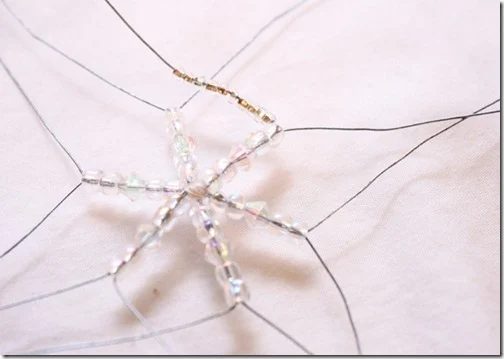
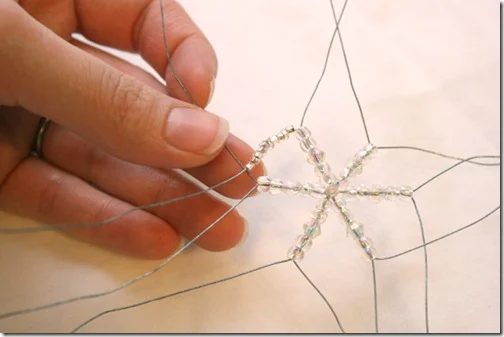
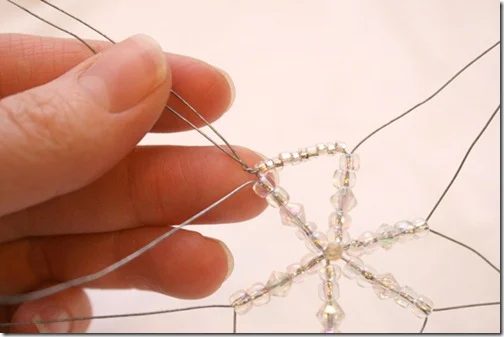
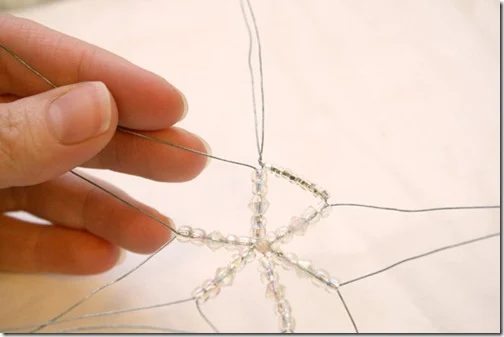
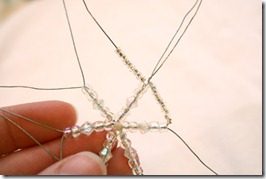
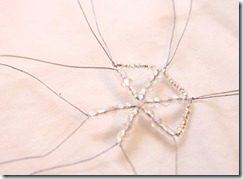
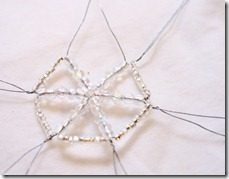
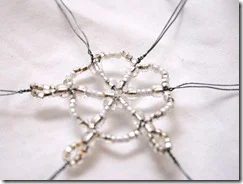
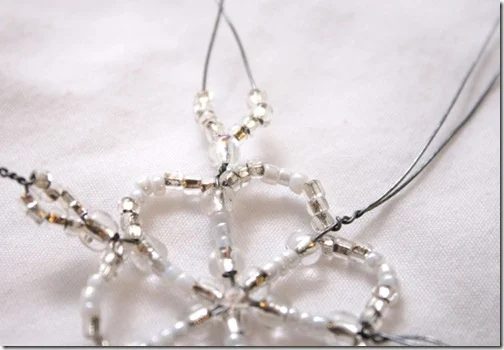
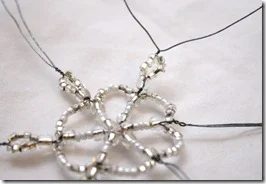
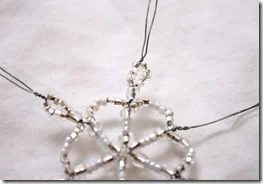
To create a secondary circle you string beads on one wire at a time, and then twist it into one of the next arms wires. Then take the second wire, string beads on it, and attach it to one of the wires on the next arm… (look at the pictures, it is easier for them to do the explaining!) Just work your way around the circle.
Step Five:
To add small circles within each arm, add a few beads to each individual wire. Twist and top with another bead.
Step Six:
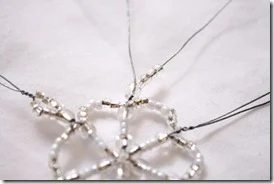
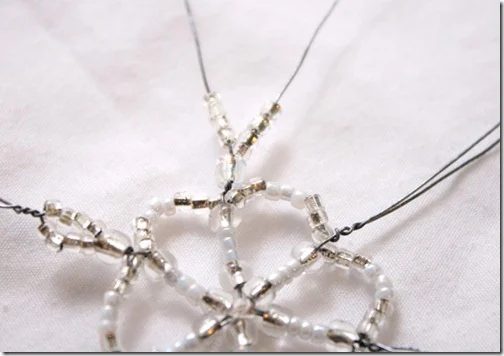
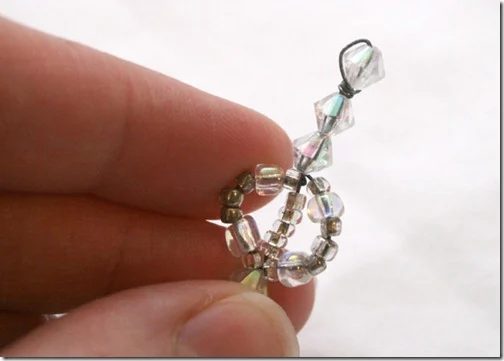
Finish off each arm as you wish with beads. To secure them At the end you can either add a small loop of wire, by wrapping the wires around the needle nose plier tip, or just bend the wire back over the last bead and wrap just under the bead. Like so:
You’re done!
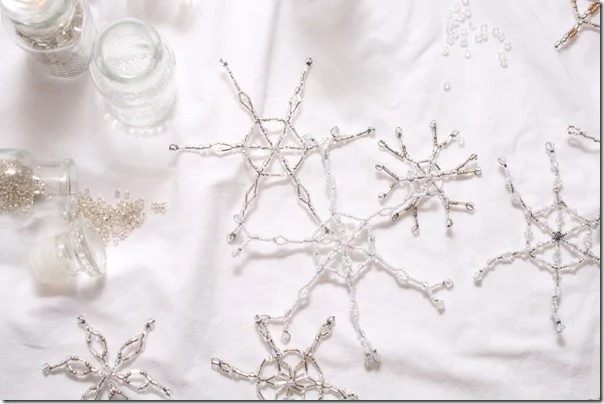
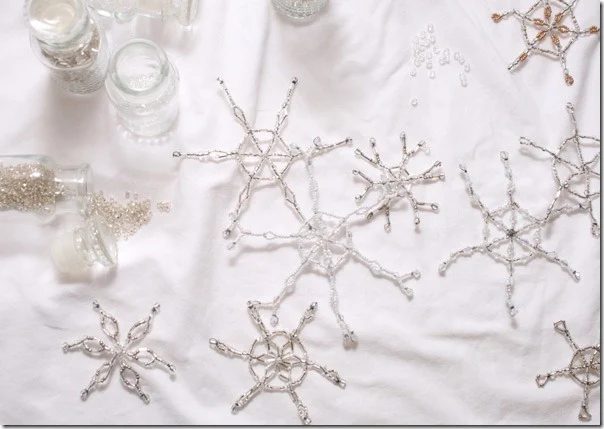
Now you can just add a hook to the end of one of the arms, and use it where ever you please!