This methods walkthrough stays in the order the work happens.
Today, I am clearly excited to show you the great project I’ve been working on for the Ready, Set, Paint Blog Hop!
In Texas we used to have a nice full length mirror on our bedroom closet door. I miss it! Since the move, we haven’t really had a nice place to look at for outfits… (cuz Justin really needs one, ahem.. I kid, it is all about me) But I didn’t just want to go buy one of those little $5 dollar cheapo mirrors… you know what I am talking about right?
So, just a while ago we were walking around Ikea and they had a great larger mirror for only $50.00 bucks and I bought it because I felt like I could do two great things with this mirror… I will show you the first thing we did with it! Although the mirror itself had a very short life…I’ll tell ya that story in a second.
So, I’ve always wanted a nice floor mirror, I’ve helped a friend make one, and fooled around with the option a few times. Then at the Parade of homes last year (and this year) I saw some great chunky framed mirrors. I have been wanting one that style ever since. I thought my $50 buck mirror would make a great beginning… for something like this:
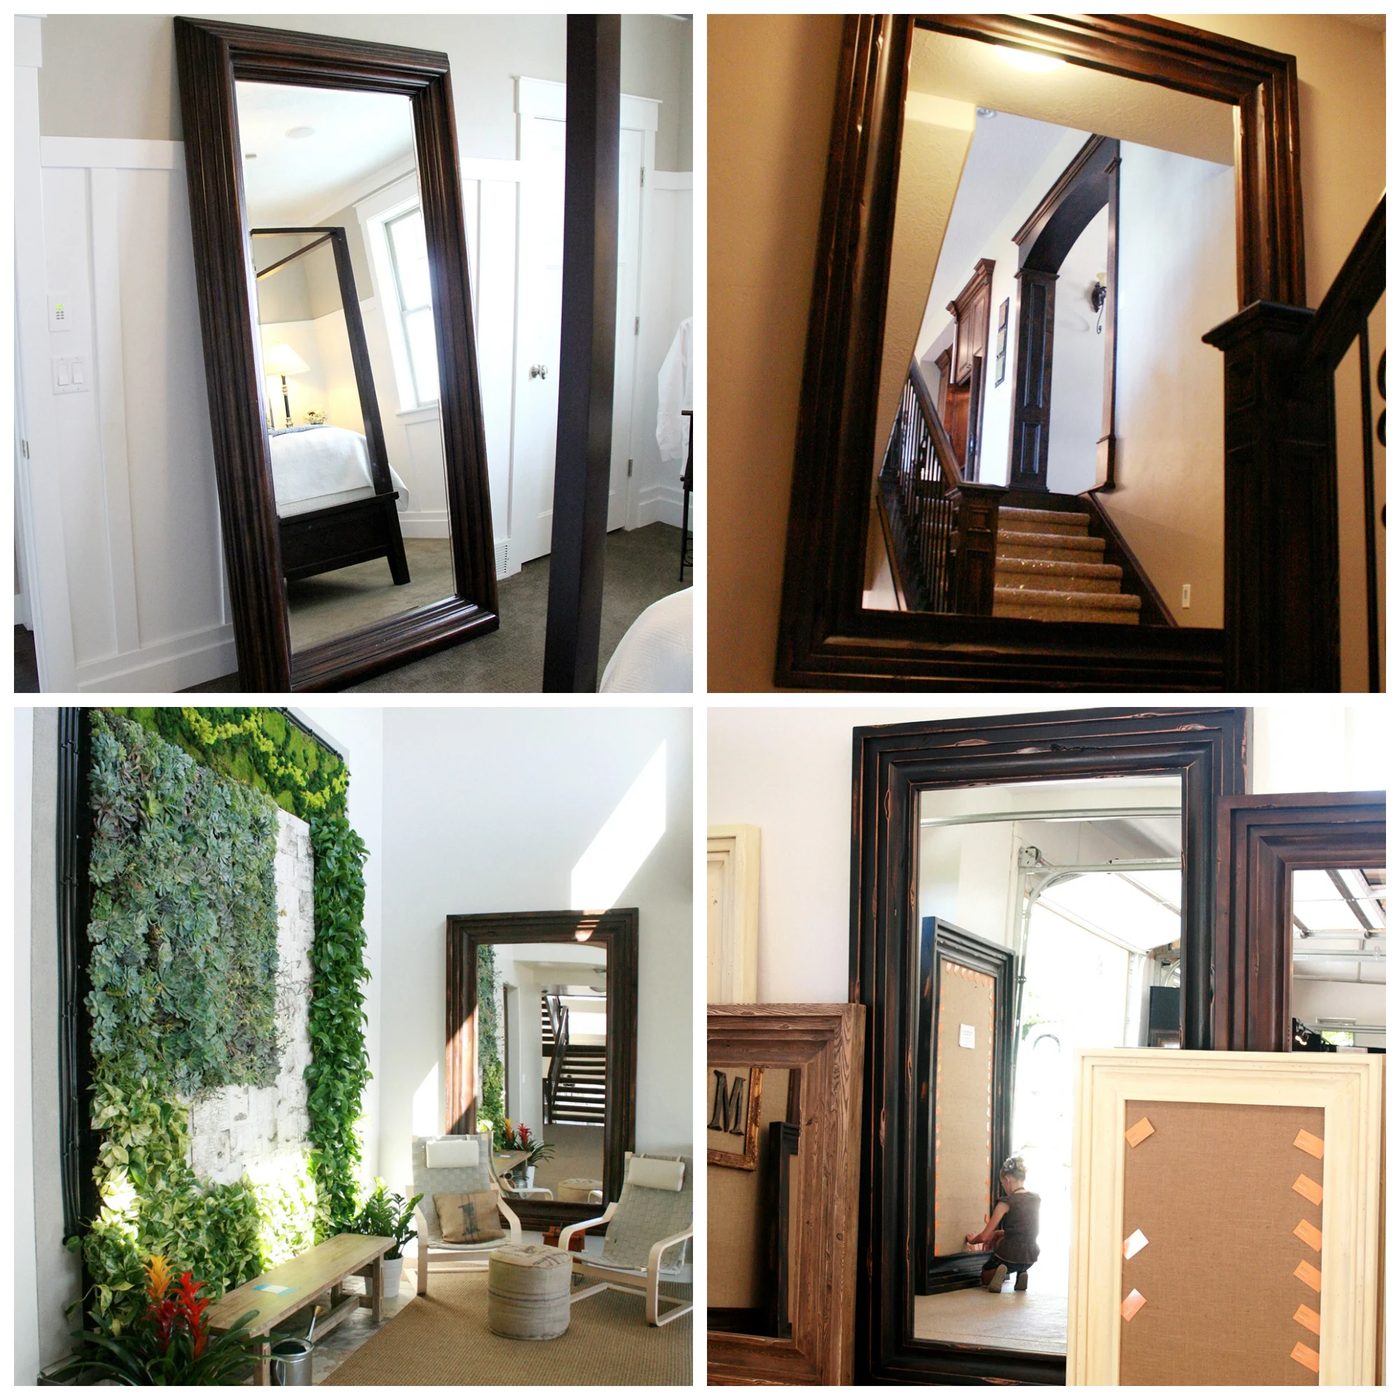
The thing I loved about these chunky mirrors is that a lot of them were made with just 2×4’s. clearly low-cost to build!
When it came to building ours, we decided to not limit ourselves to just 2×4’s, but rather to use up all the junk molding that we had stored in our garage. Base moldings that we have removed from projects, wainscoting molding from an old church, left over moldings and some 1 x4’s that we had for a project we never completed… basically, we were able to do almost all of it for just the price of the mirror, and a few misc items.
Here is the wall before… We have another portion of this project that we will share in depth another time, but to begin with building the frame this is what we did! (and yes, I know the carpet is sort of fabulous… we saved the carpet from our living room to replace this carpet, since it was in really good shape, we’ll see when it get’s done!)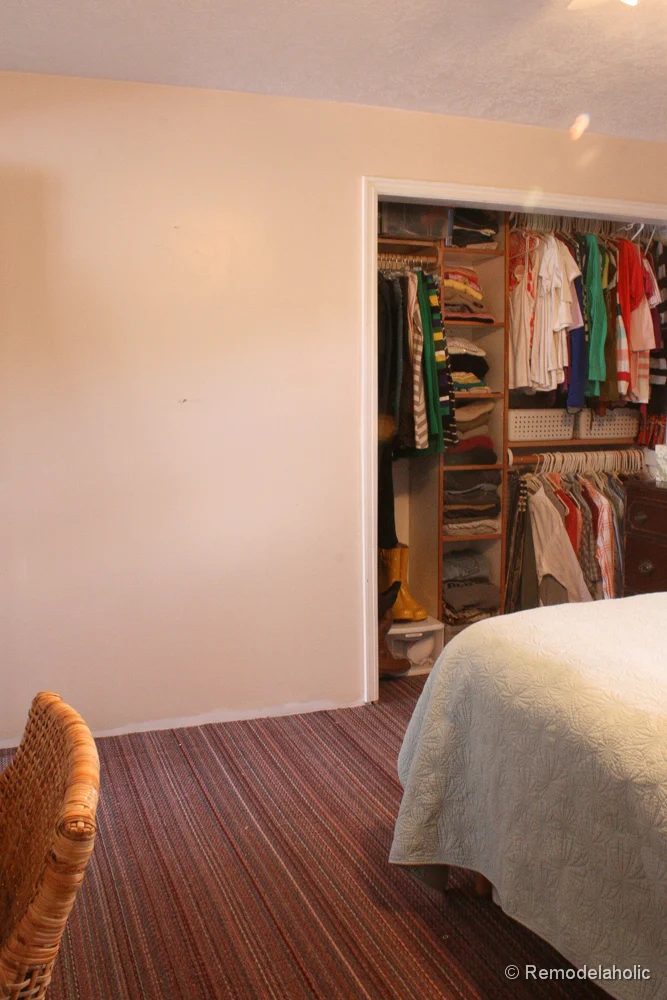
How to Build a Large Wall Frame for a Chalkboard or Mirror
1. Collect your supplies.
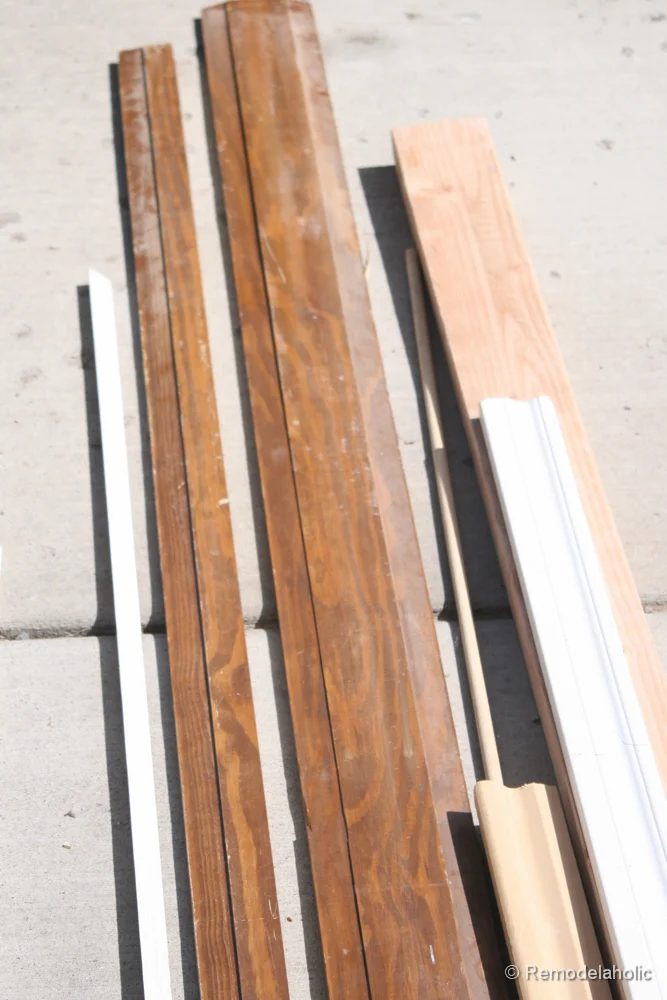
Like a said before we decided to use up a bunch of old scraps for the decorative moldings, but of course you can buy what supplies you need. There is no shopping list I would just run to The Home Depot, go to the molding isle and see how different moldings can be layered up to build up bulk. Don’t forget that you can cut some in half with a table saw if necessary (see images below).
|
|
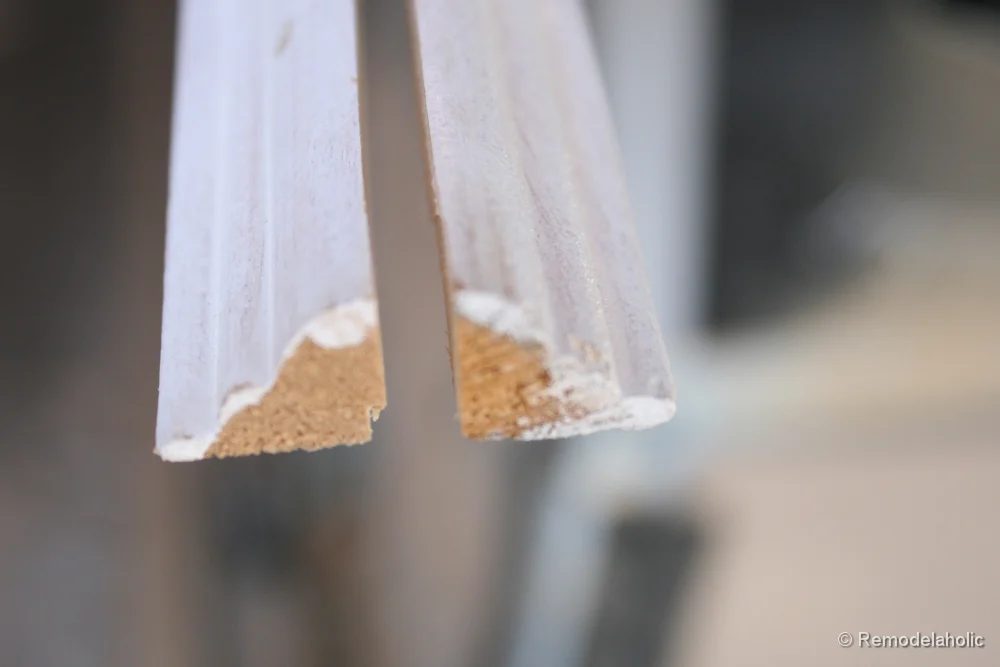 |
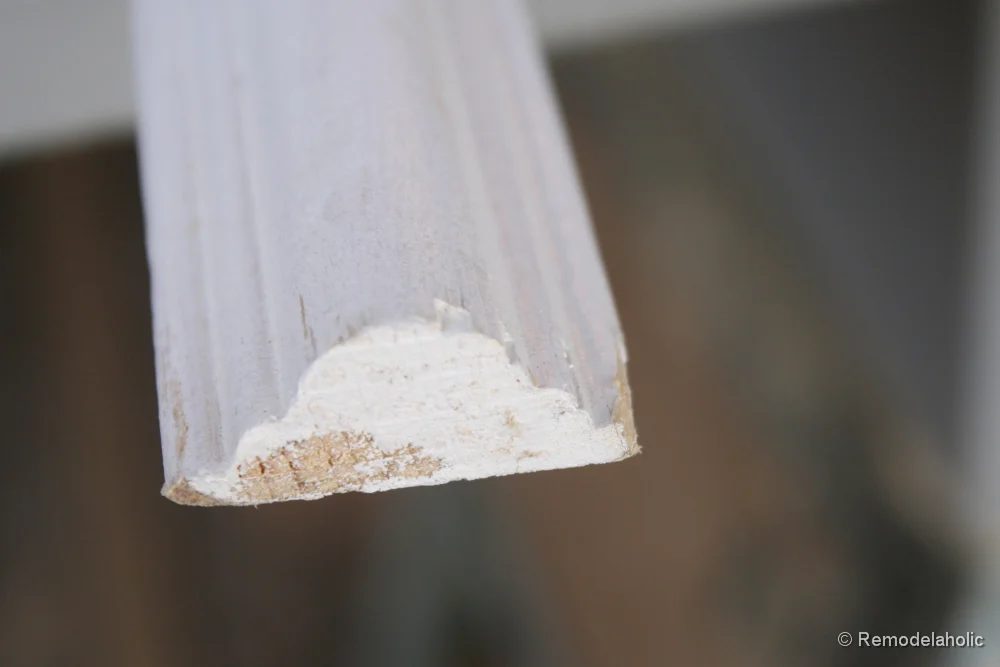
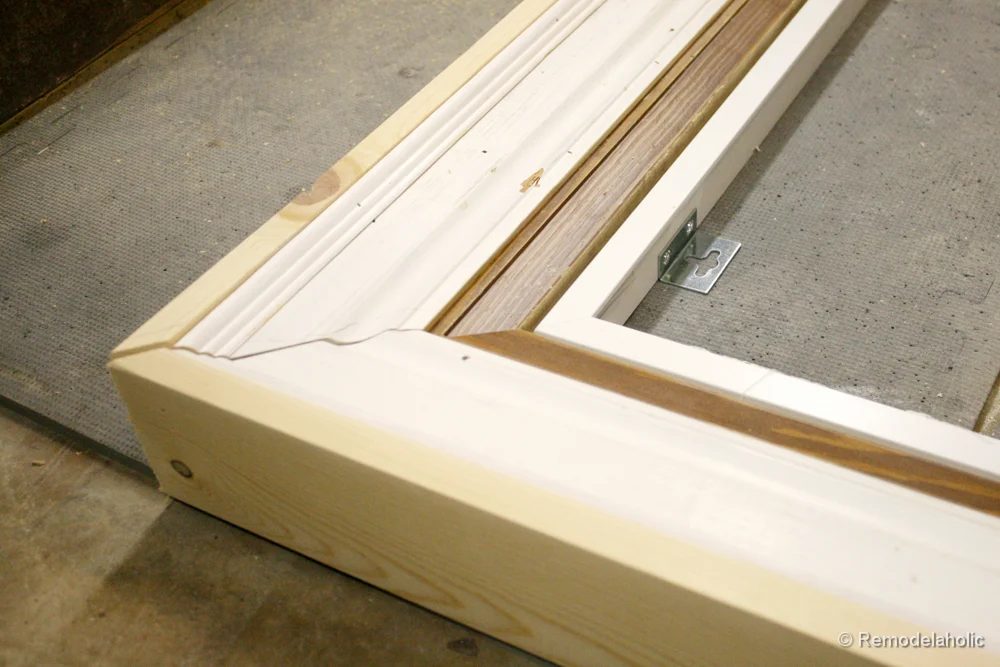
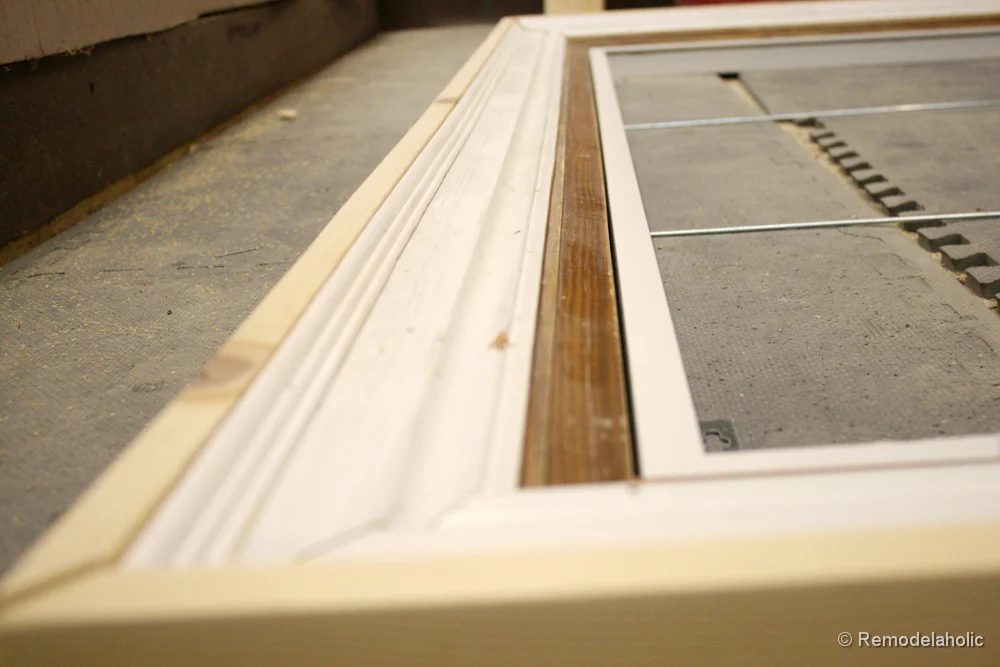
This is how we stacked our all our moldings. We ripped in half 2 of the moldings and the 2 x4 below is for attaching it to the wall (and the other secret part of this project!) It also happened to be about the same thickness as the mirror frame we bought, so it is acting as a spacer too.
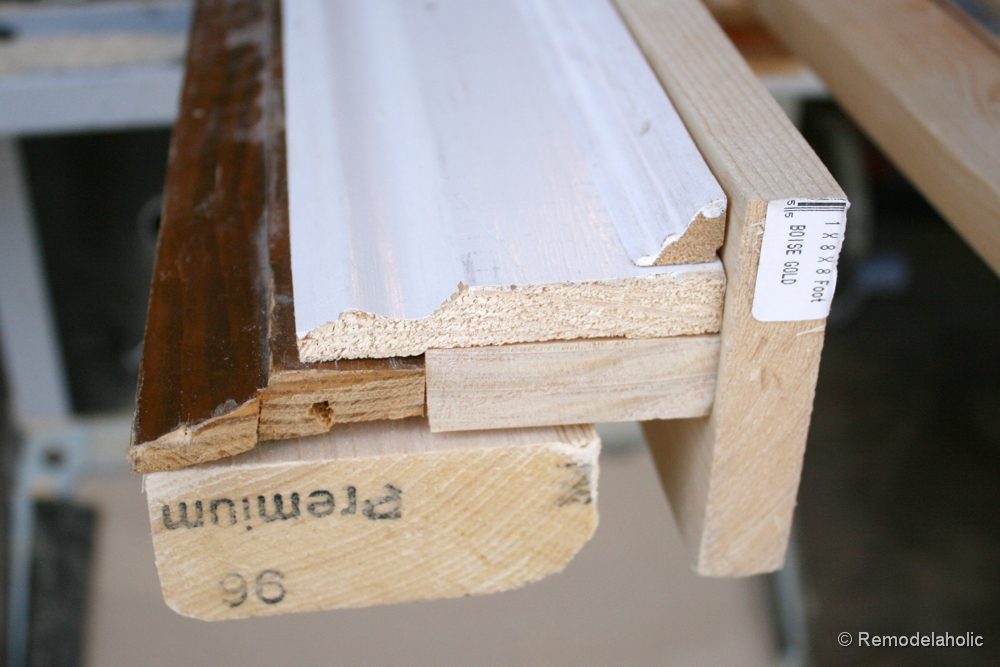
2. Glue and nail your moldings.
We got all of our moldings cut to an approximate length, sanded, and ready to be put together. You need to know the general side lengths and have them be 6 inches longer or so. Now, glue and nail all your sides together
*avoid nails at the ends so you don’t ruin your saw blade, when you miter the ends.
*we did not glue to the 2 x 4 since that became a cleat for nailing to the wall
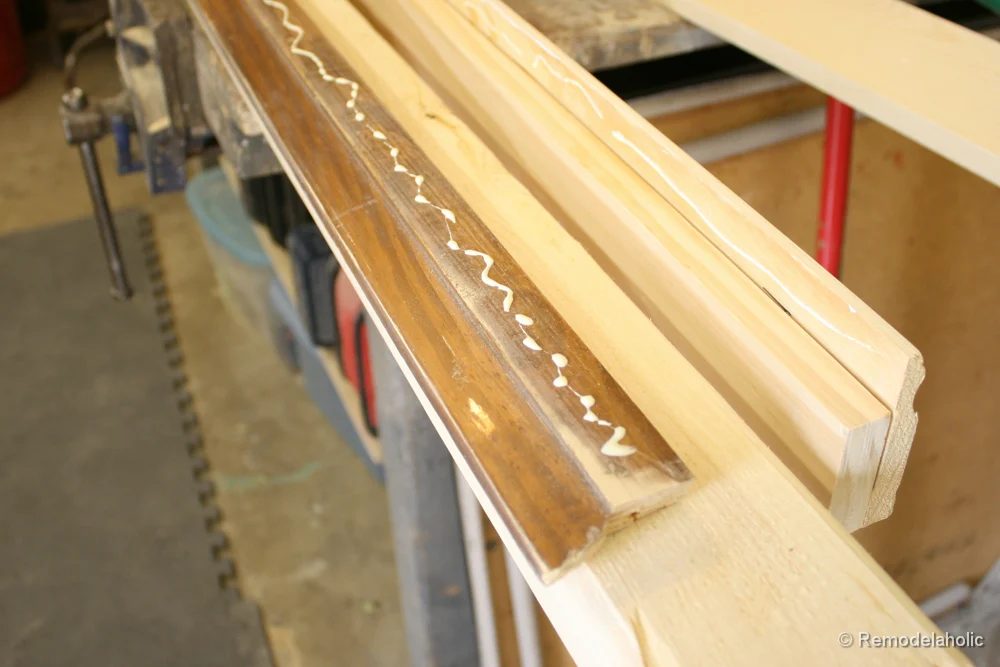
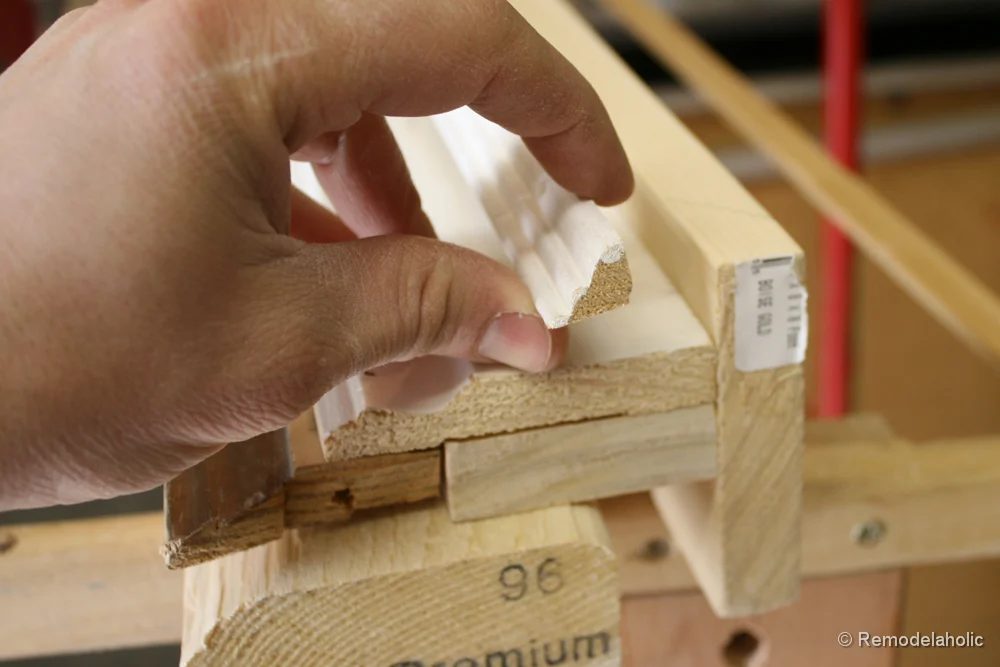
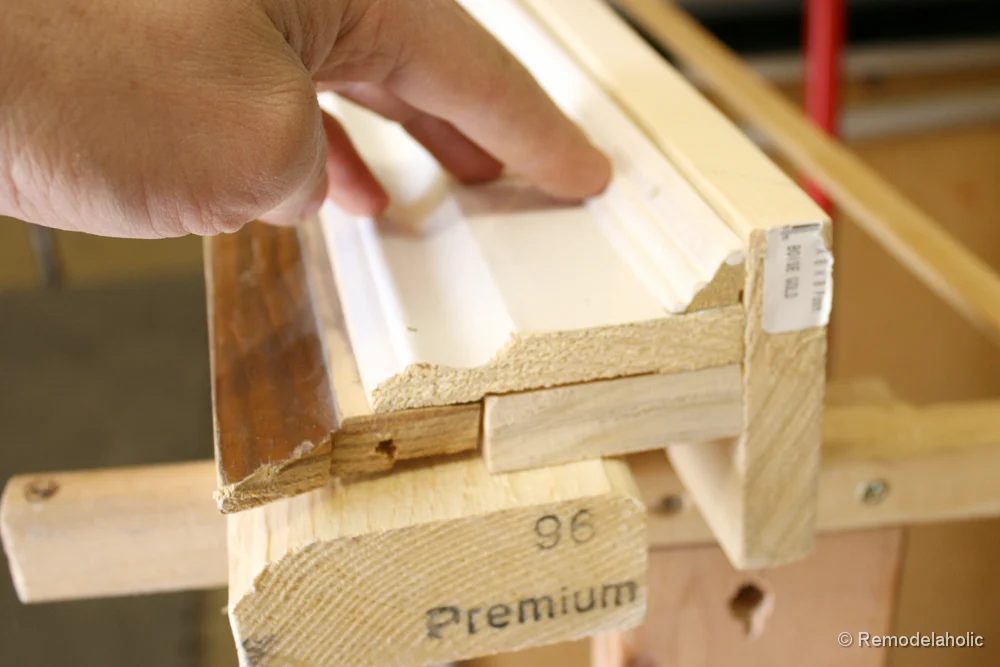
3. Cut to length, miter the corners.
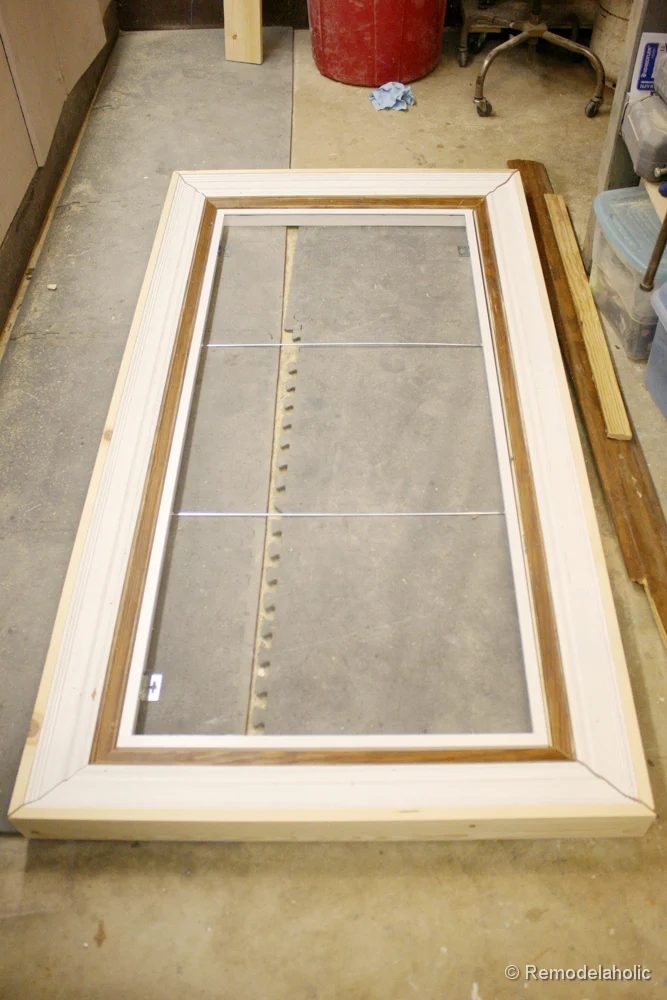
Once we had the frame sides all glued and ready, we cut and mitered all four sides of the frame to fit perfectly around the mirror and frame we bought. (which is the white rectangle in the center…) If I were not going to have the mirror function as a door (which we are, I would nail and square up the whole frame, together with the mirror at this point. Then just attach to the cleat in the next step.
 |
 |
4. Attach cleats to the wall.
In this case we used a 2×4 cleat attached to the wall where we were hanging the frame. Be sure your cleat is totally level, since the frame will be sitting on it.
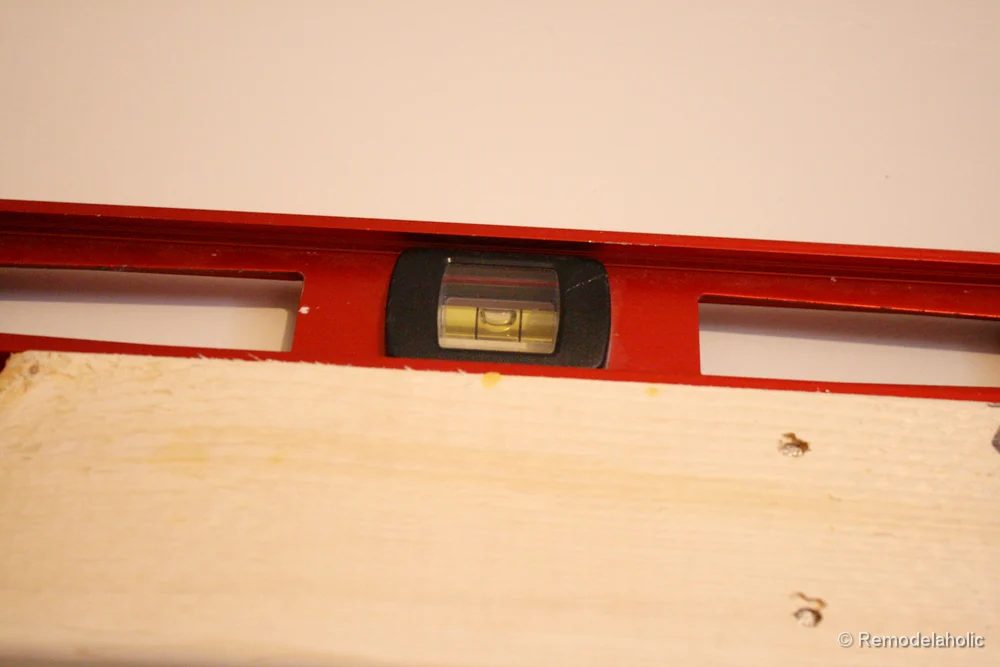
*Here is the cleat on the wall, and I doctored this image a bit to hide the second half of the project… (I guess minus the bottom piece, but that will be installed)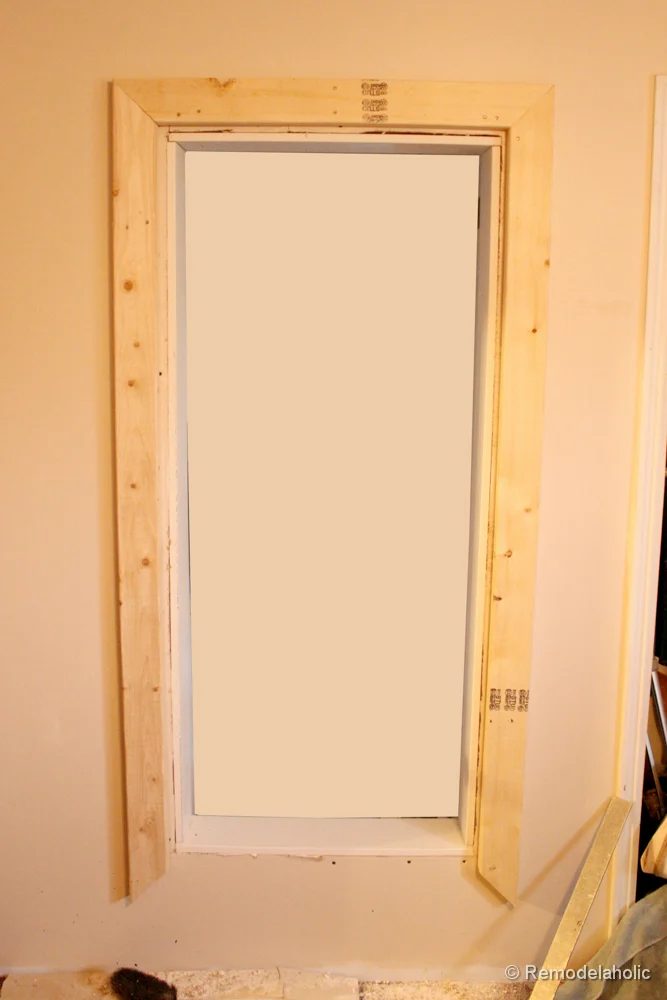
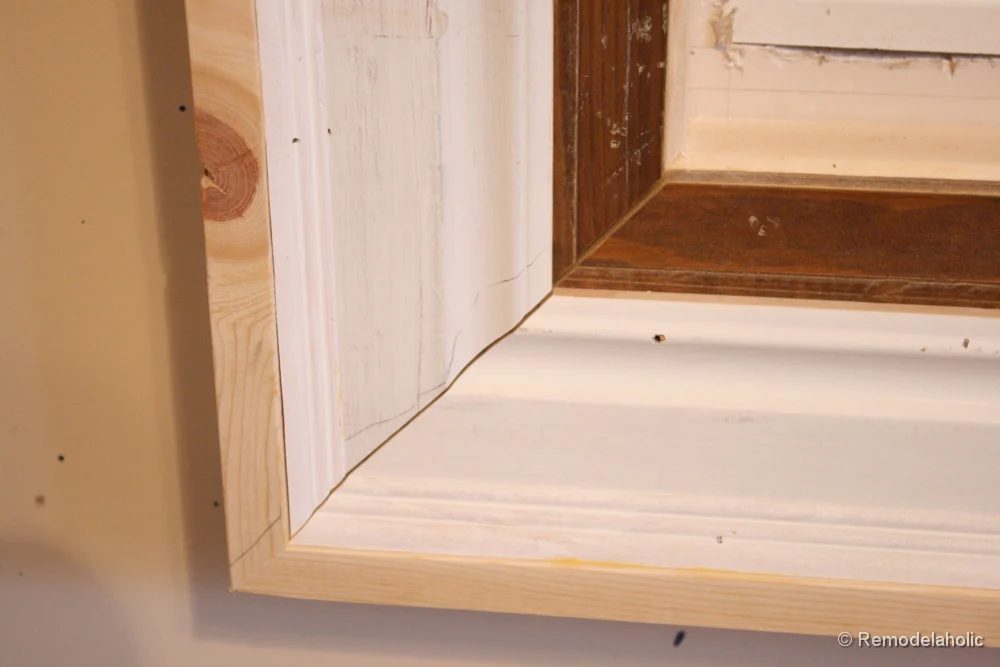
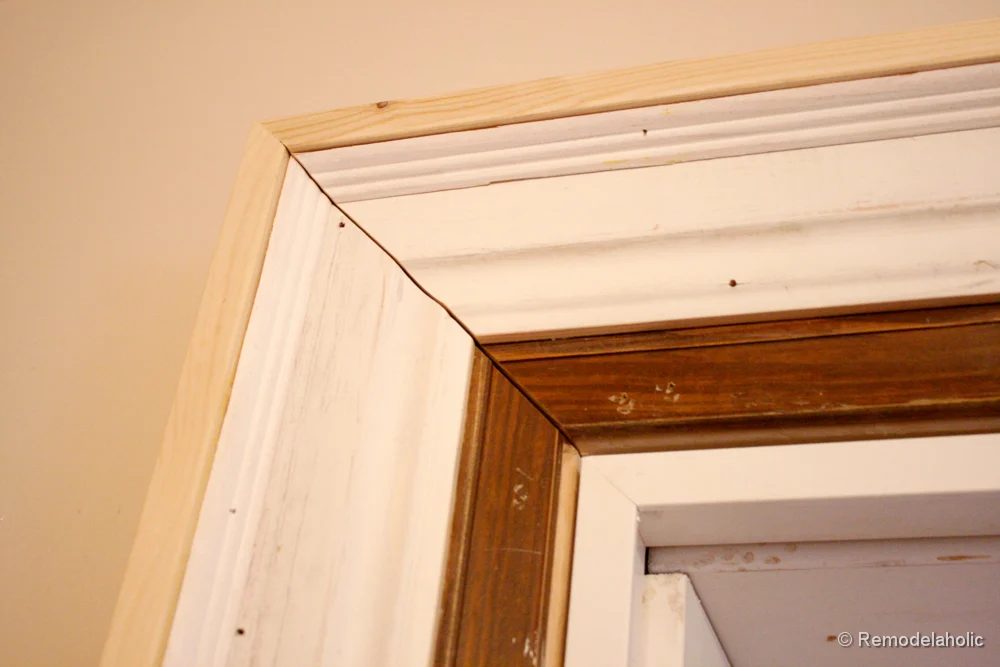
5. Attach Frame to Cleats.
Once your cleats are attached and level, you can begin attaching your 4 mitered side pieces and nail them to the cleat.
 |
 |
6. Hinge Mirror to Frame (skip if you are not planning on hinging the door, see note in step 4)
This part makes more sense with the second part of the project, but for those of you looking for hidden jewelry storage this is a great option just on any wall. Hinge the mirror, hang so hooks on the wall and store your jewelry! (like this inspiration image…)
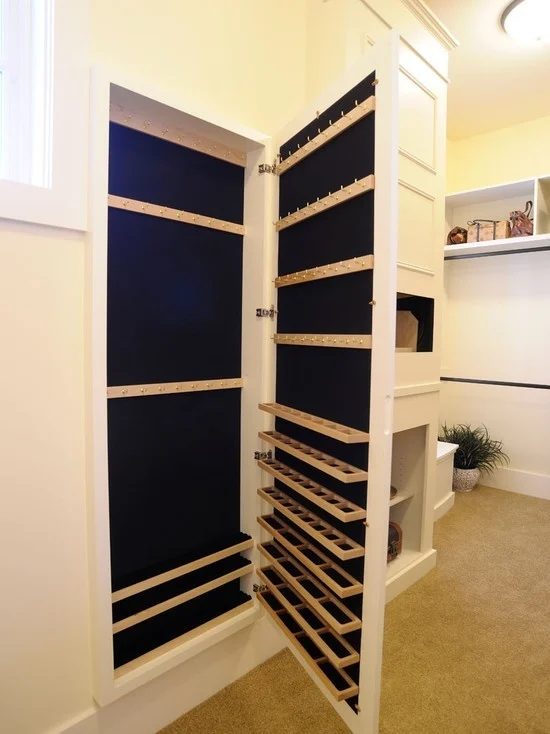
(source unknown)
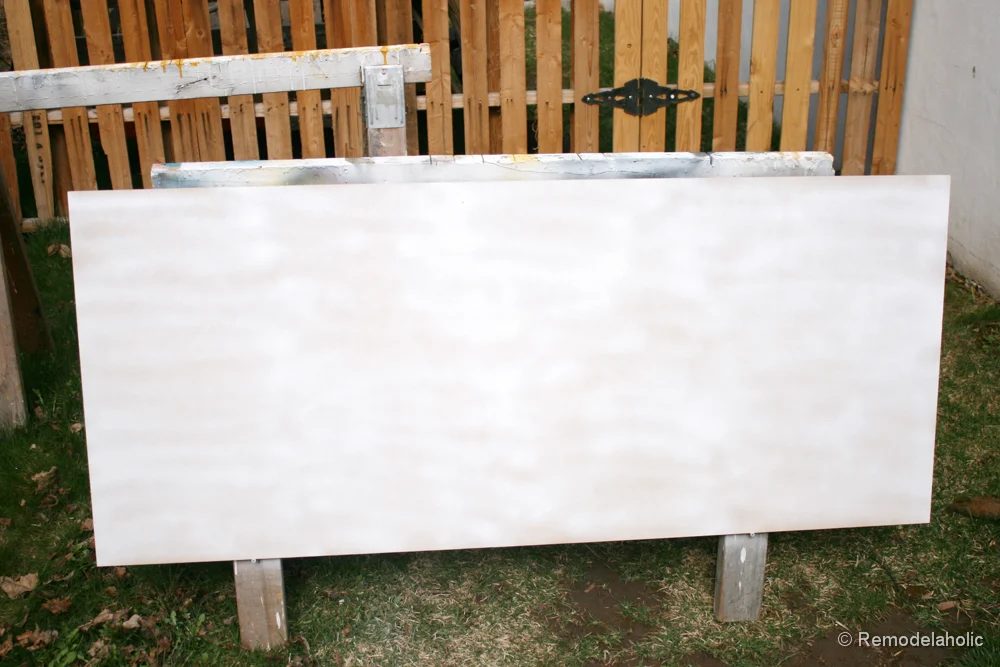
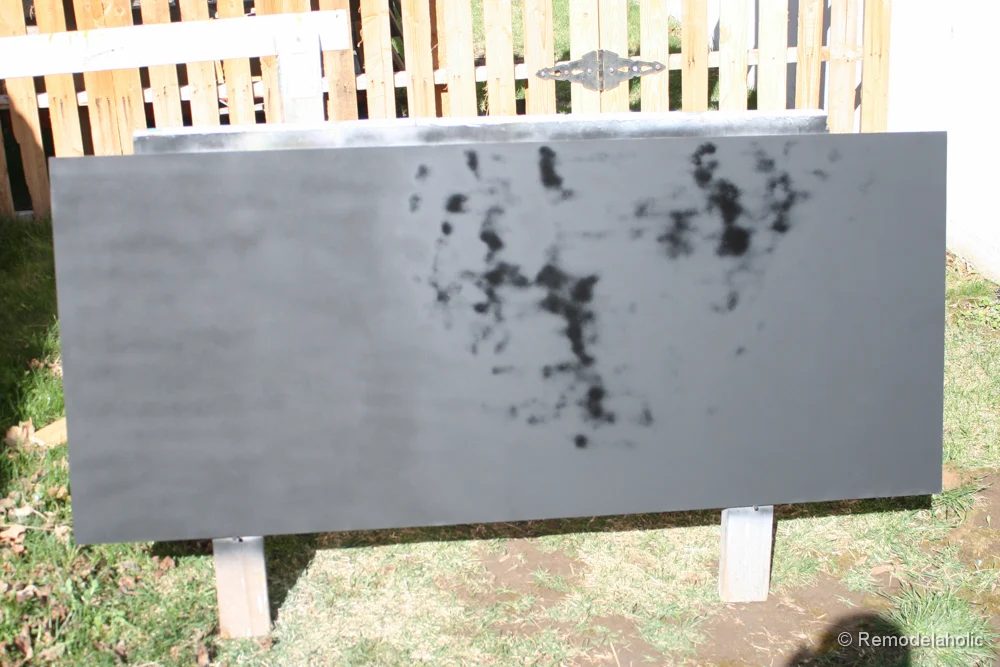
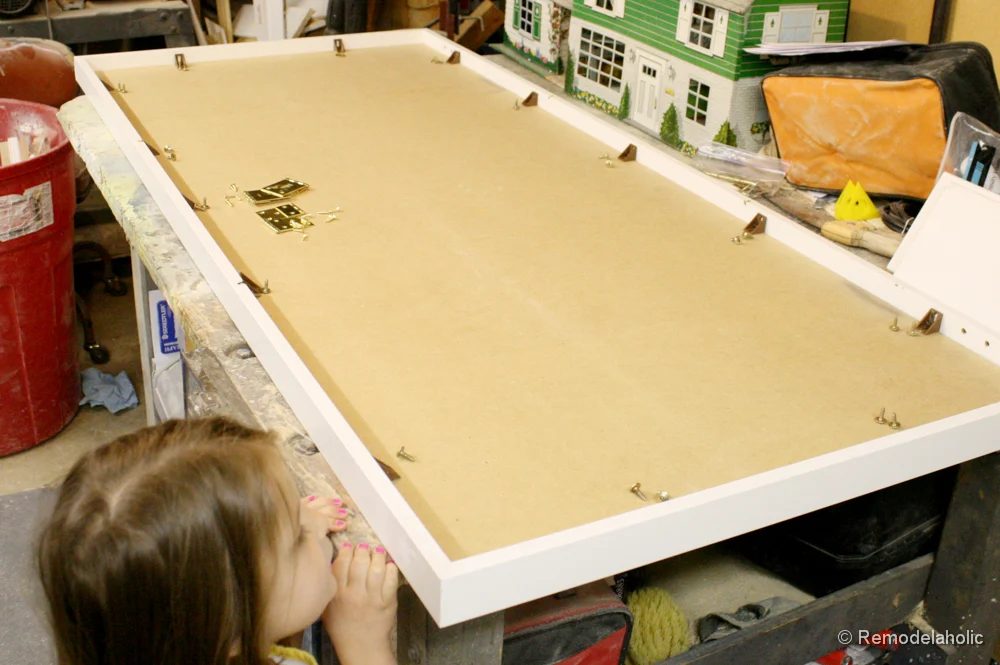
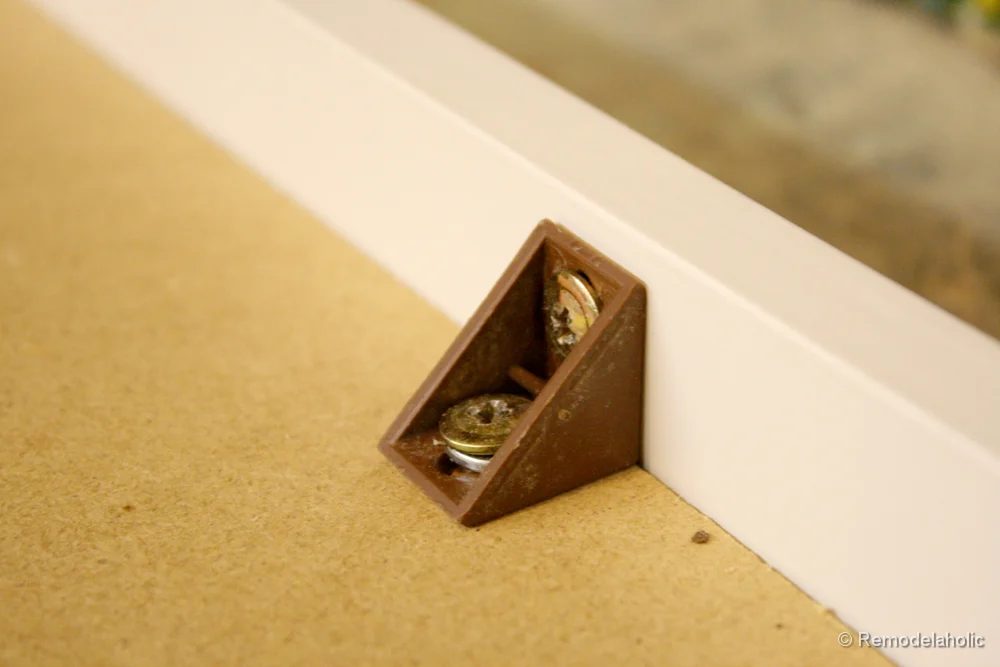
So, there was a bit of a casualty in the middle of this project. Literally, a wind came through and knocked over the mirror. (that will teach me to keep my windows open…) Luckily it had an attached sticker backing that kept it all together and we hadn’t even taken off the plastic shrink wrap. We didn’t really have the time or cash to buy another mirror, so we got a little creative with what we had around the garage, and decided for the mean time to make it into a chalkboard. Out the broken glass went and in a painted MDF board went. We had some Rustoleum spray primer did a coat of that, then ran to Home Depot and followed up with their chalkboard spray I think 2 -3 coats.
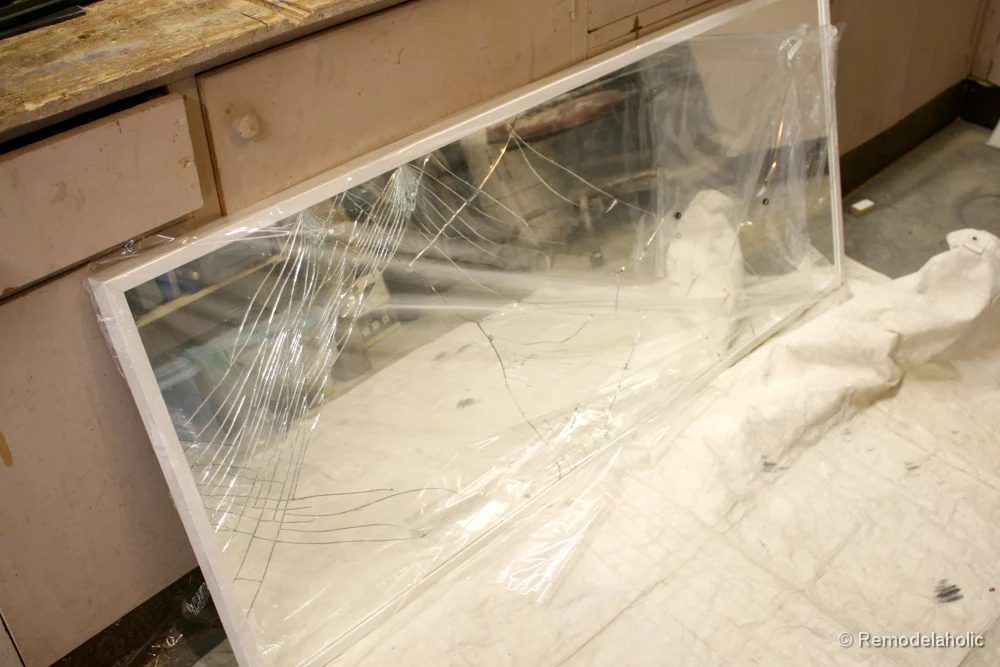 |
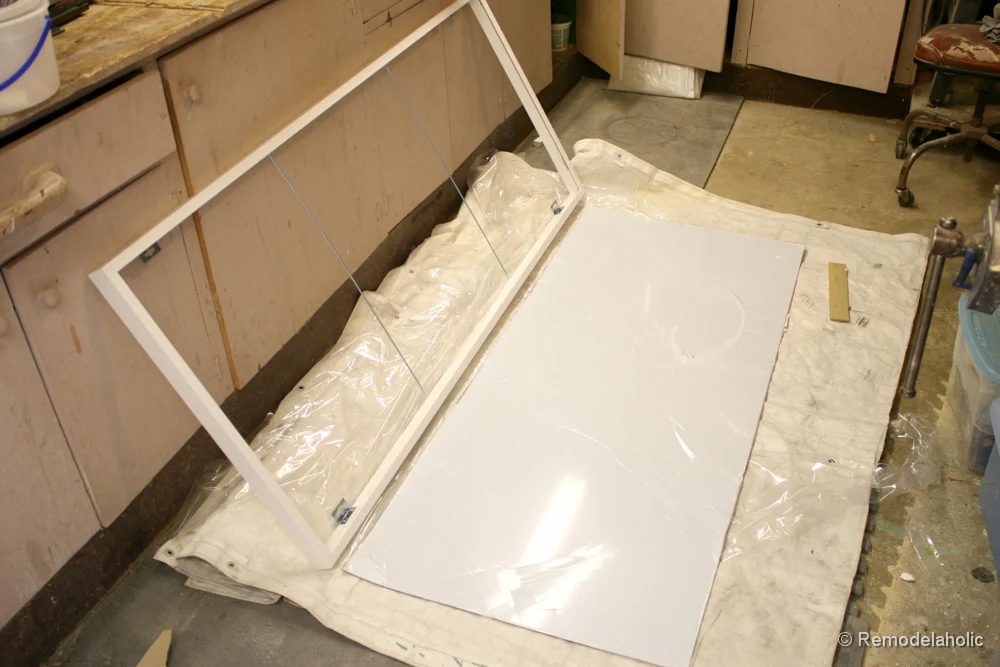 |
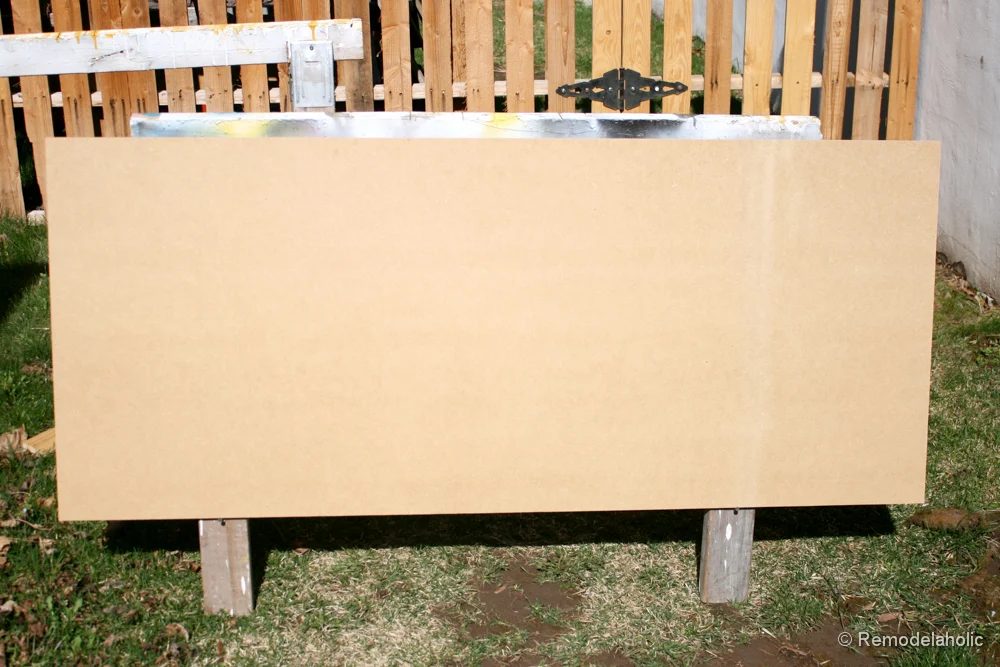 |
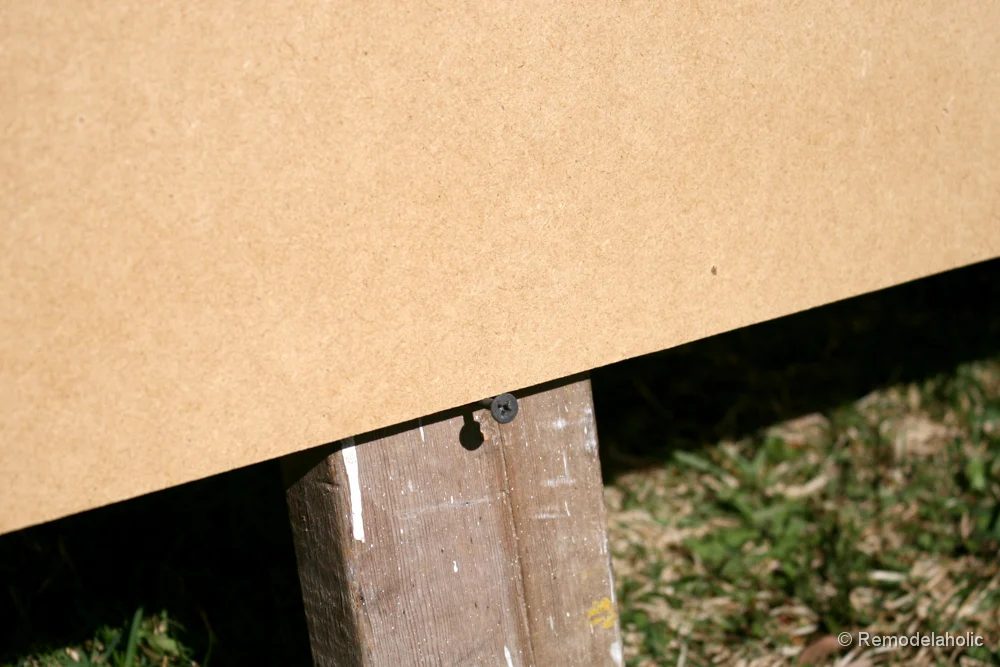 |
 |
 |
 |
 |
7. Patch, Sand, Tape and Paint!!
At this point you are almost done!
We patched all holes with 3M Patch plus primer (literally our go-to new patch… I’ll tell you more about it soon!), sanded it smooth, then we taped it all up with ScotchBlue™ Painter’s Tape
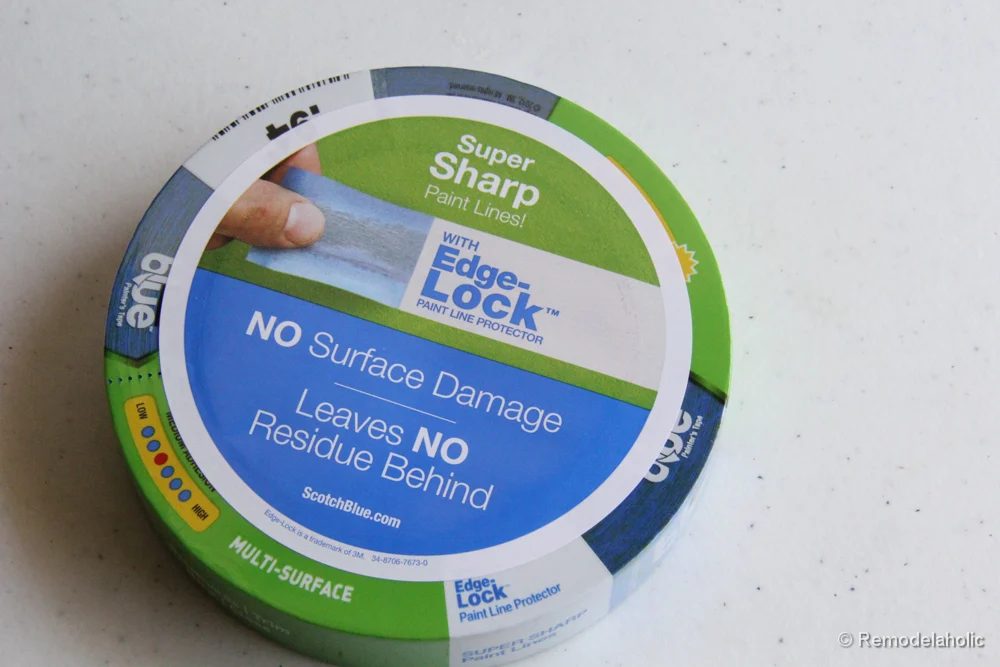 |
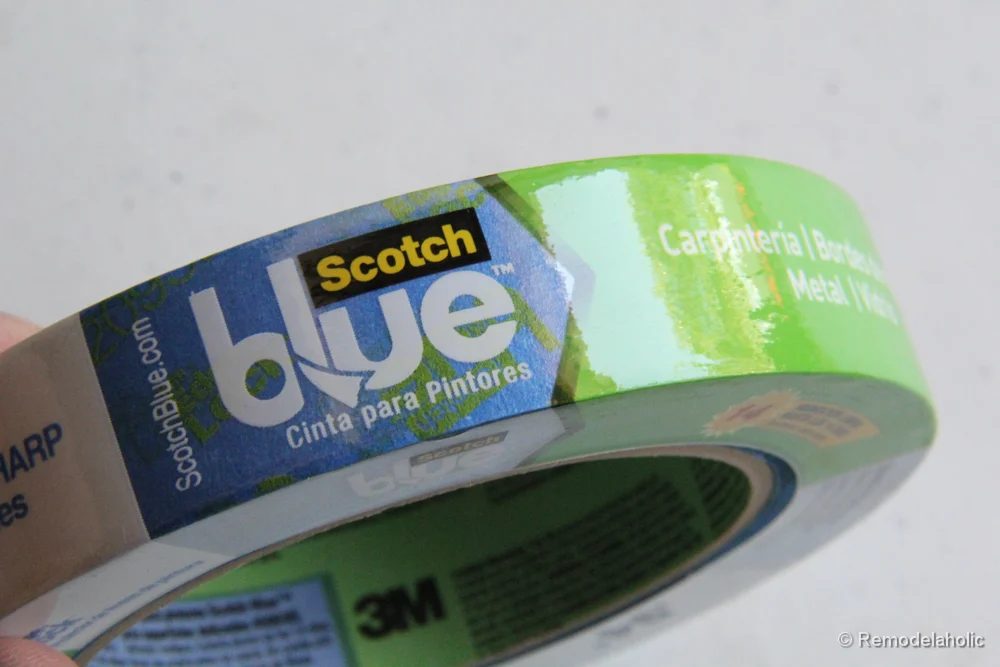 |
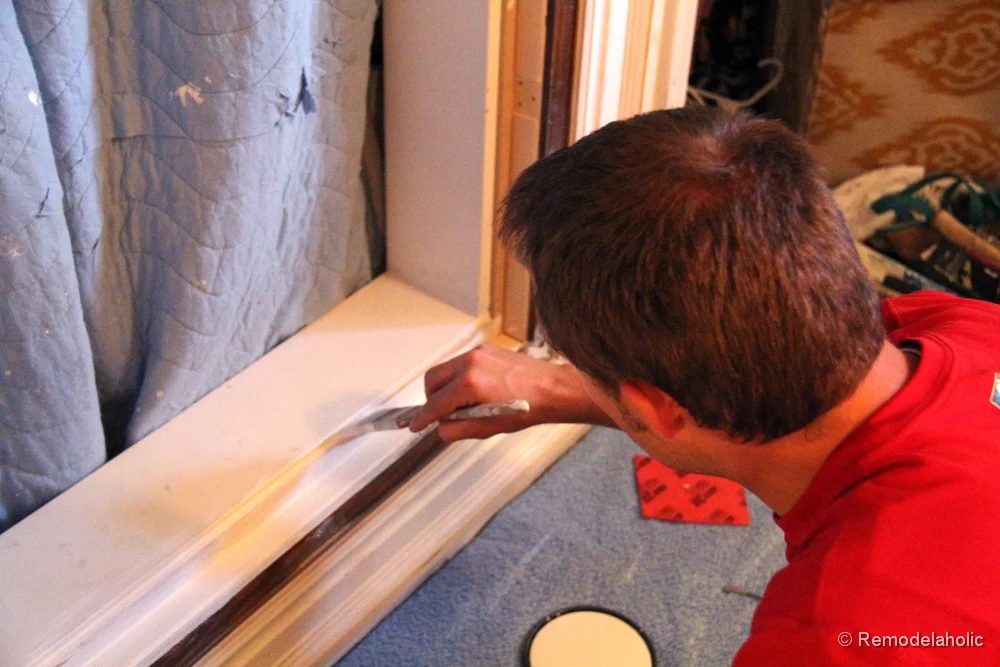
First we primed the raw wood to make sure we got even coverage.
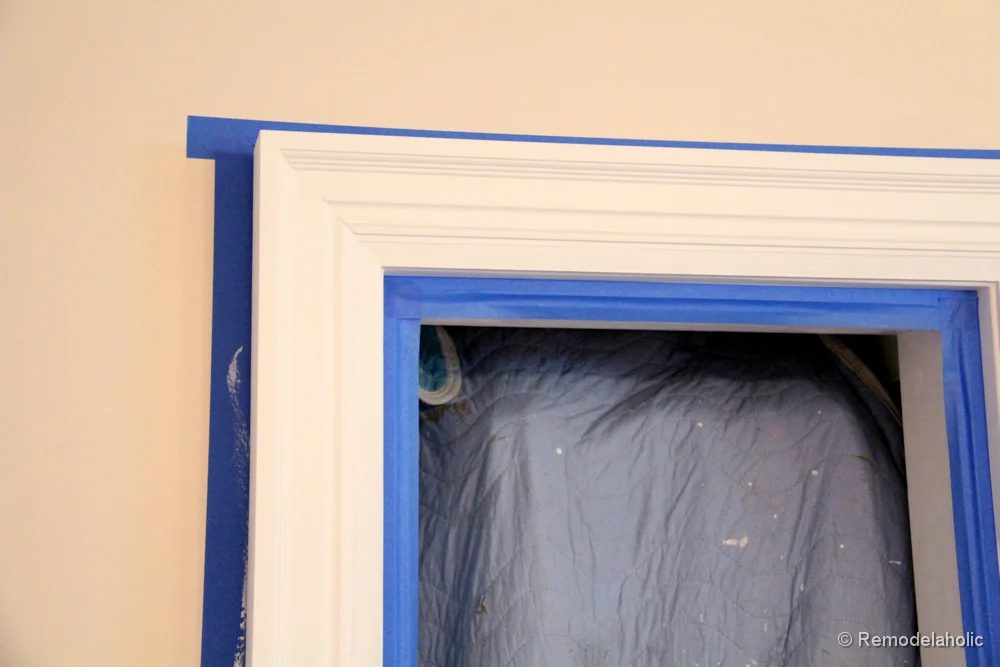
Taped the edges.
Gave the girls something to do…
 |
 |
And began painting!
*I’m sorry I don’t have a paint color, it was a mis-mixed paint for 5.00 at Home Depot. I just loved the color…
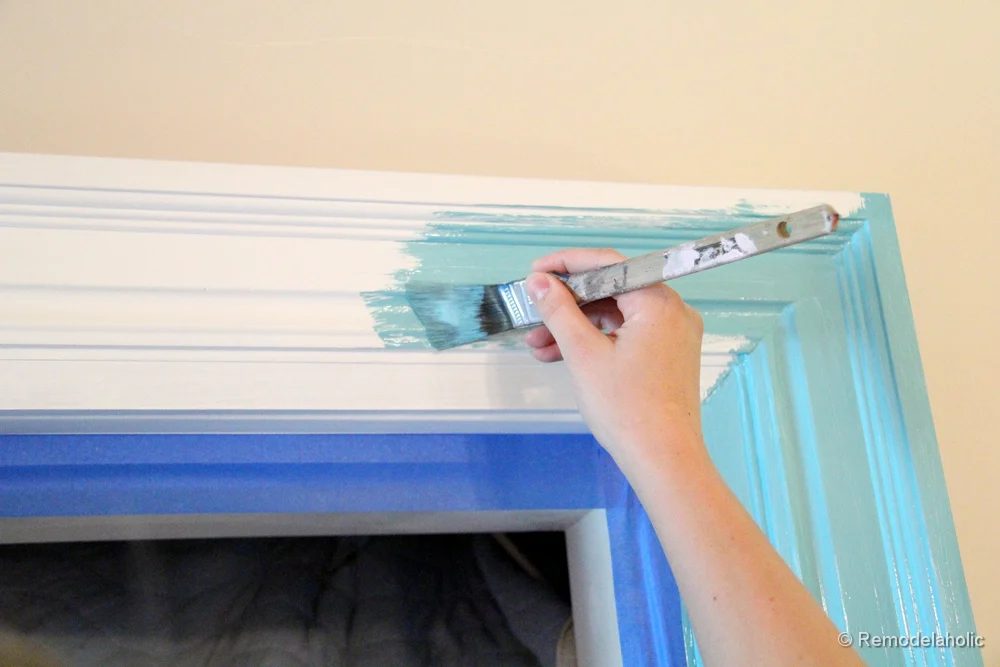
In no time at all, we removed the tape.
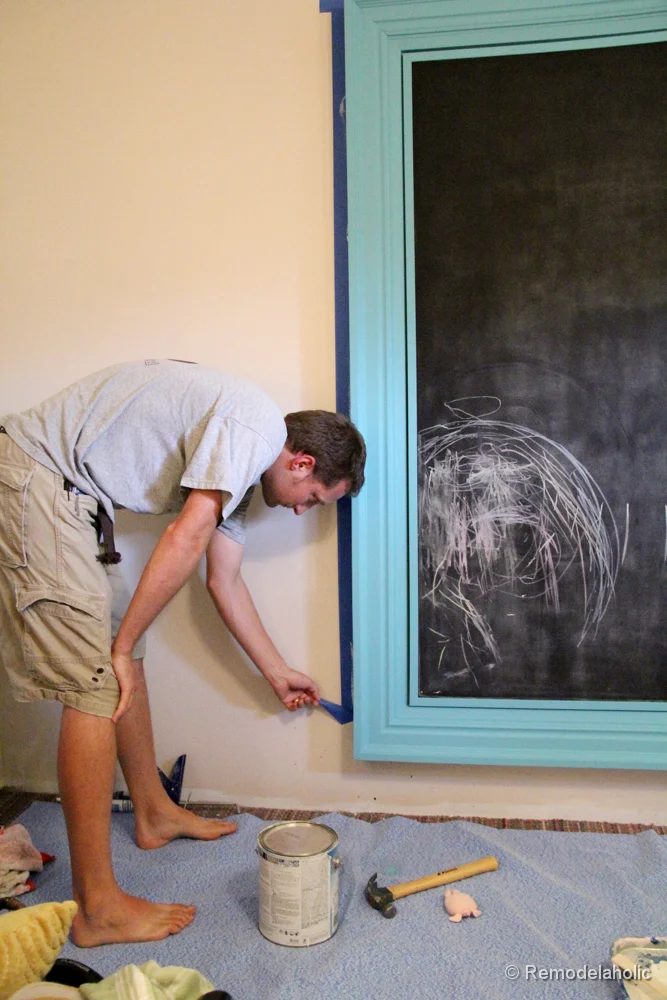
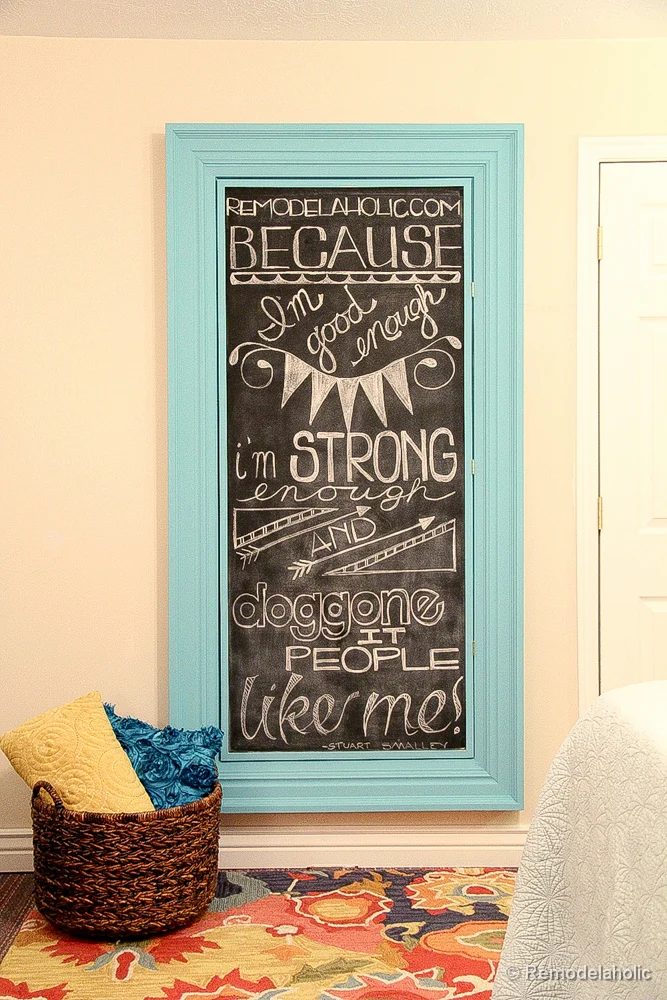
And BAM! We were done! This is what the chalkboard usually looks like. Why have a chalkboard if your kids can’t draw on it? For example, below you can see Rainbow Dash from My Little Pony. (of course my two year old drew it… so it may be slightly abstract!)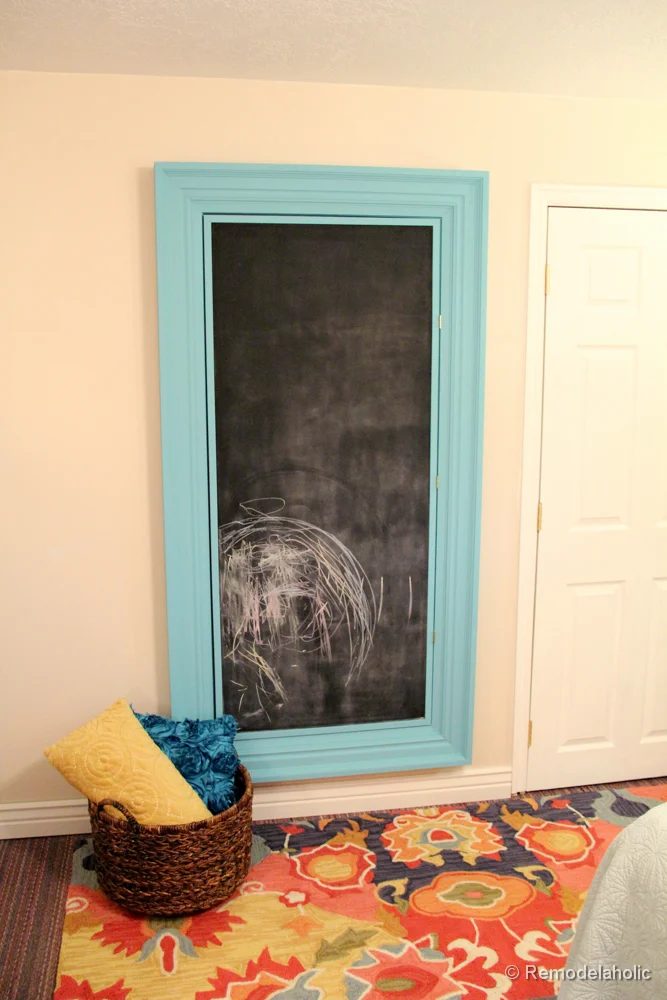
But just for you, a decided to create a striking work of art… it only took me about 2 hours. (or in other words, I don’t think this is going to happen again very soon) To give you a hint about where the quote came from watch this lovely segment, and then I think you will be ready to face to world!
I printed out some text options, and drew some guidelines, and voila!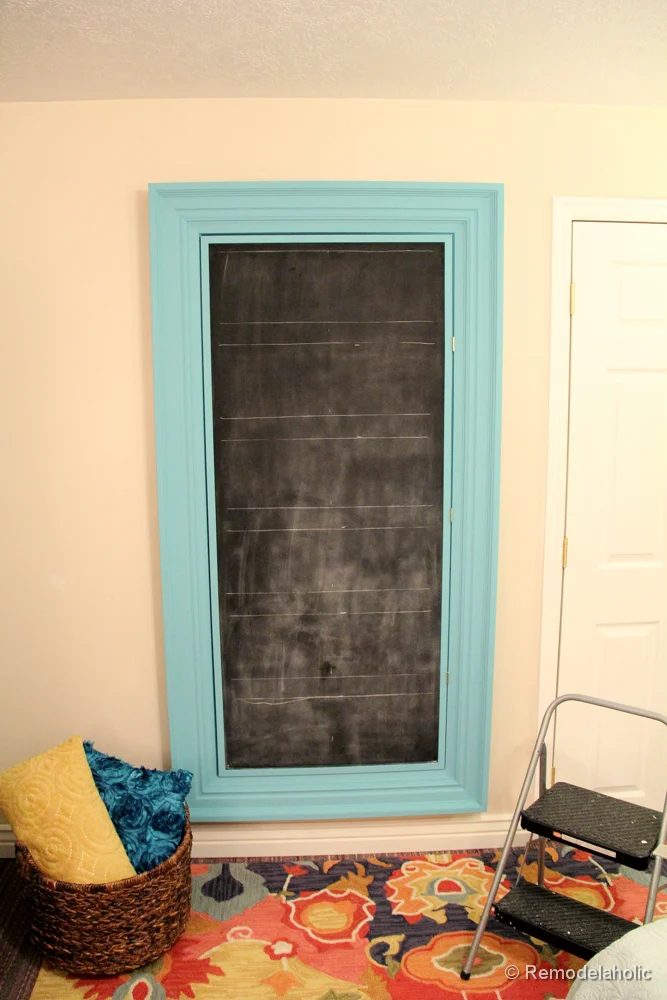
So now that it is painted, my only question is, do you think I should glaze it to age it slightly or add a bit of definition? Thoughts?
Also, as soon as we have the chance and extra cash we plan on picking up the same type of mirror to replace the chalkboard. but I will just move the chalkboard to another great spot and use it there! If you are wondering where the rug us from, click on the link.
|
This post was brought to you in partnership with The Home Depot and ScotchBlue™ Painter’s Tape. |
|
ScotchBlue™ Painter’s Tape Pinterest Page ScotchBlue™ Painter’s Tape’s Facebook Page The Home Depot Pinterest Page The Home Depot’s Facebook Page |
Be sure to look at the other great projects in the Ready, Set, Paint Blog Hop
| Centsational Girl – Textured Panel Dresser Makeover | Thrifty and Chic Framed Stencil Wall |
| The Design Confidential Handmade Concrete Color Block Painted Tables | Sand & Sisal Faux Etched Glass |
| The Girl Creative Summer Chalkboard | PB & J Stories Dipped Effect Outdoor Bench and Front Patio Makeover |
| In My Own Style How to Paint Outdoor Furniture | Making this Home Embellish with a Paint Border |
| Rustic Bench Gets Modern Moroccan-Inspired Makeover | Handmade Game Table |
| Fun with Fireworks | Charles & Hudson – Wood Block Planter |
| Love of Family and Home – Handmade Striped Curtain | LollyJane – Mailbox Makeover |
| Nesting Place – Painting with Chalk | Thistlewood Farms: How to Paint Stripes |
| Live Laugh Rowe: Handmade Drop Cloth Table Runner | SawdustGirl – Spray-Painted-Striped Lemonade Stand Canopy |
| Make It: Painted Horseshoes | Handmade Pet Food Station |
| Spearmint Color Blocked Vintage Wicker Headboard | Handmade Mason Jar Dining Caddy |
Lastly for your chance to win a $75 gift card, provided by Scotch Blue. Please leave a link to your go-to Handmade or painting project in a comment here on the blog, for your chance to win! . It can be a link to your own blog, another website or Pinterest.
(Comment monitoring is enabled, so your comment will not show up until approved, just FYI!)