The steps below follow the order of the work for this gardens project.
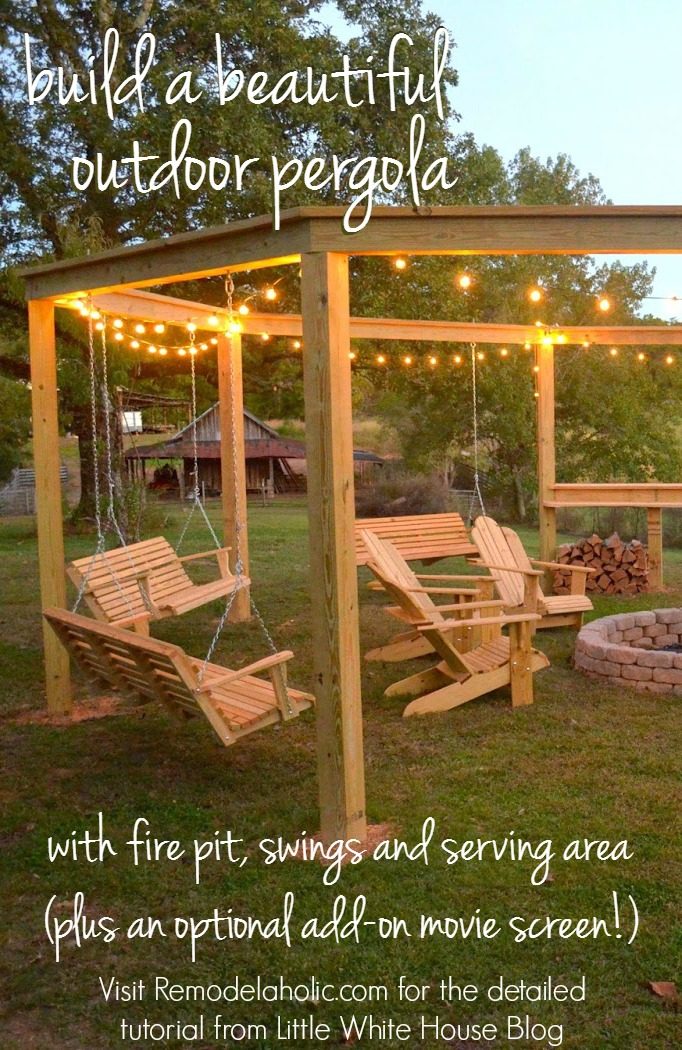
Build a striking fire pit pergola for swings. This round open gazebo style structure can be used to hang swings or hammocks around the fireplace and features an optional outdoor movie screen add-on!
Complete the well fitted outdoor space with couple more outdoor woodworking projects, like this patio table with drink coolers, a striking garden arbor, and a monogram letter planter filled with your go-to flowers.
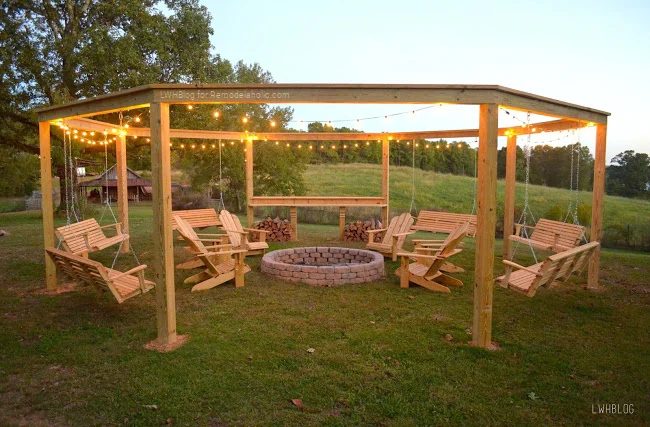
Build a Circular Fire Pit Pergola for Swings
by Brett and Lauren from Little White House Blog
See more from Lauren on Instagram: @mrslaurenash
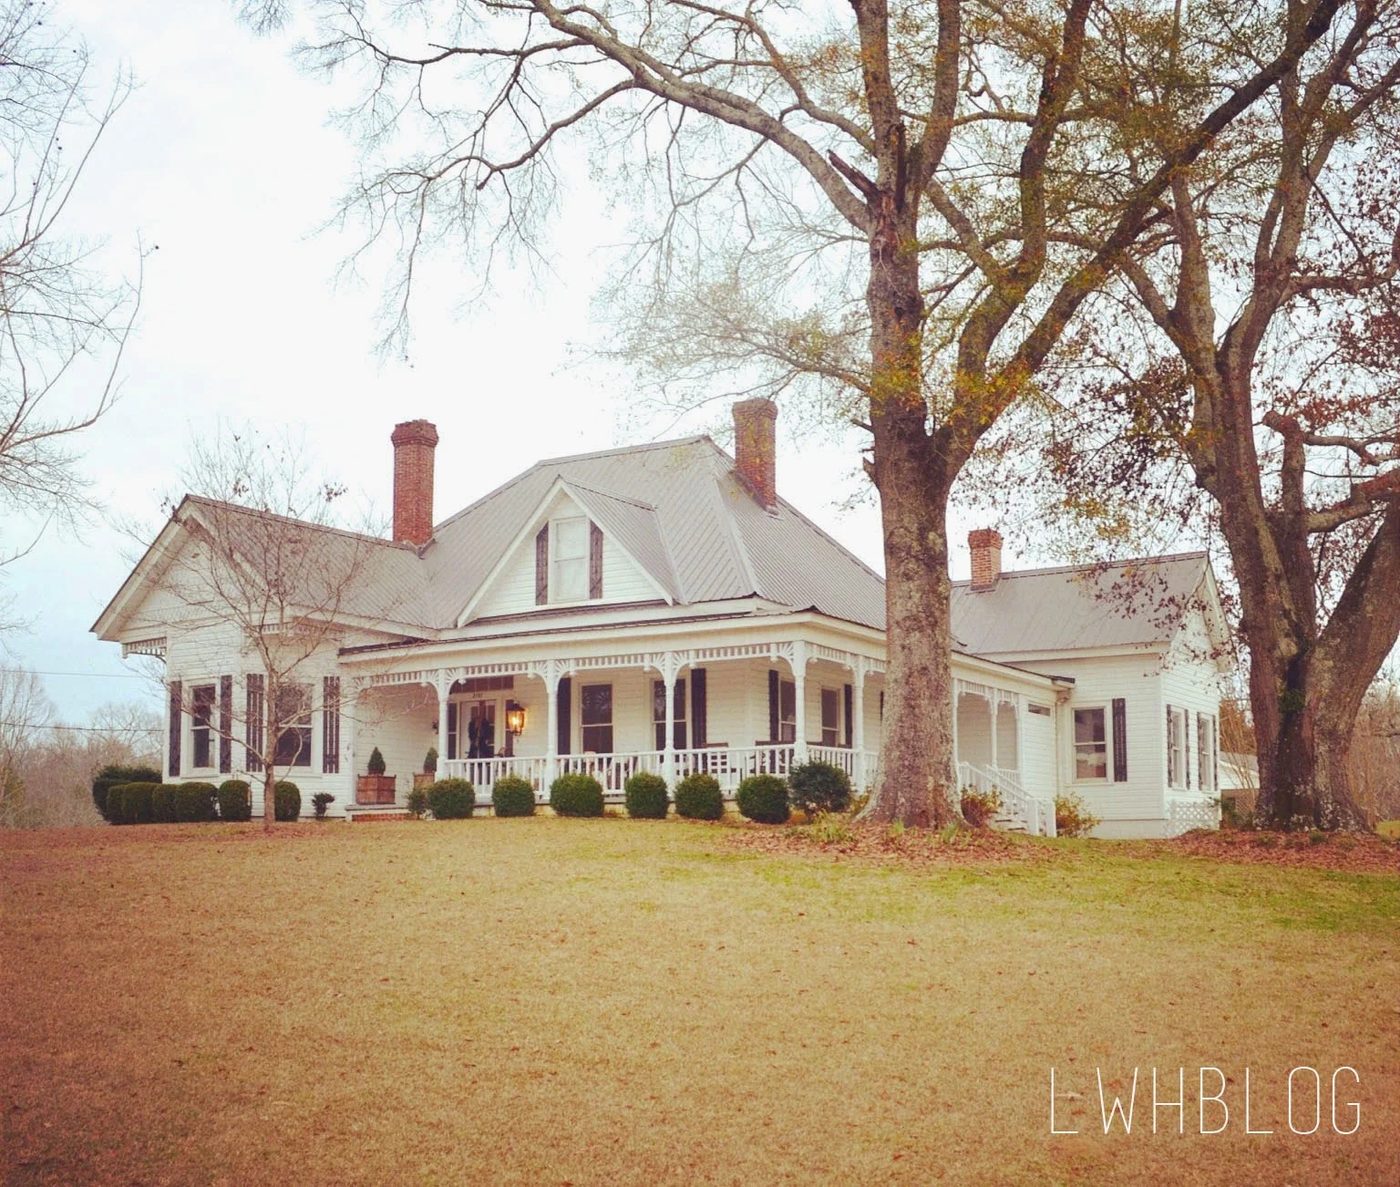
For your convenience follow the link below and Get a printable version of this backyard pergola walkthrough Please note that the 22-page printable firepit pergola plan includes the walkthrough for planning and building the pergola structure in 3 sizes around a circular fire pit — plans to build swings are not included at this time.Brett is a career Firefighter and is the overall facilitator and muscle behind all-things-reno at the farm. I work part-time and devote the rest of my time as a SAHM to our precious son, homemaking and cultivating our farmhouse dreams. We have a passion for restoration and we’re eager to see our property transform. You can join us over on our blog as we embark on the ultimate Handmade: Our 100 year old farmhouse!
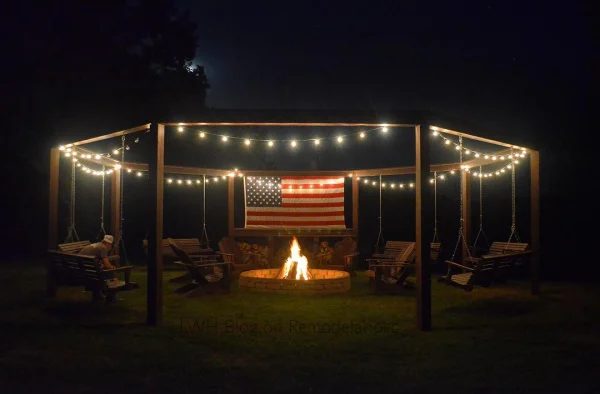
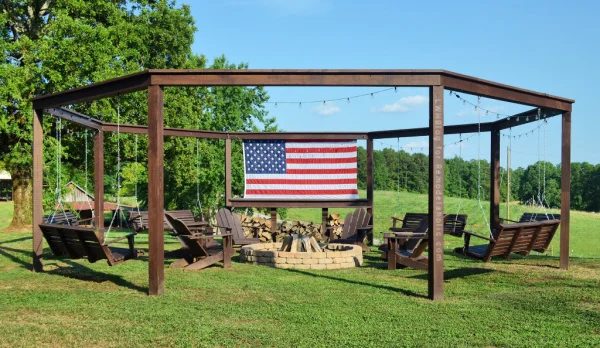
Without a doubt, one of our most beloved Handmade projects and our go-to area to retreat on the farm is our outdoor pergola and fire pit.
It is truly an outdoor oasis and an area we created for the sole purpose of bringing our family and friends together. It’s a conversation piece around our small town and we love making s’mores, star gazing and relaxing here at the end of the day.
We are so excited to collaborate with Bekob to bring you this walkthrough and the detailed printable backyard pergola plans so that you can create a retreat like this to enjoy at your own home!
This post contains affiliate links. Please see our full privacy policy and disclosure here.
Backyard Pergola Time and Cost Breakdown
The time to build a round backyard pergola like this will depend on how hard you want to work and what your skill level is.
If you have at least two individuals dedicated to the project who have general knowledge on carpentry and power tools, you can complete this project in a weekend.
Because we were only working in our spare time (some evenings and weekends) and Brett worked alone many days, it took us about two weeks to finish our project.
Material Cost
- $1300 – All materials with the exception of seating and lighting.
- (Six) 6 foot porch swings – $600-$2000 depending on where you purchase them or if you choose to build them yourself and what materials you choose to use.
- We purchased ours for $100 per swing. (Find a similar porch swing here.)
- (Six) Adirondack Chairs – $300-$1200 depending on where you purchase them or if you choose to build them yourself.
- We built our own and spent $50 per chair in materials. (Find similar chairs here.)
- $75 – Outdoor String Lights (optional)
Estimated Total Cost
We spent approximately $2,300.00 on our project when we built it in 2015. This includes daily equipment rental of an auger and all materials. No labor is included in this overall cost as this was entirely a Handmade project.
The cost for this project could range as high as $5,000 depending on potential labor costs, seating options and material choices.
Product Sources
Materials and hardware purchased from Lowes, Home Depot and Ace Hardware. Glass bulb lights purchased from Target and Cost Plus World Market.
Want to install a pergola on a deck? look at our Modern Handmade Deck Pergola plus this backyard pergola walkthrough.How to Build a Round Fire Pit Pergola or Gazebo Structure
What You’ll Need:
Tools
- Measuring tape
- 4 ft. level
- mason’s line
- marking paint
- speed square
- reciprocating saw
- corded drill
- 12″ long 1/2″ bit
- skill saw/circular saw
- drill driver
- rotary level (optional)
- auger
- post hole digger
Materials List is included in the printable walkthrough and plan here.
From Bekob: Please remember, this blog is for entertainment purposes only. As with ALL of our Handmade projects and tutorials, be certain to read over the complete walkthrough before starting a project. Build at your own risk and be smart, be safe. We will not be responsible for any injury or damage incurred while following a walkthrough from our site. None of our posts should be considered expert advice; please consult a professional when needed, read all safety and instruction manuals, and take all safety precautions. All projects performed following instructions found on this site are done at your own risk.
Fire Pit Pergola walkthrough Steps
For your convenience follow the link below and Get a printable version of this walkthroughThe printable plan includes the materials list and detailed diagrams and measurements for 3 sizes of backyard pergola.Step 1: Prepare and mark the area
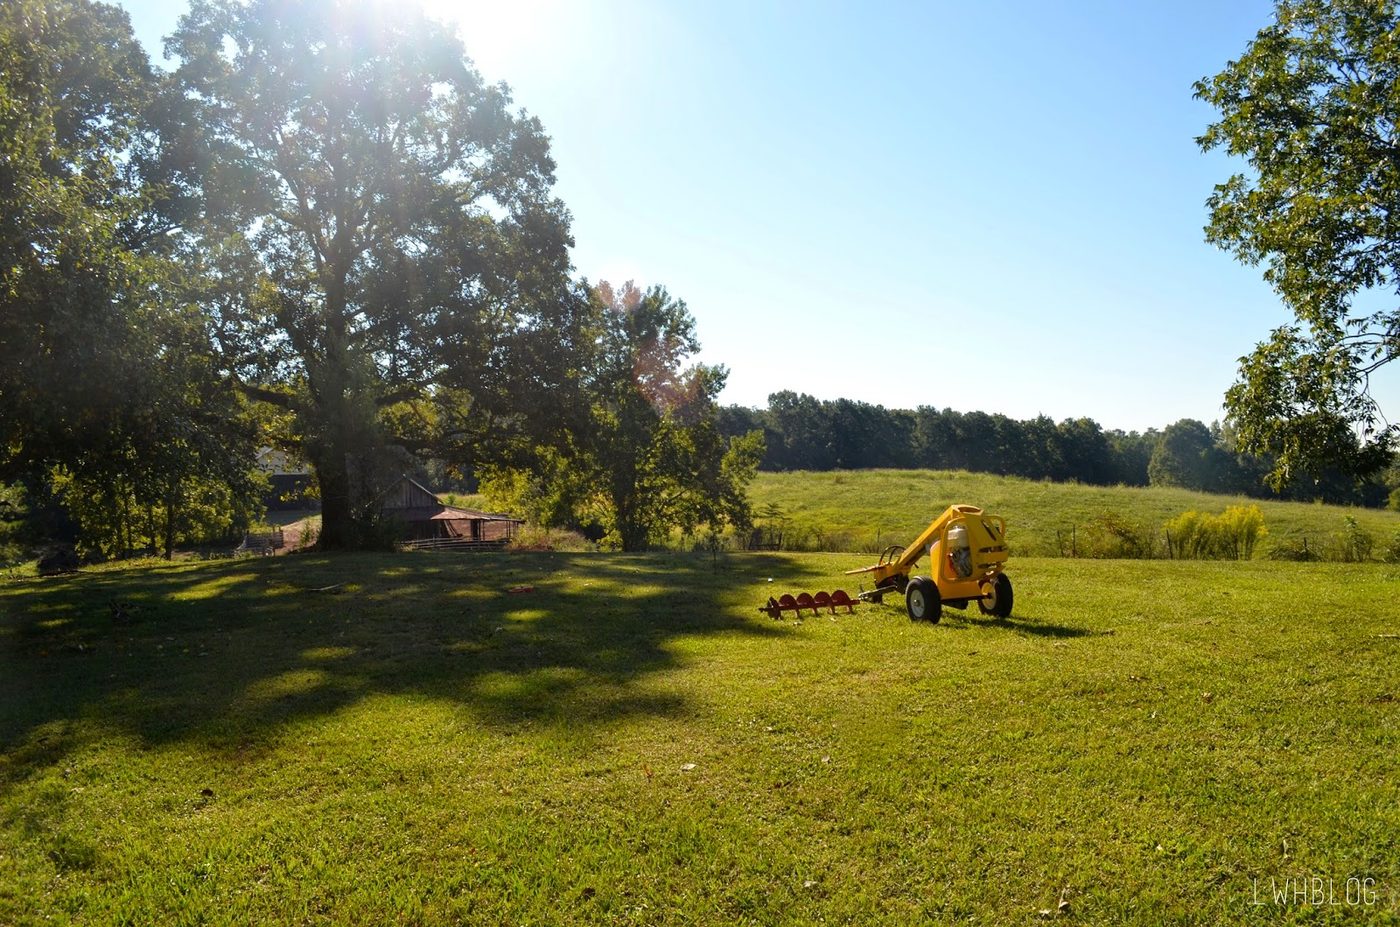
Choose an area on your property to begin building backyard pergola. Place a stake in the center of your build space. The layout of the circular design of the fire pit and pergola will be referenced from this point.
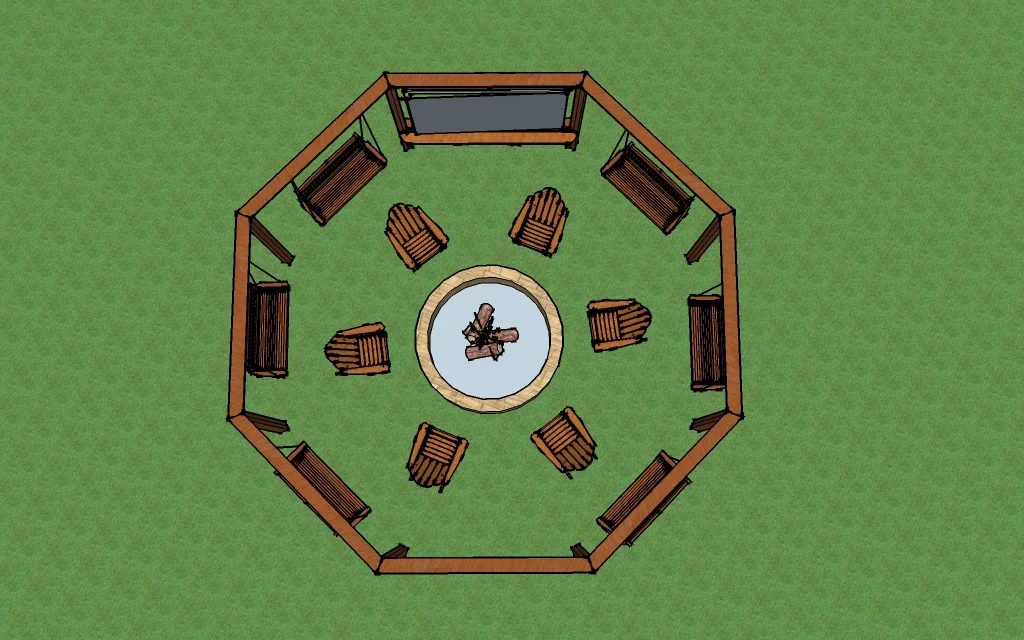
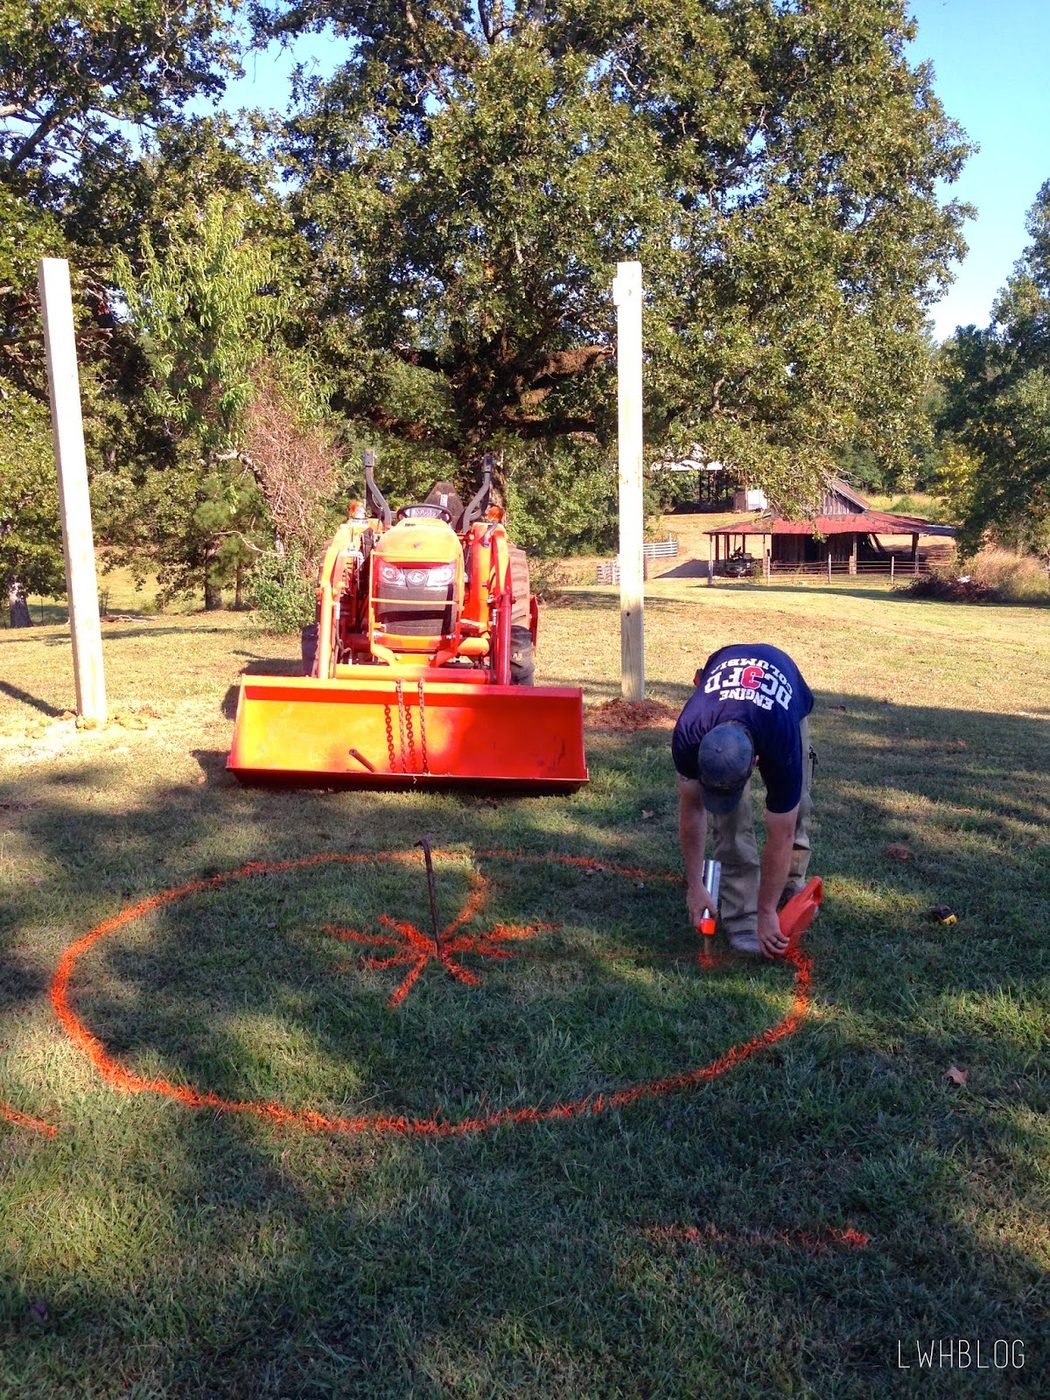
Using a tape measure, determine the radius of your fire pit and pergola from the center stake. Mark the exterior points using orange marking paint.
To mark the points for the fire pit and round pergola:
- Tie a string around the center stake.
- Stretch the string out to the length of your first radial mark. (Ours was at 4 feet for the fire pit.)
- Hold the string tight and using your paint, walk in a full circle marking the entire circumference for your fire pit.
- Repeat process at the next radial mark to create boundary markings for the pergola portion of the project. (Ours was 12 ft.)
Step 2: Mark your post locations
This design requires eight 6X6X12 wooden posts to anchor the pergola. Use a 2X4 cut to length to determine and mark where you will need to set your posts.
The distance between post centers (and length of this 2×4 spacer) is determined by the size of your pergola — the detailed plans include 3 different dimensions.
To mark the pergola post locations:
- Determine where you want your pergola entrance to be and place the 2X4 there on the outermost circle. Each end of the 2X4 must be touching your orange marks.
- Mark each end where the 2X4 is placed.
- Pick up the 2X4 and rotate it around the circle by placing one end where your last marking is.
- Continue until you’ve circled all the way around. You should have eight intersecting marks along the outermost circle. These points are where you will place your posts.
Step 3: Dig post holes
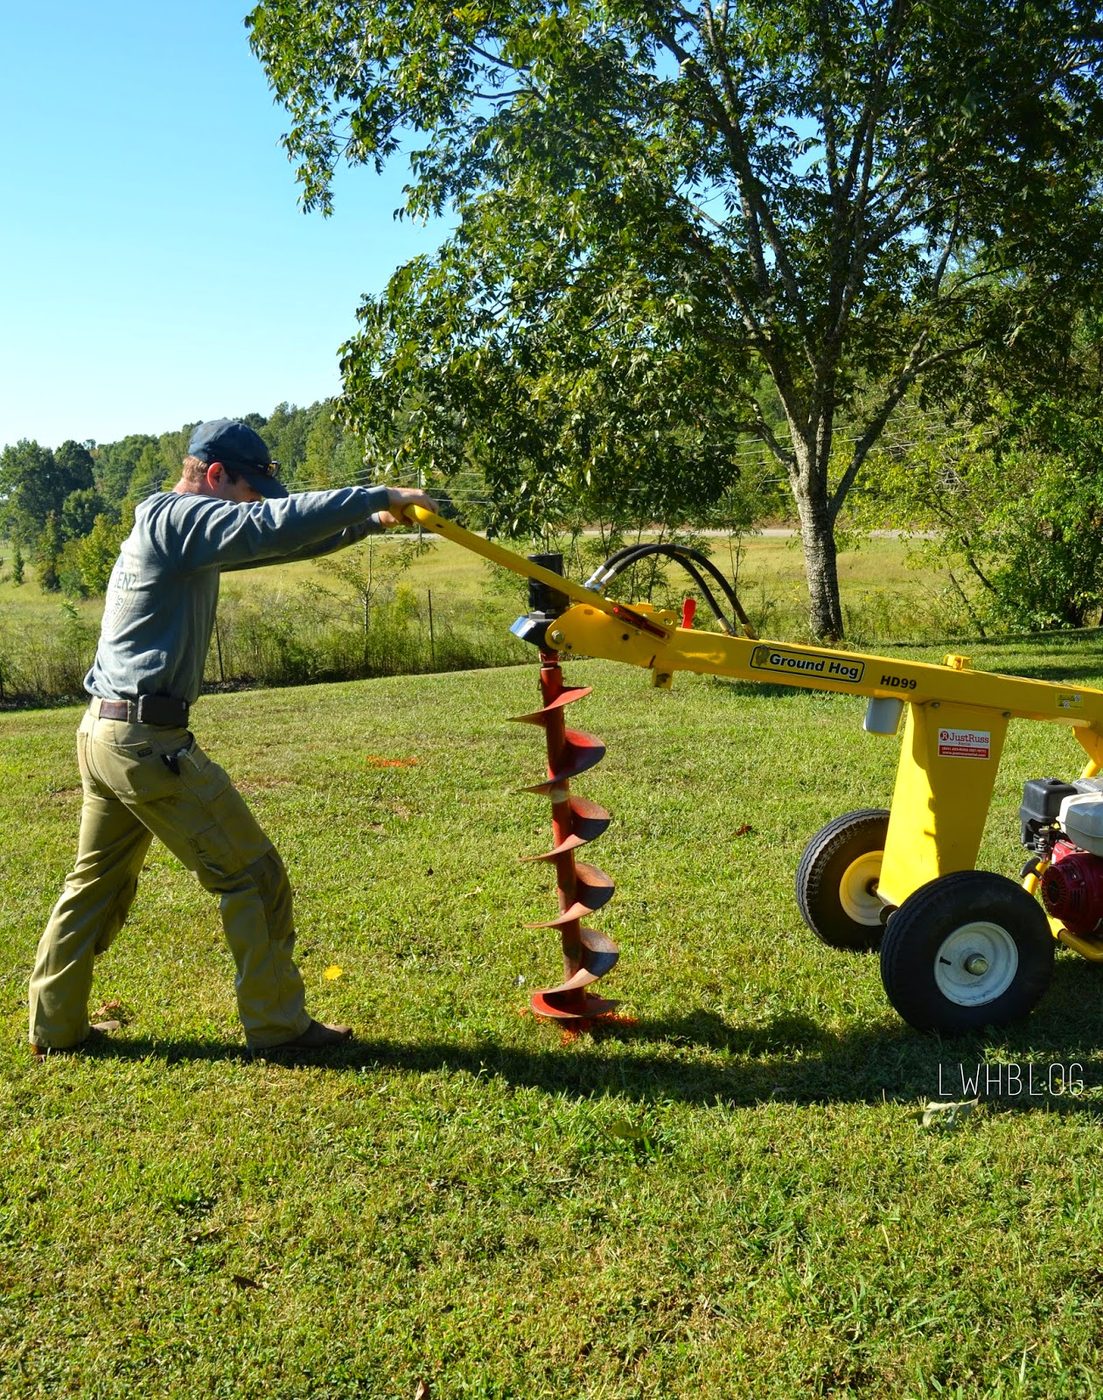
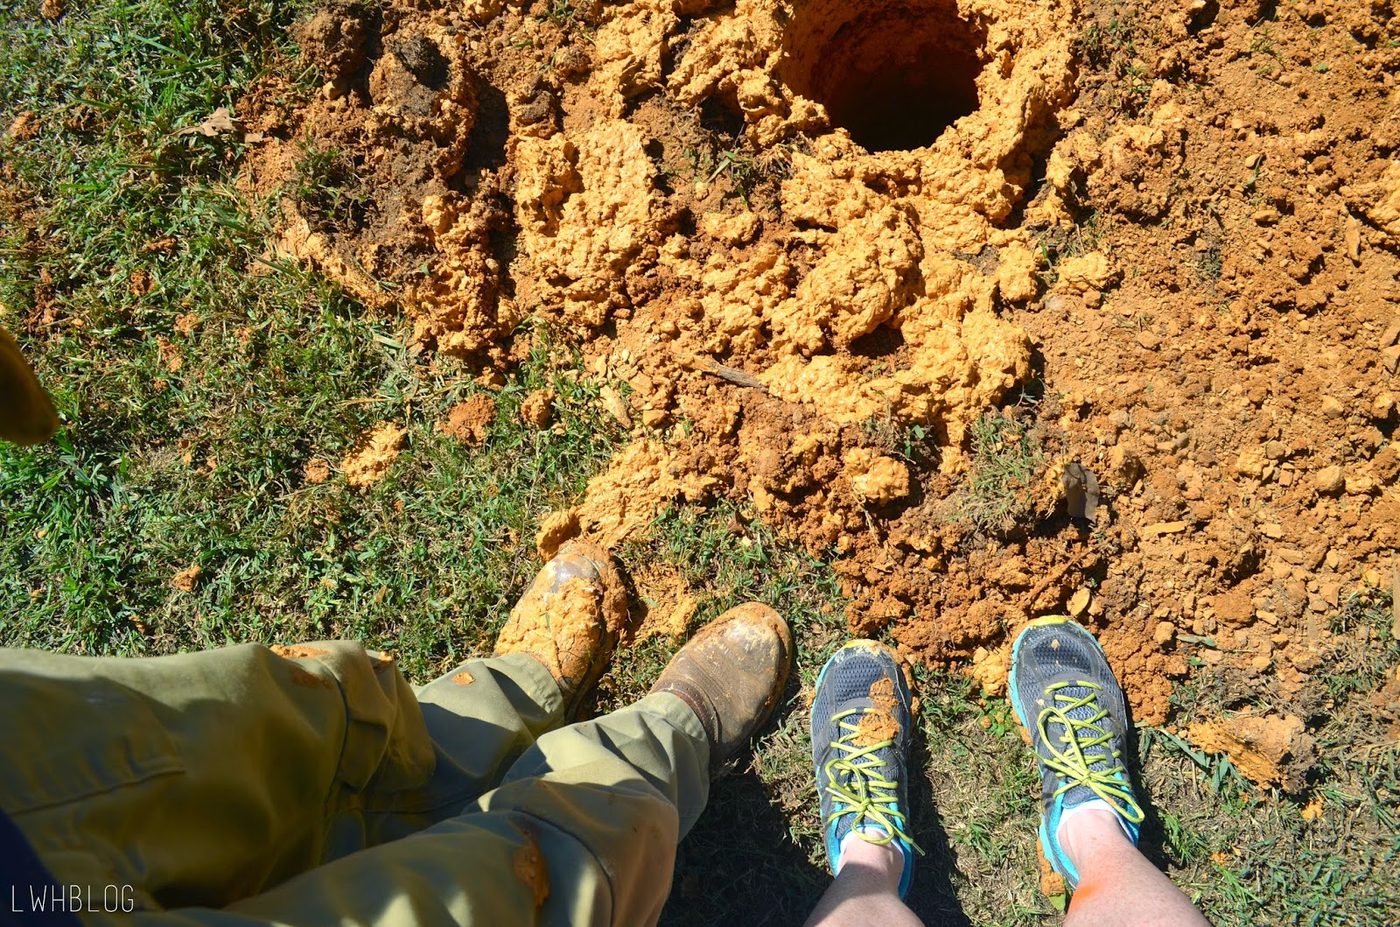
Using an auger, dig your post holes approximately 3 feet deep. Use a post hole digger to remove any remaining dirt the auger may leave behind.
Step 4: Install posts and level
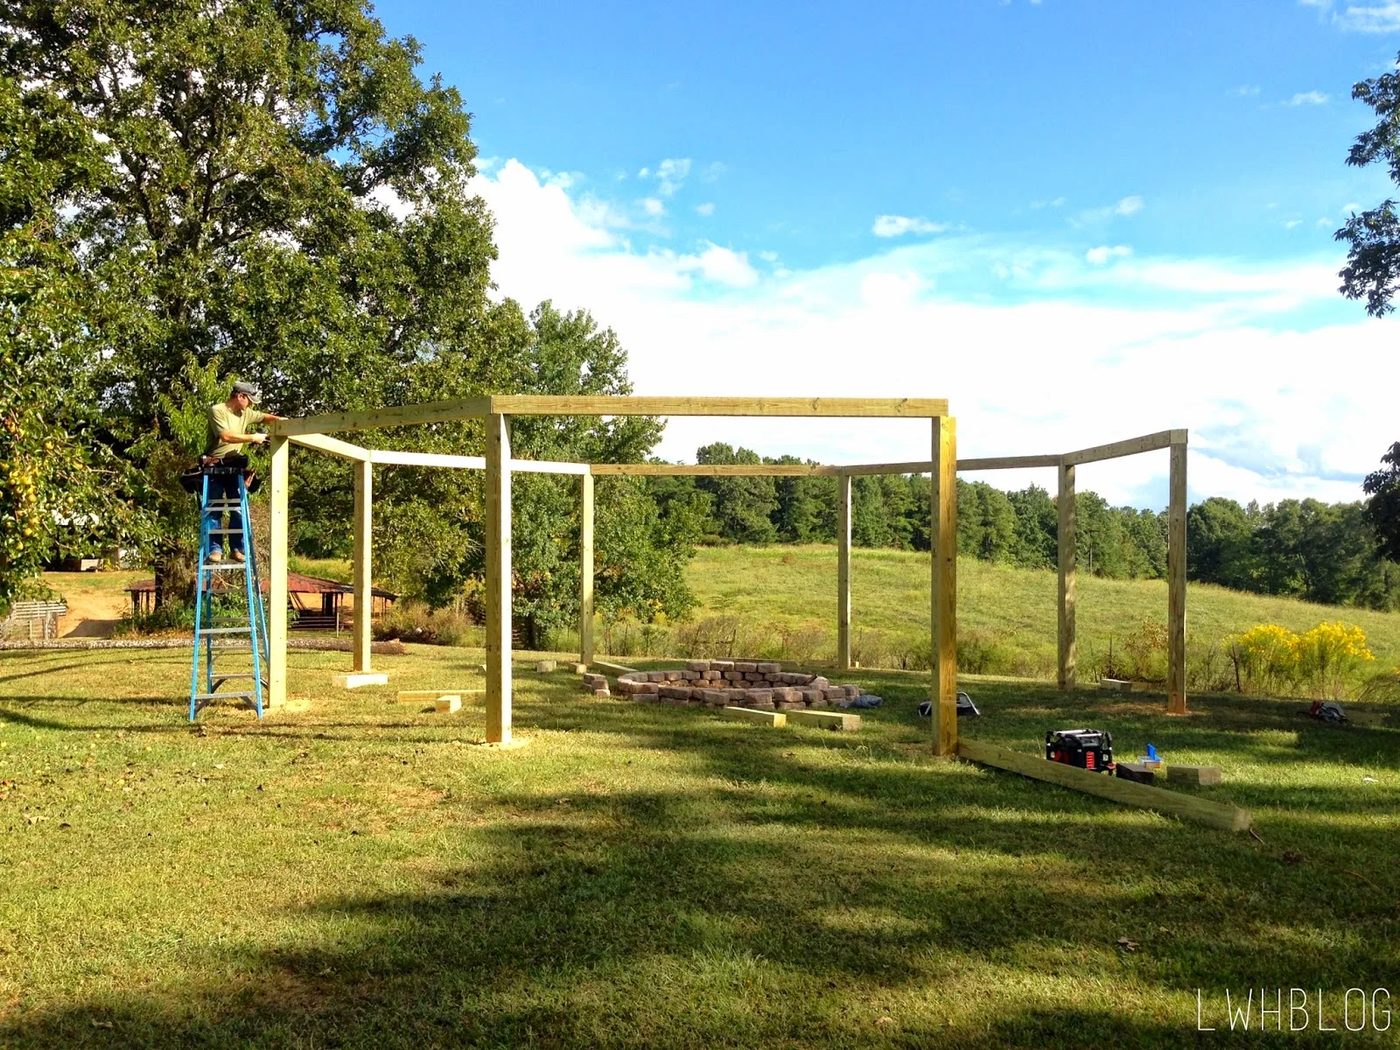
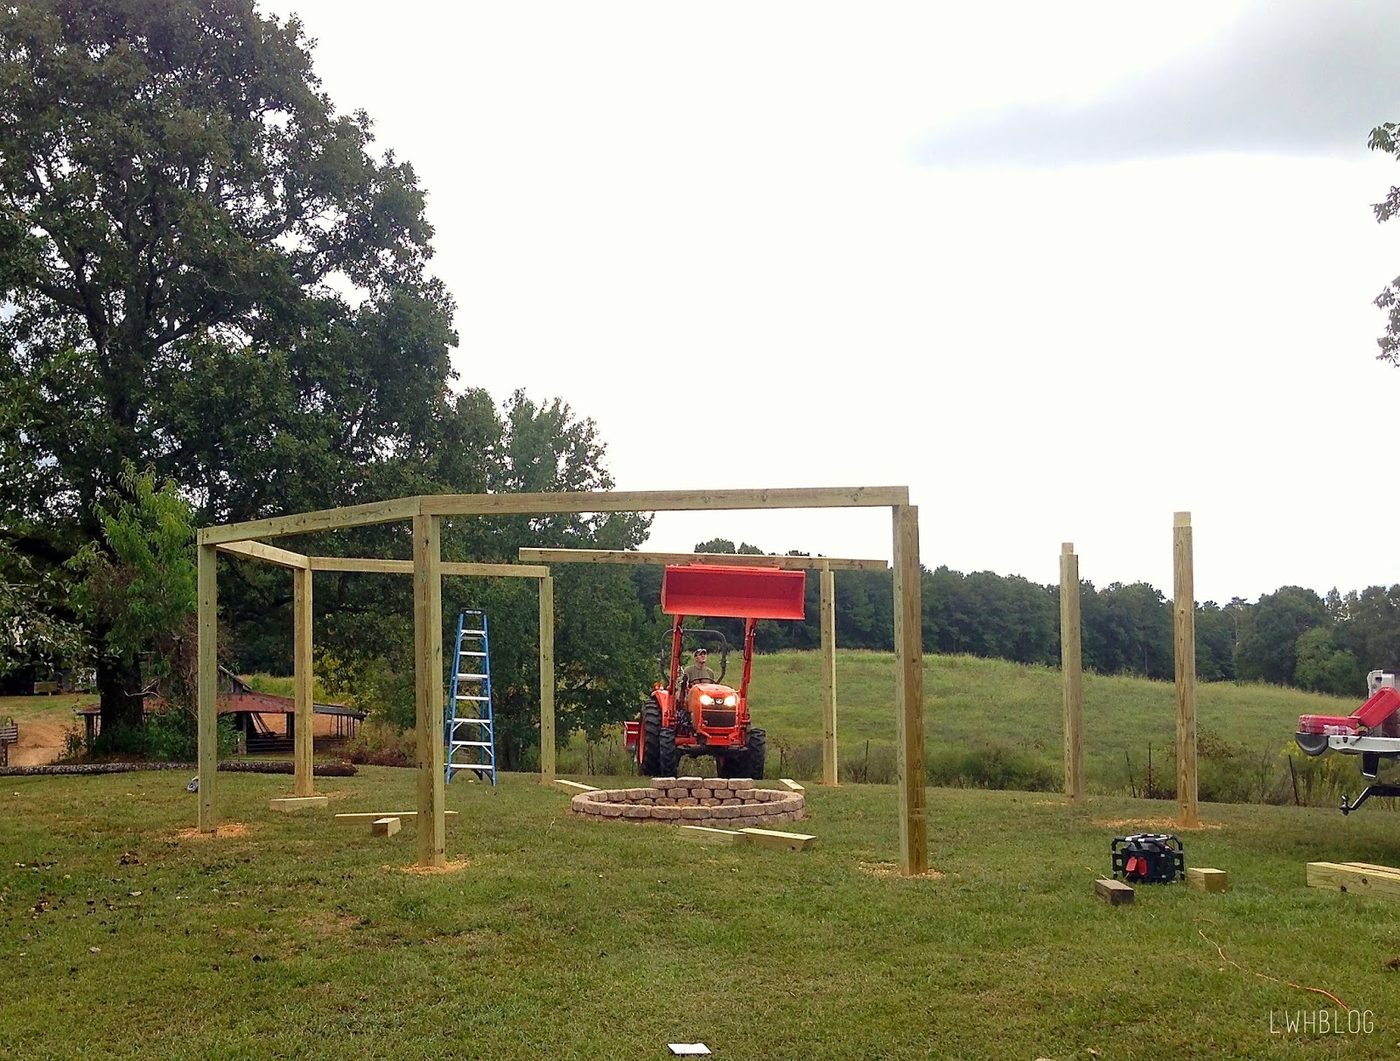
Place a 6X6X12 wooden post in each post hole. One flat face of each post should be facing the center of pergola, directly towards the fire pit.
Using a level, level your post as much as possible.
Each post will require two bags of fast setting concrete mix.
Pour concrete bags around the base of the post and add water per the product directions to stabilize the post.
Using a level, level the post in both directions before the concrete sets. Repeat steps for each post.
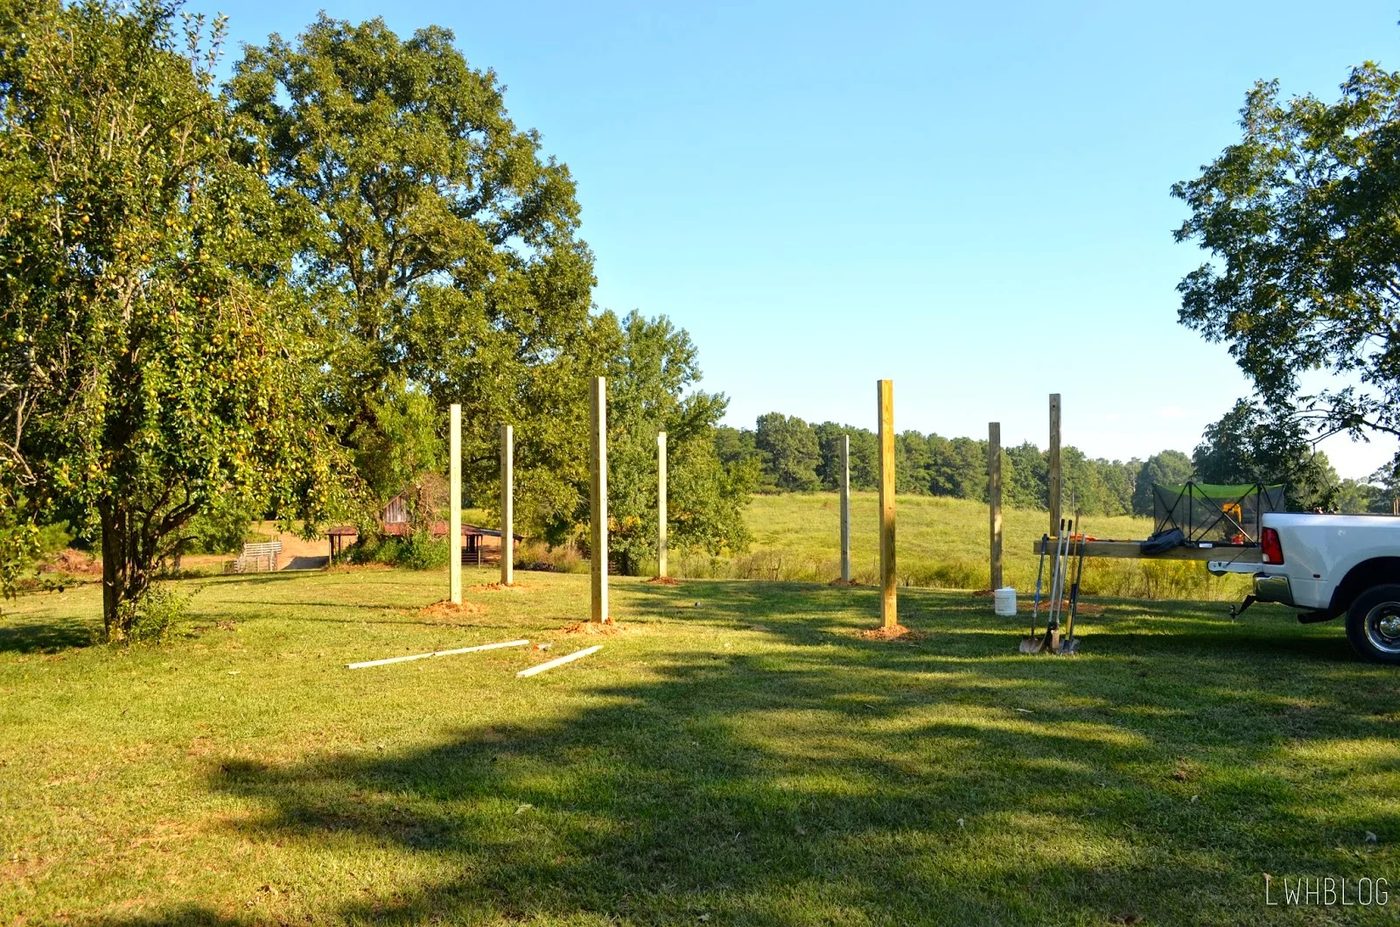
Cut your posts to desired height or to the height of the shortest post. Ours posts are 9 feet tall — the height can vary based on your needs and the dimensions of the full pergola.
To cut the posts to height:
- Use a rotary laser level to ensure that all the heights of all the posts are level.
- If you do not own a rotary laser level, you can make an affordable water level to achieve the same result. You can find tips on that HERE.
- Use a speed square to mark square lines on all four sides.
- Using a circular saw, cut along the lines on each side of the post. (Carefully and using proper safety gear!)
- Then, use a reciprocating saw with a woodcutting blade to finish cutting the remaining wood.
 Step 5: Install the fire pit (optional)
If you’re building this pergola around a fire pit, now is a great time to add the fire pit! You can add it later, too, or build this pergola around an existing fire pit.
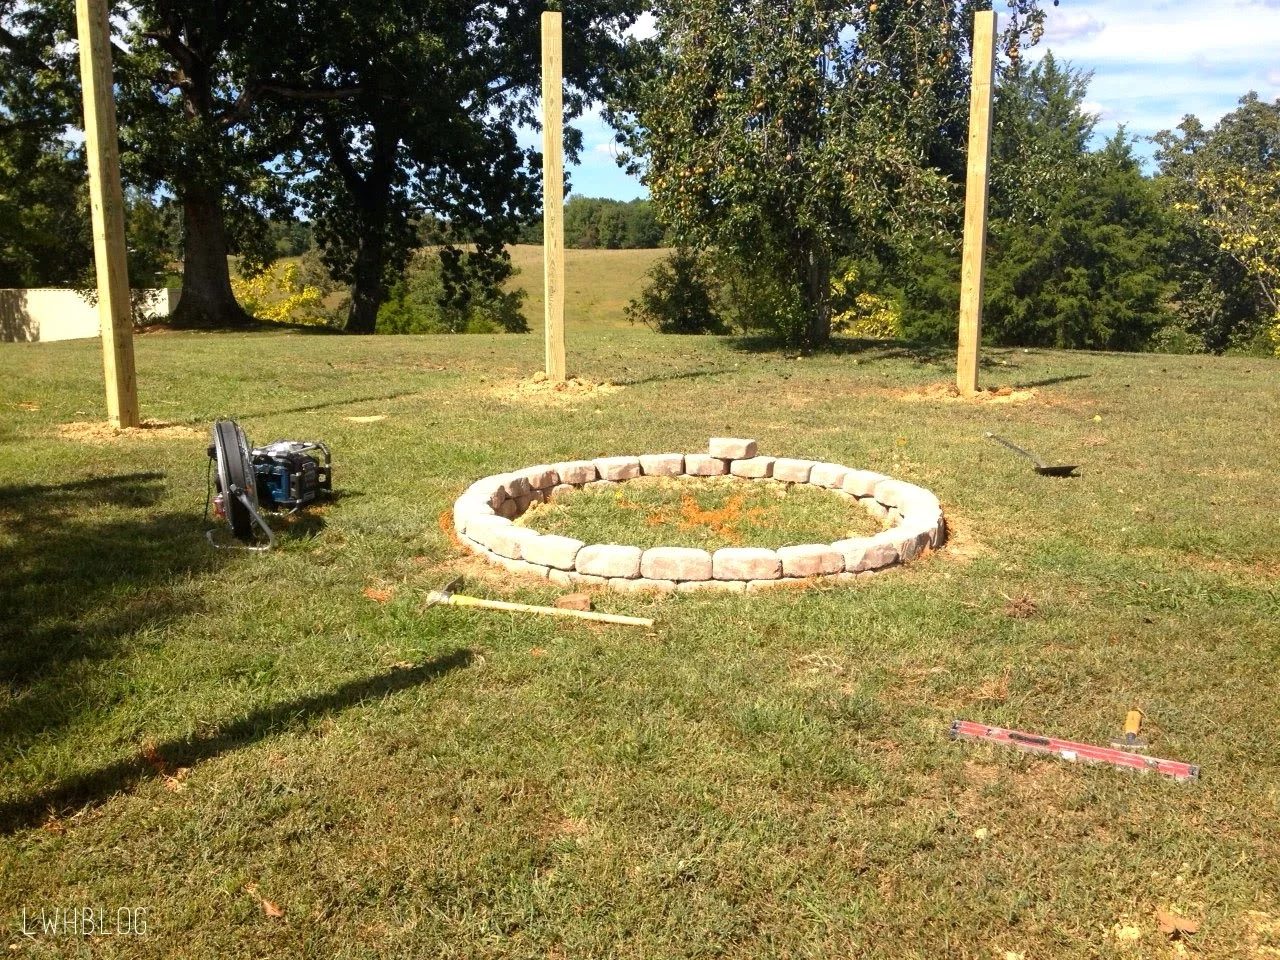
We made the fire pit in our pergola from stone blocks but you could add any type of fire pit you like, or use a curved fire pit kit like Justin and Cassity did here. 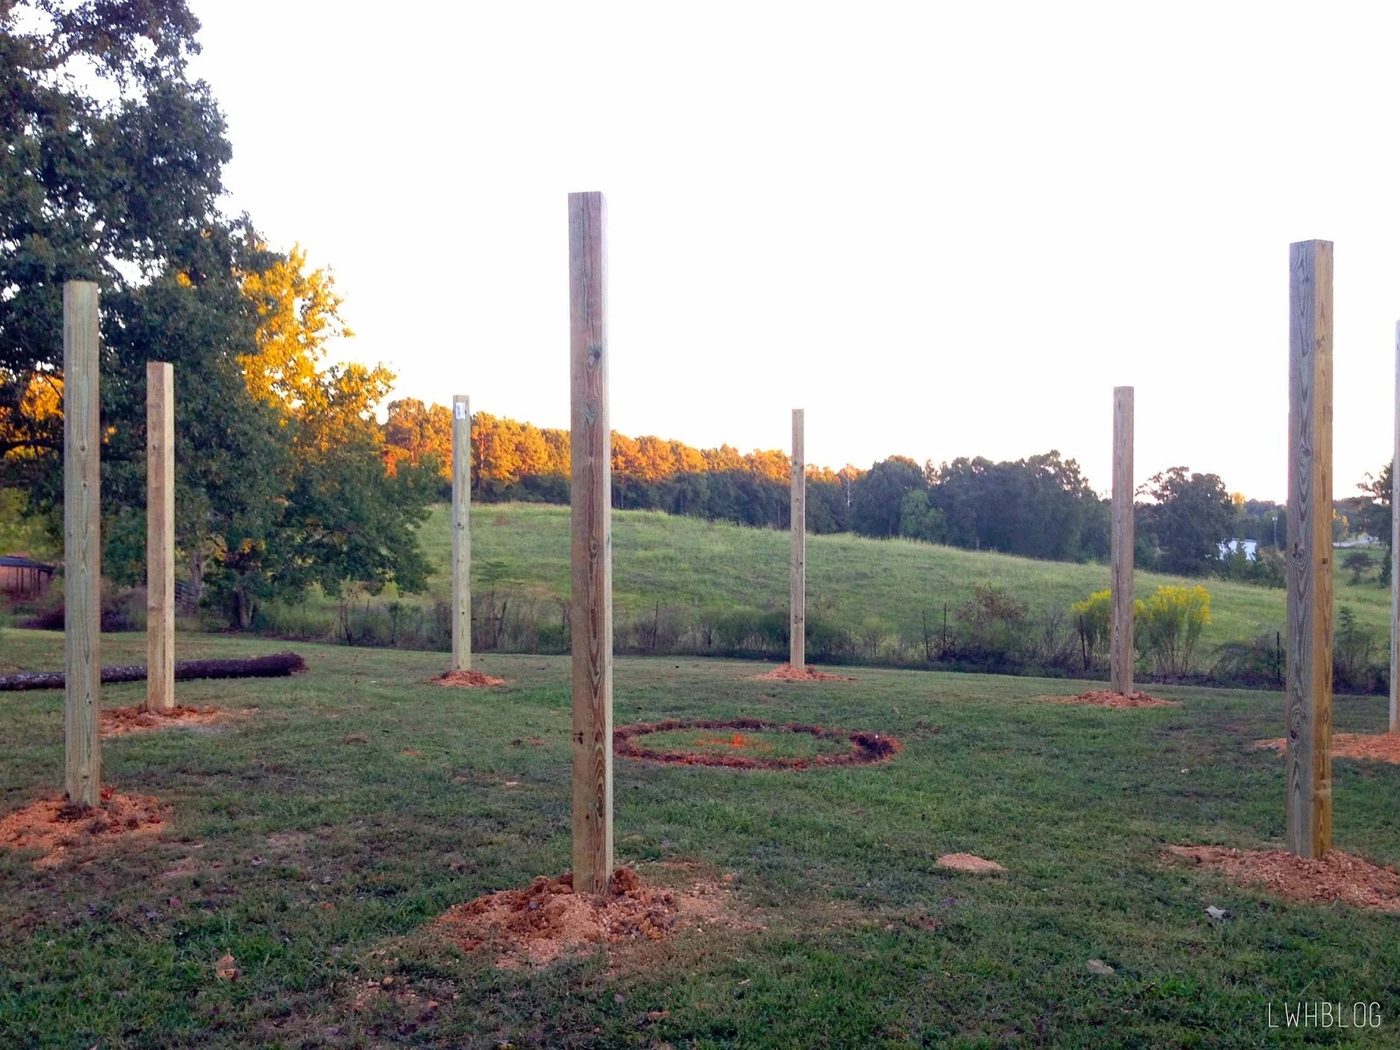
To install a stone block fire pit:
- Dig a trench around the circumference of the fire pit approximately as deep as one of the stone blocks you’re using to build the pit. This will anchor the fire pit.
- To create the first row of stones for your fire pit, begin laying your blocks tightly together. It’s ok if the back edges are farther apart. You can adjust them based on the design you prefer.
- Spread liquid-nails landscape adhesive one top of the first row of stone blocks. Begin layering your second row of stone blocks, making sure to stagger the seams.
- Repeat steps until fire pit is as tall as desired.
Step 6: Prepare anchor posts
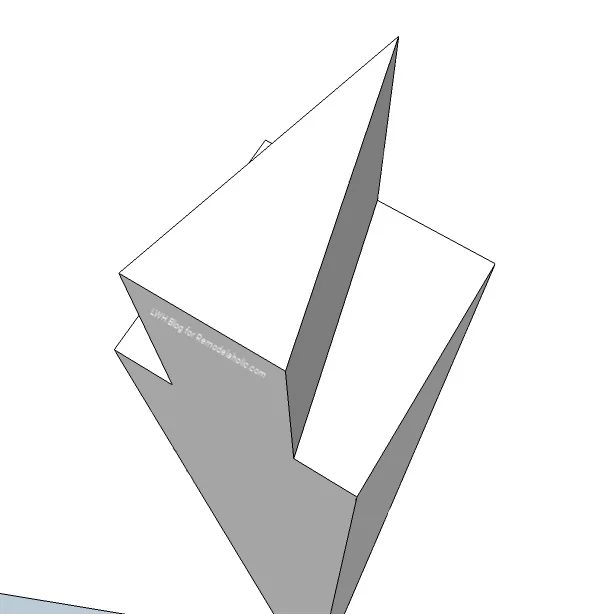
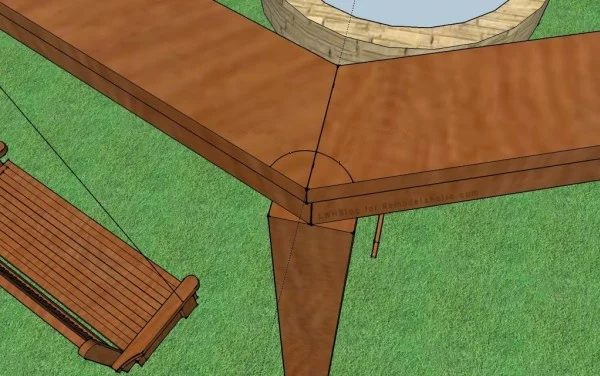
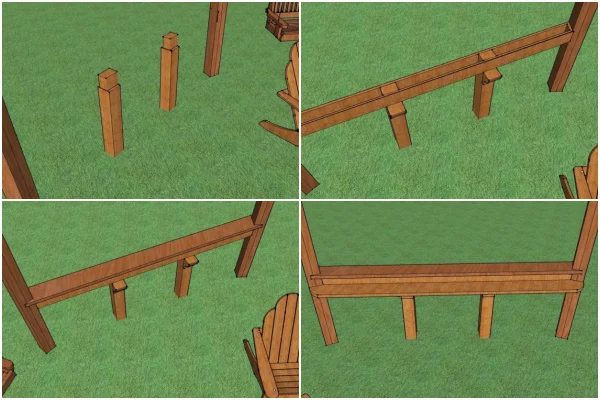
The following illustrations demonstrate how to cut the top of the anchor posts so that you can install the beams that span from post to post. You will hang your swings from these horizontal beams, so a secure installation is very important.
The detailed building plans include suggested measurements and additional details for this step.
To cut the top of the anchor posts:
- Measure and mark the top of each post to create a pie-shaped triangle wedge on top of the post. (Detailed dimensions and angles included in the printable woodworking plan.)
- Use a circular saw (carefully!) to cut along the angled lines on top of the post.
- Finish the cut with a reciprocating saw with a wood blade.
- Cut horizontally along the side of the post to meet up with the previous cut, to remove the wood chunk along the side of the triangle wedge.
Step 7: Cut and install beams
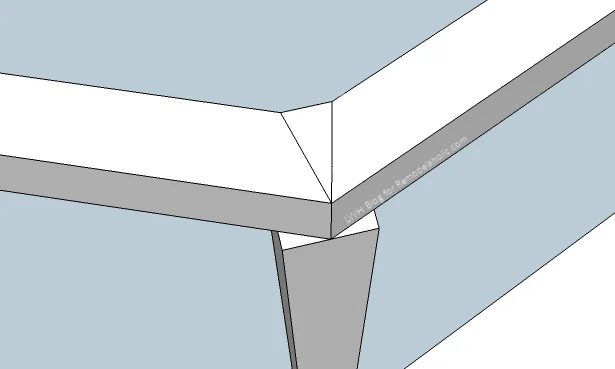
You’ll create your own tight fit and “well fitted measurements” by cutting to fit your exact beams to your exact post cuts.
- Set your beams on top of the cut posts, making sure to align the interior edge of the beam with the corner of each post.
- From the underside of the post, use a pencil to mark the the angle to the bottom side of the beam. This will ensure that the beams and post will fit tightly together.
- Cut each beam along your markings using a circular saw and reciprocating saw.
- Secure the top beams with 4″ deck screws from the outside into the pie shaped section of the support post.
Step 8: Cut and Install the Top Cap
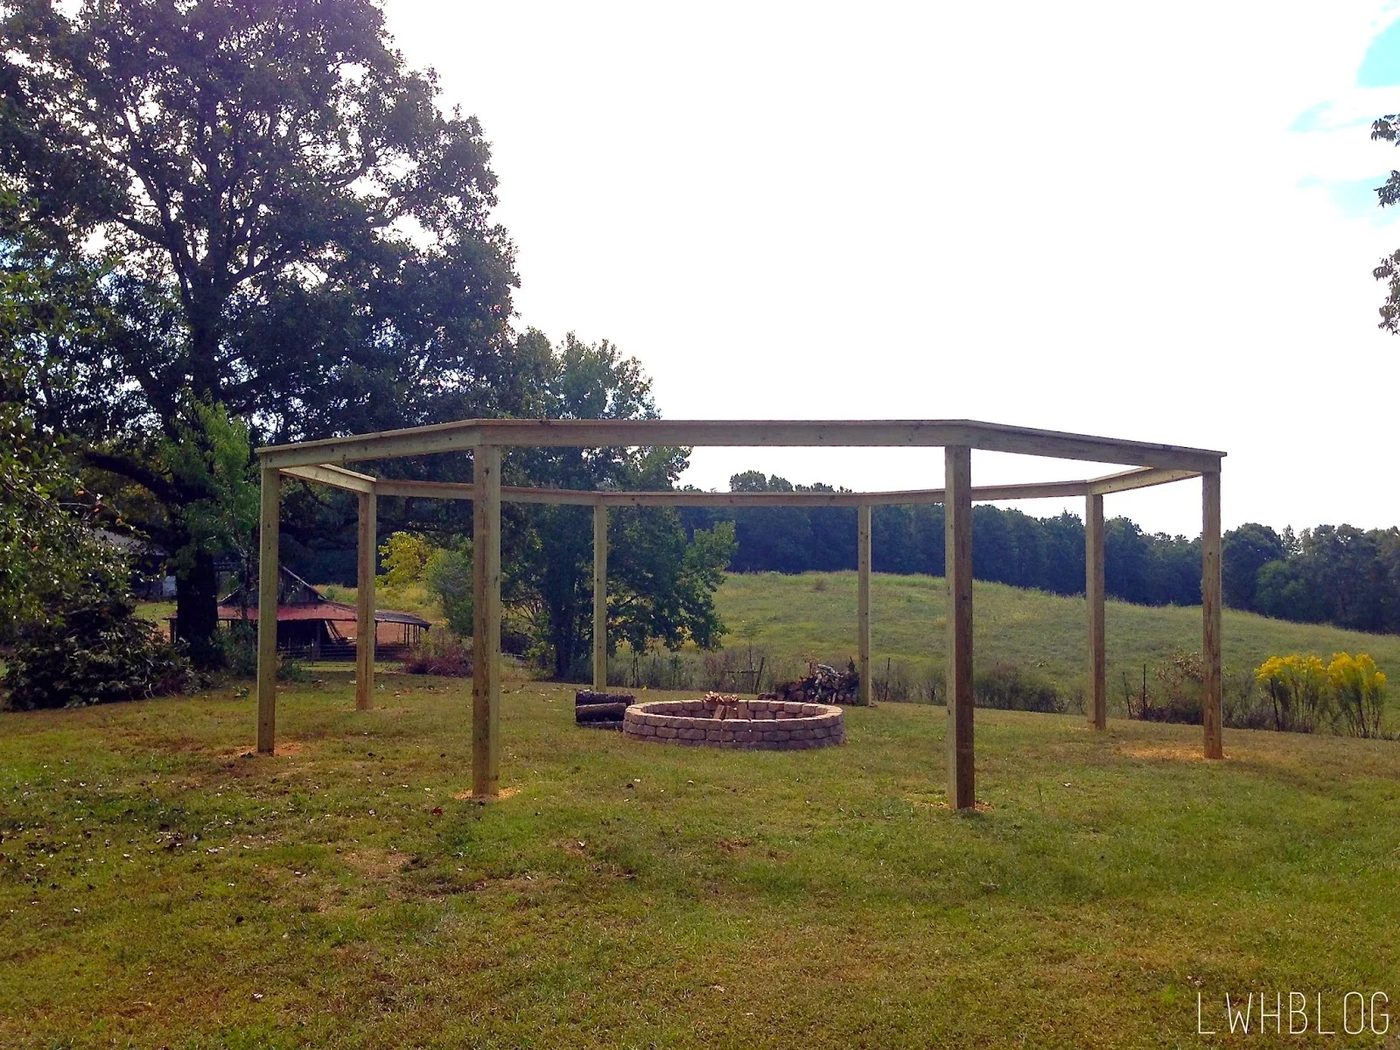
The last step to complete the pergola framing is to cut and install the top plate that caps the beams. These plates are mitered so that they meet evenly in the corners over each post.
- Measure, cut and place your plates using the same marking process as the beams, overlapping the joint at the pie-shaped triangle wedge of the post to create your exact fit angle.
- Secure the top plates with 4″ deck screws, and also place screws through the top plate into the beam about every 10″.
Step 9: Install swings on the pergola
Using a corded drill with a 12″ long and 1/2″ bit, drill the holes to place your eye bolts for your swing hardware.
You will need to find the center of each pergola section and your measurements will depend on the length of your porch swings.
We used six 6-foot porch swings that we purchased from a local craftsman. Install eye bolts and secure your porch swings in each opening.
*Looking for a great porch swing walkthrough? Try these: Sawdust2Stitches (fits a crib mattress) Ana White Shanty 2 Chic
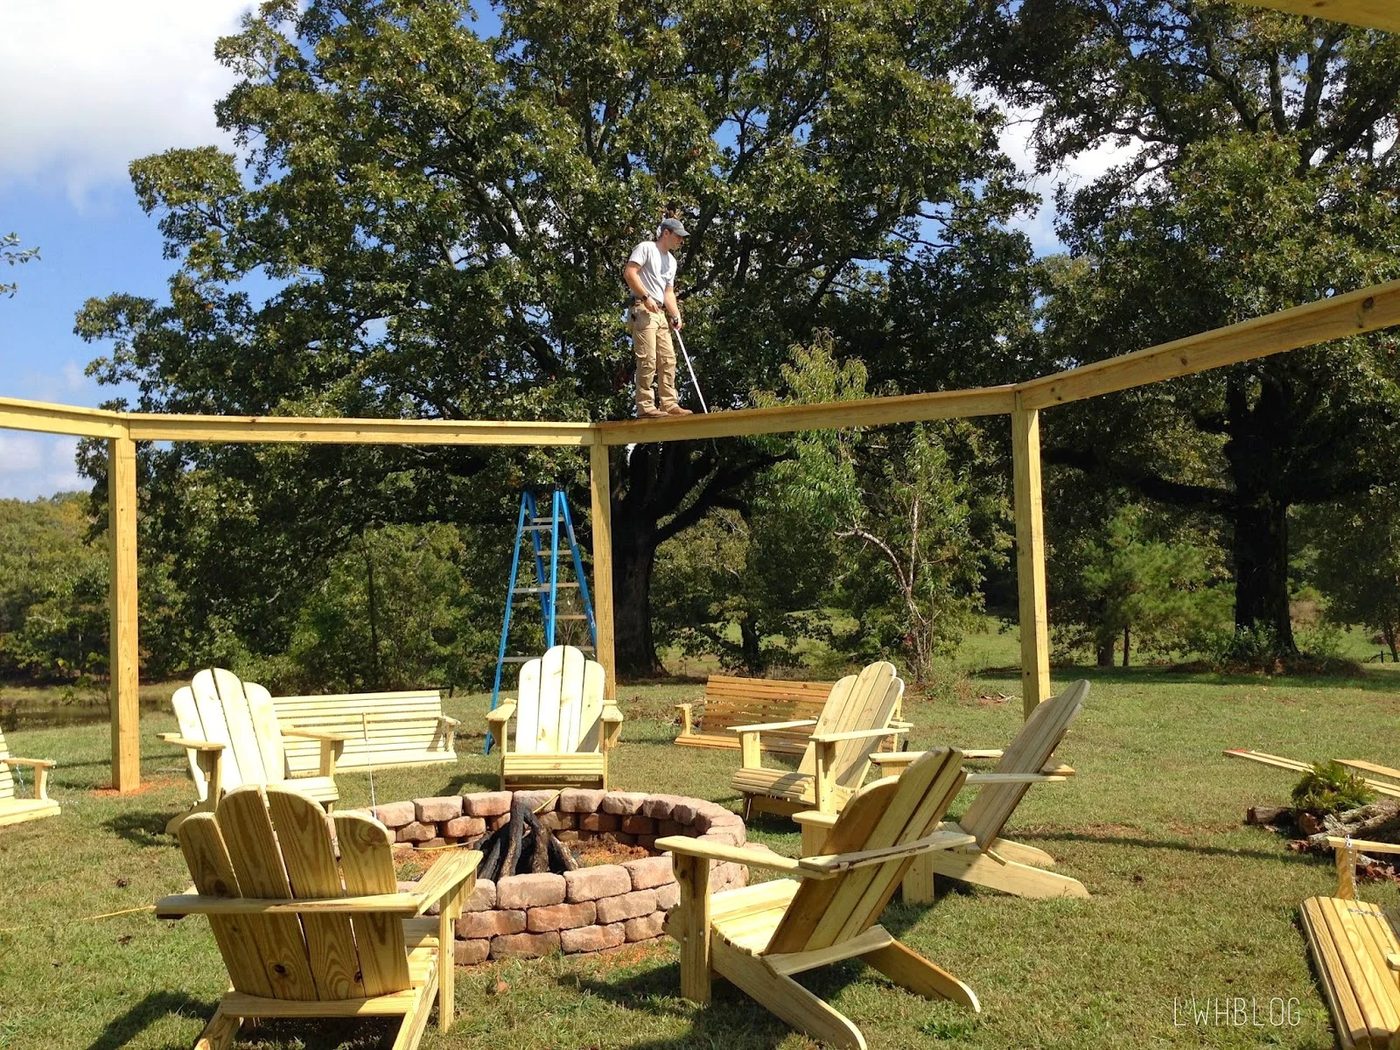
Step 10: Create the bar/storage area
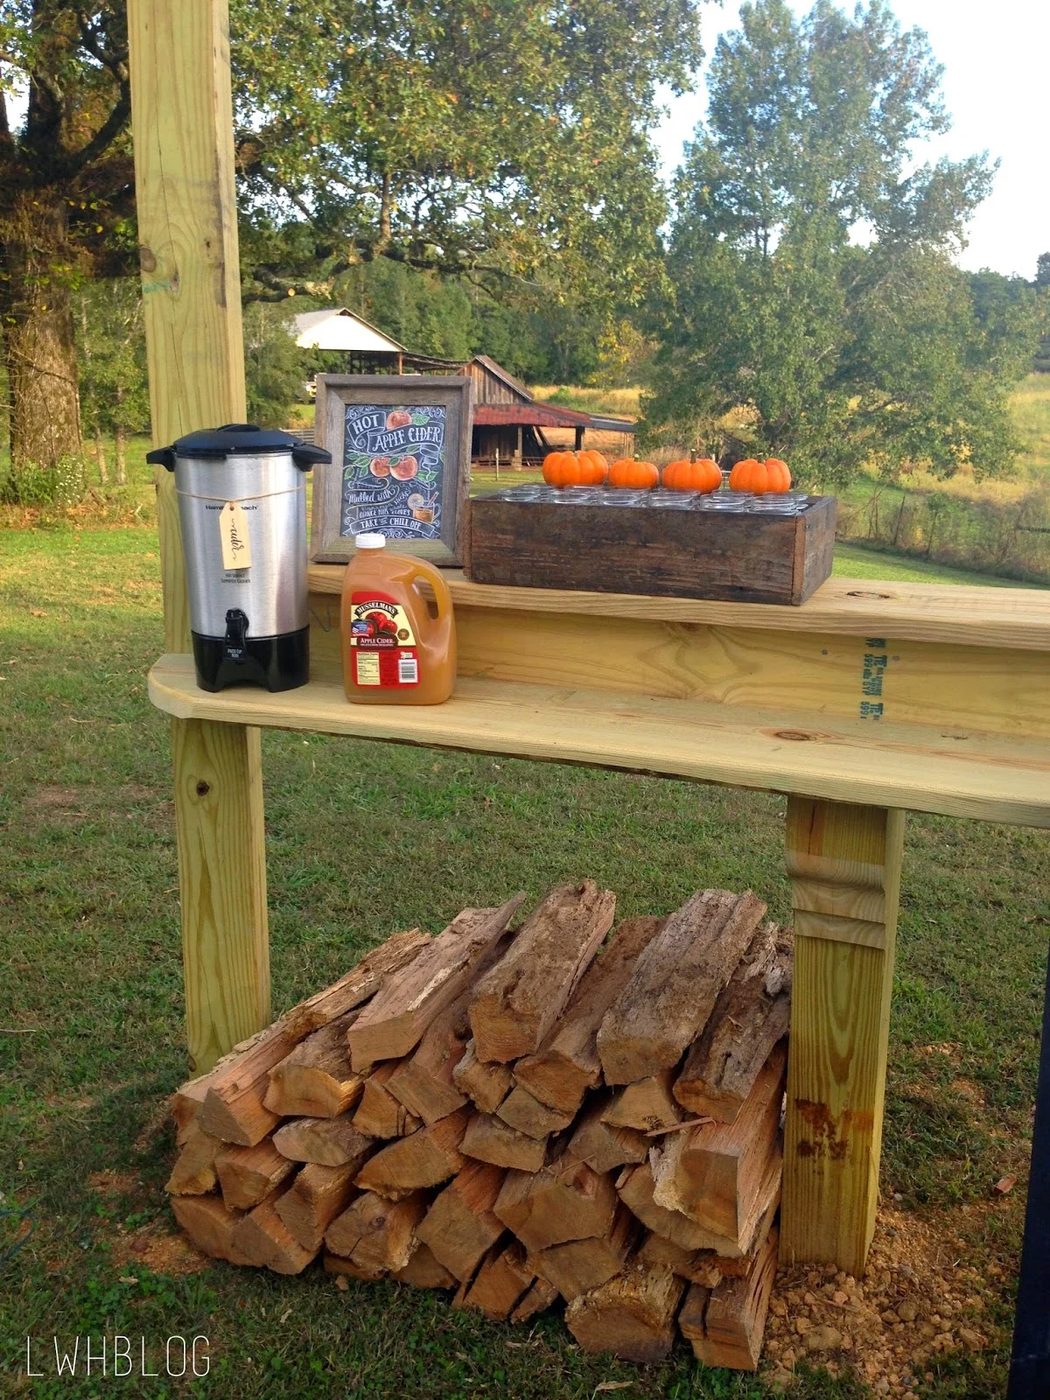
In the opening directly across from the pergola entrance, we chose to create a multi-purpose bar area that also serves as an area for wood storage.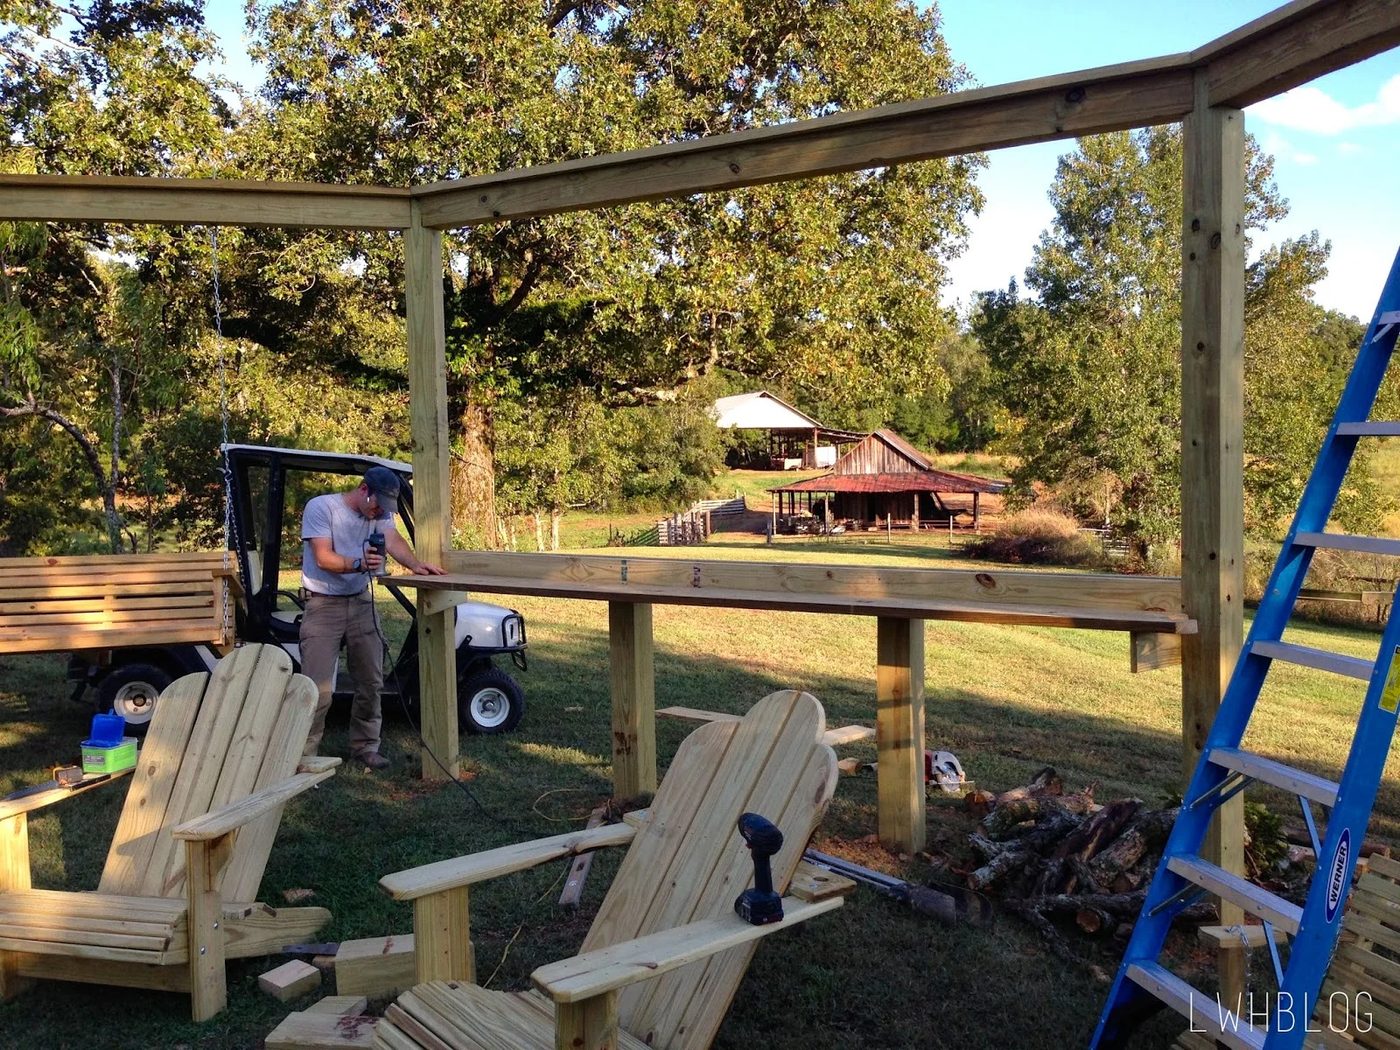
To create the bar/storage/serving area:
- Divide the distance between the two posts into thirds and place two 6X6 posts cut to 5′ tall to support the bar top. (Use an auger or post hole digger to create the hole for the two support posts.)
- Place a post in each hole and use a level to level the posts in each direction. Stabilize them using quick setting concrete according to concrete directions.
- Trim 1.5″ off of the the front and rear facing sides of the two bar posts (see illustration).
- Cut and install two 2X6 beams to fit between the two main support posts. They will rest on the two bar posts for support. Attach each beam securely to each post with screws.
- (Optional) Attach a corbel to both bar posts beneath each beam for additional support.
- Trim each end of two 2X10 beams to fit tightly between the two outside support posts.
- The angle of these cuts will vary based on the dimensions between your posts and the angle at which they are positioned.
- Place each beam horizontally across the span of the bar area and use a level to level the beam. Secure both beams using screws.
Building Outdoor Adirondack Chairs
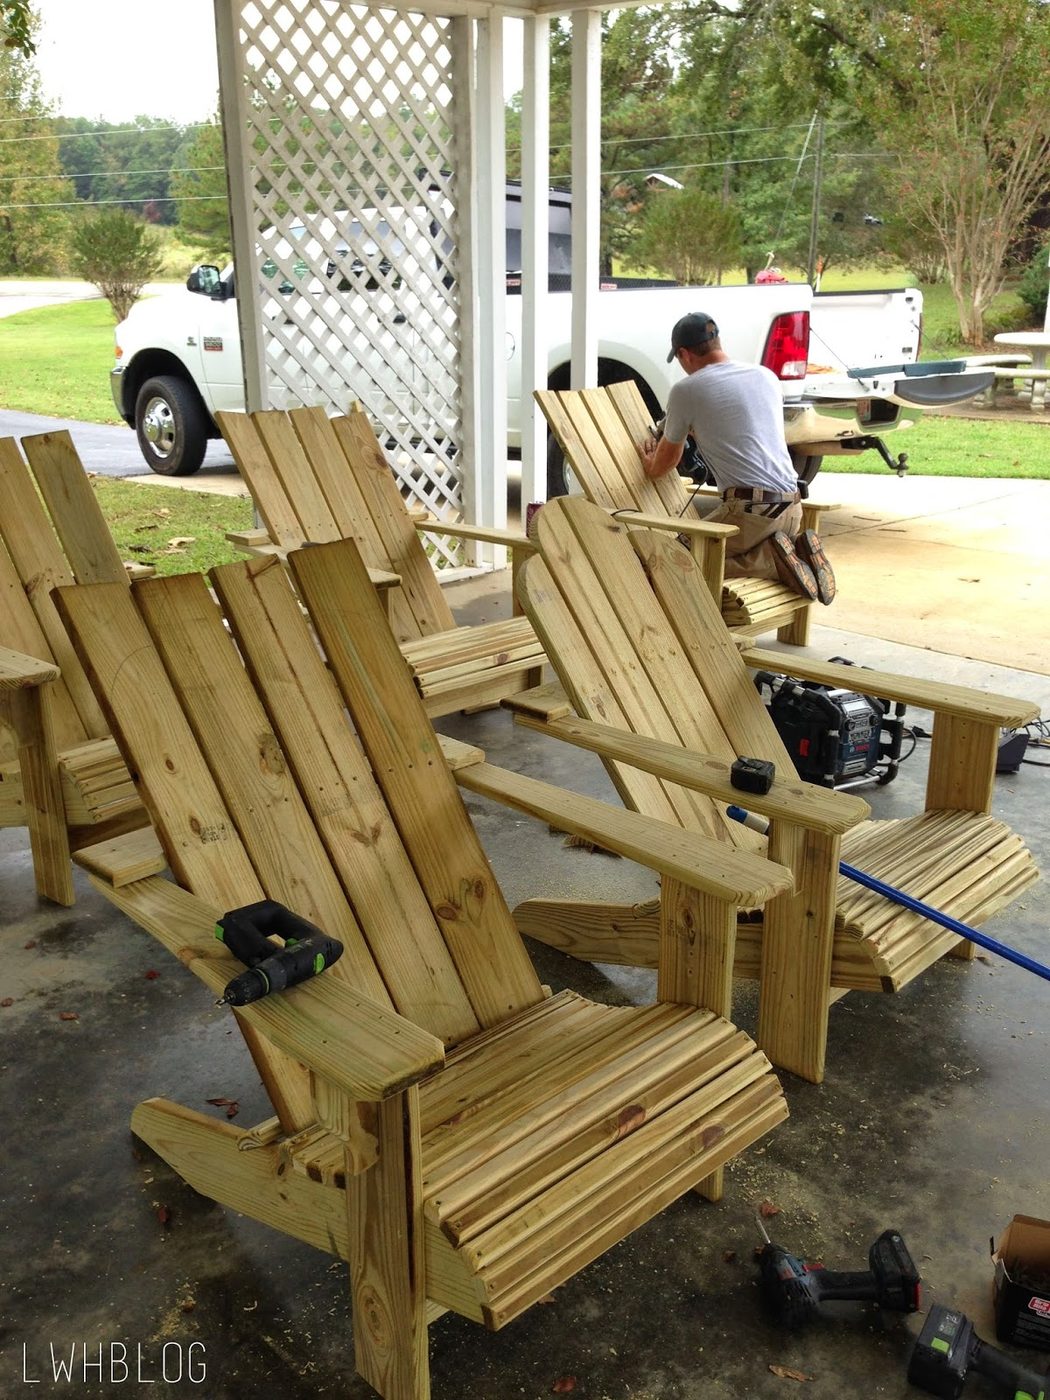
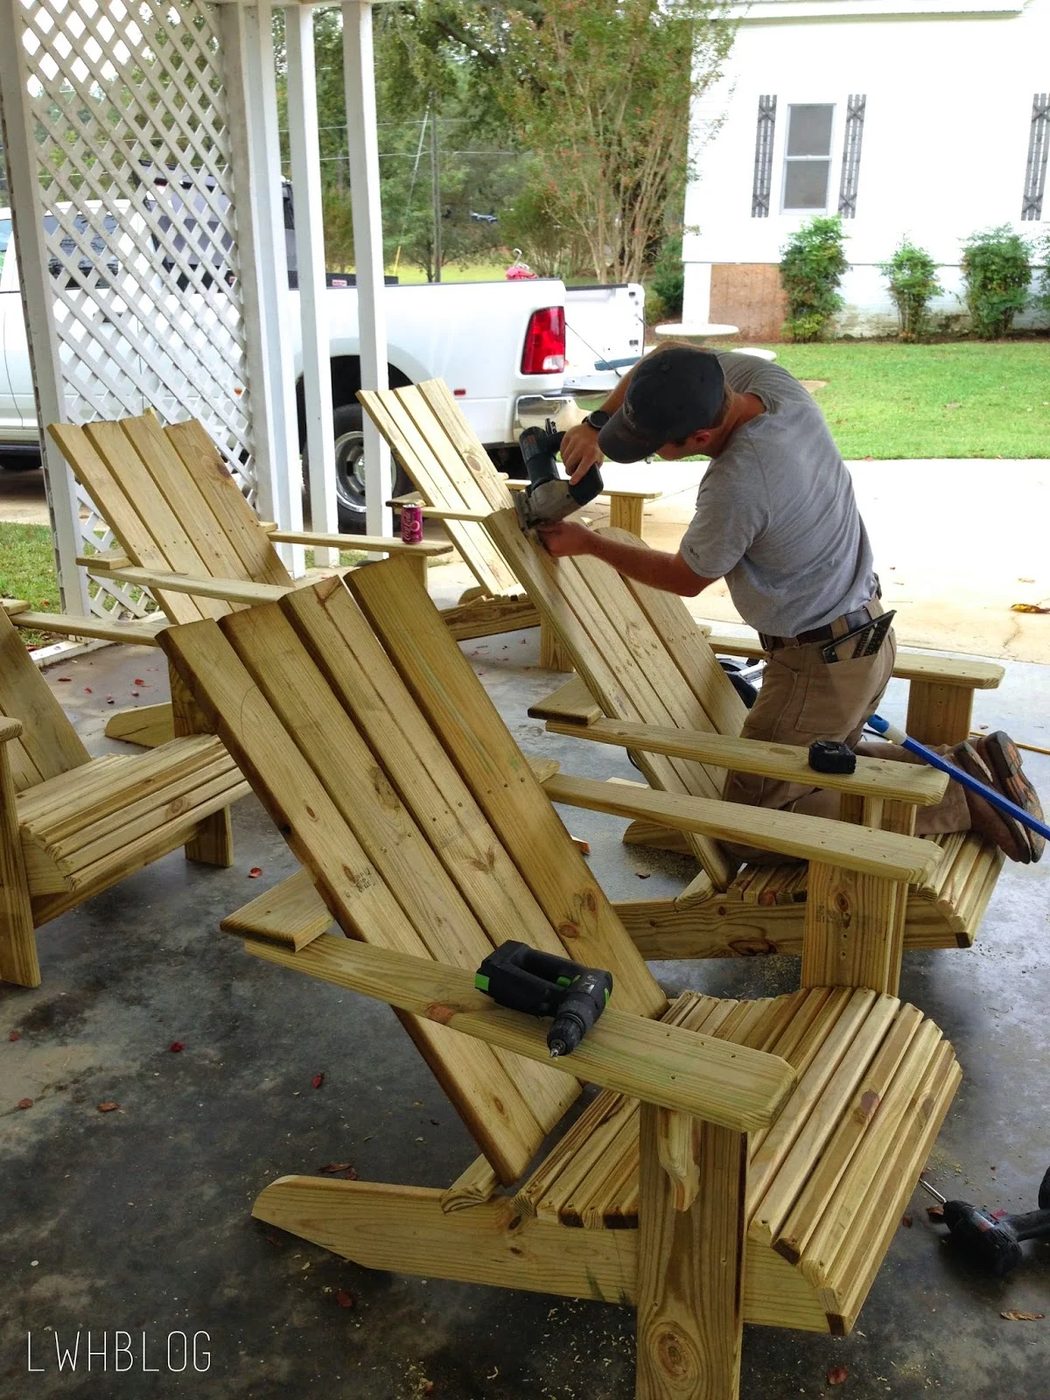
We chose to build own own adirondack chairs and spent approximately $50 per chair in materials.
These style chairs are easily found at your local outdoor furniture retailers ranging in price from $50-$250 or you may decide to choose different styles of seating to surround your own fire pit.
Bekob designed there own version of a Adirondack chair you can get here. They even have a Adirondack bench version here
Finishing the Pergola
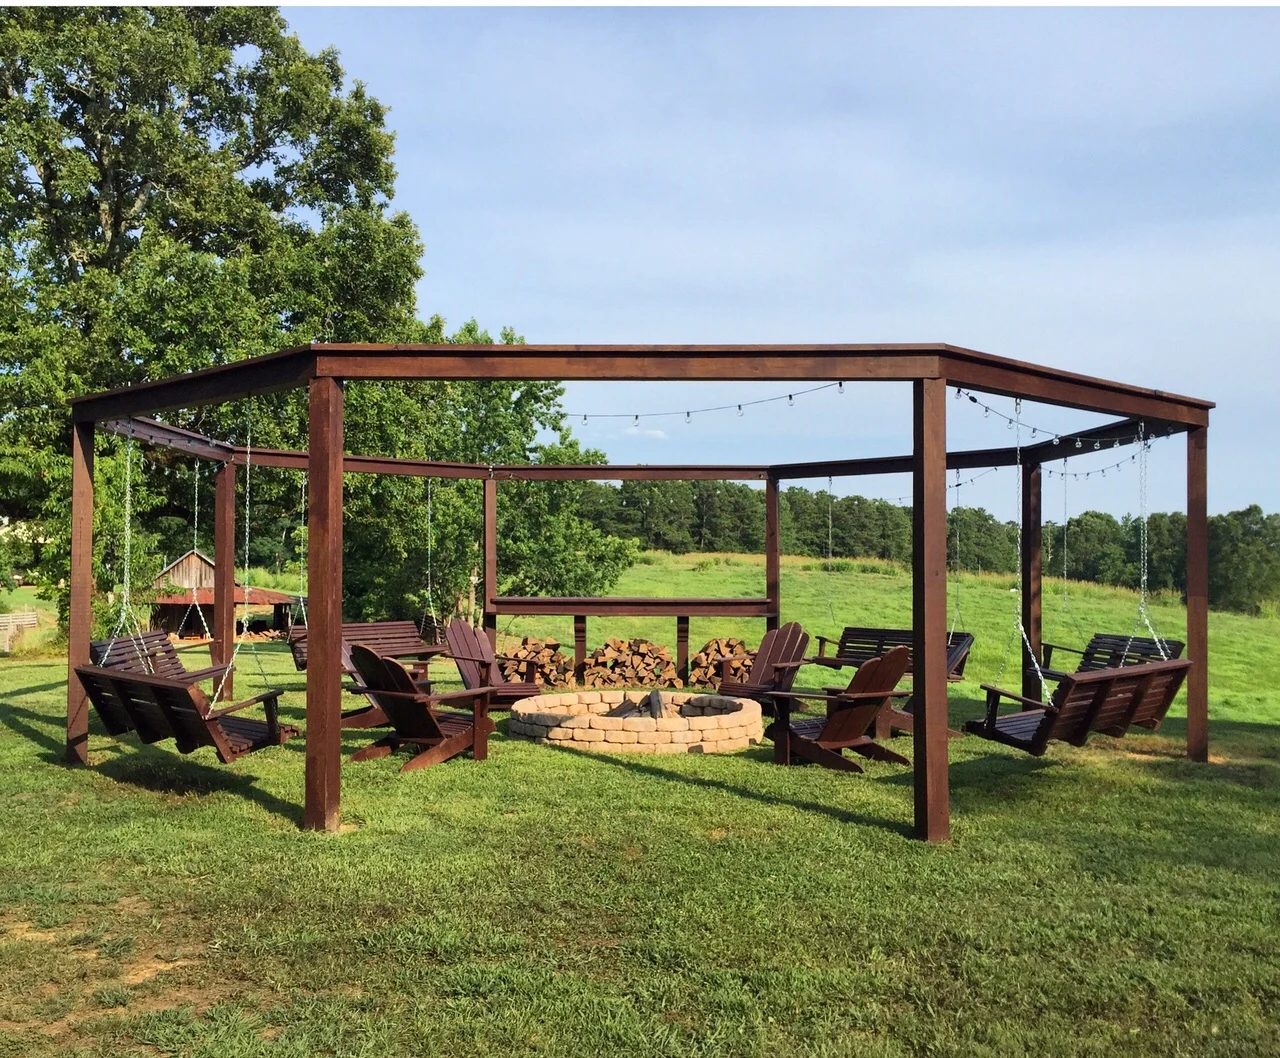
Once you’ve allowed ample time for your pergola to acclimate to its surroundings and for the wood to dry out, we recommend that you seal or stain all wood surfaces using a water proofing product. (Two consecutive dry weeks is the standard recommendation.)
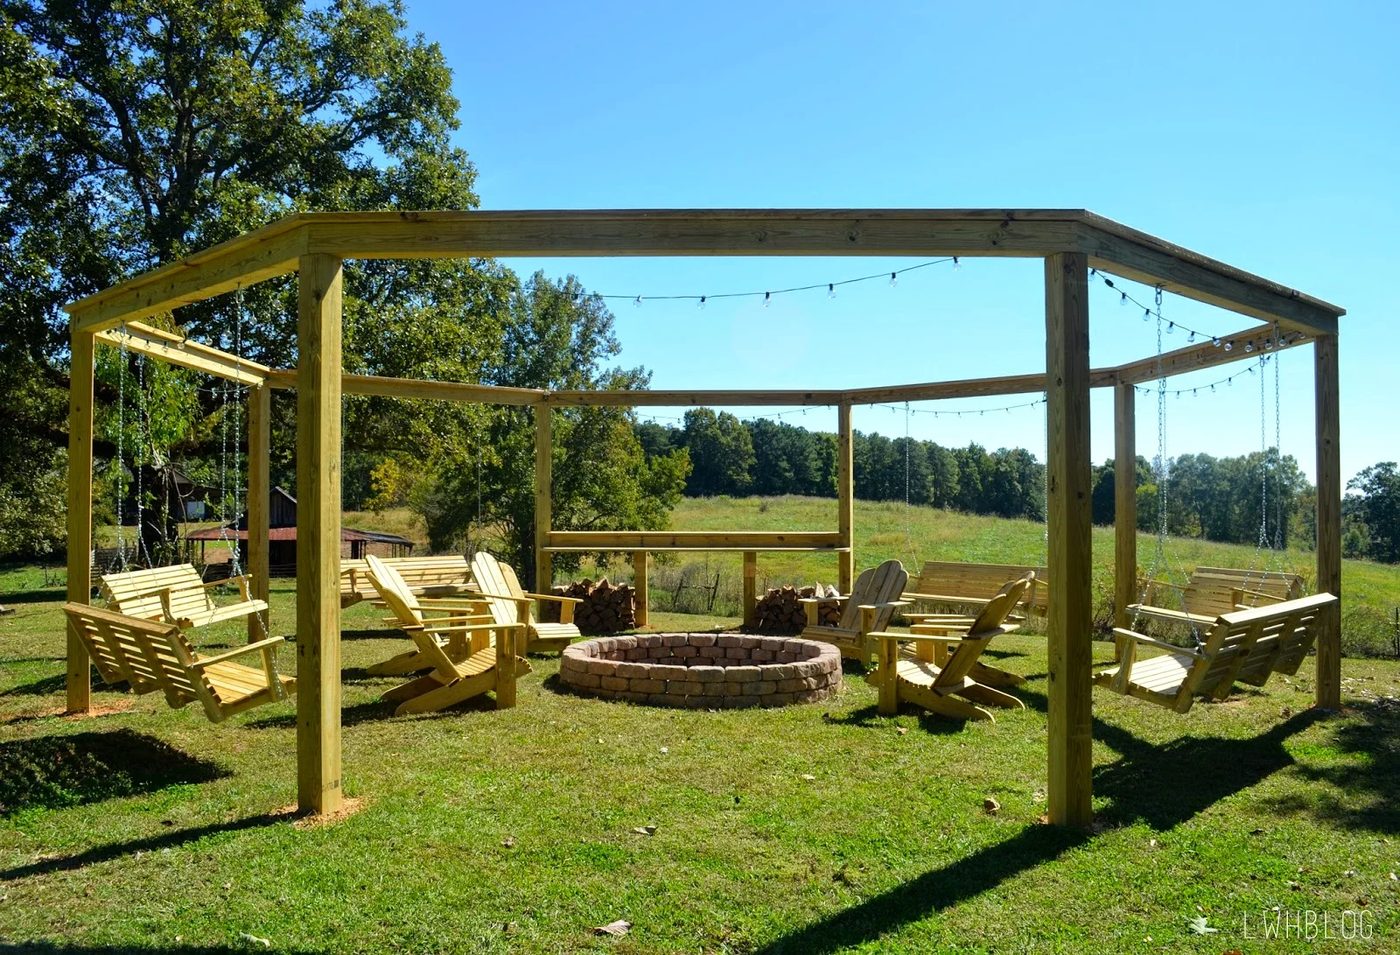 Freshly stained! July 2015
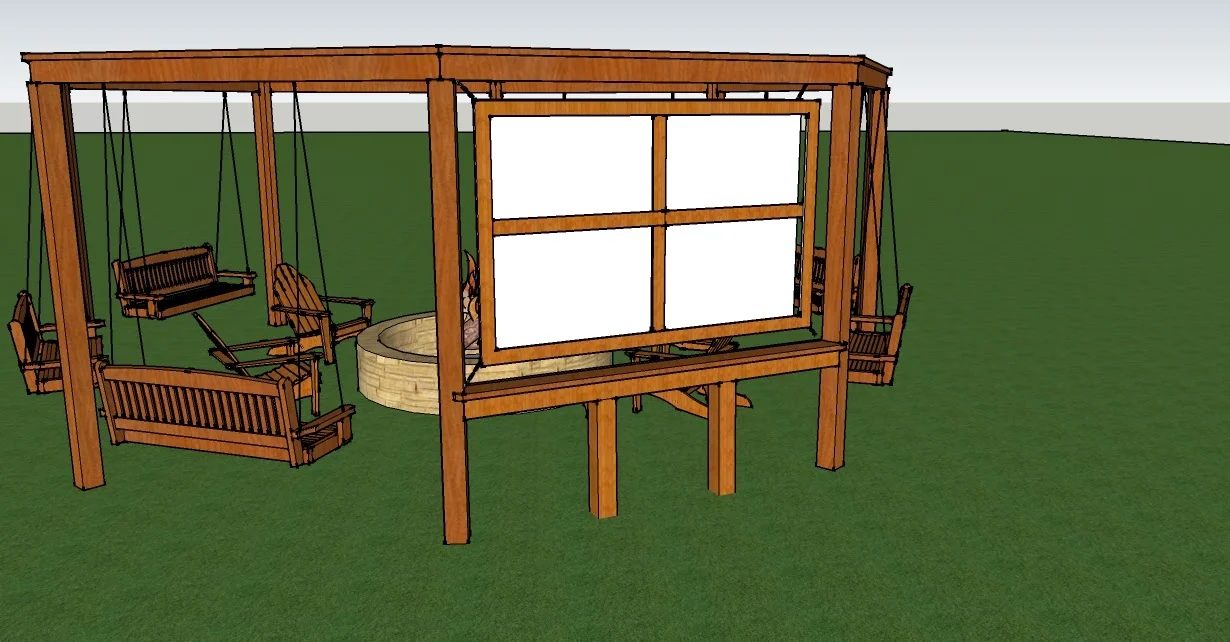
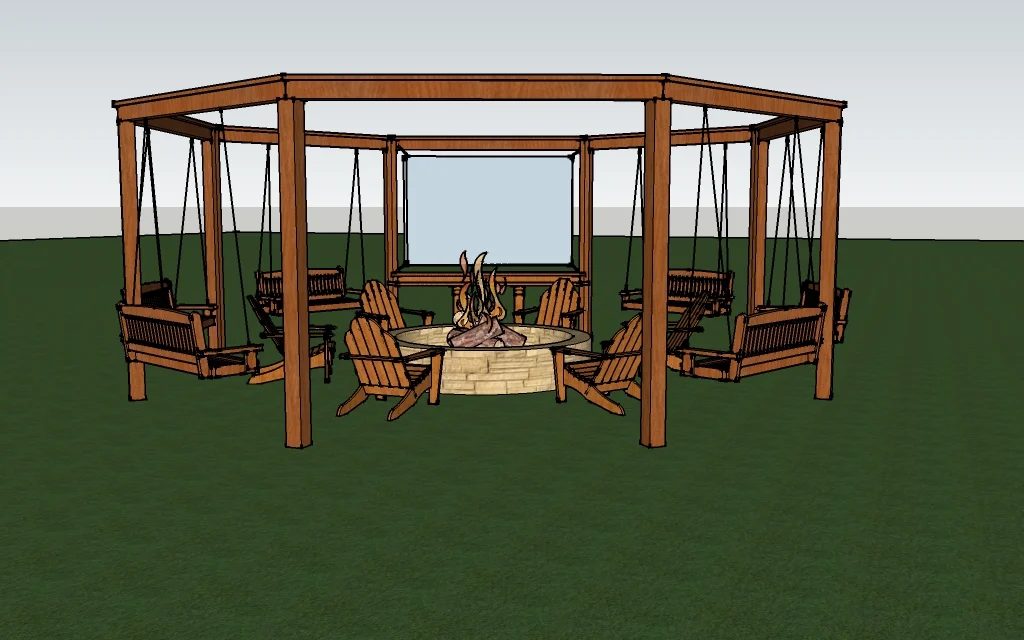
Add-on: Removable Outdoor Screen
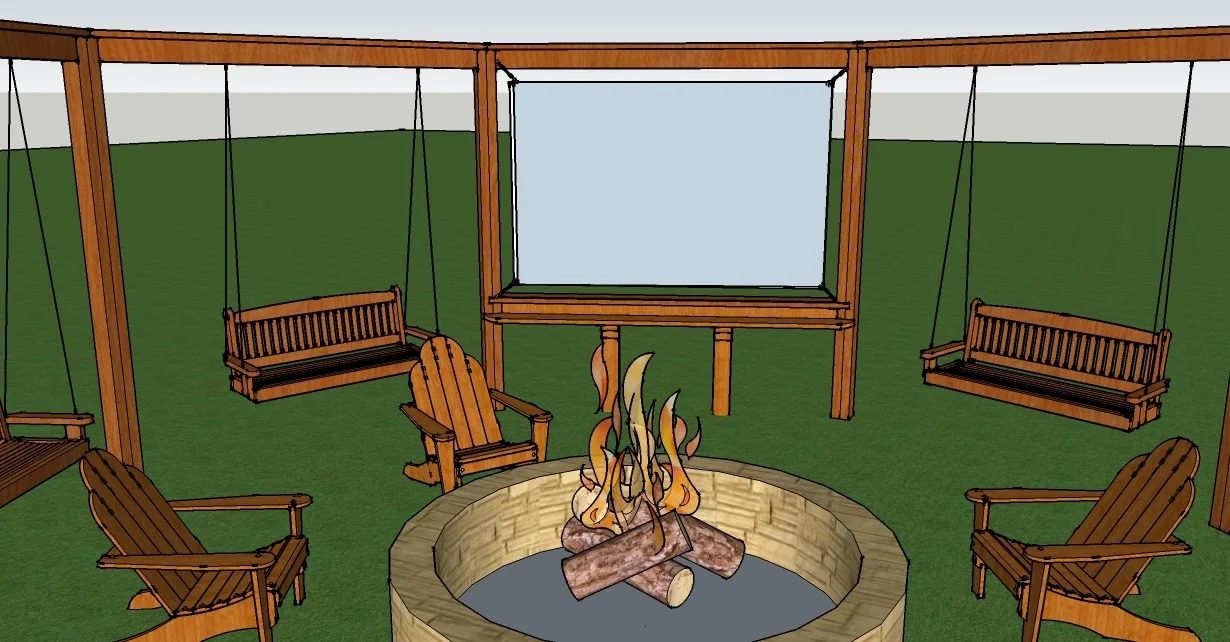
Our next proposed addition to this space is a removable outdoor screen that will hang in the opening above the bar area.
We plan to host our family and friends for outdoor movie screenings and gatherings. Below is an illustration of our plan. (The detailed pergola plans include more details, measurements, and a suggested materials list.)
The screen will be comprised of a rectangular wooden frame with outdoor fabric stretched and secured to the rear facing side.
It will hang in the bar opening by turn buckles and will be designed to be easily removed and stored when not in use. The estimated cost for this addition is approximately $125.
 |
| Outdoor Movie Screen Proposal – Front View |
 |
| Outdoor Movie Screen Proposal – Rear View |
Enjoy your pergola!
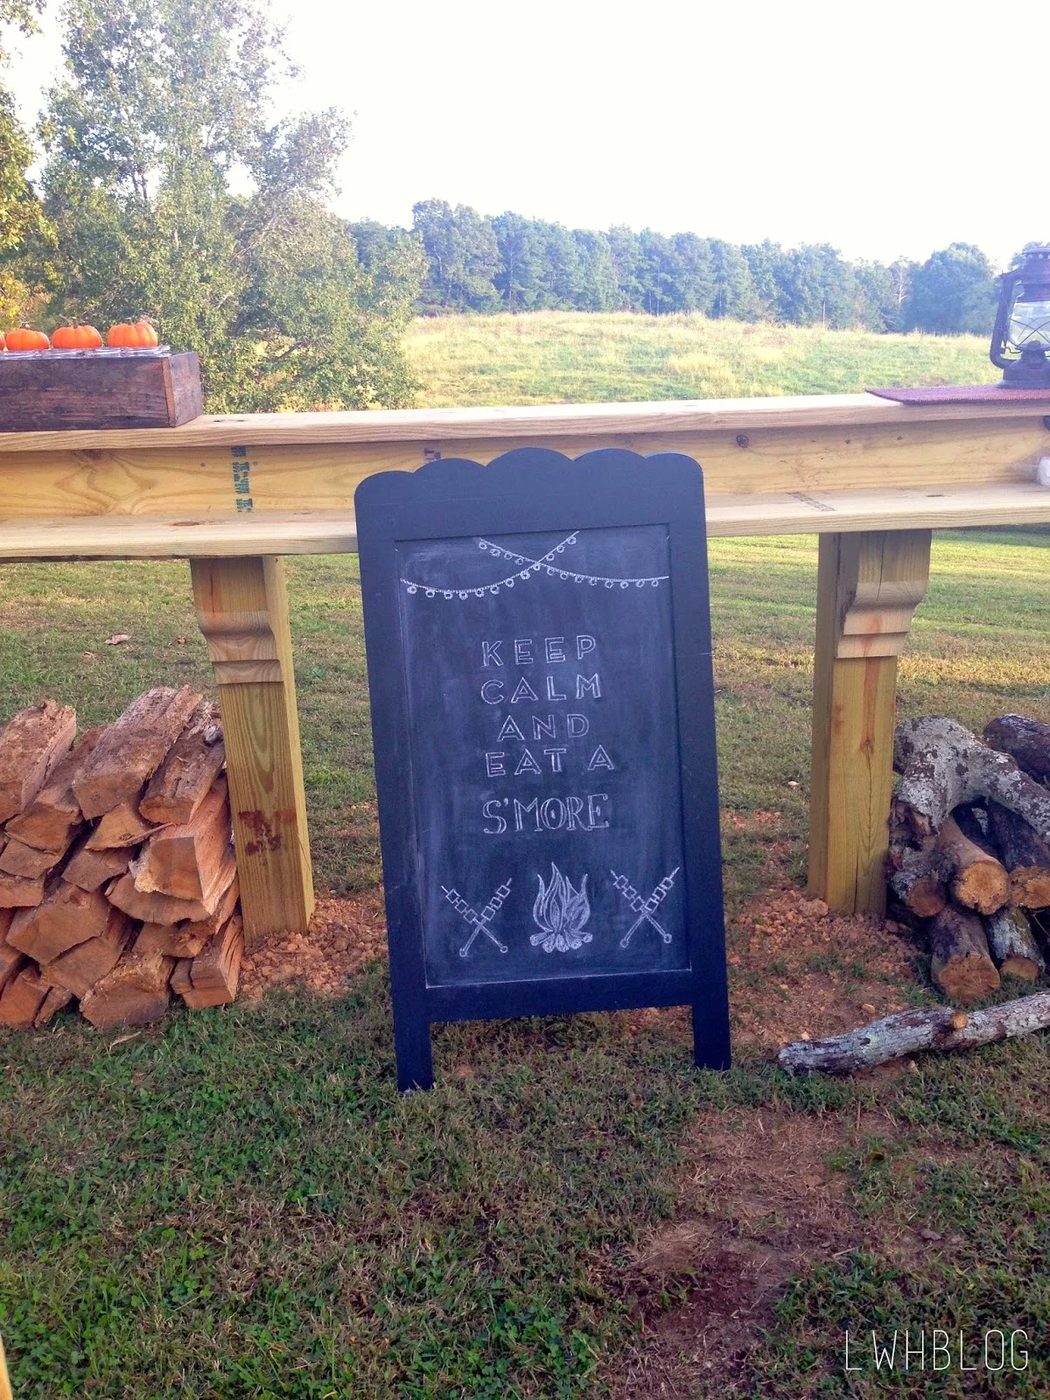
Once you’ve finished placing your outdoor seating as desired and stocked your firewood, you are ready to enjoy your own slice of outdoor heaven!
We sincerely hope you find this walkthrough to be a helpful resource and that you enjoy your space as much as we adore ours. For questions and comments or to see more of our farmhouse and project details such as our son’s nursery makeover and our most recent spare bedroom reveal, check us out at the Little White House Blog. Thank you so much for reading!
Regards from Stillwater Farm, Brett and Lauren AshworthReader Built Backyard Pergolas
This post and walkthrough have been so popular and we love seeing your hard work and creative modifications of the plans to fit your space and needs. Send us a photo of your project here.
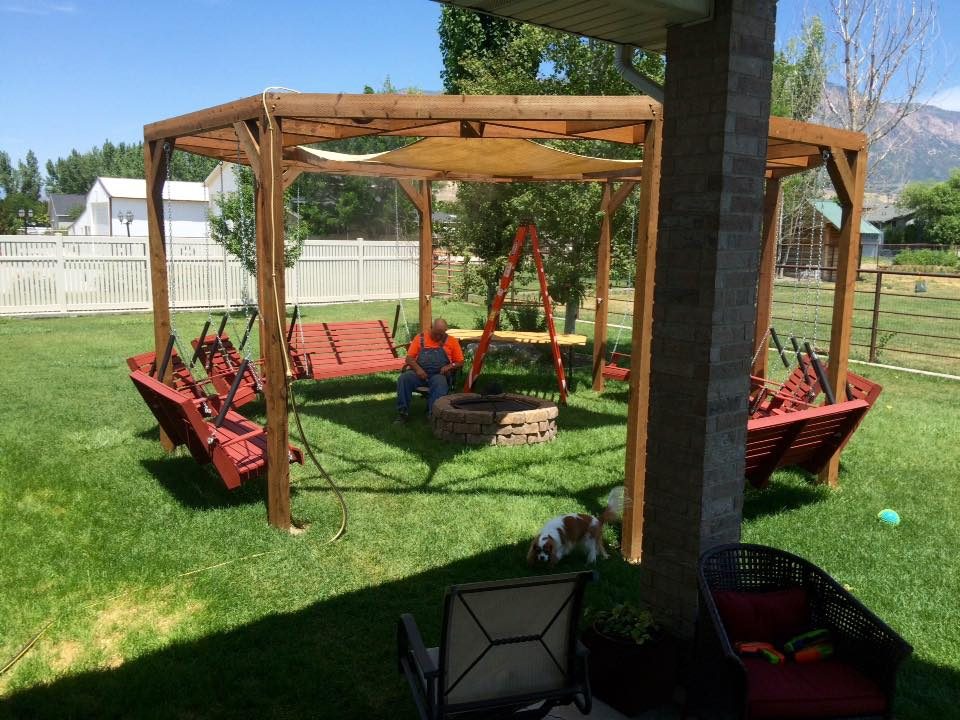
Handmade Backyard Pergola with a Shade Screen
Reader Al Rogers added a shade screen to the pergola for comfort on summer days. He also added additional top beam supports which look wonderful! (June 2016)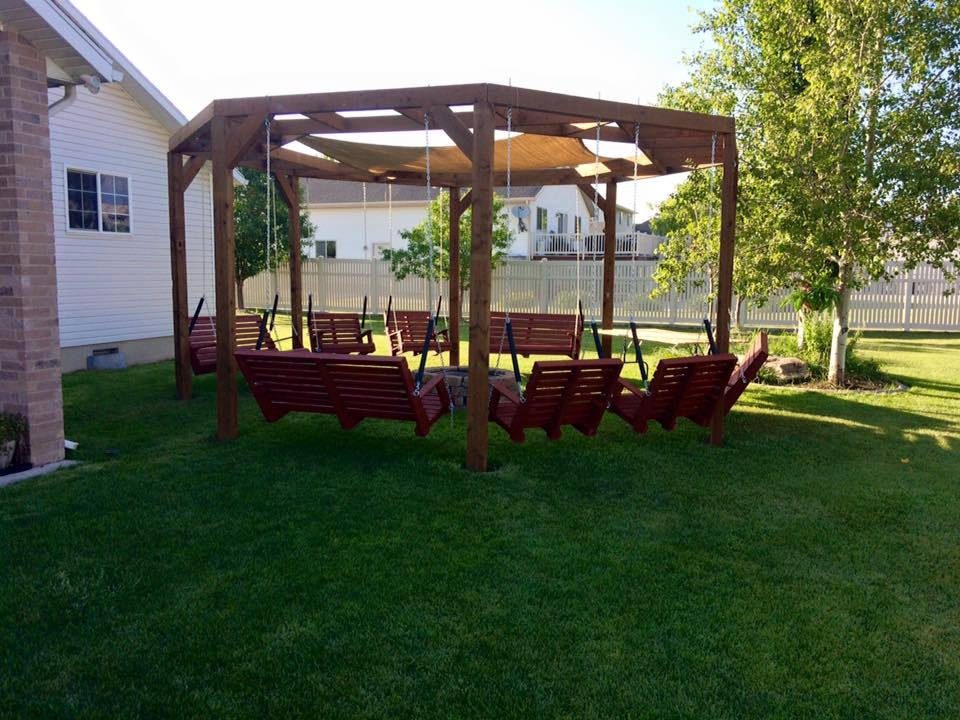
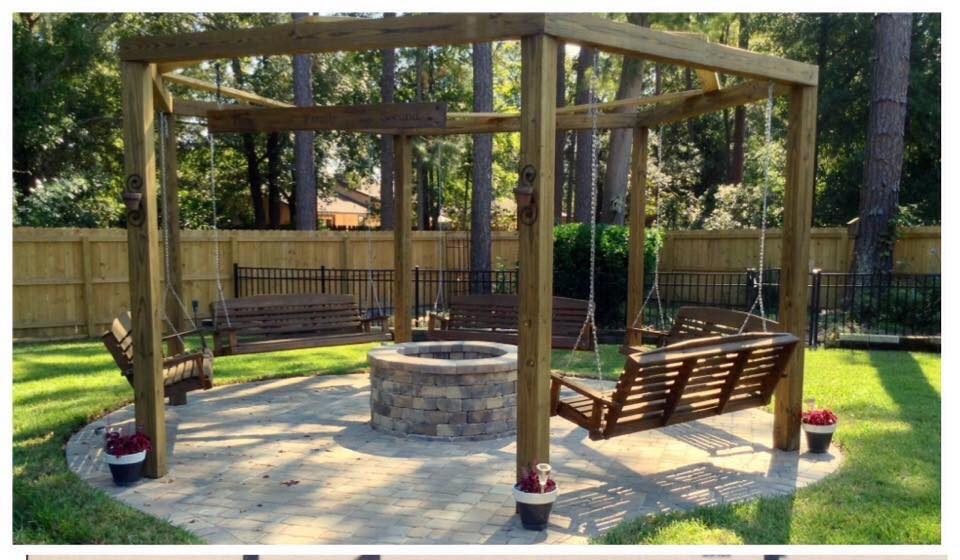
Handmade Pergola with Swings over a Paver Patio
Reader Dee Rowell built this gazebo style pergola over a lovely paved patio.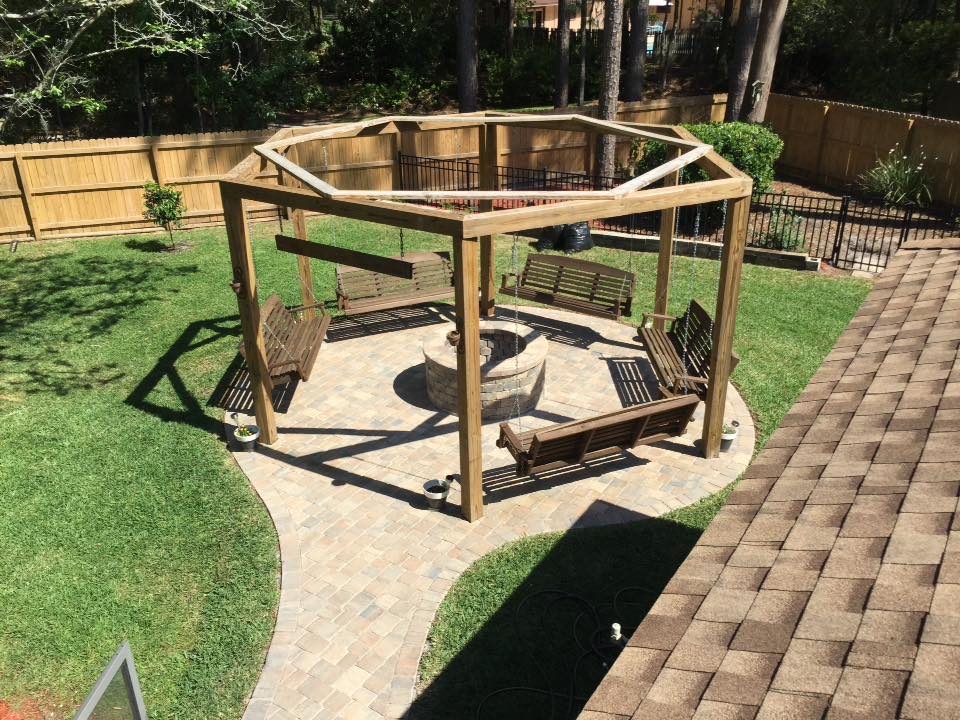
More options to make your backyard a well fitted summer retreat:
- build a patio table with built-in coolers
- Handmade indoor-outdoor round(ish) coffee table
- outdoor fold-down buffet table
- Tips for staining a wood deck