Materials and the sequence of the job sit together on this page.
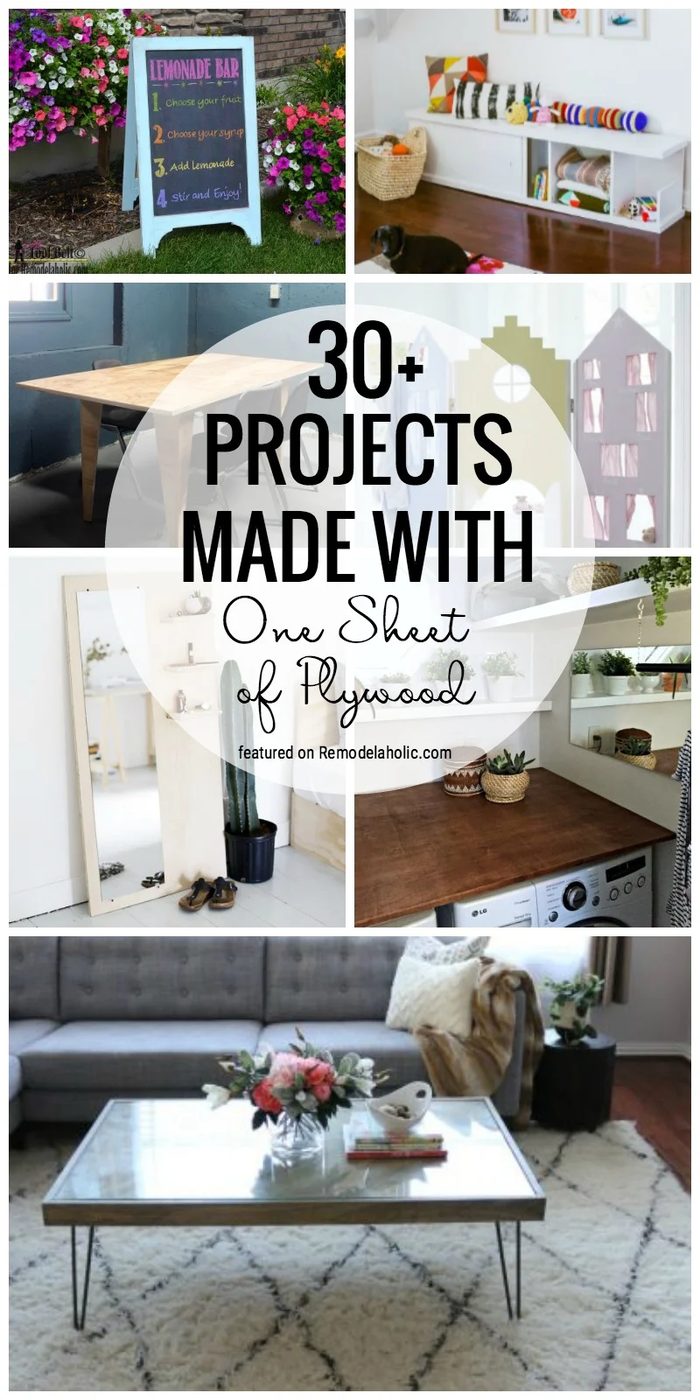
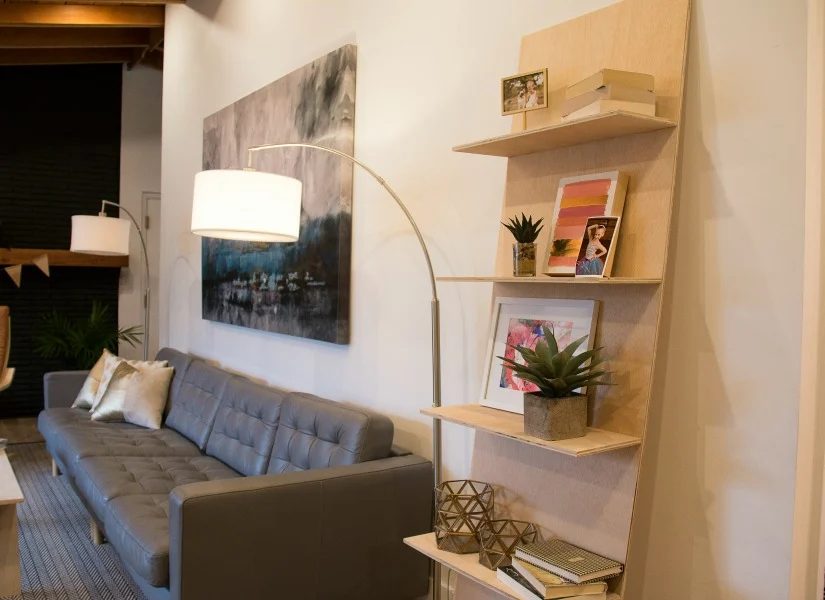
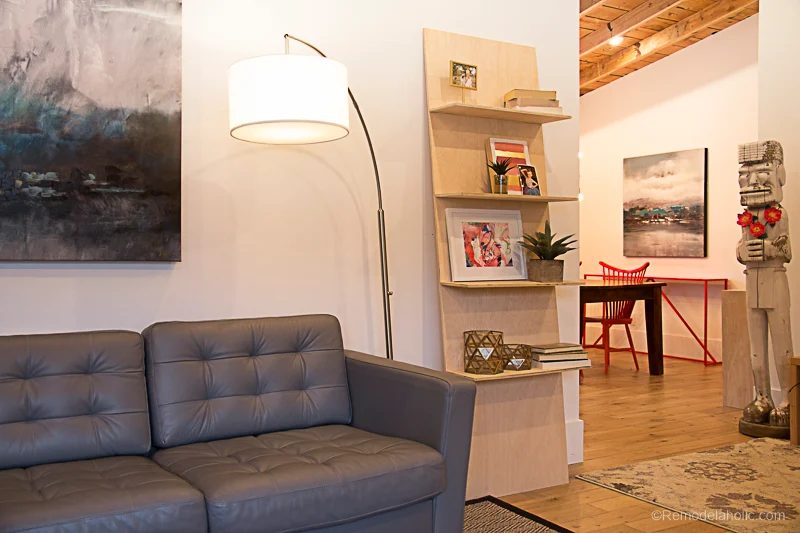
During our Plywood Pretty week, we’re showing projects that are not just built with plywood, but that use the natural look of plywood as part of the design aesthetic, showing off the wood grain and the banded edges. (Be sure to subscribe by email or RSS and follow along over on Facebook and Instagram with #PlywoodPretty so you won’t miss any of these new tutorials!) So, in keeping with our theme, we decided to make a leaning shelf that’s as pretty as the things you display on the shelves! The plywood makes a well fitted natural neutral backdrop for photos and colorful decor like our nail polish art.
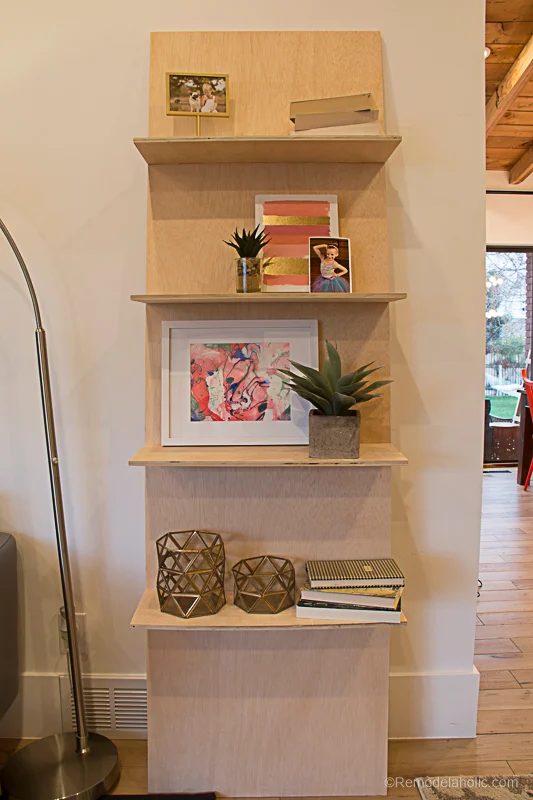
I like the look of a leaning shelf, but when I first saw one, all I could think of was how quickly it would slide across my floor when someone walked by! I also knew I needed my shelves to be parallel to the floor, rather than angled up. So I threw a couple twists into this build, and I hope you like it! It takes just one sheet of plywood, and if you wanted a shorter shelf, you could get two shelves out of one sheet of 1/2″ plywood. 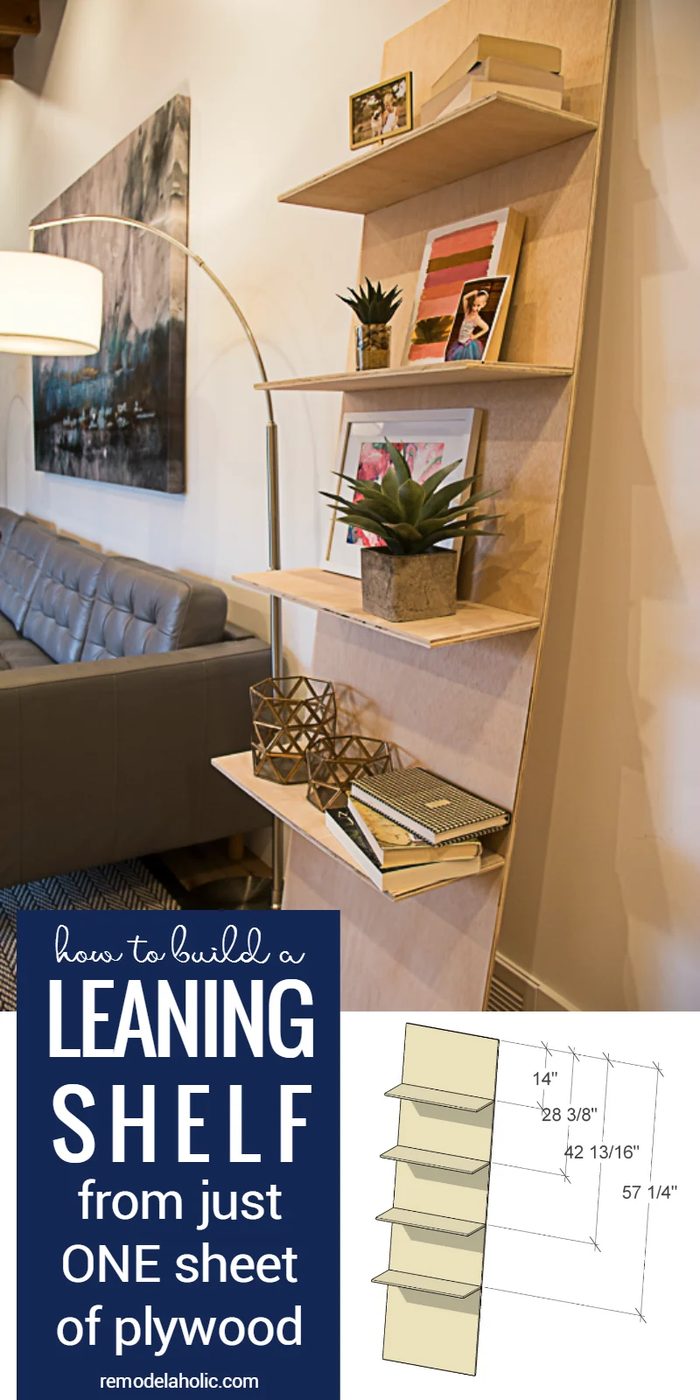
How to Build a Leaning Shelf
from one sheet of plywood
open this to get a free printable version of this building plan
Materials
- 1 – 4’x8′ sheet of 1/2″ sheet birch plywood (you can use thicker plywood, you will just have to adjust the measurements for shelf placement later)
- Elmer’s Wood Glue (also available here)
- 12 – 1 1/4″ Screws
- Plasti Dip Aerosol (also available here)
- Painters tape
Tools
- Table saw
- Measuring tape
- Counter sink drill bit like this
- Power drill
Cut Diagram
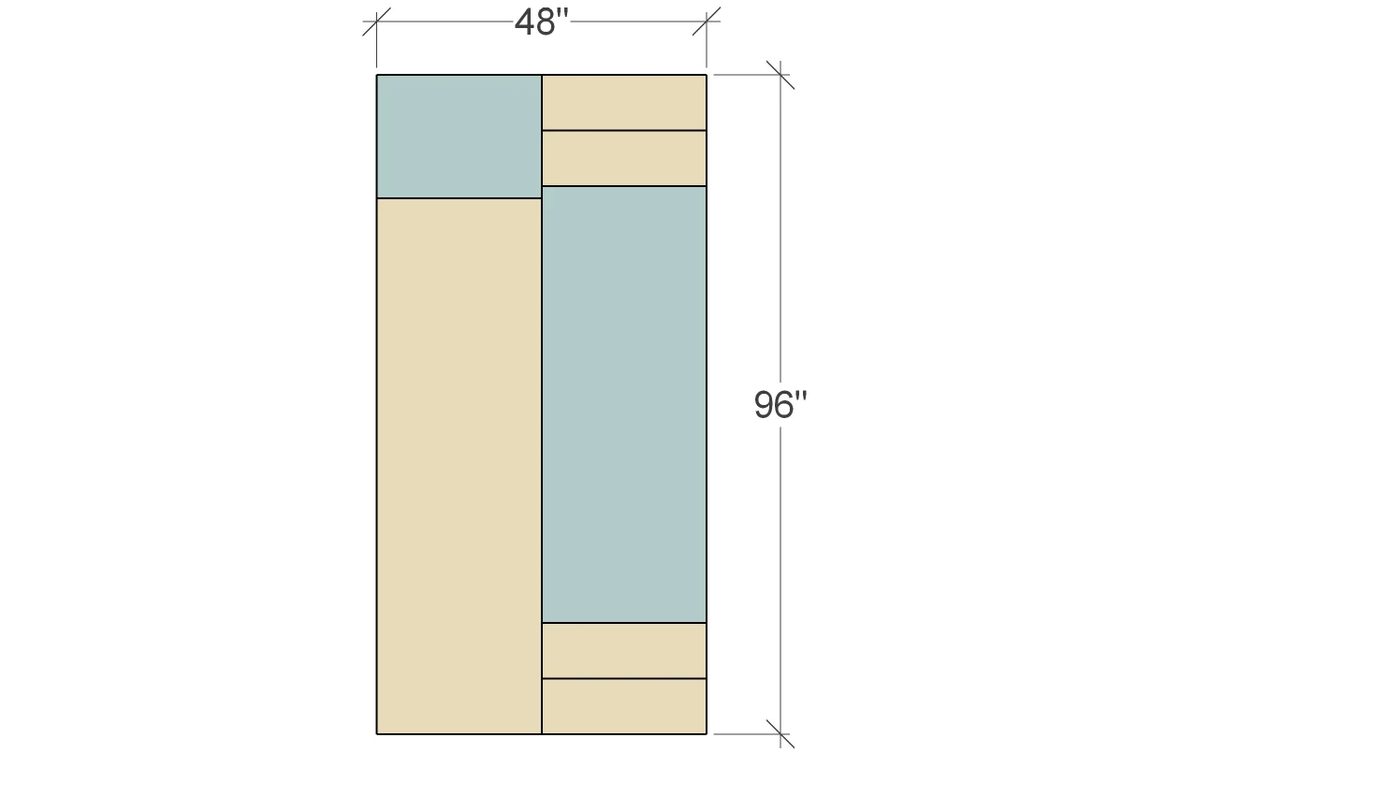 Here is the cut layout I used. Depending on how tall you want your shelf you could get two shelves out of one sheet of plywood. I, however, wanted the shelf to be 6′ 6″ so I was only able to build one.
Step 1
Set table saw fence to cut at 23 15/16″ from the edge of the blade. 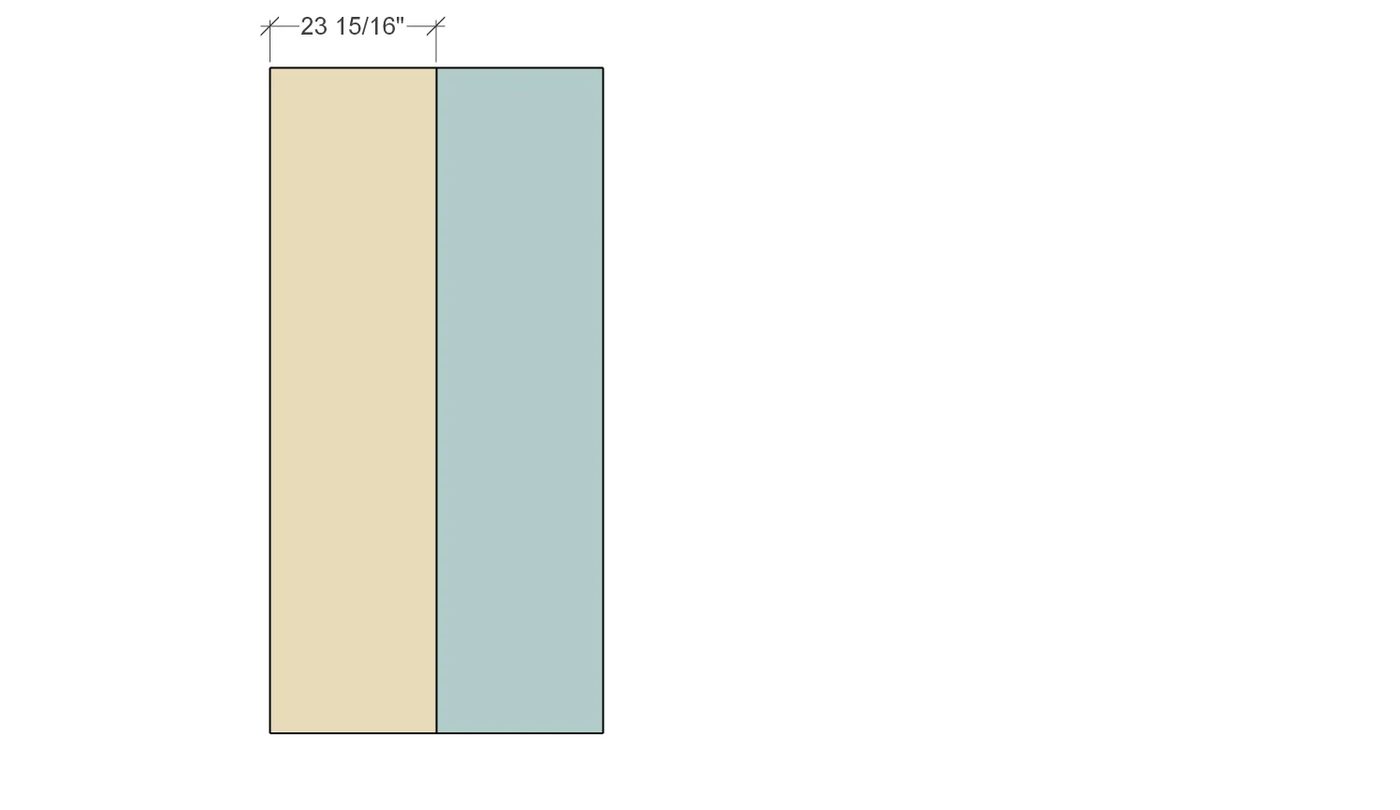 I know this seems like a strange measurement, but trust me! The blade should remove 1/8″ of the material, and cutting at this width should give you two identical boards. One for the back of the shelf, and one for the shelves.
Step 2
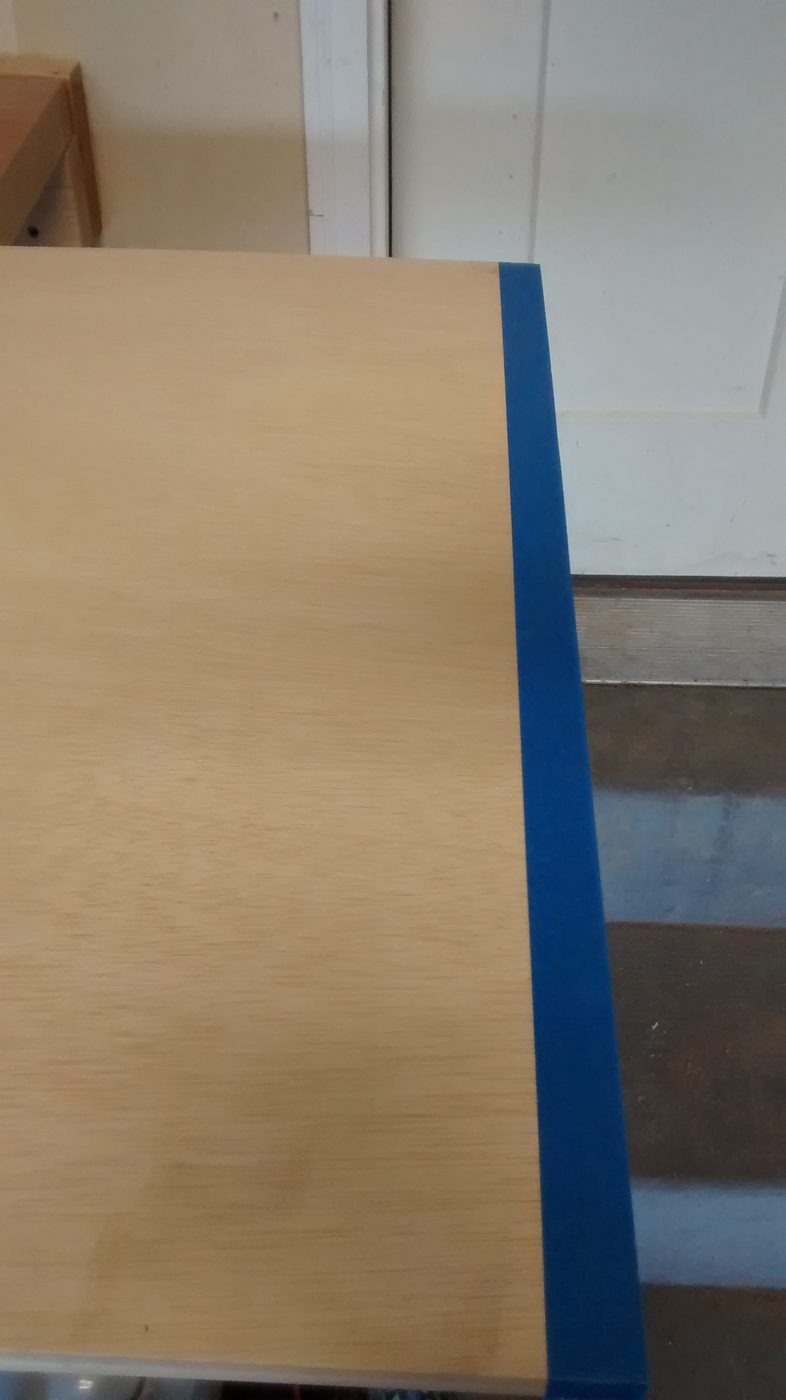
Set the angle of the table saw blade to 8 degrees, and the fence at 17 7/8″ from the blade. Cut off one end as shown. This should leave you with a 6′ 6″ board.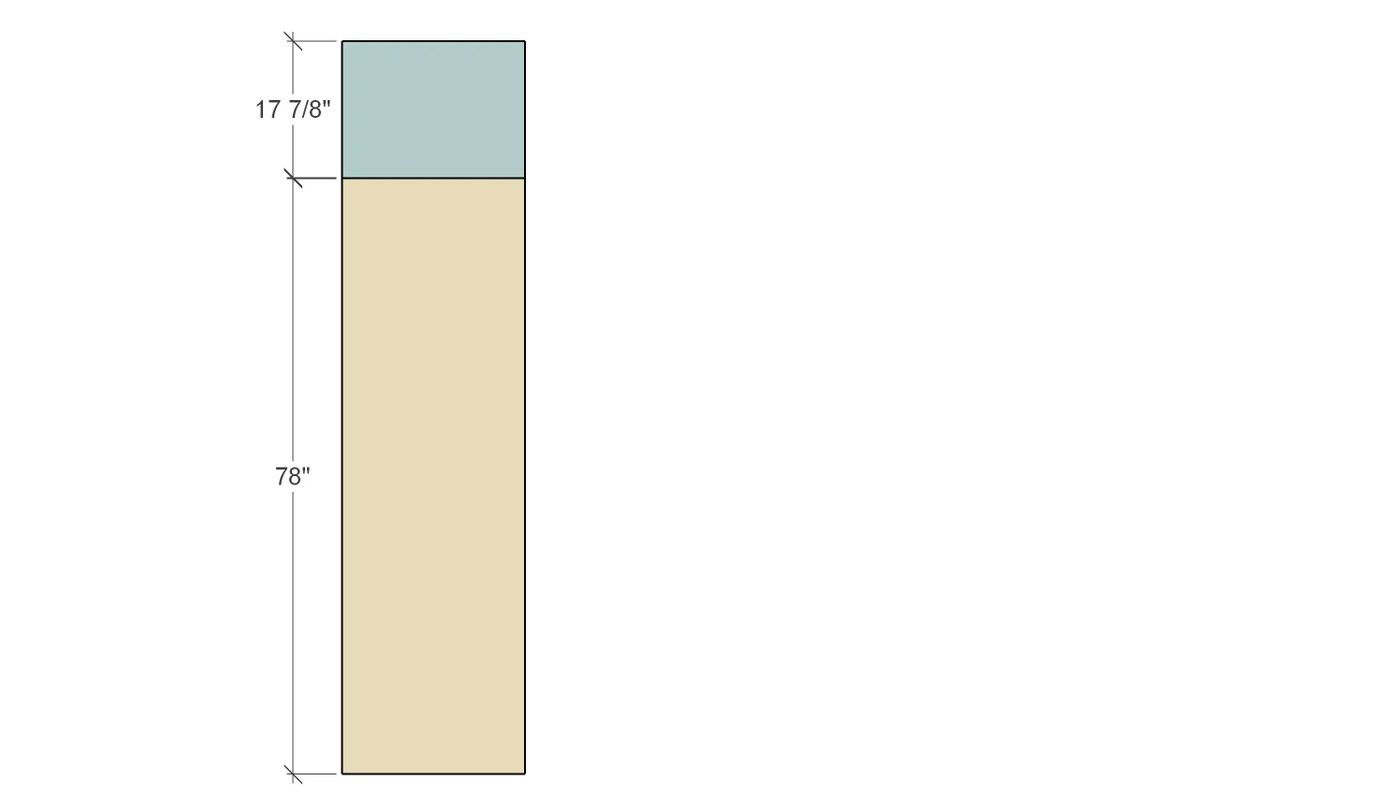 I wanted to make the shelf as stable as possible for using on a wood floor. With the angle cut on the bottom you will have full contact with the floor along the bottom edge. Instead of just the corner. I also sprayed on a non-slip coating so it wouldn’t slide. (This is the final step)
Step 3
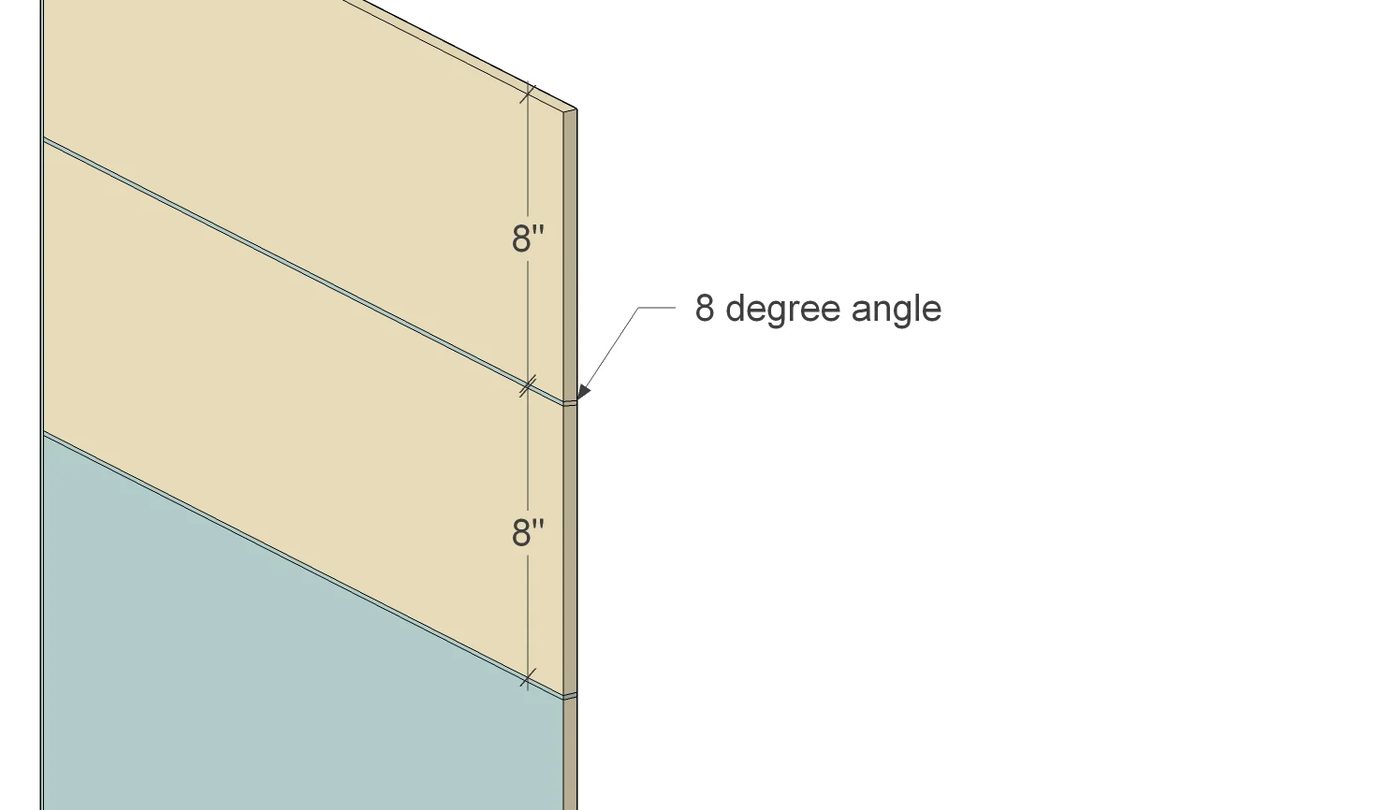
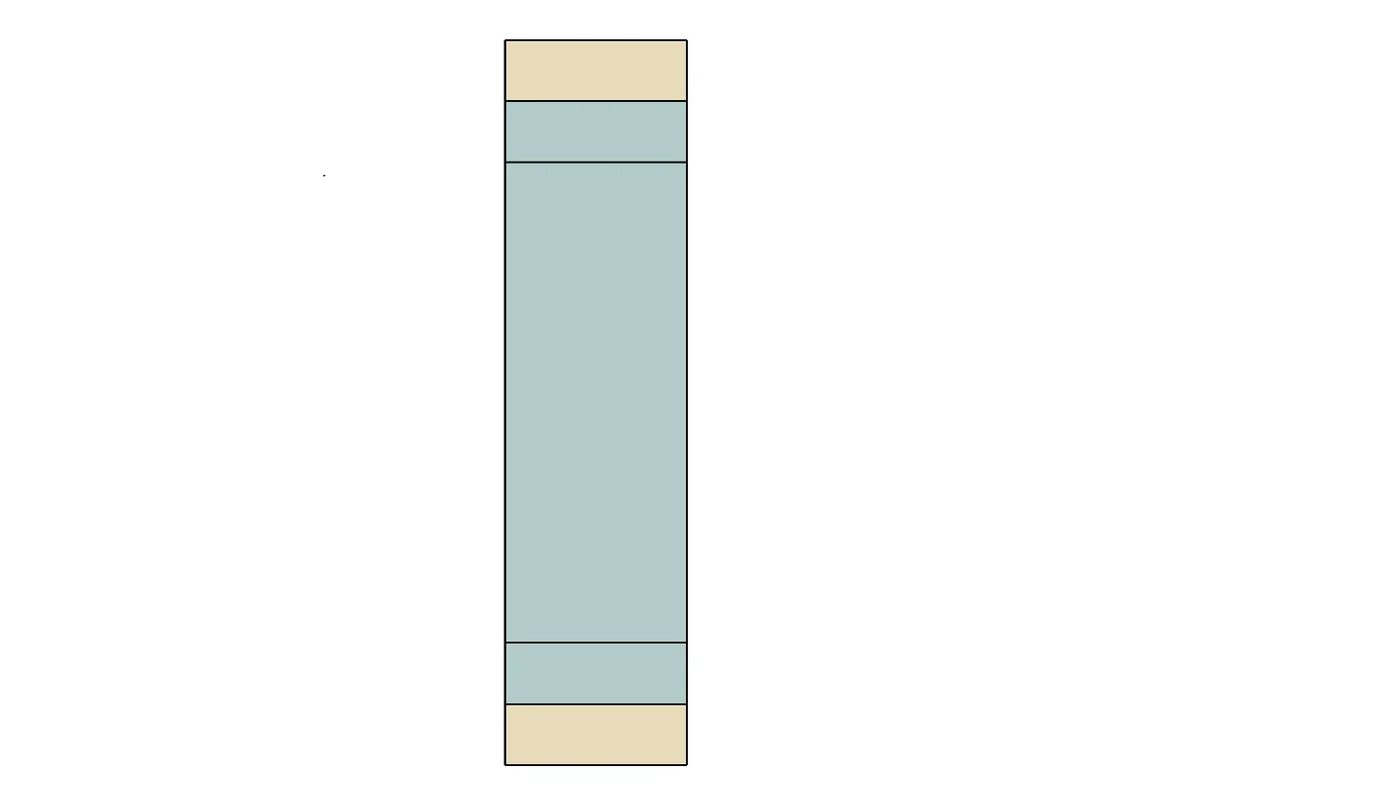
With saw still set at 8 degrees, set fence to 8″ from blade. Cut one shelf from each end of second 23 15/16 board as shown.
Step 4
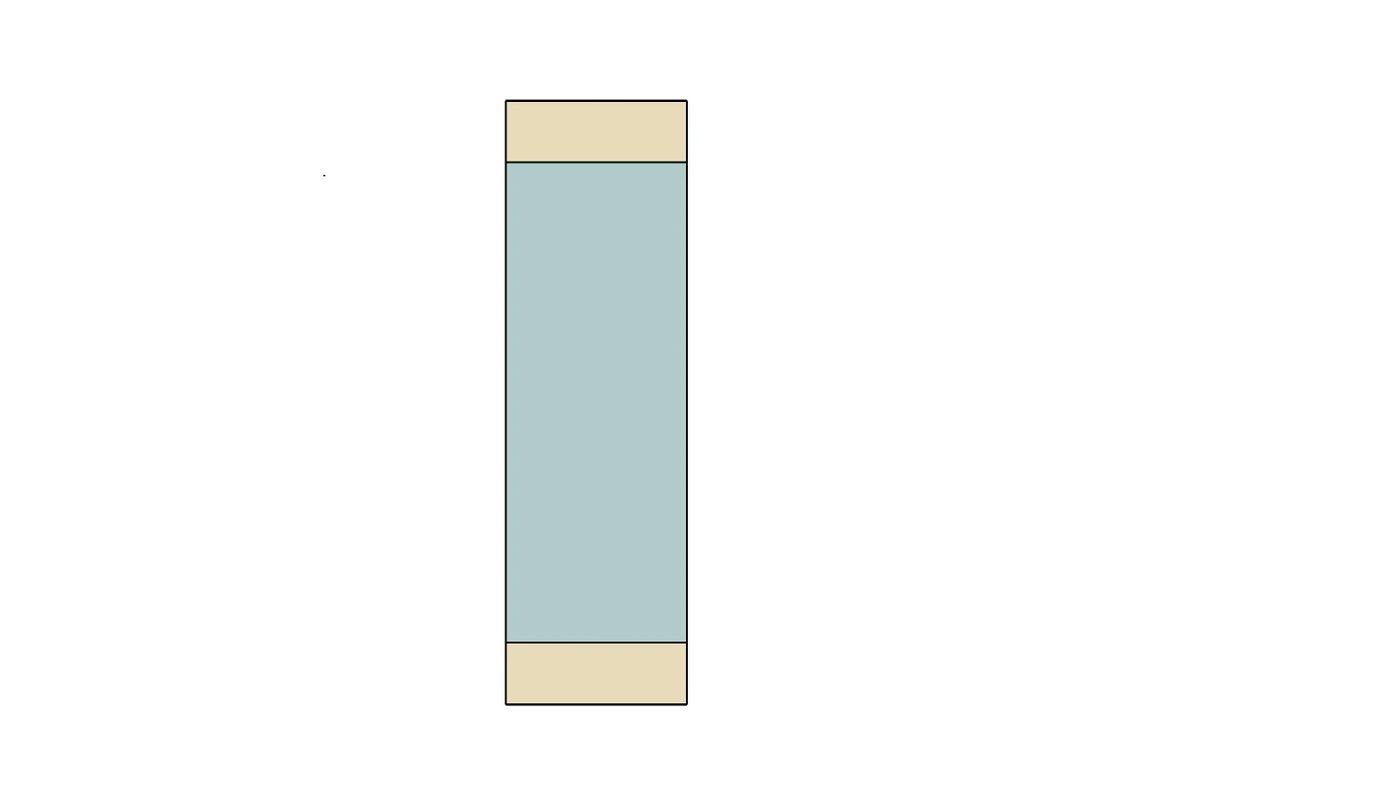
Set table saw blade to zero, and set fence to 8″ from blade. Cut one shelf from each and again as shown.
 Step 5
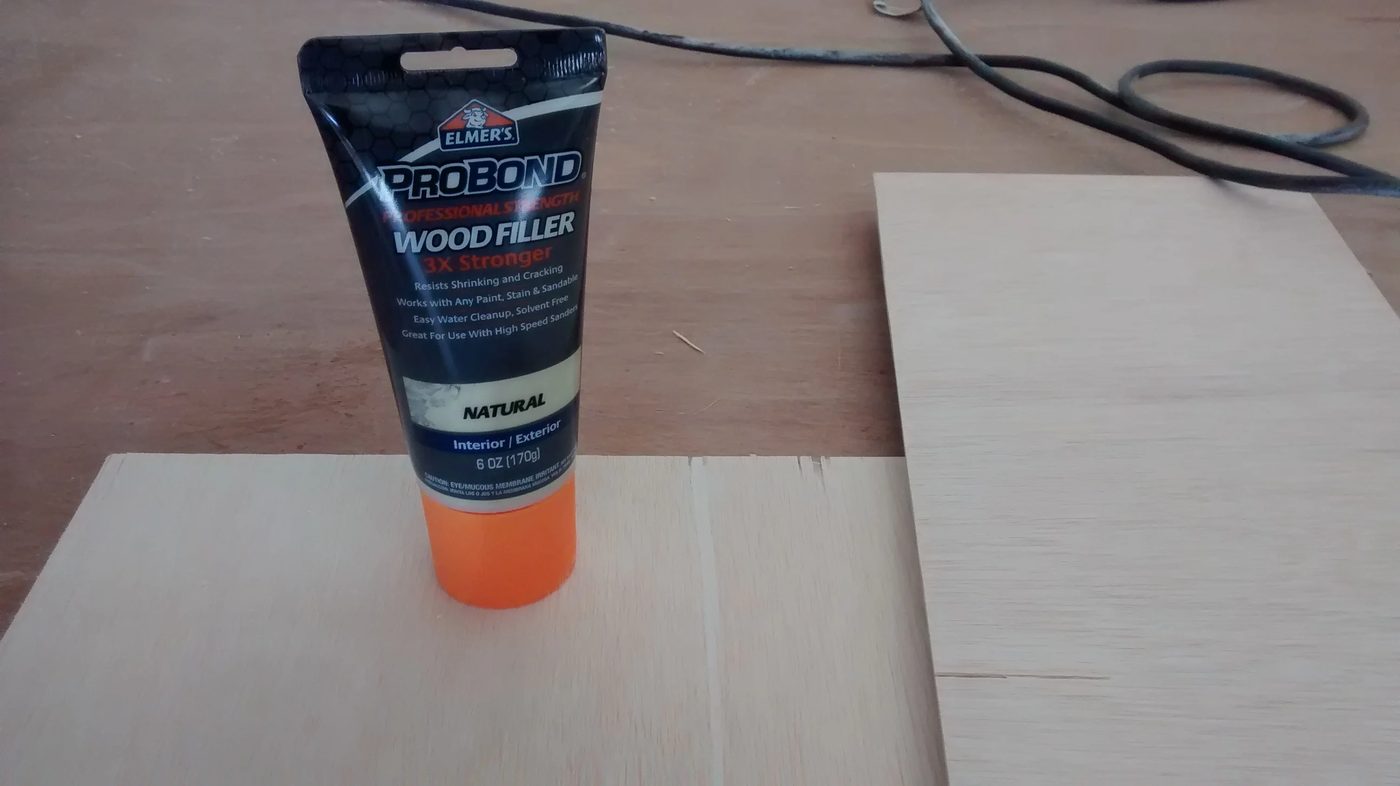
Fill any holes with Elmer’s ProBond Wood Filler. When wood filler is dry, sand until smooth.
Step 6
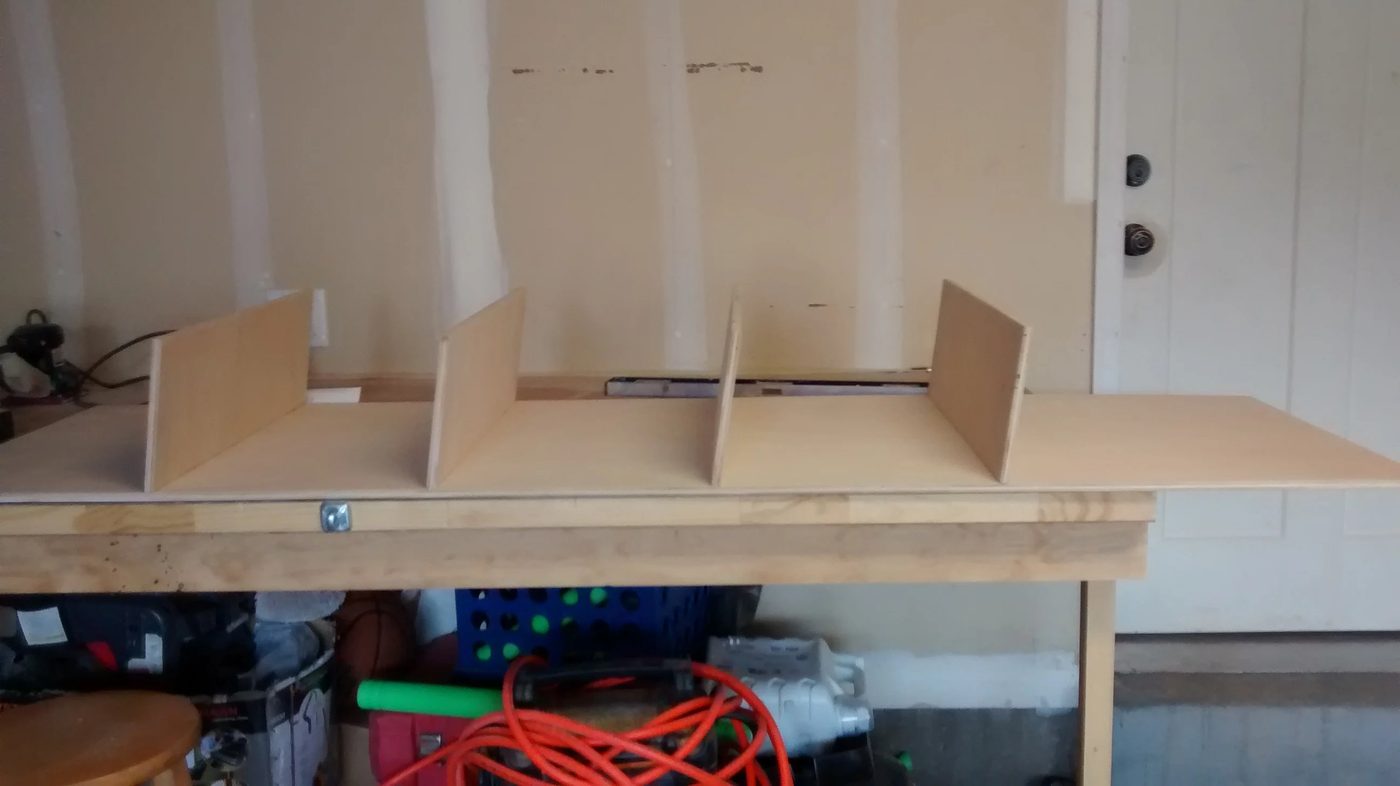
Begin assembly! I wanted my shelves 14″ apart. With 1/2″ plywood your measurements to the top of your shelf should be as shown. Measure and mark with a faint pencil line for each shelf. Make sure you measure from the top (uncut edge). Your angled cut is the bottom of the shelf.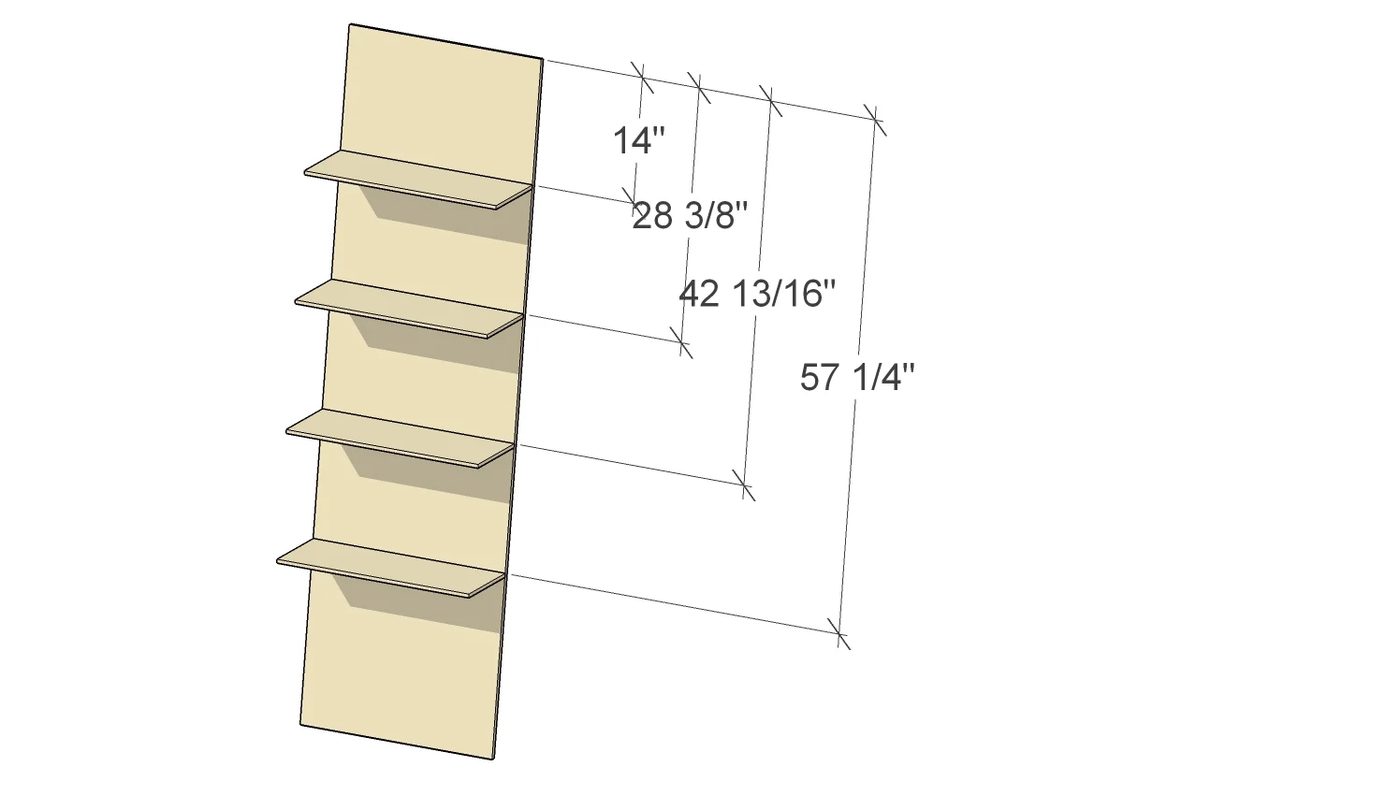
 Step 7
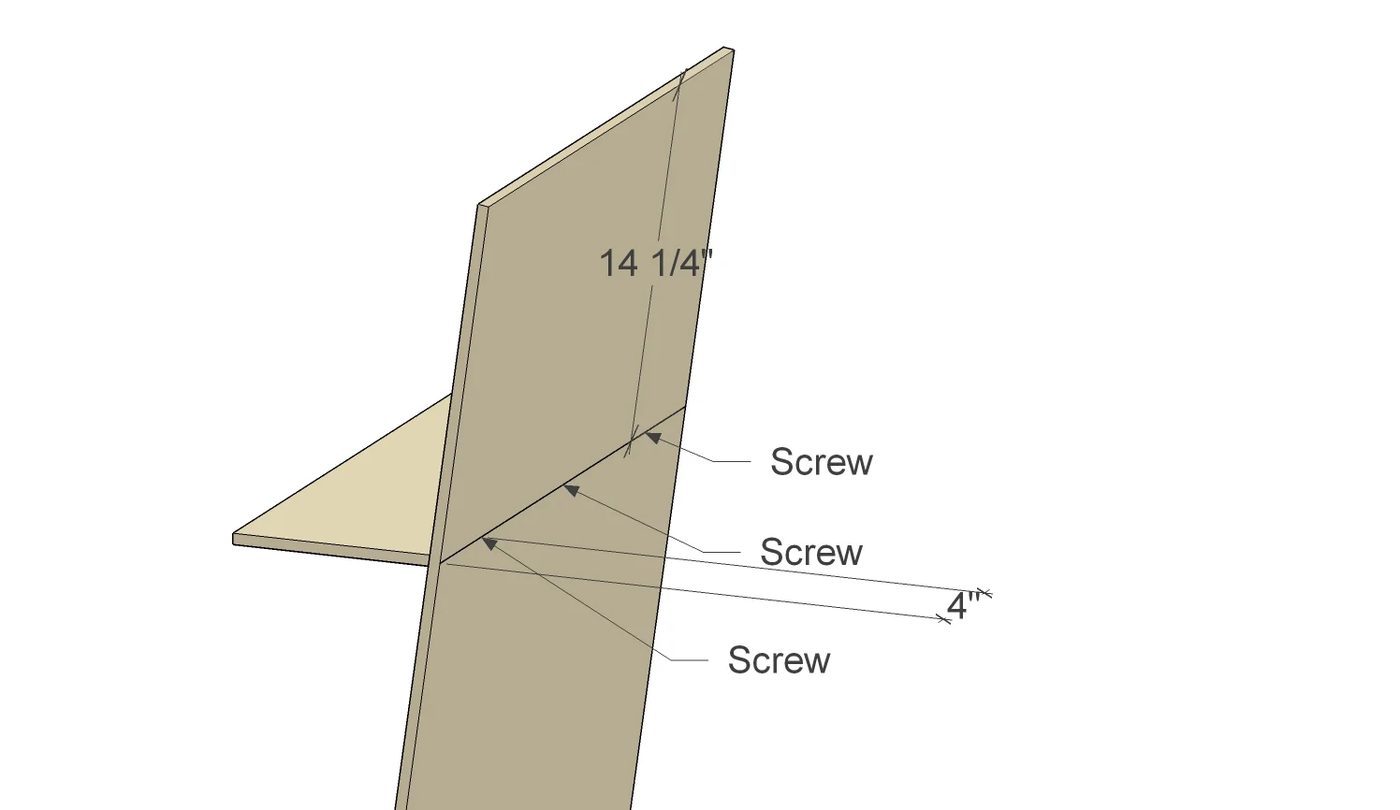
For the back add 1/4″ to each measurement to mark the center of each shelf. Predrill with countersink bit, three holes for each shelf. One at center, and two 4″ from the edge.
 Step 8
This next step is a little tricky on your own. Grab a helper if you need to.
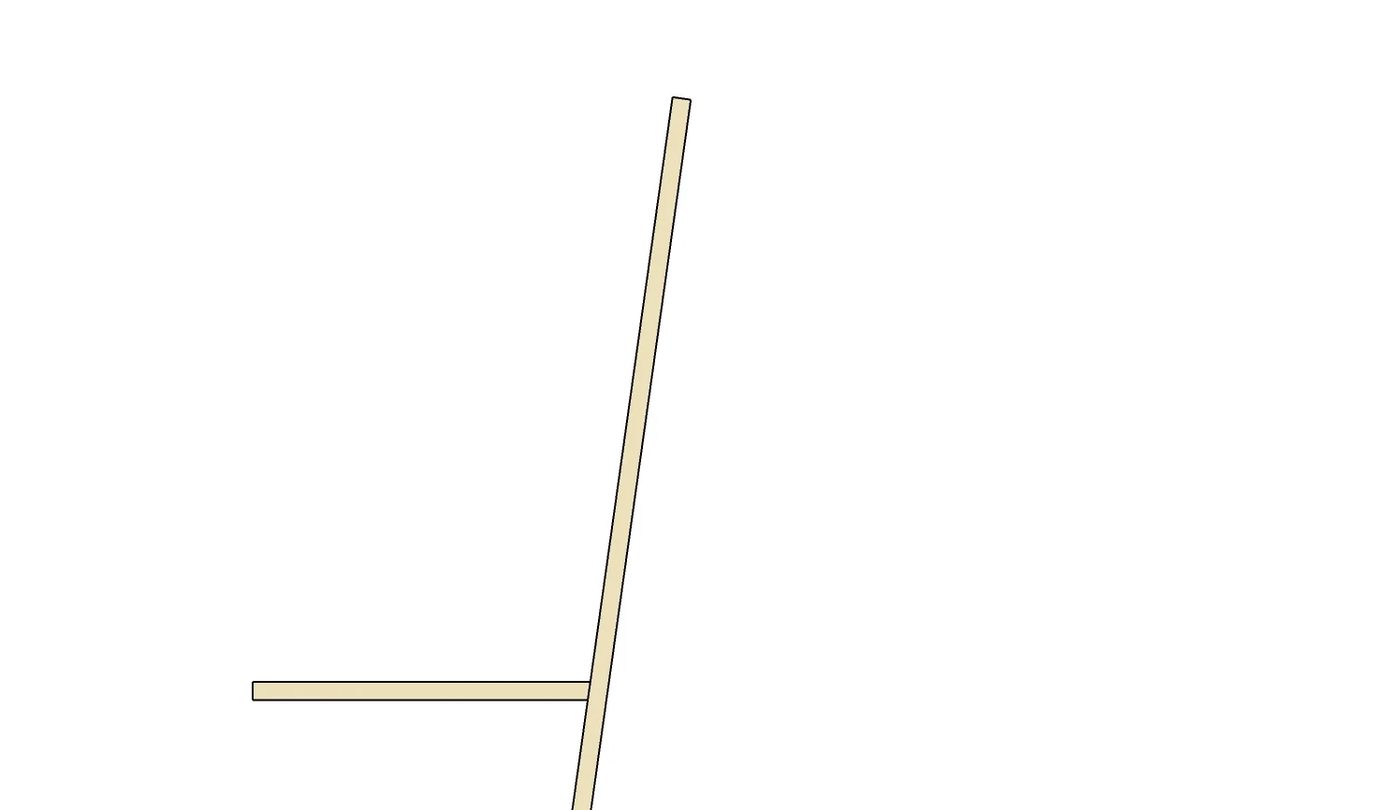
Place top of angled shelf edge on the marked line. (the long edge of angle will be the top of the shelf, refer to the image below)
Hold in place, using a bit that is smaller than your screws, drill pilot holes through the back into the shelf. Make sure you are going straight into the shelf. Your drill will be at a slight angle to the back of the board. Repeat for each shelf
Step 9
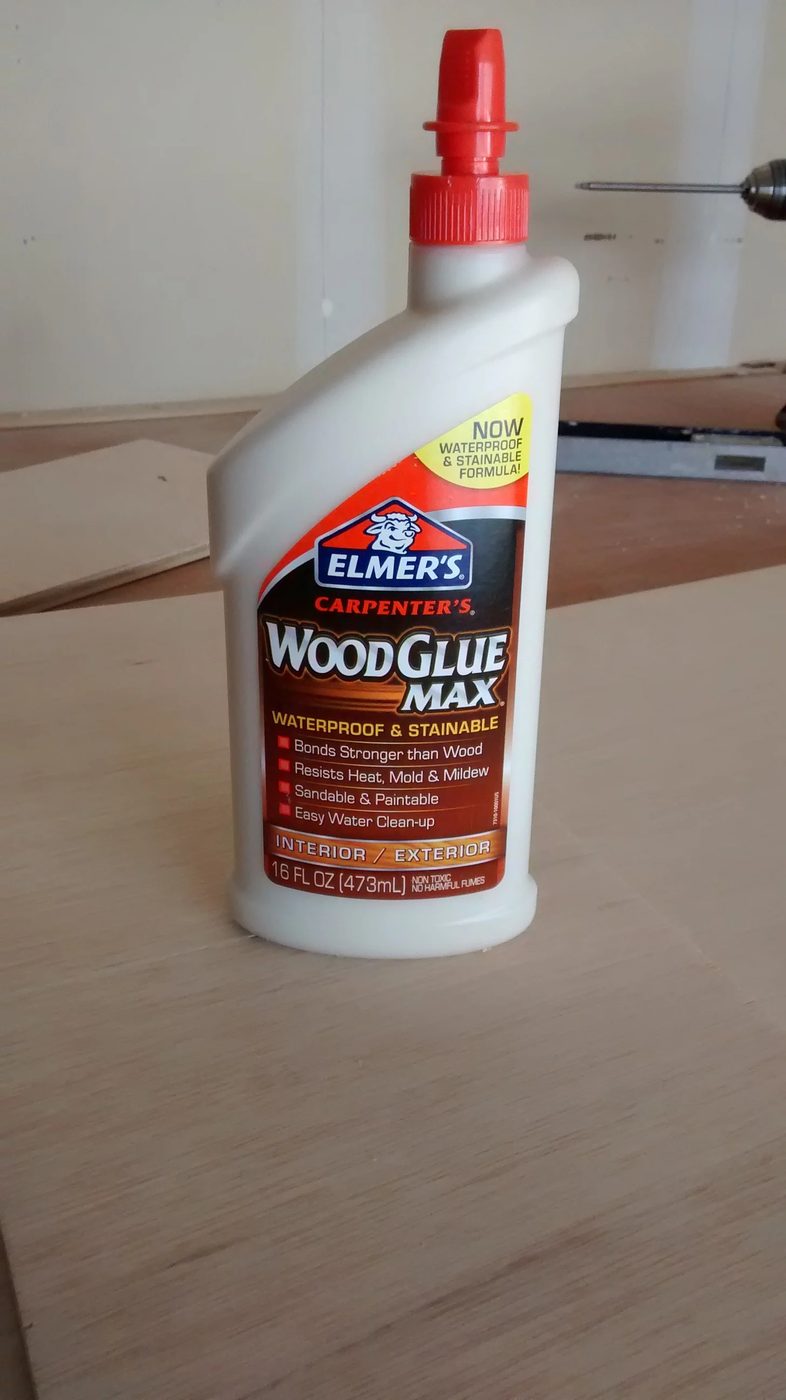
Run a bead of Elmer’s Wood Glue Max (which is paintable and stainable!) along the angled edge, hold in place, and secure with screws into predrilled holes. Repeat for each shelf.
 Step 10
Tape off bottom angled edge of shelf, and spray with plasti-dip. I also held a board below to catch over spray. Allow to dry.
 Step 11
You can stain or paint your shelf at this point, but I left mine as bare wood.
Now put that shelf to work!
Be sure to look at all of our solid Plywood Pretty projects here
and a whole collection of one sheet plywood projects here