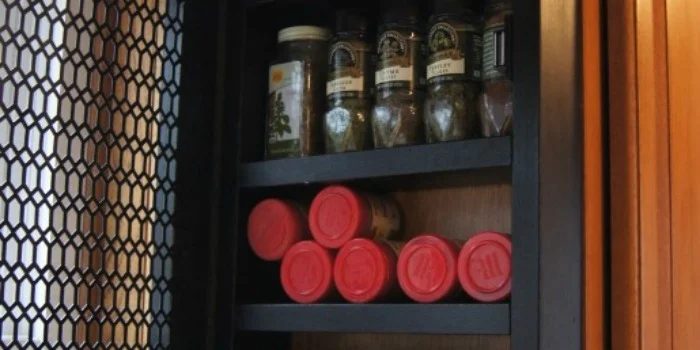
Materials and the sequence of the job sit together on this page.
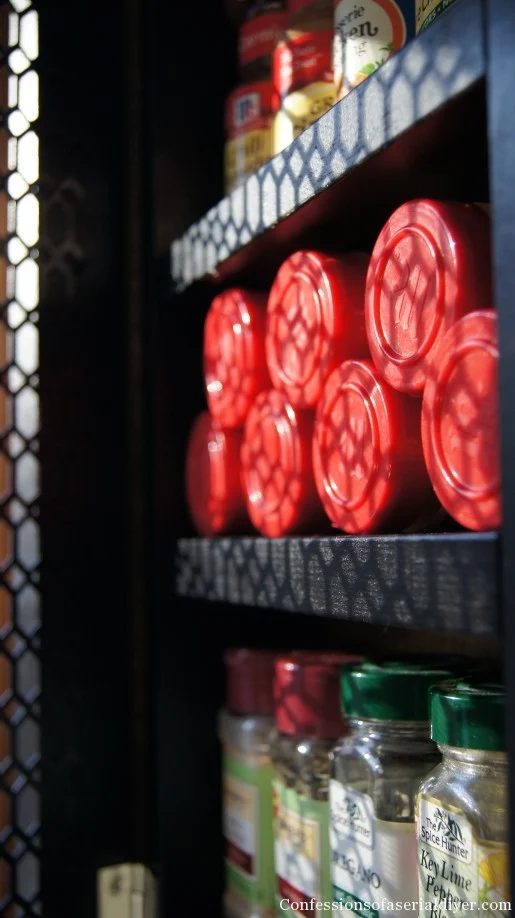
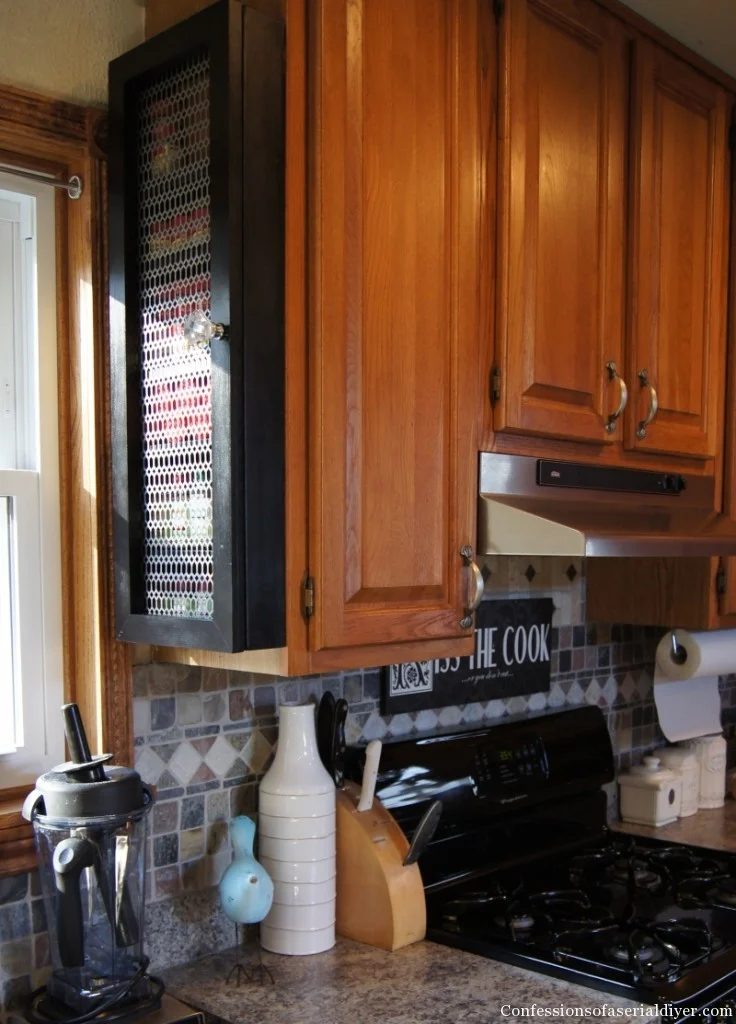
Do you love to cook? Spices make cooking so fun — and kitchen organizing so frustrating! All the different sizes of bottles, and they never really fit in any cabinet or drawer just right. So, I’m always on the lookout for creative kitchen and spice organization. Which is why I love this great space-saving spice cabinet that our guest is here to share. It mounts right on the side of your kitchen cabinet, well fitted for an end cabinet or by the sink!
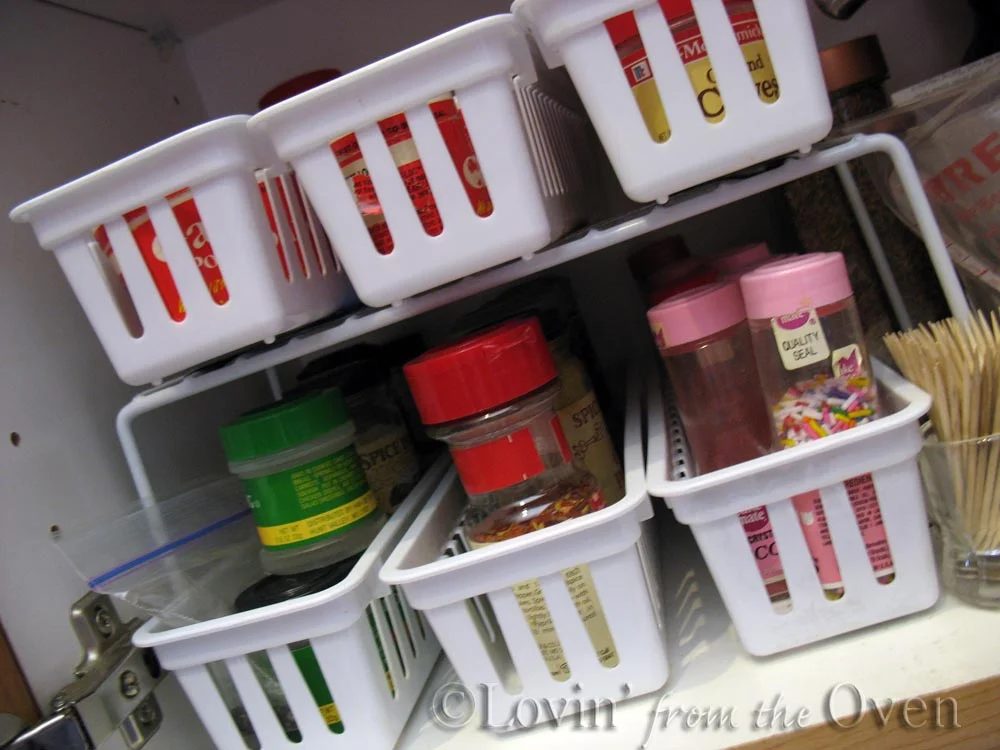
Spice organization can be as direct as a few dollar store items put to good use:
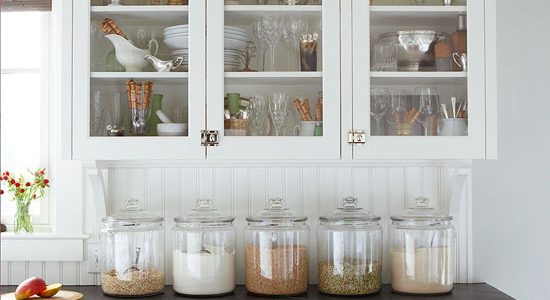
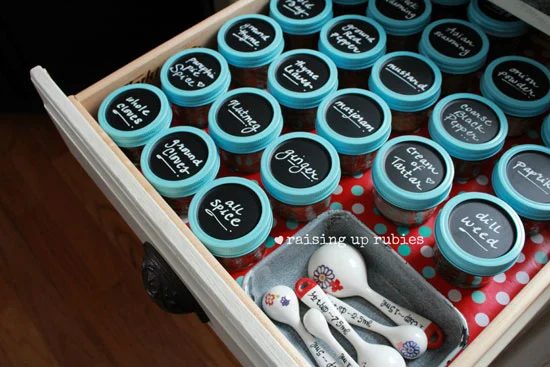
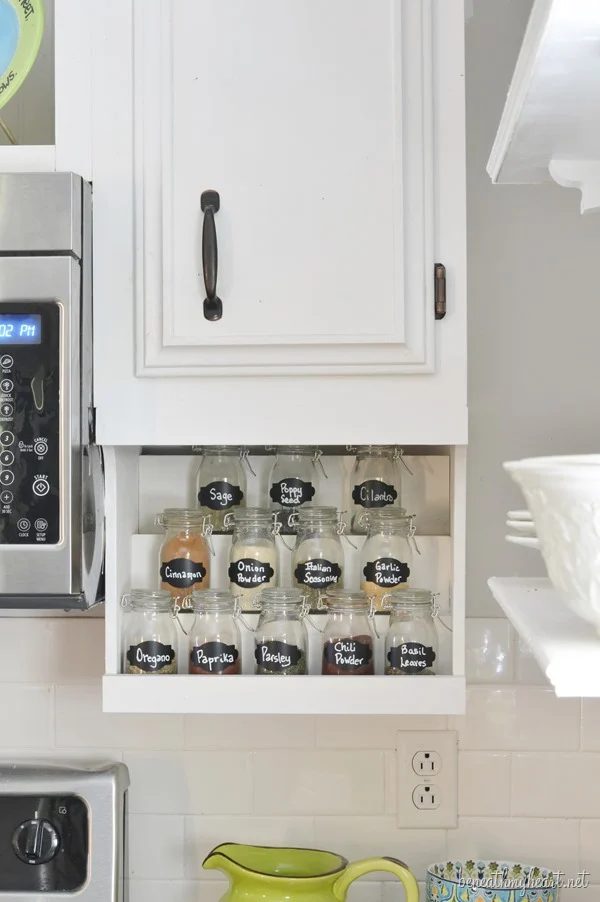
or mason jars with chalkboard labels
or as involved as DIYing an undermount spice shelf
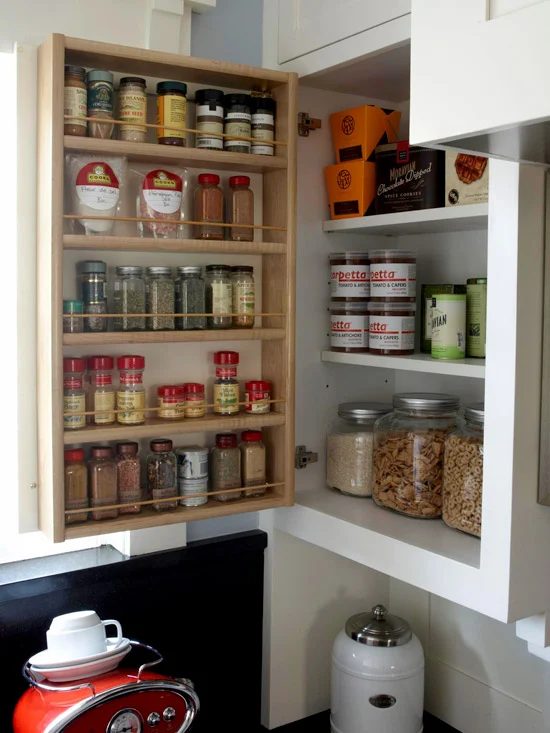
or a back of the door spice organizer
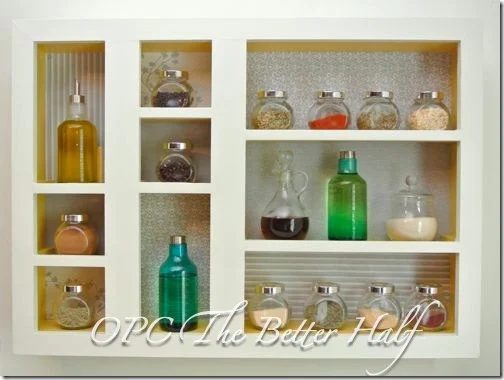
or a custom spice shelf like this one.
But the good news is, even though Christy’s spice cabinet is custom and from scratch — it’s not difficult! This would be a great first-time Handmade building project. Here’s Christy with all the details:
Handmade Custom Spice Cabinet
by Christy of Confessions of a Serial DIYer
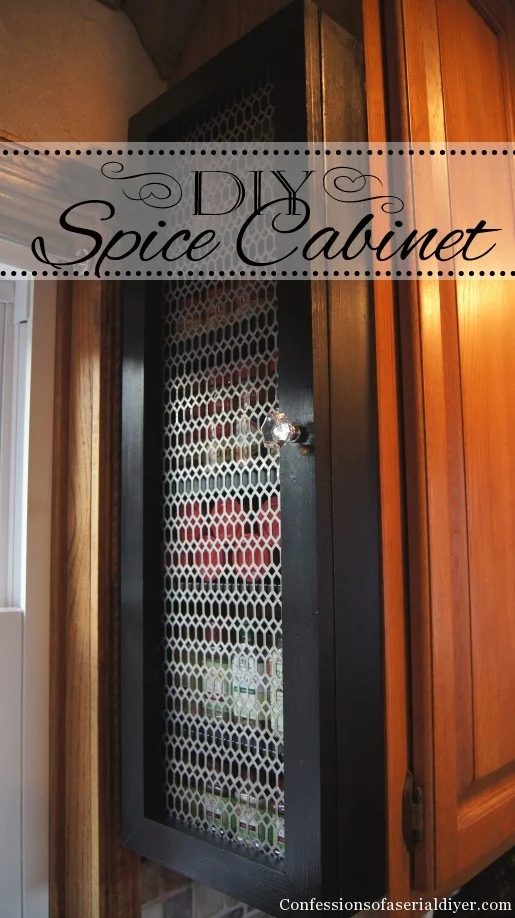
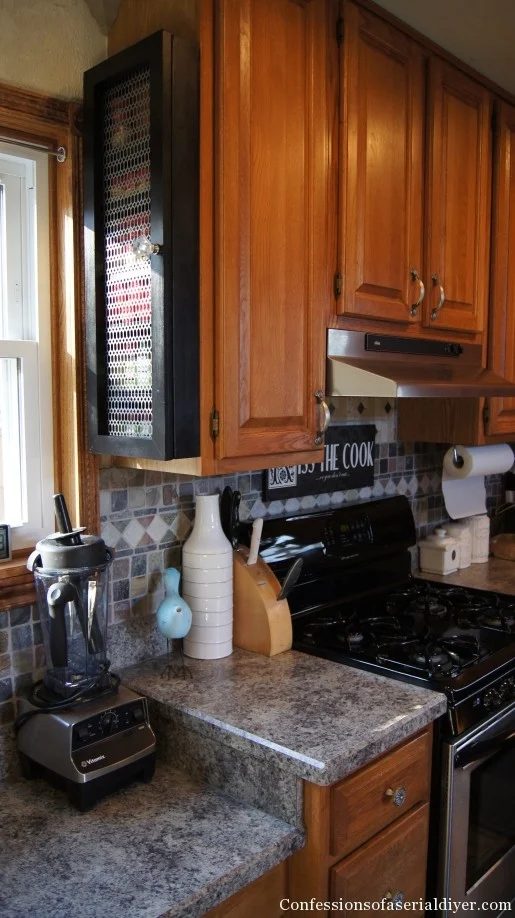
The measurements I am using fit my kitchen cabinet, so the finished size will be 10″ x 30″. Be sure to measure yours before getting started in case you need to make any adjustments. Here is a list of supplies you will need to complete this project:
- Two pieces of 6′ length 1 x 3s (more like 3/4 x 6 x 2.5), cut into two 30″ pieces and seven 8.5″ pieces
- 7′ of 1 x 2 for the frame (actual measurement is more like 1.5 x 3/4)
- Wood Glue
- Finishing nails
- Wood filler
- 220 Grit sandpaper
- Four “L” braces for the door frame
- Material for door insert
- Paint
- Staple gun/ Staples
- Magnetic closure
- Knob
- Hanging hardware called “Keyhole Fasteners”
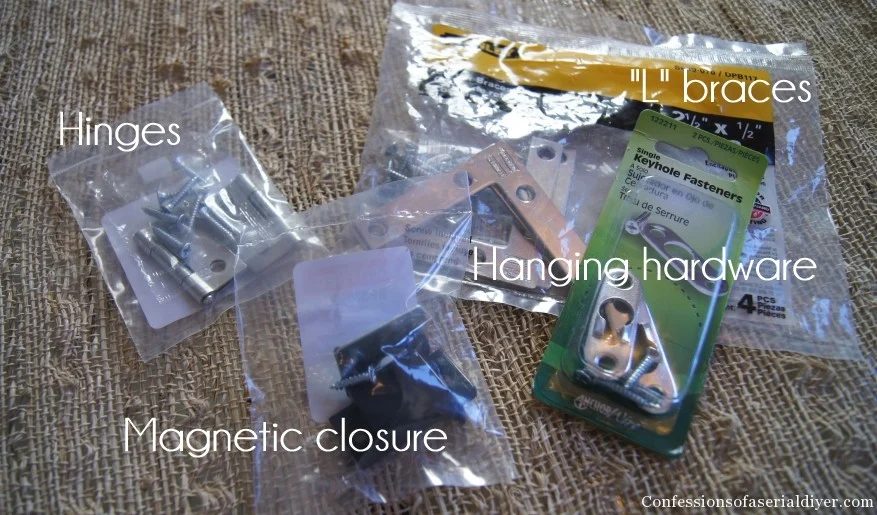
To start, I cut my 1 x 3s for the outside frame and shelves: 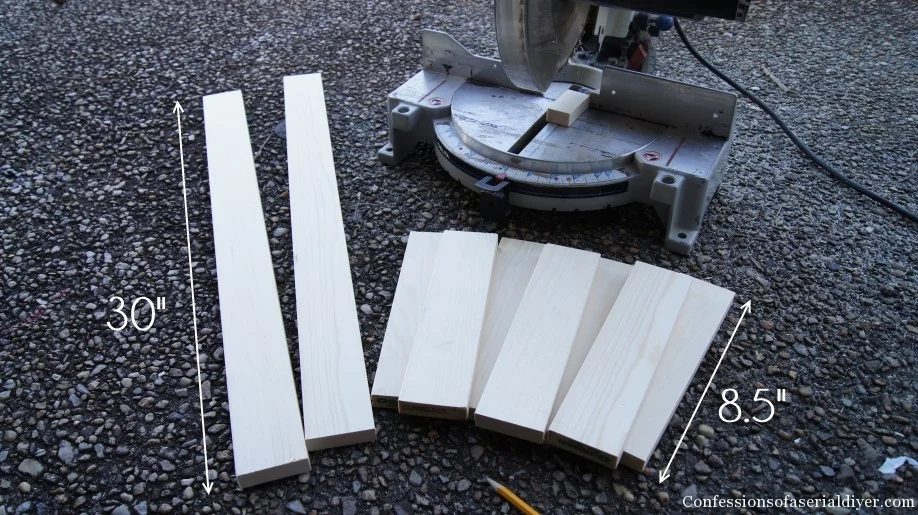
Then using wood glue and finishing nails, I built the basic cabinet, using my spices as a guide for the distance between shelves:
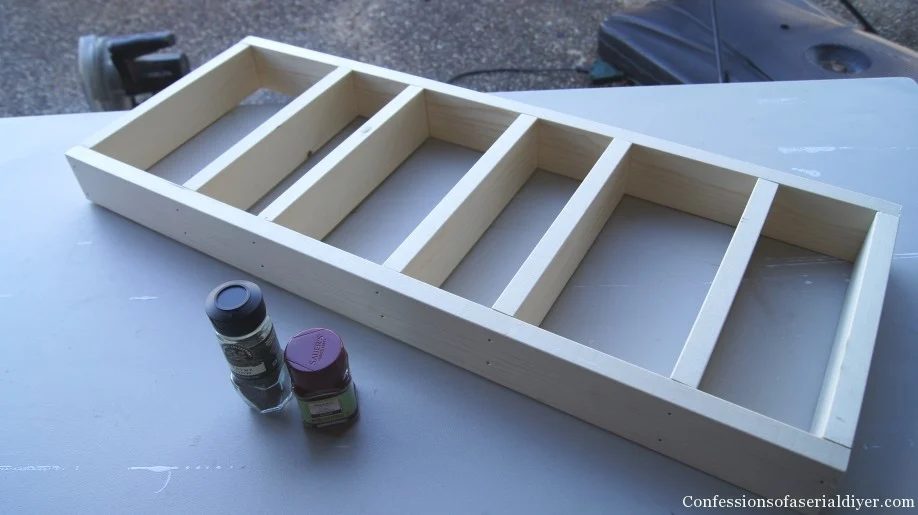
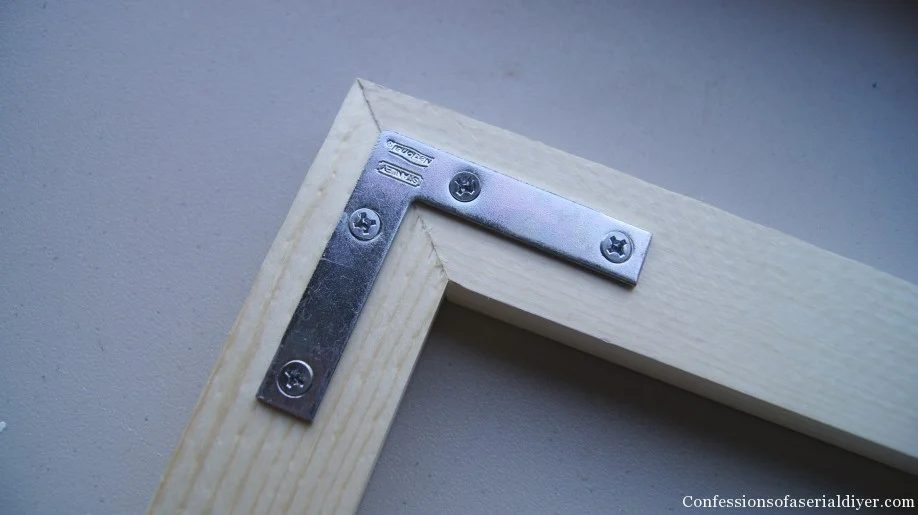
Then I filled in the holes with wood filler and sanded lightly when dry. To build the door, I started with the frame (using 1 x 2s), mitering the edges to fit the dimensions of the cabinet. I secured each corner with a little wood glue and an “L” brace.
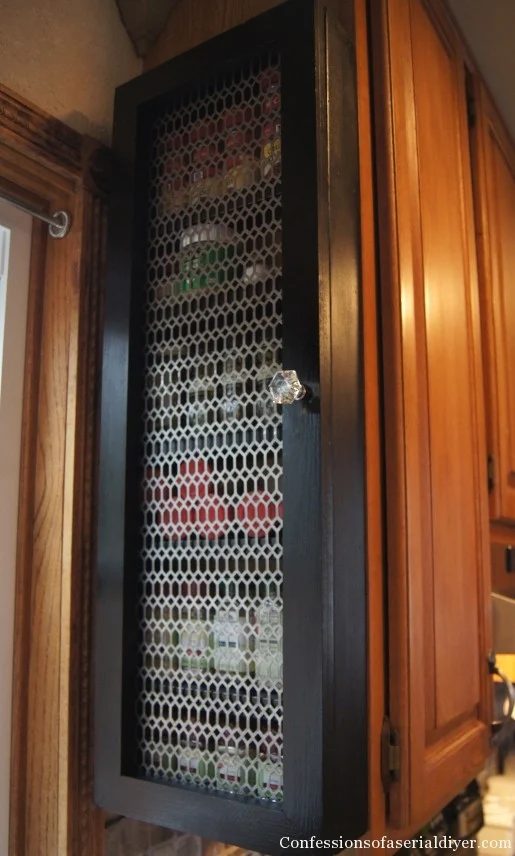
For the door panel, I used a piece of metal grate we had left over from a previous project (=free!). My husband cut it to size and I simply secured it to the frame with a staple gun:
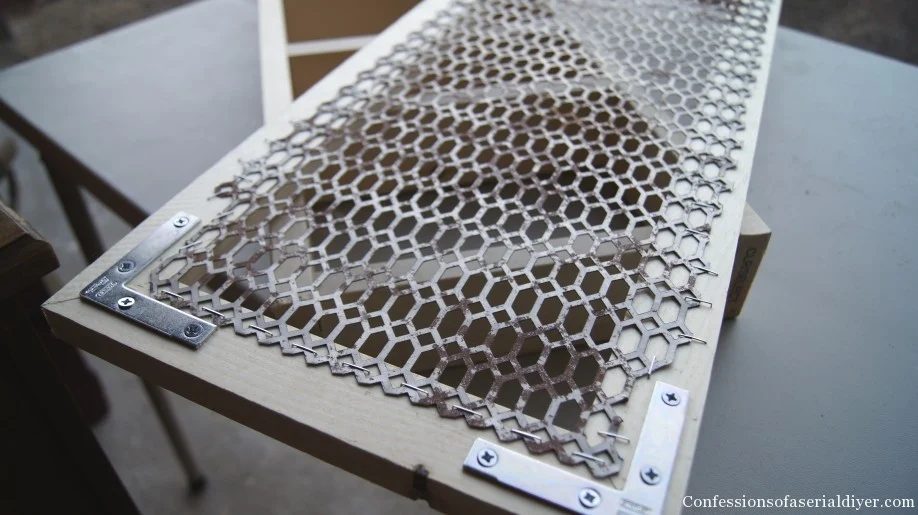
You could also use fabric instead of the metal grate for a fun look. Next, everything got a coat of spray paint except the front panel, which I taped off. ( I really liked the worn, metallic finish.)
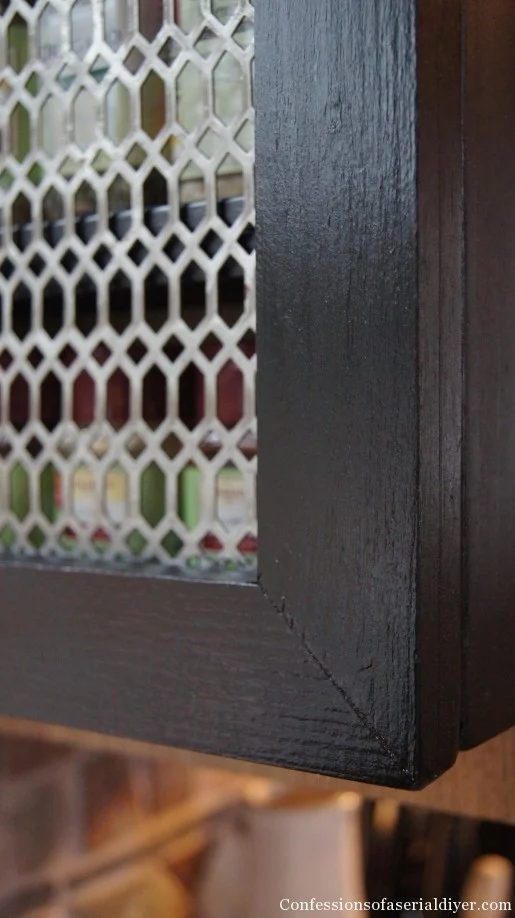
To finish this project, all I had to do was add hinges, hanging hardware, and a pretty knob.
This was the well fitted solution to my messy spice cabinet!
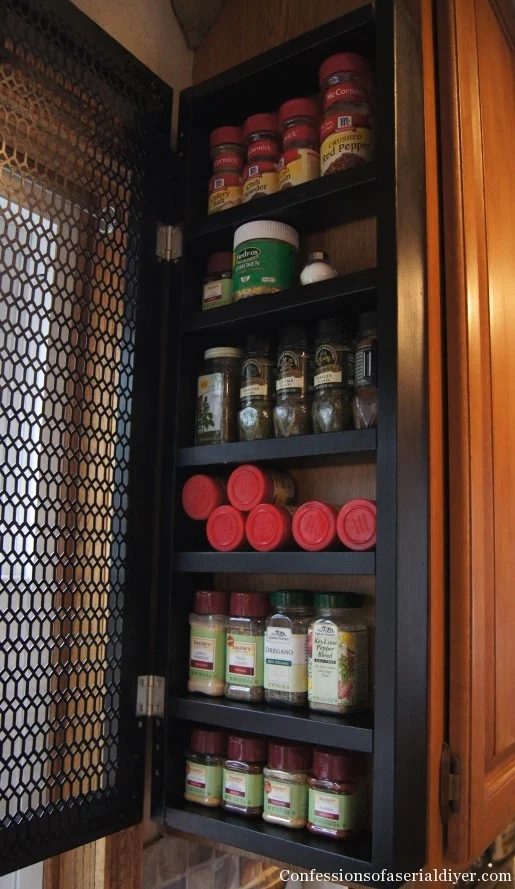
No more fussing over finding what I need!
If you enjoyed this, you’ll love seeing how I built my modest-cost friendly Master Closet! Or maybe you prefer furniture makeovers, like this striking Dresser with Fabric Inlay that was a $20 yard sale find? If you stop by for a visit you’ll also find a few sewing tutorials like how to make clearly straightforward Outdoor Cushion Covers. I hope to see you there!
XO, 
If you like what you see, there are several ways to follow along!
Email * Facebook * Pinterest * Hometalk * Twitter * Instagram
——————————
Thanks for sharing, Christy! Great project to solve a common kitchen organizing woe!
Head over to Confessions of a Serial DIYer to see what else Christy’s been up to — like destroying and rebuilding her sectional (!), building an solid gate, and a quick and straightforward (and cute) drawer to mini bookshelf project.