This methods walkthrough stays in the order the work happens.
Back when I started Bekob, my focus was on taking something old and making it into something new. (I still love that, but sometimes you just have to buy raw materials rather than repurpose, you know?) Pallets are one material that seems to spur an endless fountain of creativity — DIYers are making anything and everything out of discarded shipping pallets! As an inexpensive source of lumber, pallets are a great material that just takes a little bit of love. Our guest today built a wooden pallet deck — for under $300!
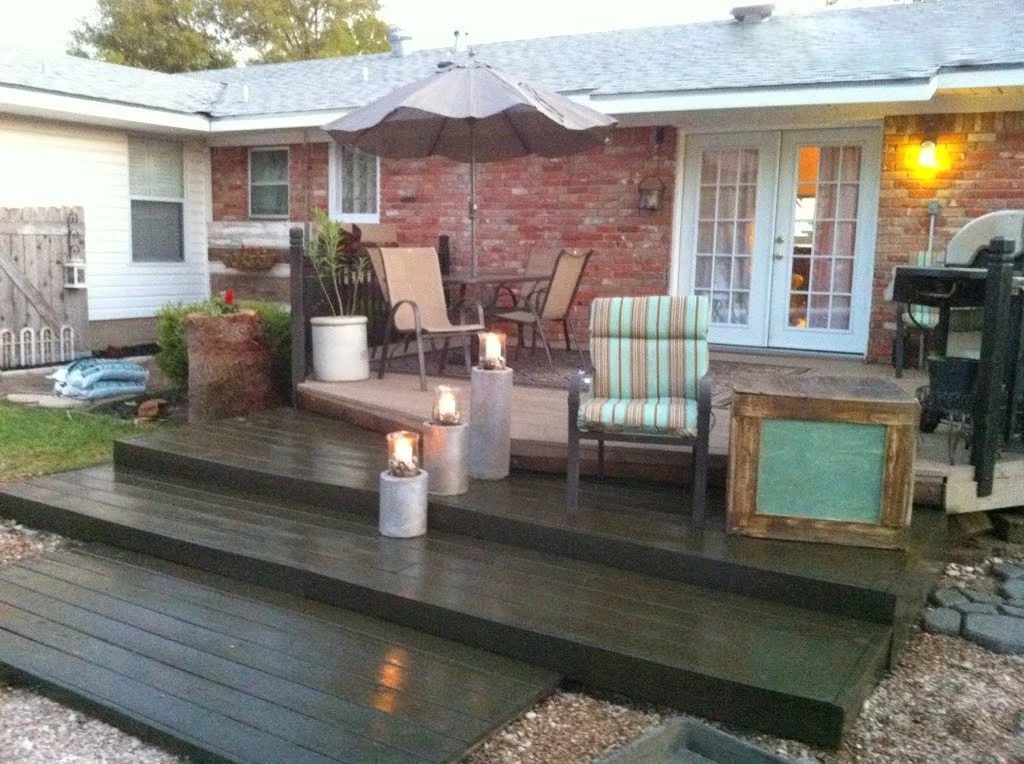
open this to jump to the project walkthrough, Or scroll down for the details of how Jodi and her husband built their deck. And if you’re not in need of a deck, you could always pick up some pallets to make…
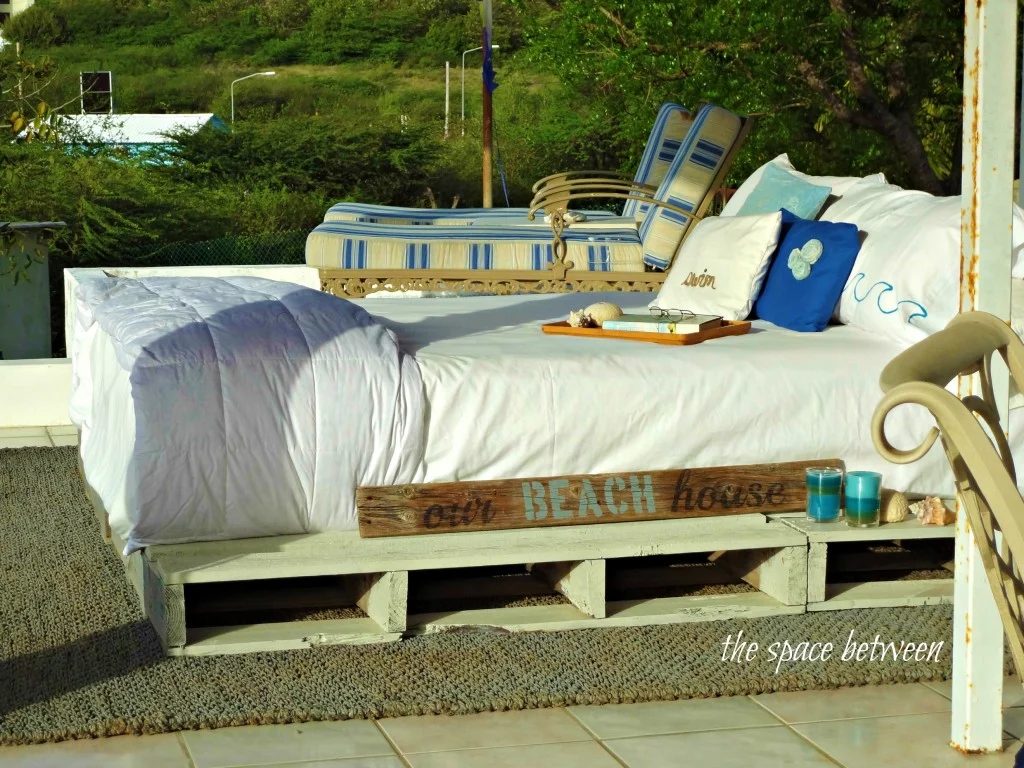
(The Space Between featured on Bekob)
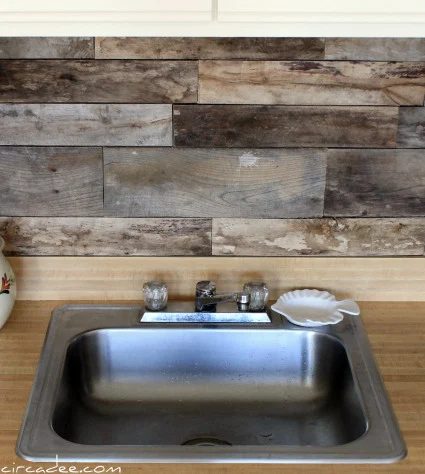
(Circa Dee featured on Bekob)
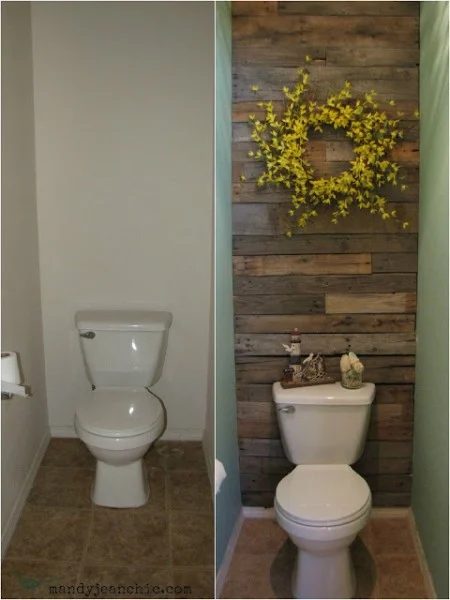
(Mandy Jean Chic featured on Bekob)
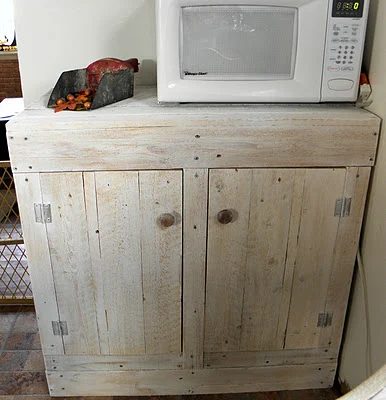
(Shabby Love featured on Bekob)
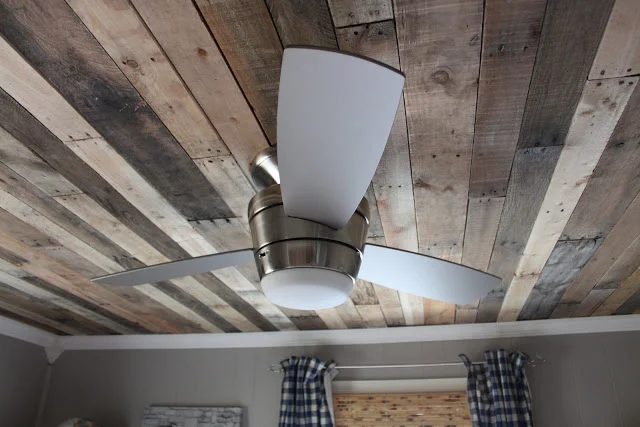
(Maple Leaves and Sycamore Trees featured on Bekob)
But, if you need a great spot to host a barbecue or shoot the breeze with your buddies, you just can’t beat a deck. Here’s Jodi to show you how her wooden pallet deck came to be:
Build a Wooden Pallet Deck for Under $300
by Jodi of Second Wind of Texas
Hi! I’m Jodi Blackmon from Second Wind of Texas. My husband, Mark and I are living proof that you can learn something by watching TV! When we bought our house 3 years ago, we started rehabbing it by doing things we had learned by watching Handmade Network. Everything else came from Google.
And I am thrilled to be featured on Bekob with our Under $300 Deck Addition! Enjoy.
We needed stairs on the front side of our deck, because it’s the easiest access to the yard and pool.
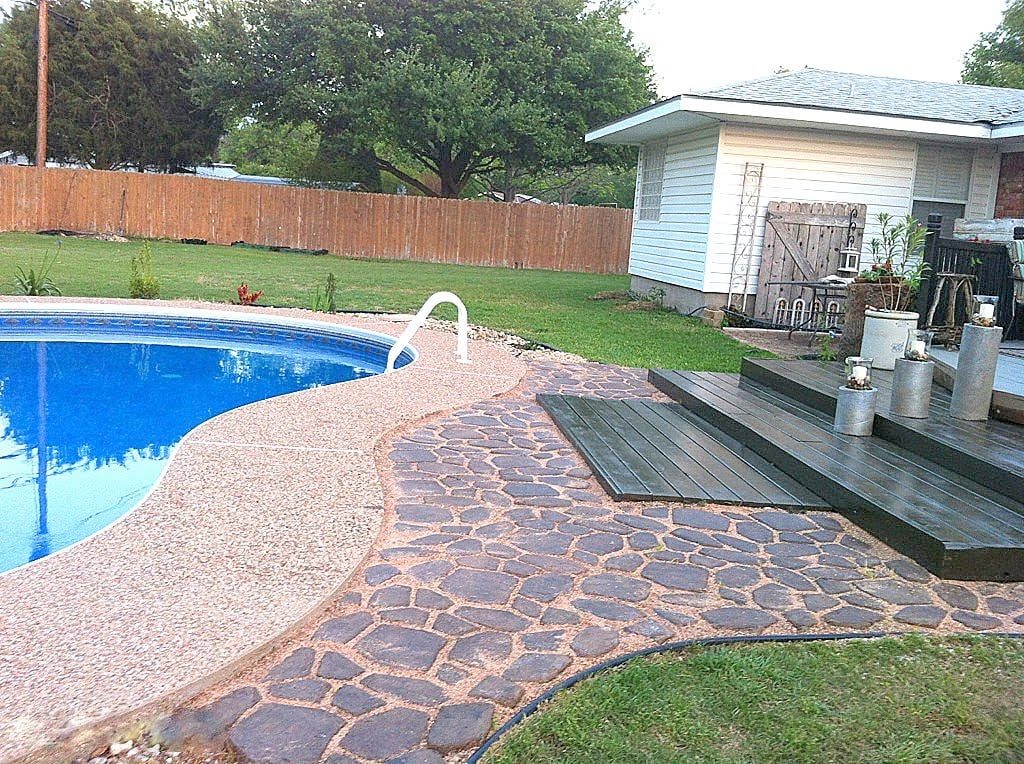
This is what we started with. This is the night after a huge wind storm, and after a quick pick up of everything we had left on the deck, we were able to start.
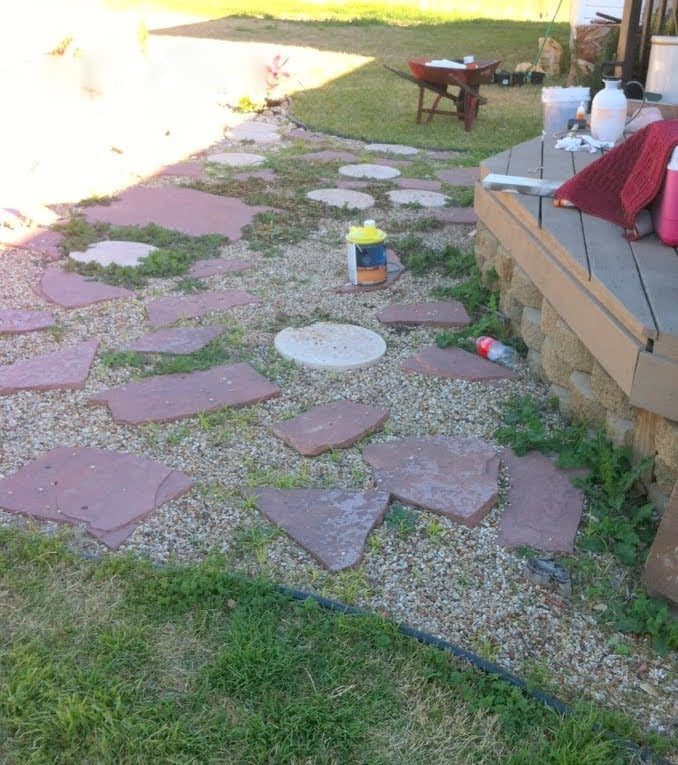
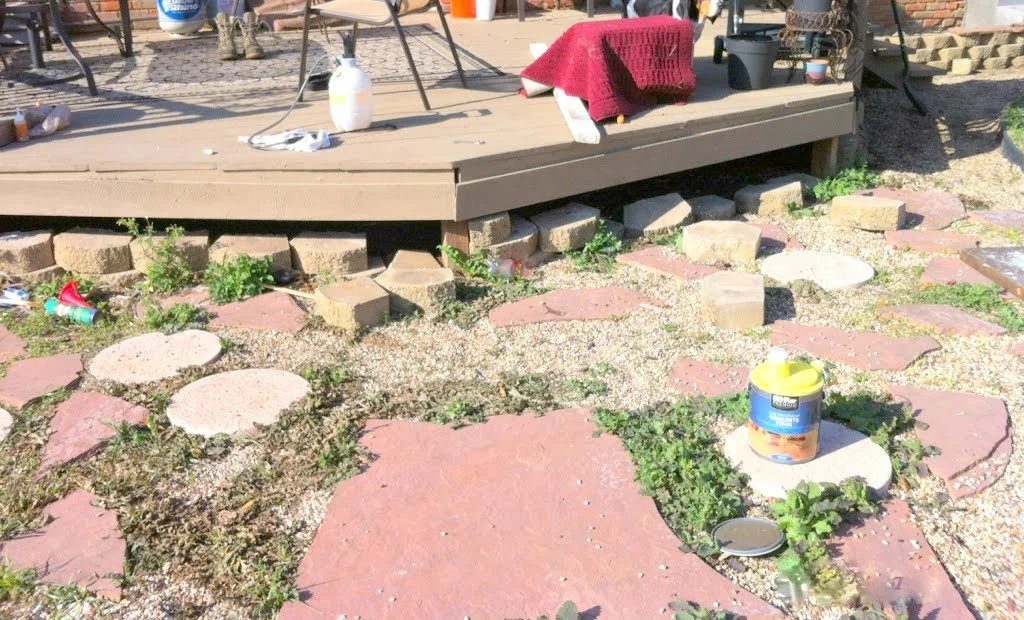
We took out all of the stones from under the deck and the courtyard, and leveled the pebbles.
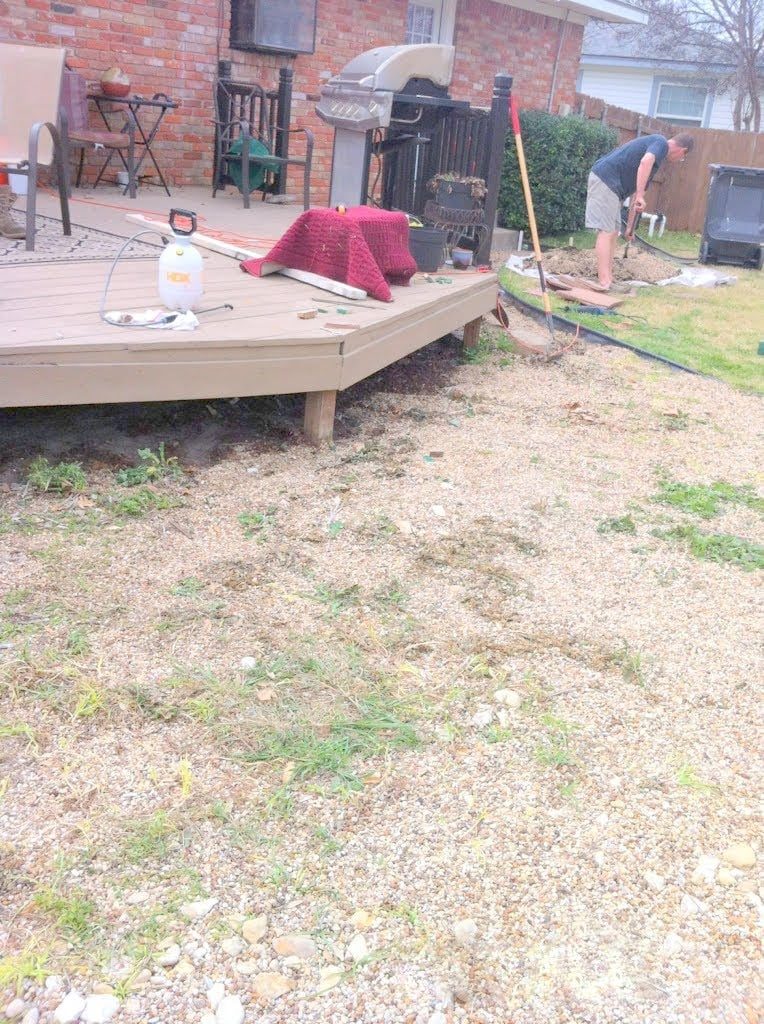
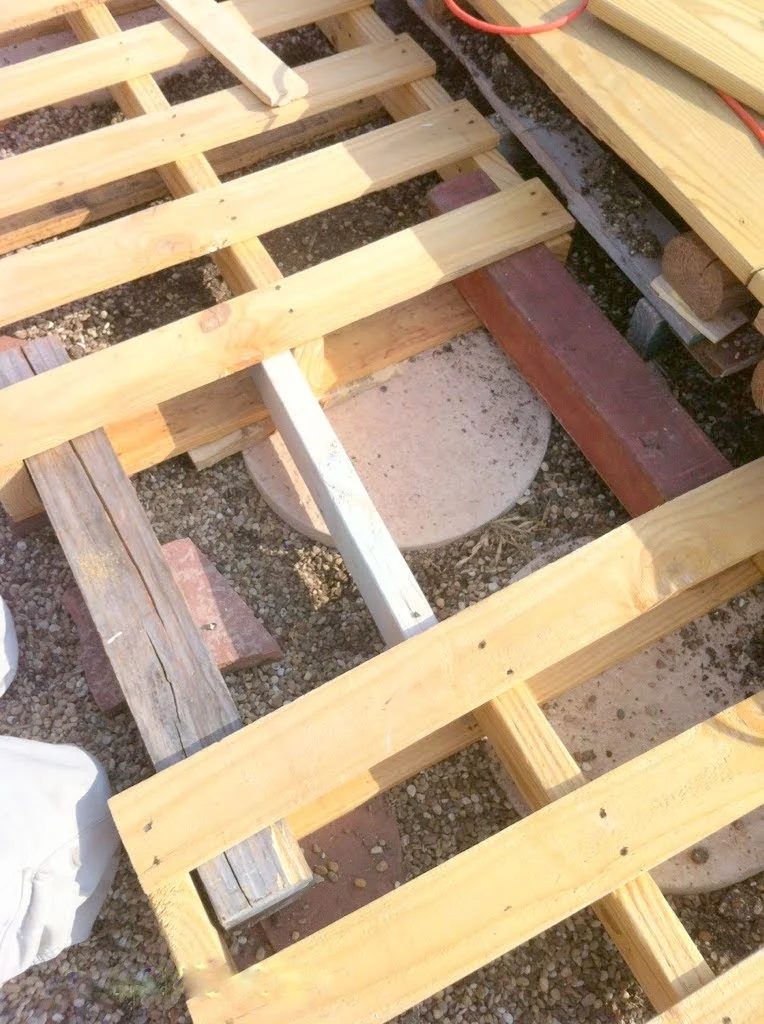
We got several pallets from the ReStore to lay as a base. We laid them different ways to see what would be the best configuration for us.
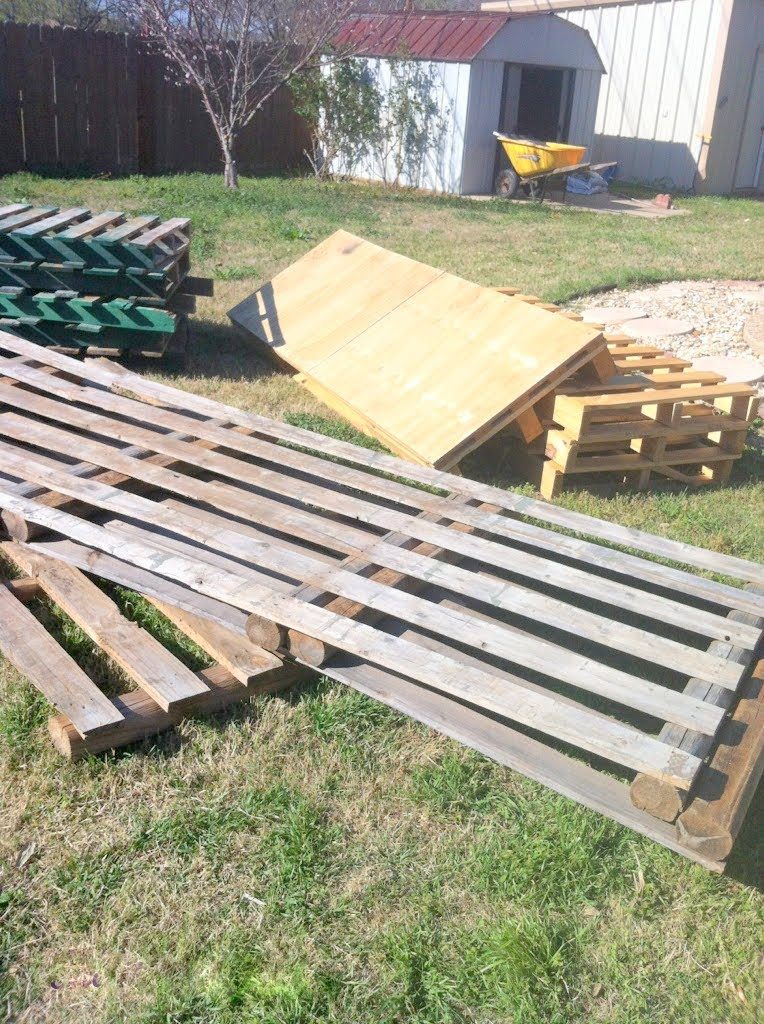
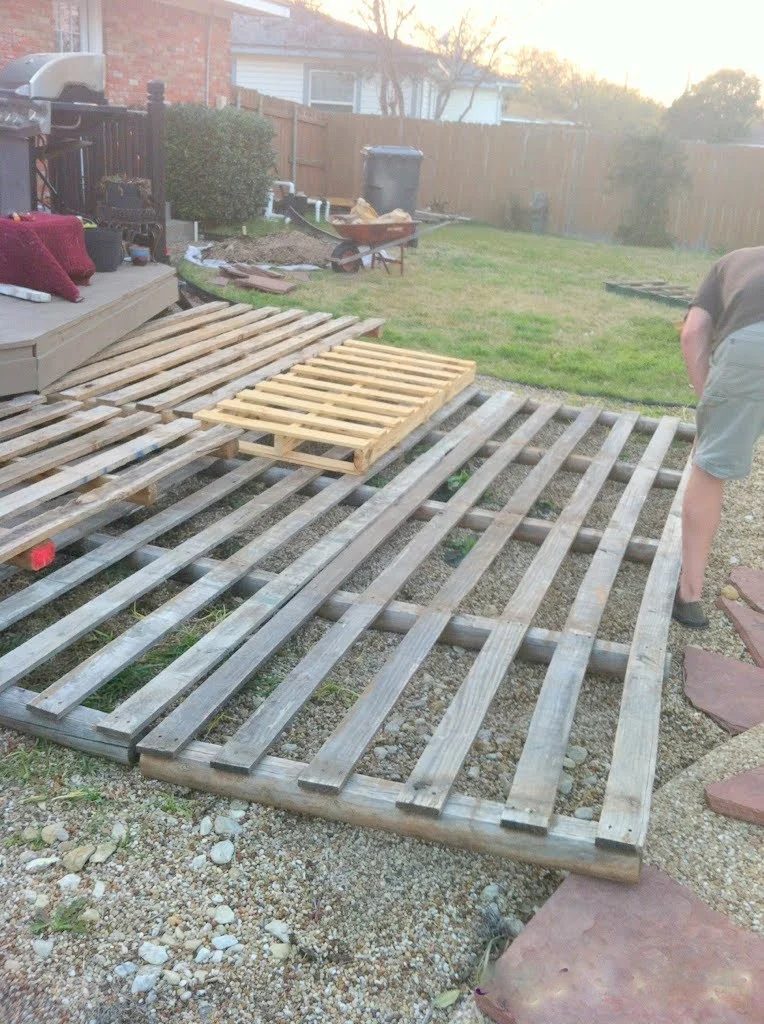
We wound up taking the timbers from these large ones to use later. We started by using old pavers and flagstones for a base.
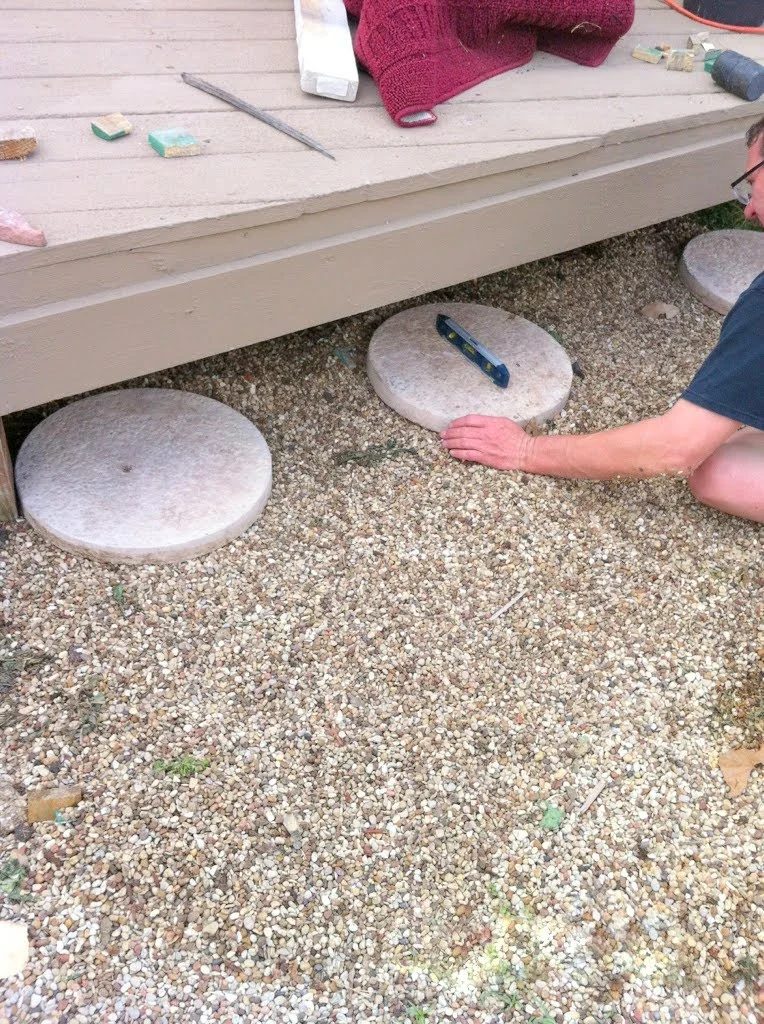
Mark cut them to fit around existing posts on the deck, and secured it to the deck.
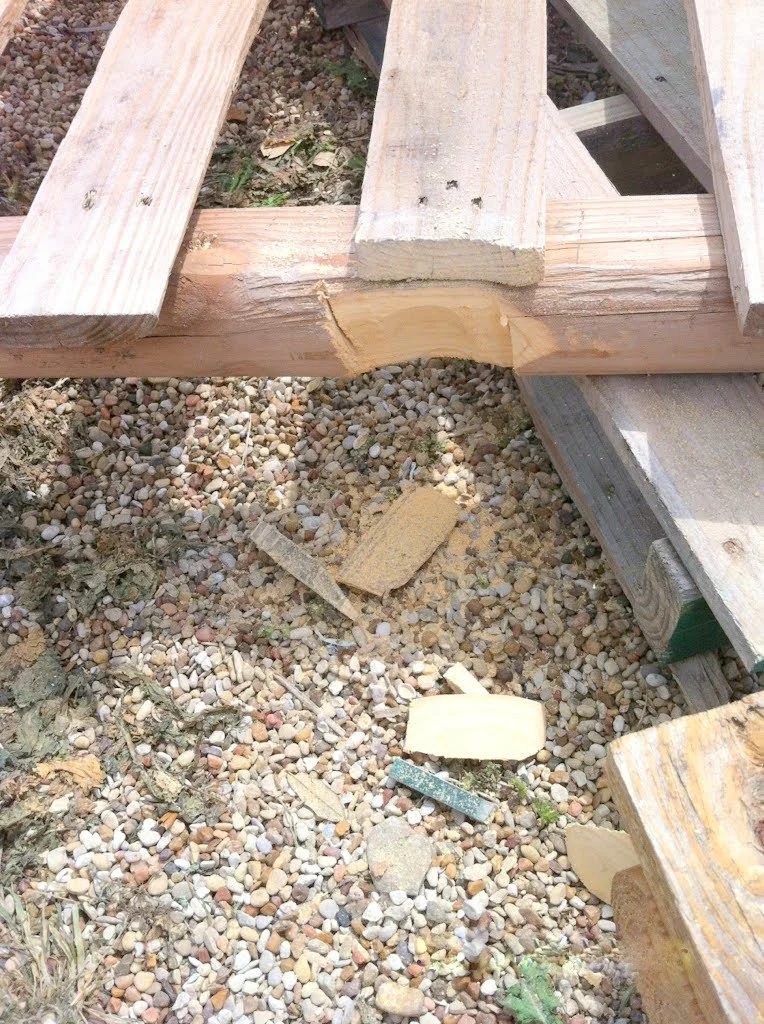
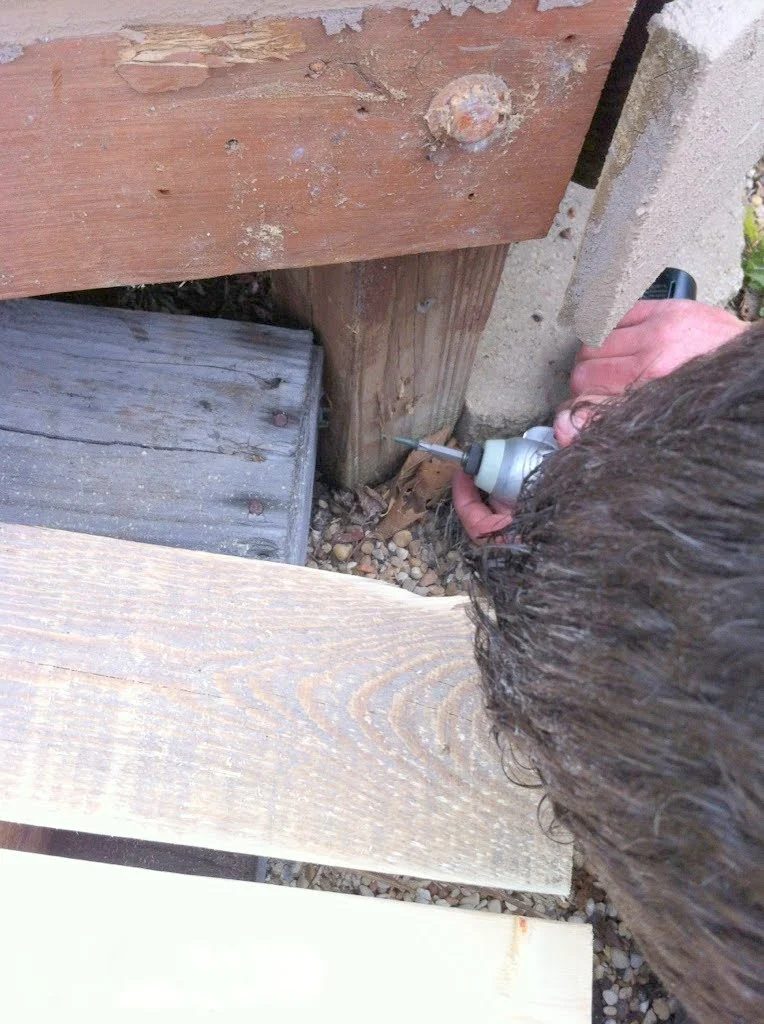
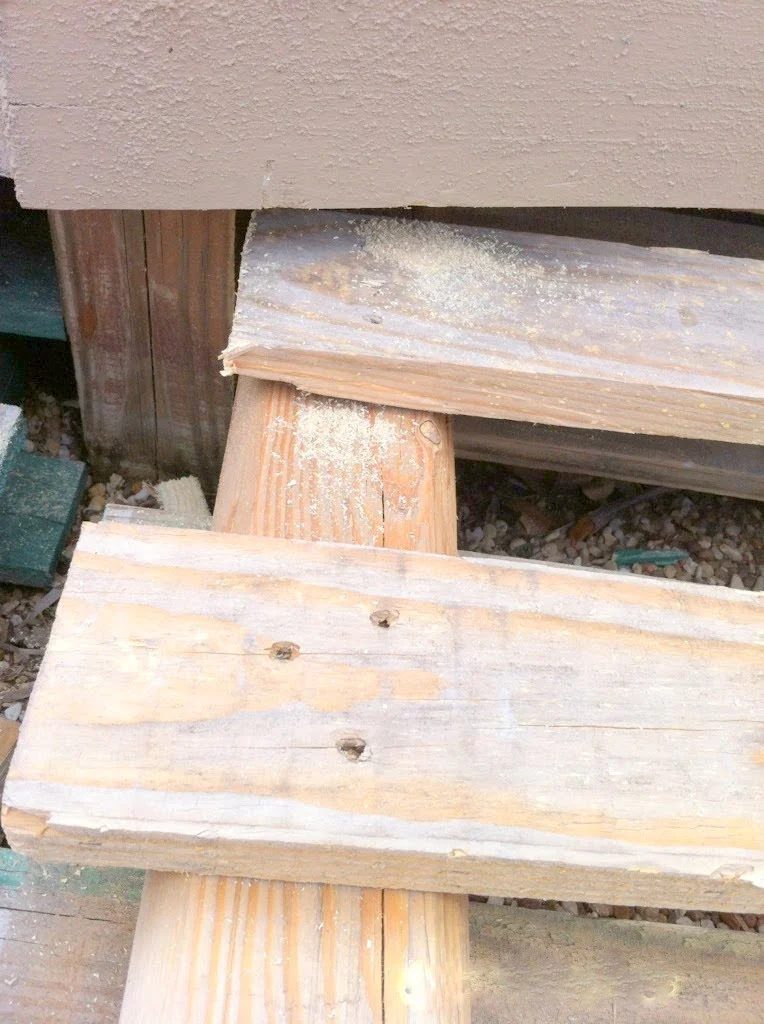
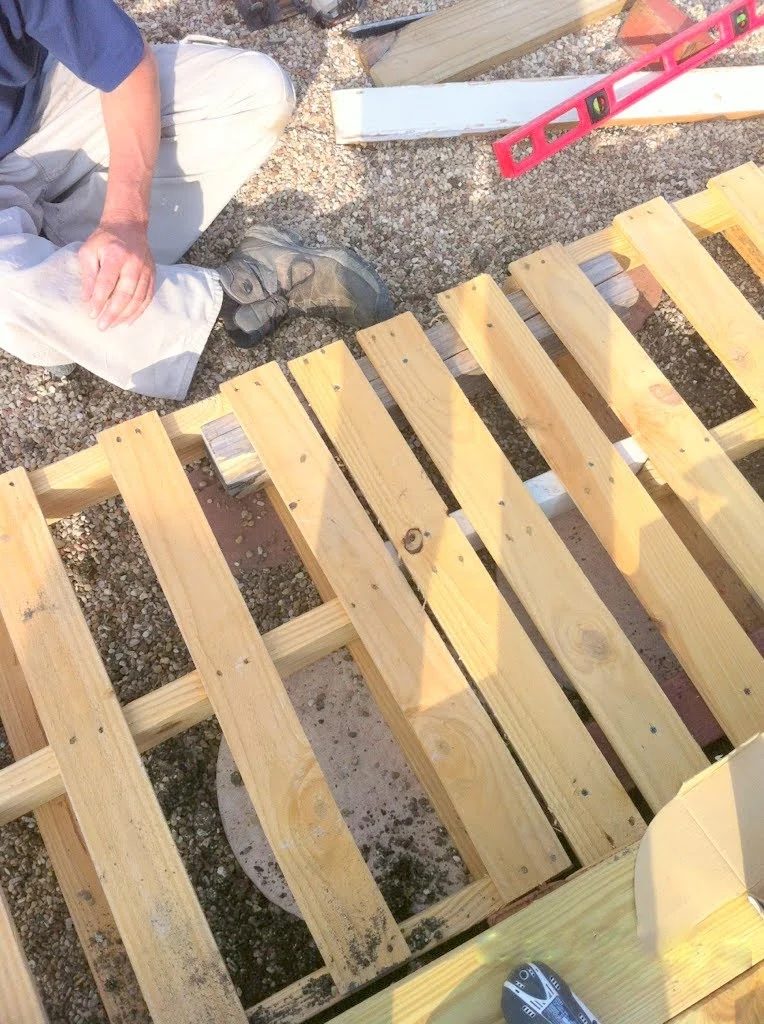
Mark secured the layers together with deck screws and added filler wood so the decking boards wouldn’t eventually sag.
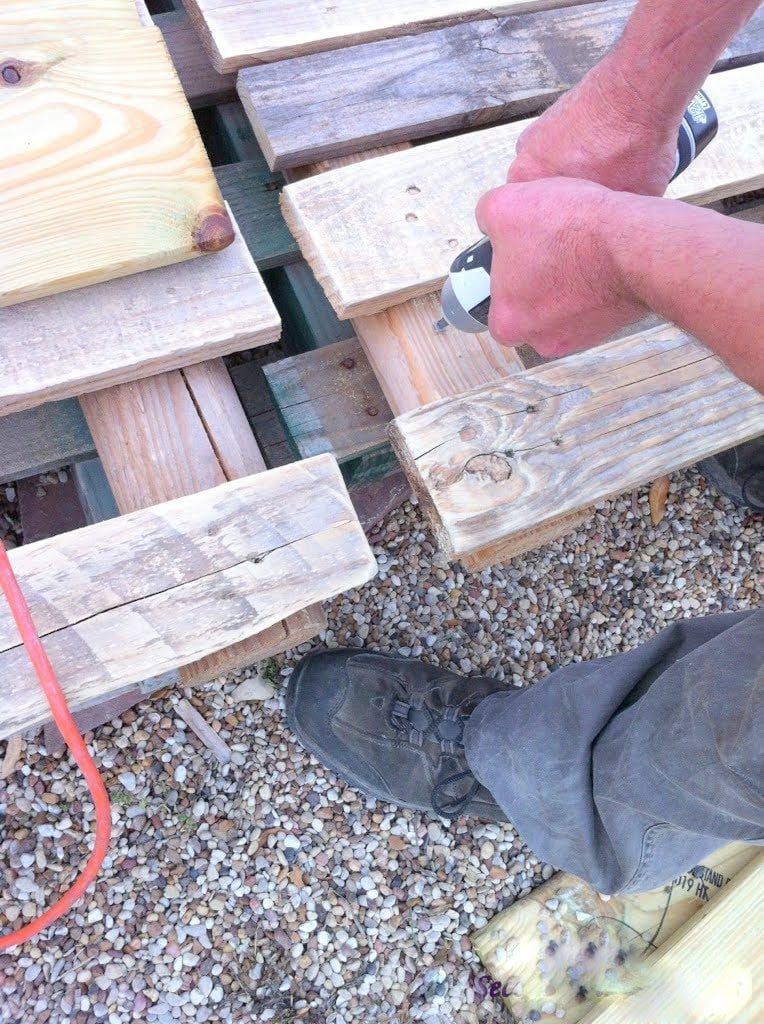
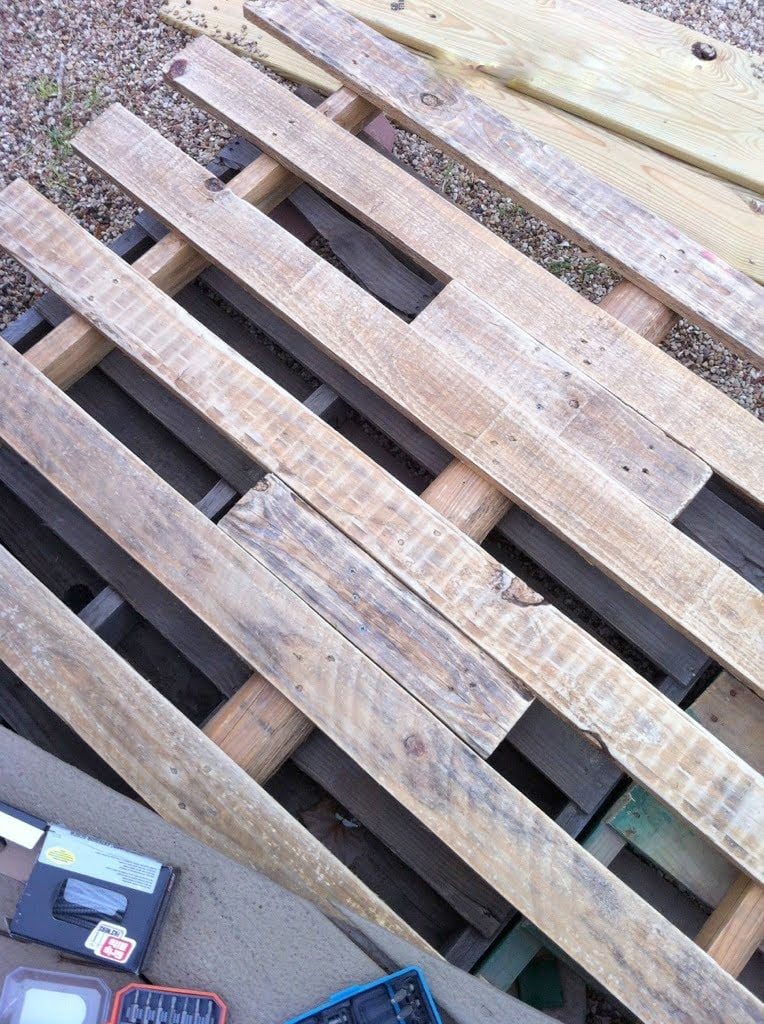
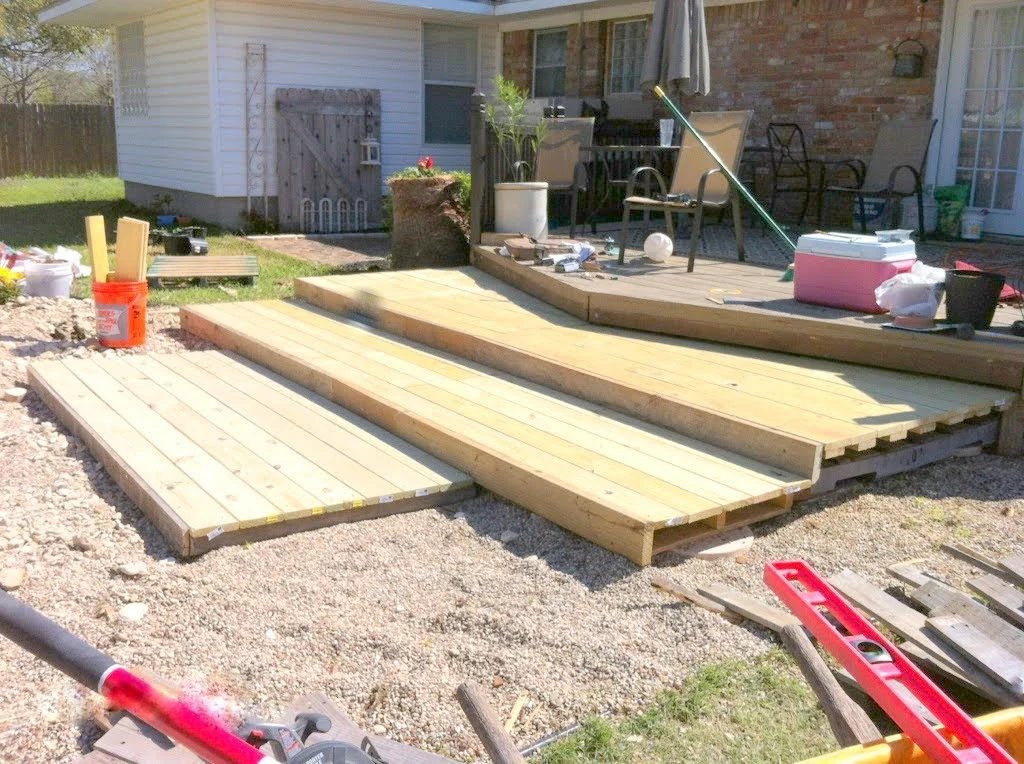
Then it was a matter of laying the deck boards and screwing them down.
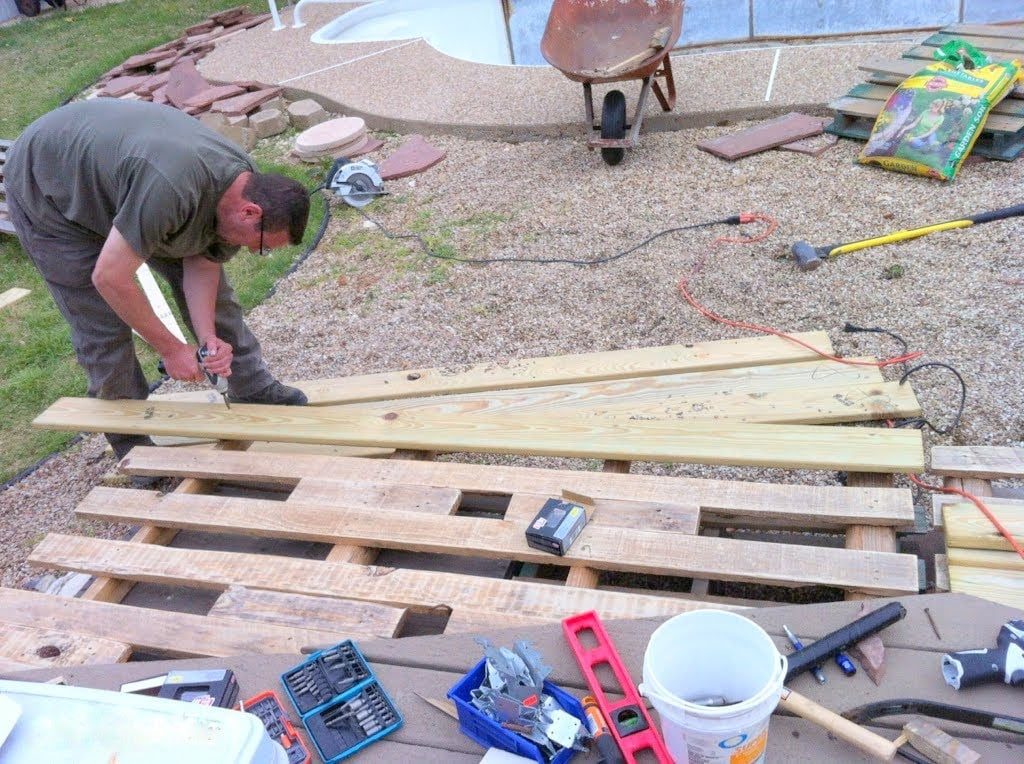
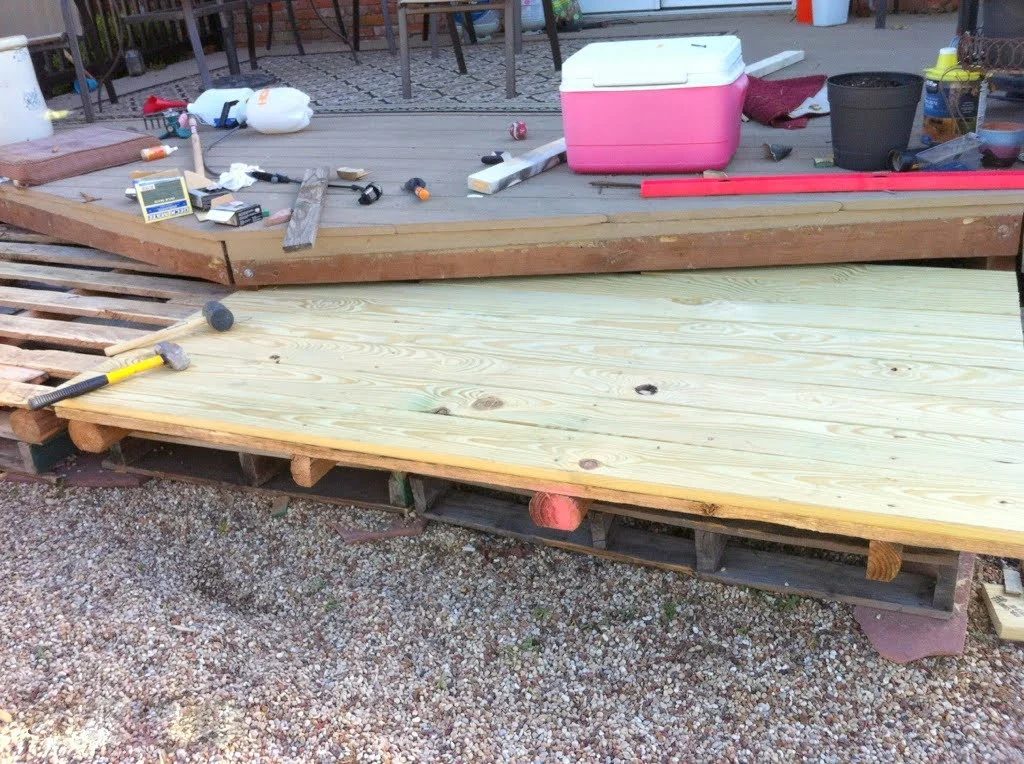
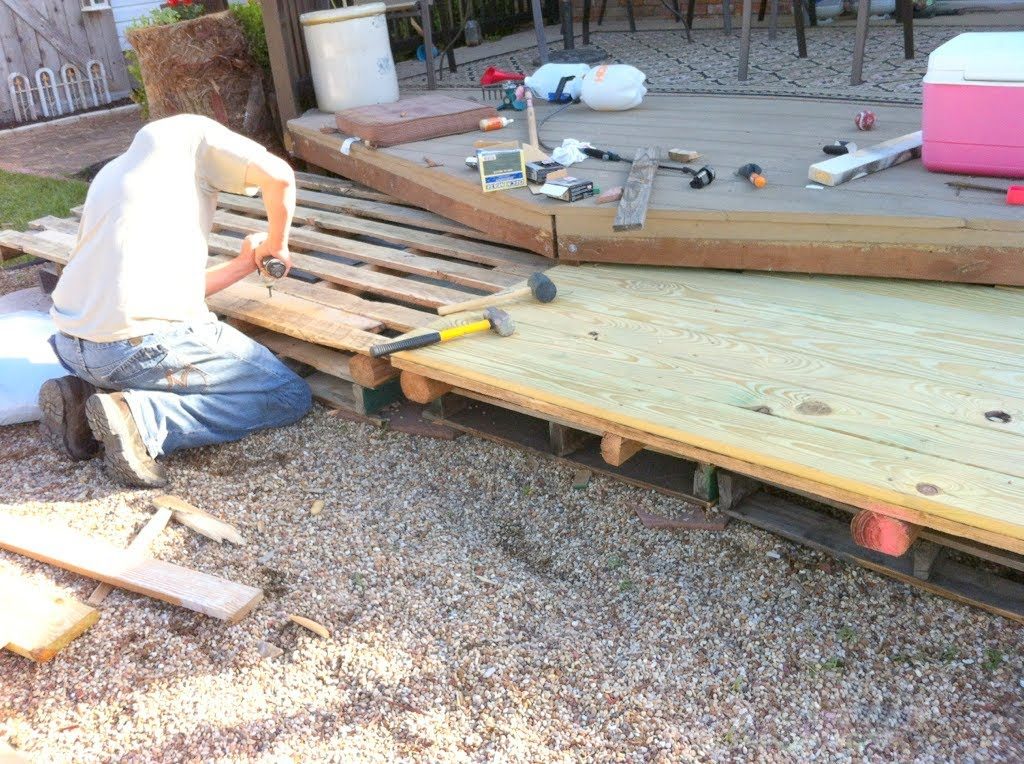
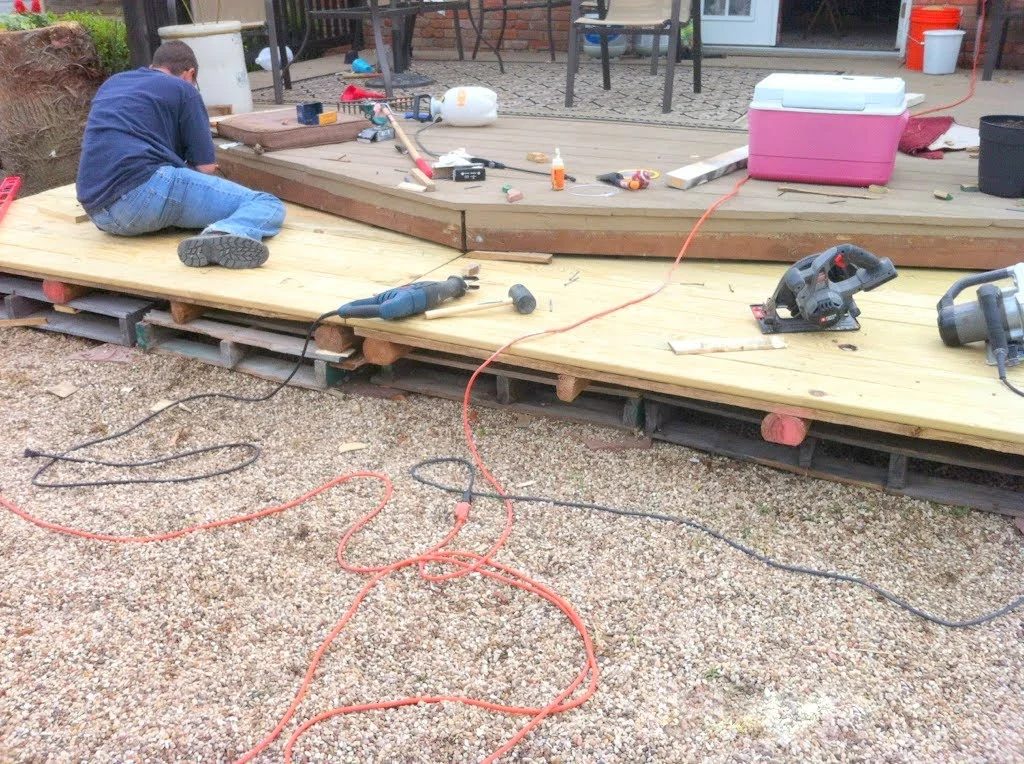
Then we secured the second layer of pallets to the first, using the pavers for support again.
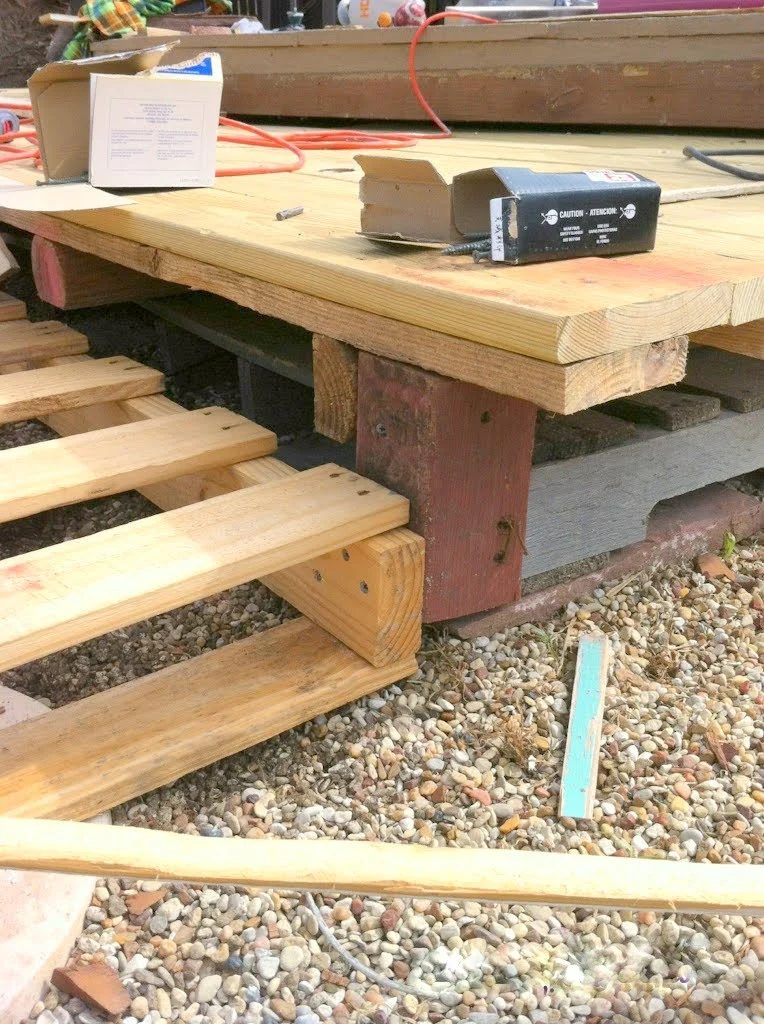
Since there was a large space between these, we added support boards.
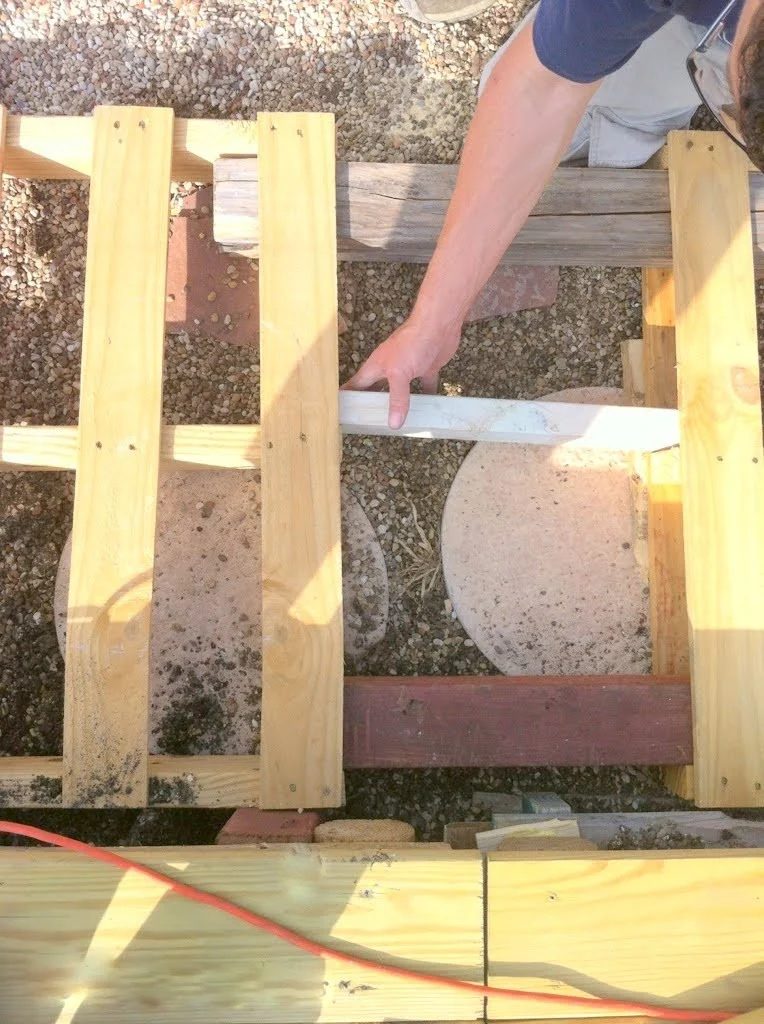
Mark added a 2×6 board as a face frame for the first tier.
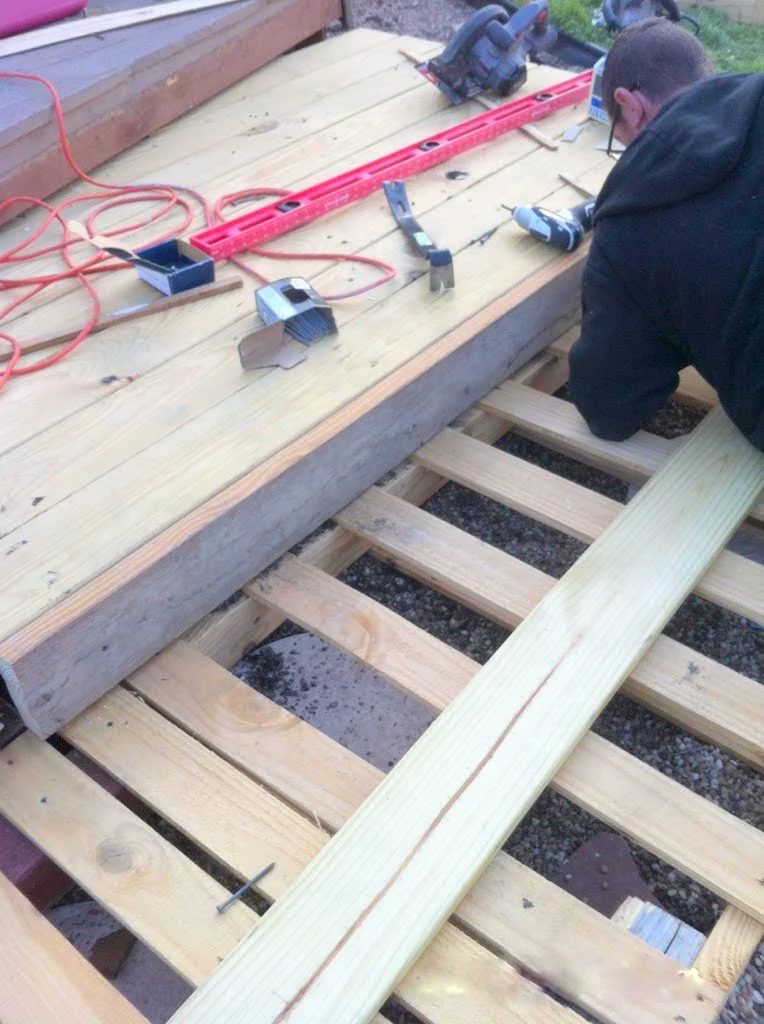
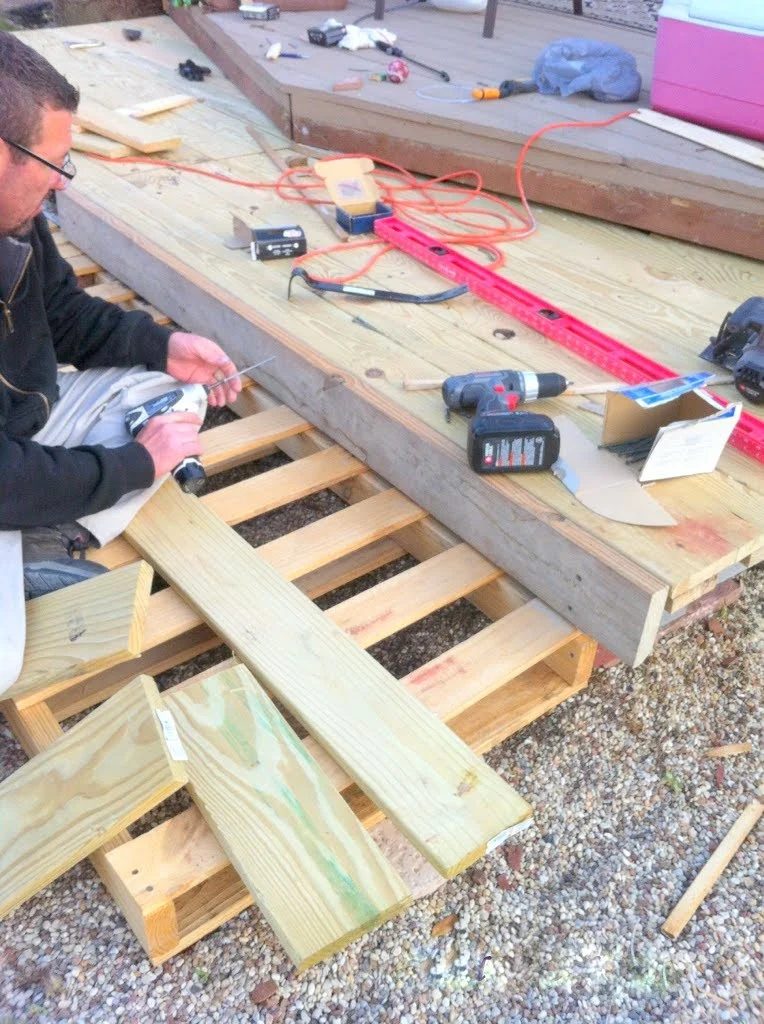
And then laid the boards for the second tier.
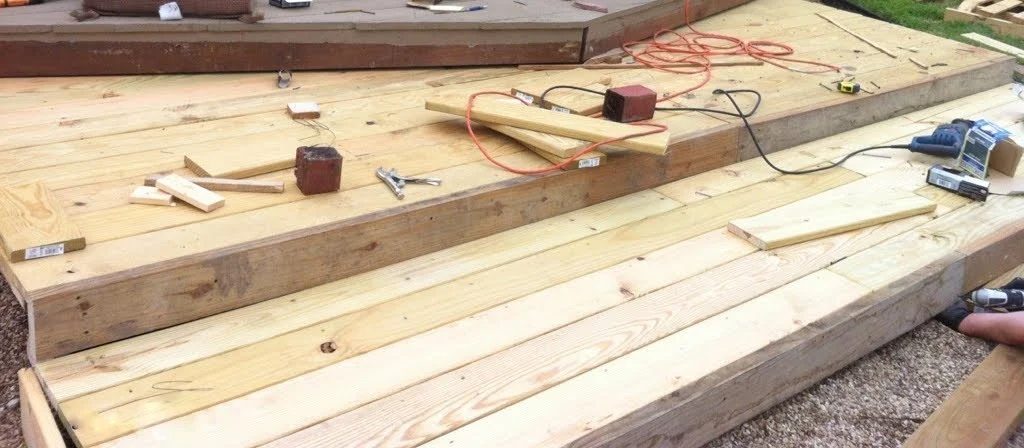
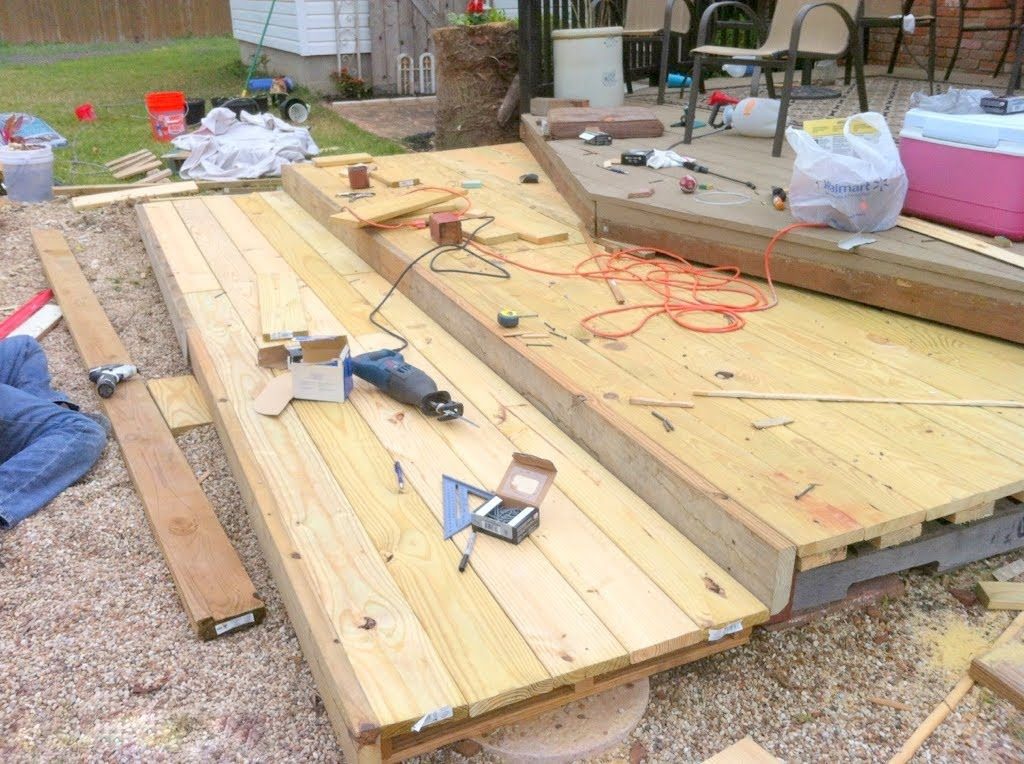
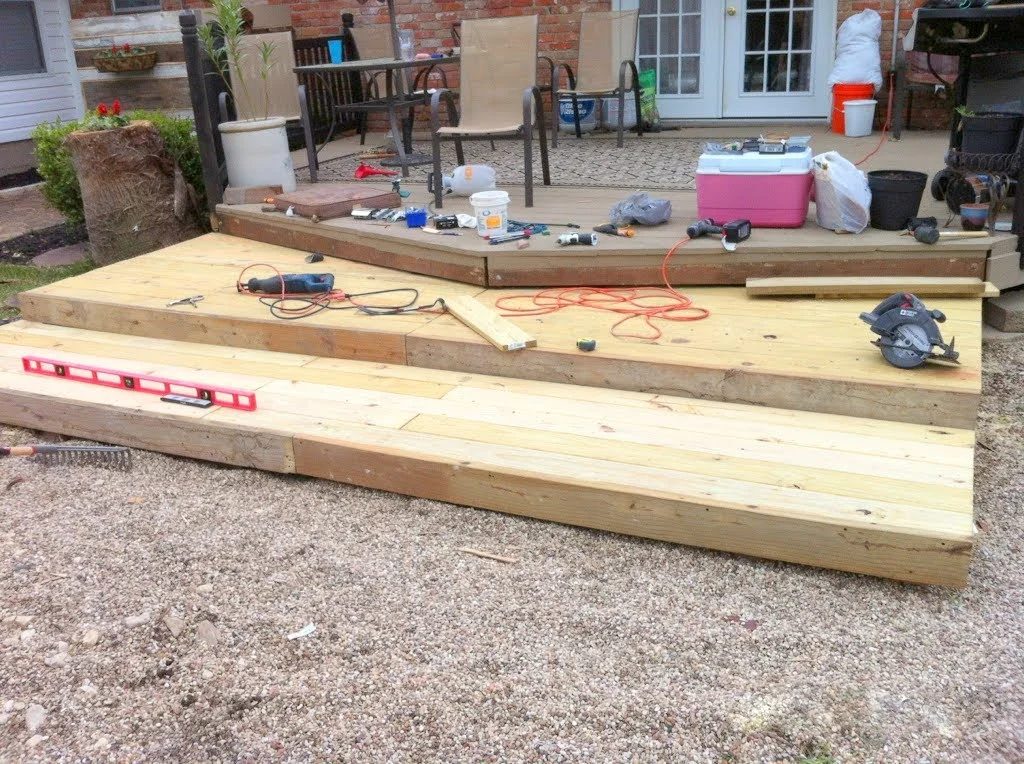
For the third tier, we dug 4 holes for short 4×4’s in front of the second tier (above). We then secured 4 timbers going straight out, and laid decking boards across those.
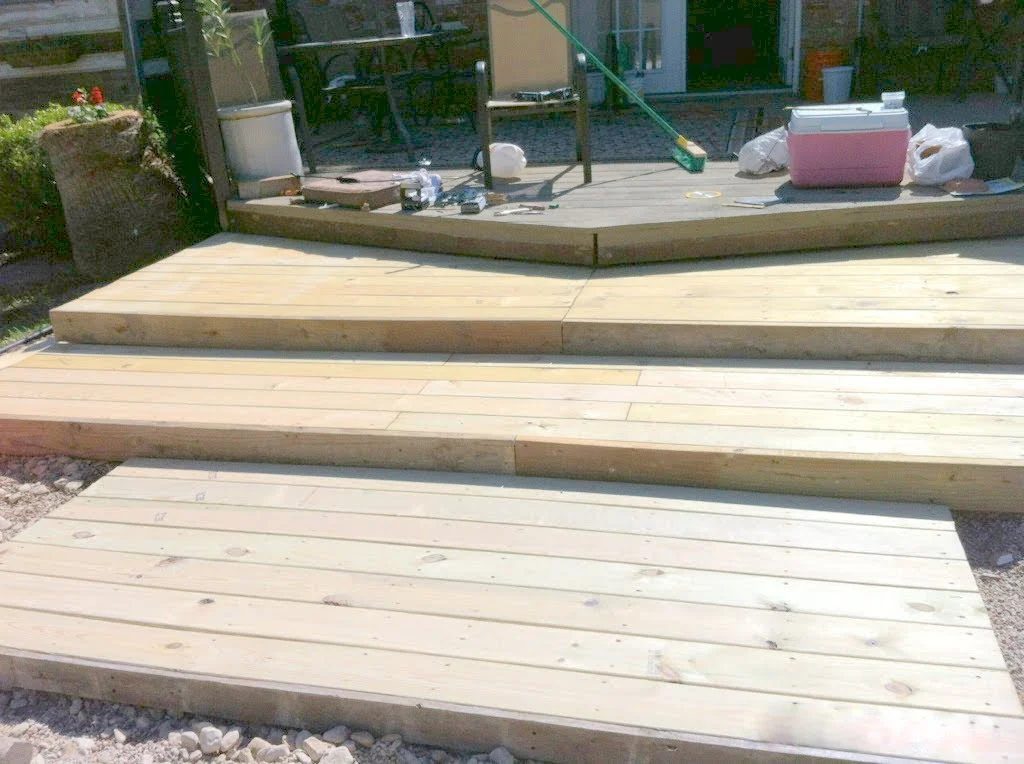
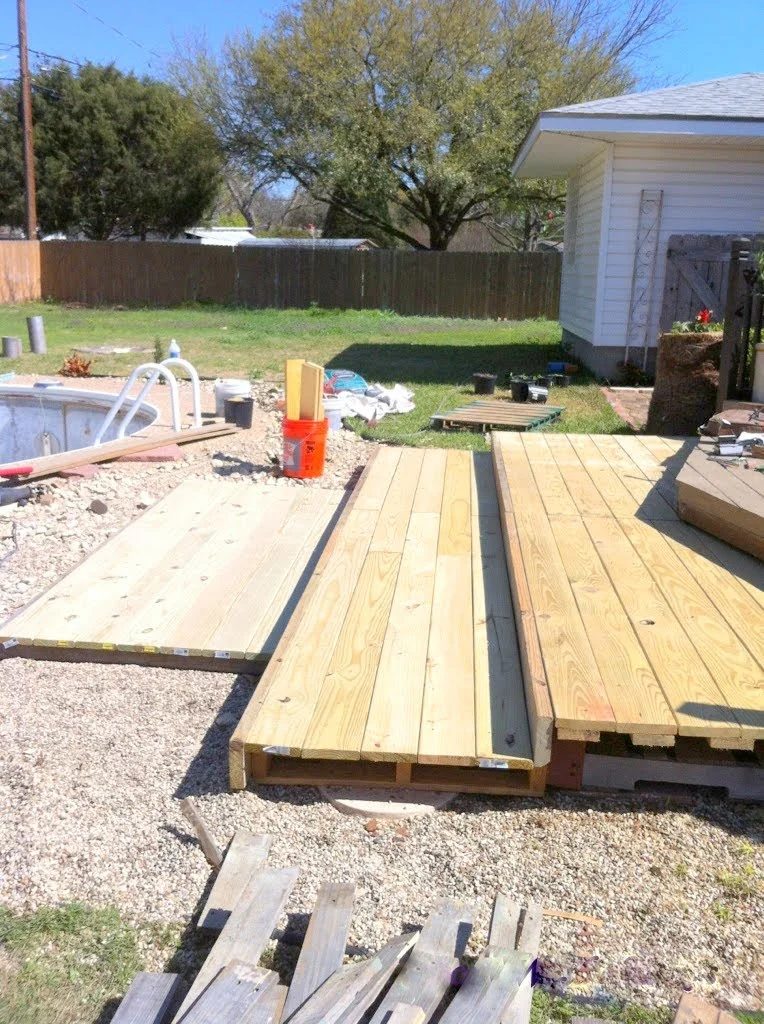
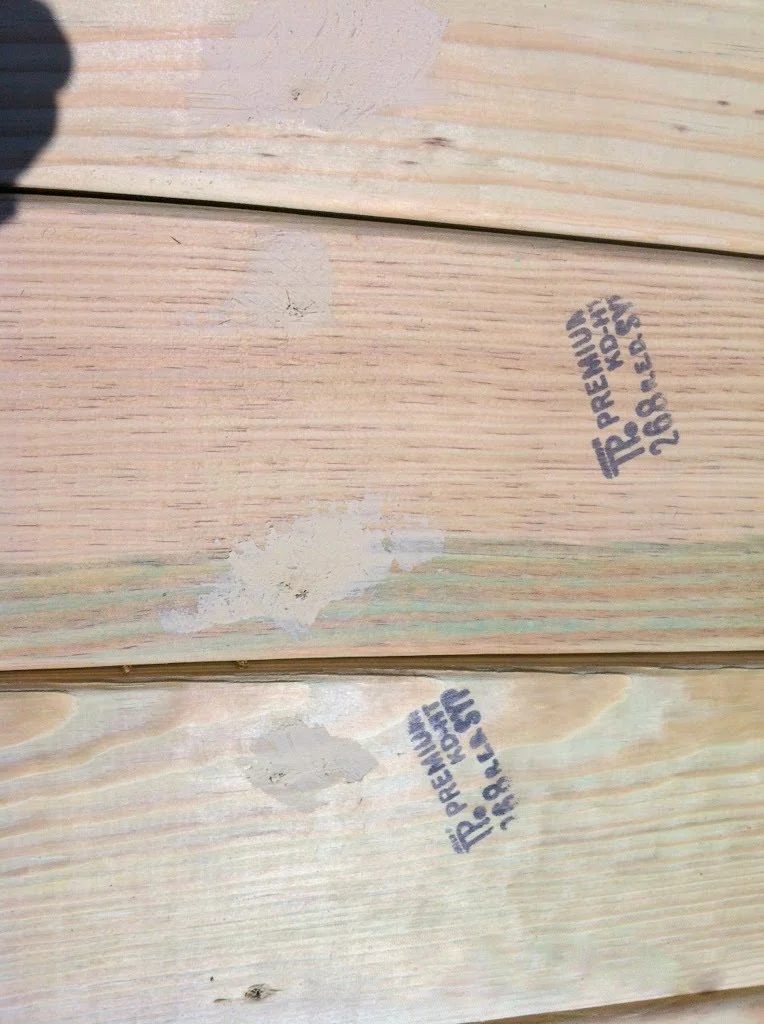
Once it was all trimmed out, I filled screw holes and added a solid color deck stain.
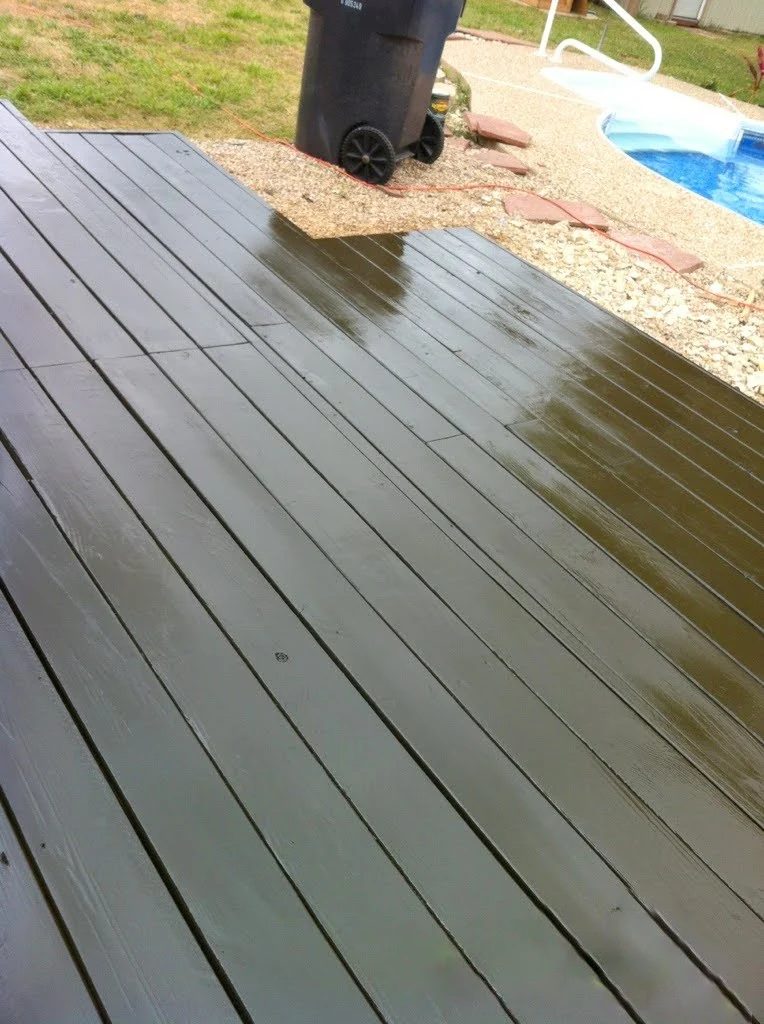
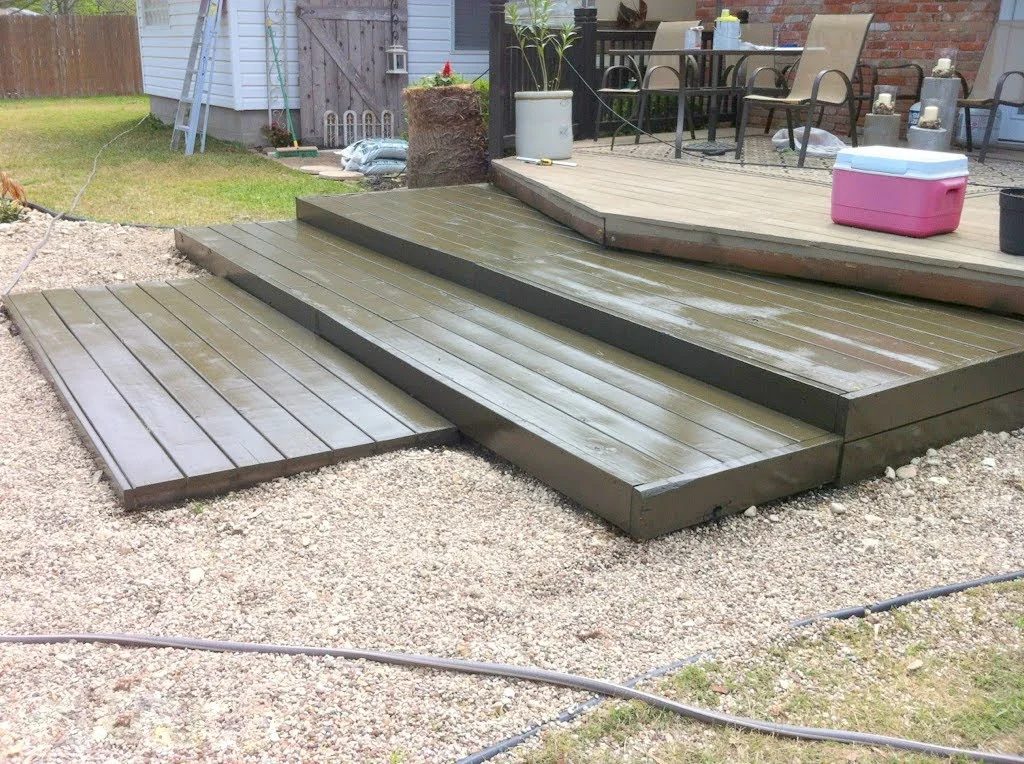
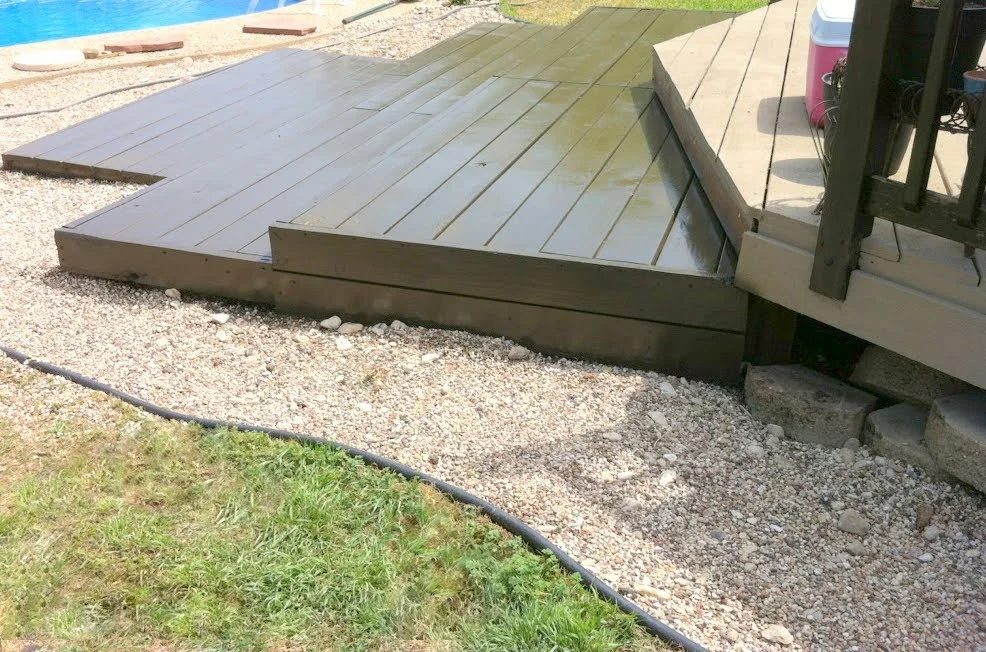
And this is the area shortly after.
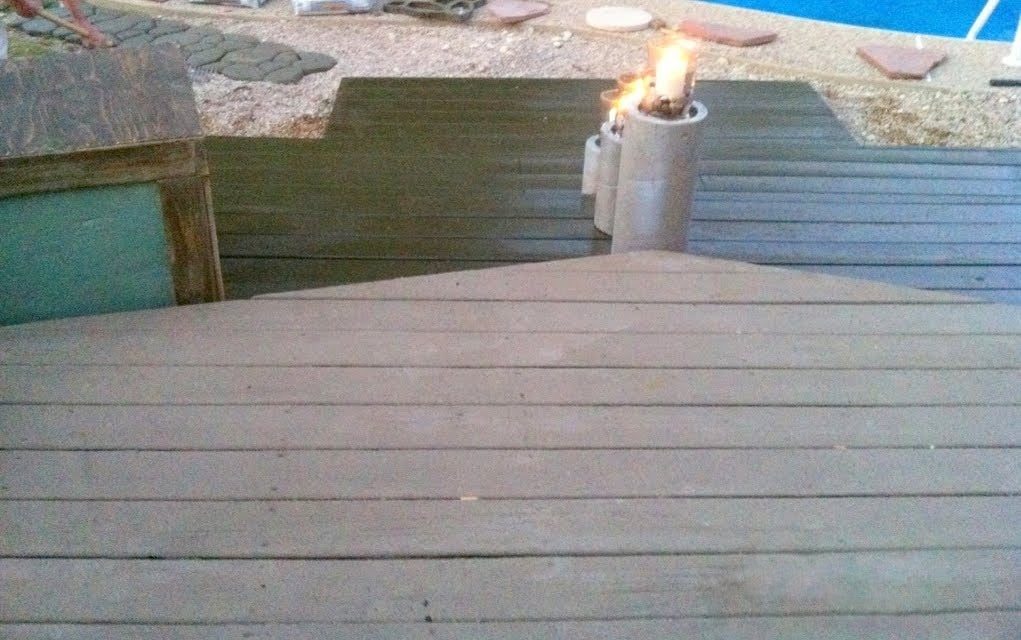
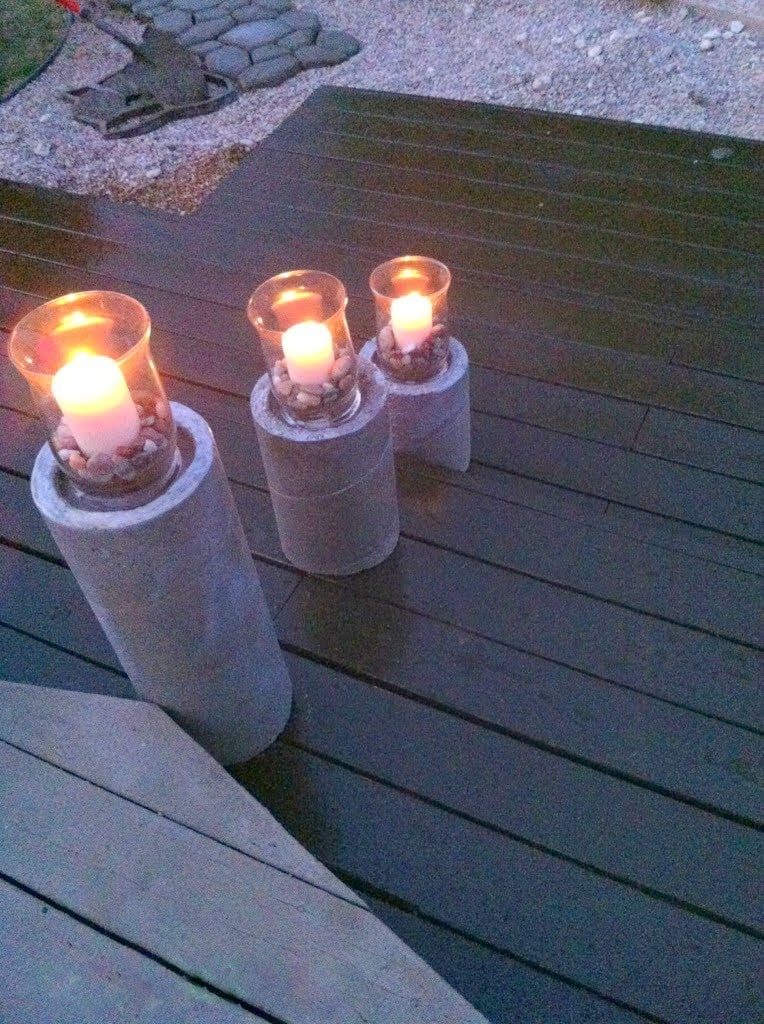
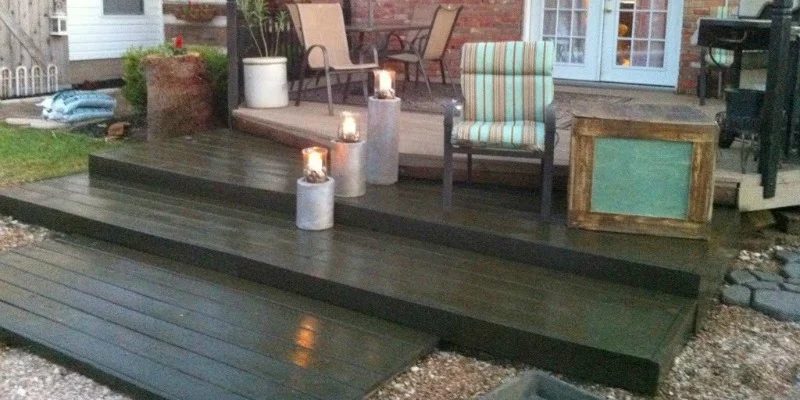
And this is the area now!
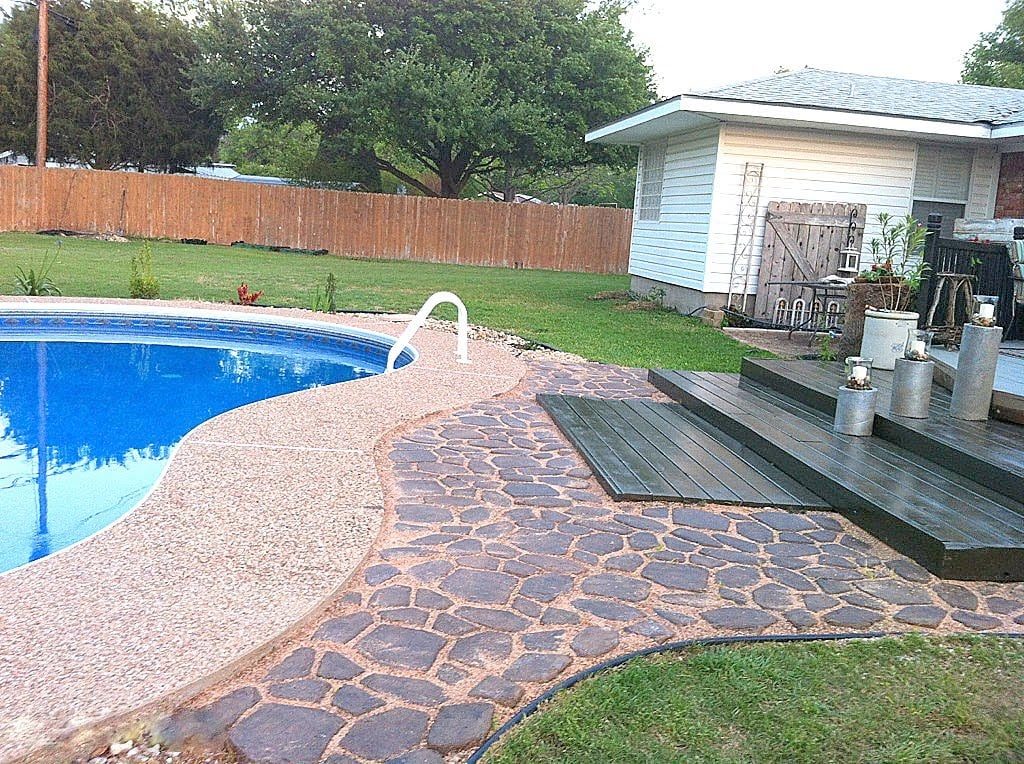
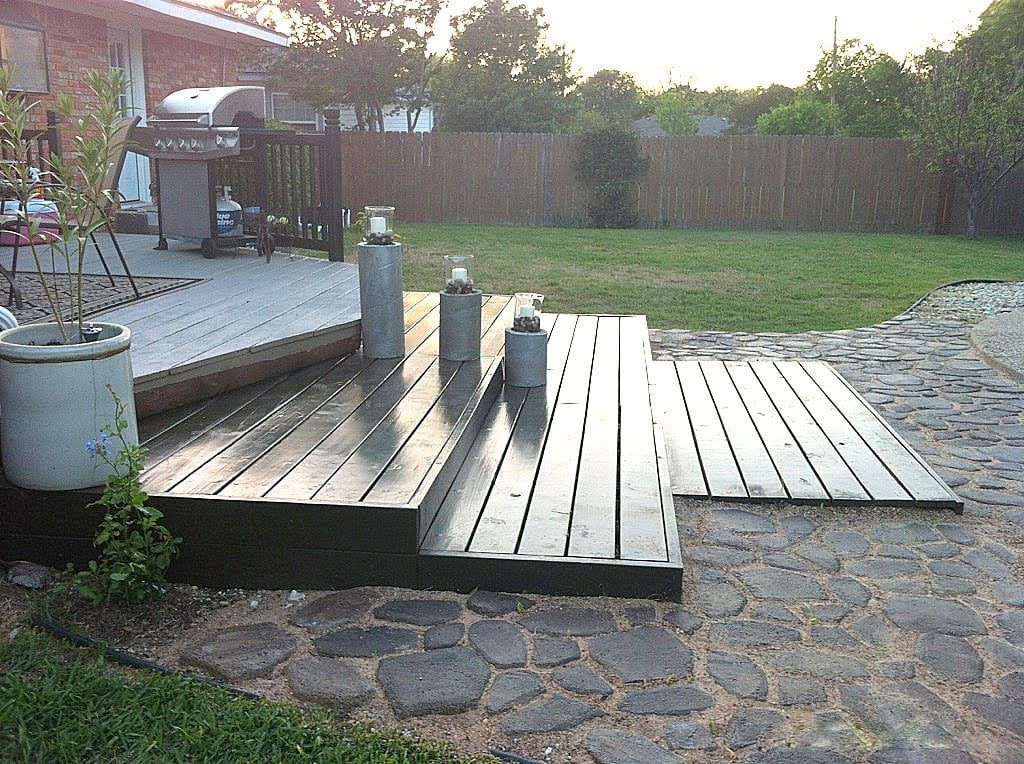
One thing we would have done differently, is lay black plastic on top of the pebbles. We have a few weeds that like to pop up.
Here’s the breakdown:
- Top tier-14ft long by 4.9ft wide
- 2nd tier-14ft long by 2.5ft wide
- 3rd tier-8ft long by 3.5ft wide
The 1×6’s and screws, poly and stain were what we bought new. Pallets, wood, metal joints, screws, stain and poly total cost-$285!
Update from Jodi, April 2015:
Since it’s been a couple of years since this has been completed, maybe I can answer some questions that have popped up. First, the pallets are not directly on the ground. They are resting on pavers and do not touch the ground. Pallets are very strong and weather resistant in many cases, which is why they are well fitted for outdoor use. Second, the top boards are treated deck boards. It’s been a couple of years now, and even though Texas weather is crazy hot and the sun has beat down on this deck with all it’s force, and storms have rained down, the deck has not budged or warped in any way. I was a little concerned it may settle, since we live in an area which is known for cracks in houses (our master bath needed to be raised because it sank 3 inches-not our project) the deck has not moved. I’m thrilled with the way it turned out. And in the beginning, if any of my fears has come to light over the next couple of years, the investment was $300. The whole plan was to have something that would last until we could afford to do better. But it’s held up beautifully and see no reason to replace it anytime soon.
—————————–
Thanks for sharing with us, Jodi! Can’t wait for summer!
Go pay Jodi a visit at Second Wind of Texas and see what else she’s learned from The Handmade Network and Google