Read the sequence from the top before cutting, painting, or moving pieces.
Builder Grade Cabinet Upgraded!Special Guest walkthrough by Nest, Nesting Nested Have you ever looked at your cabinets and thought about refinishing them, but don’t know how or where to start? That is exactly how I felt for the first few years that I lived in my house. One day I decided I was going to do it…paint and refinish my cabinets. I didn’t know how or even if they would turn out, but I knew I was going to try and am so glad I did.
I just finished my cabinet in my downstairs half bathroom that I have been working on for the past few days. It was a lot of work, but well worth it. Instructions to follow: Supplies used:
*TSP
*sandpaper
*electric sander
*beadboard
*decorative mouldings
*liquid nails
*finish nails
*primer
*Martha Stewart “Heavy Cream” paint
*Paint brushes and paint roller
* Wipe-on Poly *Valspar glaze in “Mocha”
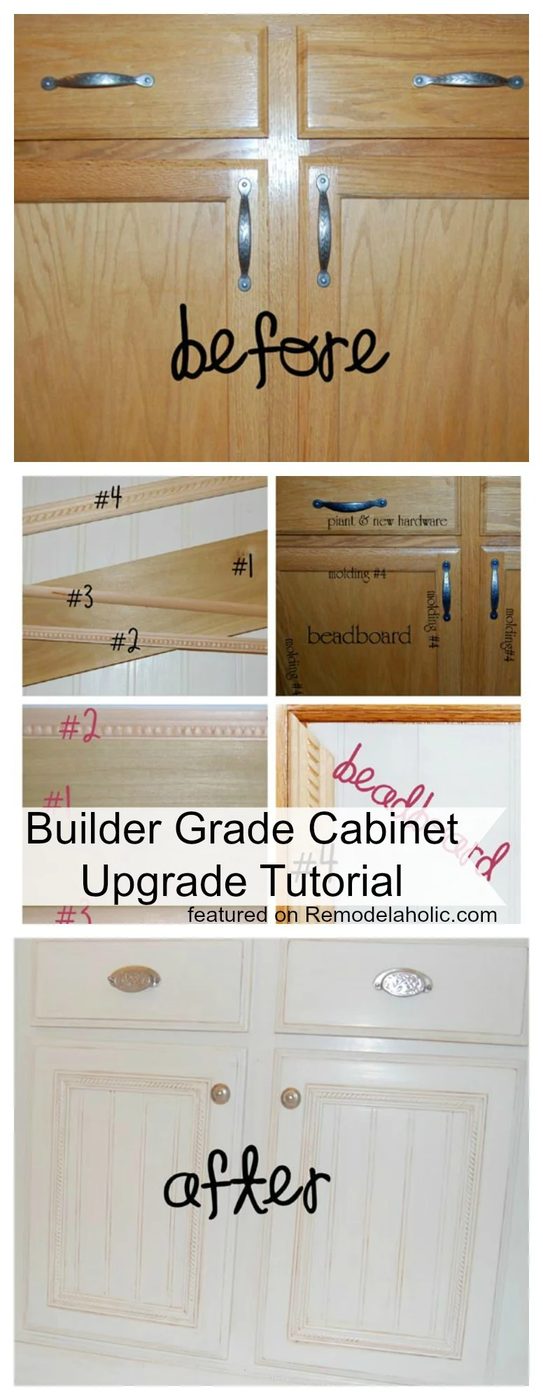
I first thought long and hard about how I would accomplish a more custom and updated looking cabinet. I came up with a plan that included beadboard, mouldings, paint, glaze and new hardware. Now to really get started… First you’ll need to prepare your cabinet’s surface by cleaning it with TSP and sanding it thoroughly. I used an electric sander to make the job easier and quicker, but you could always sand it by hand too.
Next I measured and cut two pieces of beadbord and then glued it, using liquid nails, to the recessed part of my cabinet doors. Finally, I finished it off by framing the beadboard with a decorative a moulding. Also, I used three pieces of moldings to make a baseboard, just the well fitted height, for the bottom of my cabinet.
Now it’s time to prime. I used two coats of primer and then waited until the next day to apply the paint. I used two coats of paint as well. 24 hrs. later, when the paint was completely dry, I sanded the cabinet just a little bit to smooth out any rough spots or drips.
You’re almost done now…the glaze is so straightforward to apply. All you need to do is either wipe or brush a coat of glaze on, wait a minute or two and wipe some, most, or all of it off depending on how worn you want it to look.
The directions on the back of the glaze say to wait one week after glazing to apply a clear protective coat. I used a wipe-on polyurethane.
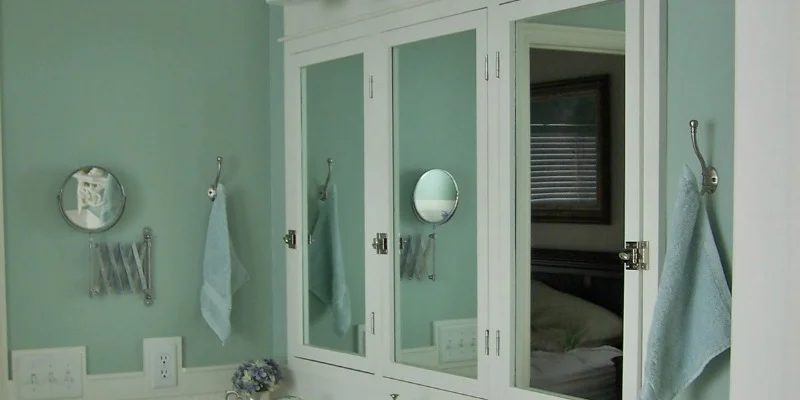
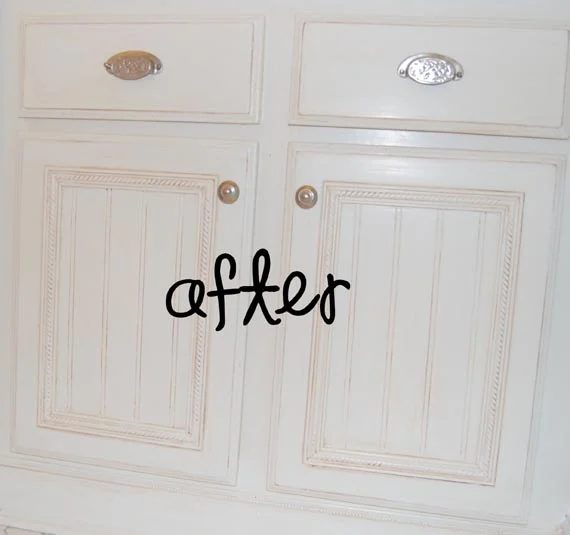
I am so happy with the end result…a striking, updated cabinet!
I got this vintage inspired hardware at Pottery Barn.Love it!!!