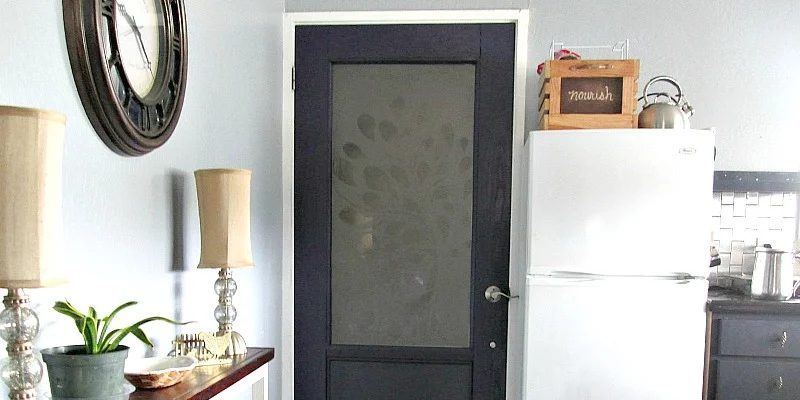
The steps below follow the order of the work for this builds project.
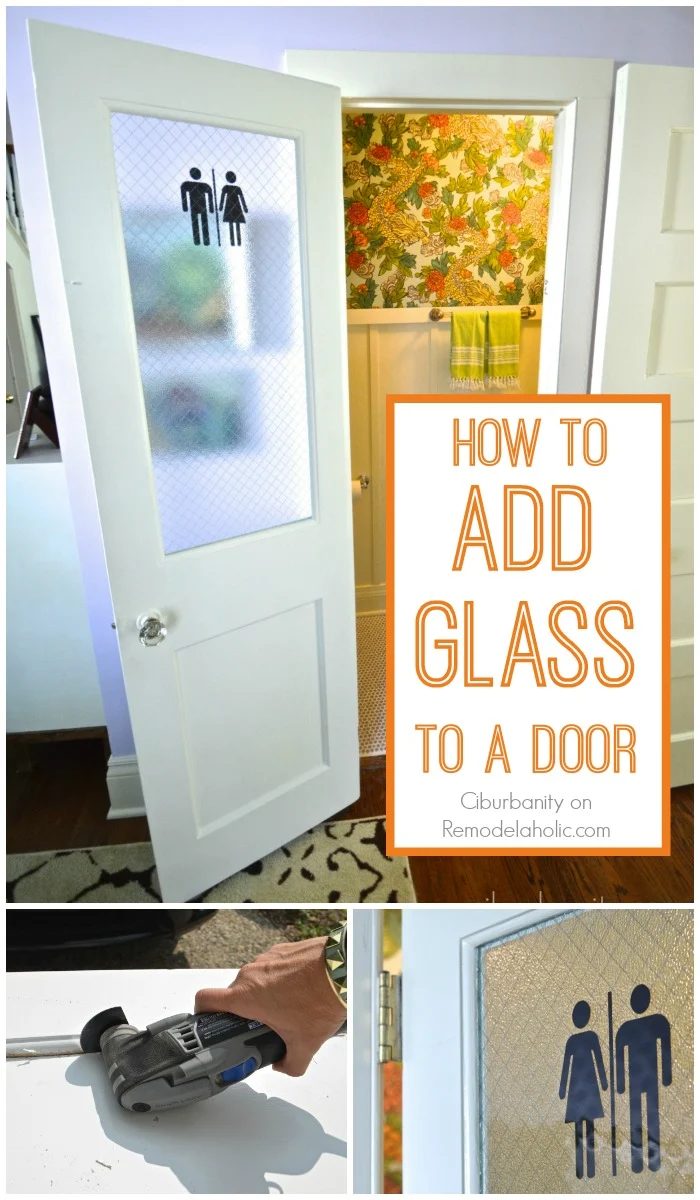
Next in Shut The Front Door Handmade week — build a frosted glass pane door, from scratch! And don’t forget to come link up your door-related projects here, plus tell us a knock-knock joke for a chance to win $25!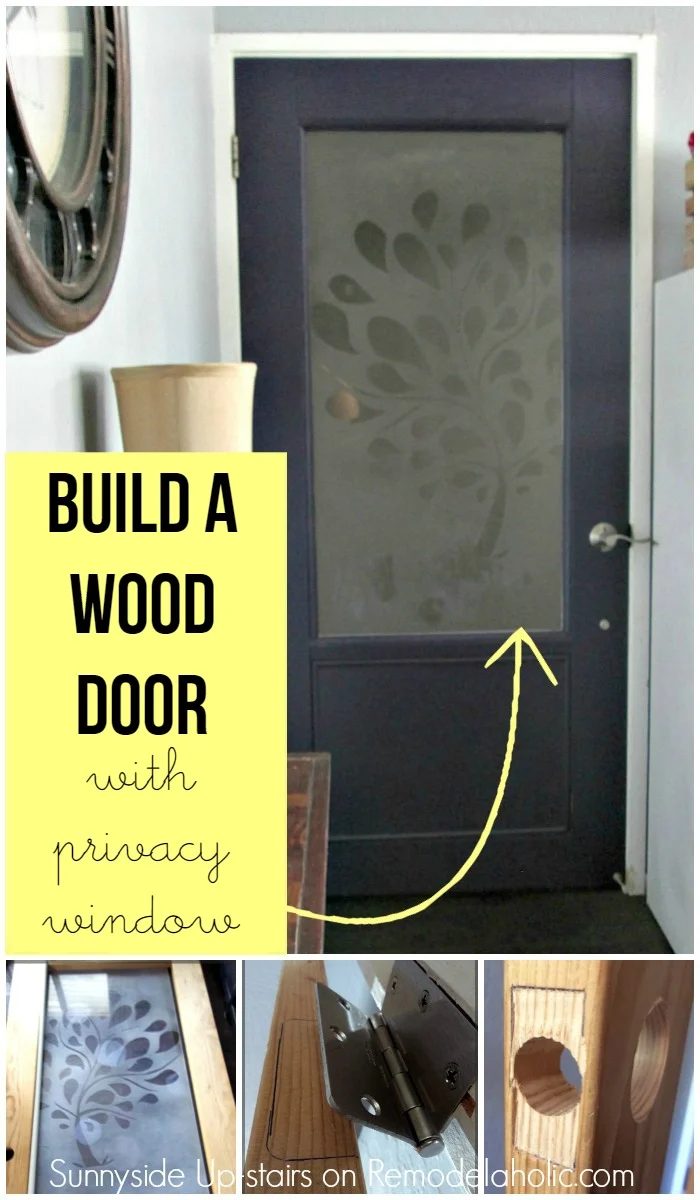 Upcycling and refacing doors is a great way to update an existing door. But, making a door from scratch is actually easier than you think! Yvonne (remember her fretwork dining table?) will show you how she built her entry door, complete with a frosted glass pane for privacy.
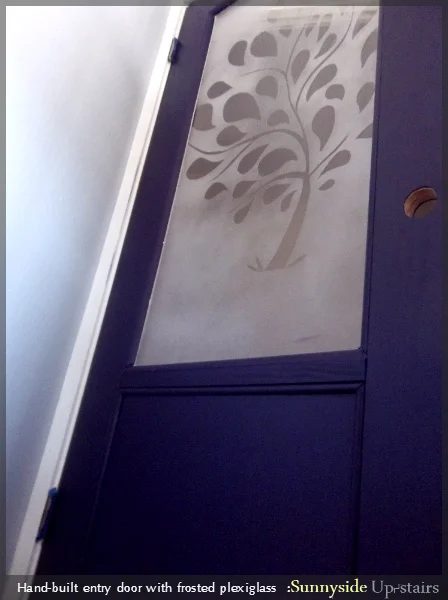
How to Build a Frosted Glass Pane Door from Scratch
by Yvonne of Sunnyside Up-Stairs
When live above a carport, so we enter through two doors to get into our “apartment.” The first is the garage entry door, and the second is our kitchen entry. Originally, our kitchen was not, let’s just say, our style.
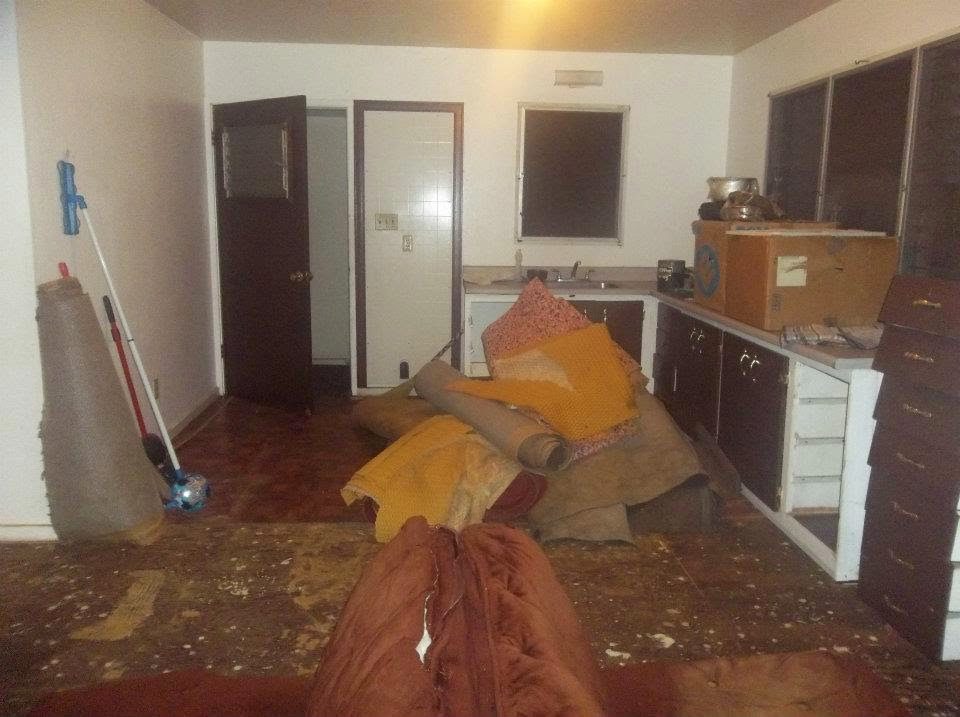 A jalousie door is not on my dream home list. Not yet. So, as soon as I had an excuse to remove the door, I made a plan to build a door that would make my heart smile everytime I enter, and I everytime I leave our 600 foot abode. What’s memorable is, the door was buildable. I only know this because I built it from cast off materials. What’s even better is that you can build a fun statement door, too.I built our door in 3 phases. Here are the steps I took to add drama and beauty to our kitchen entryway.
Phase 1 – Door frame and hardware fitting
1. Build the frame to fit the door jamb I thankfully found 2×6 lumber just lying around my mom’s garage, so I measured our door opening, and cut the 2×6 into 4 pieces using my miter saw. I checked my measurements against our old door, looking for a well fitted match in dimensions. Once everything was just right, I drilled pocket holes and used 2 1/2 inch pocket hole screws to create the door frame.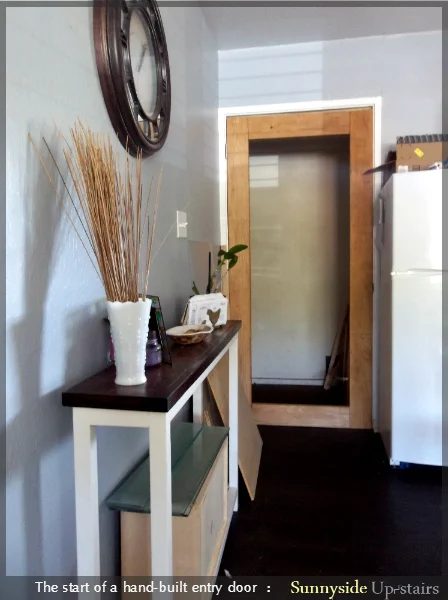 2. Ensure the door would hang on the hinge
Before moving further, I needed to ensure that the door would fit in the doorway when hung and that it would have all the necessary holes for the hardware before I finished it with paint or stain. I propped up the door with a 1×2 and marked where the hinges should be attached on the door.
2. Ensure the door would hang on the hinge
Before moving further, I needed to ensure that the door would fit in the doorway when hung and that it would have all the necessary holes for the hardware before I finished it with paint or stain. I propped up the door with a 1×2 and marked where the hinges should be attached on the door.
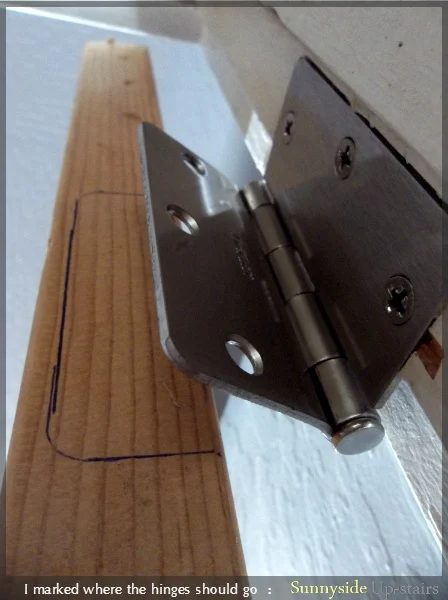
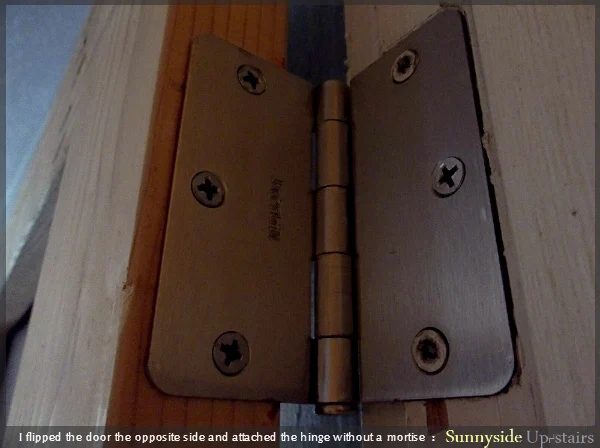
I initially chiseled mortises for the hinges, but the door would not close well with the mortises, which was unexpected. So I flipped the door around, and screwed the hinges on the side without mortises, and found that the door functioned much better this way. (And it still has been opening and closing without a hitch).
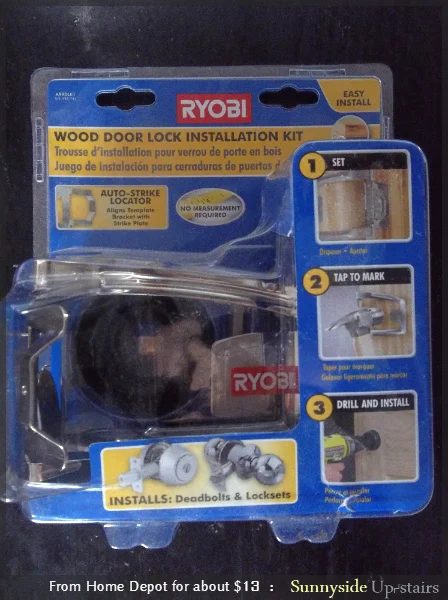
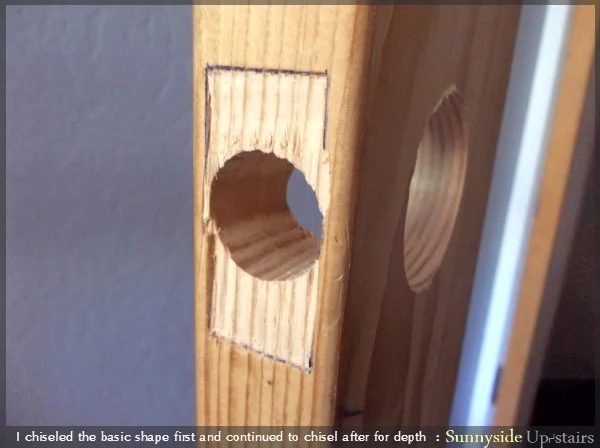
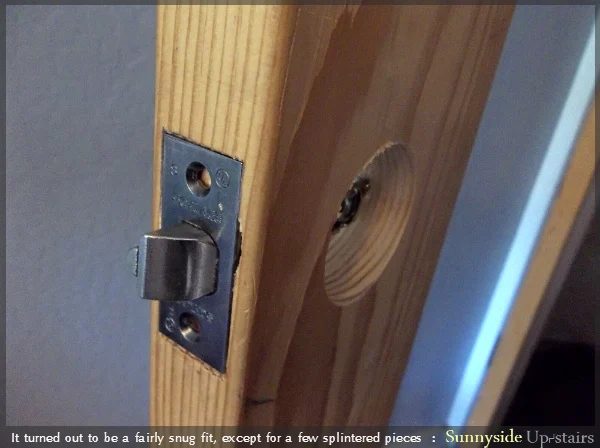
 3. Bore holes for door knob hardwareI used this handy wood door lock installation kit made by Ryobi to cut out the necessary holes for our door locks.
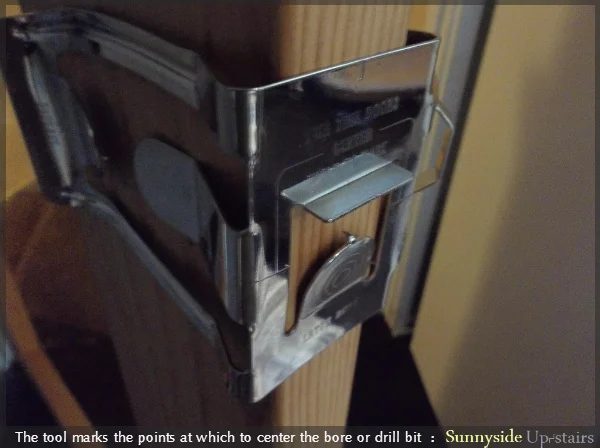
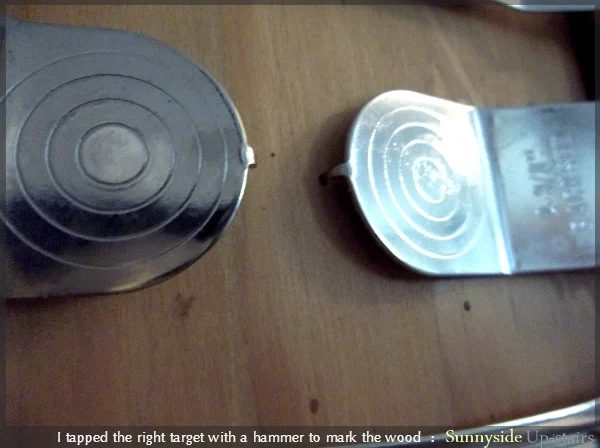
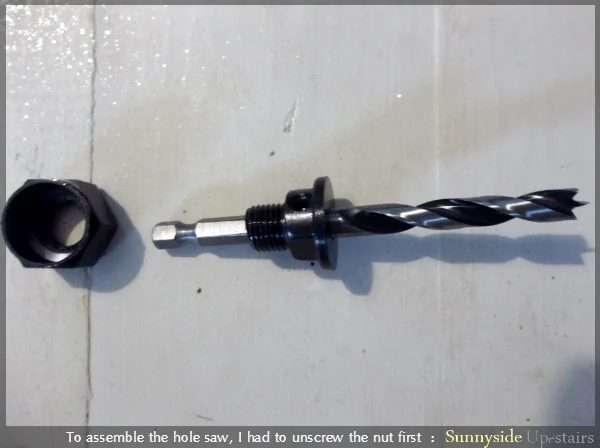
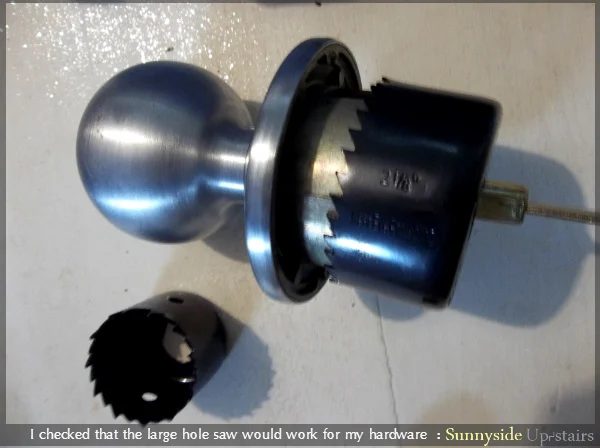
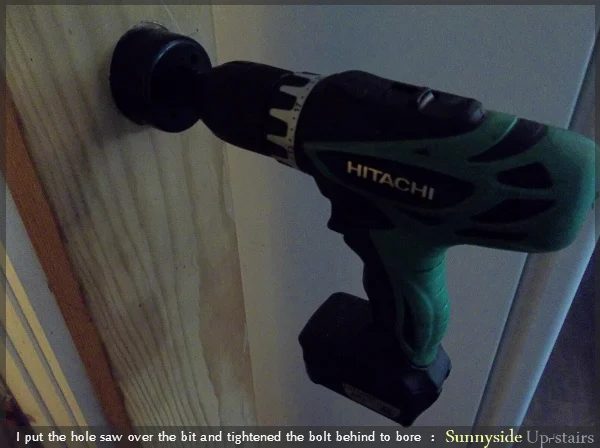
I aligned the bit, now hole saw, with the little mark the target made in the wood and did my best to drill the hole straight and evenly. Once I went in about 2 cm, the hole itself held up the drill, without my help.
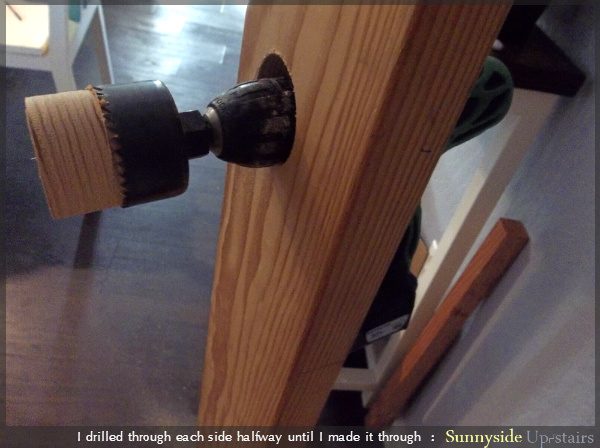 It turned out beautifully, my first door hardware hole. And that round piece of wood popped out easily. I saved it, you know, just in case I could use it for a project. (Sentimental garage hoarder alert).
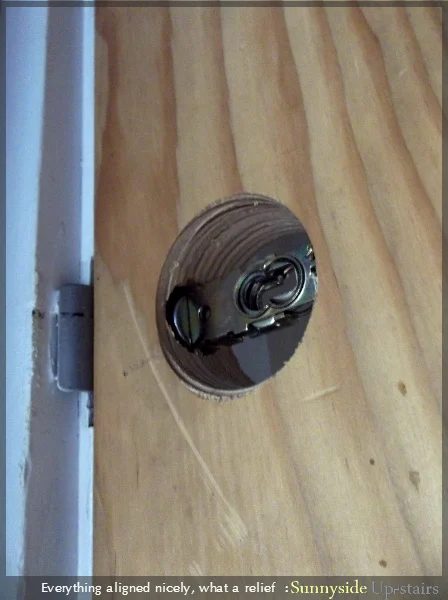
Then, I drilled the second and final hole.
It turned out beautifully, my first door hardware hole. And that round piece of wood popped out easily. I saved it, you know, just in case I could use it for a project. (Sentimental garage hoarder alert).
Then, I drilled the second and final hole.
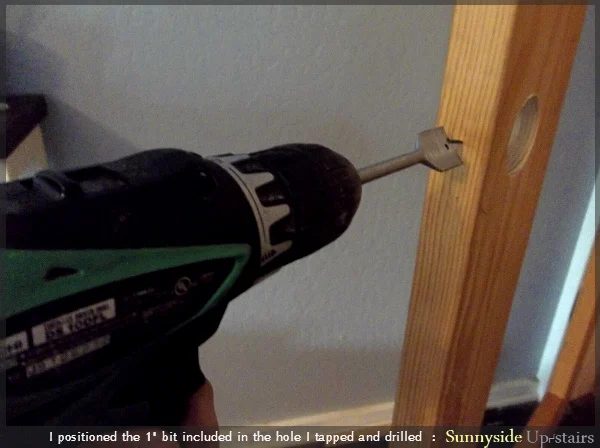
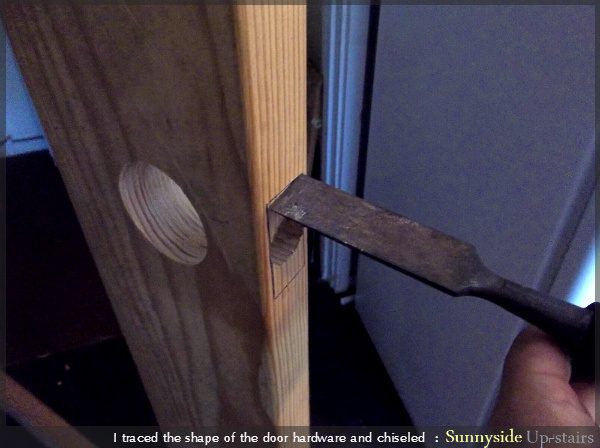
 4. Install a door stop (optional)
I used an entire work day, okay, a couple hours from a day, to pre-install and position all the hardware so that the door would be ready to go when we were finished. Including this seemingly simply door stop.
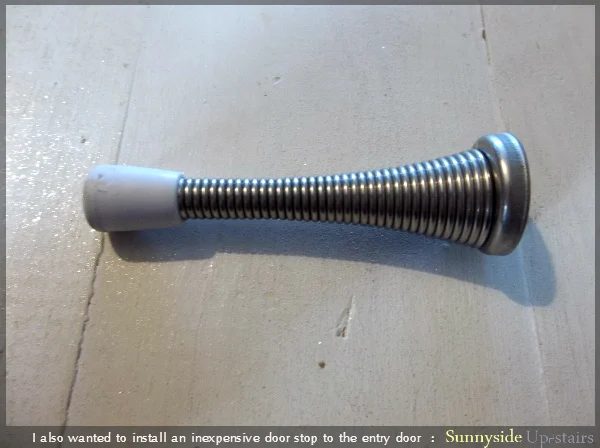
It was $2 and came with no directions. I stared at it and turned it around, probably looking like I’ve never seen a door stop in my entire life.
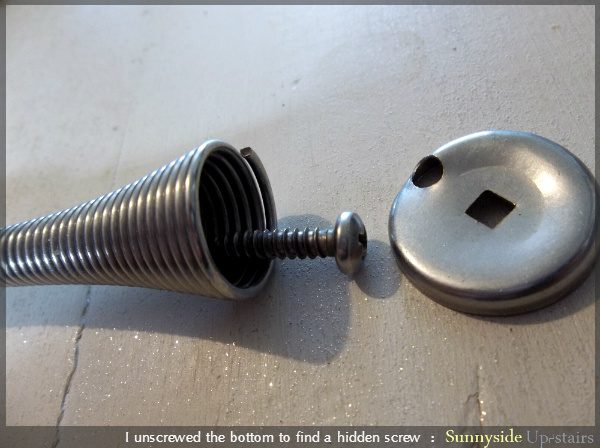
Sneaky door stop, you.
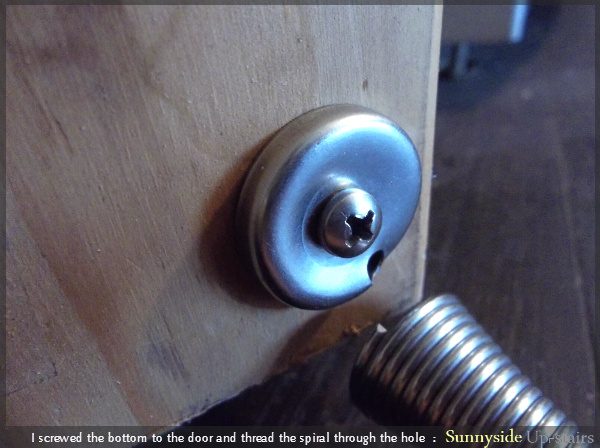
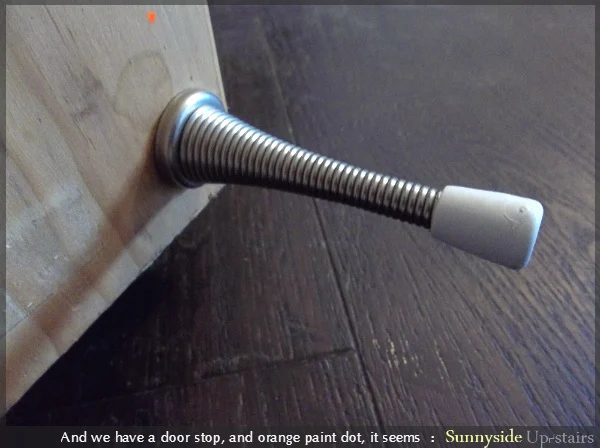 At the end of this day, I unscrewed everything, took the door off, and prepared it for sanding, for plexiglass and paint, coming next.
Phase 2 – Adding frosted plexiglass, a bottom panel, and trim.
Our stairwell has a tiny window at the very bottom of the steps. The rest of the stairwell is a fairly dark, narrow space that I’ve not touched with a paint brush yet. We wanted a glass insert in our door to allow light into our dark stairwell and to increase a feeling of openness when climbing the 12 steps to the top.
1. Frost a design on plexiglass
The plexiglass had a protective film on both sides. I drew my own version of a fantastic tree my husband and I saw online with a red sharpie. Then, using our kitchen shears (because it was handy), I cut through the film around the leaves and branches and pulled the background off.
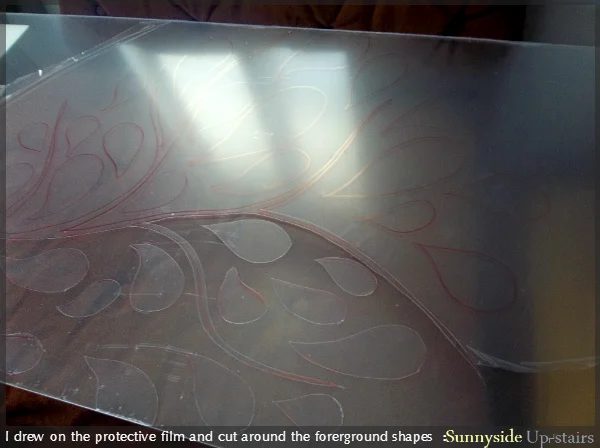
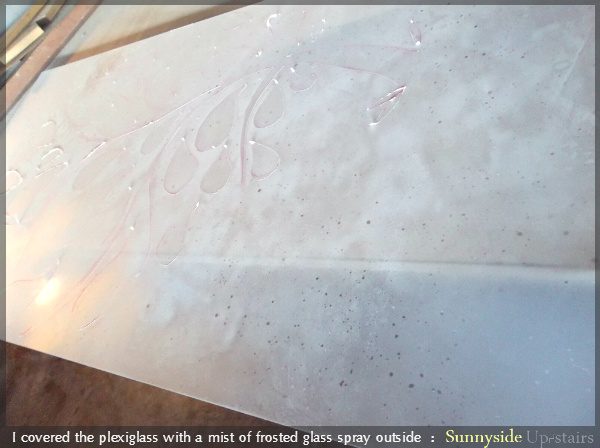
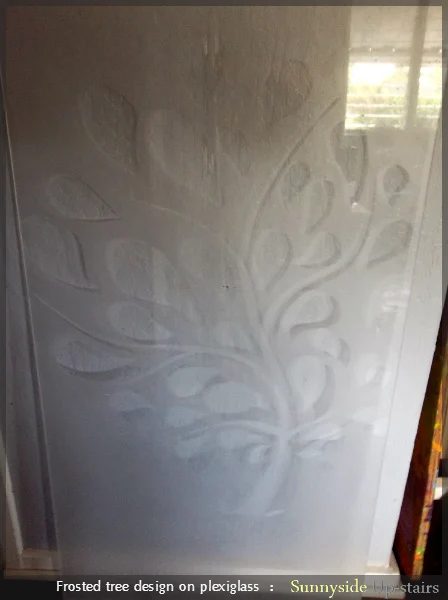
I think I may be the world’s worst spray painter. Does anyone give spray painting class? I may need it. My husband has yet to notice the spots, but if he asks, I’ll call them “happenstance texture.” You know, so he’ll think I’ve embraced it as part of the design, for a moment. After my spit-spraying of frosted glass spray, I peeled the protective film leaves and tree, I had this design:
 2. Miter the trim to use as glass stops
Since my plexiglass was considerably smaller than the door frame, I needed to place the plexiglass inside the frame and measure how large of a bottom panel I’d need and take measurements to add quarter round, or in our case, leftover Timbron as stops on which the glass could rest.
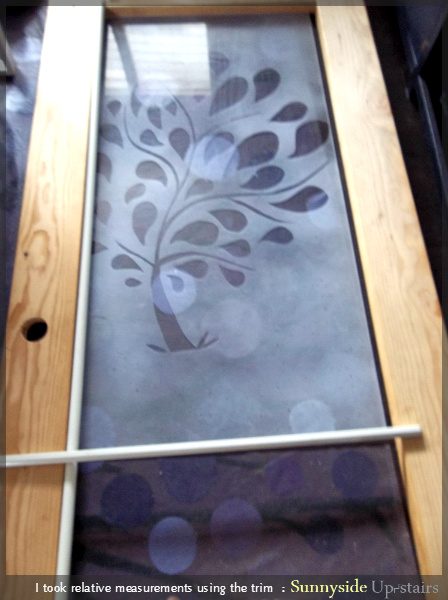
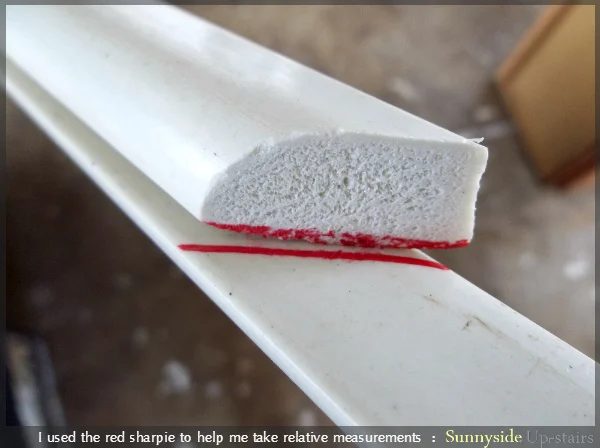
I made miter cuts using my miter saw for a neater appearance, with my red Sharpie’s help.
3. Add the bottom panel and trim
Now that I knew how much of the door would be plexiglass, I could figure out how much needed to be a lower wood panel. I added a 2×2 below the plexiglass to separate the two areas, but also allow for a place where the lower panel could be attached.
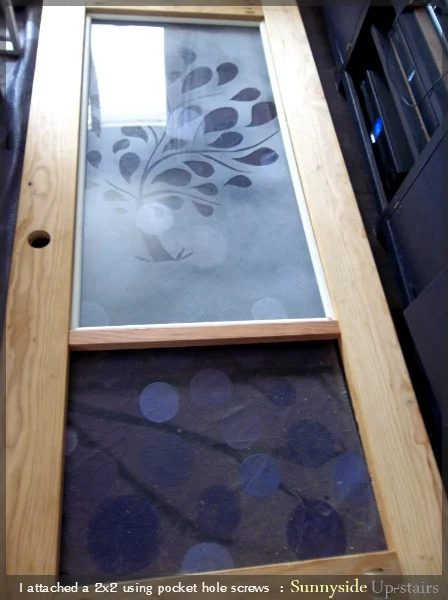
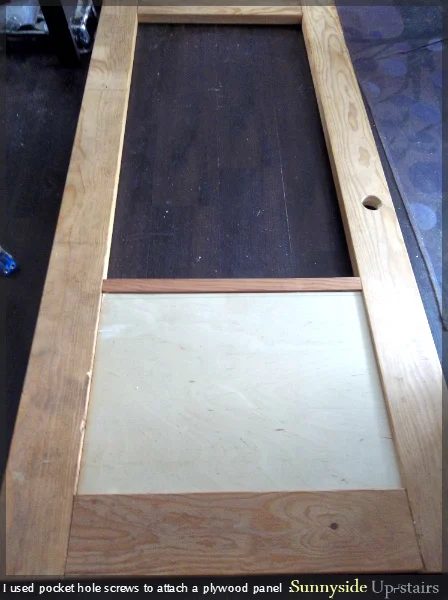
Shown above is the side of the door without the pocket holes. All pocket holes are on one side, so I could choose to paint that side, and even stain this side if I wanted.
4. Attach trim
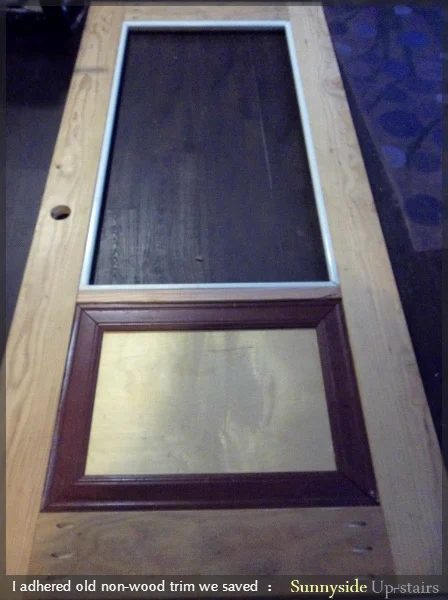
I used liquid nails construction adhesive to attach the non-wood trim I scavenged around our house. This was a low-modest-cost door, after all.
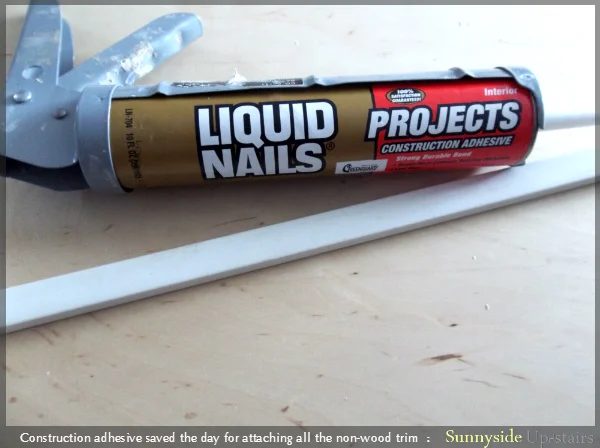
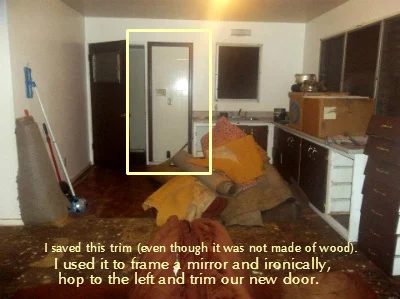
Timbron and non-wood trim are not my ideal, but they were inexpensive, and I had them on hand. I’m doing what I can to prevent waste and transform some of the things we saved from our gutting phase of the apartment.
Exhibit A: Reclaimed non-wood trim from the kitchen, before.
Phase 3 – Glazing, wood puttying, caulking, painting the door
Before the door could be complete, I glazed the plexiglass to the timbron I used as stops, added glazier points and more trim to keep the glass in place and waited 3 days, per the instructions on the glazing compound, before it was time to caulk and paint.
1. Glaze plexiglass atop timbron stops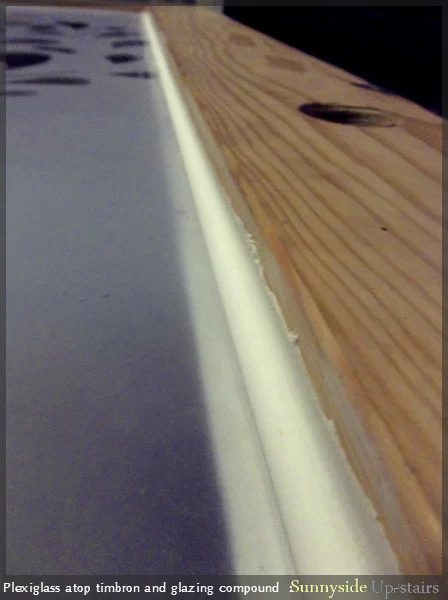
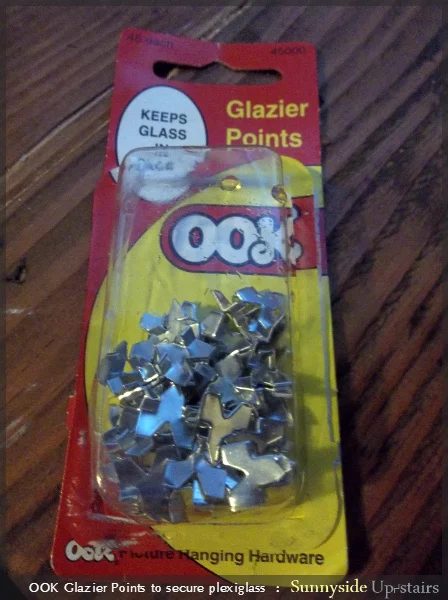
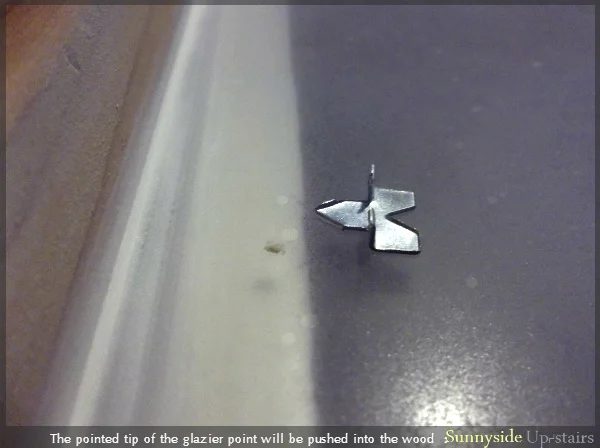
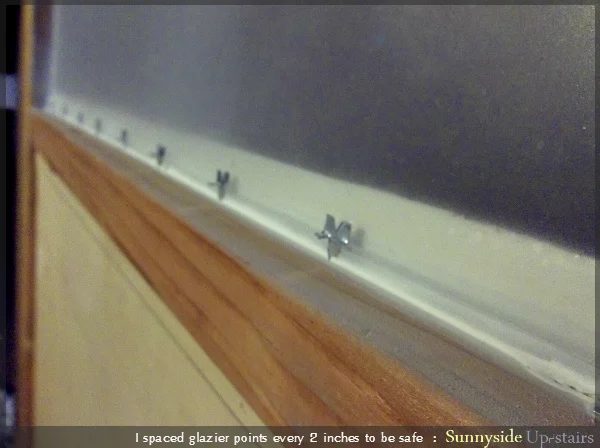
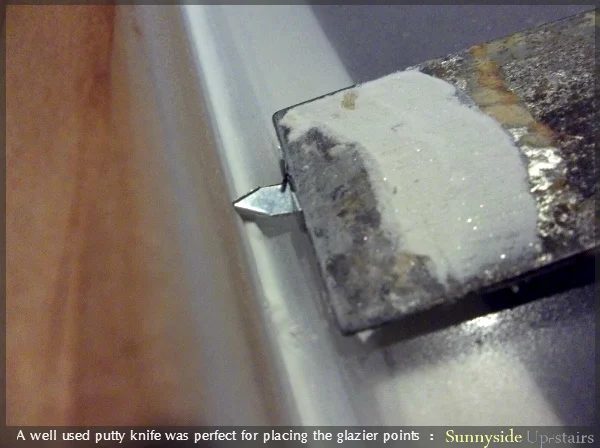
After the plexiglass was glazed in, I let the door sit in it’s natural, mix-n-match wood state for 3 days to allow for the glazing compound to set.
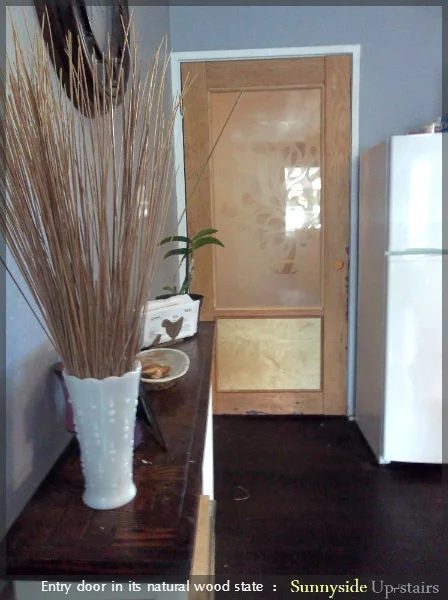 We painted our door Royal Indigo, though. And we love it just as well.
We had lots of leftover paint even after using the dark purple for our small end tables, our painted canvas floorcloth, and rear media console.
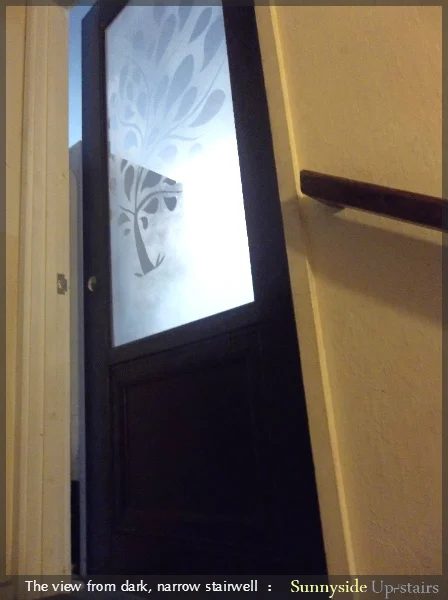
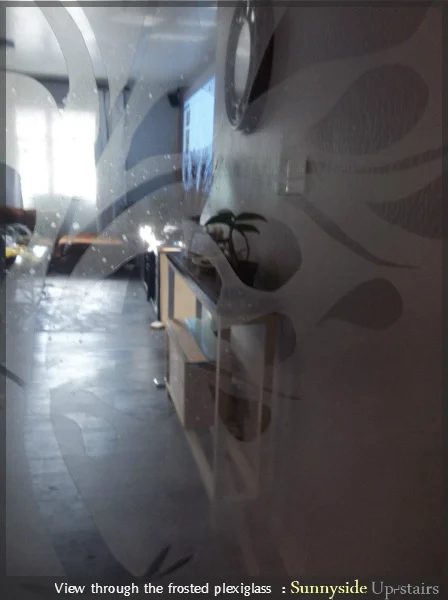

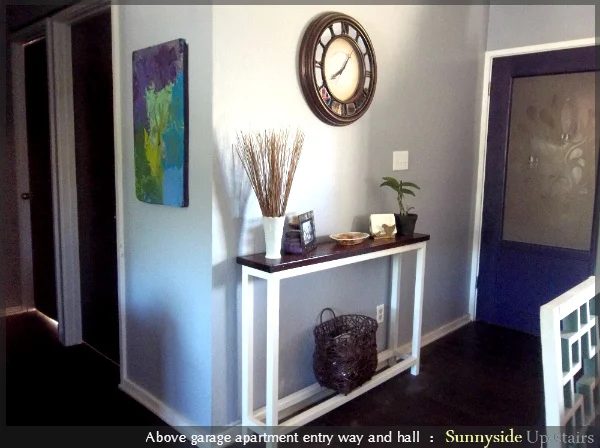
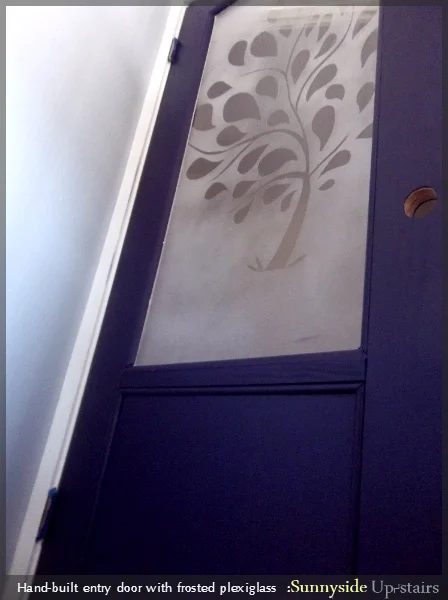 It is partly because I built it with my hands that I love our entry door. Having daydreamed the design sketched on paper and now seeing it every day is surreal. We do so appreciate it. The best part is, it was not difficult to do. And it makes our kitchen entryway reflect our style much more clearly.
————————————–
Thank you, Yvonne! A pleasure to have you join us again!
Visit Sunnyside Up-Stairs to see more of Yvonne’s great projects and tips, like this herringbone console table and how to dye a canvas drop cloth.
Coming up tomorrow in #ShutTheFrontDoorDIY:
(be sure to subscribe by RSS or email to get updates for every post of Shut The Front Door Handmade week)