The steps below follow the order of the work for this crafts project.
A while ago, I tried to do the 31 days of posts thing and failed miserably (granted, I was doing it in addition to my regular everyday posting schedule…), but at least I introduced you to us and that was worth a shot. One of the things I talked about is that my dad is a chain saw wood sculptor. Growing up he always smelled of fresh cut wood — a smell that I love to this day!
Around my parents’ house there are a lot of very cool carved signs. My dad used rotary tools to create these signs and add details to his carvings. I’ve been wanting to make a carved sign for years! And so, when I was asked by Dremel to try out a new version of their rotary tool, I said: yes, I have just the project in mind! Happily, this project was done using just one single tool… a Dremel 3000, Rotary Tool you can pick it up at your local Home Depot.
We bought got our first Dremel back in college and have been using one for 12 years! It is a great tool. We use ours all the time while remodeling. look at this post about 10 ways to use a Dremel. This project took about 2 total hours, plus drying time! Is REALLY straightforward and clearly cute (IMHO)!
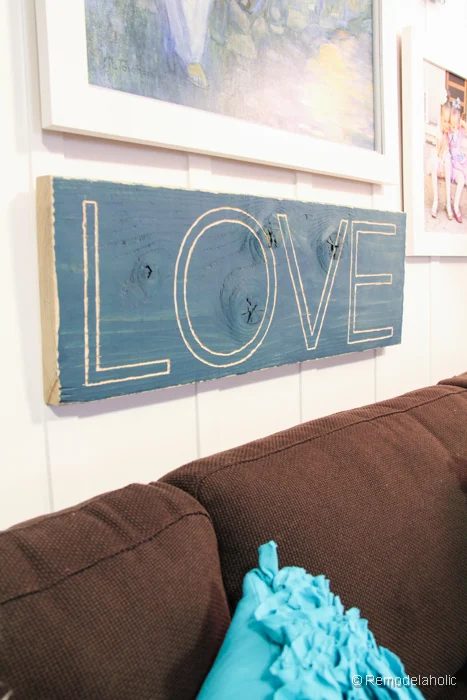
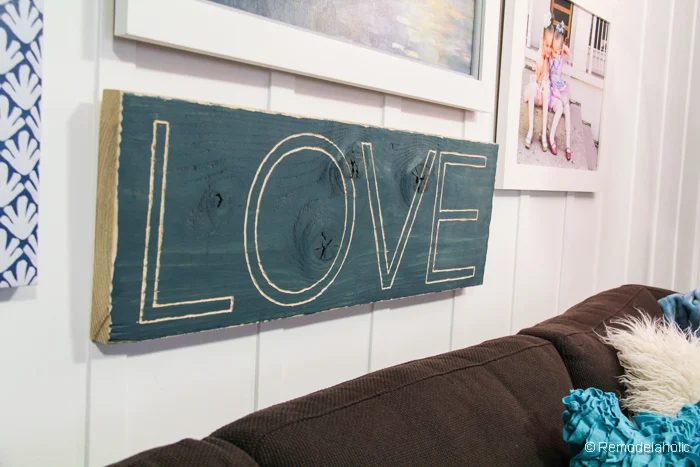
Carved LOVE sign!
Supplies:
Dremel 3000, Rotary Tool
1 piece of wood the proper size (I used a leftover piece of a pine 1 x 12 we got in the Lumber dept of Home Depot)
Paint or Stain, Paint Brush & Rag
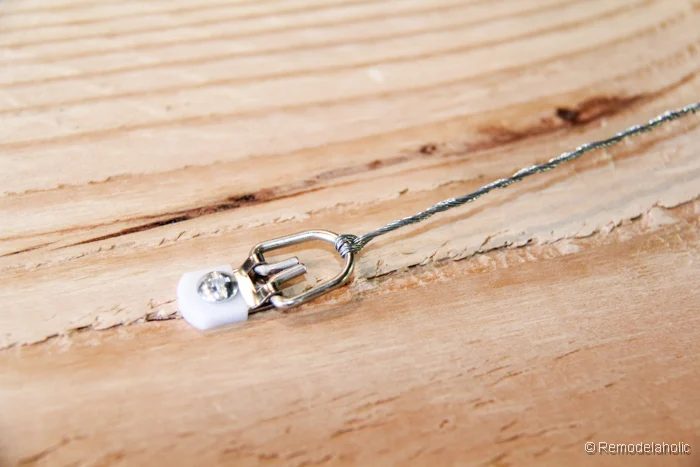
Art Hanging Hardware
1. Cut The Wood
Start by cutting your wood to length, mine is 32″ long. You can do this at your local Home Depot when you buy the wood or at home.
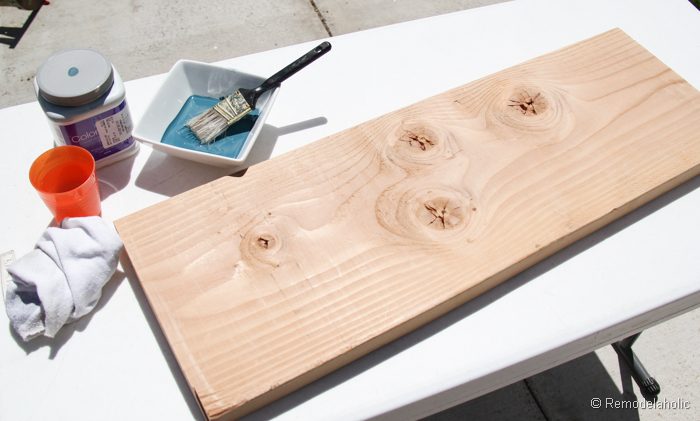
2. Color Wash, Stain or Paint Your Wood
I chose to color wash my wood, so the grain of the wood shows through the paint. This is a technique I learned years ago when crafting with my sister and I love it! You can even use it to darken an existing (unfinished) stain like I did here on our Dutch barn door.
Color Washing Wood with Paint:
A. Take any regular paint color that you like. I wanted the word to pop so, I picked a color that had a high contrast to the natural wood color. I used left over paint that I had on hand, the color is Deep Sea Dive SW 6718.
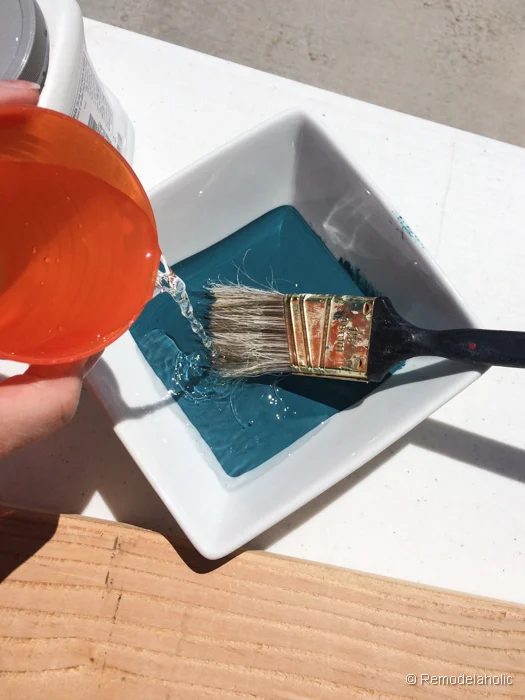
B. In a small bowl add about a half cup to 1 cup of paint(once you add the water, you can’t save it, so don’t over do it). Thin with water, I poured in a little at a time so that it is still thick but runnier. Mix with your paint brush. Do not thin it too much. The thinner the paint the lighter the color, and vice versa.
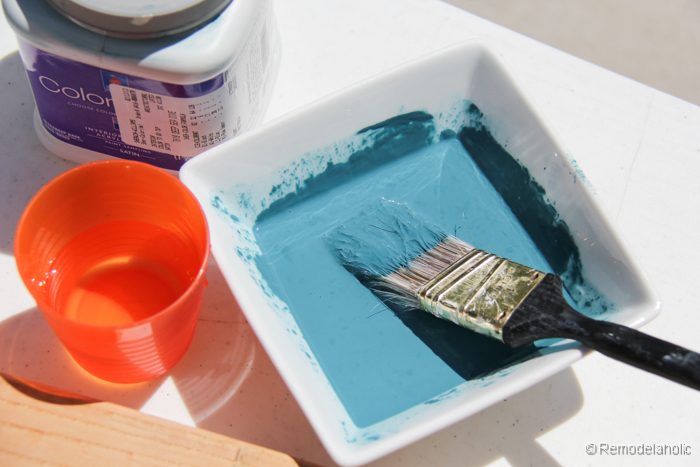
C. Quickly paint your wood. I chose to not paint the sides of my board, just the front of the board, so be careful of drips, since the paint is thinner, if that is what you want to do.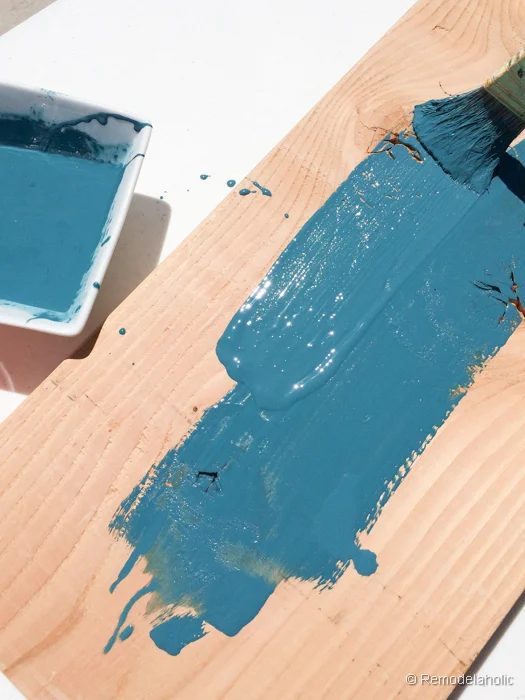
D. Do not allow the paint to dry. While it is still wet, use an old rag to wipe off the excess paint. For light colors, wipe off the paint with more pressure until it is the desired color. For a darker color, don’t thin the paint as much and wipe the excess off with less pressure. Repeat until you have the desired color and wood grain showing.
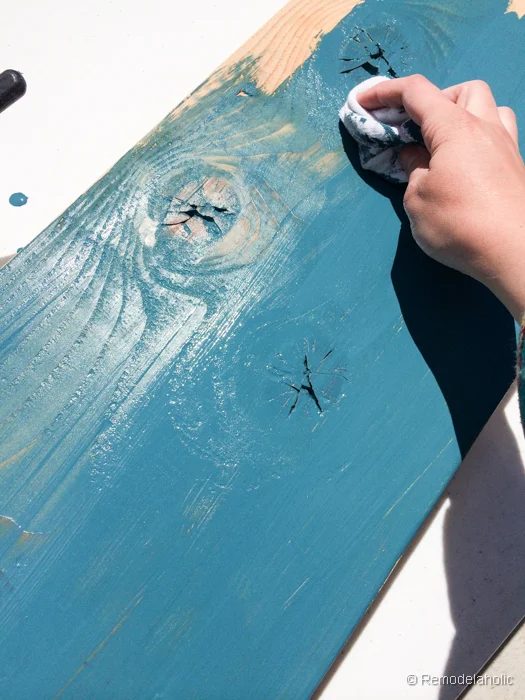
E. Let board dry completely. (Sand edges of board for a slightly faded look)
3. Transfer Text to your Board.
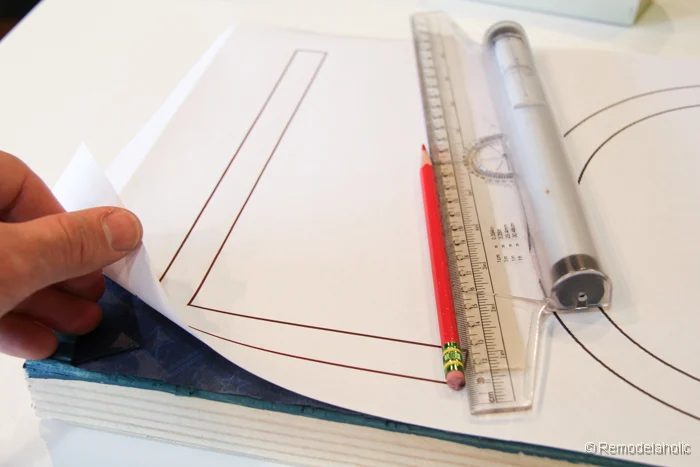
We designed the text to fit our board(shown below) and printed it like a poster, in several pieces.

Tape the pieces together.
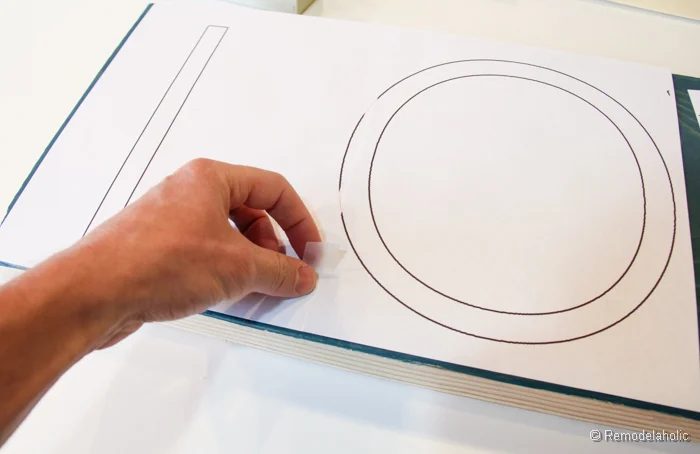
Center the design on the board. Using carbon paper and a pen or pencil, transfer the text to the board.

4. Carve!!
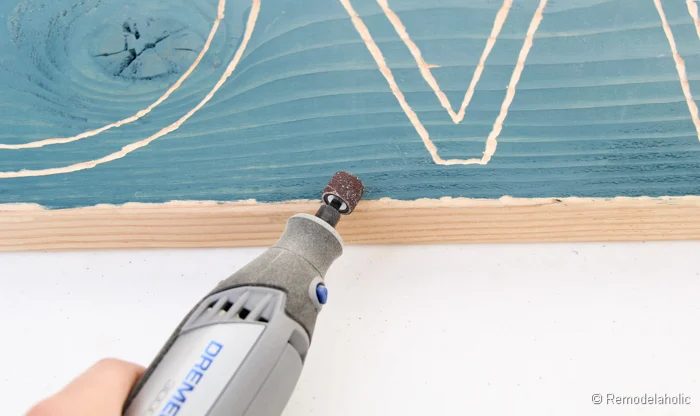
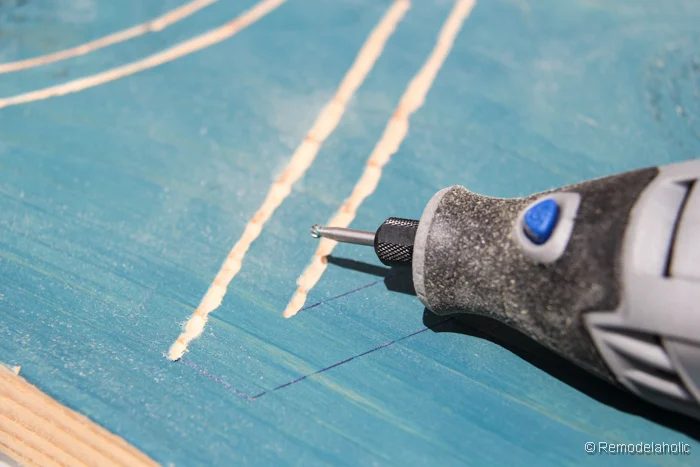
With your Dremel rotary tool, and the high speed cutter attachment, follow the lines of your text carefully. It is good to test on a piece of scrap wood first! We did on just a tiny old scrap…
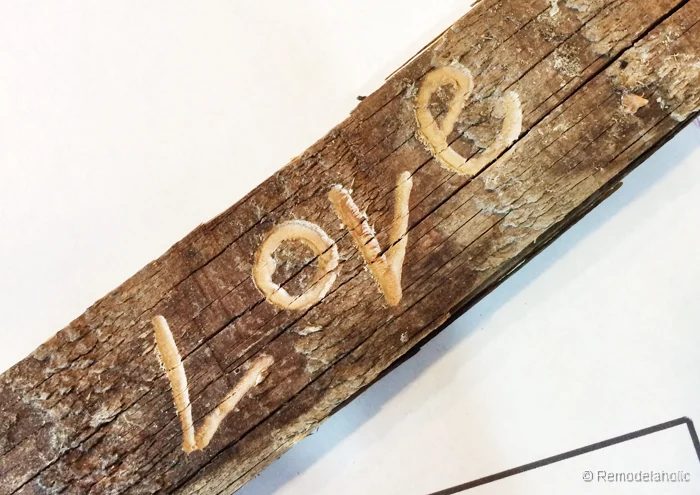
Try to keep the tool cutting at the same depth. For the overall look, we decided to do an outline of each letter, but you could totally carve out the inside of each letter, too. It is up to you!
5. Attach Hanging Hardware.
Use a picture hanging system that can hold some weight. Our sign is REALLY heavy. We used two screws in a stud on the wall to hang it. We wanted it to be absolutely secure!!
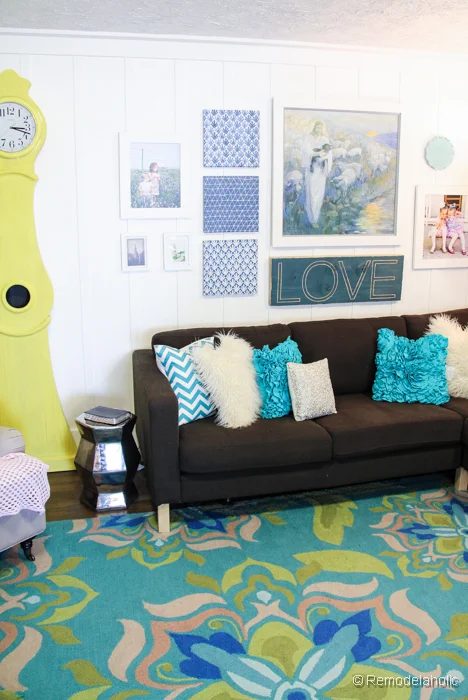
And we put it up on the wall… I “LOVE” it!
So the cool news about Dremel is that the have a new add-on accessory, Dremel EZ Lock. The EZ Lock system is really, well, straightforward. A direct push and twist is all it takes for a nice tight hold on certain bits. I was really impressed with how direct it was to switch and lock on a new cutting wheel. You no longer have to use a tiny tool to switch the wheels with the right attachments. I love it when I see tools evolve and just keep getting better and better, and since we’ve had a Dremel for years it is great to see their fun innovations! You can pick up a Dremel for $59 bucks at the Home Depot! The EZ Lock Cutting Kit will be $14.97 which is a great deal!
**Thanks to The Home Depot and Dremel for sponsoring this post.