Read the sequence from the top before cutting, painting, or moving pieces.
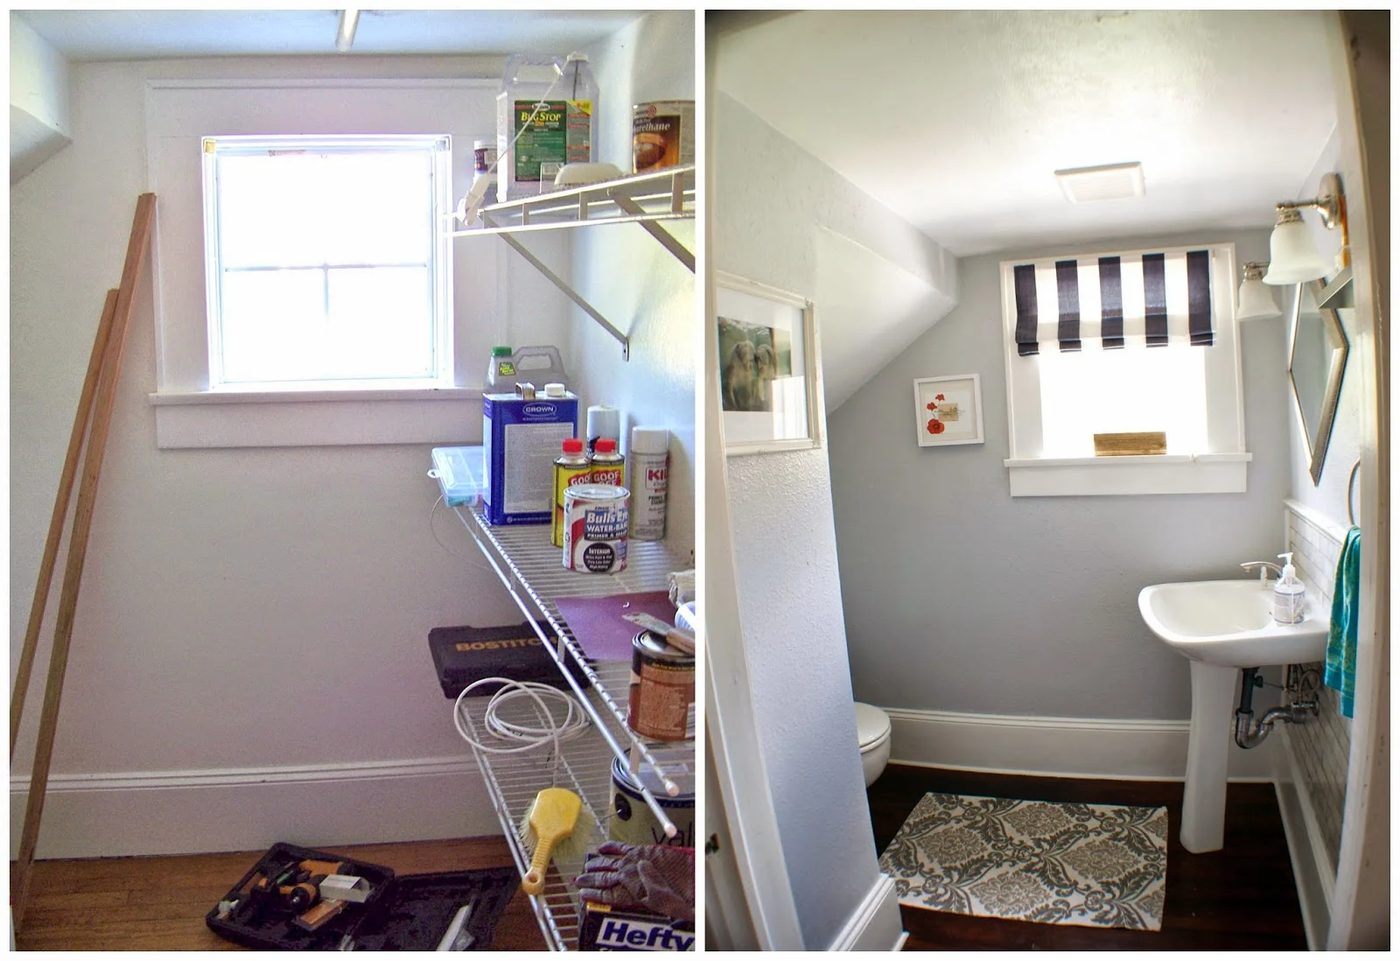
Of all the rooms in the house, the bathroom can be the hardest to redecorate and remodel because, well, you can’t just move a toilet or a tub like you can move a bed or a chair or even a wall! Today’s guest tackled the big job of turning a storage room into a bathroom — and look at the finished product of their complete bathroom remodel!
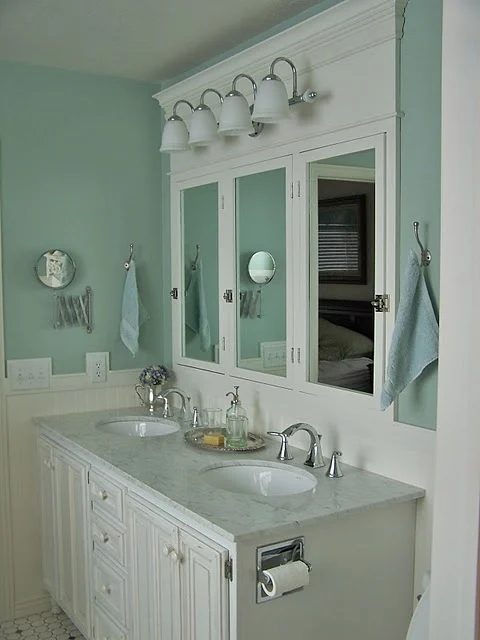
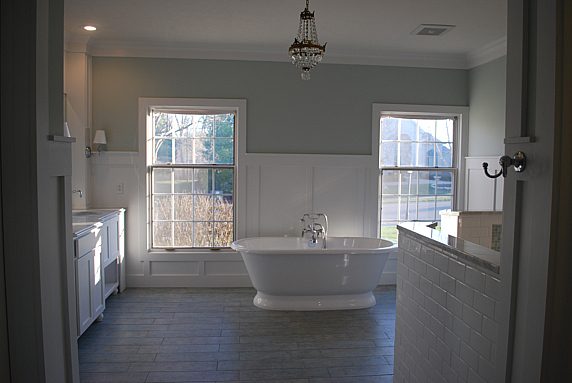
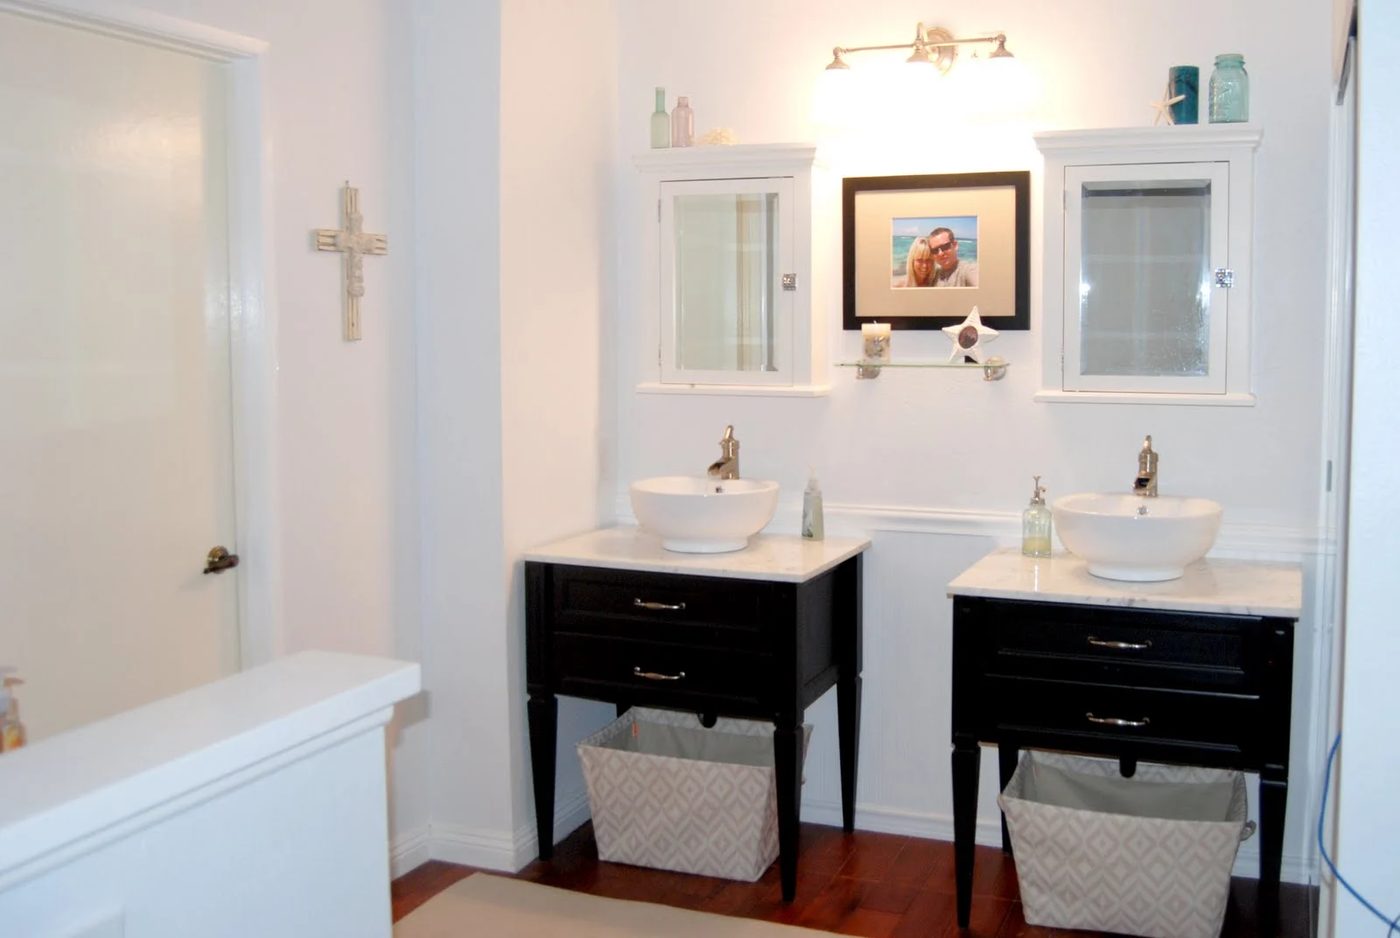
look at these other lovely bathroom makeovers, and keep scrolling to see the before and afters of CK and Nate’s bathroom!
Complete Bathroom Remodel
by CK and Nate of Seesaws and Sawhorses
Hello Bekob readers! We’re CK and Nate and we’re joining you today from Seesaws and Sawhorses. We are both sciency academics so remodeling our home and sharing our Handmade projects is our creative outlet (although we use our job skills with every project!). Nate’s clearly handy so I can throw out basically any crazy design option and he finds a way to make it happen (like our Mason Jar Chandelier and our Dining Room Table). We are currently in the process of remodeling our (almost) 90 year old house and today I’m going to share with you one of our crazy design options that made our home so much more functional.
When we bought our house it had a cramped half bath in an awkward spot right off the kitchen. It also had a good size storage room under the stairs right behind the half bath.
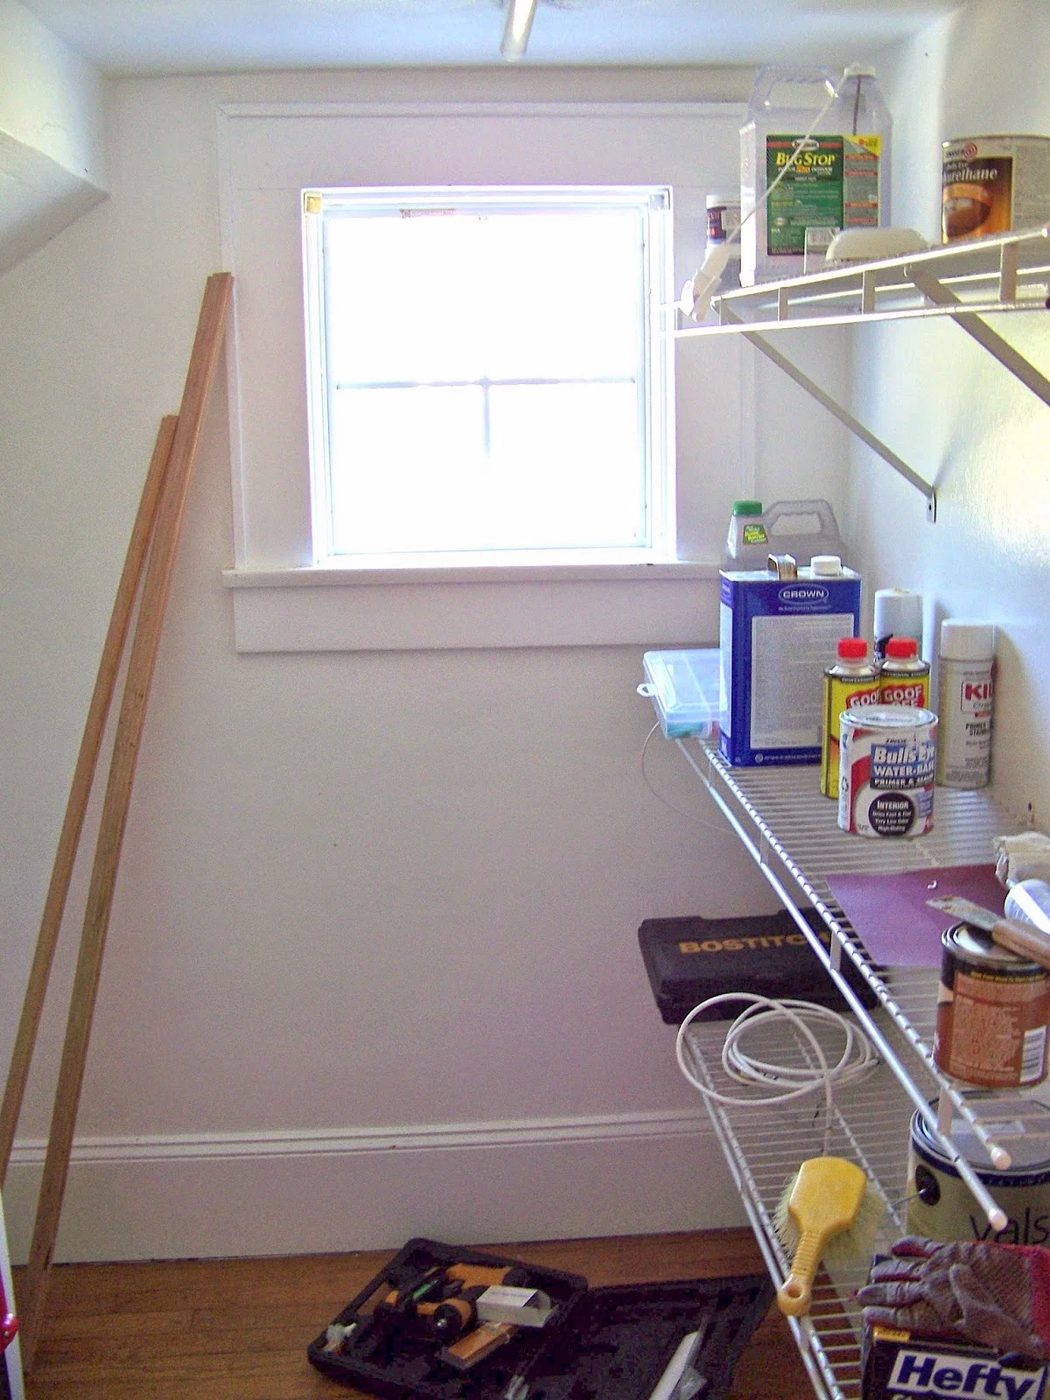
We knew that we wanted to remodel the kitchen and we wanted to convert the original bathroom into usable kitchen space but we didn’t want to lose a bathroom. Our solution? Just move the bathroom (our friends make fun of us for saying stuff like this … oh you know we’re just going to move that doorway over a few feet… no big deal). This move was actually not as big of a deal as it could have been. The wall between the storage room and the bathroom was where all the plumbing lived so we were able to use that to keep costs and work to a minimum.
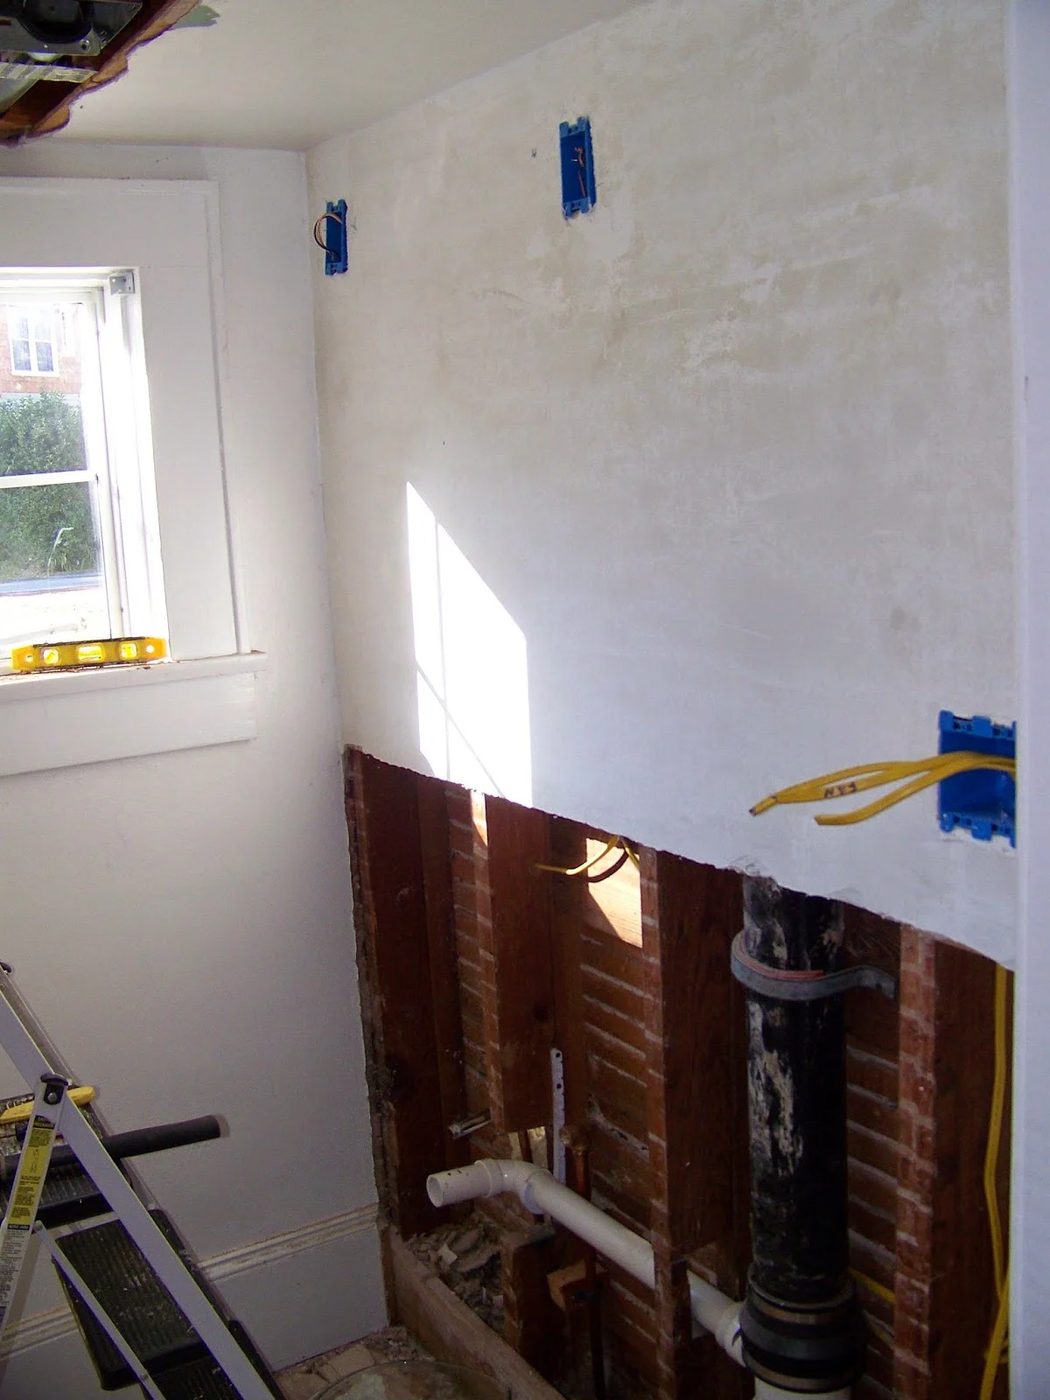
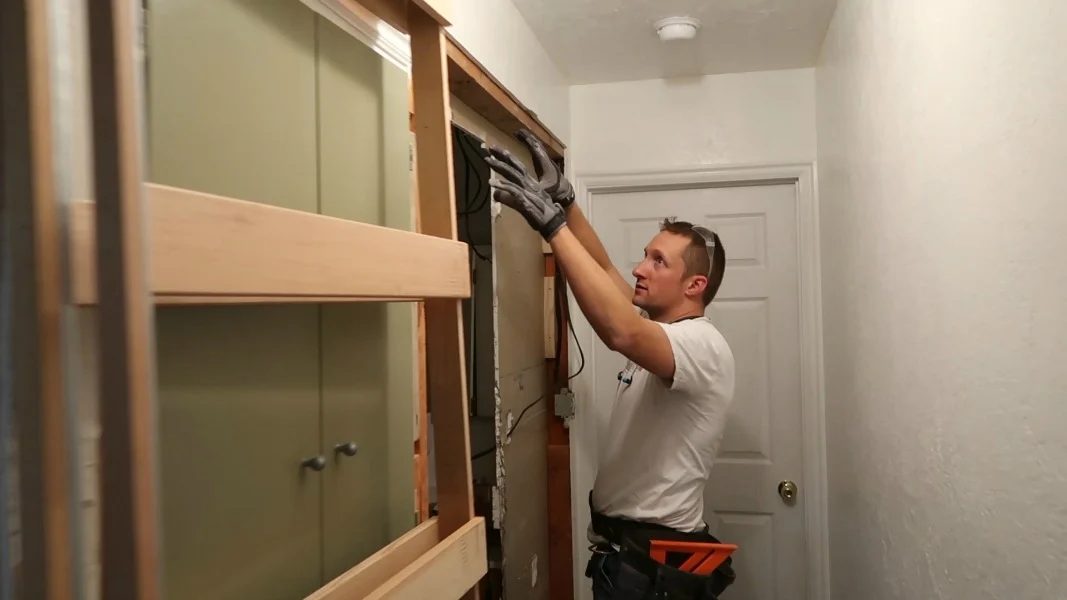
To get the plumbing into the storage room, we needed to open up the wall so we planned ahead and took out half the wall so we could replace that section with tile.
If you are interested in more information on the nitty gritty (and dirty) of replacing and installing the electrical and plumbing, you can look at more here.
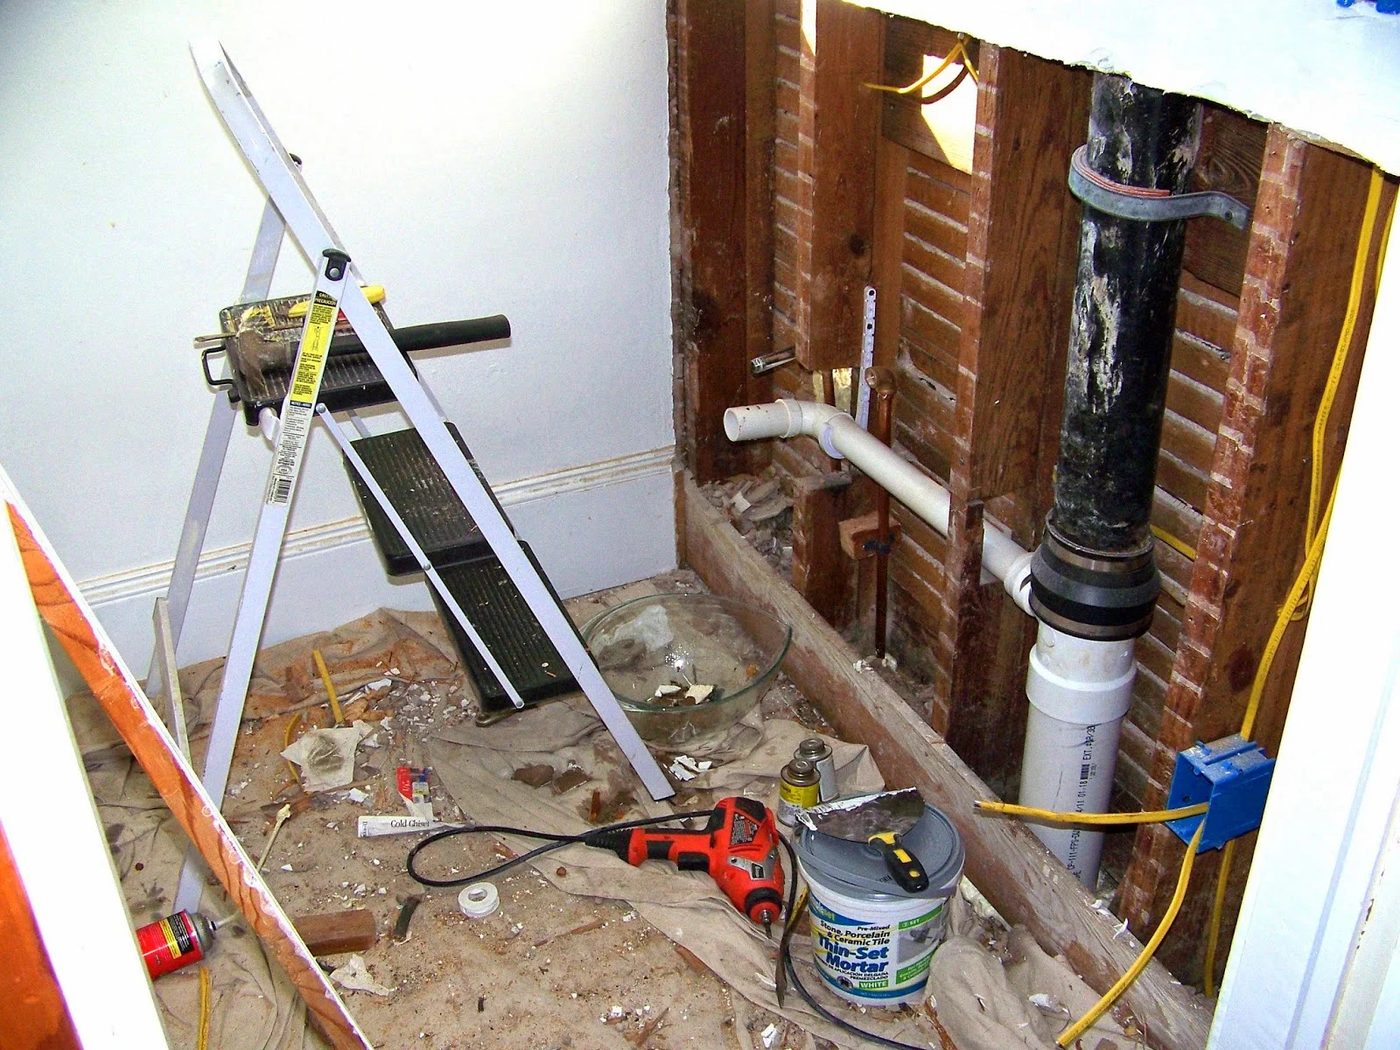
Once we had all the new supply lines, drains and electrical installed, we were able to install Hardy Board to close the wall back up. Hardy Board is better than drywall for tile since the weight of the tile can eventually pull the paper layer on the drywall off and your tile wall can fall down… which isn’t really ideal. It’s a little more pricy but totally worth the long-term sturdiness.
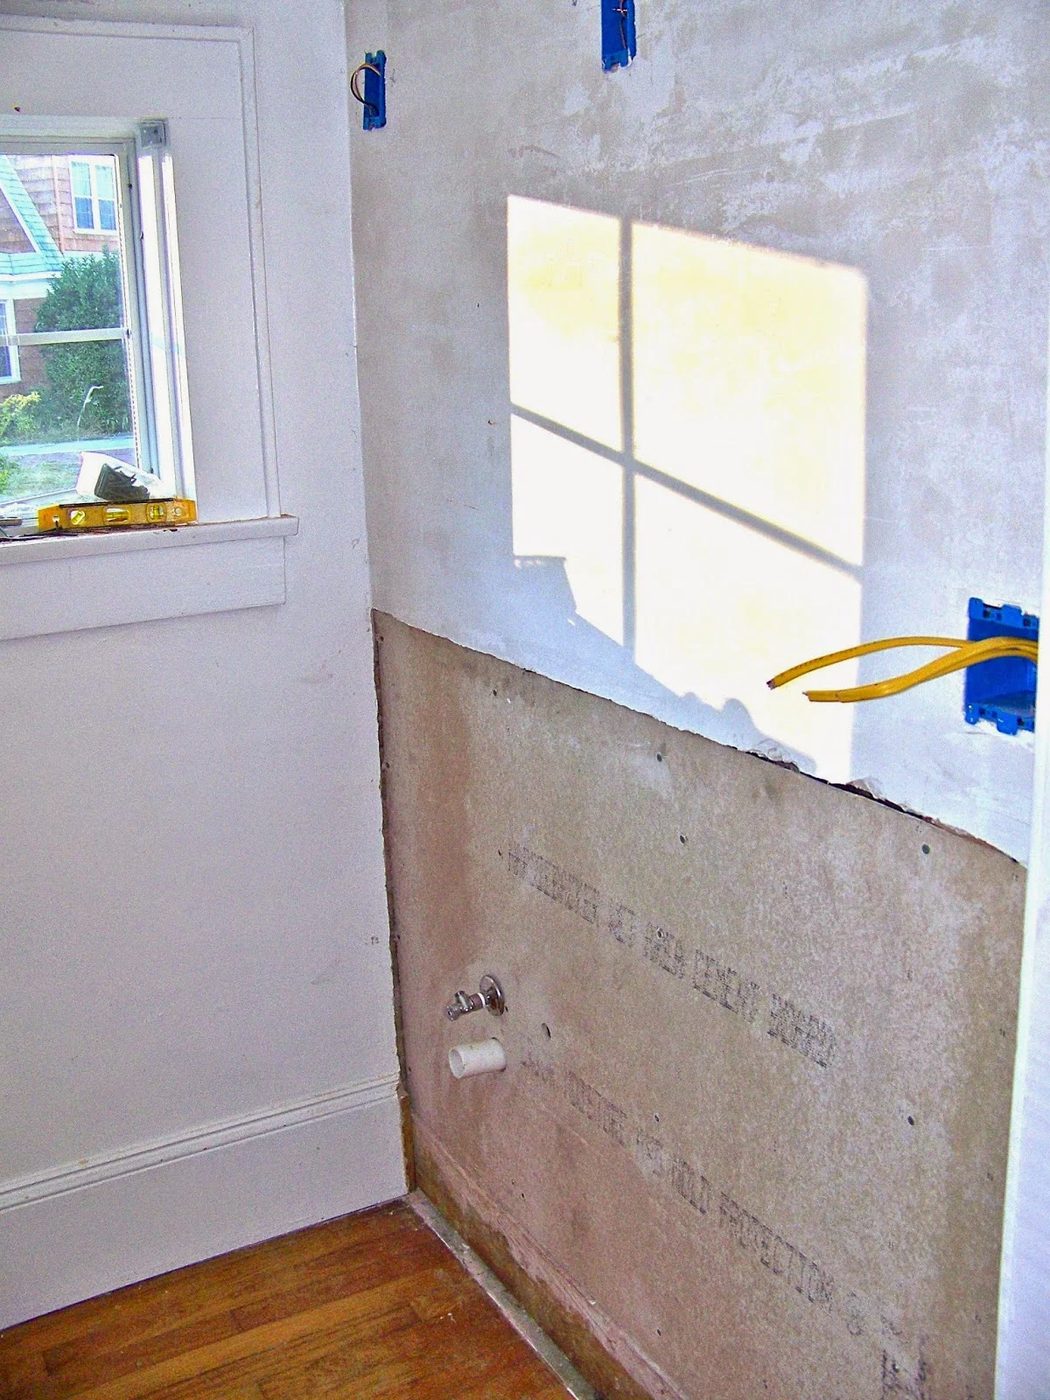
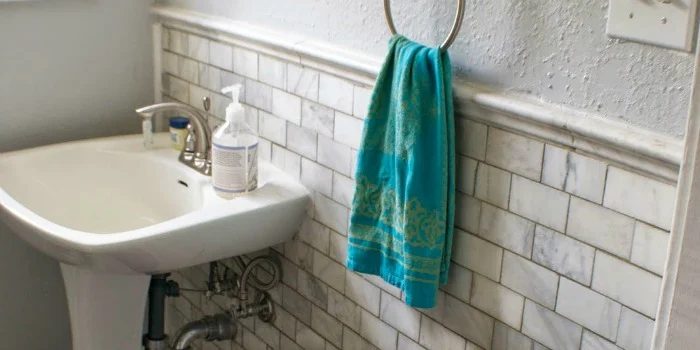
We reinstalled the baseboard and then tiled the wall with marble subway tile. This isn’t a huge wall so it didn’t take very long (a few days with dry time) and why we chose to go for a pricier tile. In terms of install, it was pretty straight forward. While Nate made all the necessary cuts outside with a tile saw, I used a trowel to spread thin-set and lay the tile.
The subway tile came in sheets so I didn’t even need a lot of spacers (and kept me from pulling out my hair trying to keep everything straight). The only tricky parts were around the drain and supply lines for the sink but after some careful measuring and cutting, we were able to get a pretty tight fit.
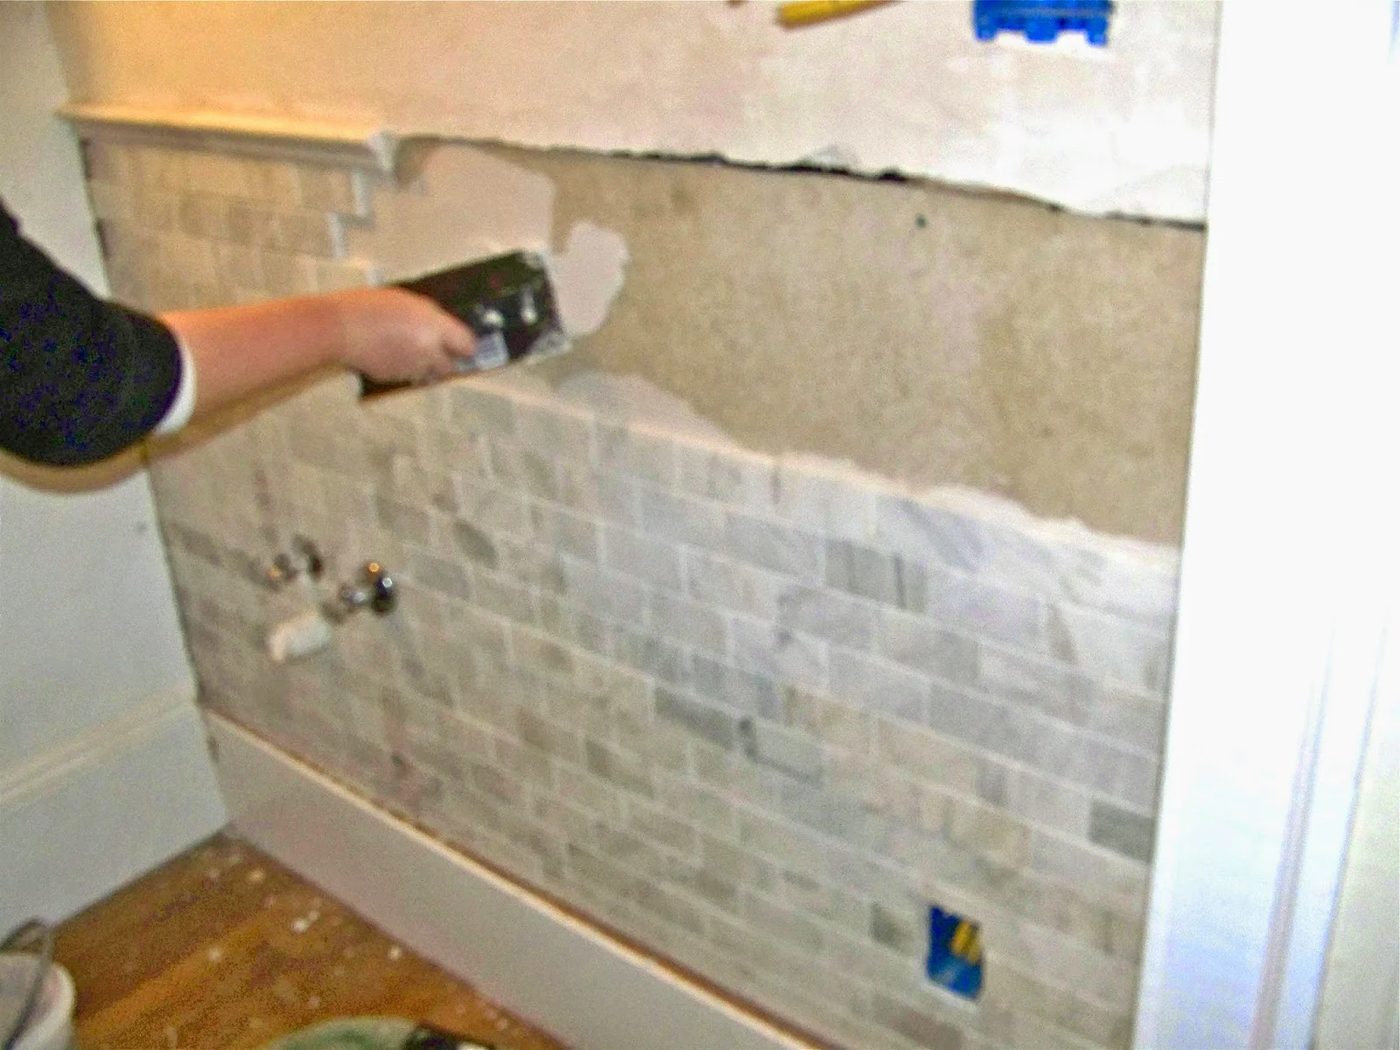
After each row that I installed, I used a float to press on the tile to make sure that all the tile was securely against the wall. We used marble chair rail at the top of the subway tile to finish off the half wall.
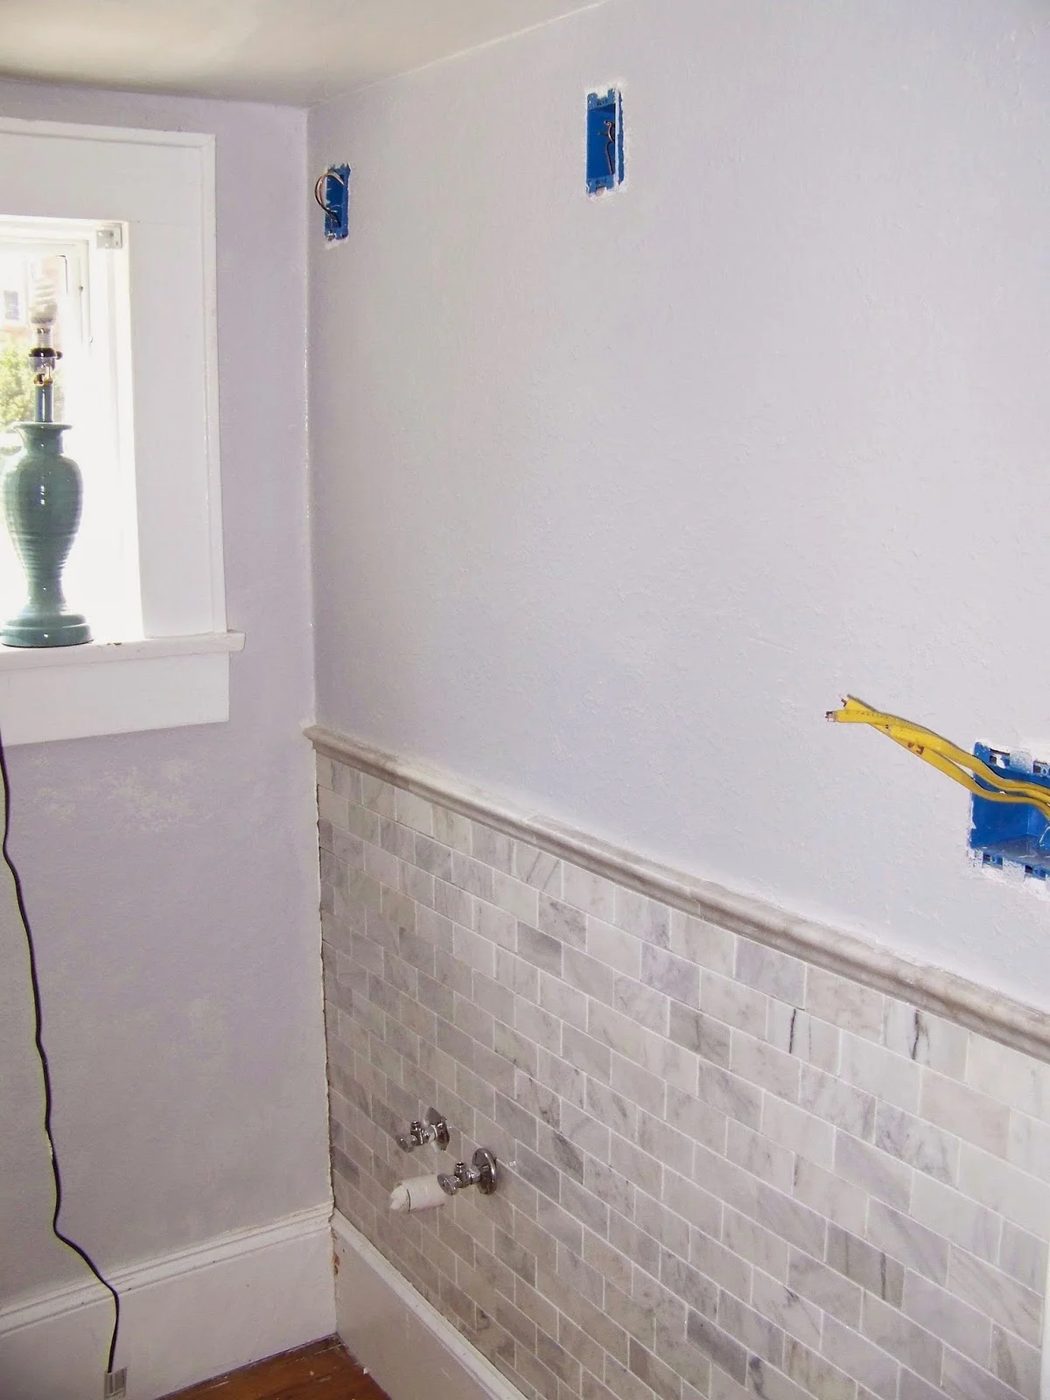
After all the tile was installed, we let everything dry for a day and then it was time for grout. We decided to go with a grey grout and when you are using a darker grout on a lighter porous tile, it’s clearly important that you seal the tile before you grout. There are a lot of great sealants out there and most are as straightforward as wiping it on and letting it dry.
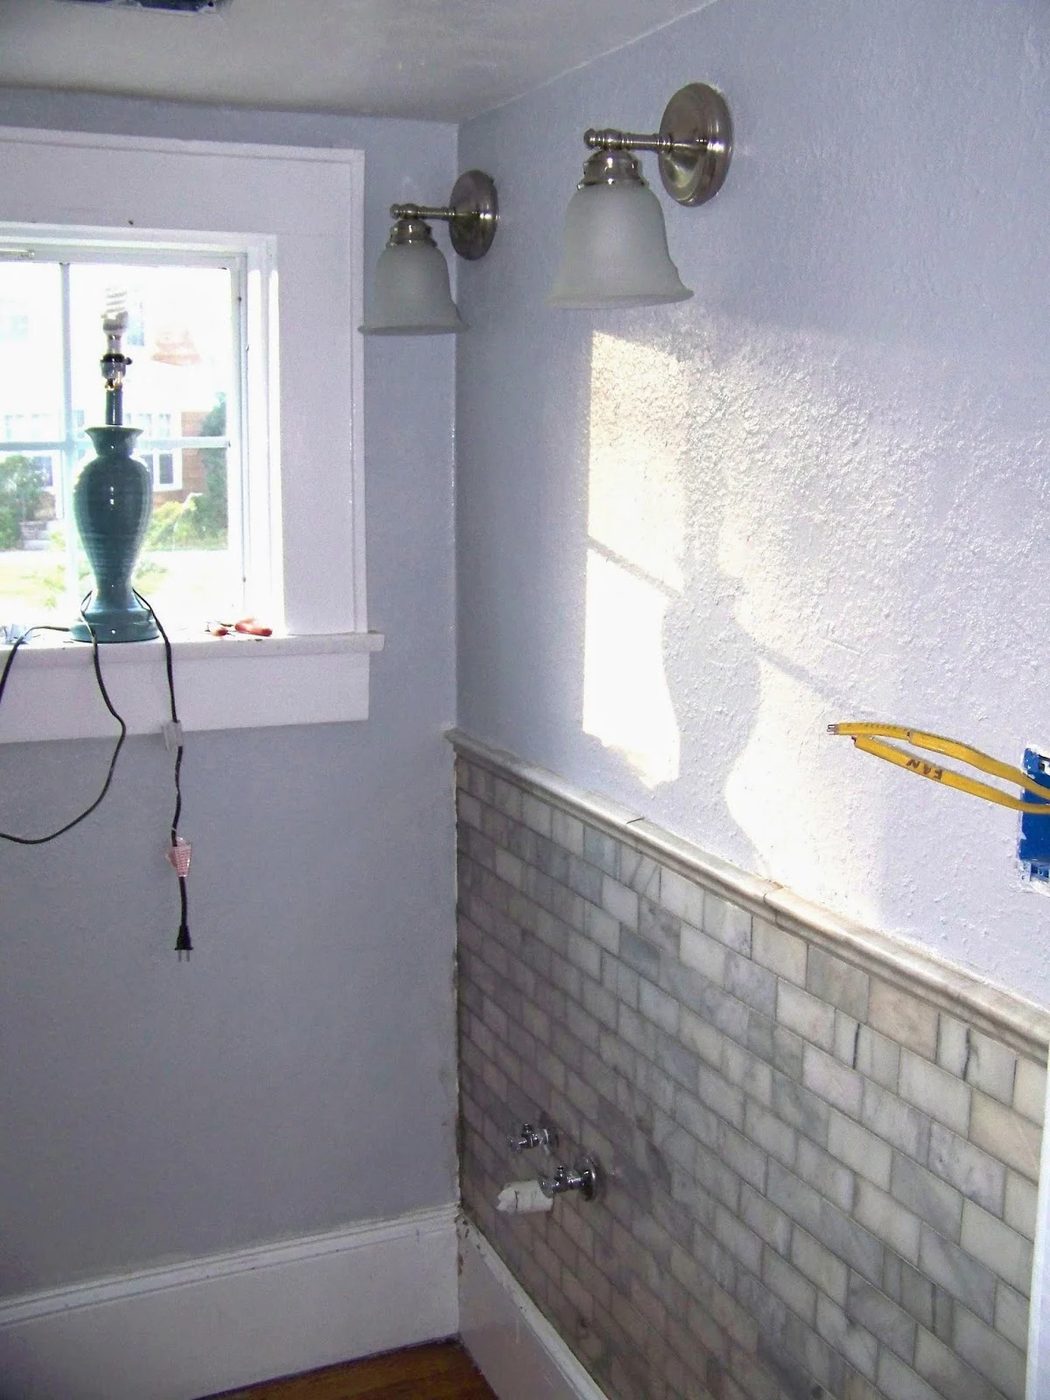 Even with the sealant, I was pretty disappointed with how the tile was looking after grouting (above). I used a float to spread the grout and press it into the seams and then wiped off the extra with a large sponge. Even though the tile was looking pretty dull and grey, I didn’t want to get the grout lines too wet scrubbing the haze off the tile fronts so I let it dry.
Once the grout was dry, I went at the tile. It took a lot of elbow grease and sponge cleaning, but eventually the tile started looking a lot better. Some trim, caulk and this is what it looks like today!
Even with the sealant, I was pretty disappointed with how the tile was looking after grouting (above). I used a float to spread the grout and press it into the seams and then wiped off the extra with a large sponge. Even though the tile was looking pretty dull and grey, I didn’t want to get the grout lines too wet scrubbing the haze off the tile fronts so I let it dry.
Once the grout was dry, I went at the tile. It took a lot of elbow grease and sponge cleaning, but eventually the tile started looking a lot better. Some trim, caulk and this is what it looks like today!
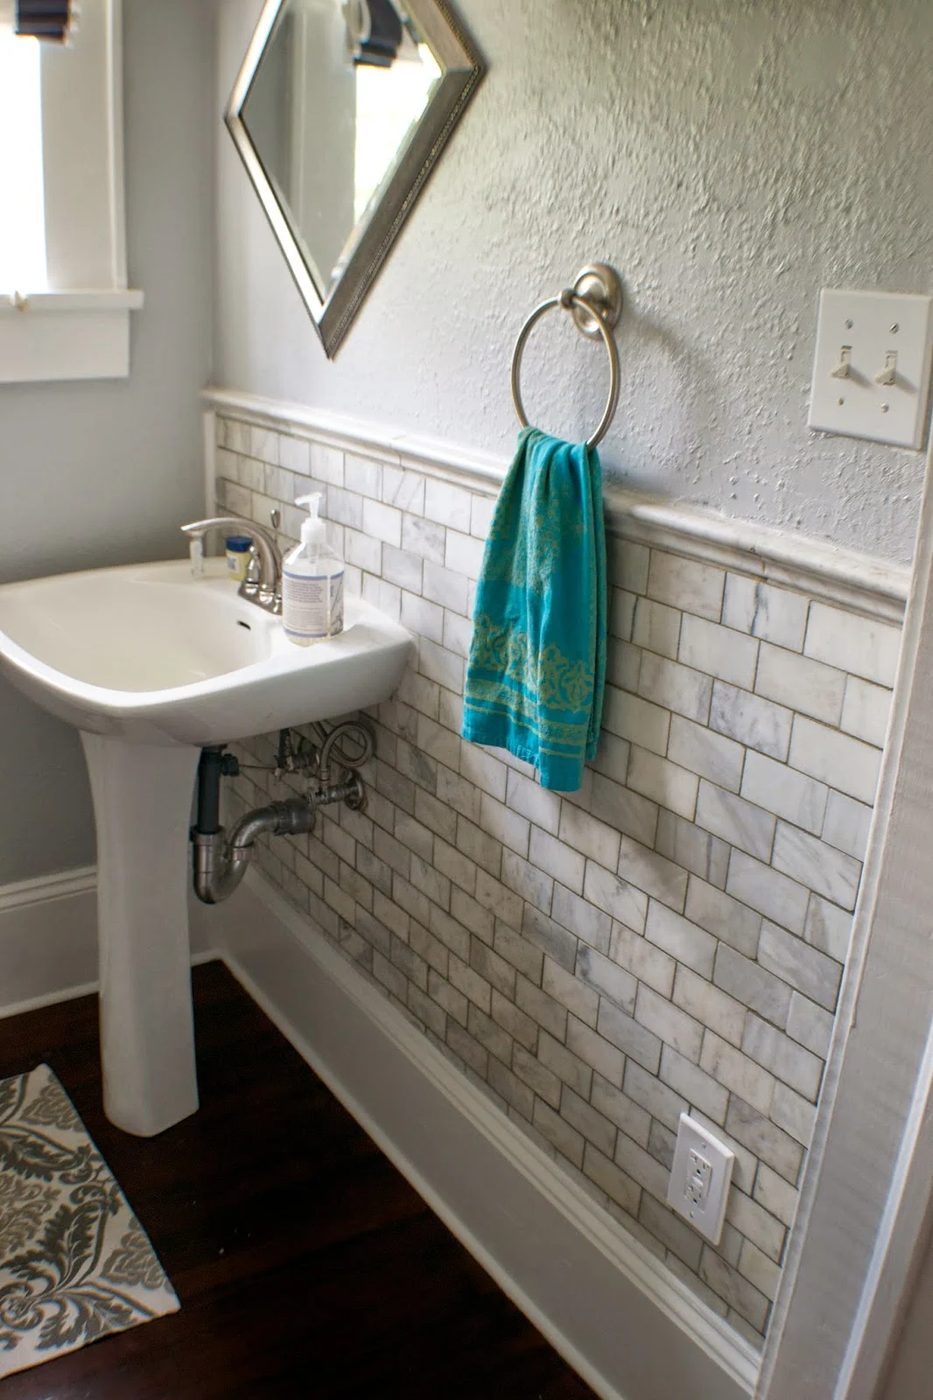
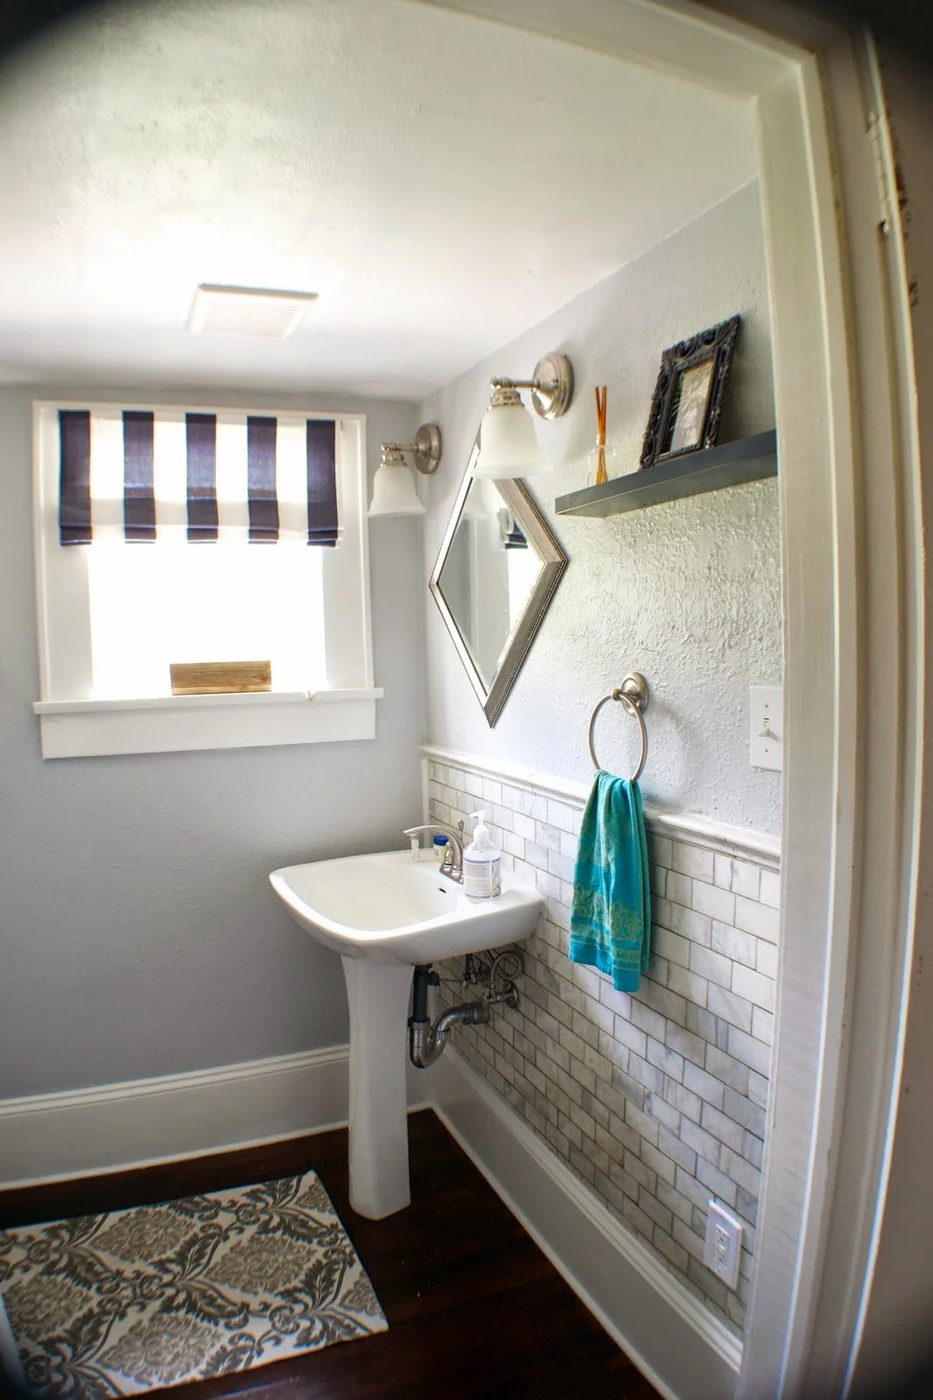
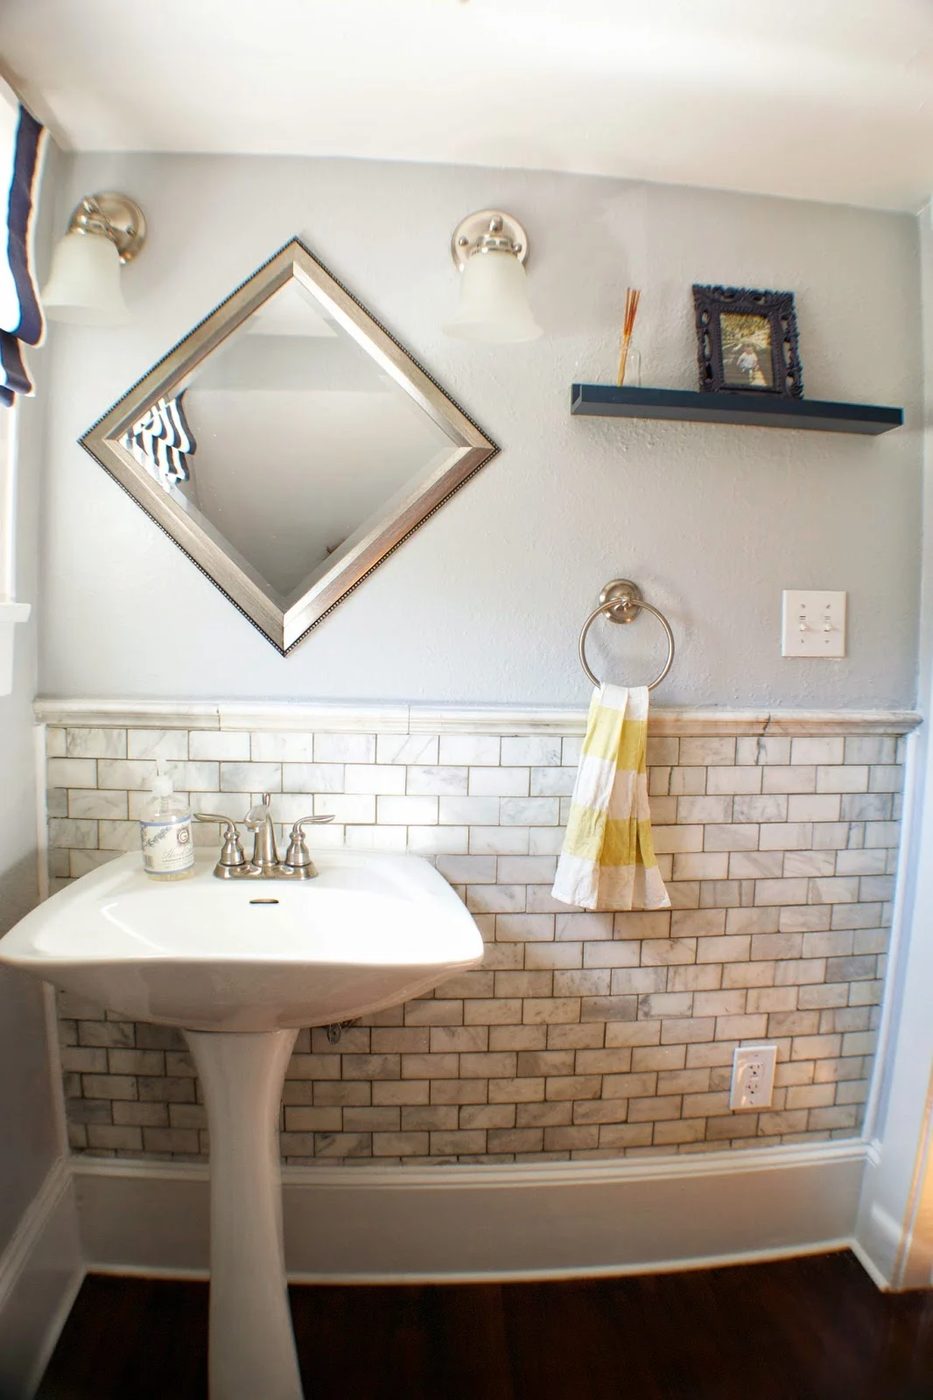 To keep costs down, we reused the sink and toilet from the original bathroom and instead put some money towards new fixtures and accessories. The ceiling height leaves something to be desired in this room so we hung the lights down instead of up and hung the square mirror at an angle to get a wider and taller view than hanging it as a square.
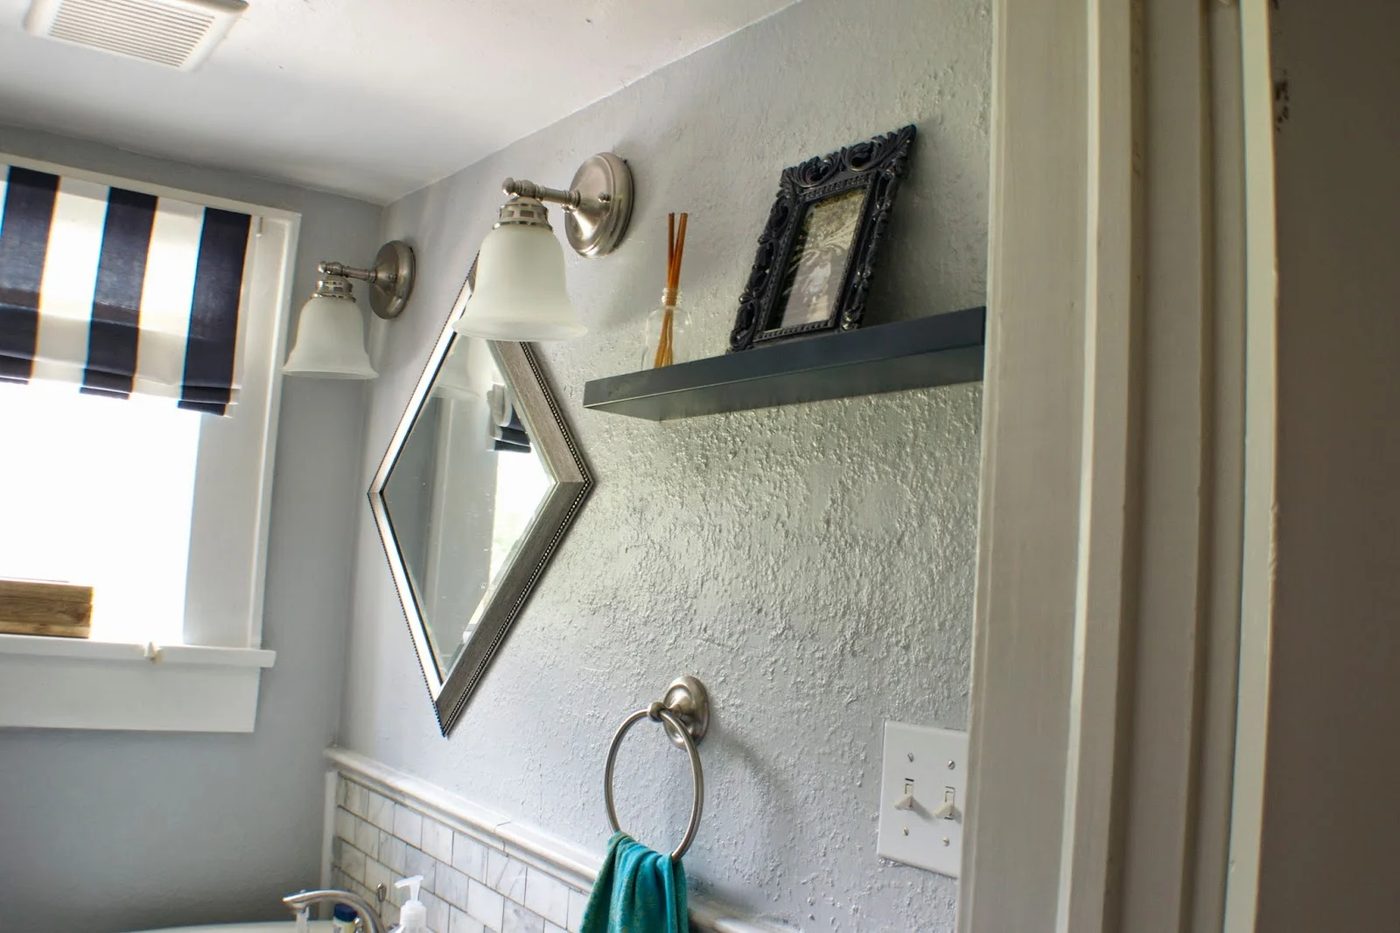 The storage room originally had shelves and since the ceiling slopes, we decided to keep them for storage but finished the fronts to give them a bulkier feel.
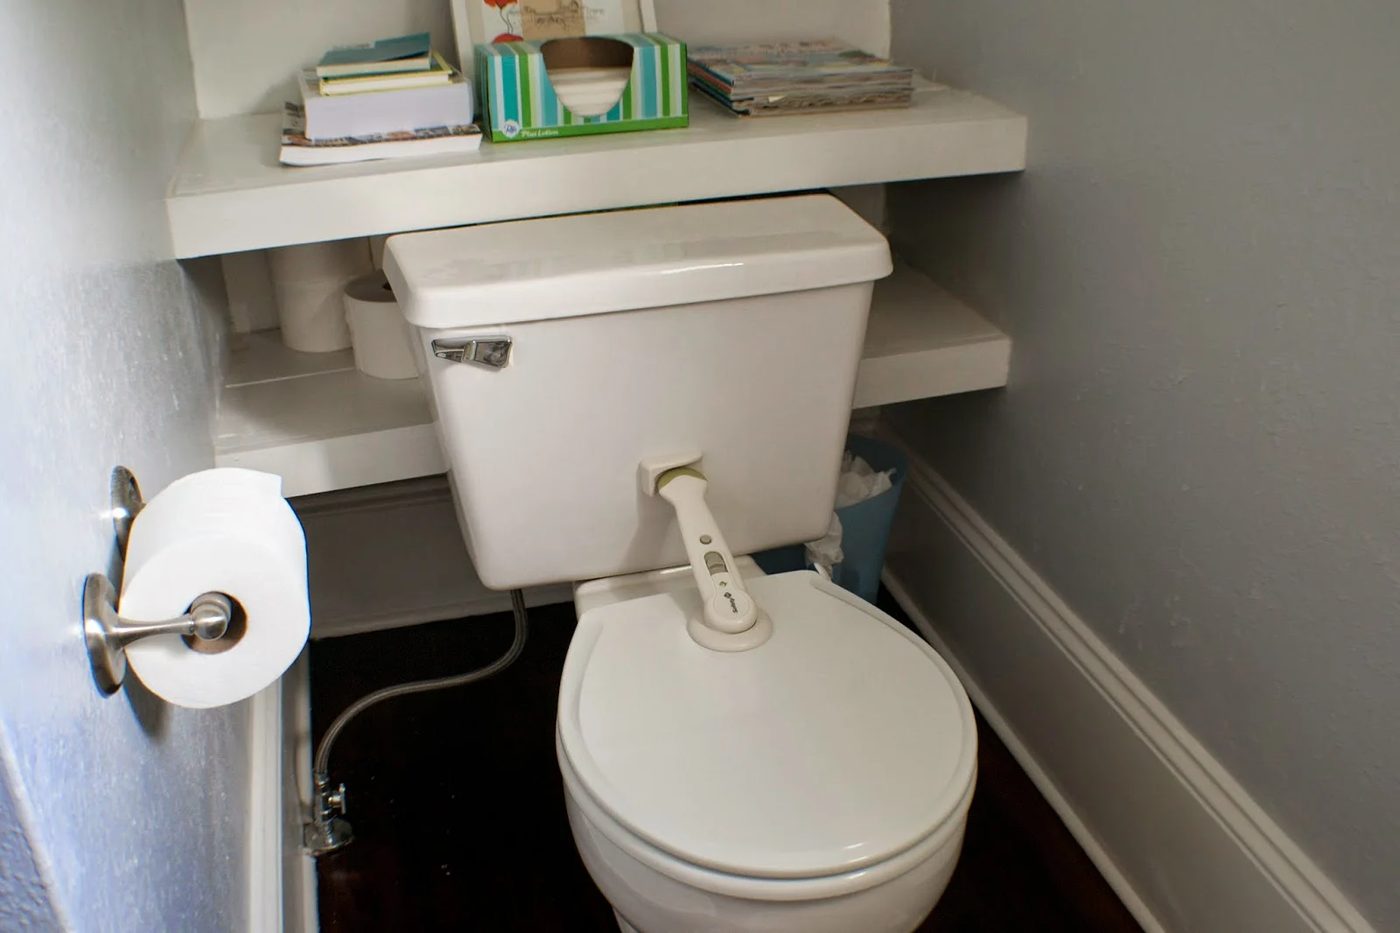
Since the toilet sits in the little nook of the room, it offers a little more privacy and gives more walking room between it and the sink.
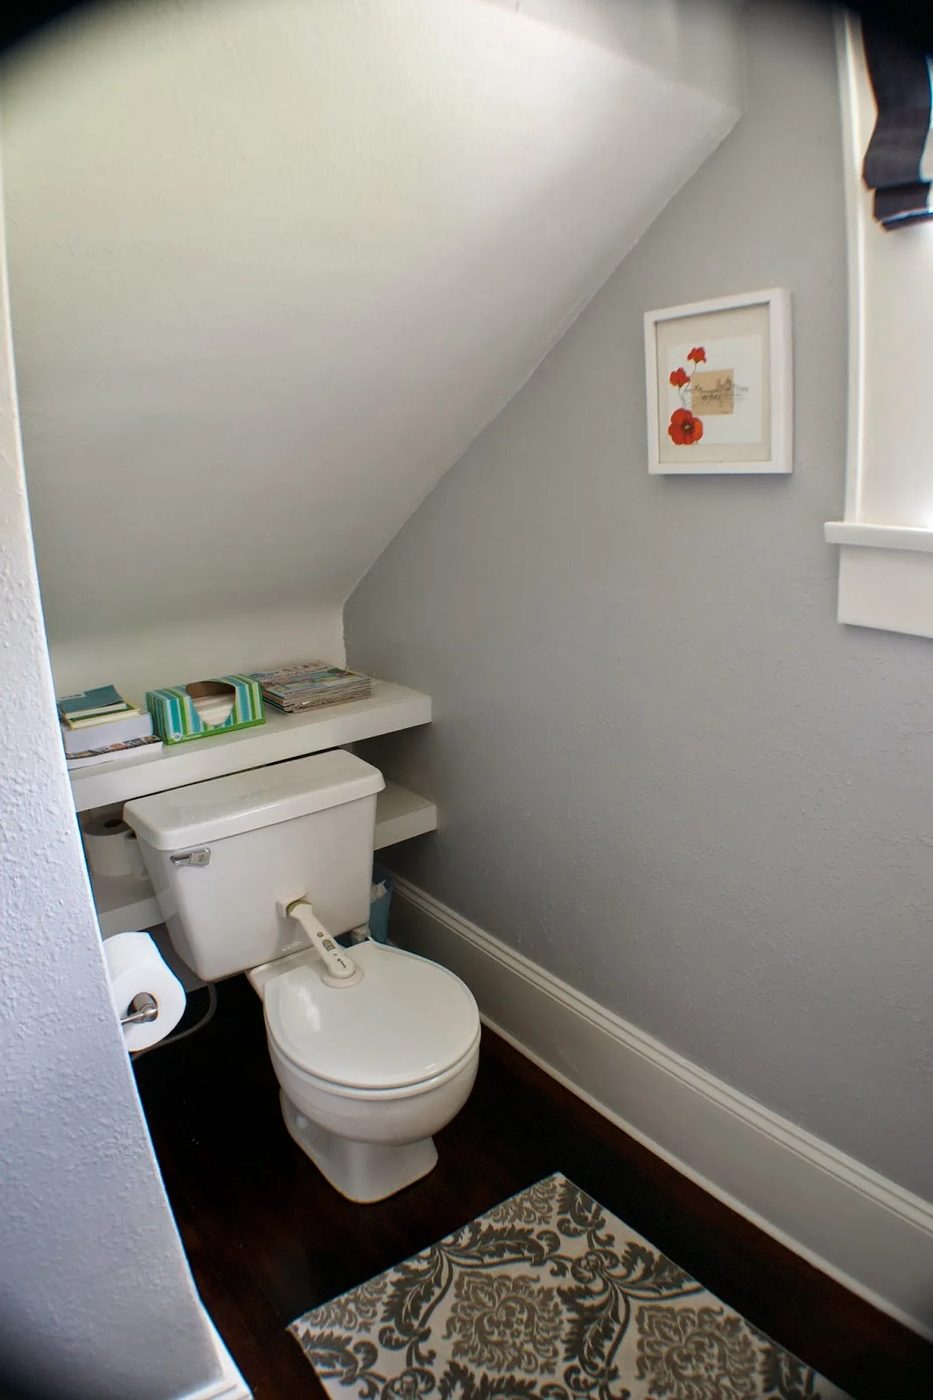
This window faces our neighbors, so we also wanted some privacy there so I Handmade’d a roman shade out of some cute blue striped fabric I found on clearance at a local fabric store. Most recently, we also finally did something with the roughed up floor and refinished it with PolyShades stain which surprisingly had a huge impact on the room.
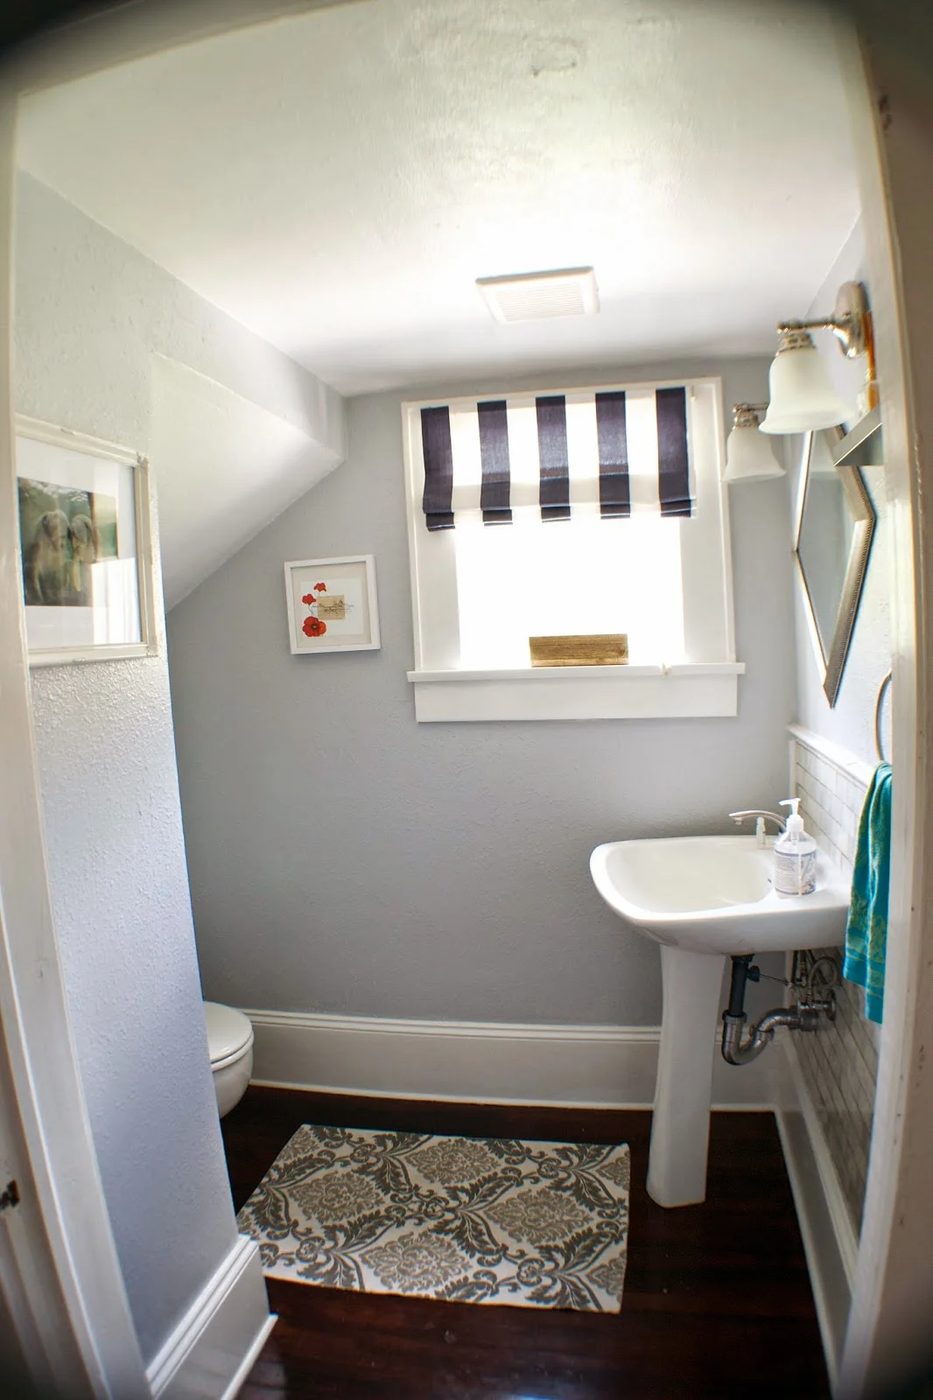 We finished off the room with some sweet art that we’ve obtained through our travels.
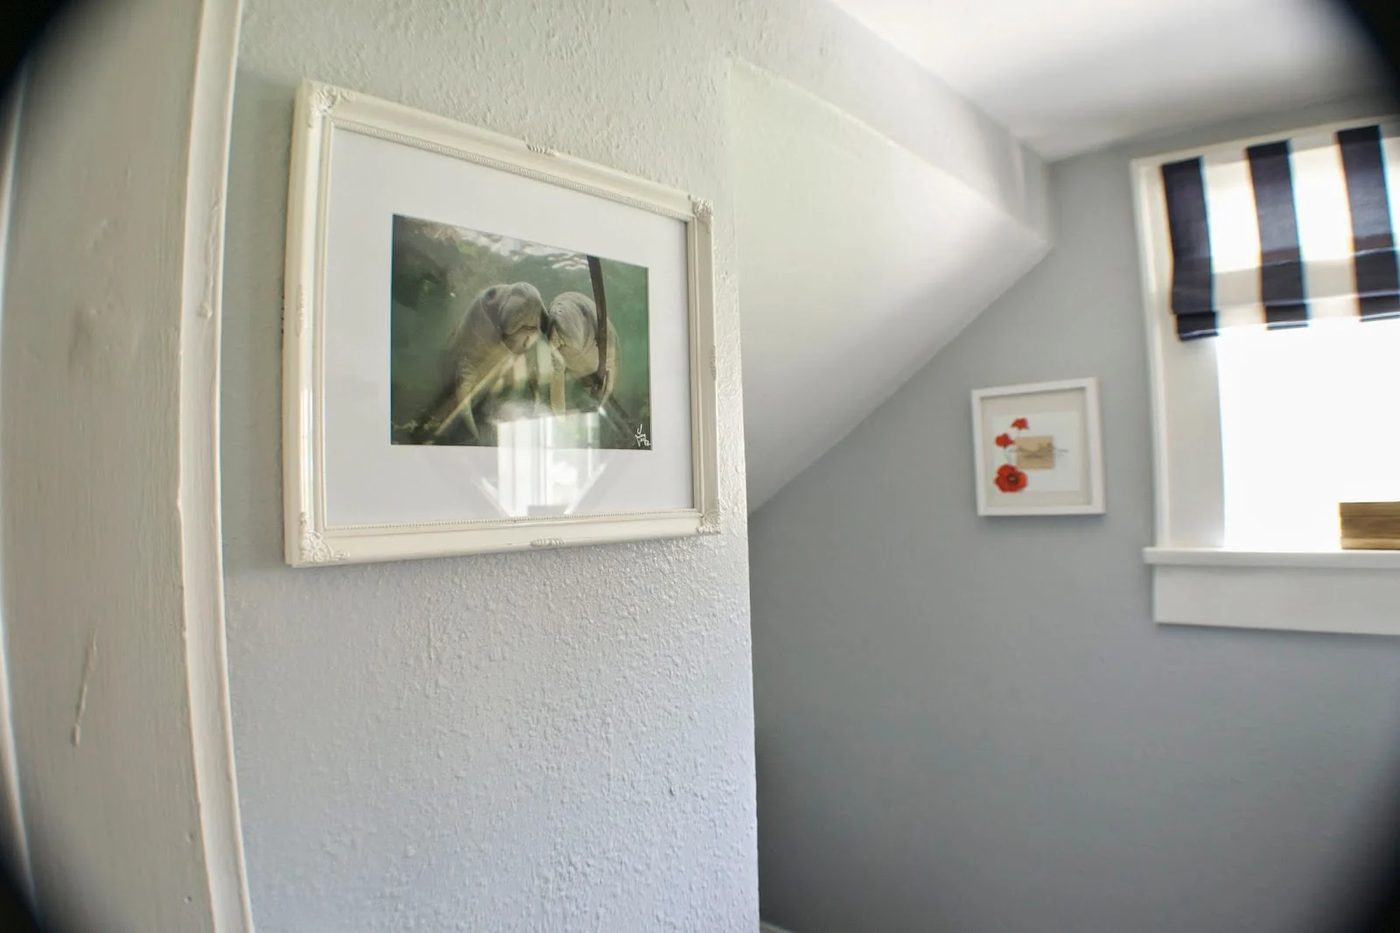 We really couldn’t be happier with this tiny room. What we were even happier with was the cost for doing everything. Since we did all of the work ourself, we came in under $950 with a cost breakdown as follows:
Plumbing: $182.39
Electrical: $44.27
Fixtures: $68.83
Walls: $337.75
Floors: $40.89
Accessories: $91
New Tools: $177.68
————————–
Total: $942.81
We really couldn’t be happier with this tiny room. What we were even happier with was the cost for doing everything. Since we did all of the work ourself, we came in under $950 with a cost breakdown as follows:
Plumbing: $182.39
Electrical: $44.27
Fixtures: $68.83
Walls: $337.75
Floors: $40.89
Accessories: $91
New Tools: $177.68
————————–
Total: $942.81
 A huge thank you to Bekob for letting us share our little bathroom with you today and if you are looking for something similar, here is our source list:
Shelf: Ikea
Box: Target
Roman Shade: Handmade
A huge thank you to Bekob for letting us share our little bathroom with you today and if you are looking for something similar, here is our source list:
Shelf: Ikea
Box: Target
Roman Shade: Handmade
Mirror: BigLots
Frame: Marshal’s Art: Local Artists on Trips Rug: Target Paint: Valspar Silver Leaf Everything Else: Lowe’s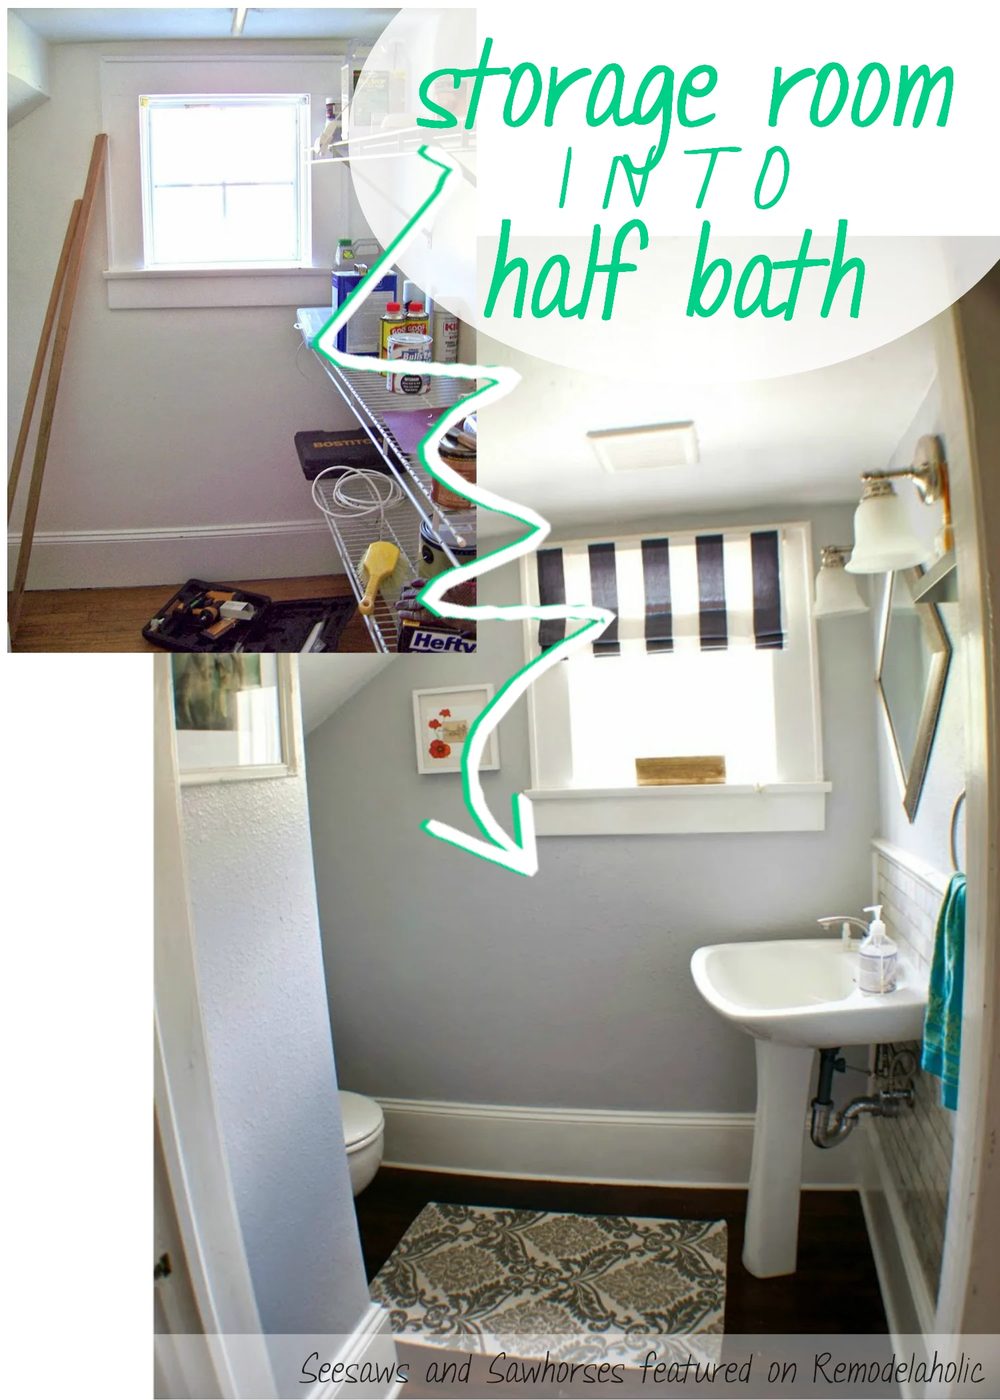
————————————–
Thanks so much for being our guests, CK and Nate! We love what you did with this space.
Bekob, head over to Seesaws and Sawhorses for more great Handmade projects, like their kitchen renovation (with a great unique corner shelving section) and their Handmade Restoration Hardware octagon dining table.