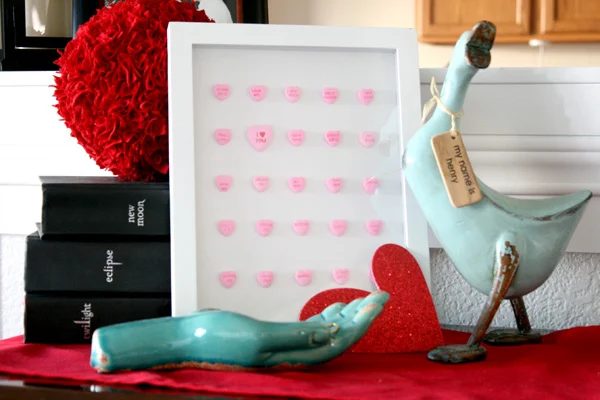
This crafts walkthrough stays in the order the work happens.
Well, if you blog, or like reading blogs, then chances are you have seen specimen art for different holidays for a while now. But I haven’t ever made my own version… so way back in the beginning of January I bought 4 bags of conversation hearts… and there they have been, in the Walgreens bag on the top of the fridge ever since, way to jump on that Cass….
But I finally got to making one last night while watching Once Upon A Time…(tangent) which I love but is slowly loosing my interest due to lack of something actually happening, anyone else feel this way? And what the heck is the deal with David telling his wife he wants to try and then cheating, it BUGS me!
Okay, back to the point at hand.
I crafted.
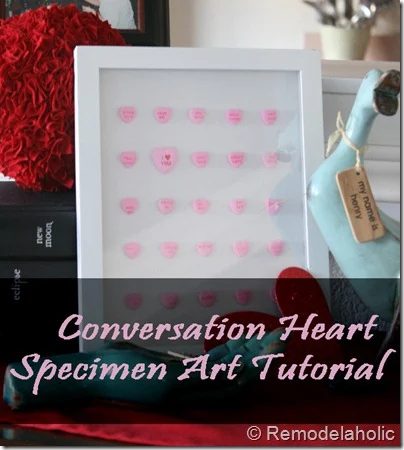
Actually this is totally my second craft for Valentines… Ah-maze-za-zing, not to pat myself on the back, but I am proud of actually carrying out the whole plan, within a week of the valentine wreath getting finished. I better not let this get to my head… (and seriously don’t’ get used to this, or you may be in for disappointment… although, now I have 3 1/2 bags left of conversation hearts and another semi-clear option of what I want to do with them… so hopefully I’ll be back to share more soon!)
Anyway, this project is clearly straightforward… I guess it could be embellished, but then again direct is better sometimes? I almost added a red printed square (sort of like a matte) around the whole page of hearts, but then I didn’t, technically I forgot to do it before I started glue-gunning, whoops! I am glad the project was direct (And holy cow, have you tried conversation hearts lately? They are actually good, like flavored and not just sugar…)
Supplies:
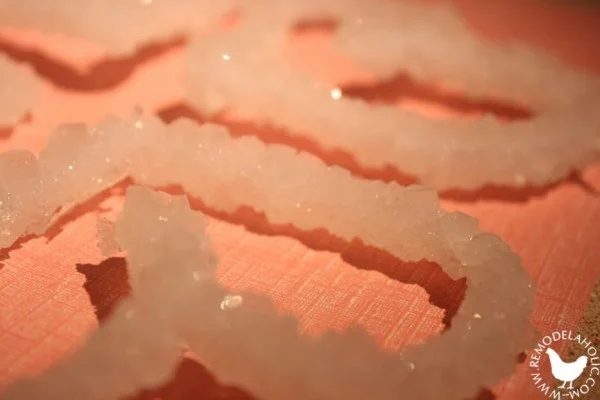
Conversation hearts (preferably one color, or monochromatic pink, red, and throw in some white)
A shadow box type frame, (or a regular frame and some duct tape!)
**I got mine at Walmart it was a baby frame with a printed background and double glass for the look of a floating image above the background, it was about $6.00
Glue Gun
Cardstock background paper
Let’s begin!
To start, clean your glass and remove the old images. Cut your new background paper to size (use the old one as a template).
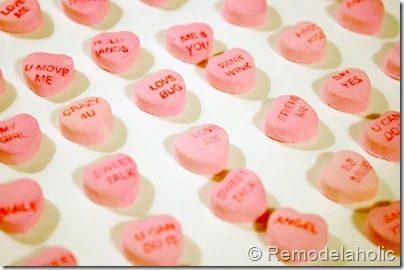
I organized my hearts by color, and found the best stamped ones. Then I took a damp (almost dry washcloth and ran them over the top of the hearts. This helped to remove any of the dust, and made the print pop out a little more.
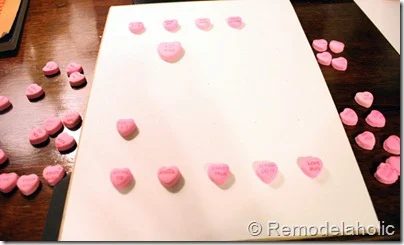 Lay out your “specimens” in lines until you feel like they look good (you can measure this out if you like.
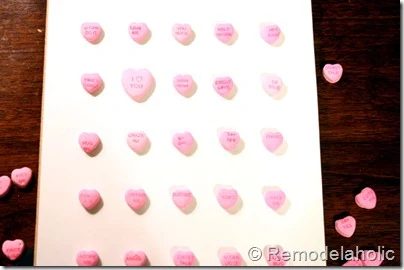
Hot glue them in place, onto your background paper. (be very light with the glue or it squeezes out the sides, which you want to avoid!)
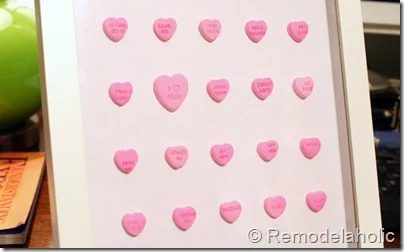
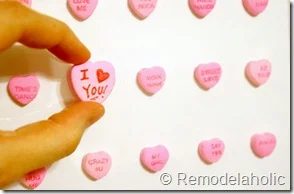
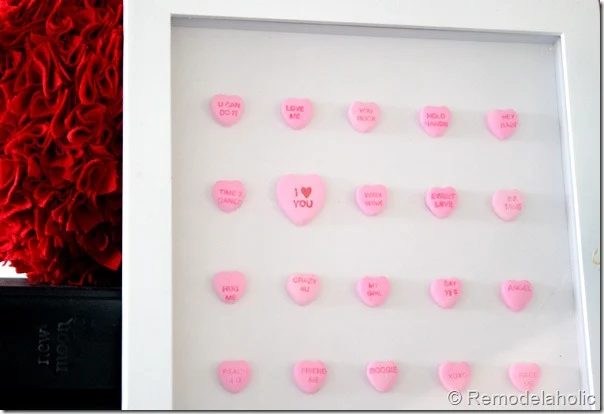
I decided to feature one heart. I used a larger heart (hence so many purchased bags!). This way it would stand out to begin with, but then I took a red fine point sharpie, and outlined the words and filled in the stamped heart.
** NO I am not going to be eating these, and if you use a sharpie neither should you… this is art, not dinner.
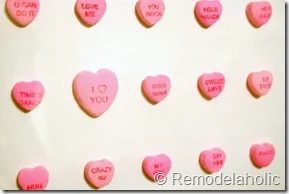
Put the background in place, close your frame and you are ready to display it!
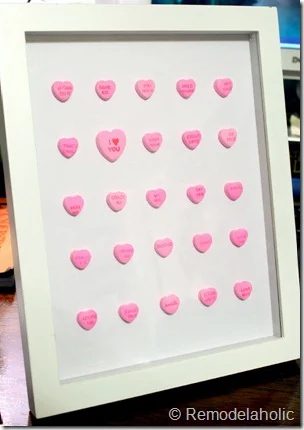
straightforward right!?!
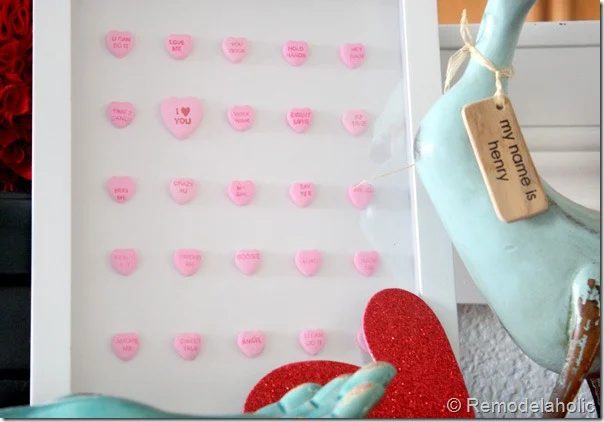
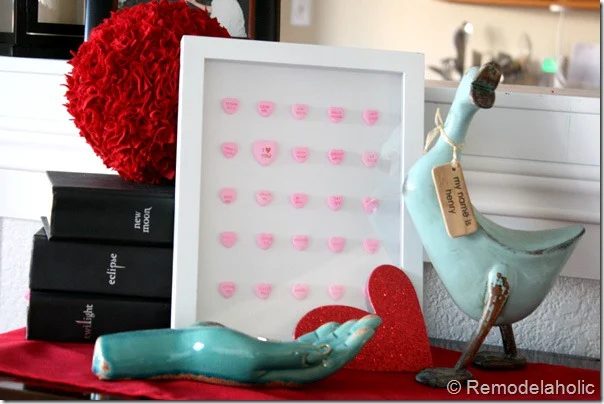
The hard part was figuring out which way I wanted it on the table… I am not naturally into decorating, I’d rather be ripping out a wall. So here are a few options. **And don’t fault me for adding the Twilight books, this is not an homage to Edward (or how hot Jacob is in the movies, you can’t deny it?!). I needed something black to balance out the black frame… and I figured they would work.
Which one do you think works best?
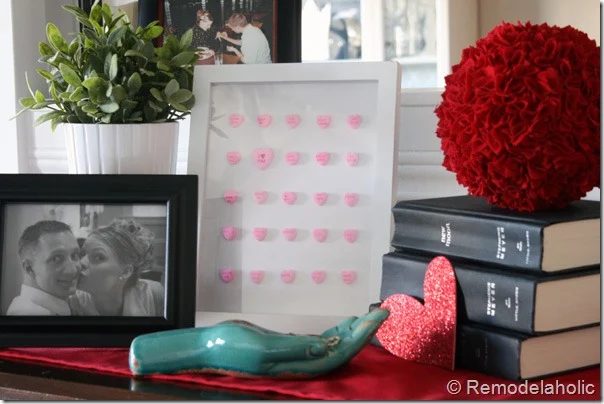
( I like that you can see the picture of Justin proposing and a random picture from our wedding breakfast that I love… in the picture above!)
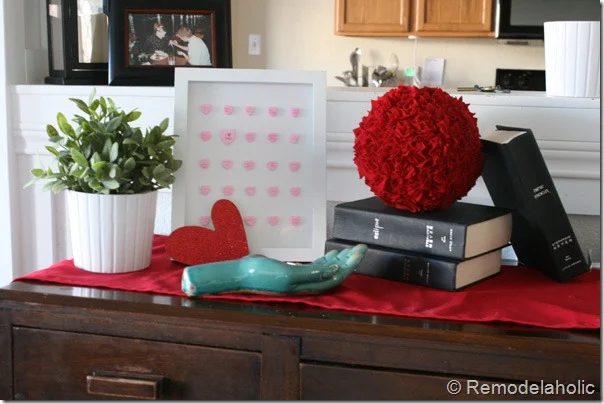
I like how this is sort of more spread out…
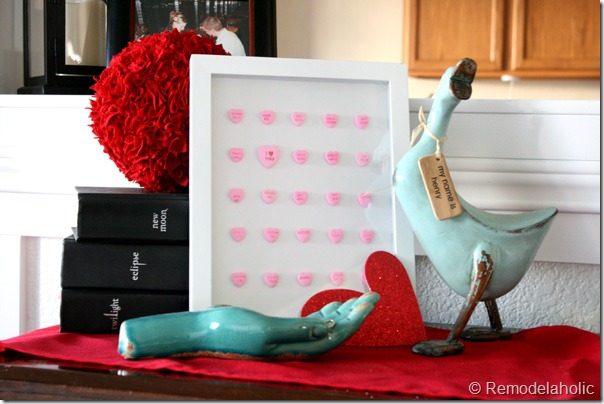
But I like the last layout best for the pop of blue, and who wouldn’t love a duck named Henry? (well, if you don’t, I do!) Also it just feels more direct and less busy or messy for that matter!
I would be so thankful if you pinned this project!