The steps below follow the order of the work for this kitchens project.
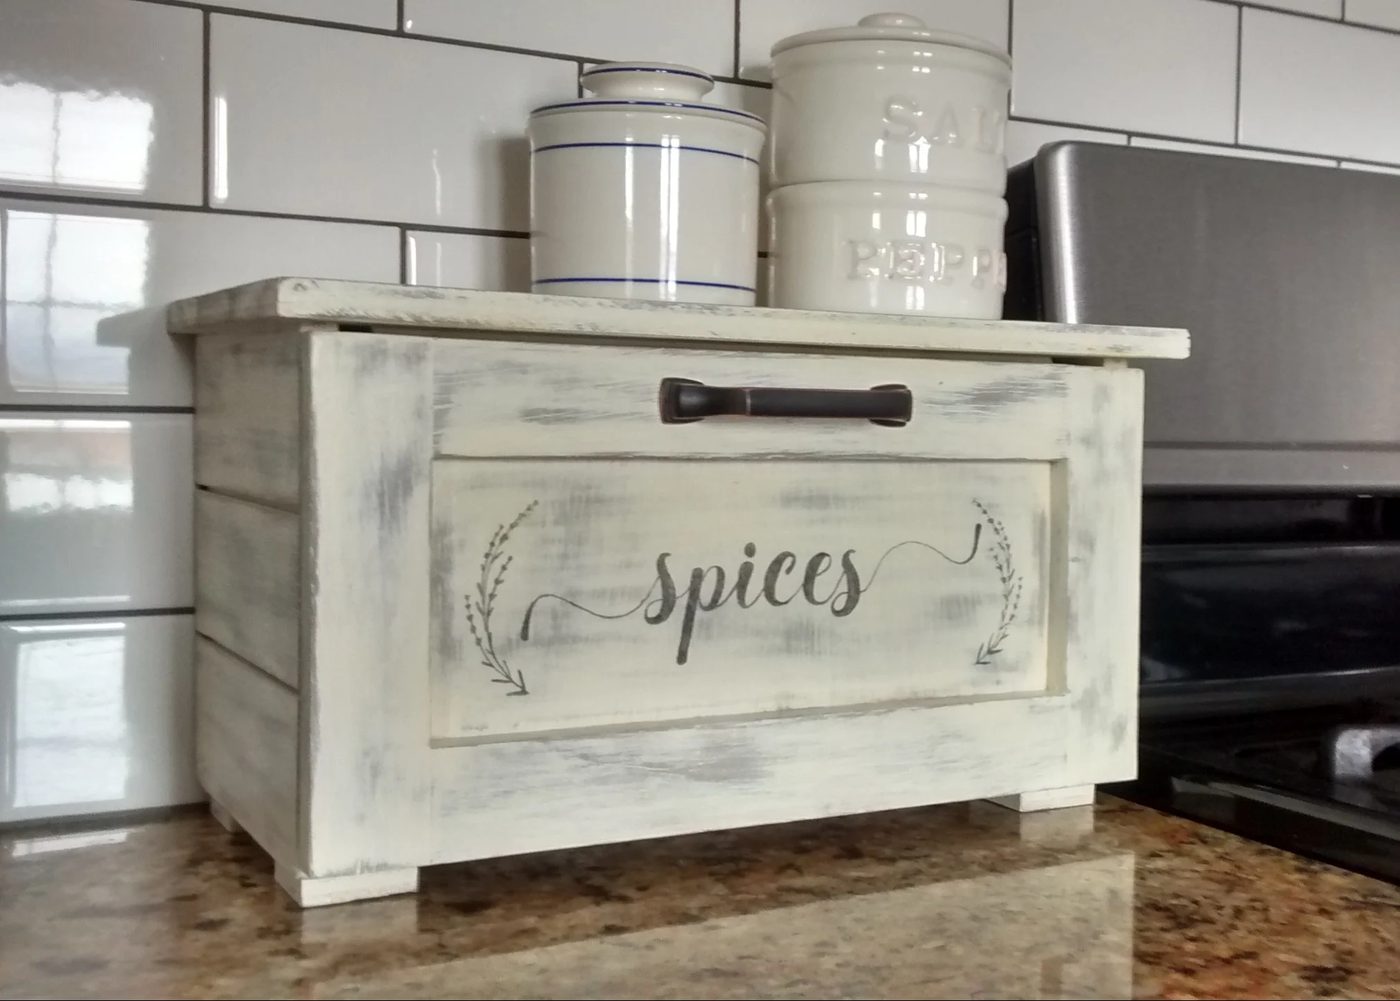
How do you store your kitchen spices? This cute countertop spice storage bin is made with a 1/4 sheet of plywood, and can be finished in one Saturday. There is quite a bit of down time while letting stain or paint dry. So, you can still get your chores done too!
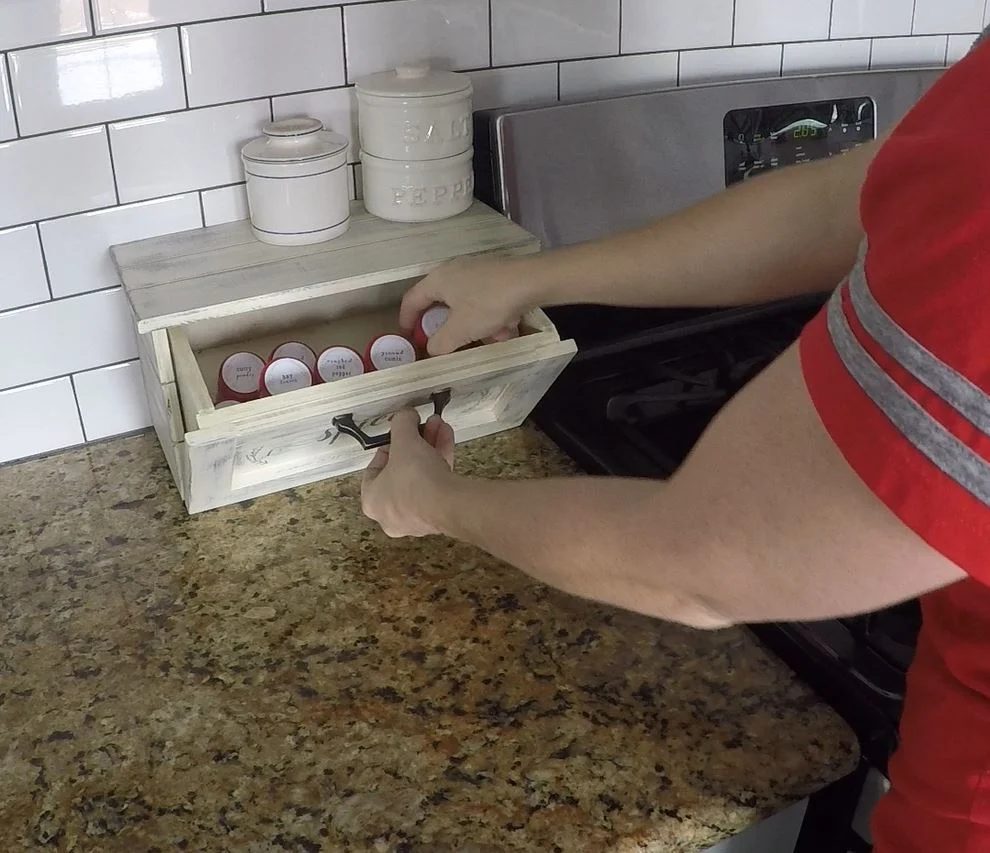
I designed this build after a potato bin. The drawer tips forward to quickly grab what you need — beautifully labeled thanks to our custom fillable spice labels —
Get the spice labels HERE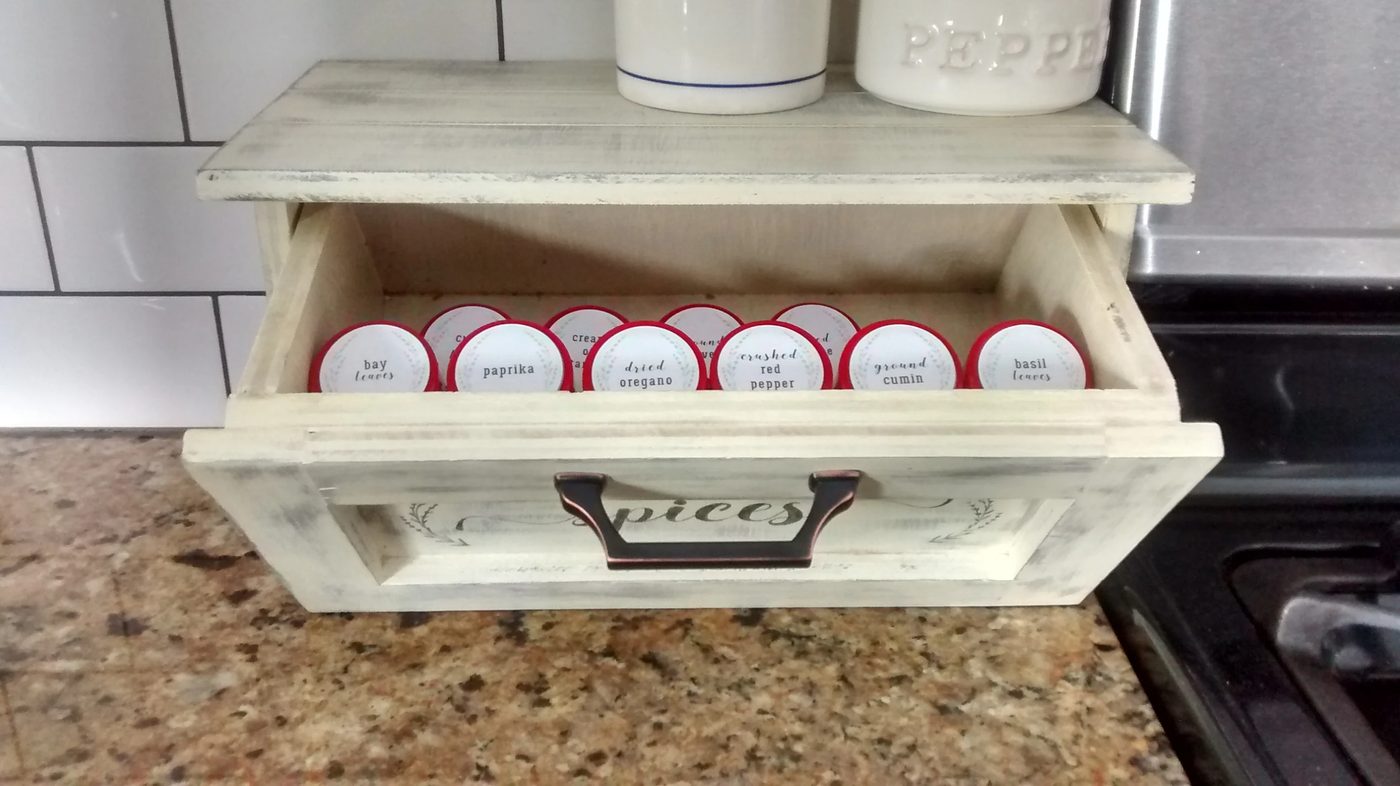
or pulls all the way out when you are making a gourmet feast!
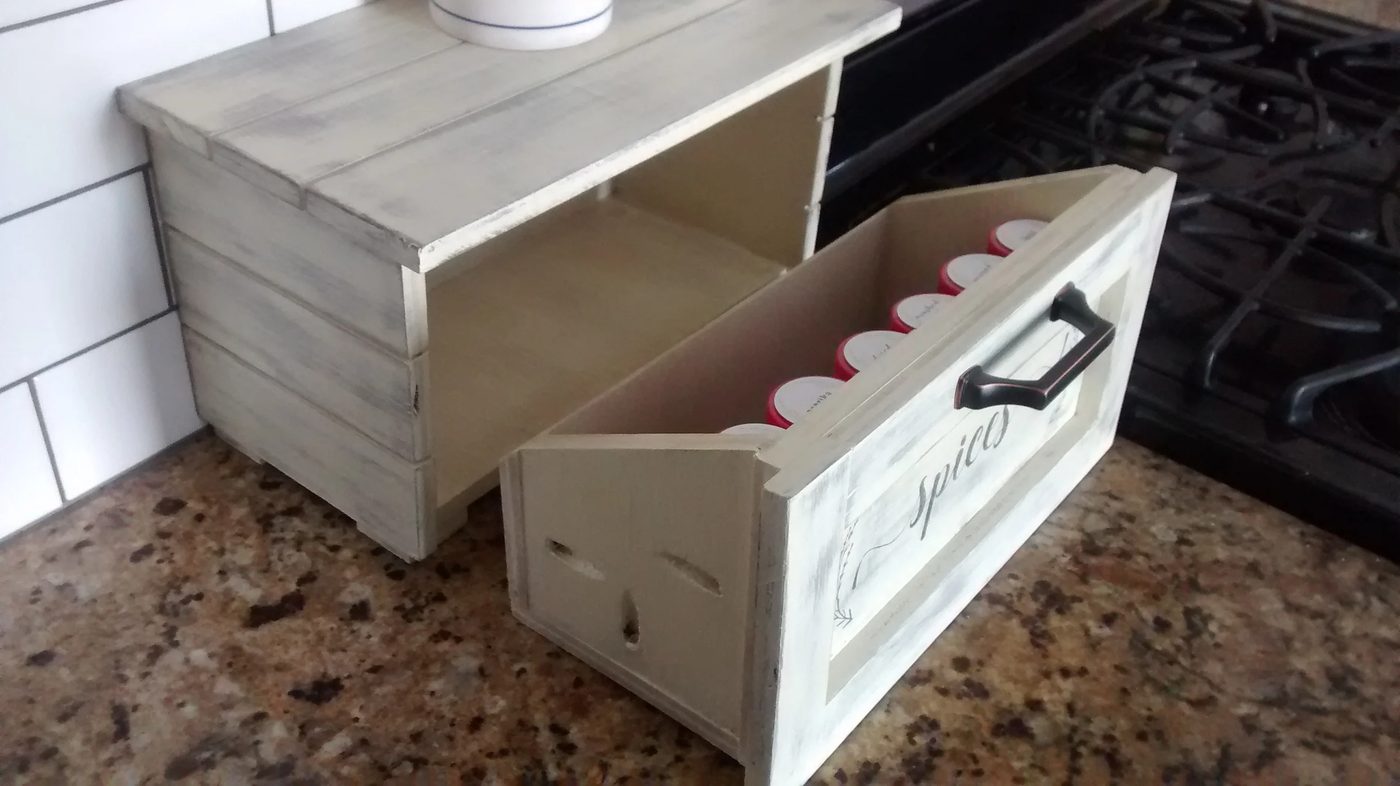
This countertop storage bin would also be well fitted for bathroom essentials, small toys, craft supplies — what else would you store inside?
Here’s how to make your own — watch the video and subscribe to the Bekob channel, and download the free building plans PLUS the free printable spice labels below!
Handmade Countertop Spice Storage Bin
This post contains affiliate links, which help us run this site and build more projects at no additional cost to you. Learn more and read our full disclosure policy here.
open this to Get a Printable Version of This Building Plan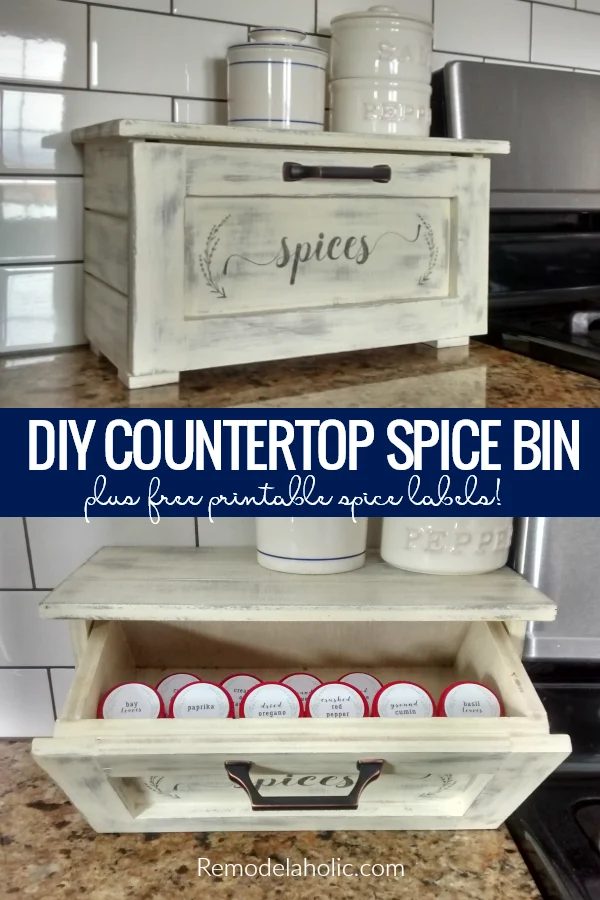
Countertop Spice Storage Bin: Supplies
- 1/4 sheet of 1/2″ plywood
- Pocket hole screws
- Glue
- Pre-stain wood conditioner
- Stain
- Chalk paint
- Drawer pull
- Polyurethane
- Graphite Paper
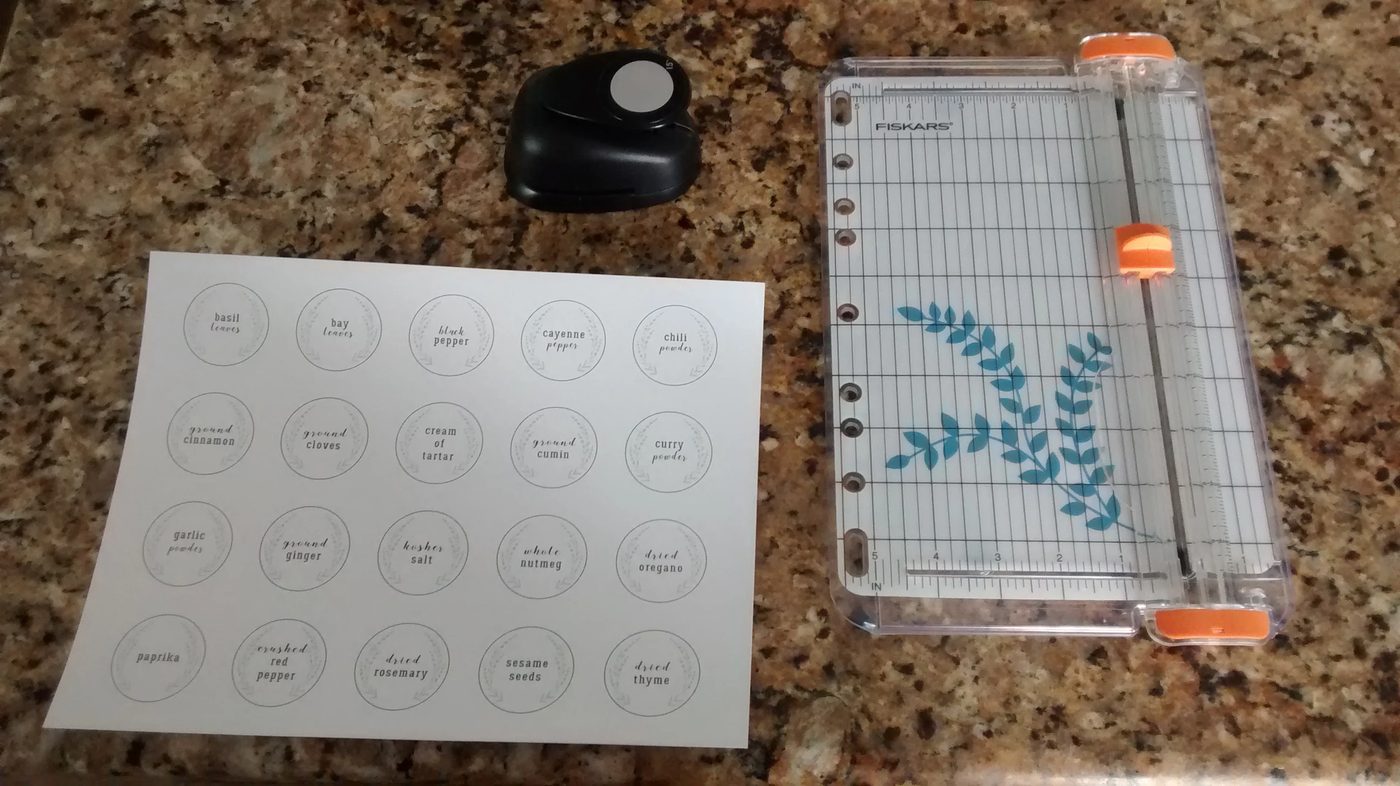
Download the free printable spice bin label and custom fillable spice labels here – 2 styles to choose from! We’ve provided the most common spices in the pre-filled label sheet, or download the custom fillable labels so you can have custom matching labels for all your spice bottles, no matter how rare or specific your spice tastes may be.
To fill the custom spice labels, download the file above from the Bekob Shop — we’ll send it right to your inbox! Open the PDF in Adobe Reader (not in your web browser’s PDF reader). Click in each field and type the spice names. Print the page(s) you need on 1.5″ round circle labels, or you can also print on a full-sheet sticker page and use a 1.5″ circle punch like we did.
Countertop Spice Storage Bin: Tools
- Table saw (you can have local home improvement store cut these for you)
- Miter saw
- Drill
- Pocket hole jig
- Paint brushes
- Sander
- Clamps
- Measuring tape
- Square
Step 1: Cuts
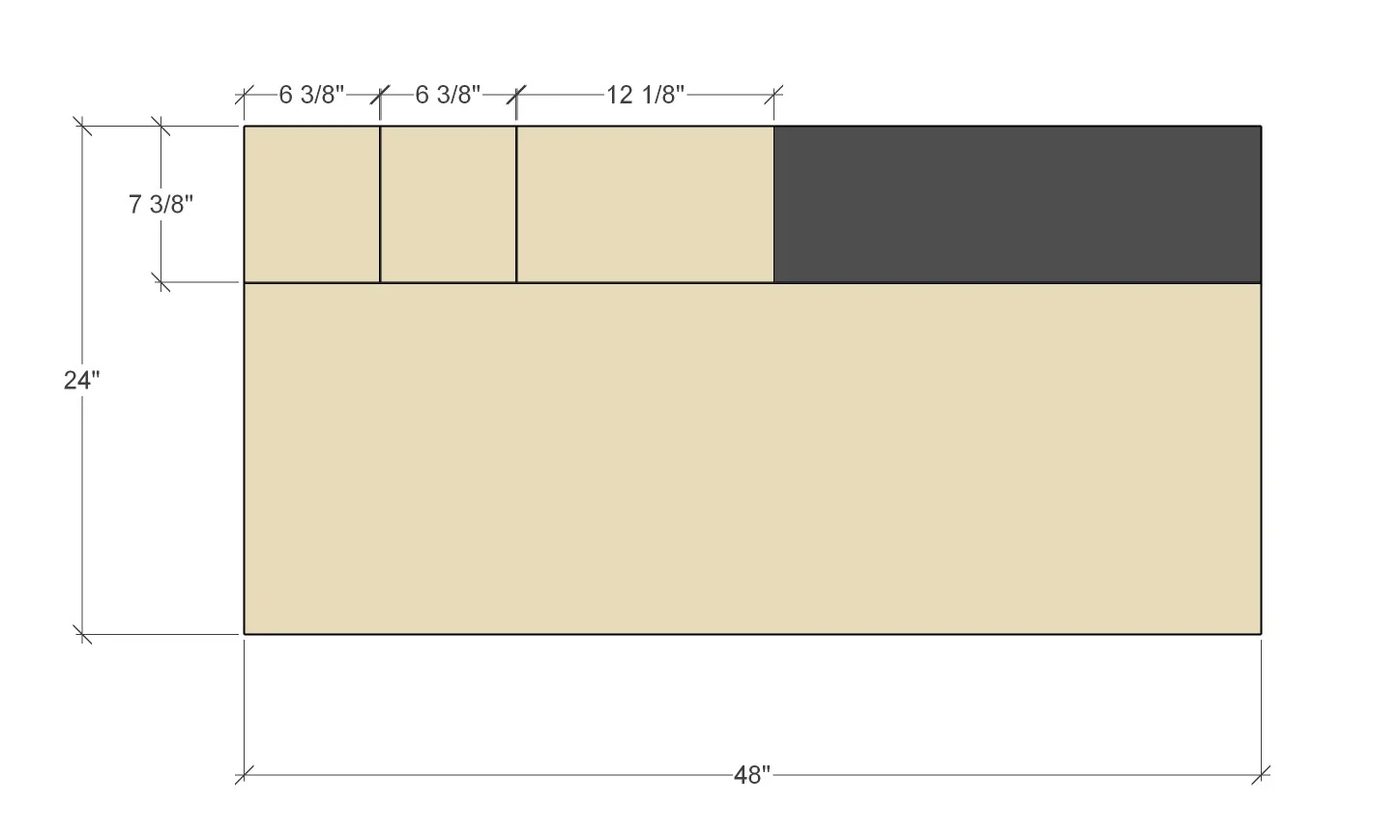
The first cut you make will be along the 4′ length of the plywood.
Tip: As you cut pieces sort them as box or drawer pieces. This will help with assembly.
Box sides: Cut at 7 3/8″. Then cut that down to (2) at 6 3/8″ and (1) at 12 1/8″
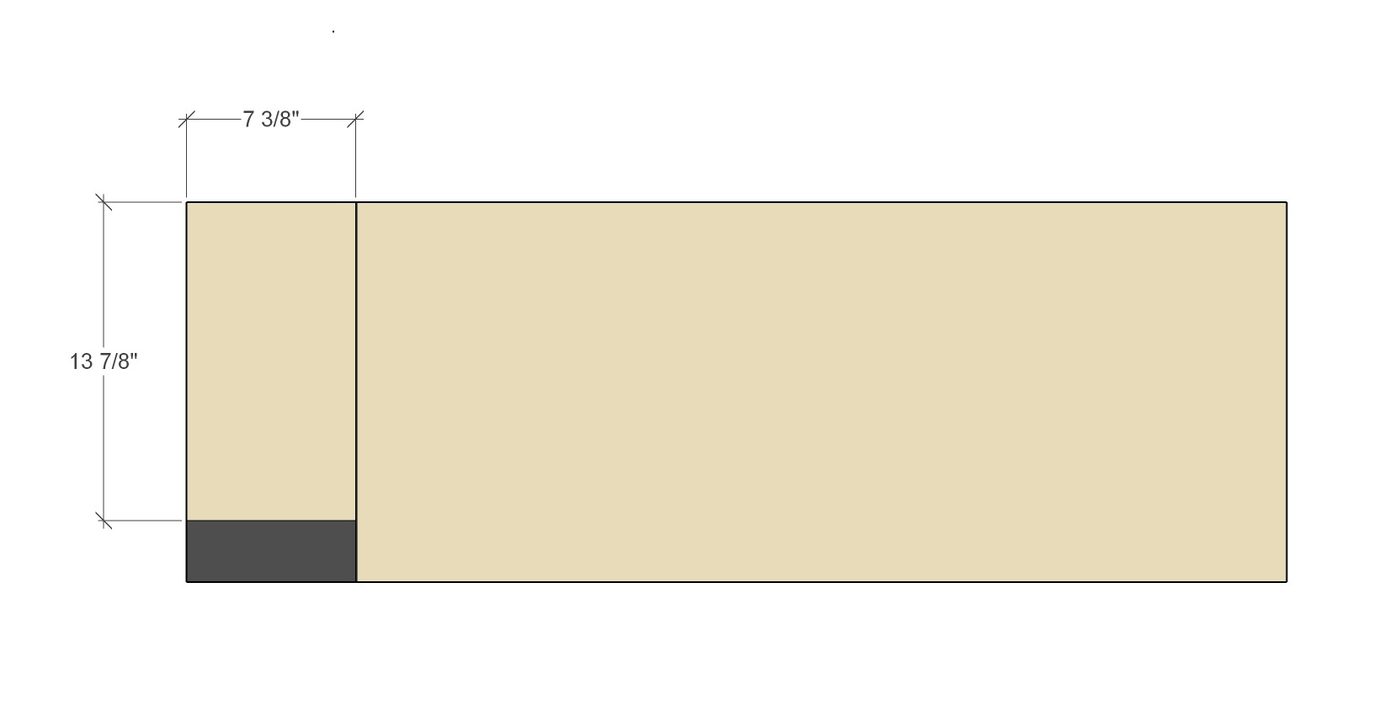
For the next cuts you will cut on the short end of the plywood.
Box top: First cut the 7 3/8″ strip. Then cut that down to 13 7/8
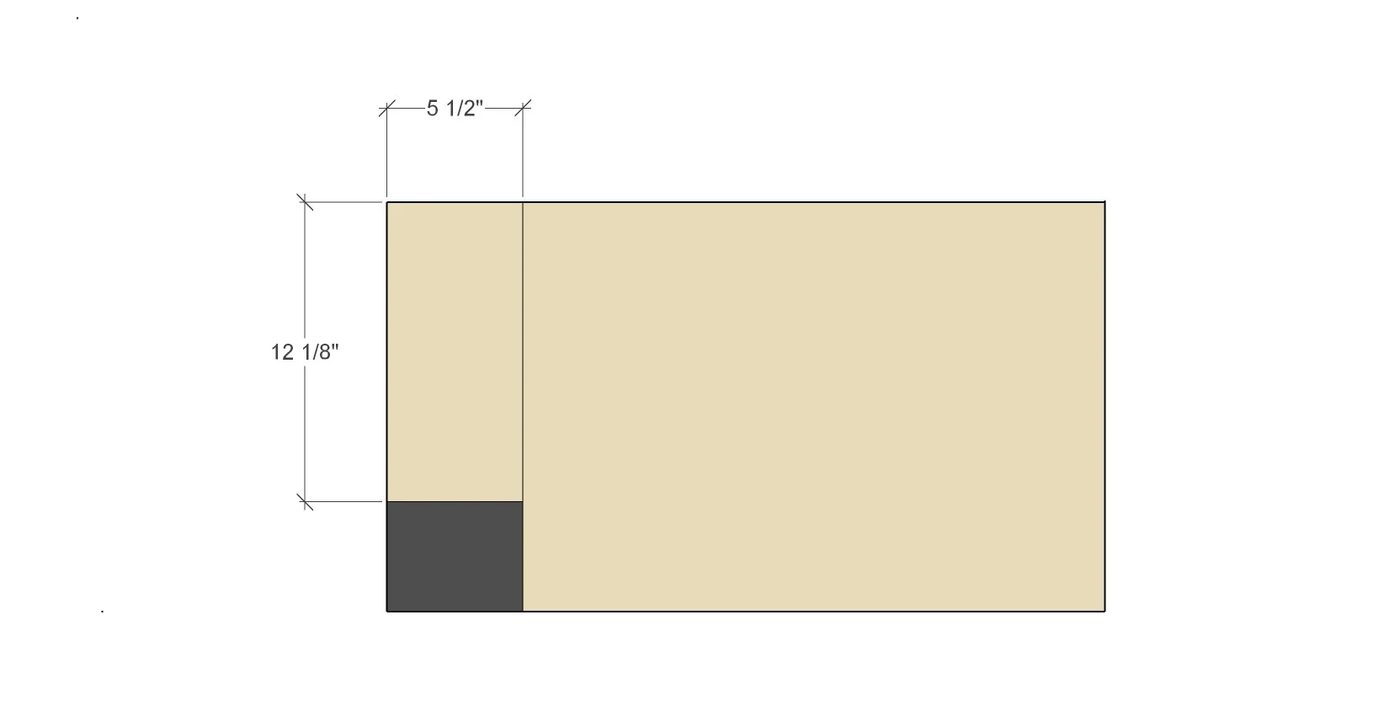
Box bottom: First cut at 5 1/2″. Then cut down to 12 1/8″.
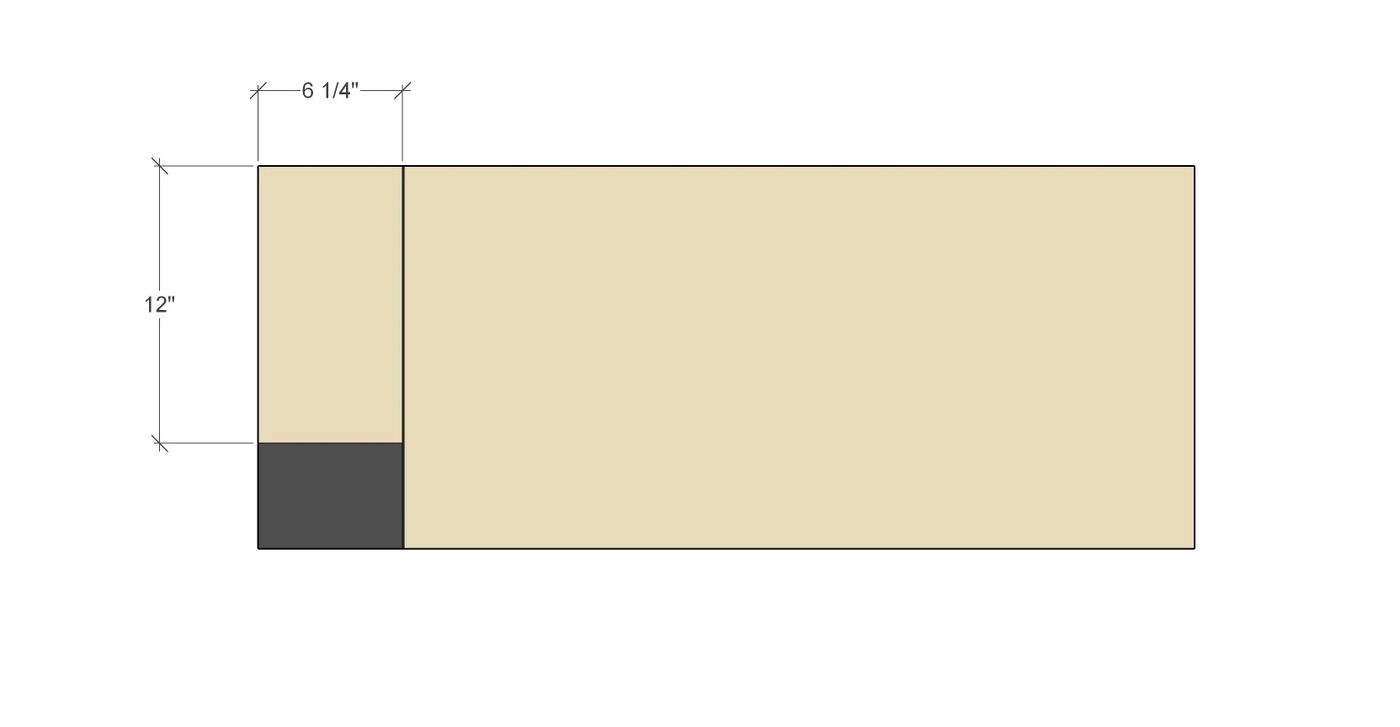
Drawer front: First cut at 6 1/4″. Then cut down to 12″
Drawer bottom: First cut at 5 1/8″. Then cut down to 12″
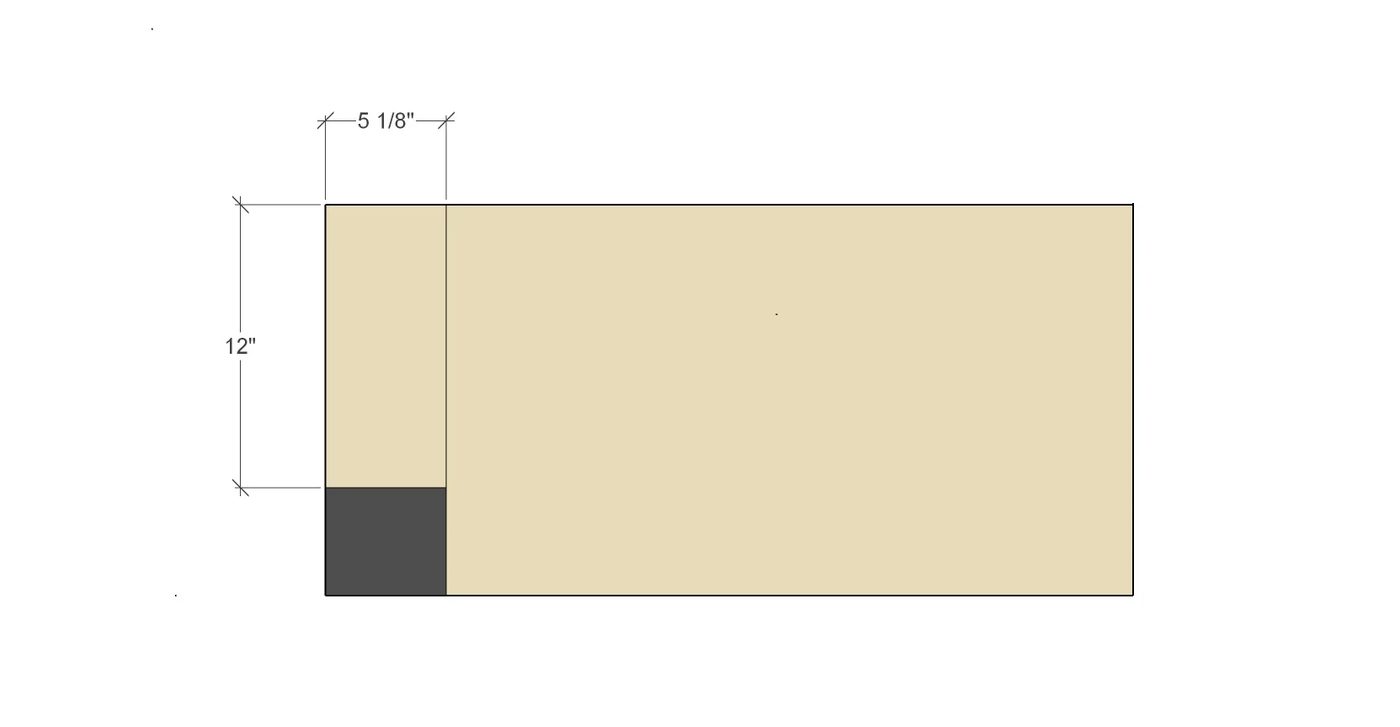
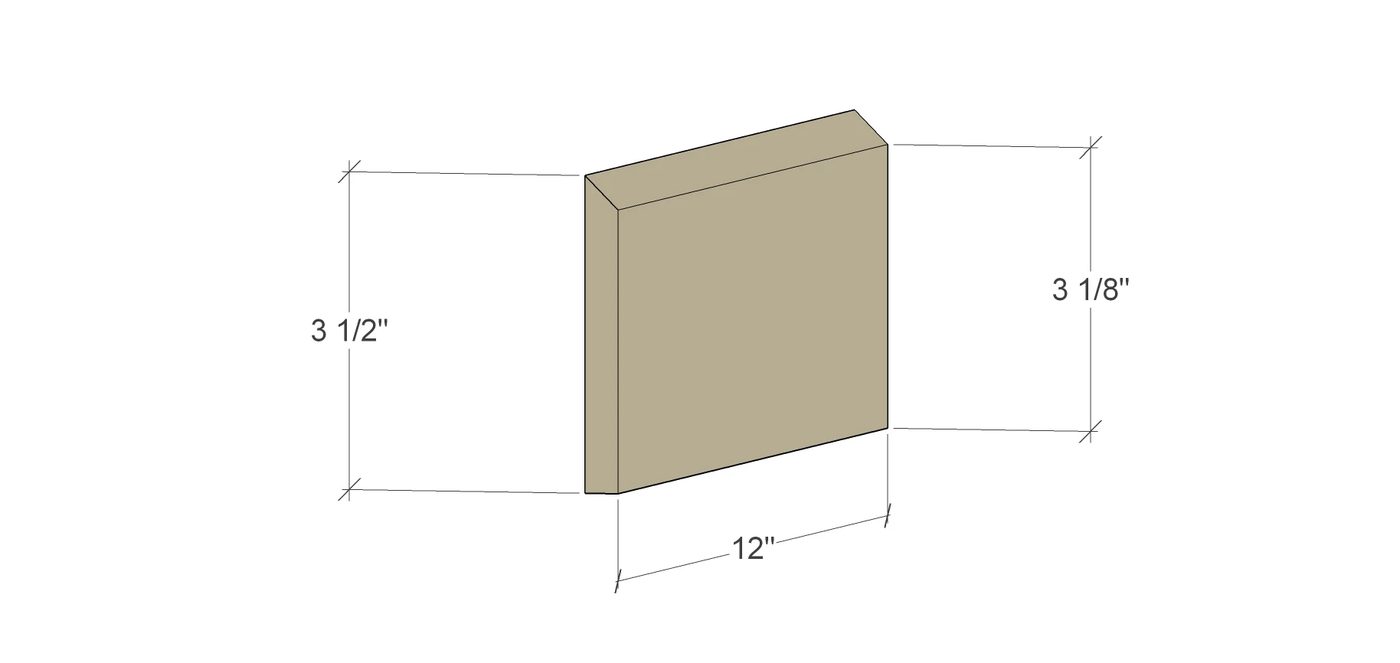
Drawer back: First run the outside edge of the plywood through the saw at a 45 degree angle. Then return the blade to cut at 90 degrees and cut to 3 1/2″. Then cut down to 12″.
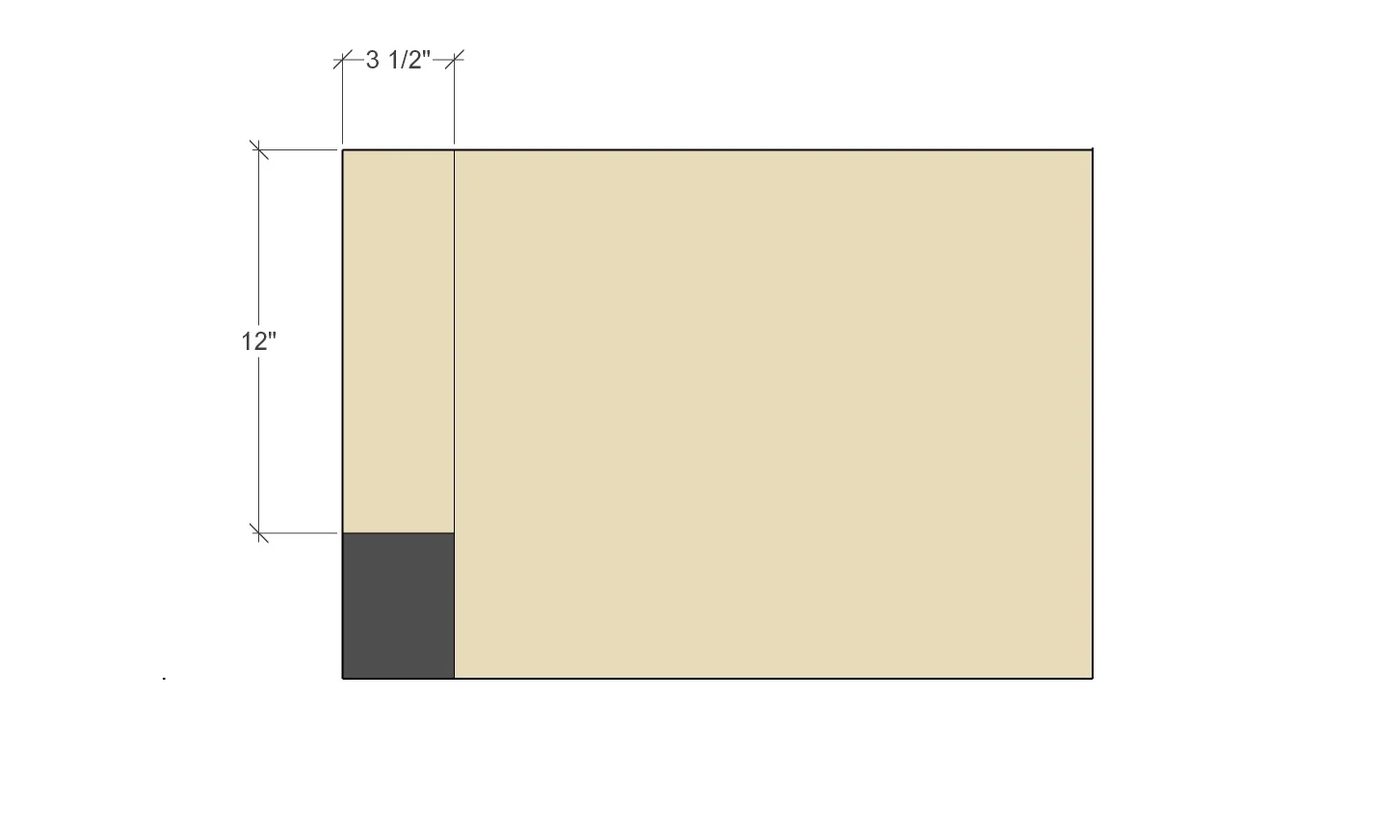
It should look like this when you have made all of the cuts.
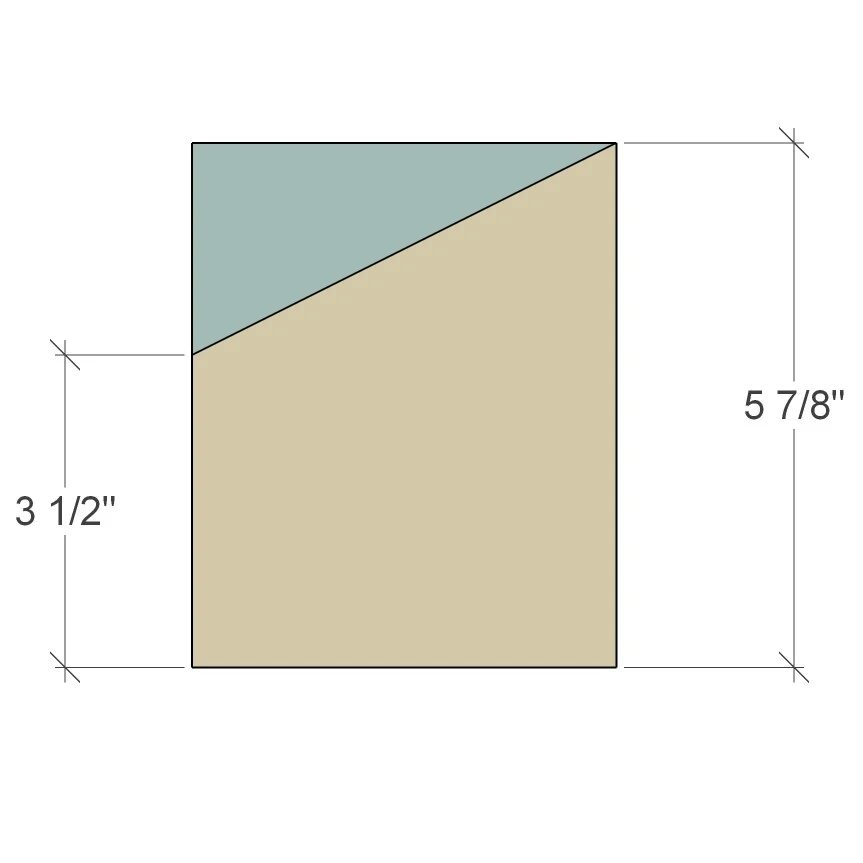
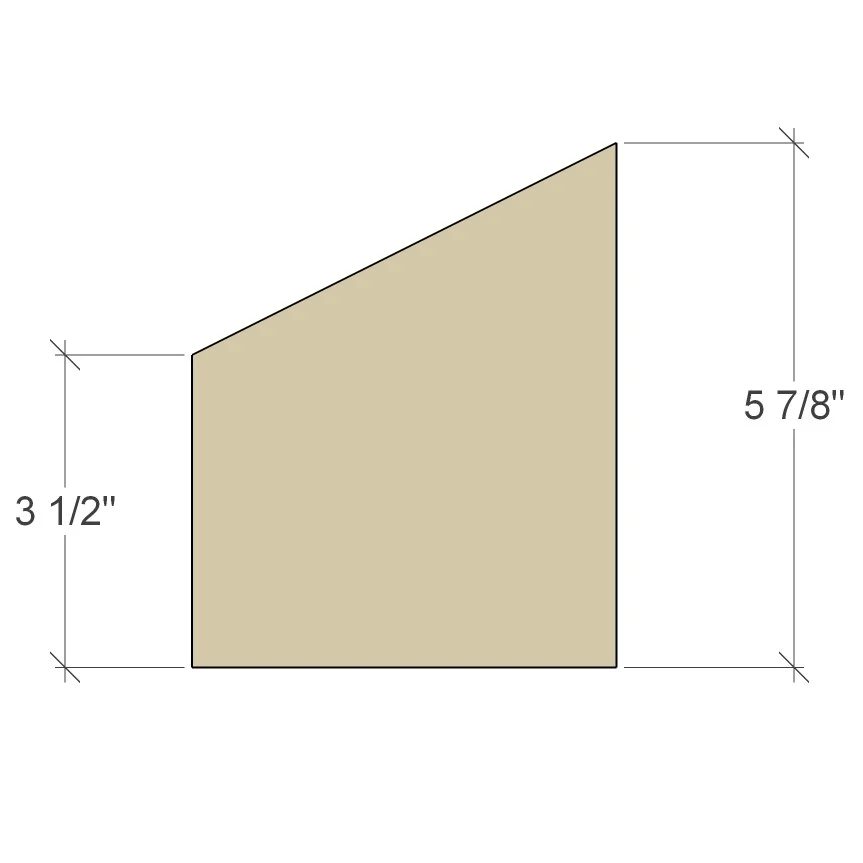
Drawer sides: First cut at 4 3/4″. Then cut (2) 5 7/8″ pieces.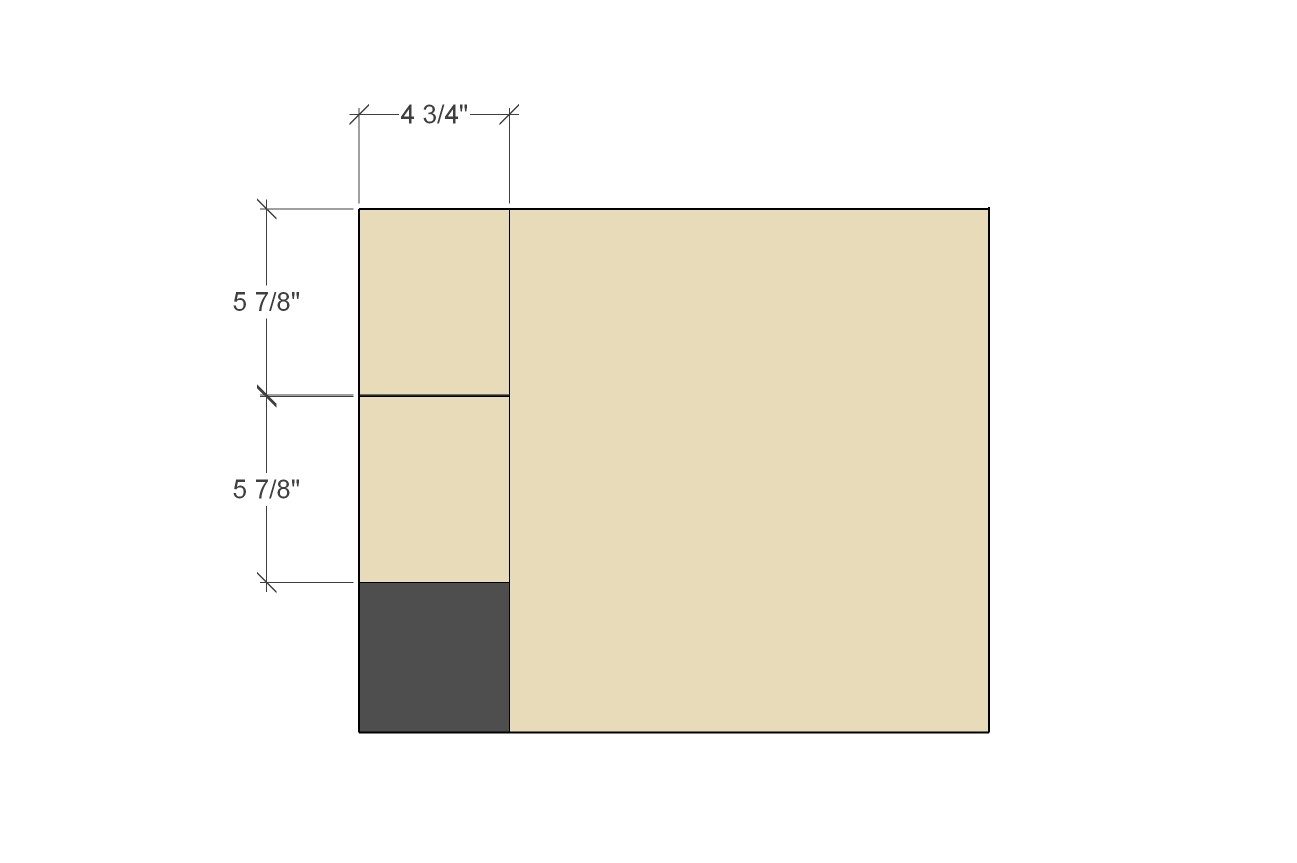
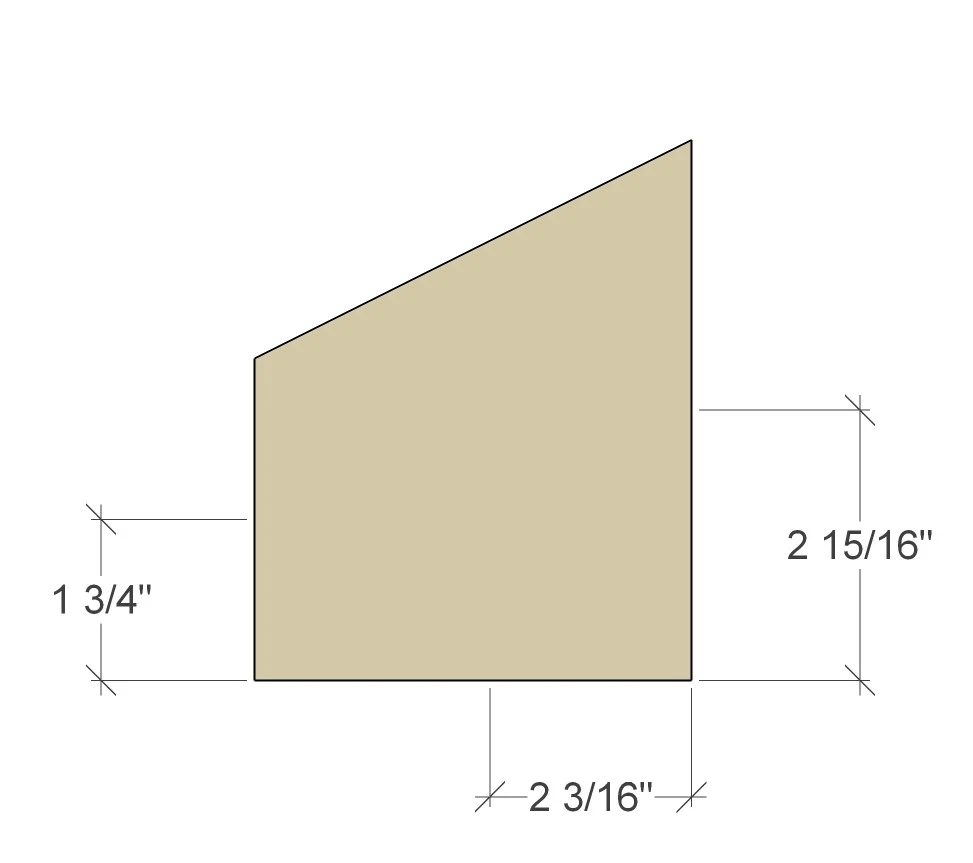
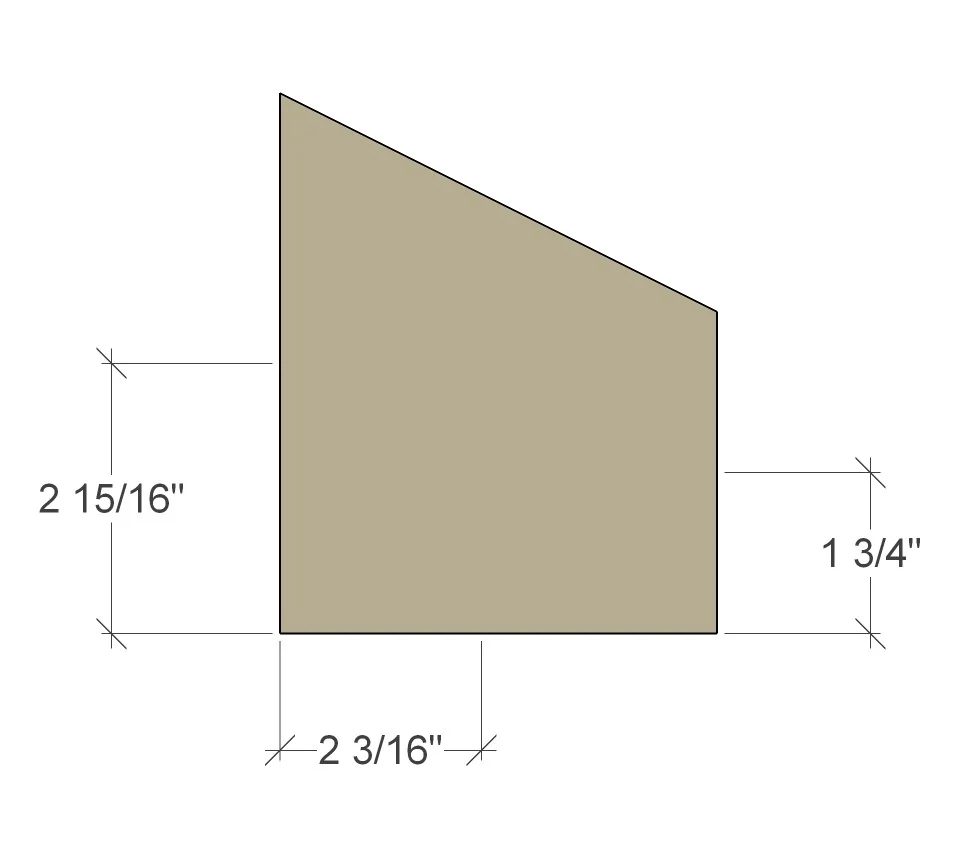
On both side pieces mark 3 1/2″ from the bottom. Then cut on miter saw at about a 64 degree angle to the 5 7/8″ corner.
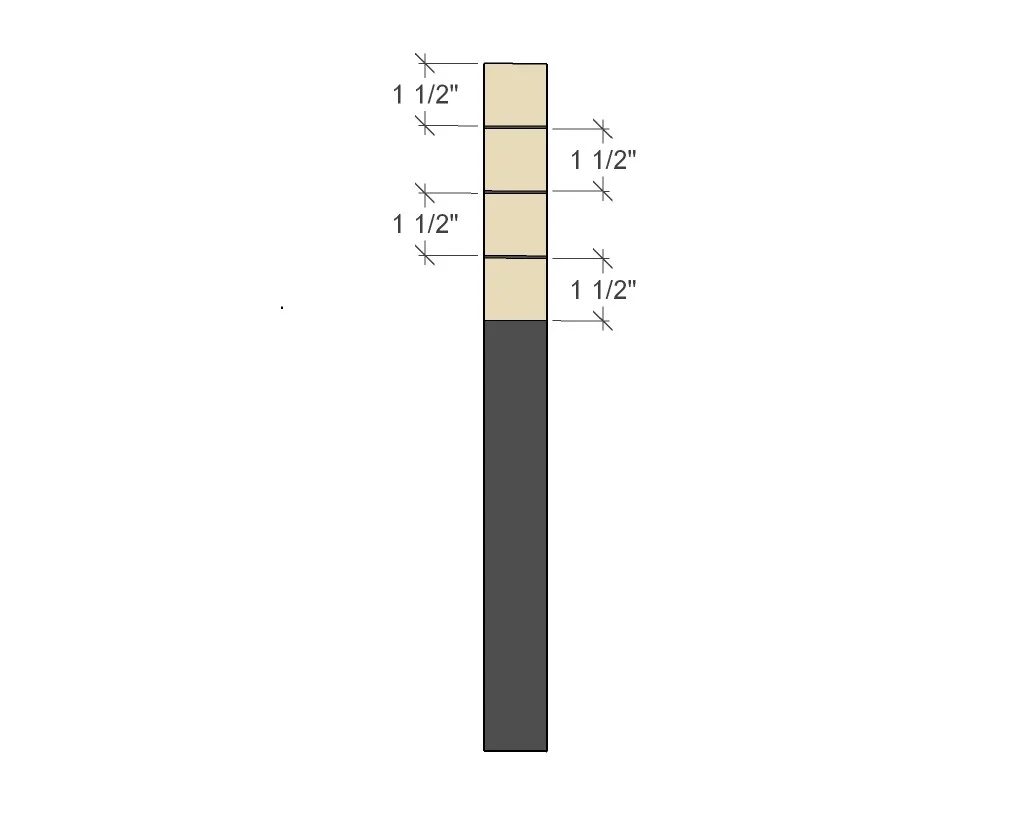
(4) 1 1/2″ strips for feet, rails, and stiles
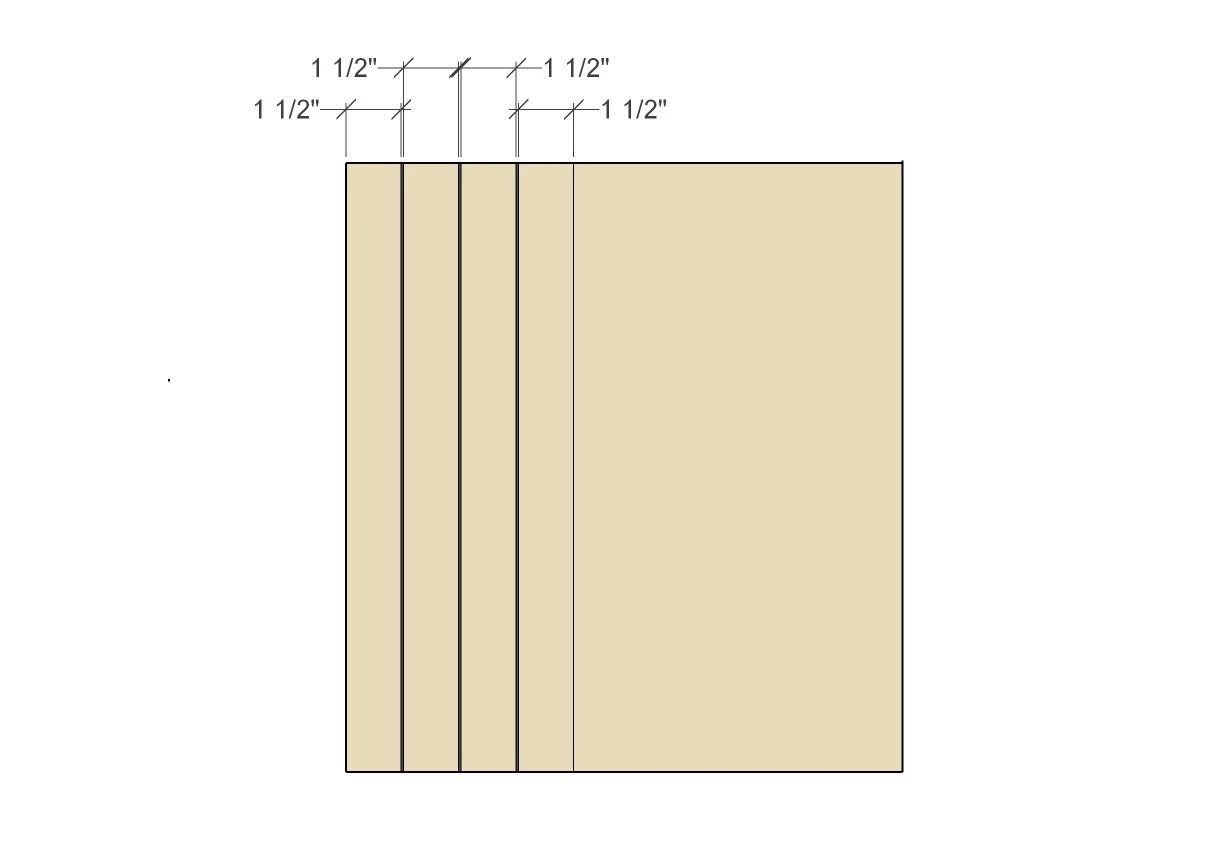
Rail pieces: (2) at 10″
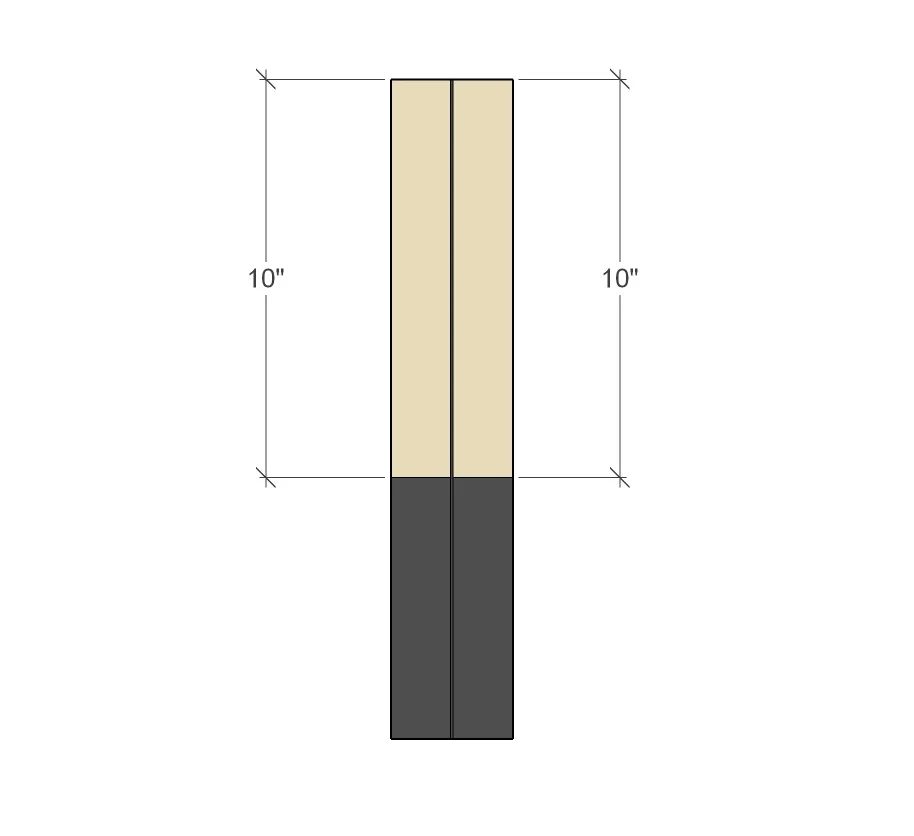
Stile pieces: (2) at 6 1/2″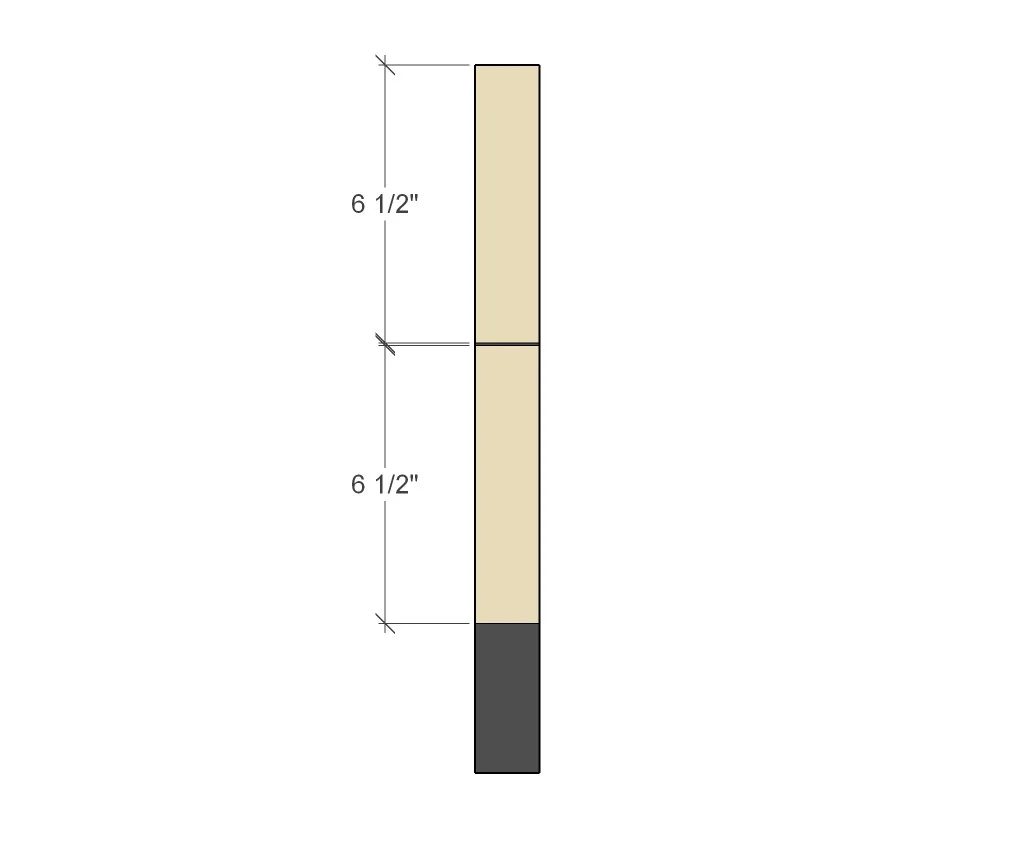
Feet: (4) at 1 1/2″
Using the remaining piece of plywood, cut a 1/2″ strip. Then cut that down to 10 3/4″. This will be a stop for the drawer when it tips forward.
Step 2: (faux) shiplap detail
You will need to set your saw depth to 1/8″
Then set your fence to 1 1/4″
For the box sides: (2) 7 3/8″ x 6 3/8″ and (1) 7 3/8″ x 12 1/8″
Run the 6 3/8″ side along fence to rip out material for the first cut.
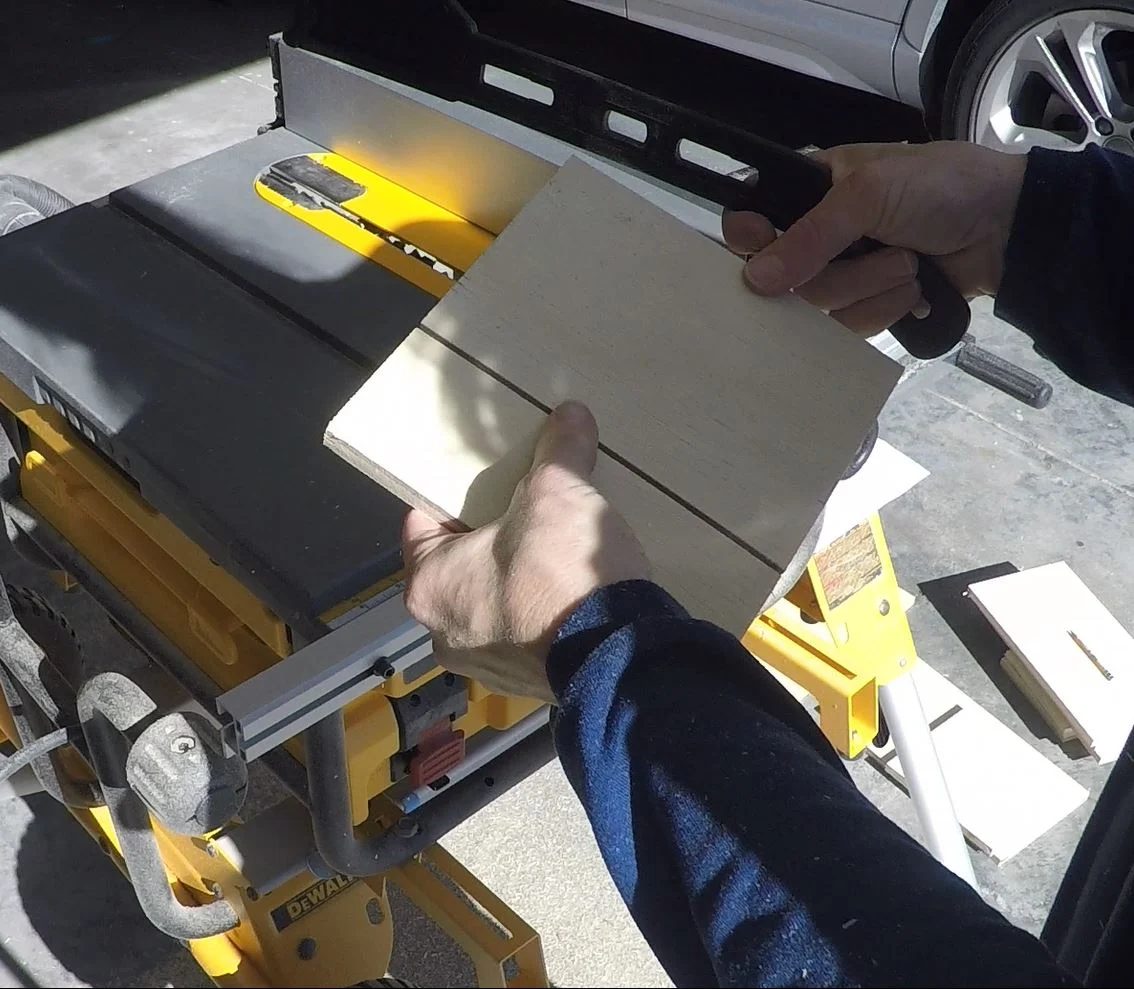
The turn the piece and run the other 6 3/8″ side along the fence for the next cut.
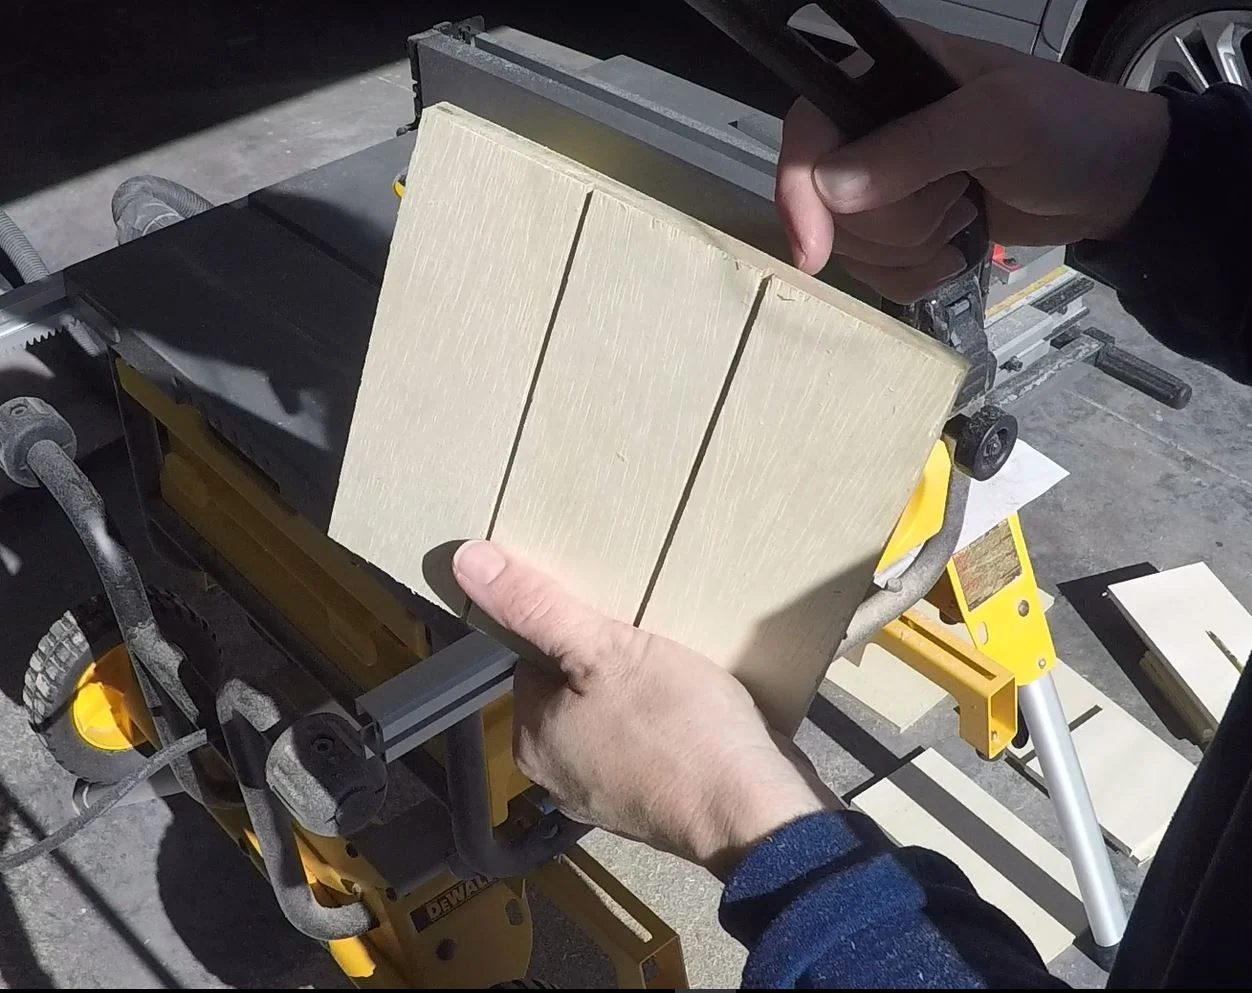
Once you have cut along the face you will cut the edges.
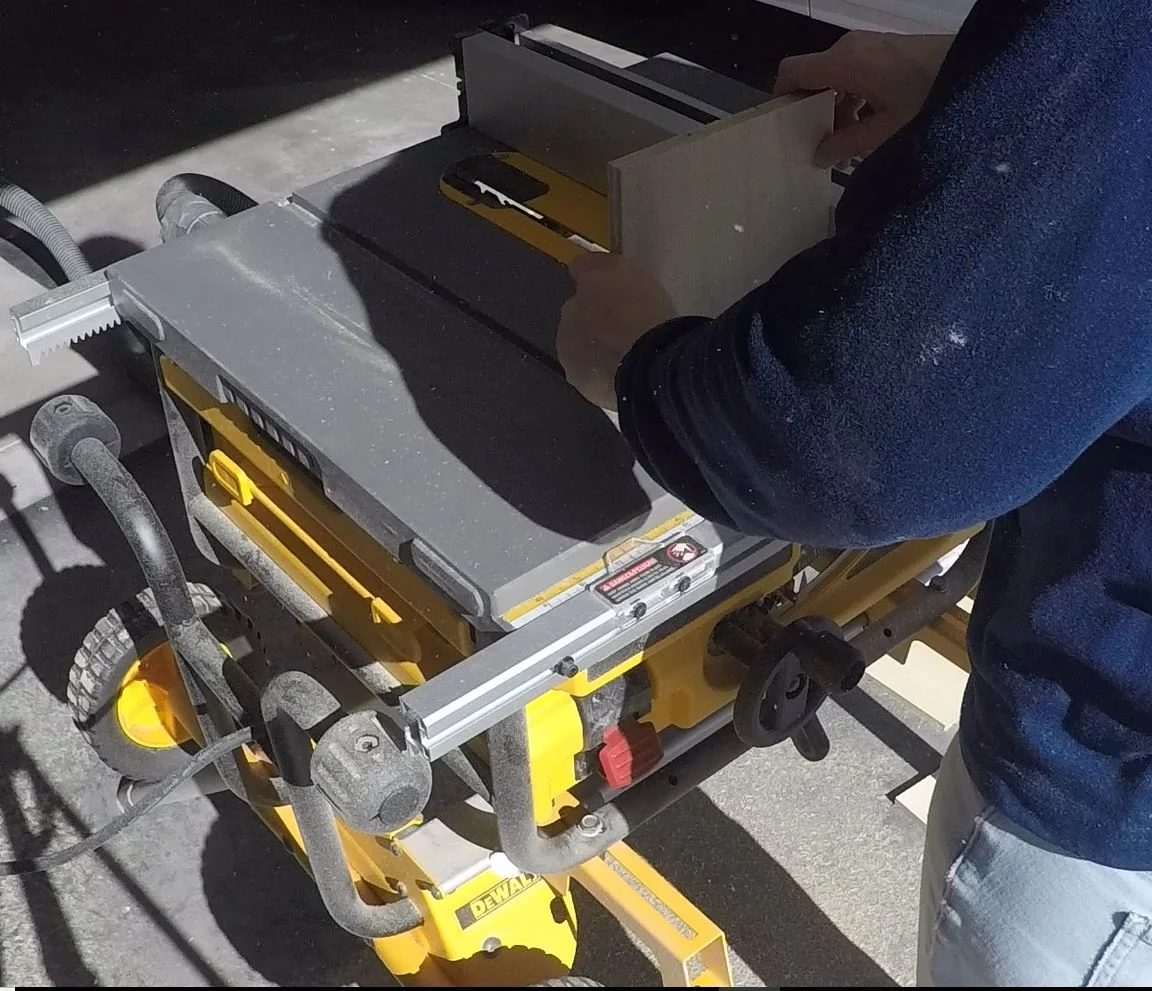
This way the groove wraps around giving the appearance of individual slats of wood.
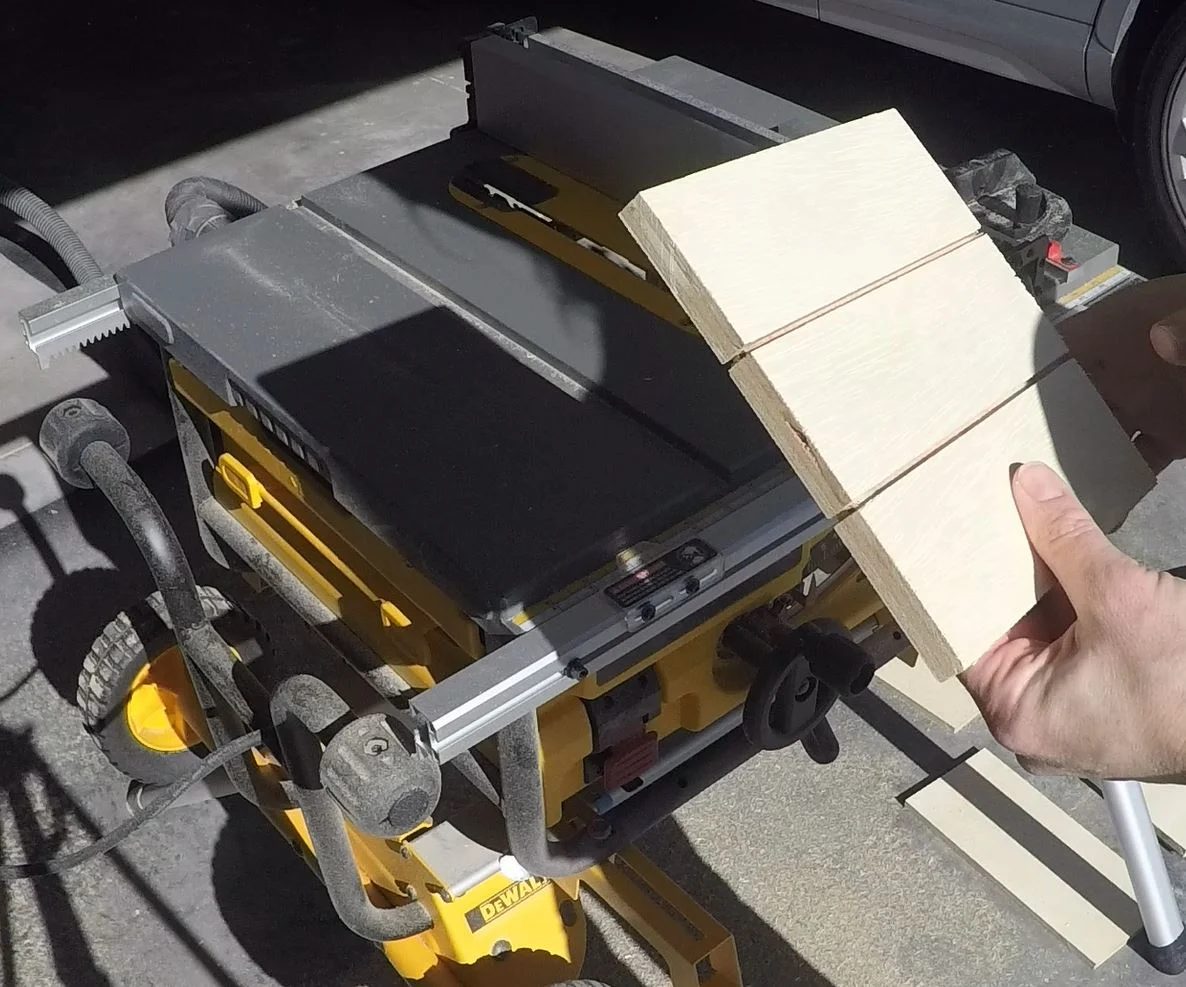
Without moving the fence run the 12 1/8″ piece through along both long sides. This will ensure that grooves match. Do not cut edges of this piece.
Then adjust the fence to 2 3/8″ for the ship lap grooves on the top piece.
Run the top along both of the 13 7/8″ lengths, and then cut the edges as well.
Step 3: Pocket holes
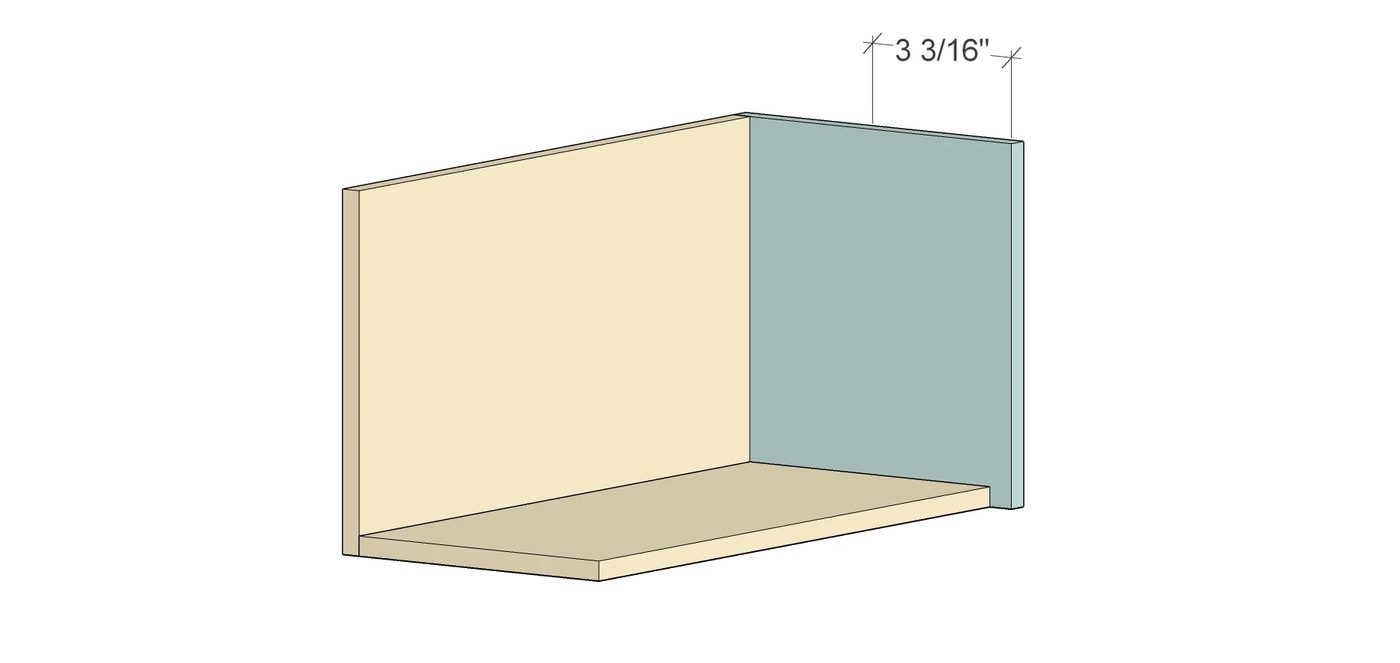
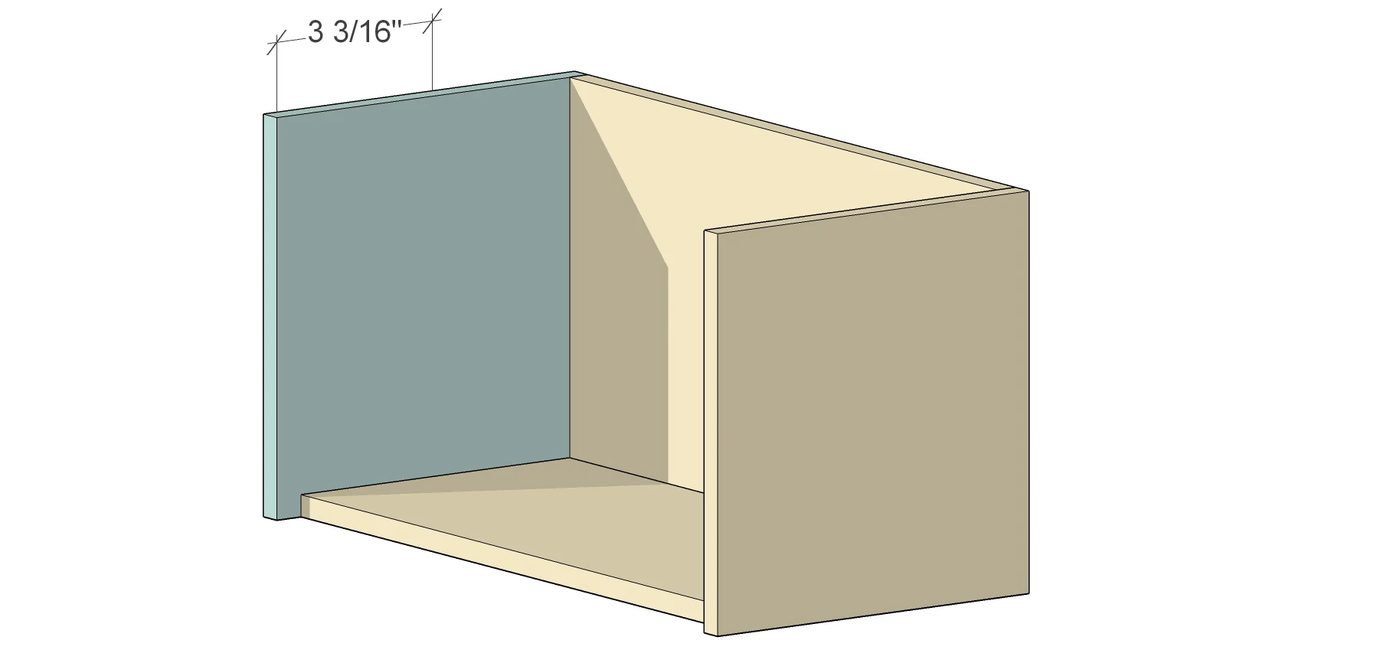
Pocket hole layout for box assembly.
Along the back of the bottom piece mark 2″ from edge for pocket holes that will attach the back of the box, and 2 3/4″ on the sides
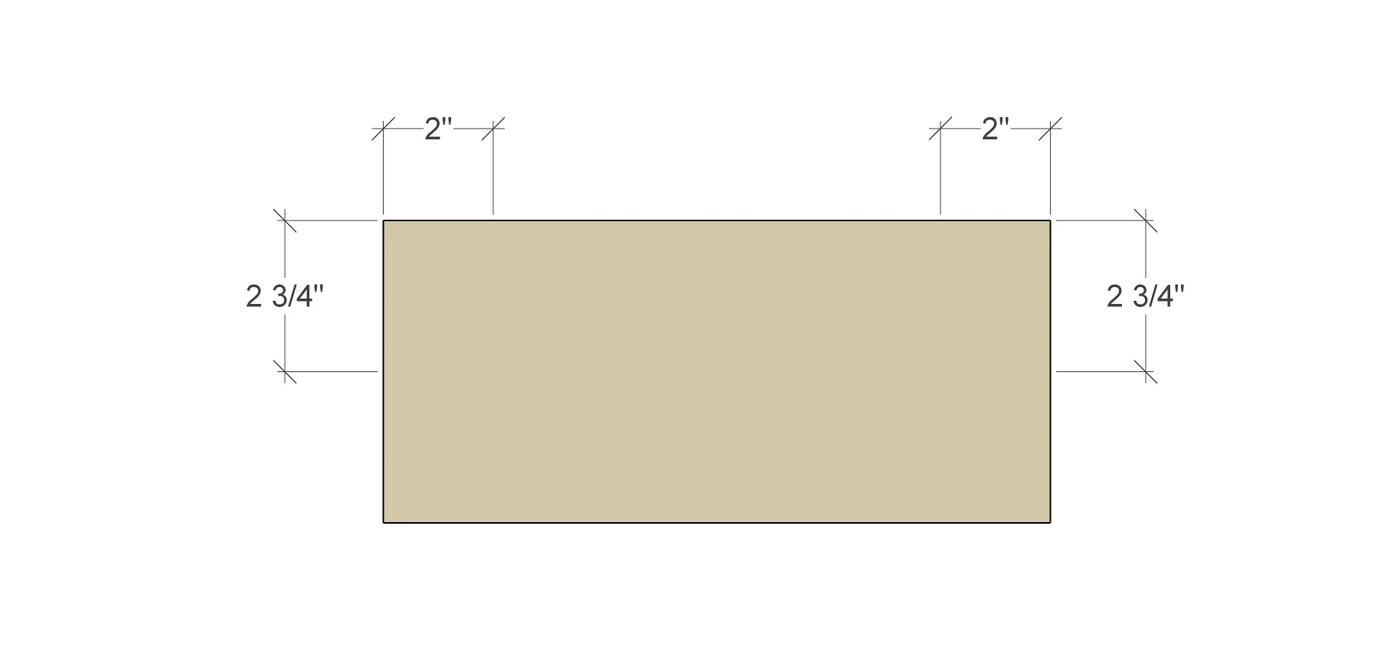
Pocket hole measurements for the back of the box. Along the top mark at 2″ from both edges, along the sides mark at 1 1/2″ from the edges.
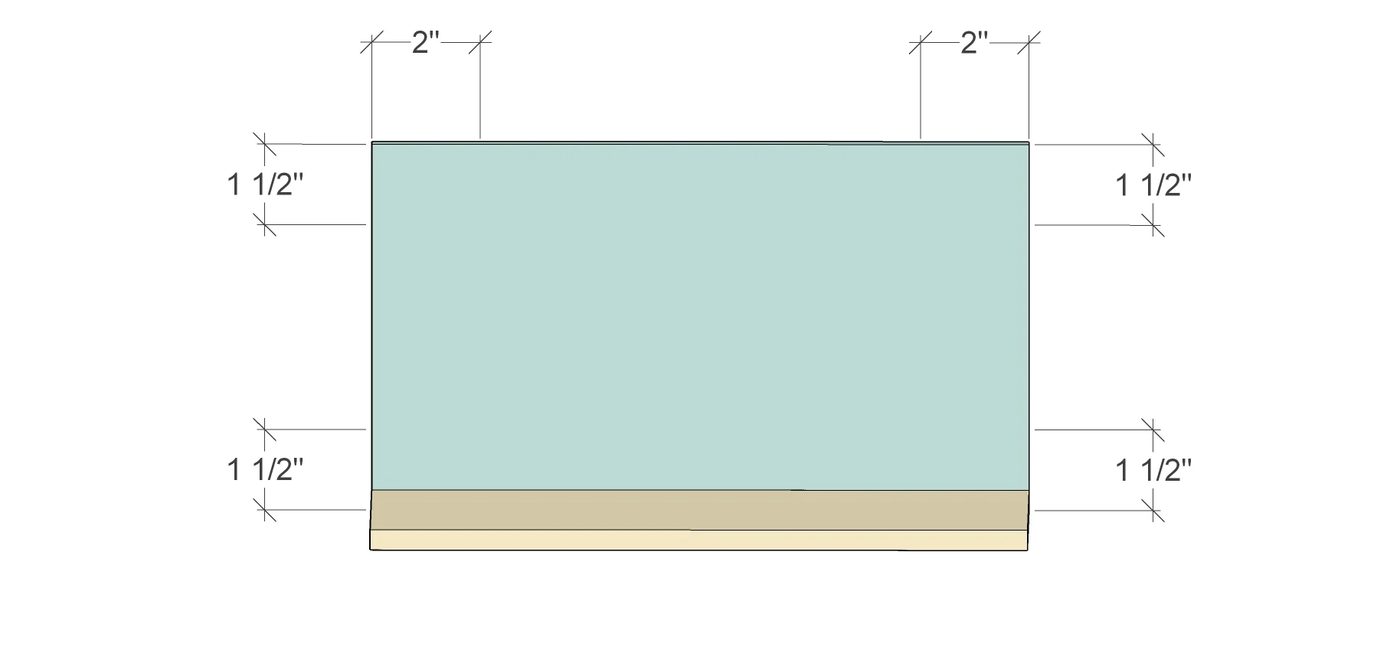
Pocket hole measurements for the sides of the box. One pocket hole along the top edge, marked at center on both side pieces.
Pocket hole layout for drawer assembly.
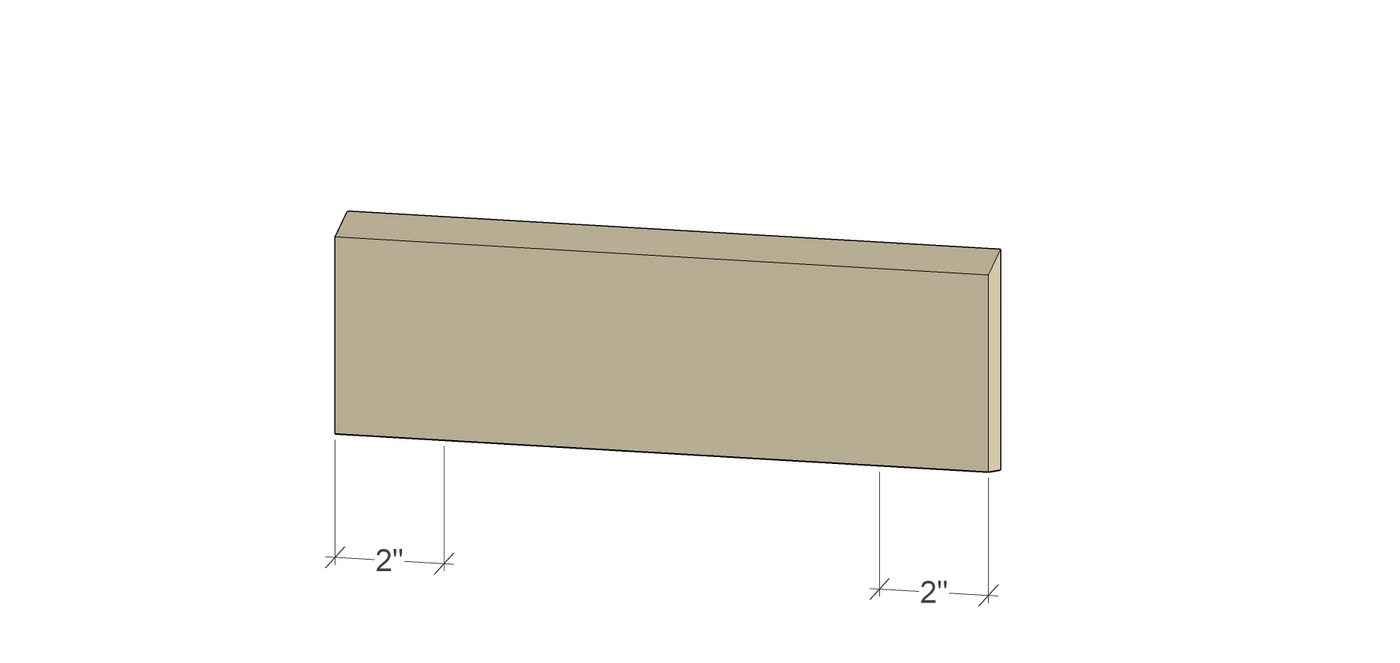
Pocket hole measurements for drawer back. Mark along the bottom (none 45 edge) at 2″ from both side edges.
Pocket hole measurements for drawer sides. These measurements are the center point of each edge. Make sure you mark the mirror of the first piece so your pocket holes are on the outside of the drawer on both sides.
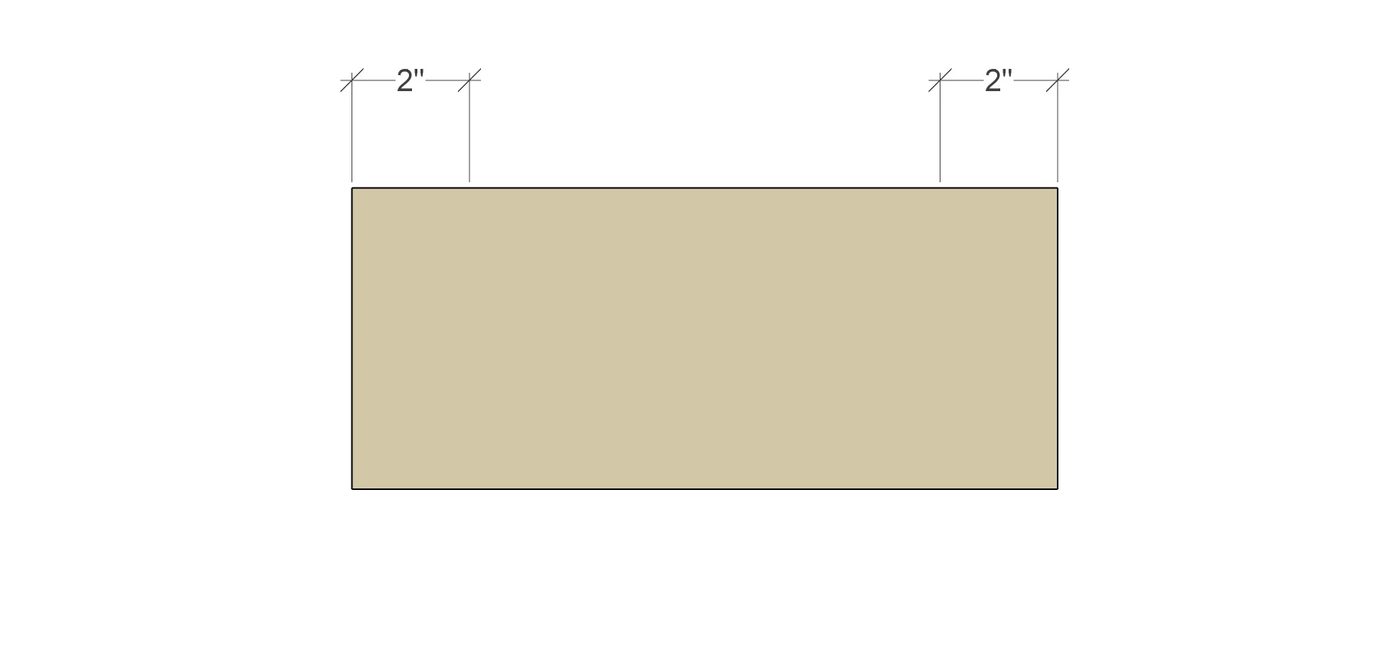
Pocket hole layout for drawer bottom. Mark along the 12″ edge 2″ from both sides.
Drill pocket holes
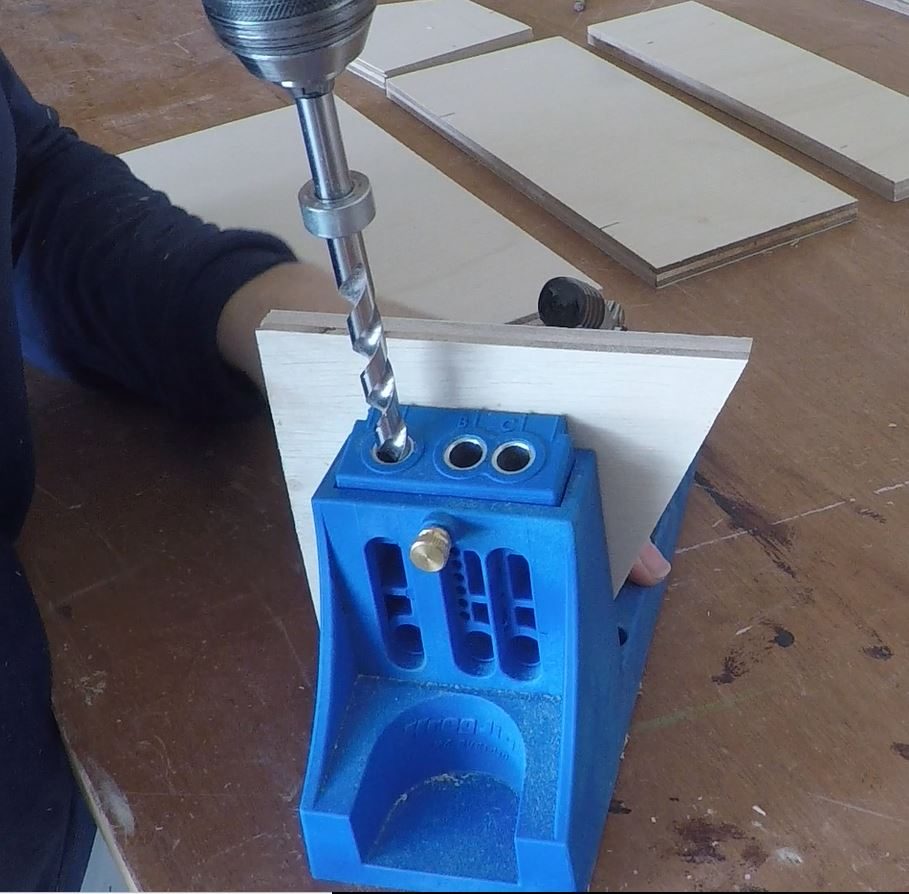
Set pocket hole jig for 1/2″ material.
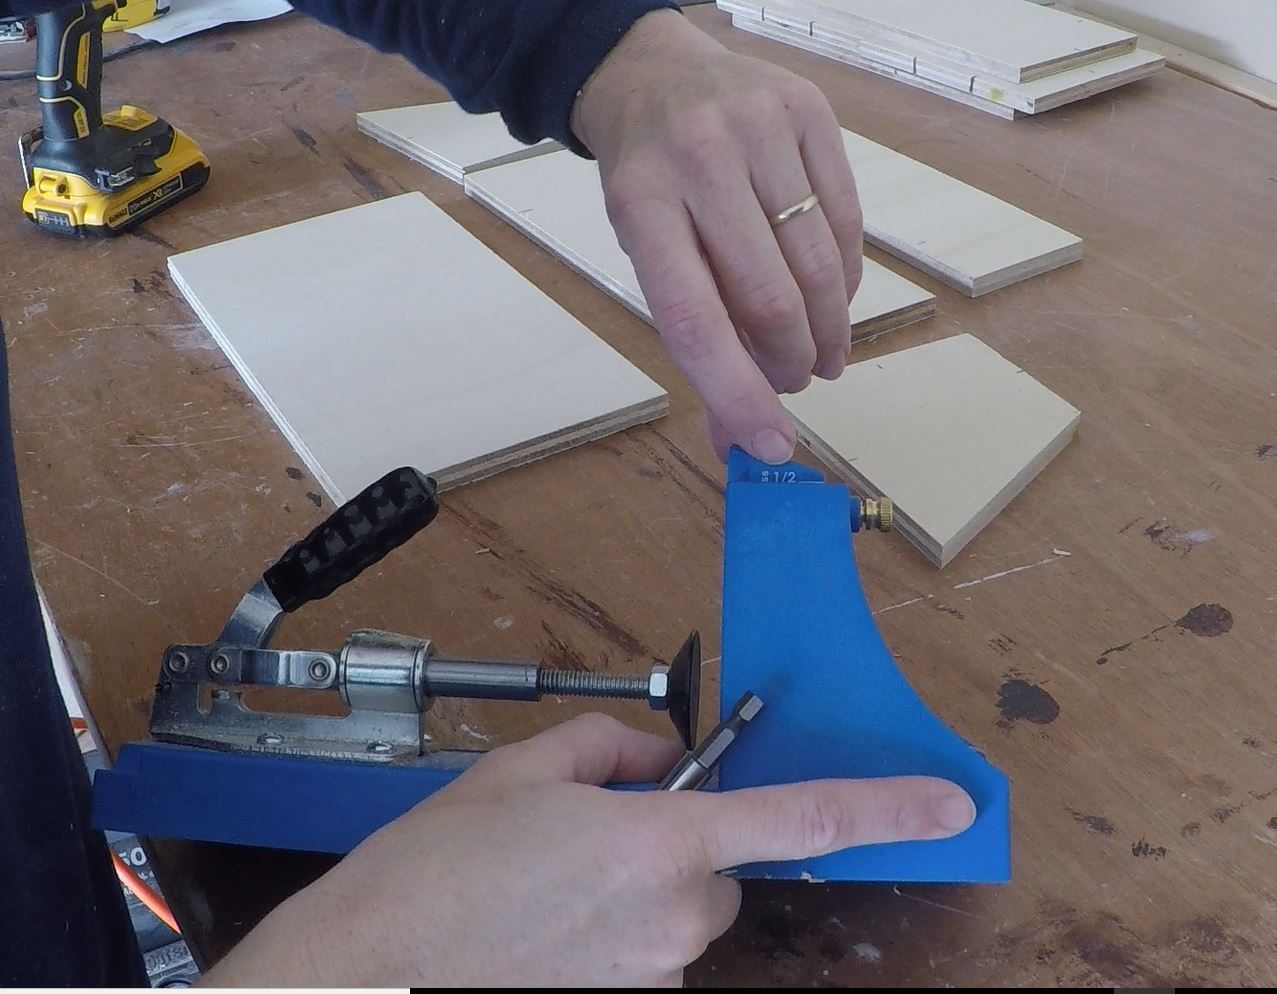
And adjust the collar on the bit for 1/2″ material.
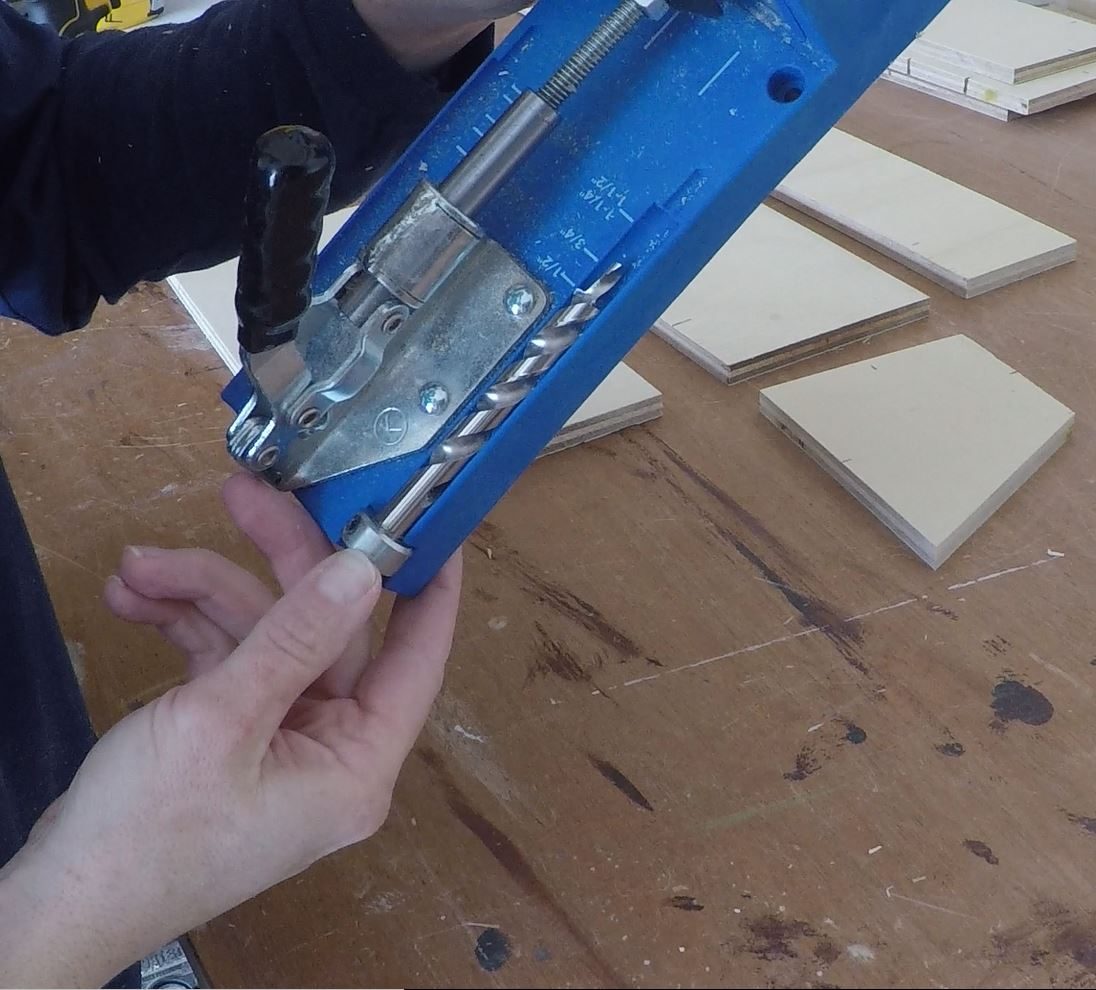
Line up each mark with one of the marks on the jig. and clamp into place.
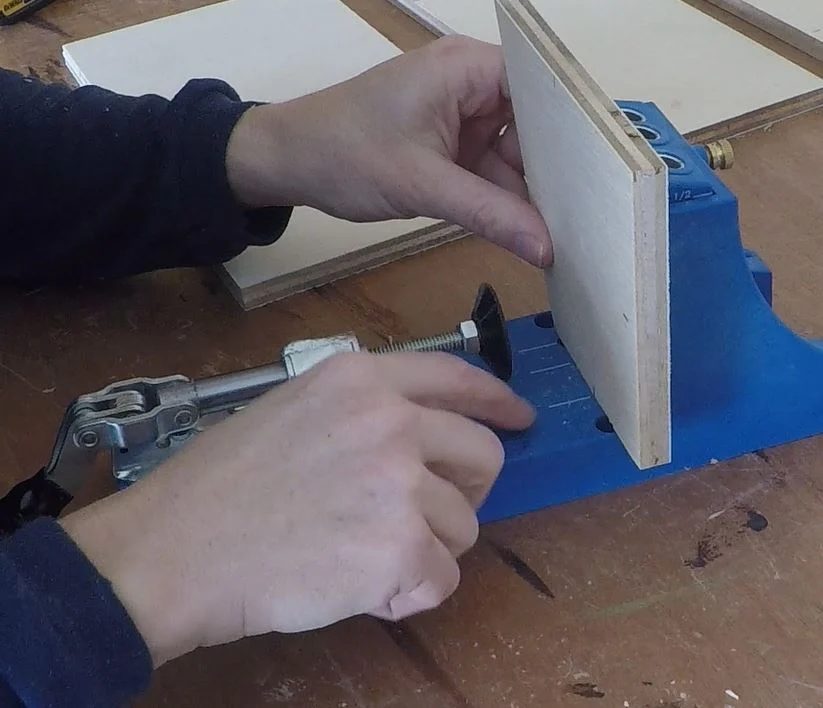
Then place the bit in the corresponding hole, and drill out pocket holes for each mark made for the box and the drawer.
Step 4: Box Assembly
I only had 1″ pocket hole screws. You actually want 3/4″ screws. I snipped the end off so that they didn’t come through when I attached two pieces.
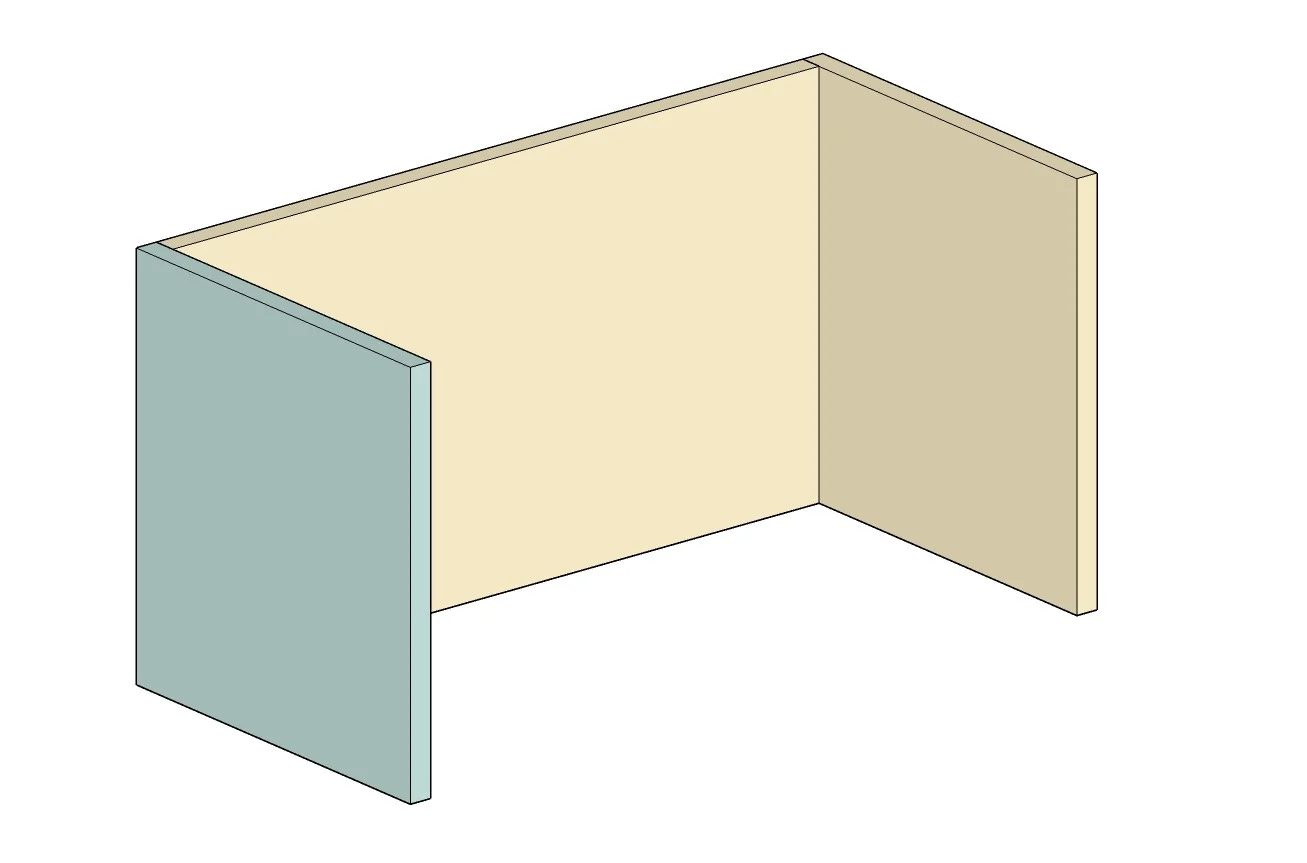
To begin assembly of the box align the back piece and one of the side pieces.
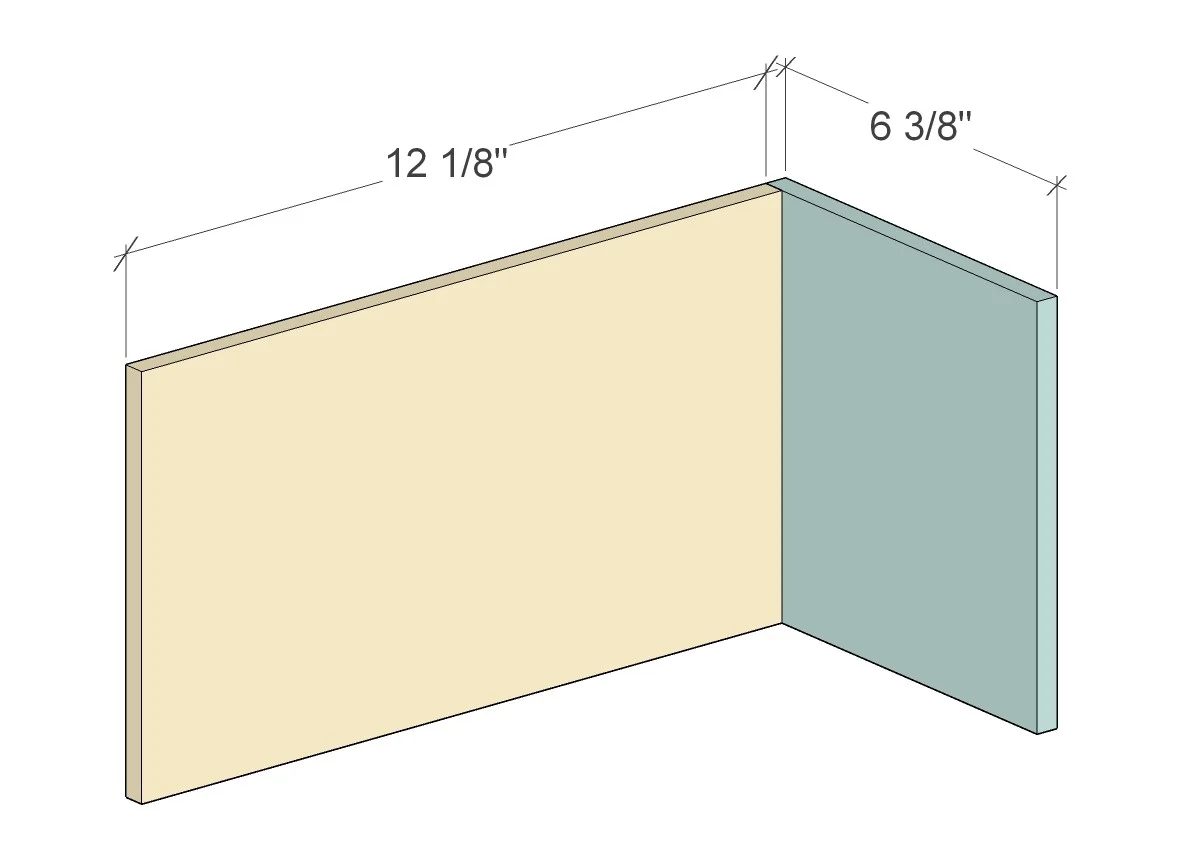
I use and un-snipped screw to predrill, and then used a snipped screw to secure the two pieces together.
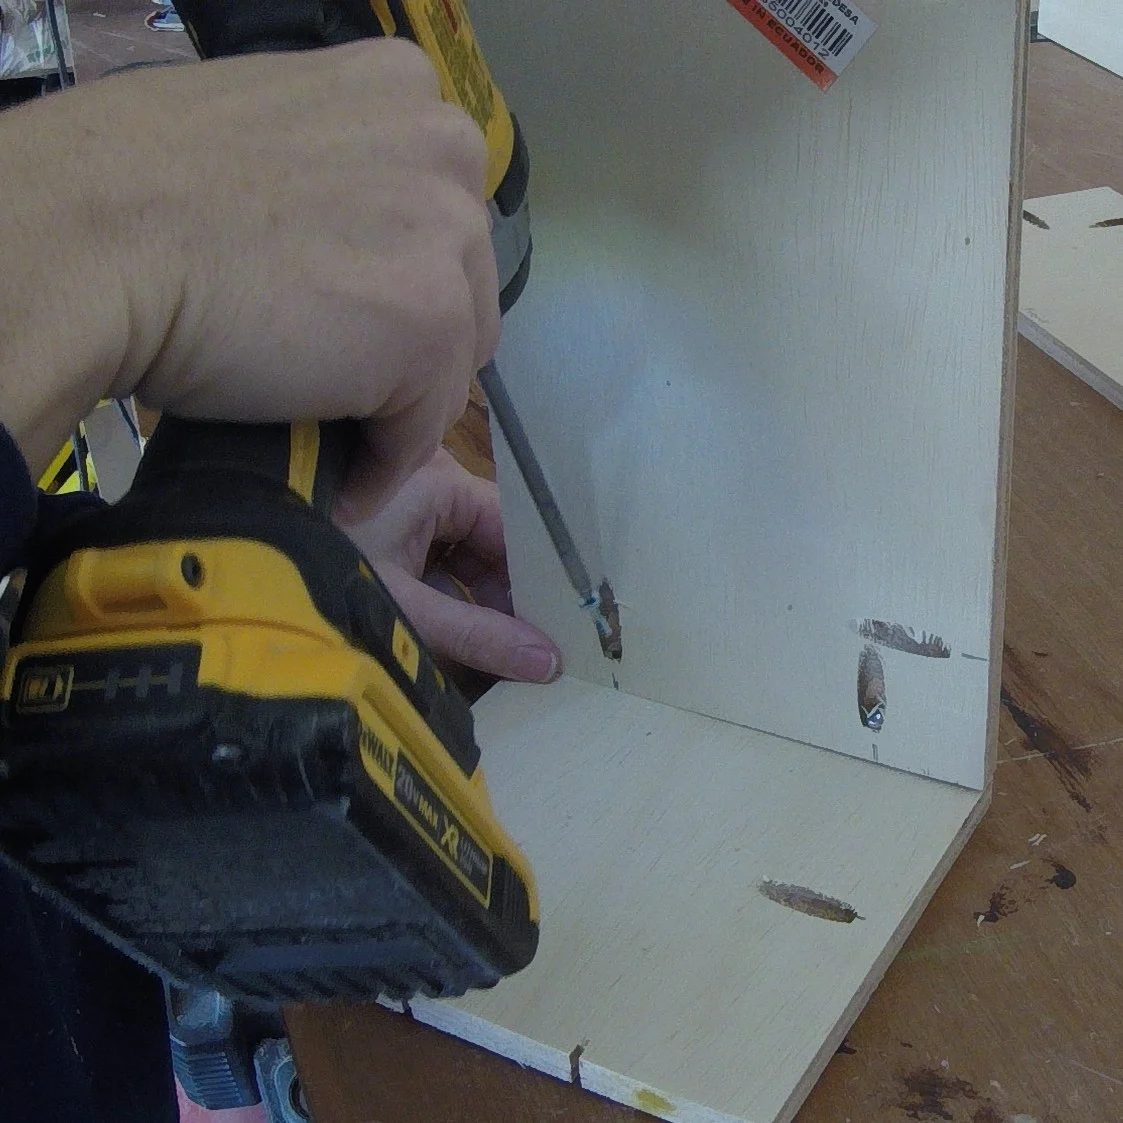
Then attach the other side.
Next attach the box top.
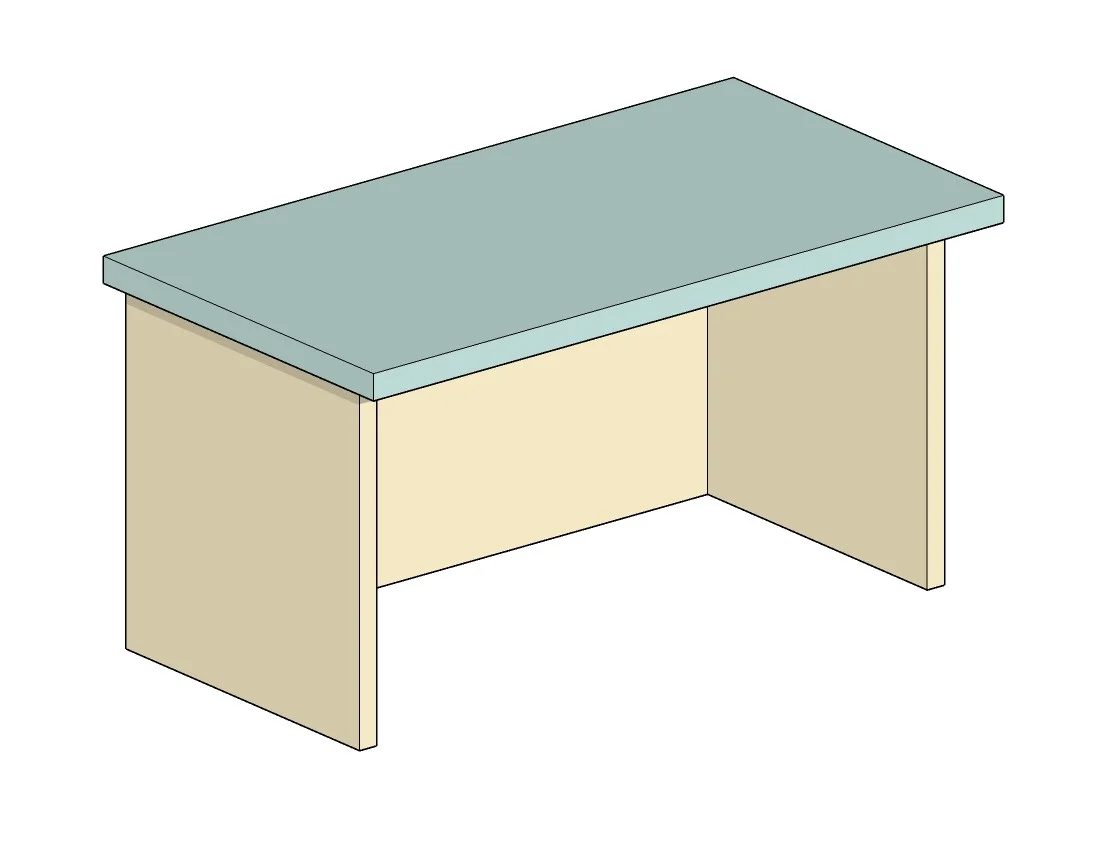
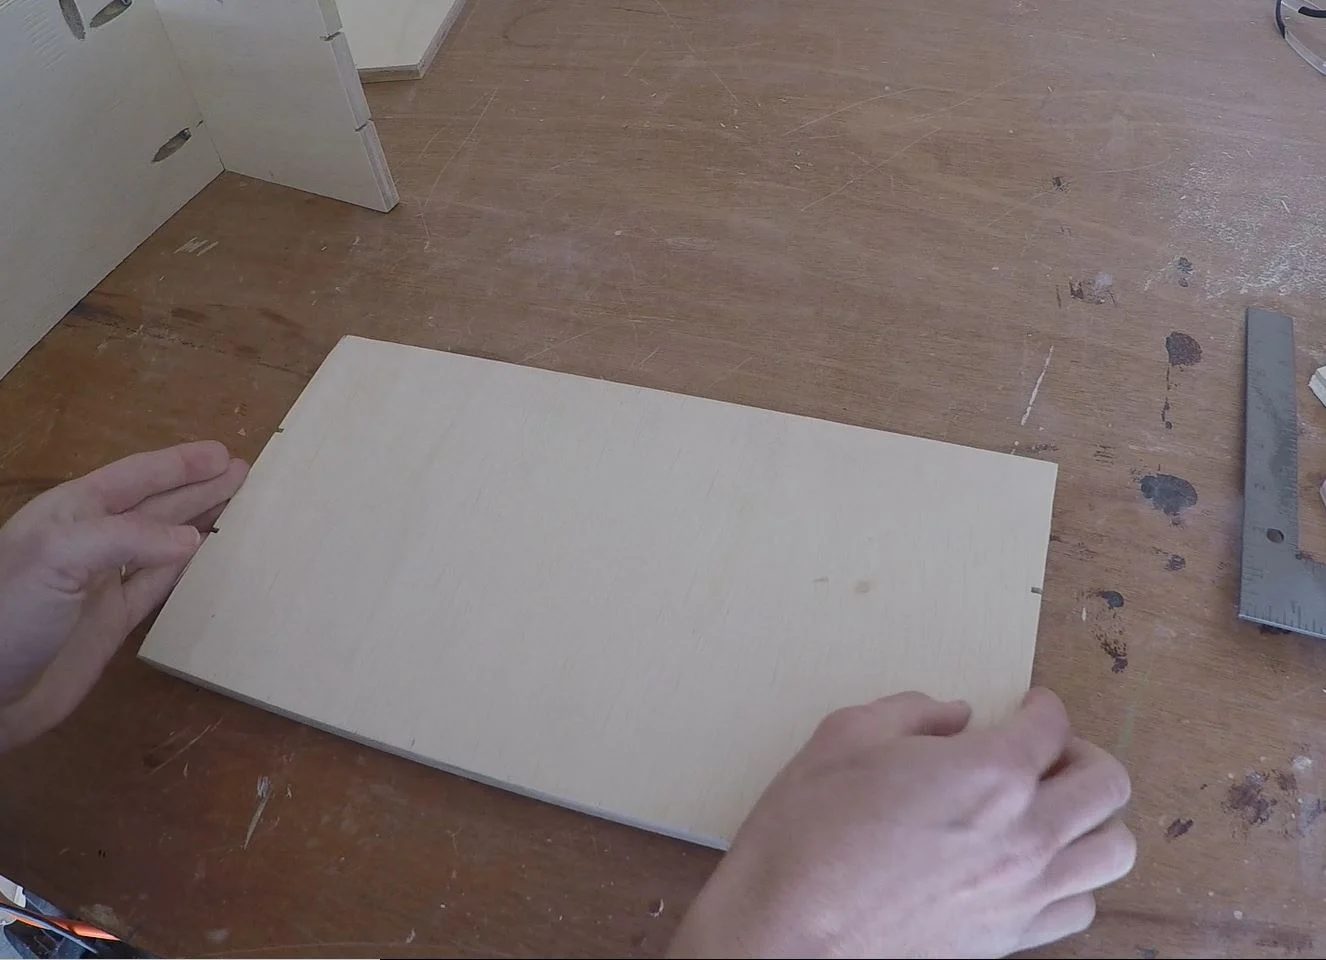
Turn the top piece so that the ship lap grooves are on the bottom.
Then set the pieces you have already assembled so that the back is flush, and there is a 3/8″ reveal on both sides.
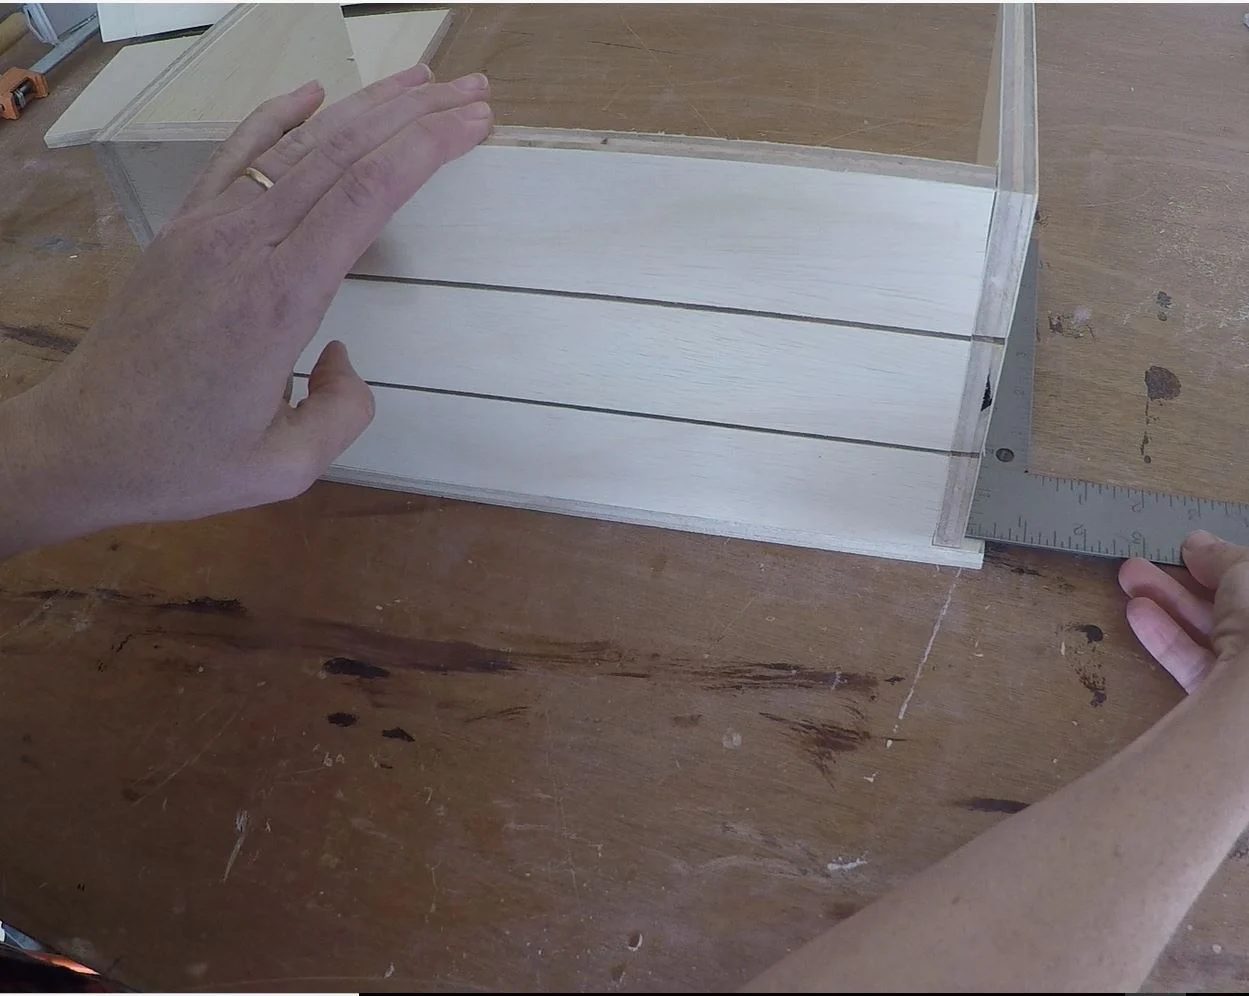
Gently turn the box around so you don’t shift the pieces. Attach the side to the top with the pocket holes along the back first. Making sure they stay flush on the back.
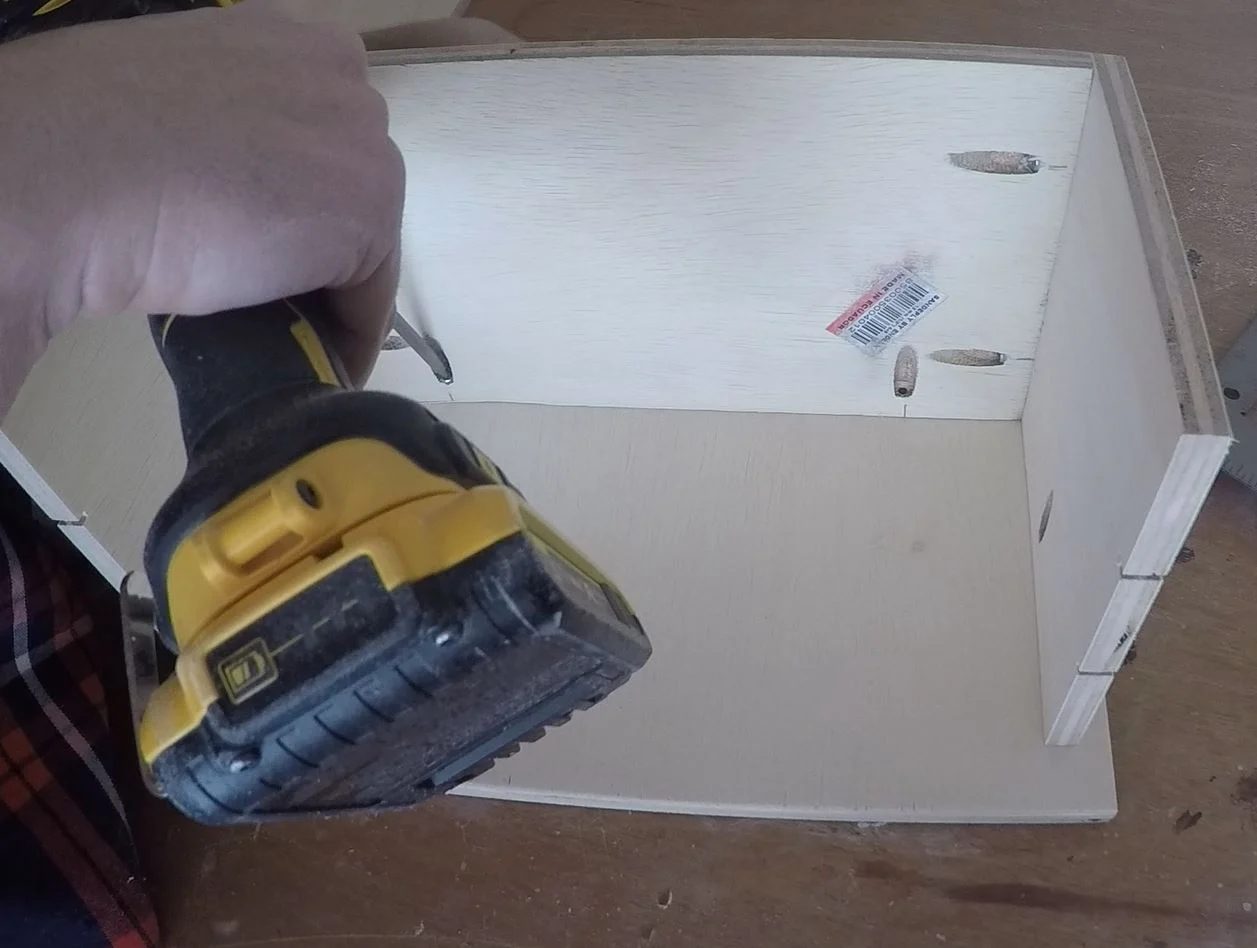
Then use your square to adjust the side pieces,
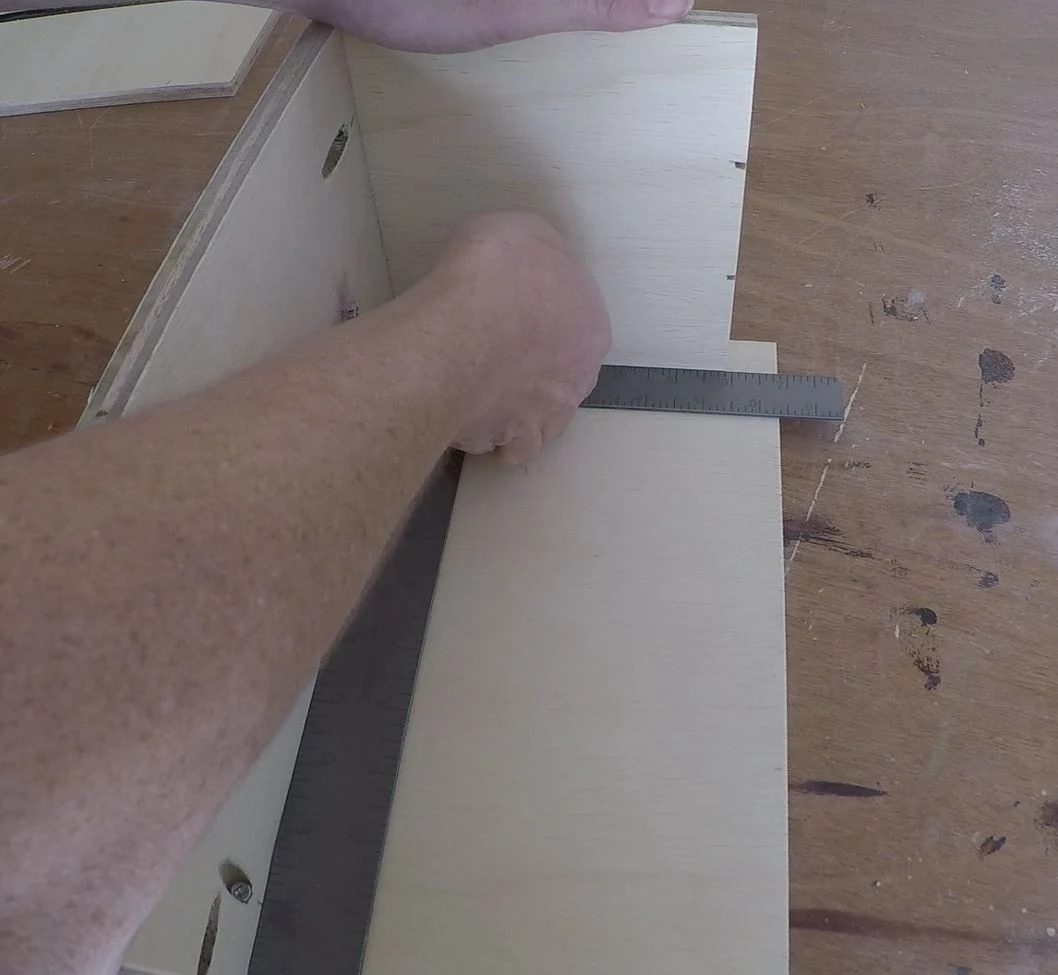
and screw into place.
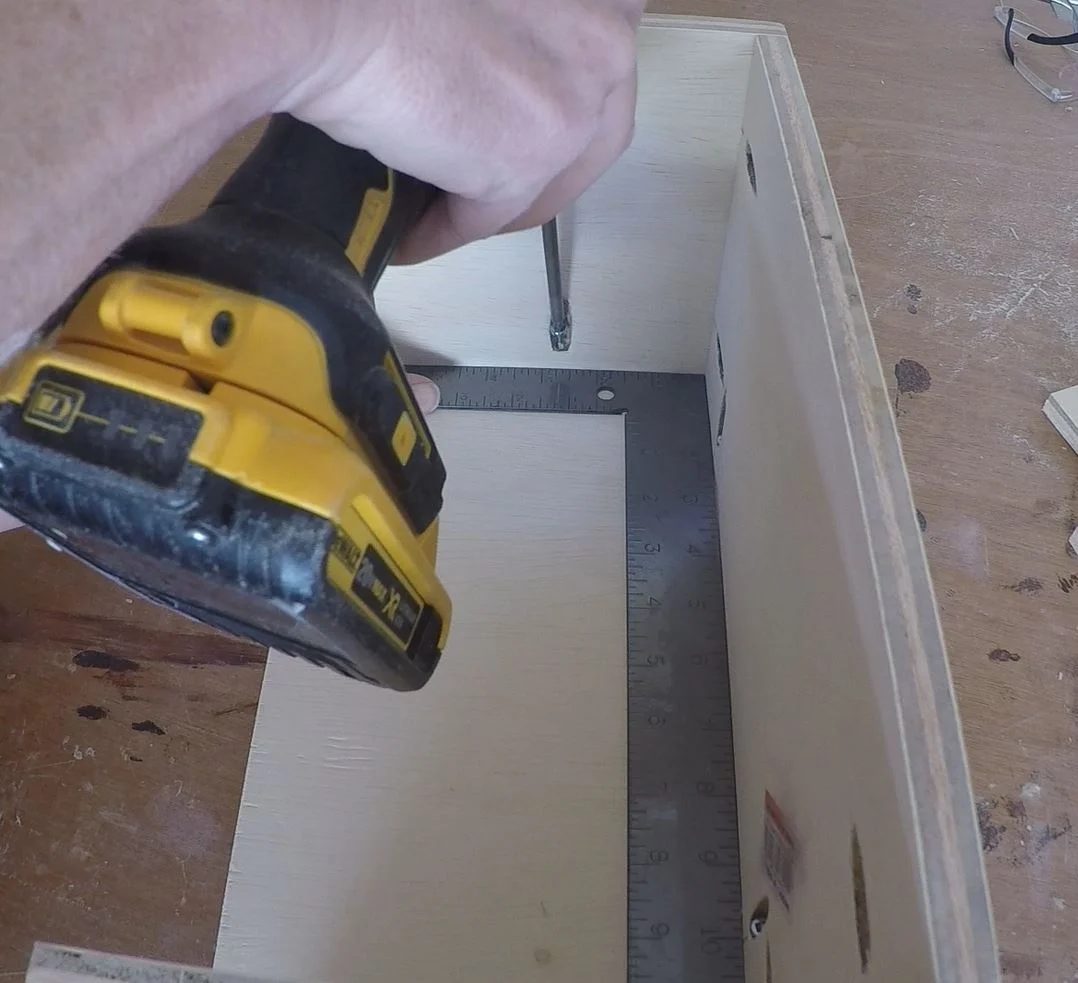
It should look like this so far!
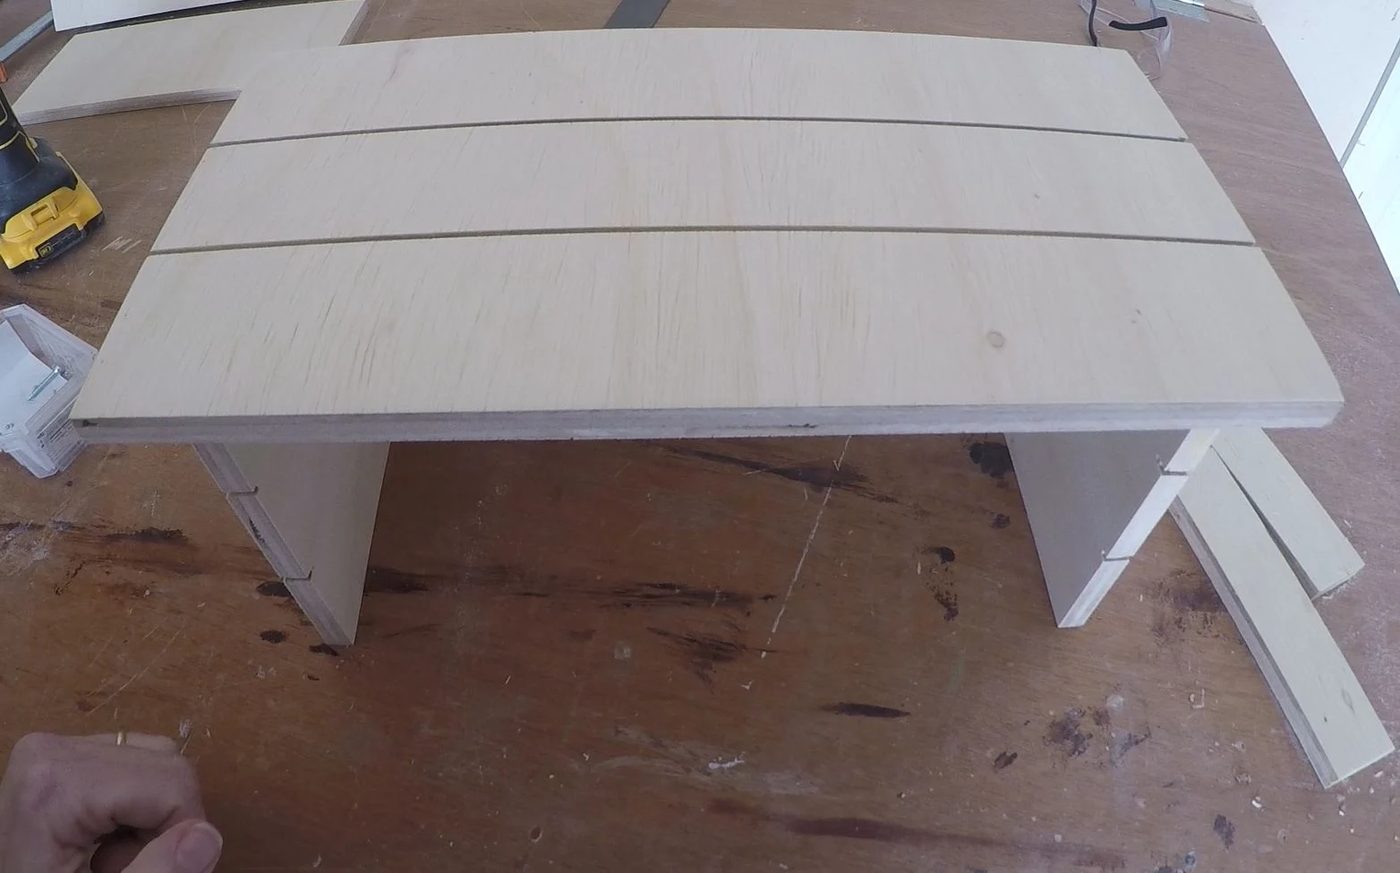
Mark 1/2″ from the front of the side pieces on both sides.
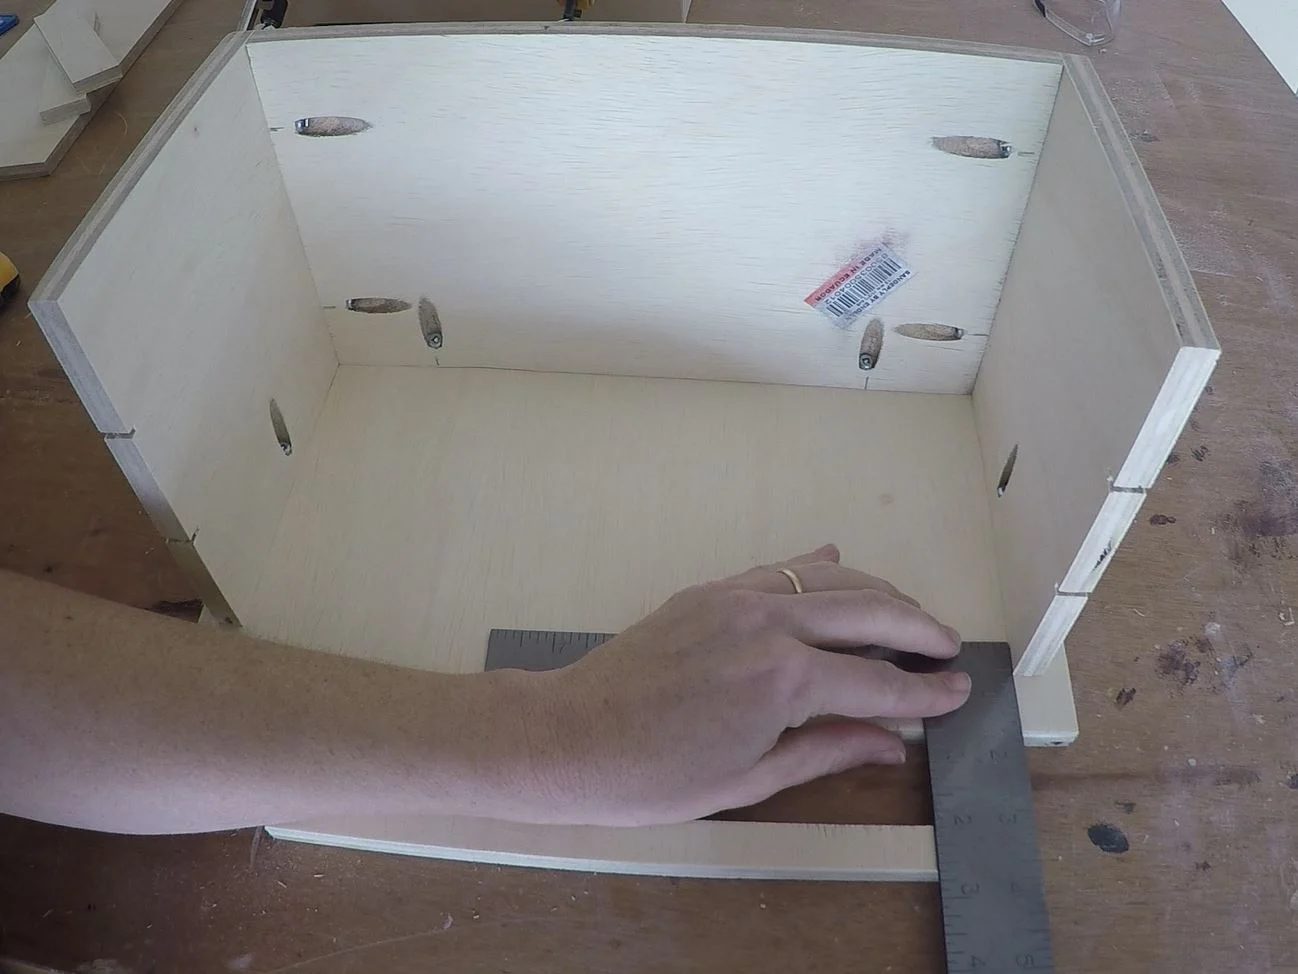
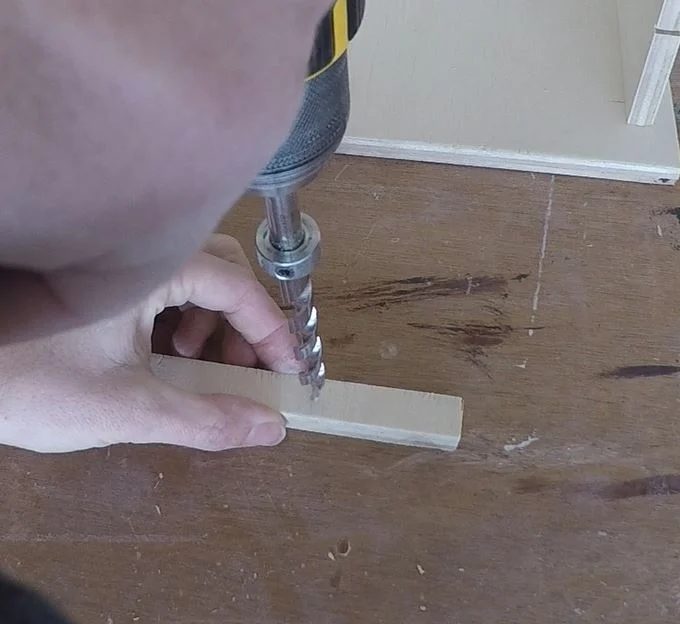
Pre-drill two holes in the 1/2″ x 10 3/4″ piece.
Line this piece up with the front on the 1/2″ mark, and about 5/8″ from both sides.
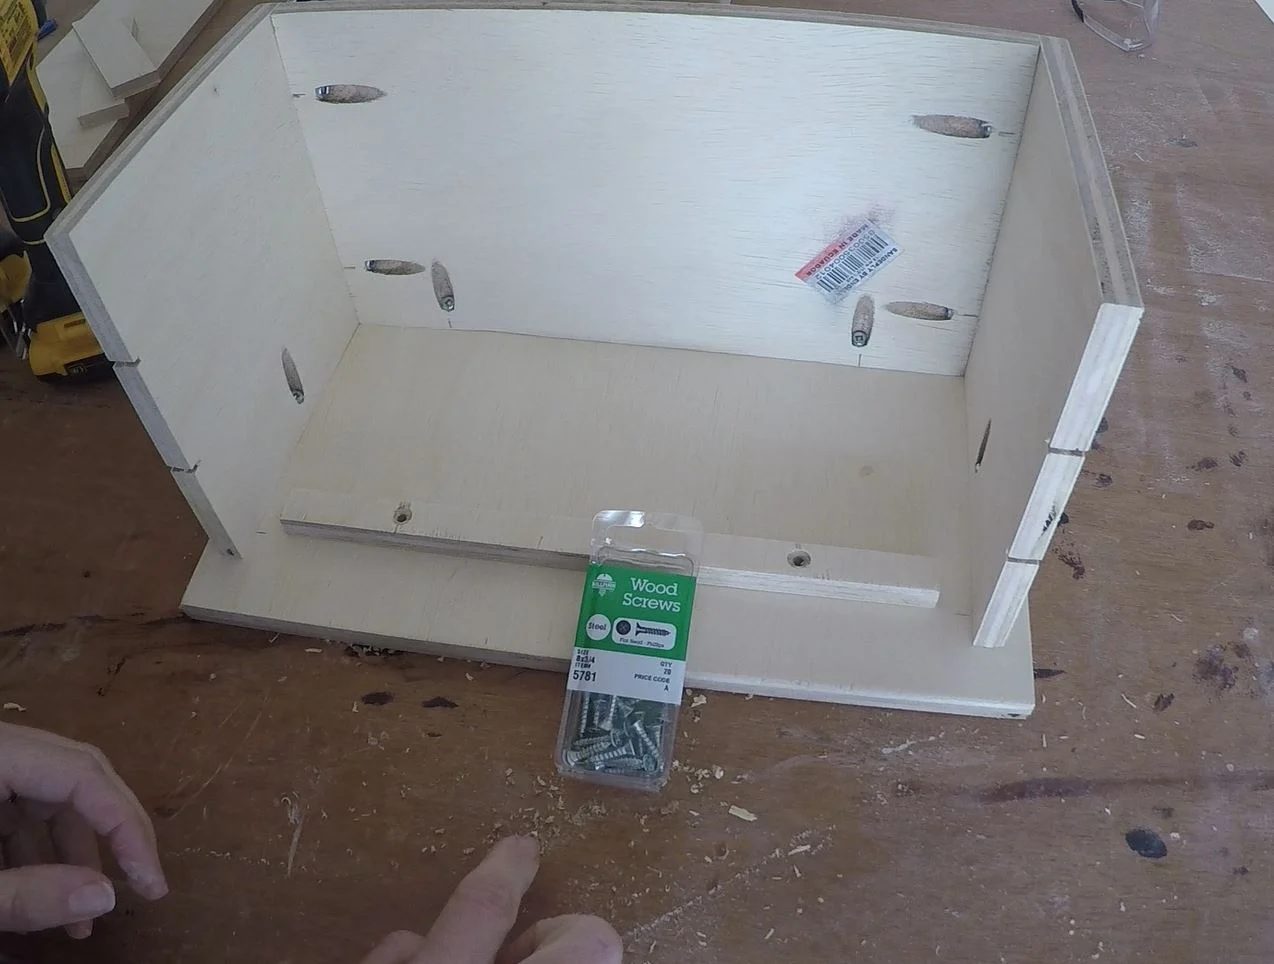
Use 3/4″ wood screws to secure in place.
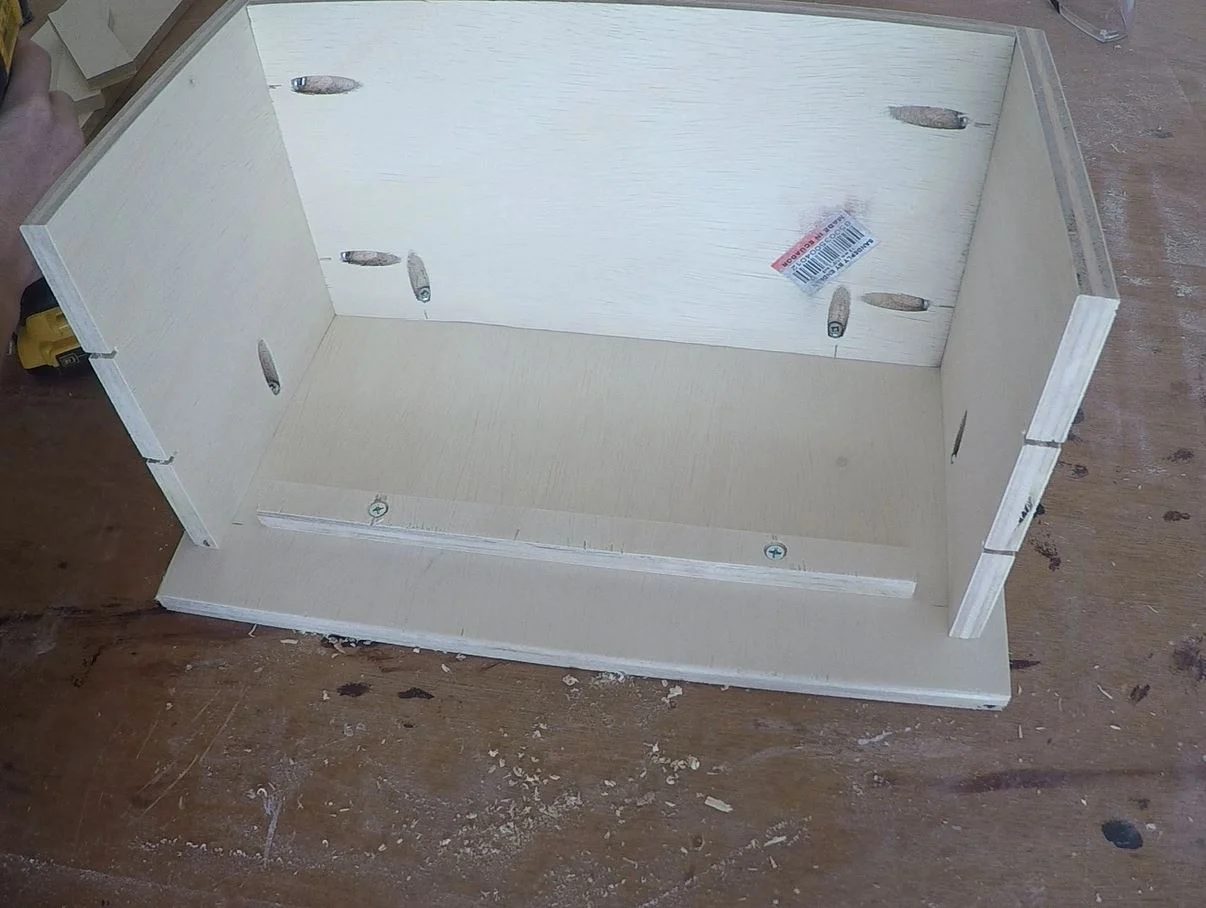
Now fit the bottom piece of the box with the pocket holes facing down and against the back and sides.
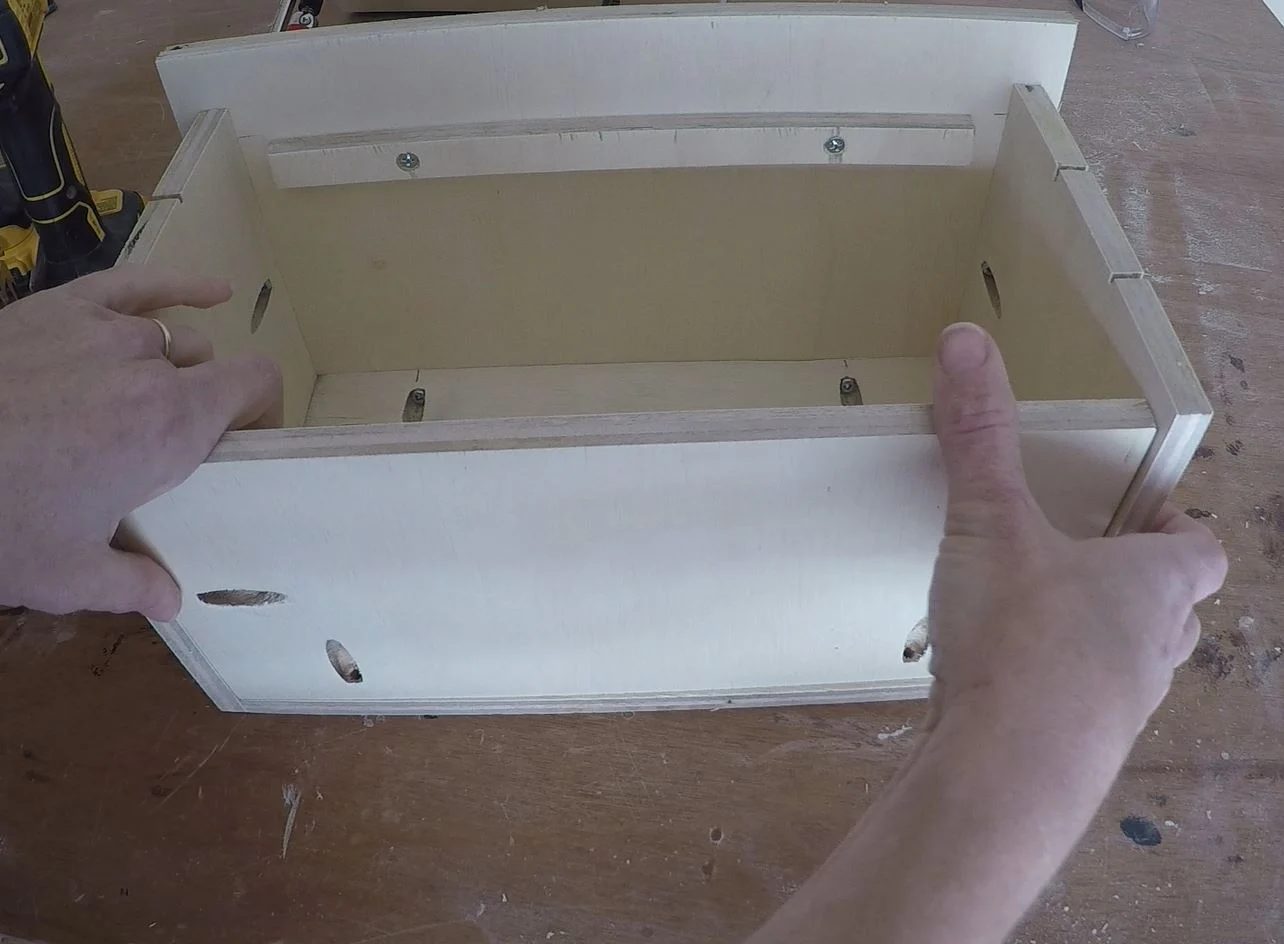
Making sure the back and bottom pieces are flush with each other attache them together with pocket screws.
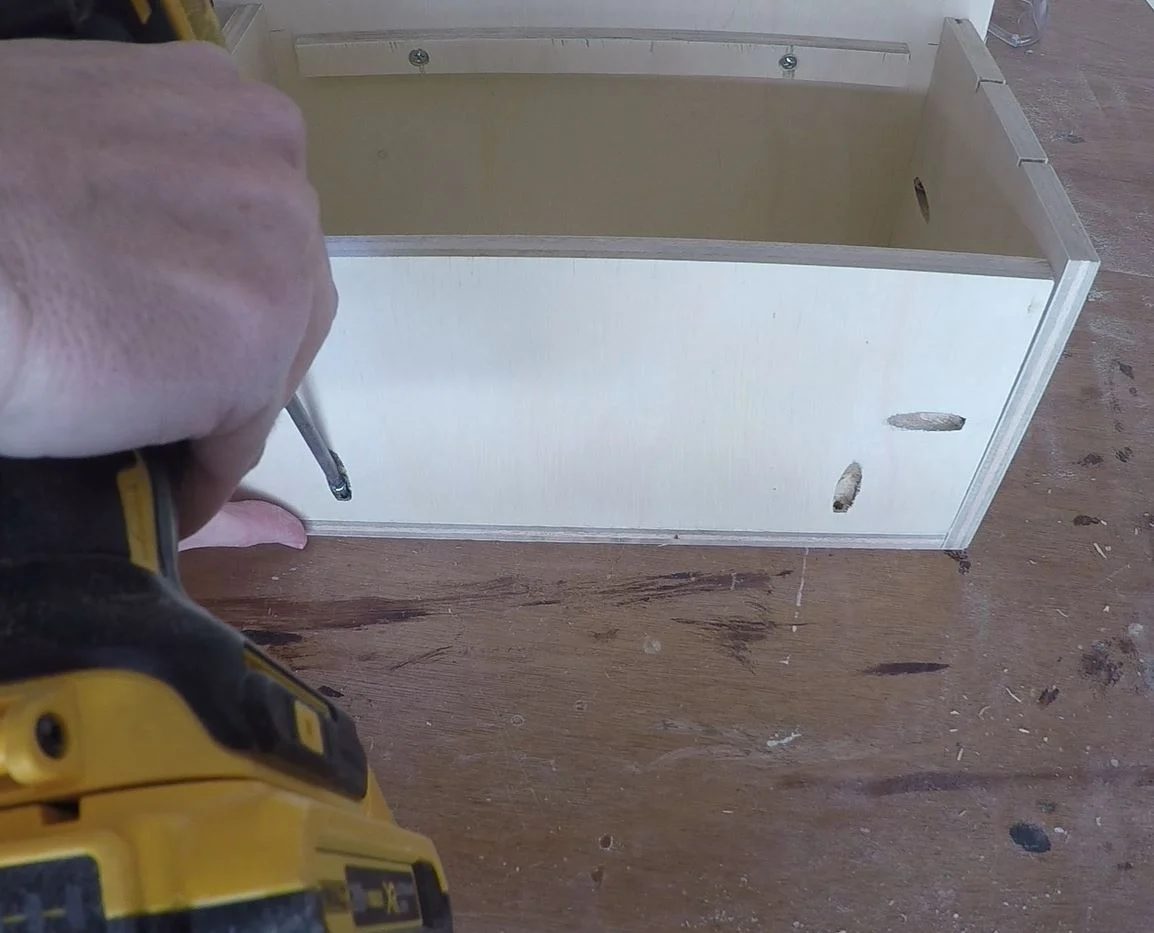
Then attach the sides, aligning the edges so they are flush and square.
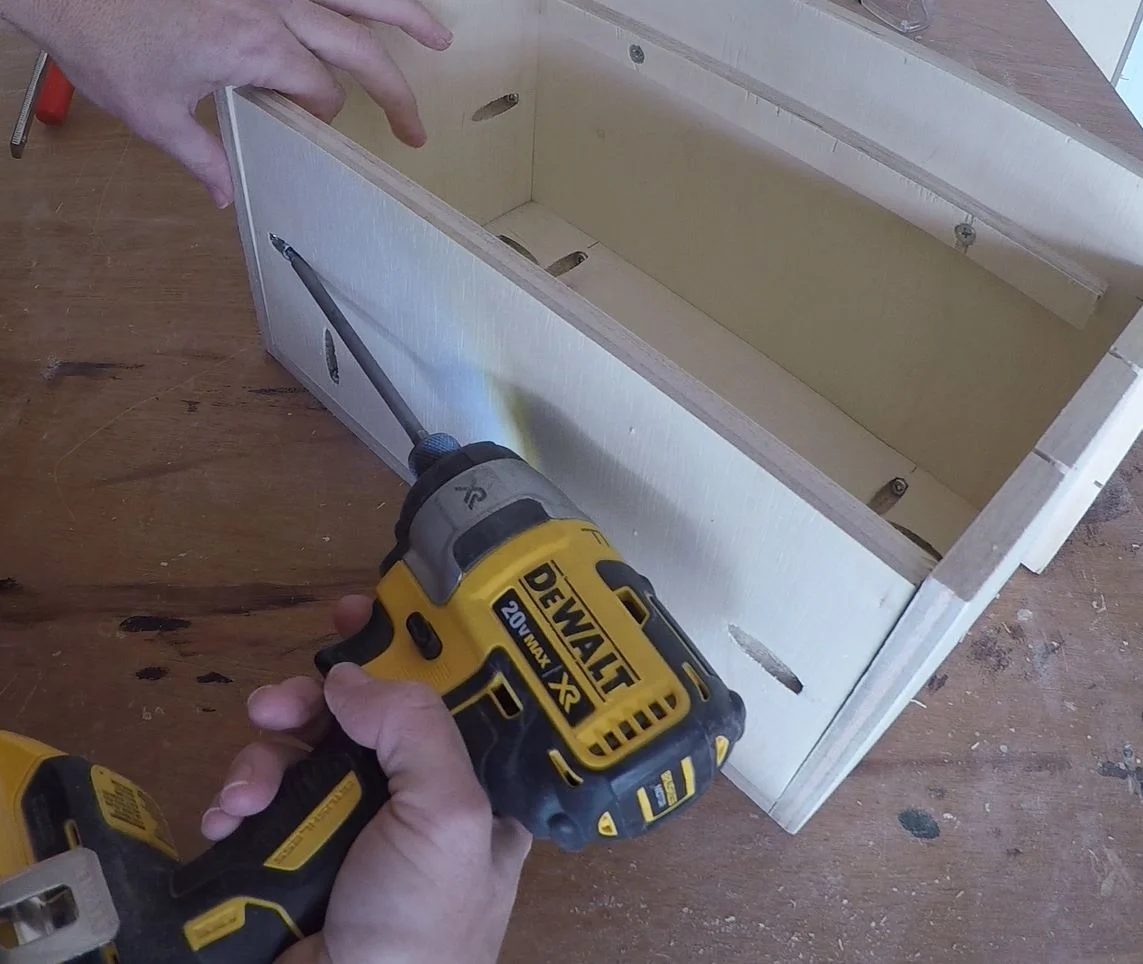
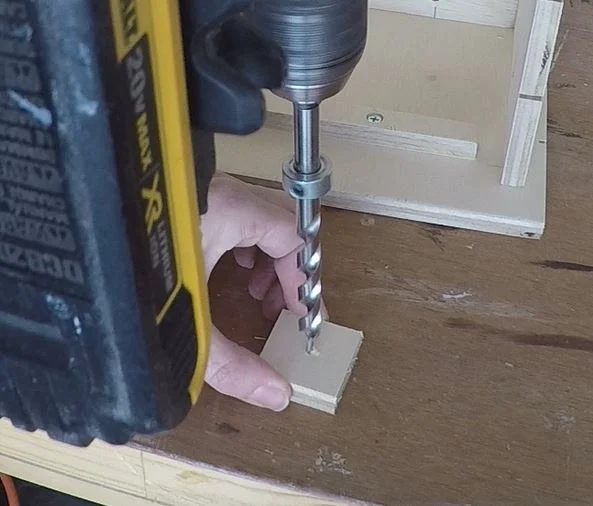
To finish the box the last step is attaching the feet. Pre-drill holes in the center of each foot. I used my pocket hole bit to drill these holes so the screws will be countersunk. There can be tear-out with plywood. I sanded the feet before I attached them.
For the feet on the front of the box place the foot so that it is flush with the front of the box, and 1/8″ from the edge. I used the layers of the plywood as reference. Then use 3/4″ wood screws to attach the foot.
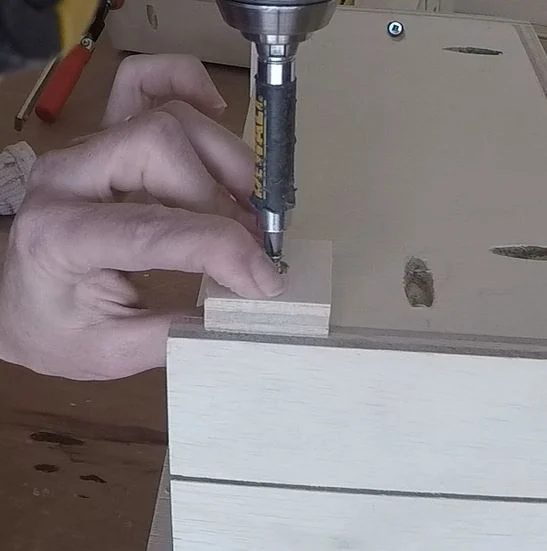
Then align the back feet 1/8″ from the edge on both sides. Using the plywood layers as guides.
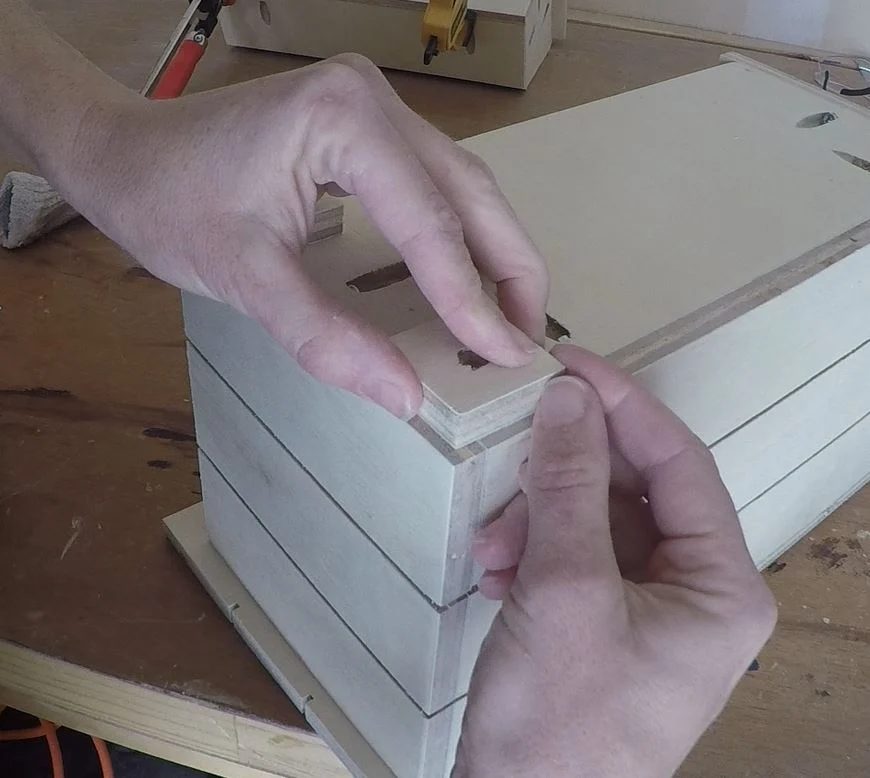
Continue until all feet are attached.
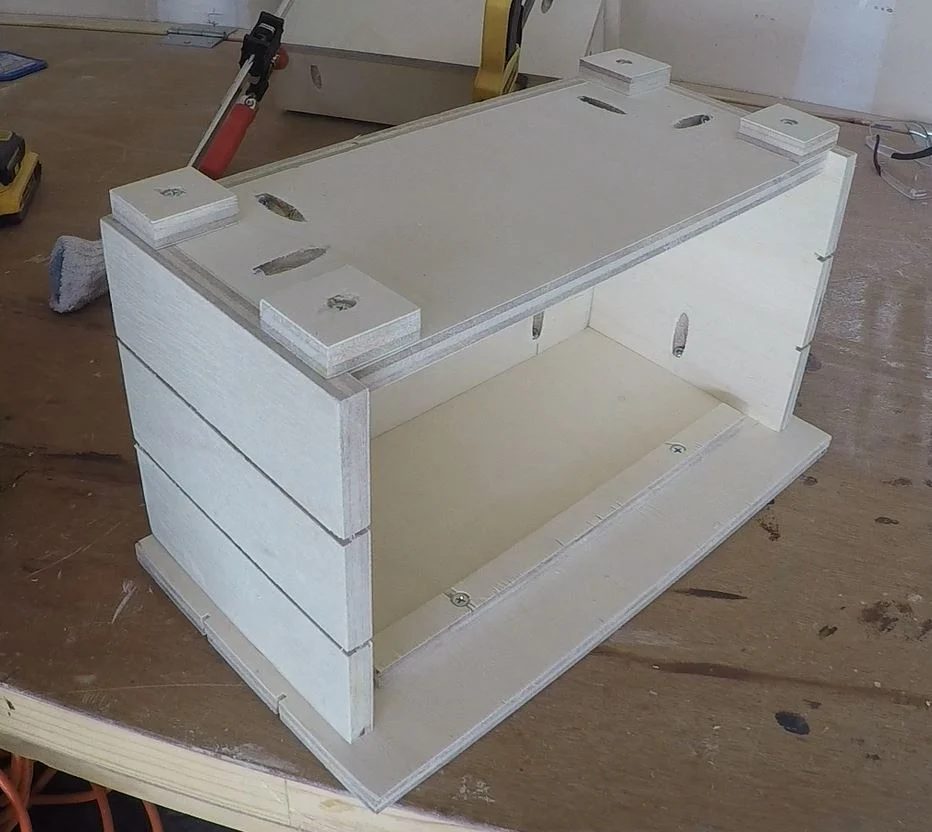
This is ready for a quick sand before you stain and paint.
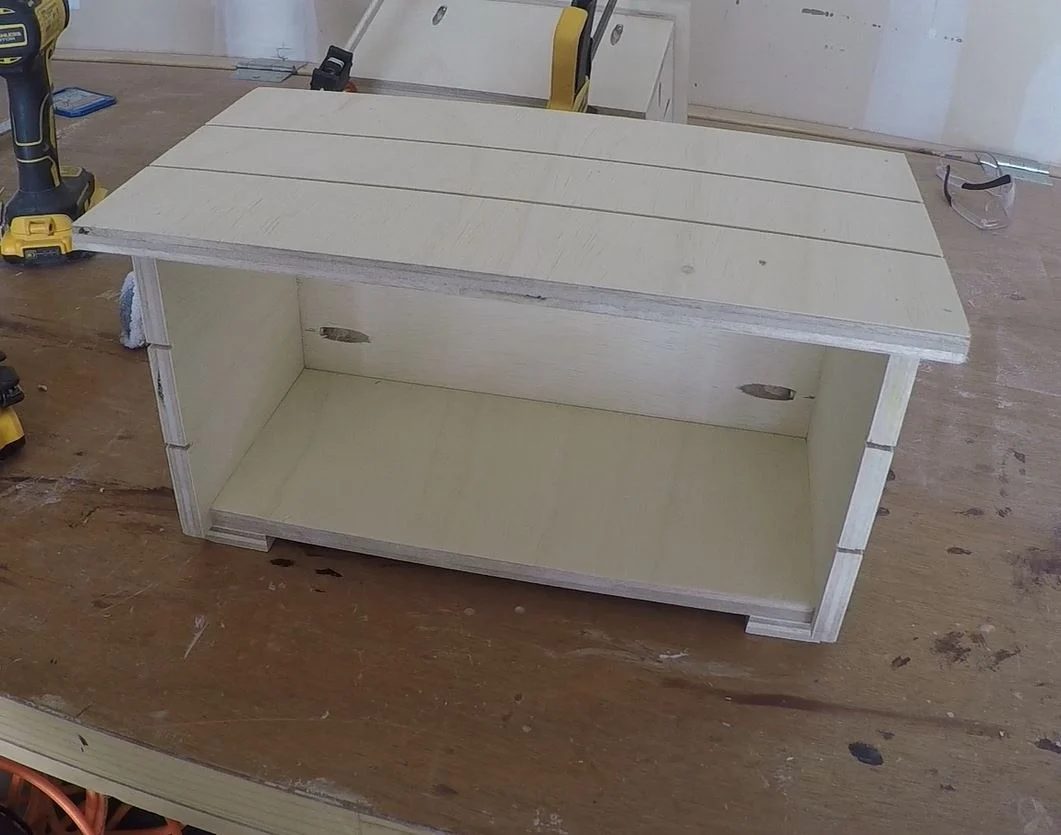
Step 5: Drawer Assembly
Start by attaching the drawer bottom to the drawer front.
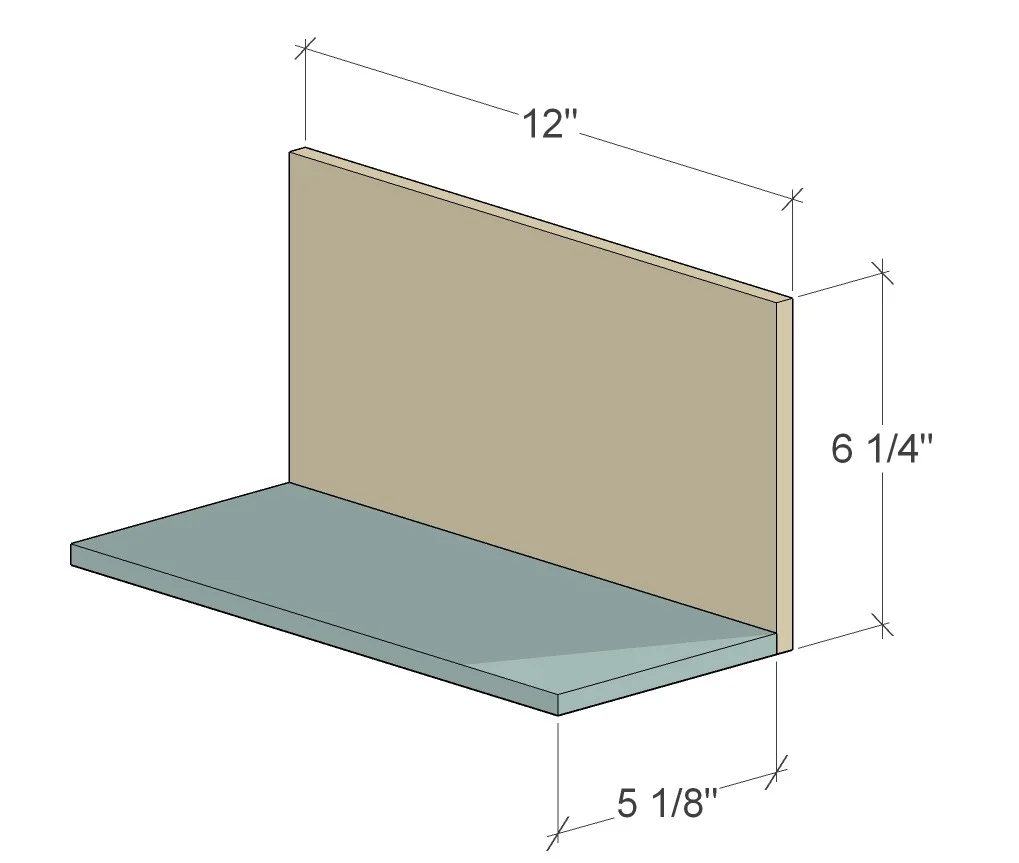
With the pocket holes on the back, attach the drawer bottom piece to the front panel.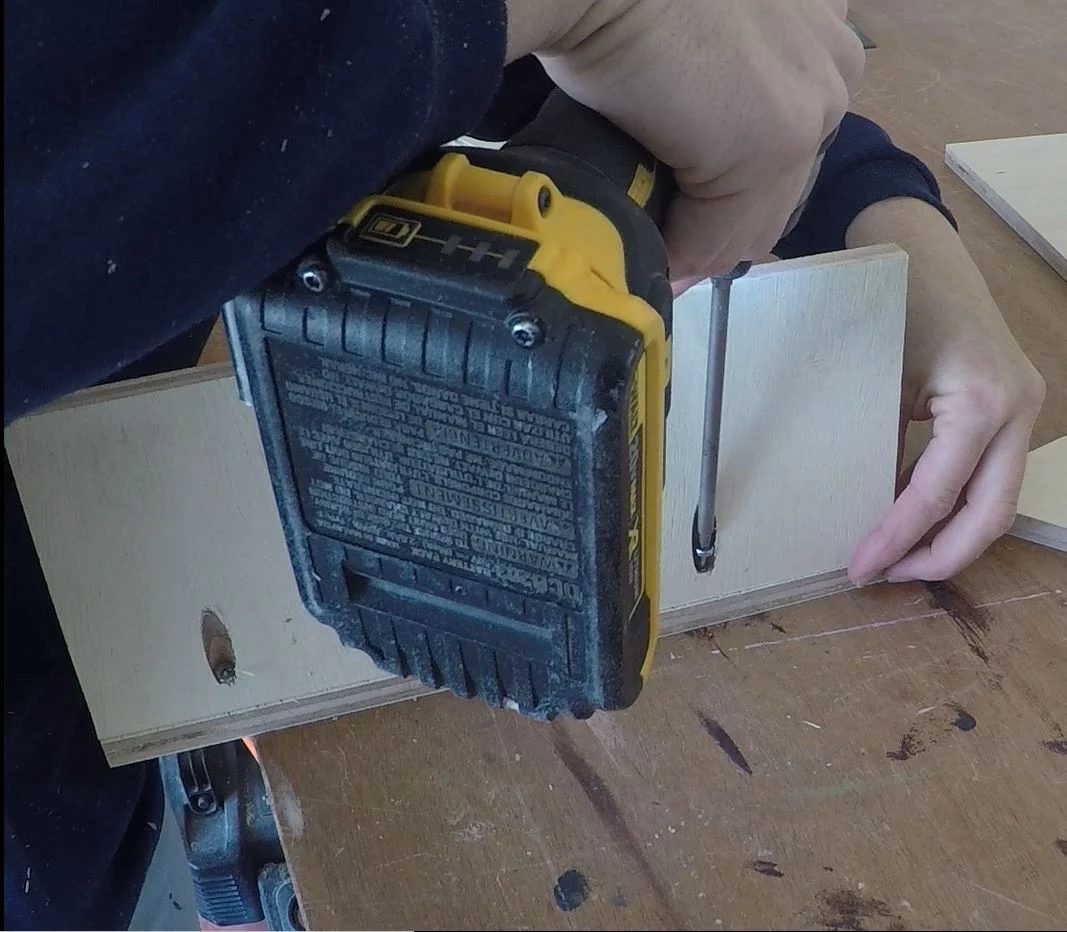
Next attach the drawer side pieces to the front and bottom.
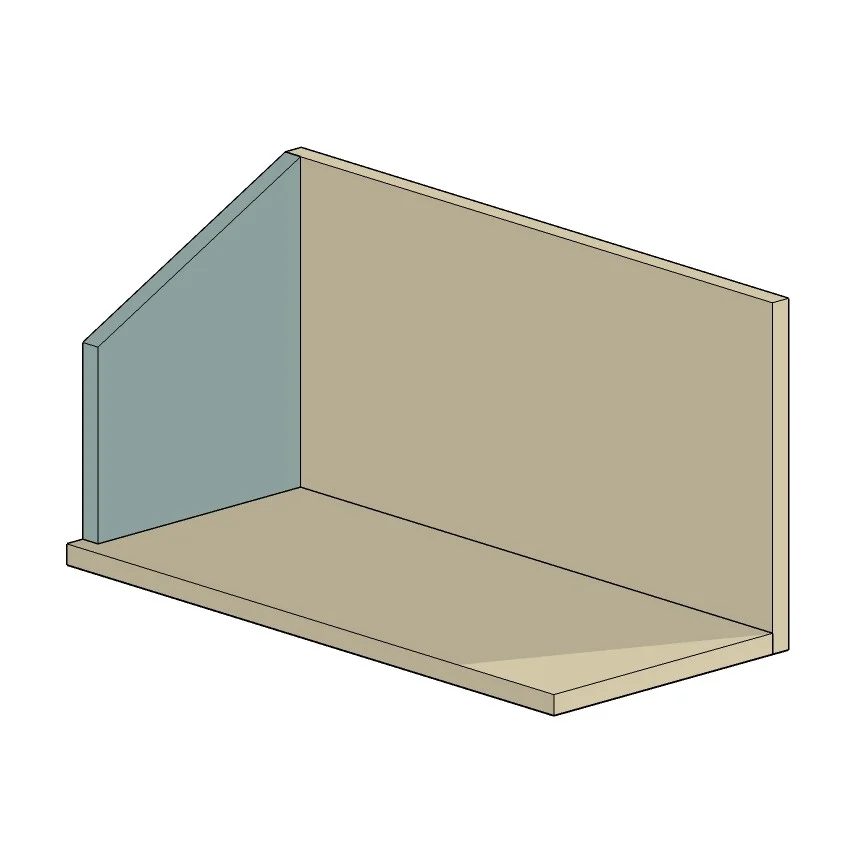
I decided I want the pocket holes on the outside of the drawer (you can do it either way). Attach both sides.
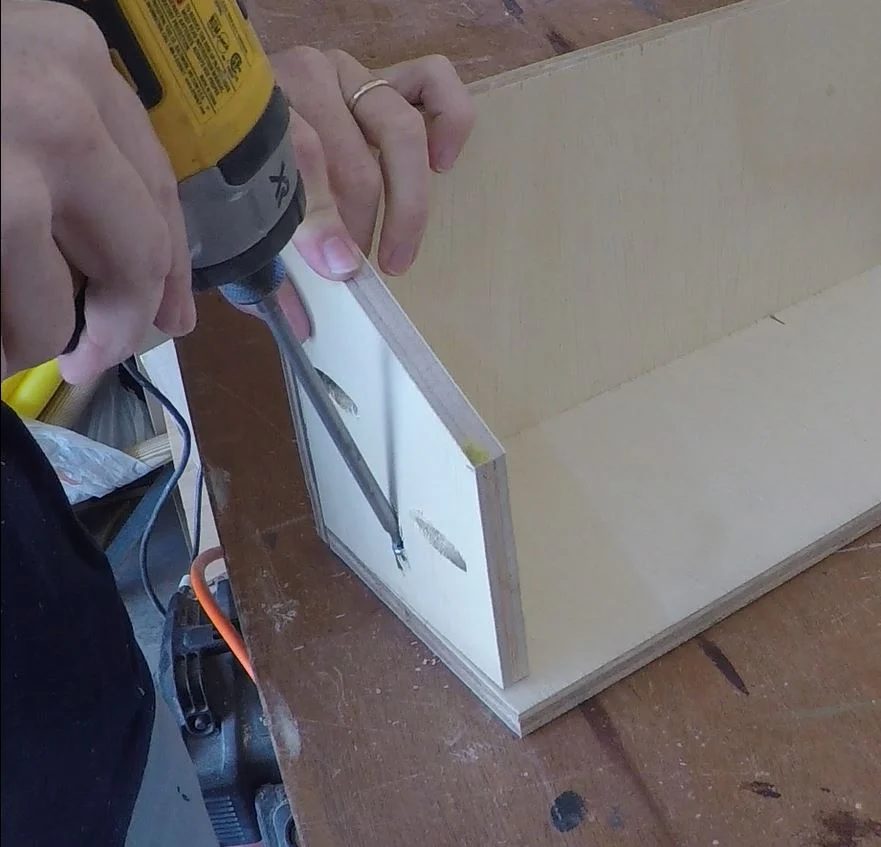
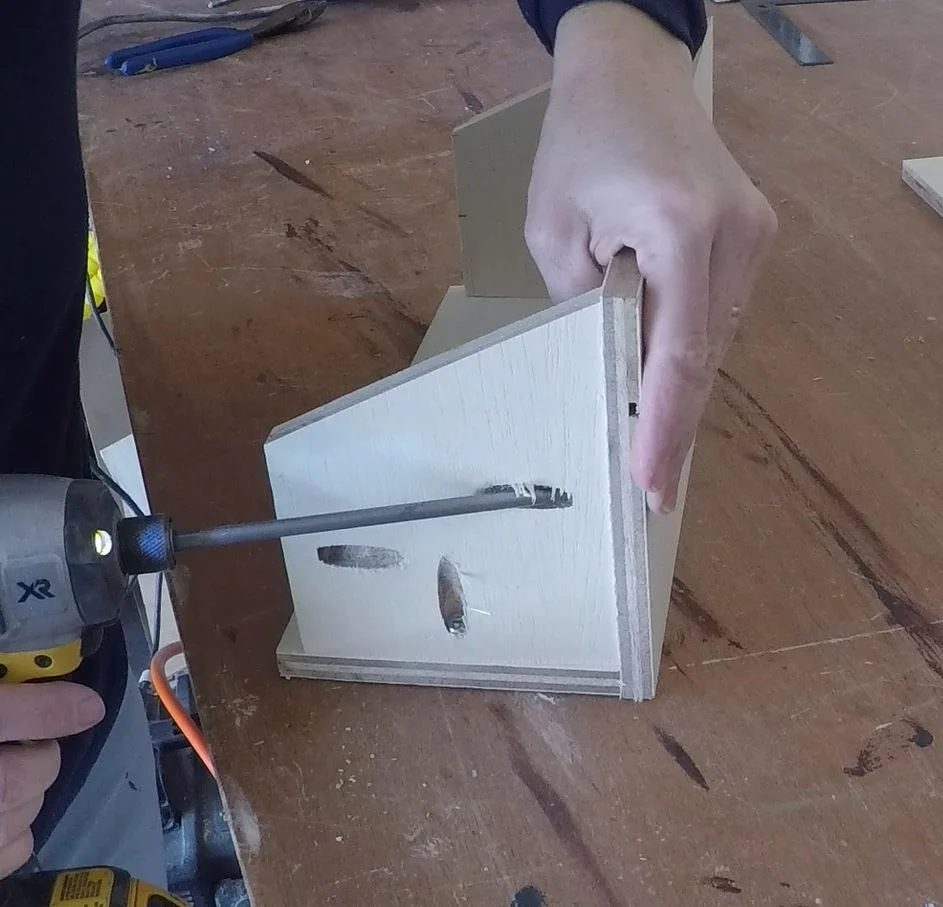
Next attach the drawer back.
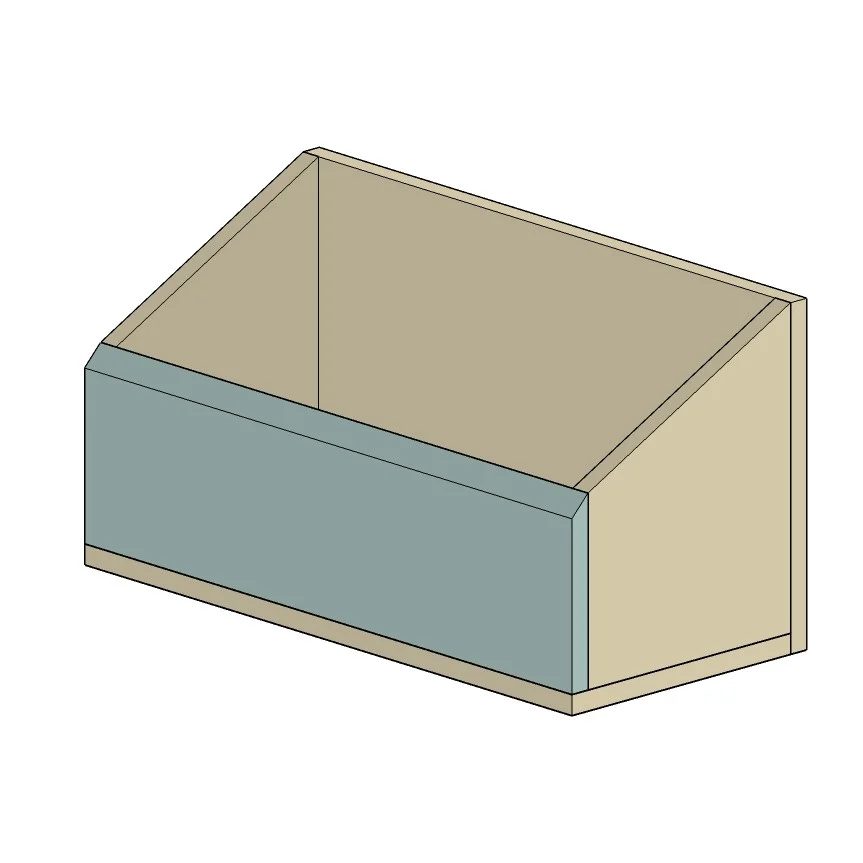
Attach with pocket holes on the outside of the drawer.
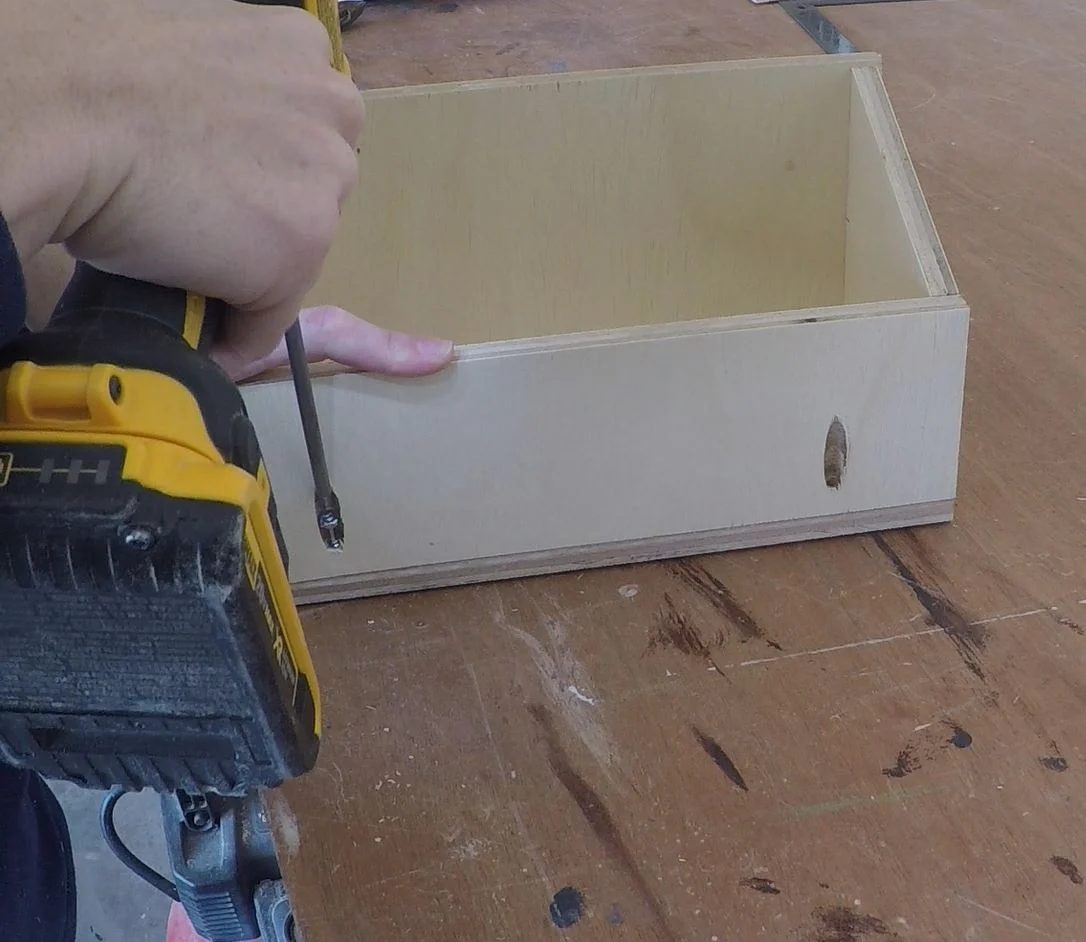
Sand the edges to clean up the drawer for stain and paint.
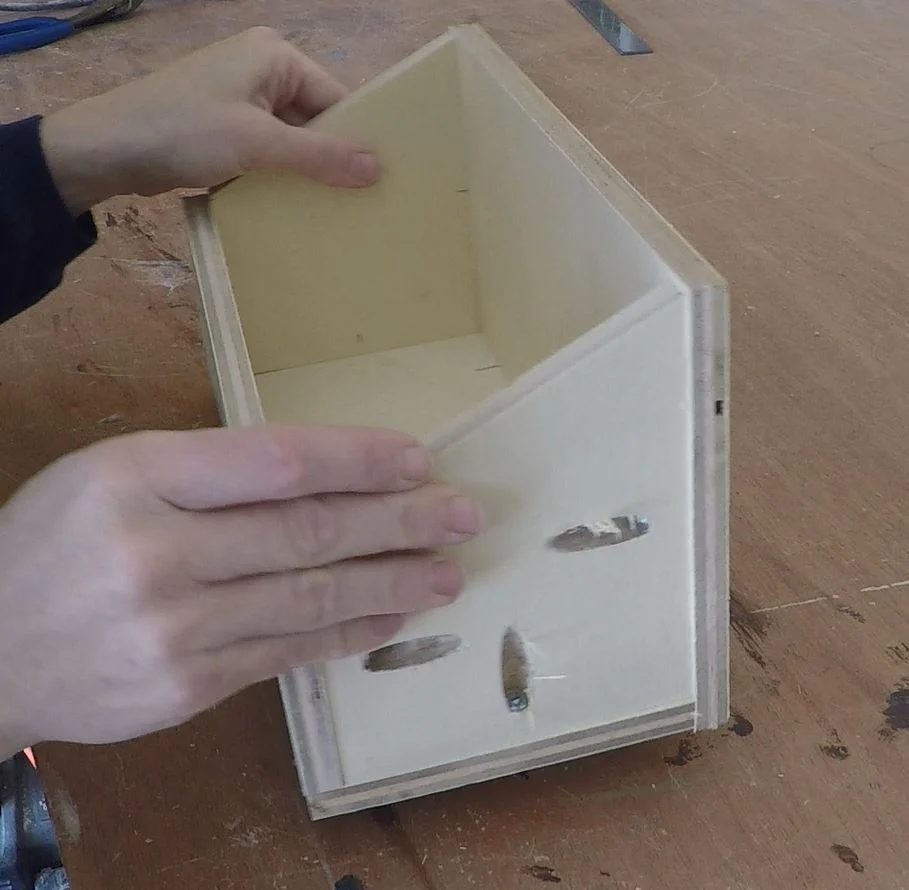
Step 6: Drawer trim
This trim will be attached to the drawer front with glue and screws. First glue and clamp the rails (10″) and stiles (6 1/2″) together. Then clamp them in place.
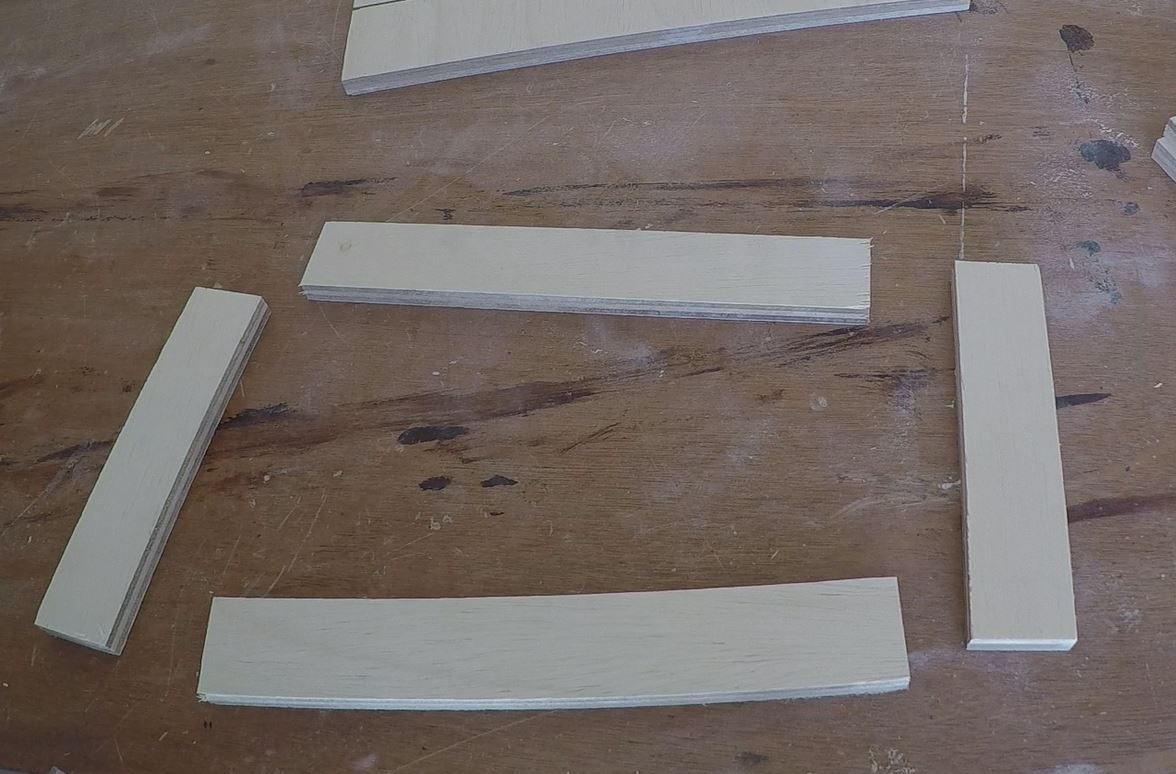
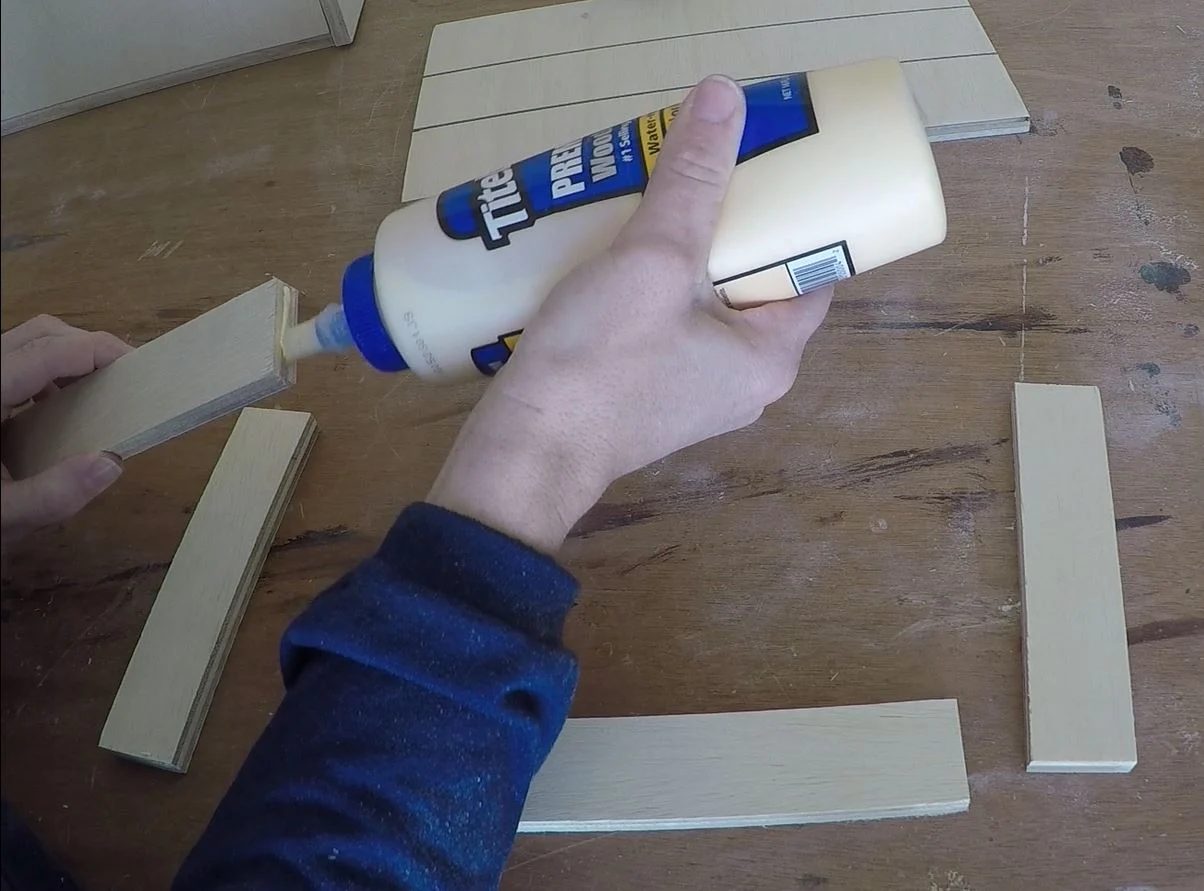
Run a bead of glue along the both ends of both stile pieces.
Adjust pieces so they are flush and square. Then clamp in place.
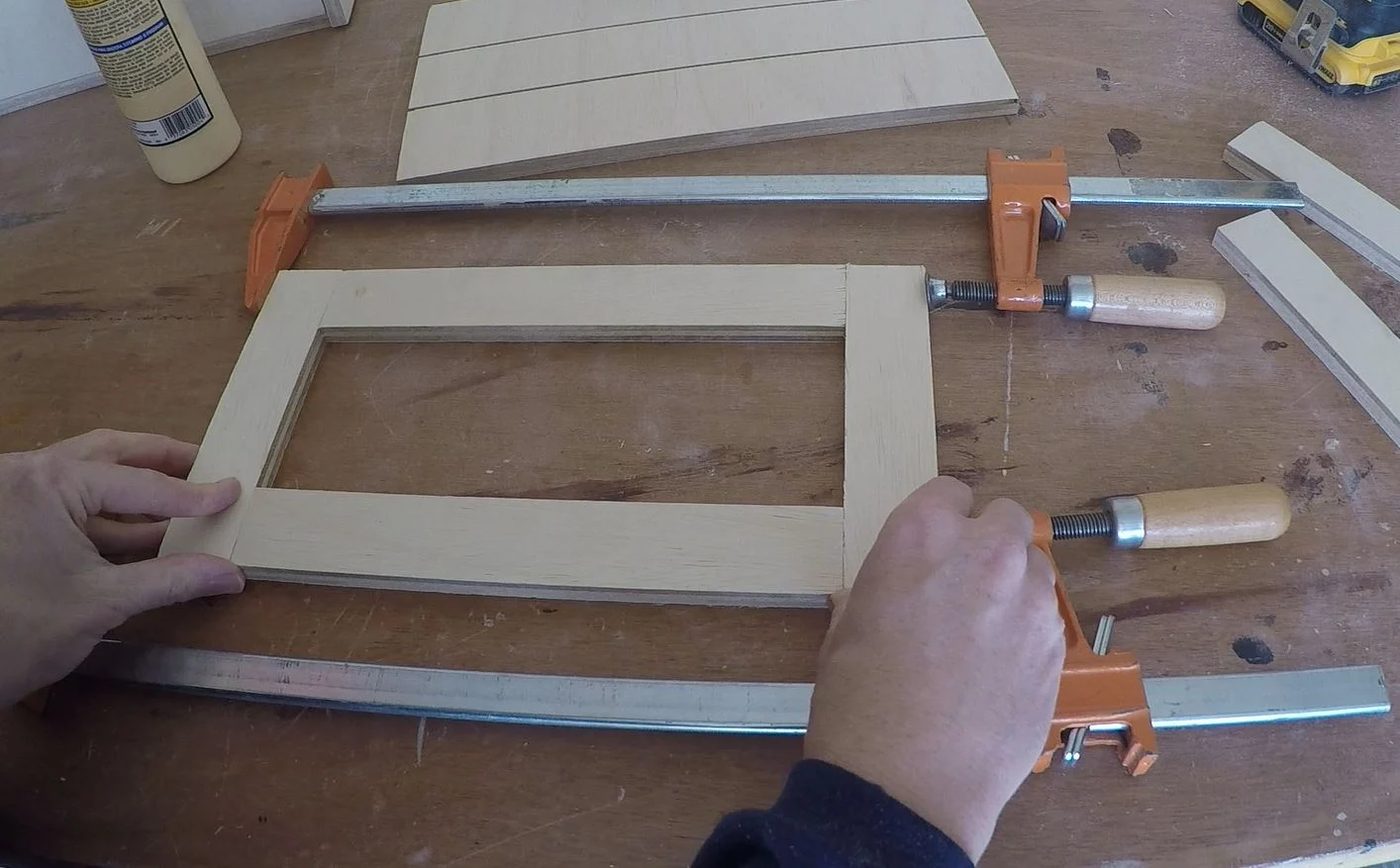
Once the pieces have set, quickly sand smooth. Then run a bead of glue around one side of the drawer trim. Spread the glue to within 1/2″ from the outside edge of the trim.
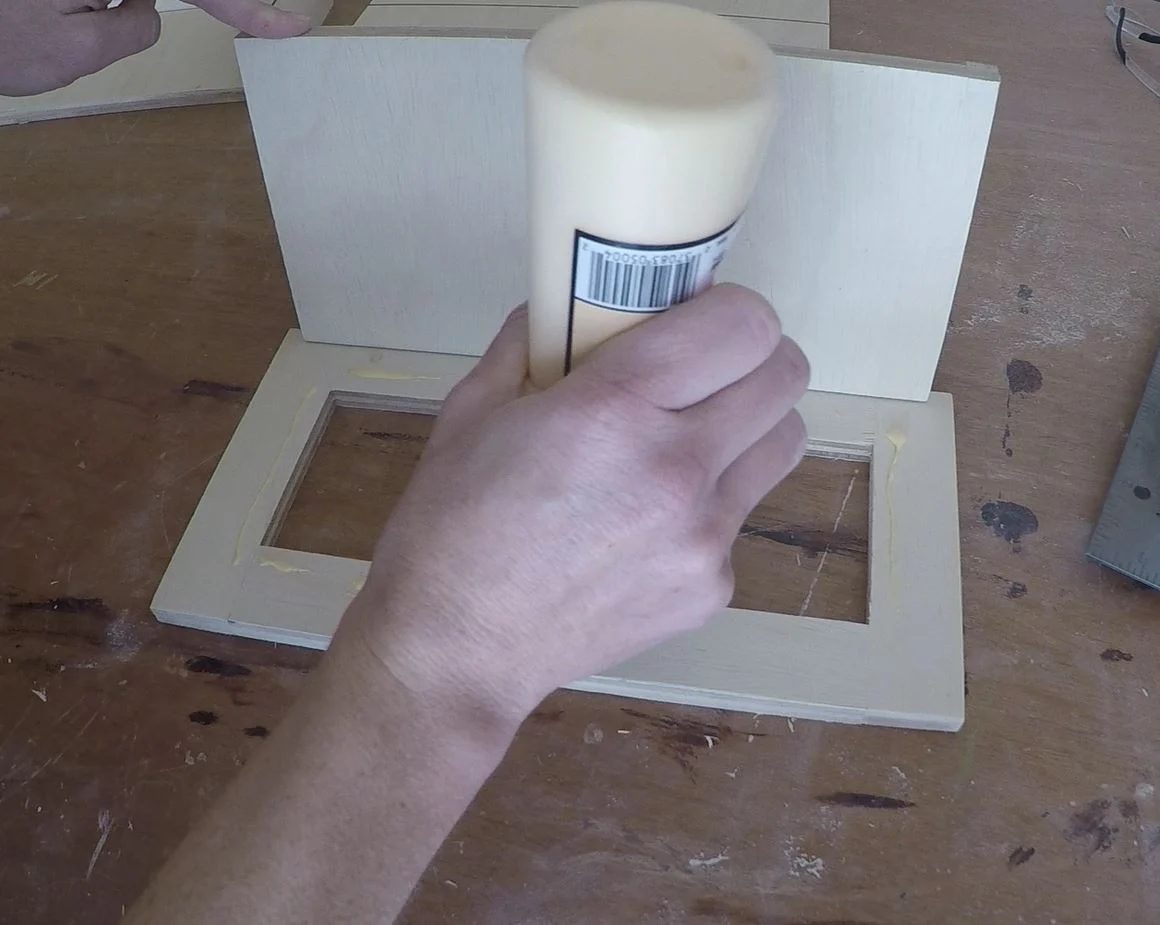
Lay the drawer face onto the making the top of the drawer and the top of the trim flush.
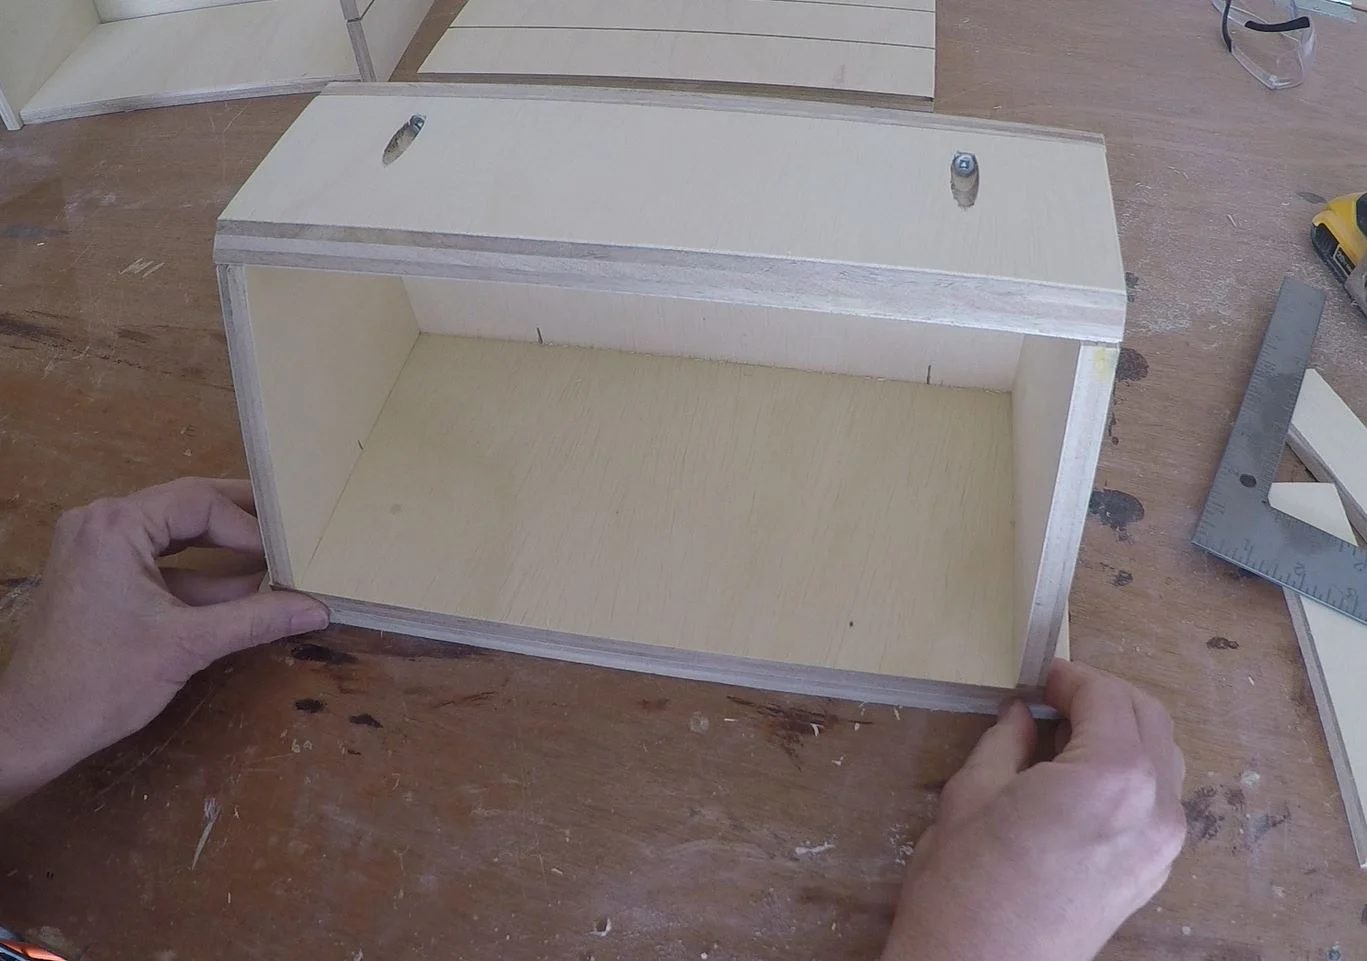
Then adjust the drawer so that there is 1/2″ reveal on each edge.
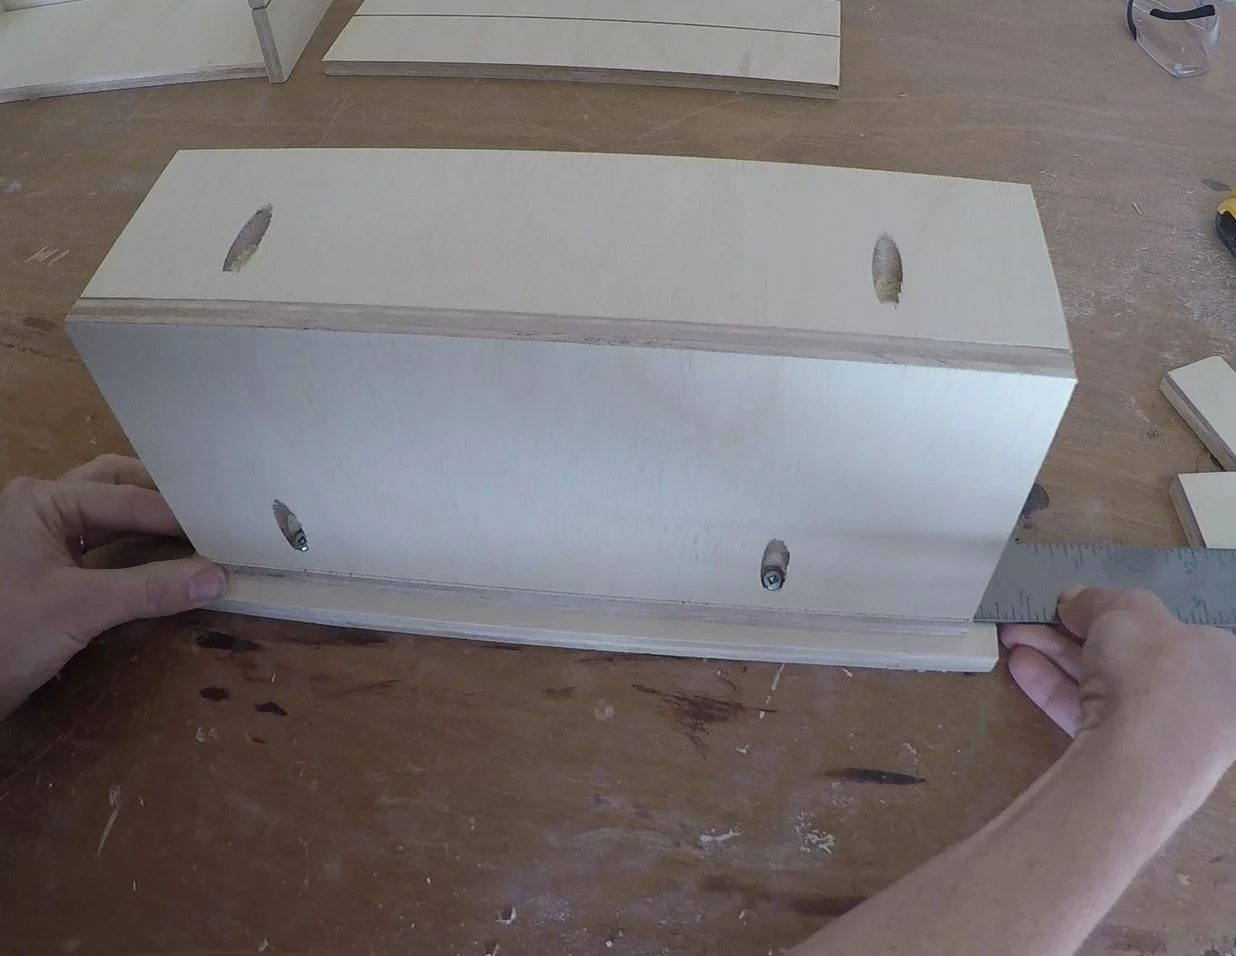
Pre-drill two holes 1/2″ from the top and 1″ from the sides.
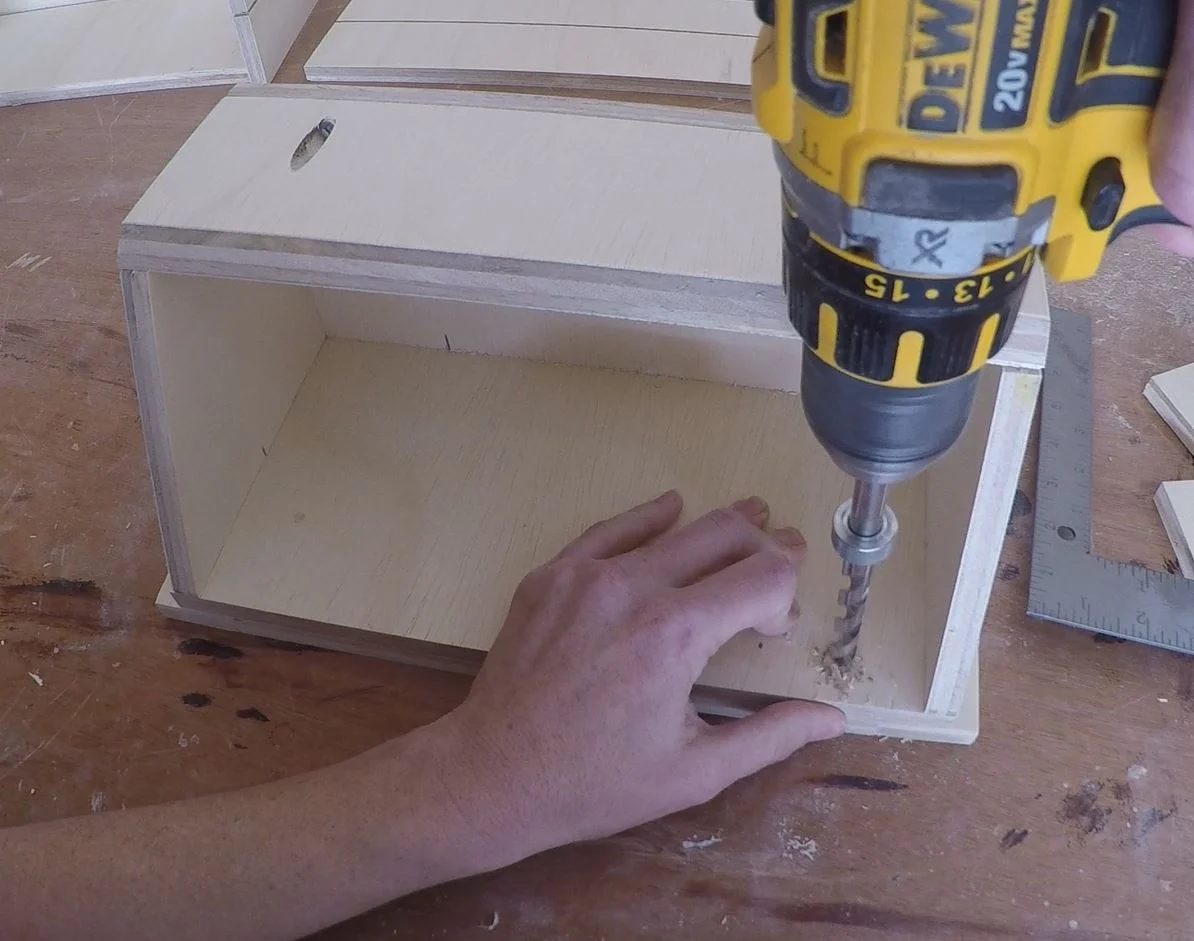
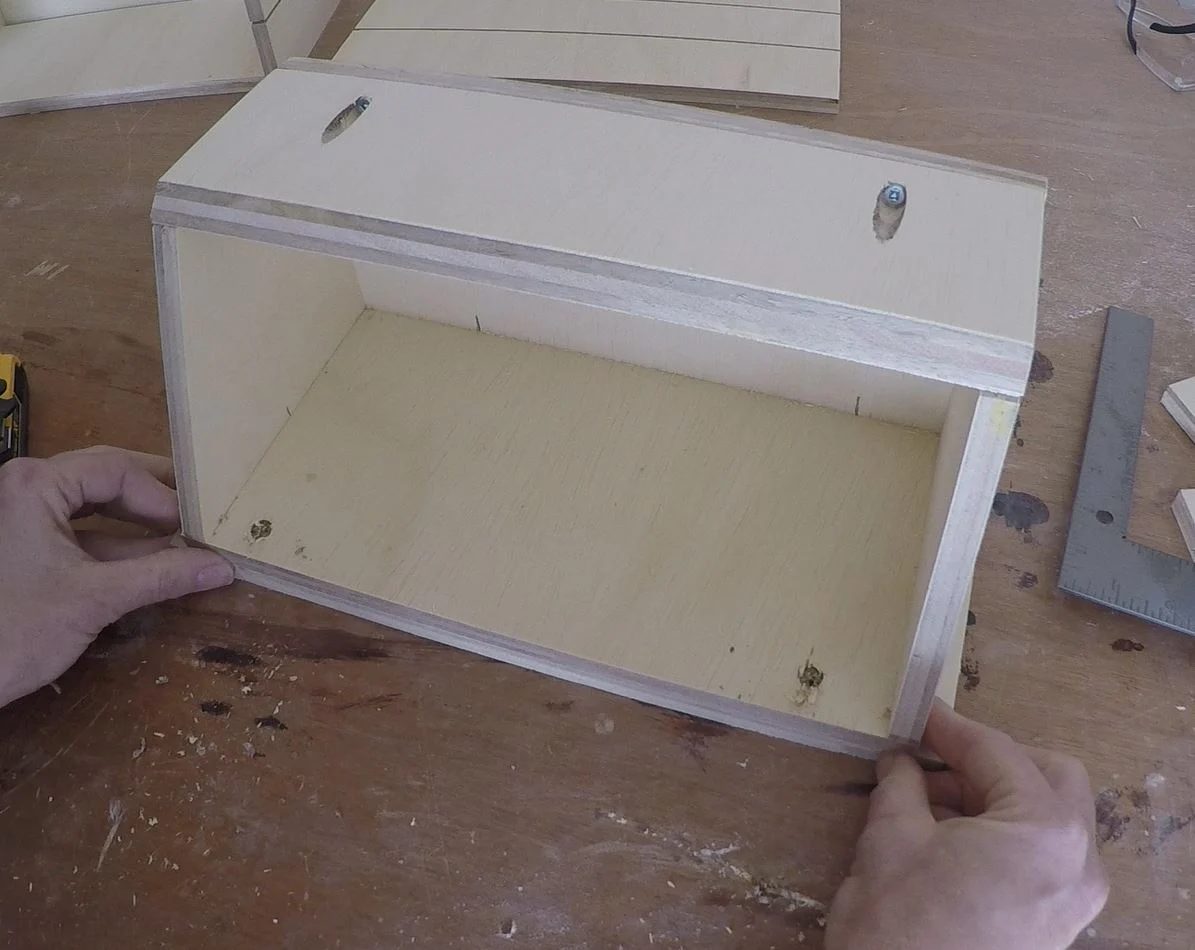
Using 3/4″ wood screws attach the trim to the face of the countertop spice storage drawer. Then clamp the bottom of the trim, and let the glue dry.
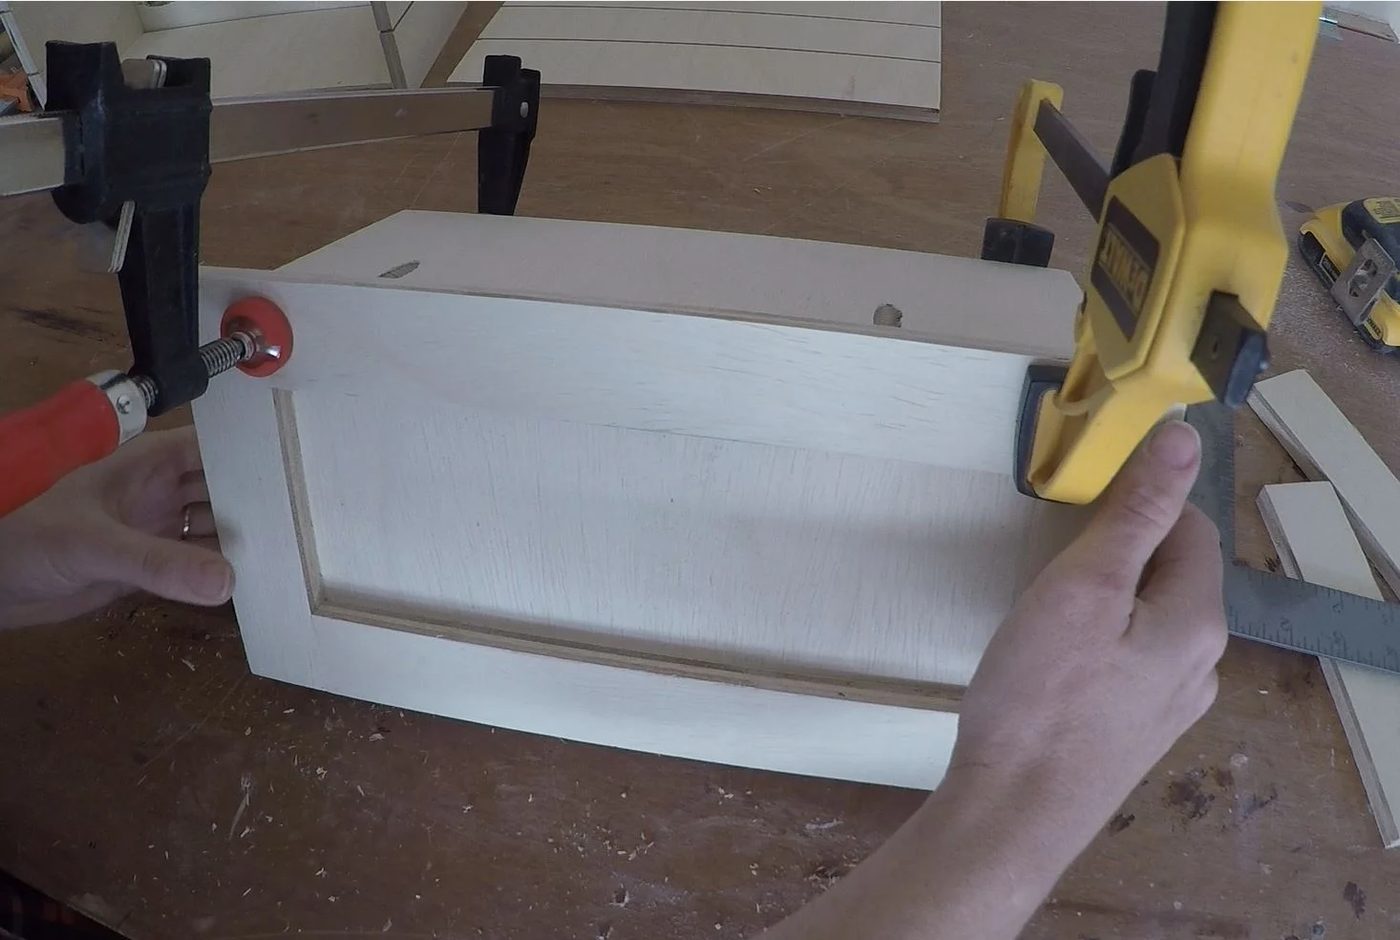
When the glue is set, fit the drawer into the box. Check to see if it moves easily, and stops against the stop piece.
Step 7: Finish
Apply pre-stain wood conditioner.
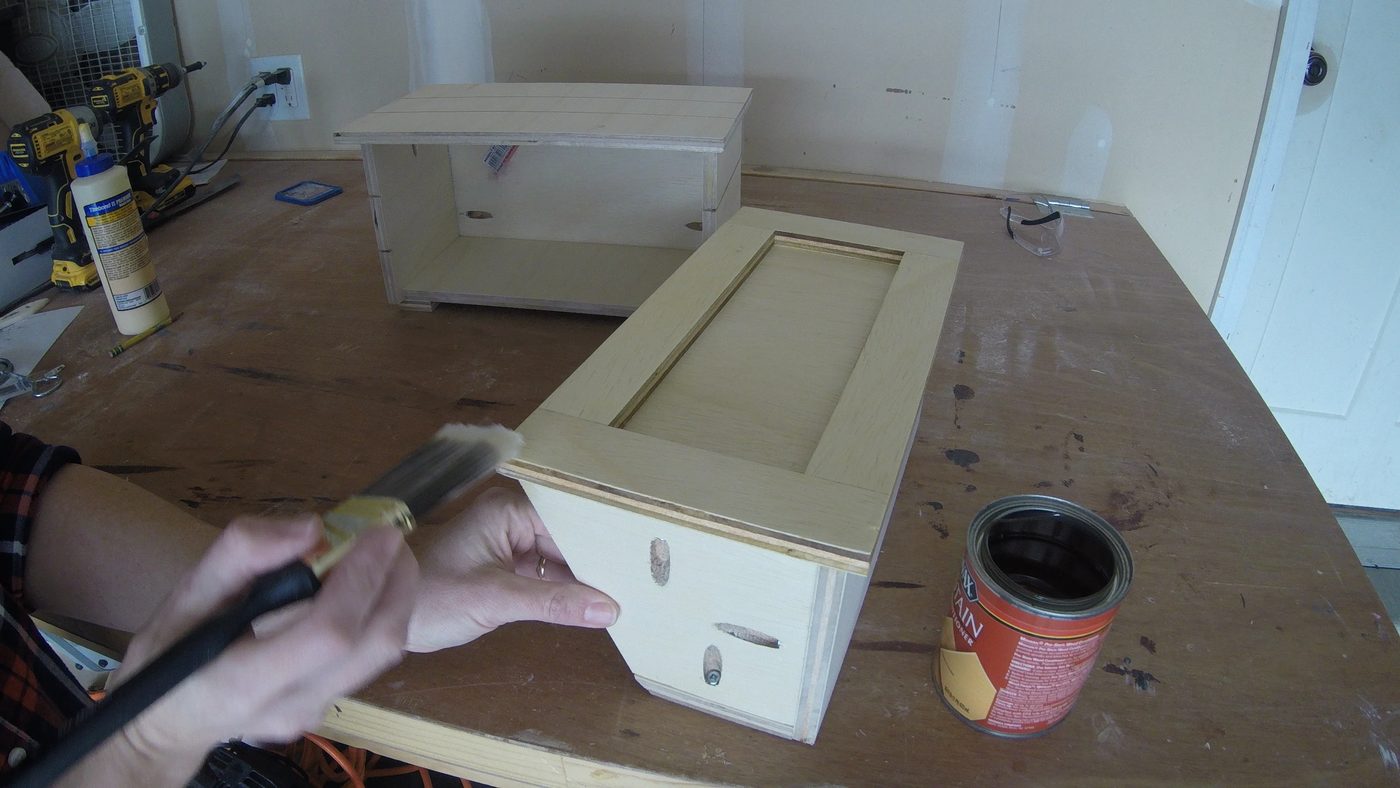
I wanted a dark color beneath my paint when I distressed it so I did a single coat of dark stain.
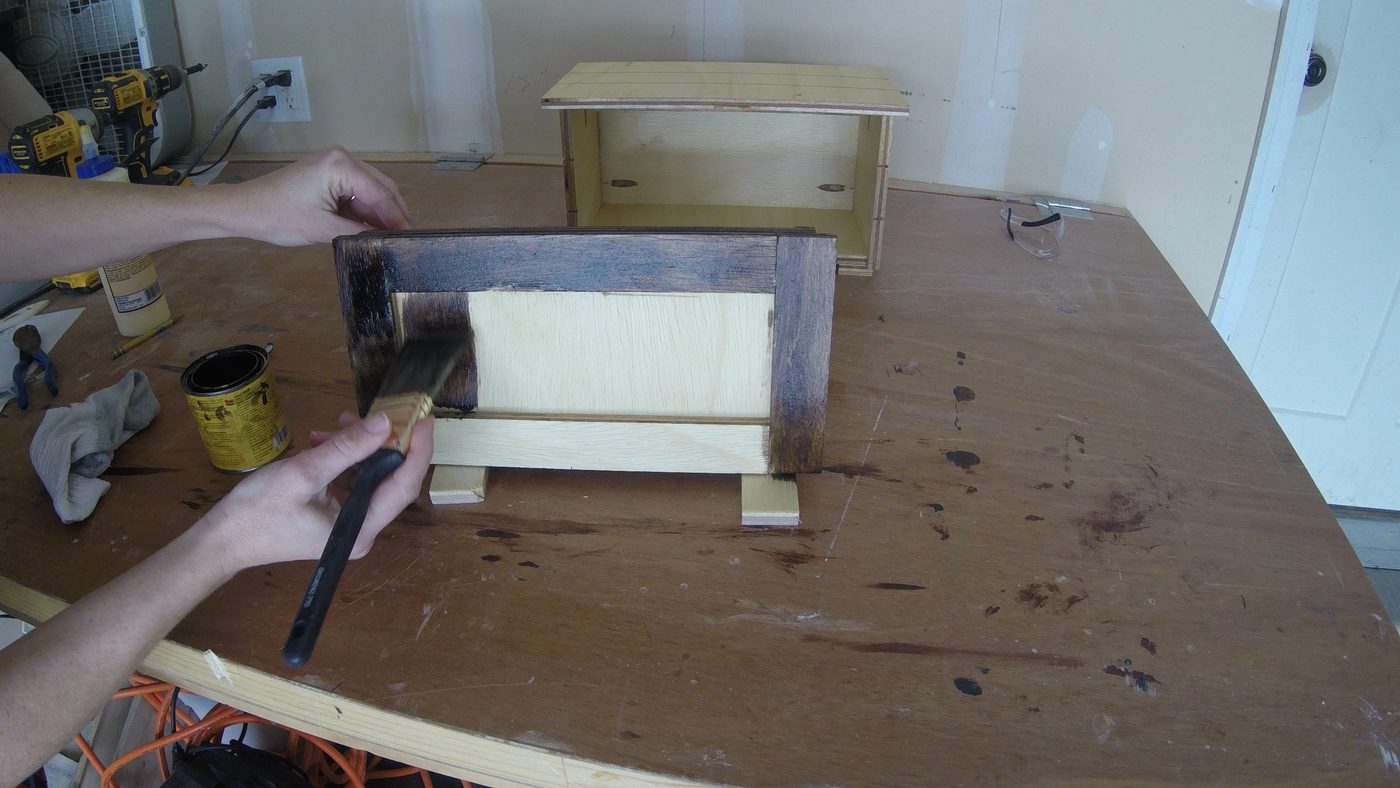
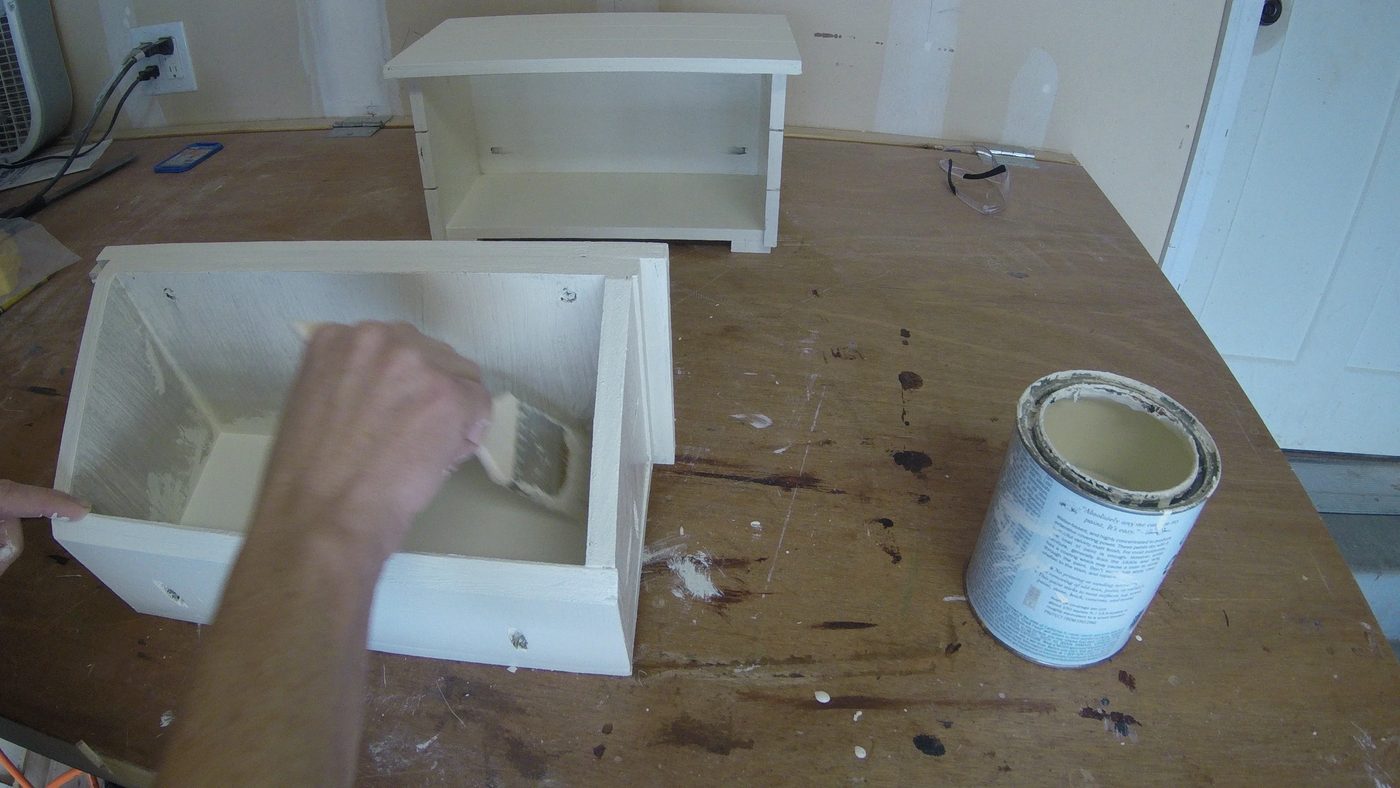
Then painted two coats of chalk paint.
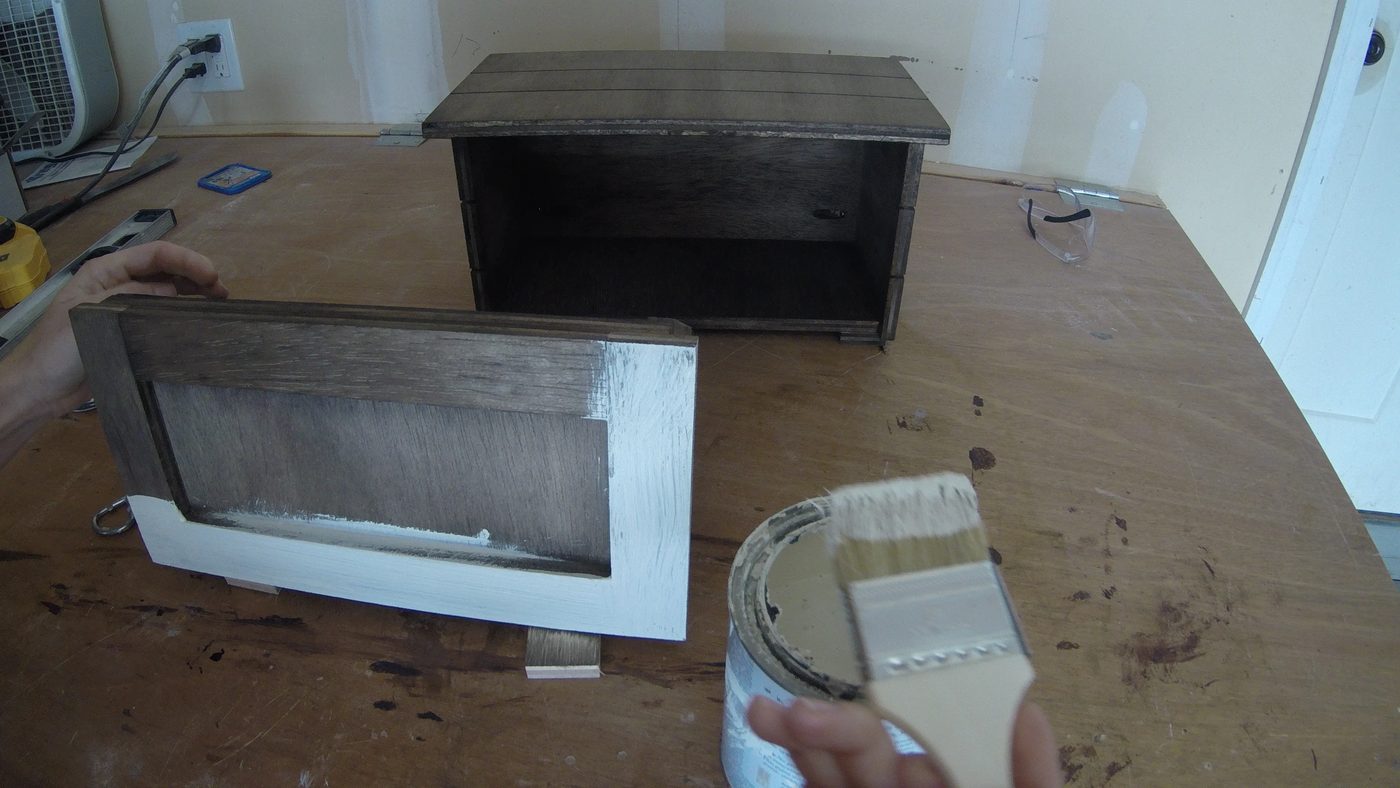
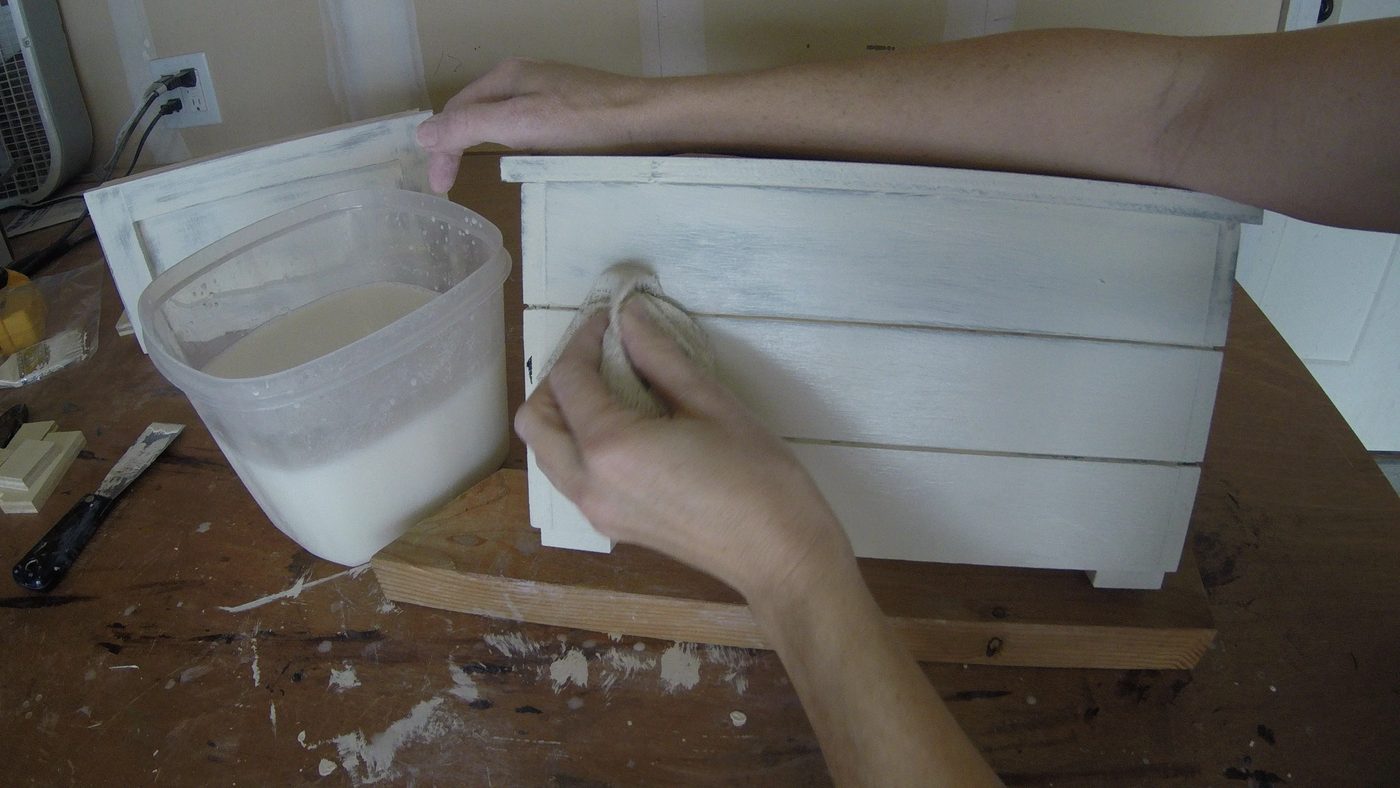
To distress I used a damp rag, and rubbed paint off until I was happy!
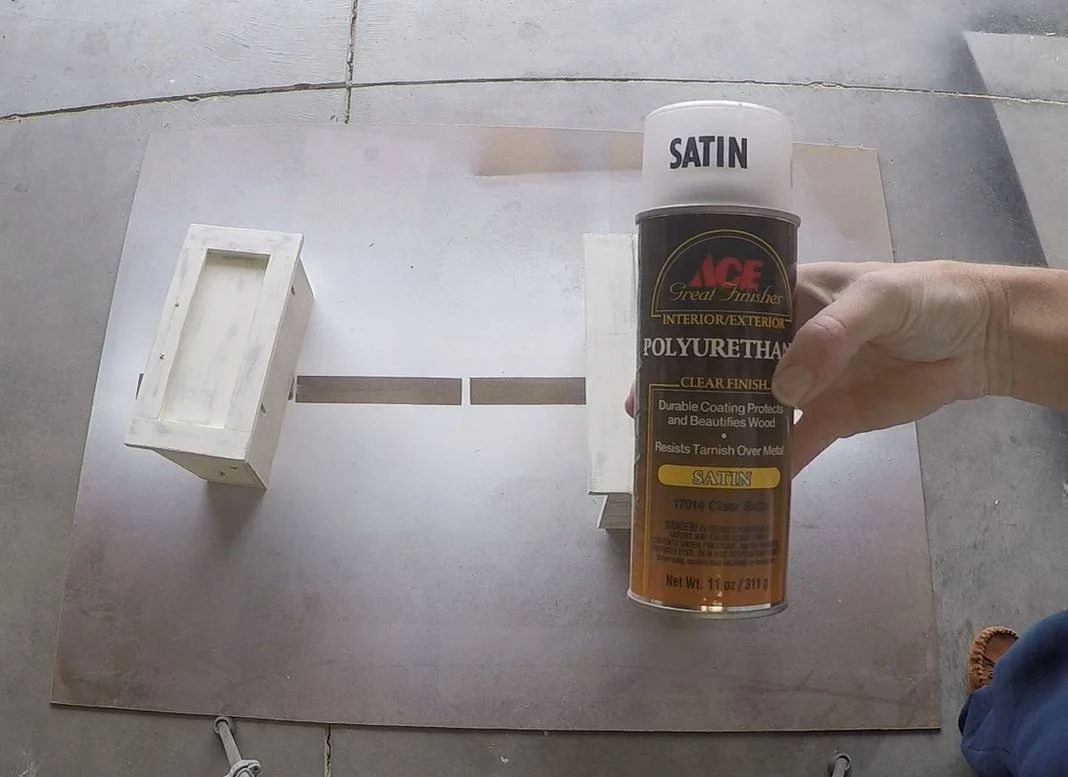
Then spray with two coats of polyurethane. Since this piece is meant to look “antique” I used a satin finish.
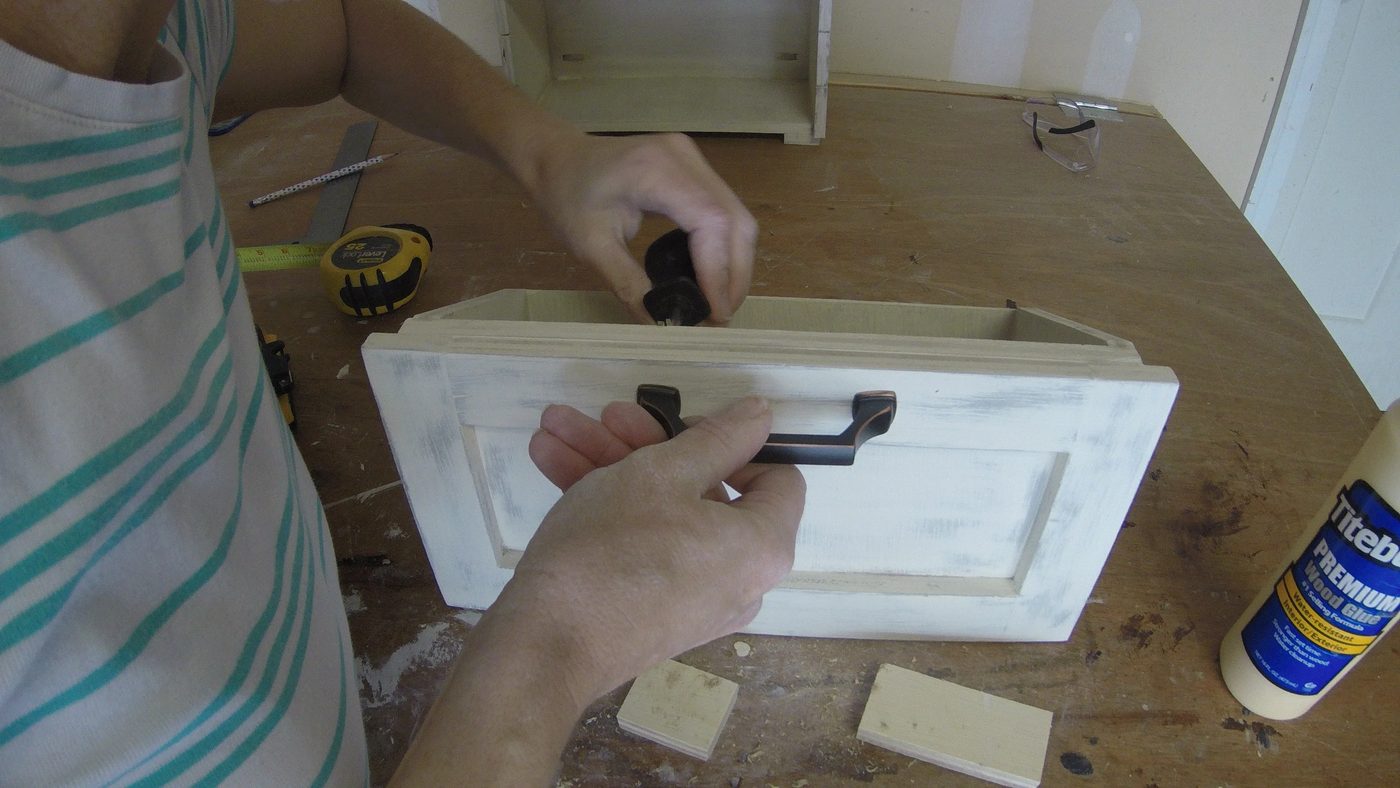
Measure and mark holes for drawer pull. Drill holes, and attach pull.
Step 8: Stencil
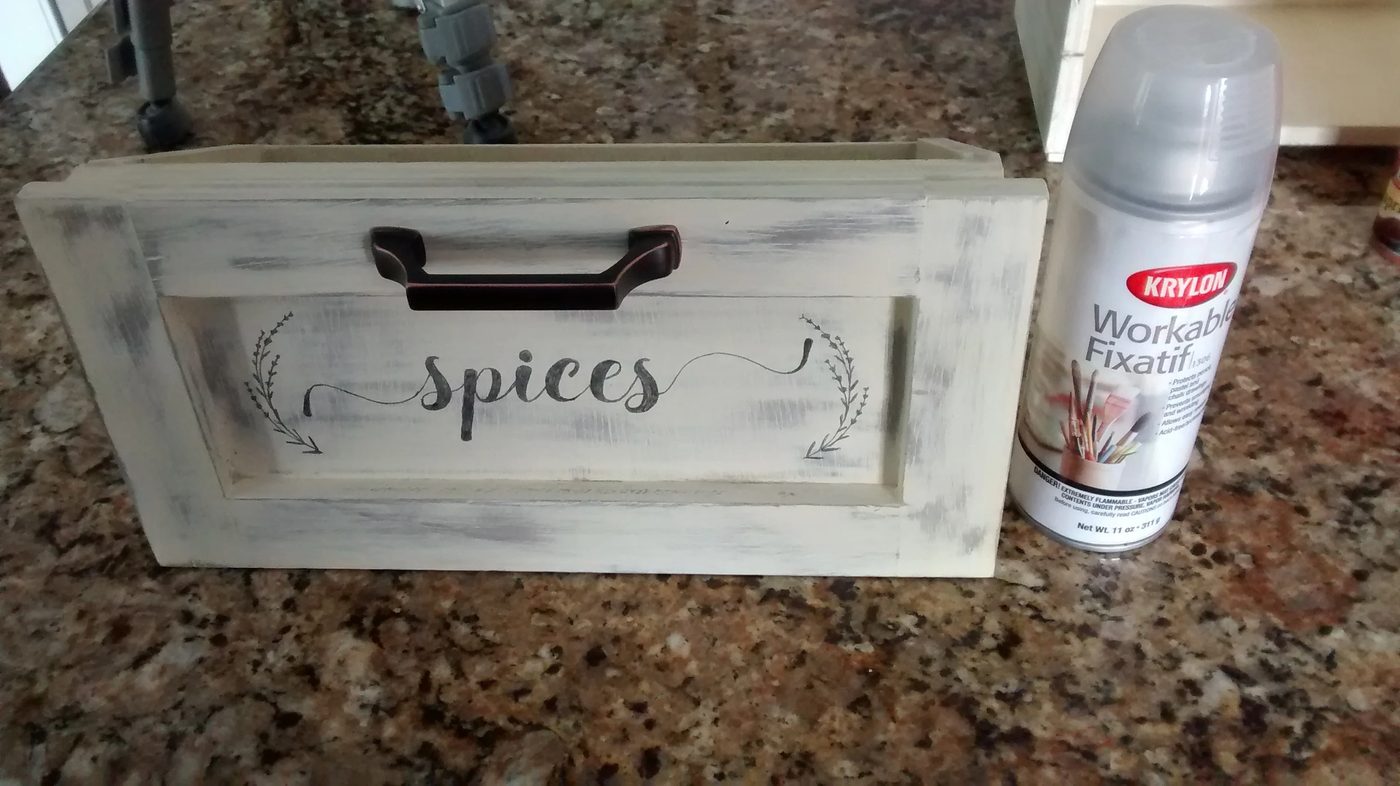
I wanted to try a different wood transfer technique on this project. I purchased some graphite paper from my craft store.
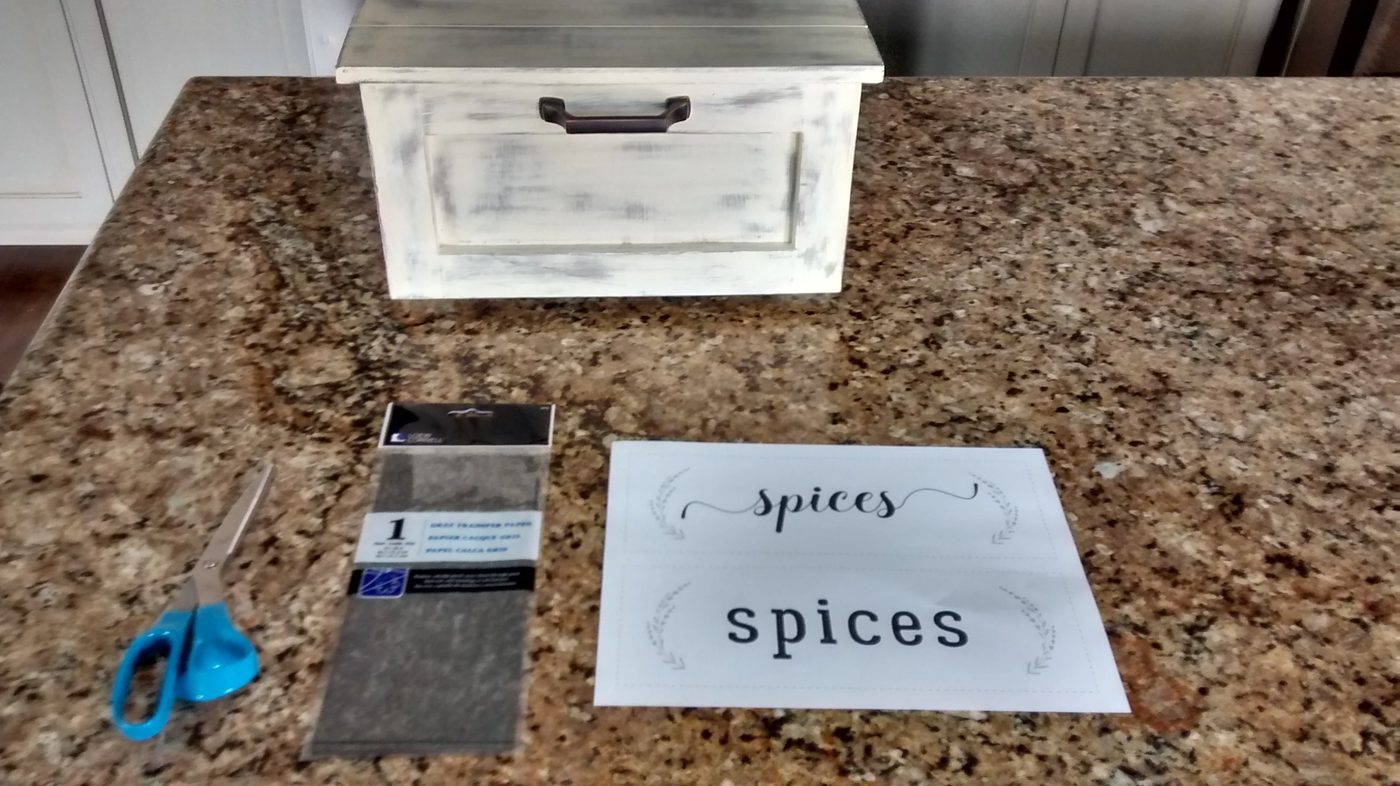
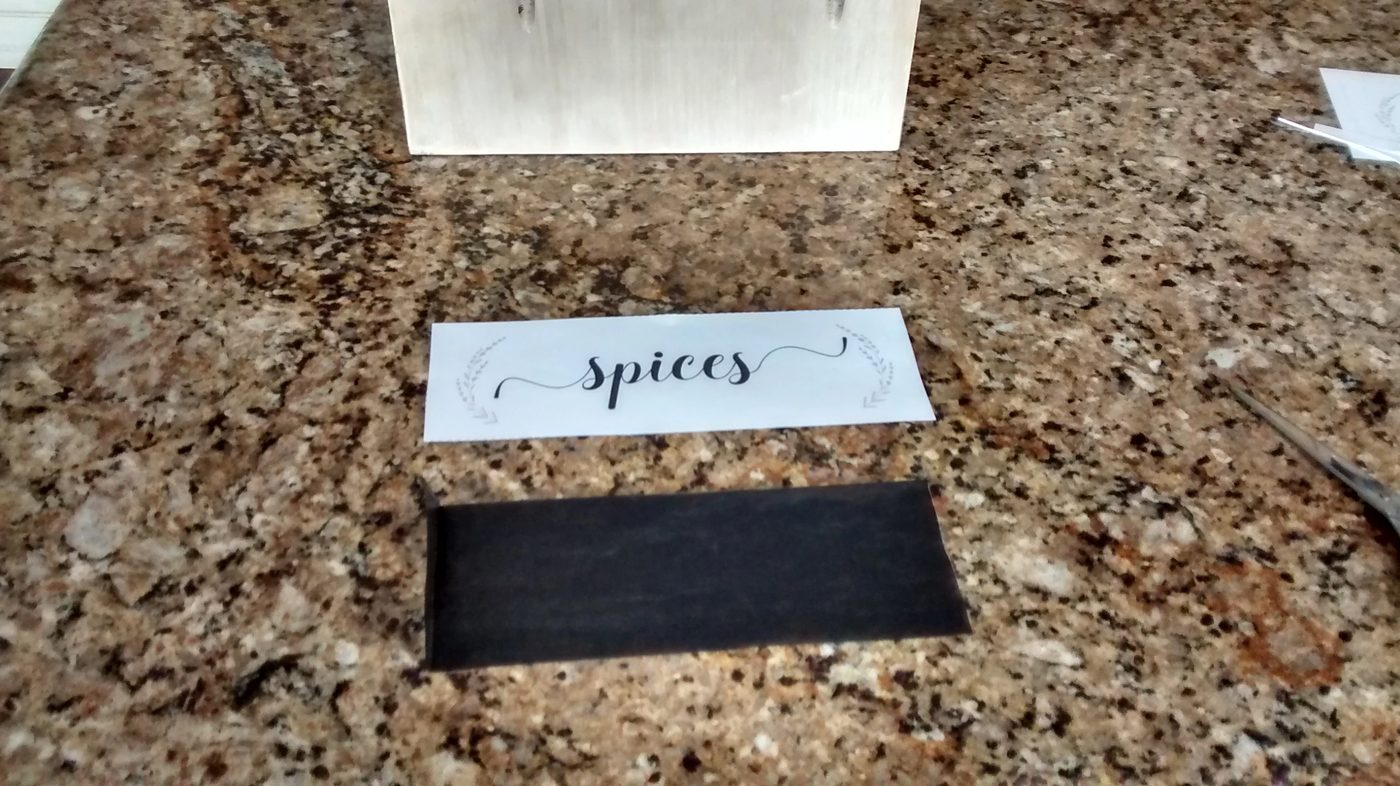
I cut a piece to fit the panel on the drawer face, and taped in place. Then I printed these labels, cut out my go-to, and taped it on top of the graphite paper.
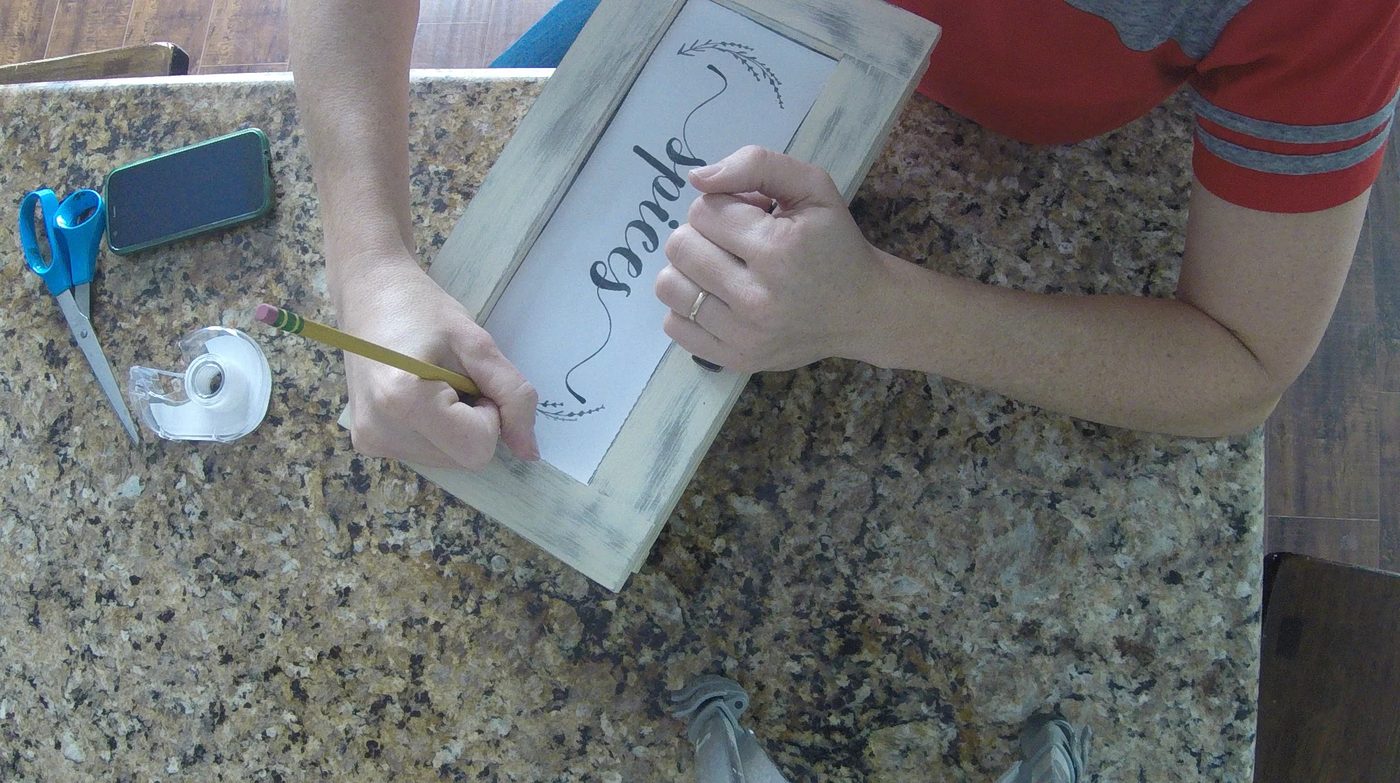
Then with a pencil I traced and filled in the image. The graphite is transferred from the pressure, so try not to touch anywhere else!
After you removed label and graphite paper fill in any light spots if you want to.
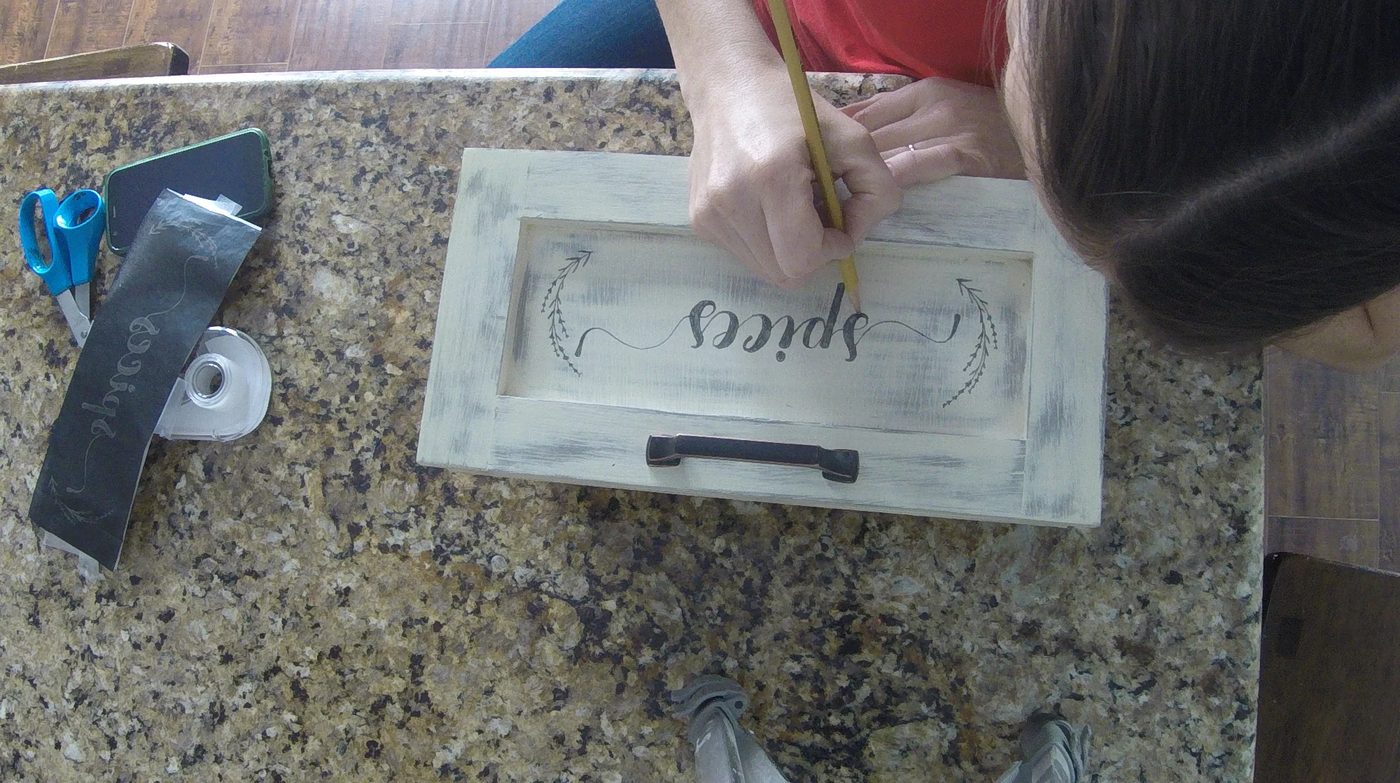
I didn’t want to do this step before I sprayed with polyurethane in case it made the graphite run. So I used this workable fixatif that I had from another project to protect the graphite.
Step 9: Spice labels
I printed the spice jar labels on “make your own sticker” paper, and used a 1 1/2″ circle punch to cut them out.
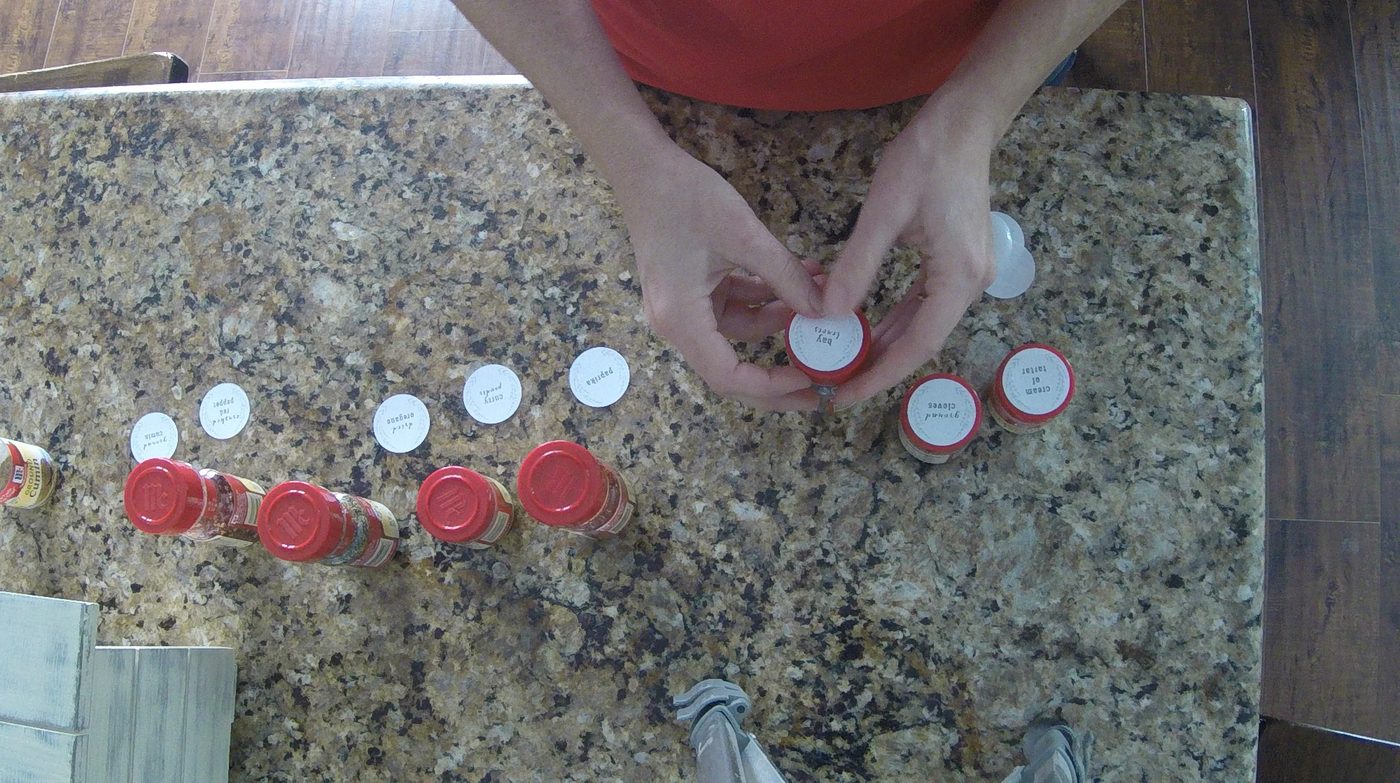
Wipe the lids so the stickers will adhere, and stick the labels on the jars
Fill the countertop spice storage drawer with your spices,
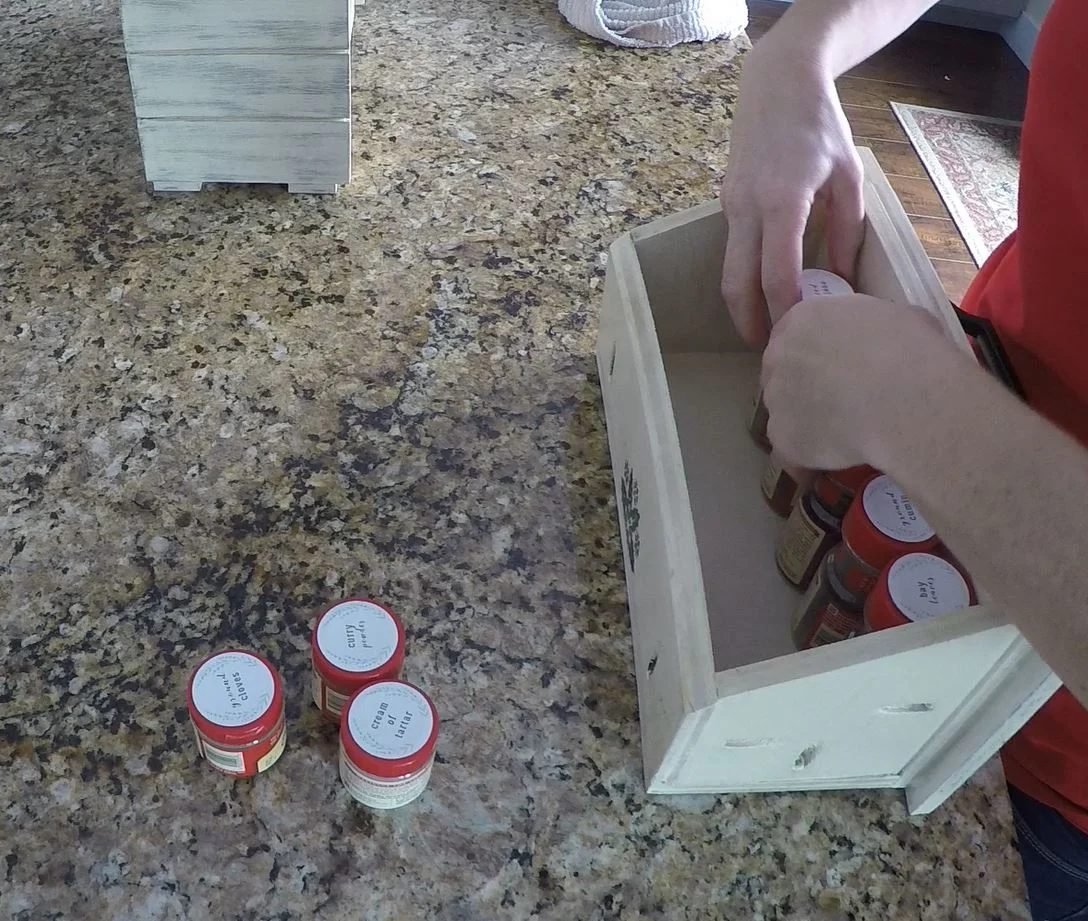
and put the drawer back in the box.
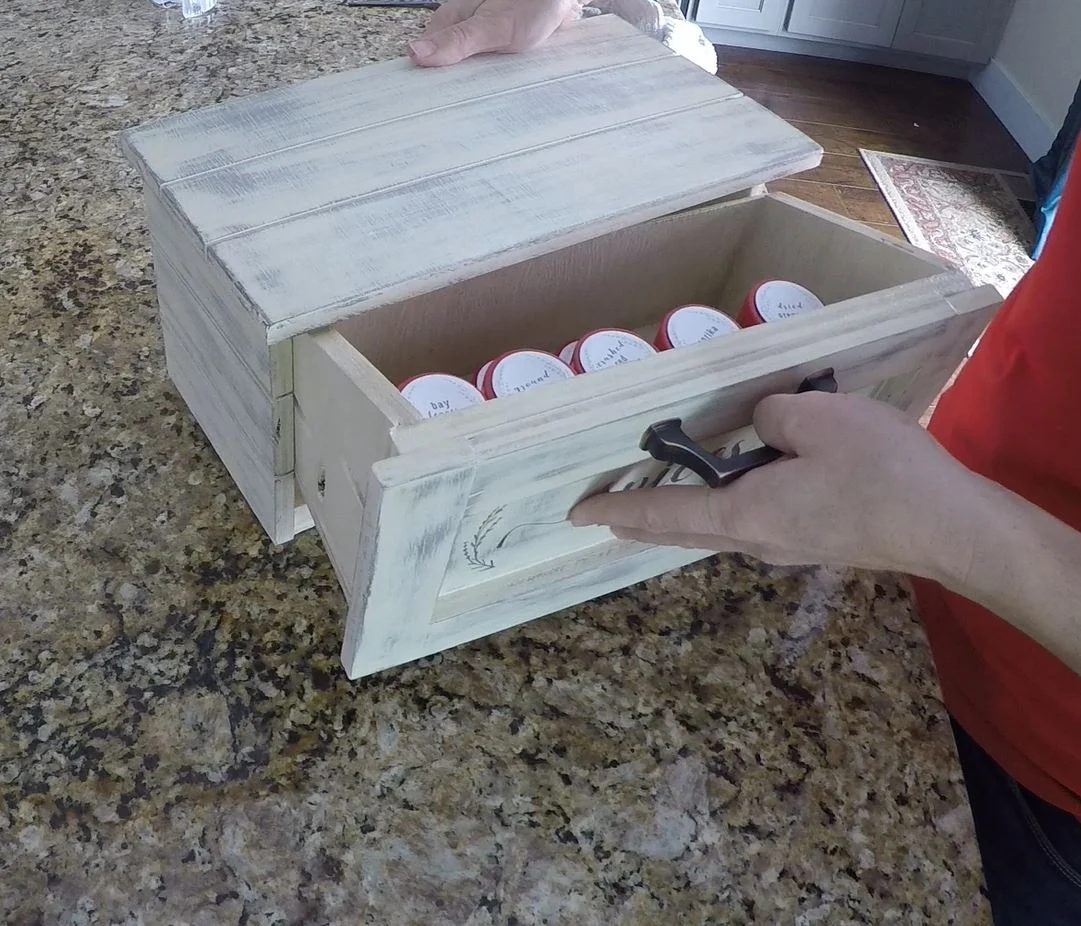
All Finished – Countertop Spice Storage Bin
Enjoy using your new countertop spice storage bin!
More countertop spice storage DIYs:
2×4 in-cupboard tiered spice rack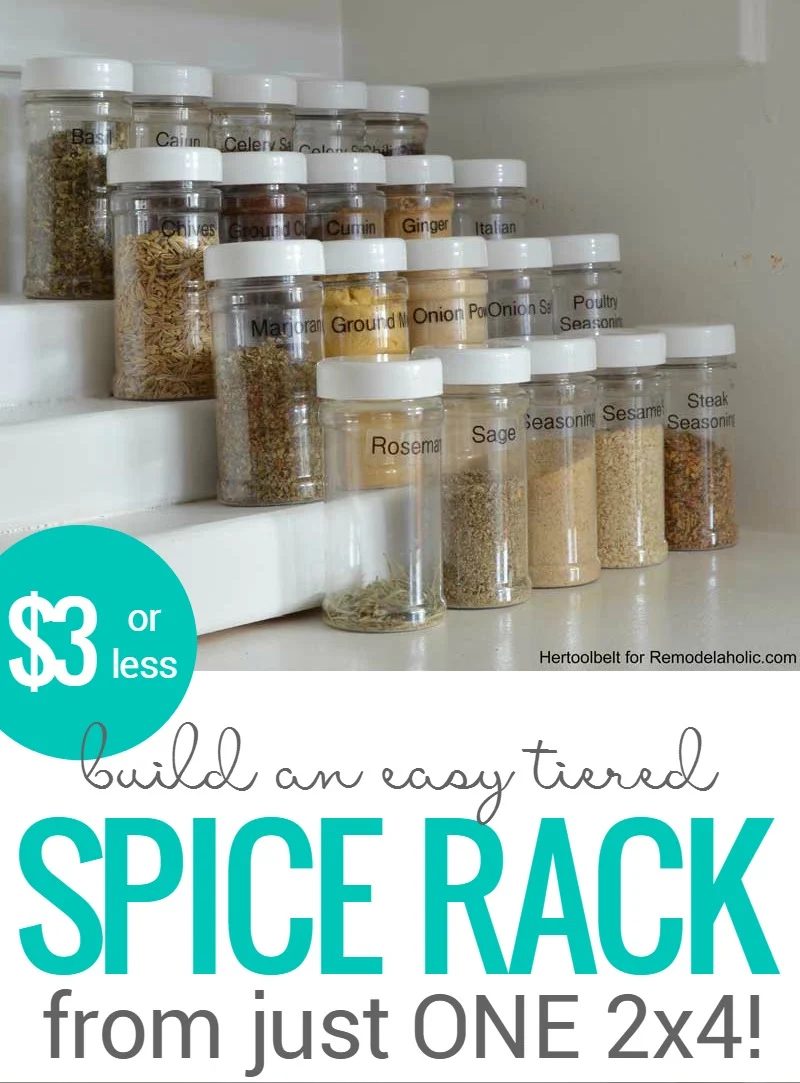
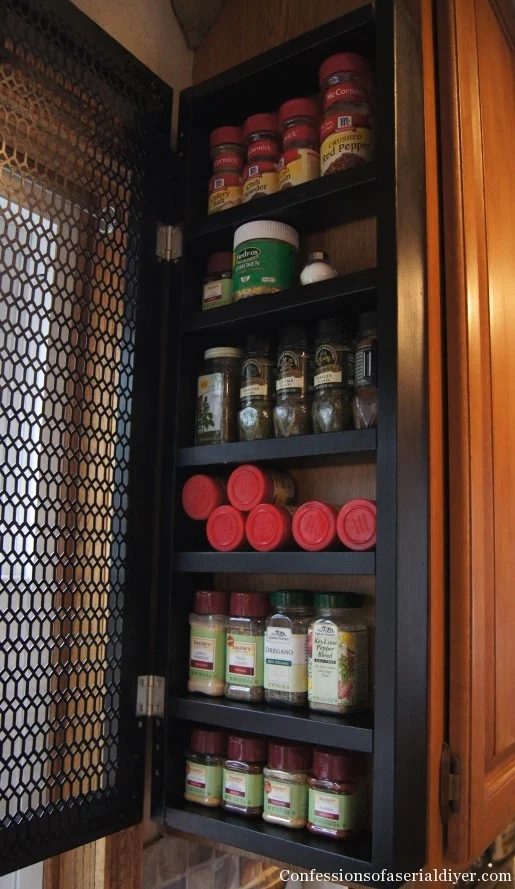
space-saving slim spice cabinet