The steps below follow the order of the work for this makeovers project.
Hey Everyone, Corey here from Sawdust2stitches. I know that many DIYer’s have an abundance of “stuff”, tools, supplies, projects etc… Another common trait of DIYer’s is the need to make things look “pretty”. Combine those two factors with my over-the-top need for organization and I can become a little bit of a crazy person. Some days the only thing that keeps me sane is; Diet Coke, and totes, lots and lots of totes.
( As made evident here, here, and literally every closet in my home.)
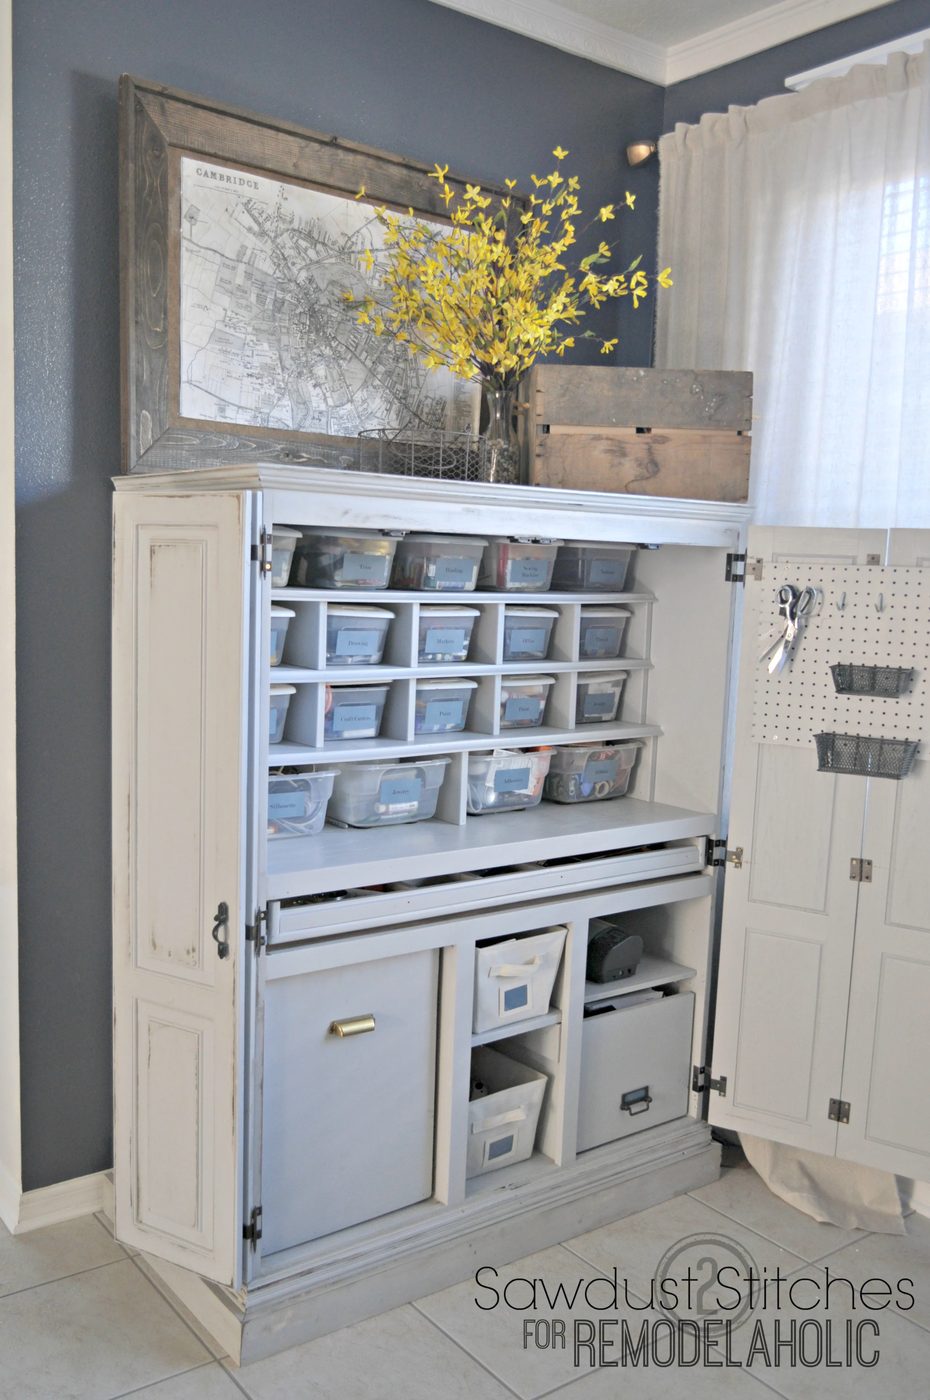
When it came to organizing all my crafting/office supplies, I was struggling. I actually don’t do a lot of “crafting”, so I didn’t feel that my craft supplies warranted an entire room. But where could I put it all and still have it easily accessible ? Maybe a craft cabinet?
My solution= Craigslist.
Let me make on thing VERY clear. This picture was NOT taken in my home. This was the image that the original owners supplied on Craigslist. ( Note to self : Write a walkthrough about staging)
How to Turn a Computer Desk into a Craft Cabinet
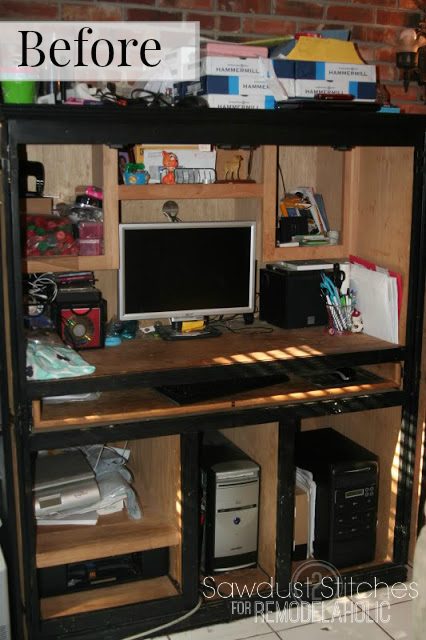
It’s not much to look at, but a solid wood cabinet for $35.00 it would work!
I quickly got to work and gave it a nice paint job, and added some custom modifications to accommodate various larger items in my craft cabinet. You can read all the fun details here .
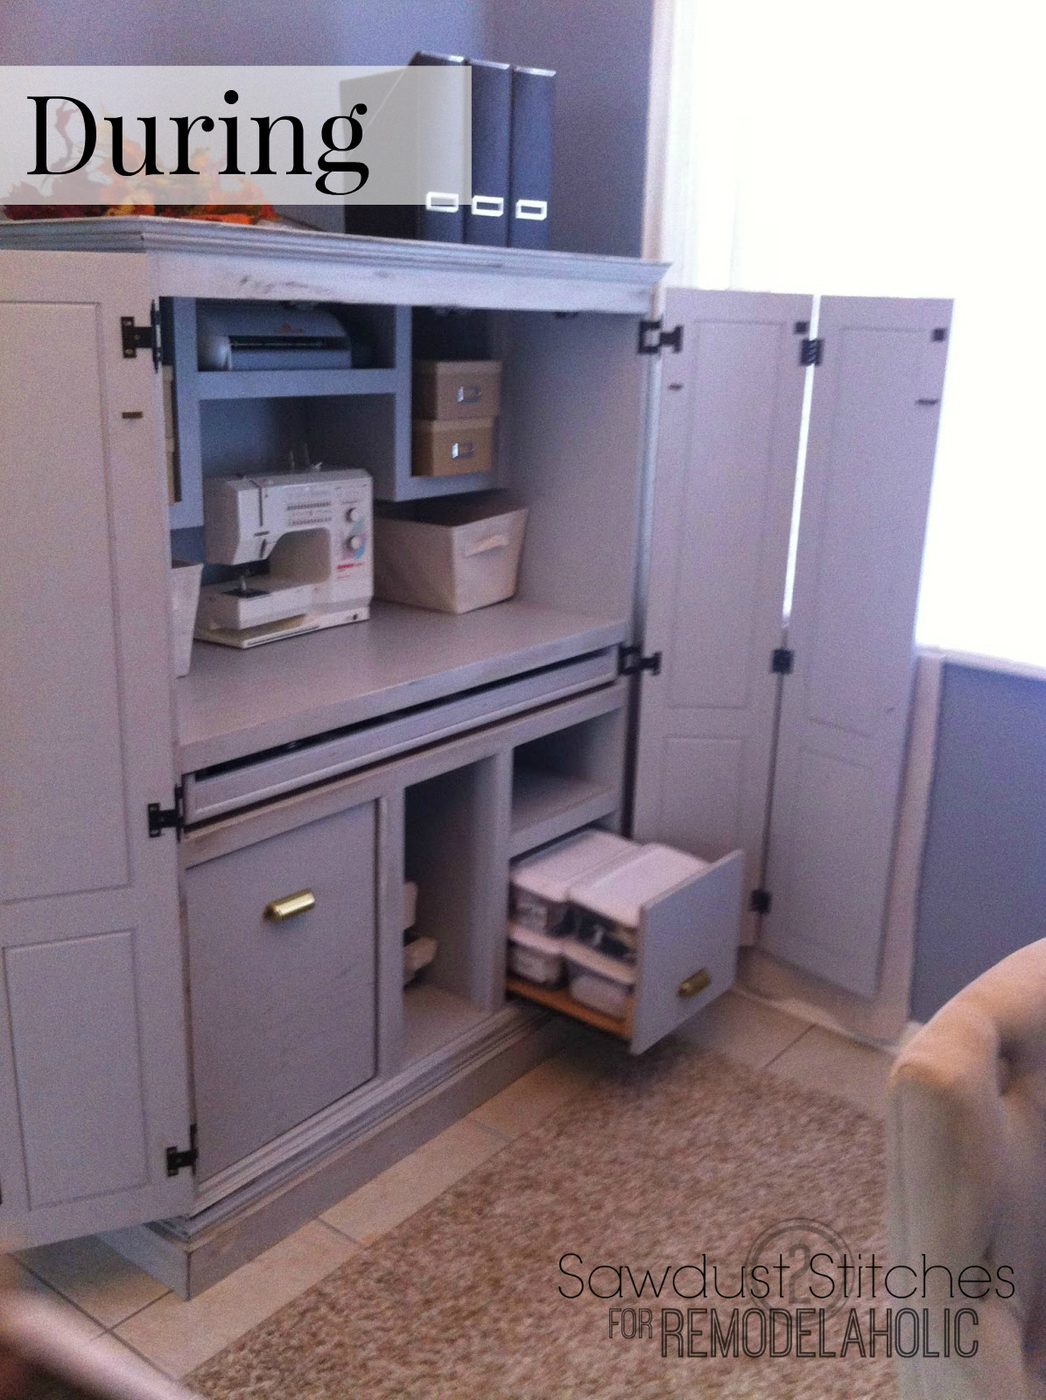
I was content with my craft cabinet for quite a while, until started to notice a pattern. The top desk area became my “catch all” clutter spot. It was driving me crazy. I am very much an “everything has a place and everything in it’s place” type of gal. I was just stacking bins in an effort to organize it, until one day I had HAD IT. I went into the garage, and came back in carrying my “heavy duty hammer”. (That’s when you know I mean business.)
I busted out the existing cubbies. They weren’t bad, but they were blocking its ultimate potential. So, out they came!
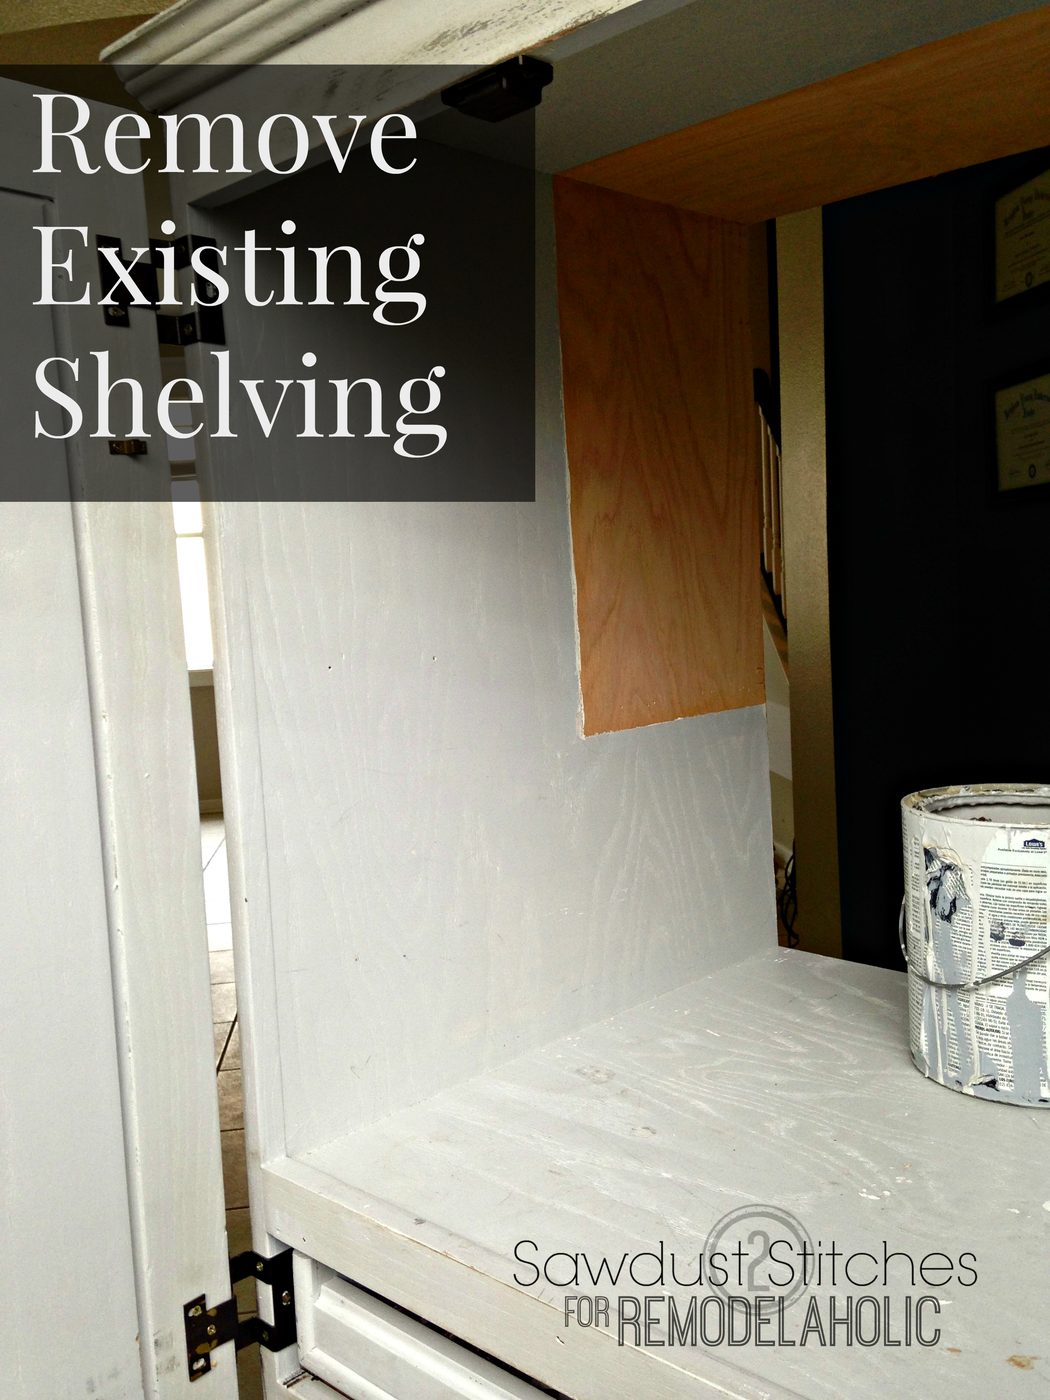
I took some measurements and went out to the garage.
Fortunately I had some boards that would work well fitted for shelves left over from various projects!
I cut boards the width of my cabinet, these would become my shelves. I also cut boards the height of my bins, these would become my dividers. Once everything was cut, I sanded them all in preparation for paint.
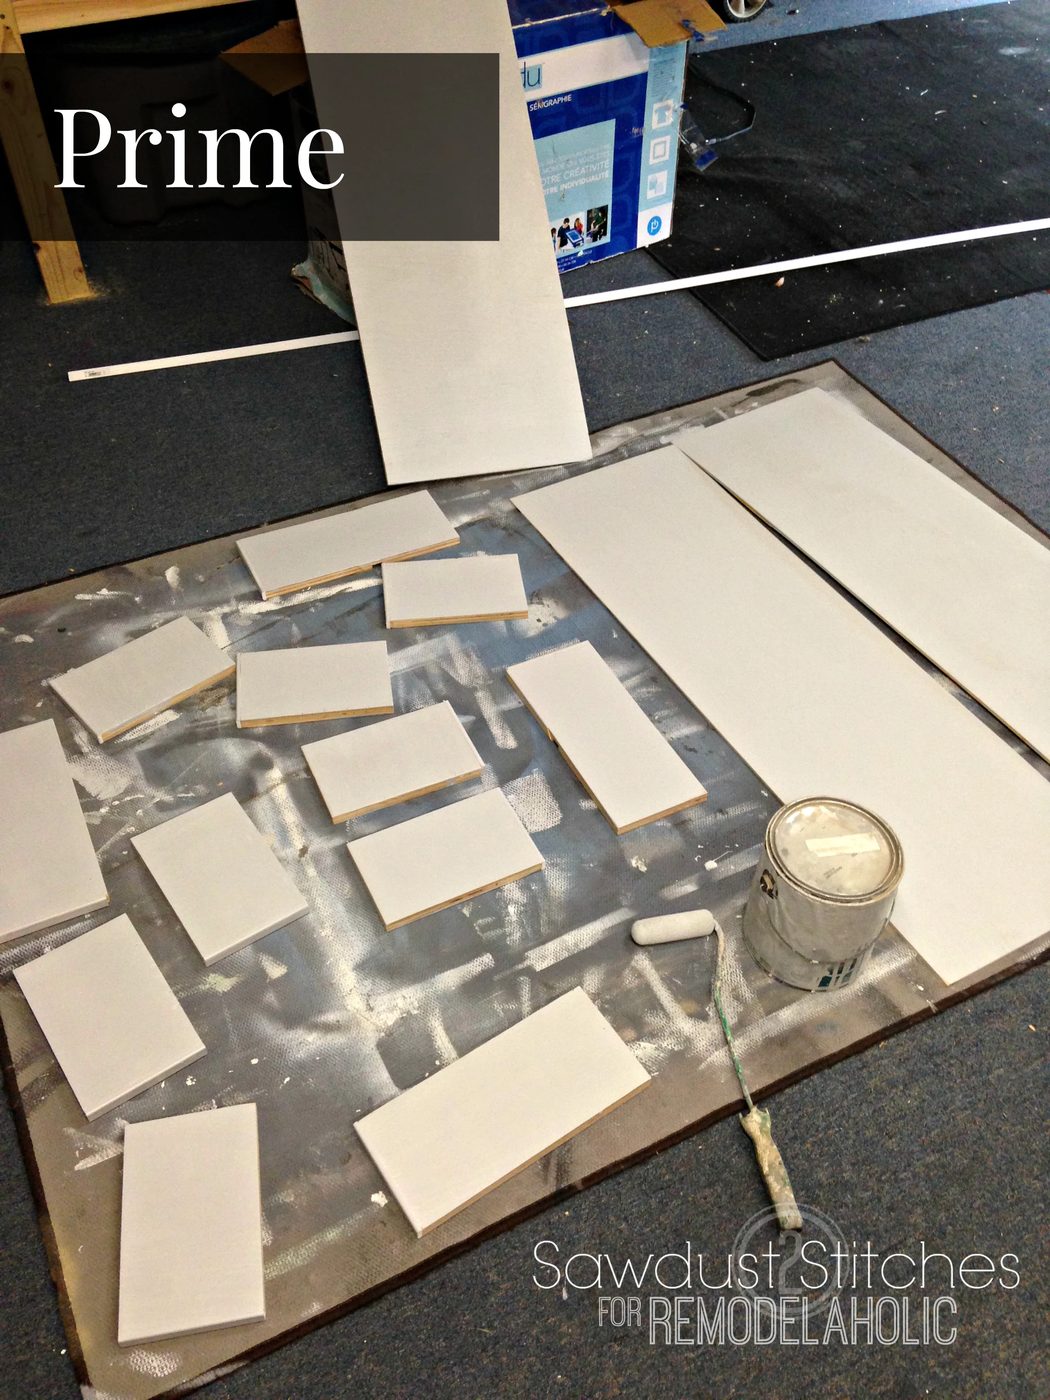
I proceeded to prime, and paint.
Once everything was dry, I was ready to install!
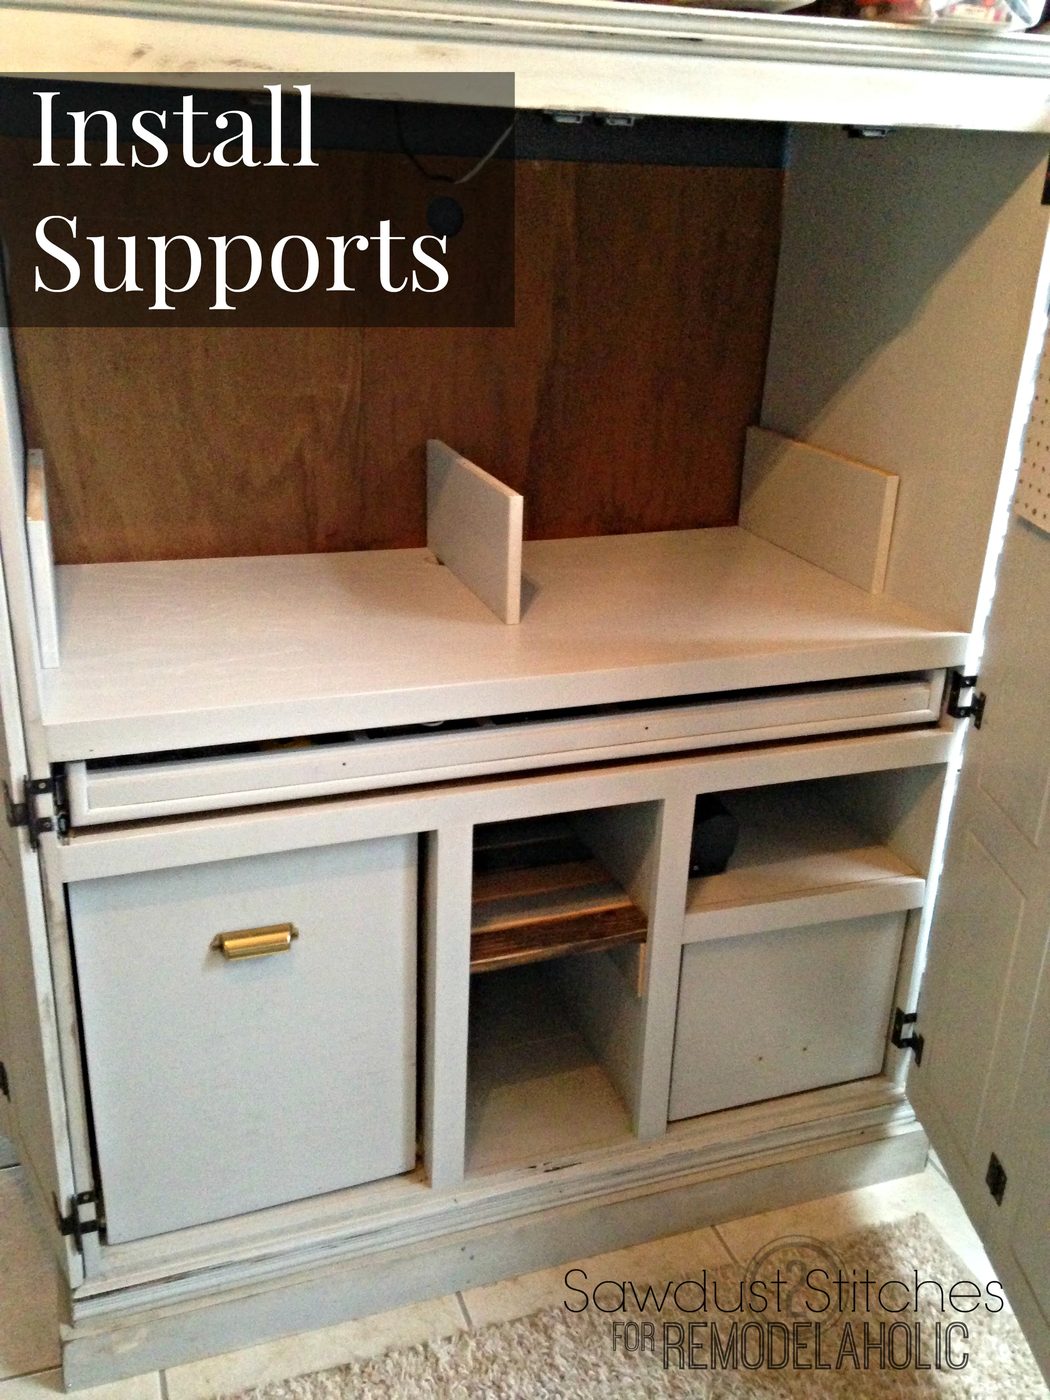
Once supports are in in desired positions. Balance the shelf on top of them. I secured them in place by nailing through the shelf into the supports below.
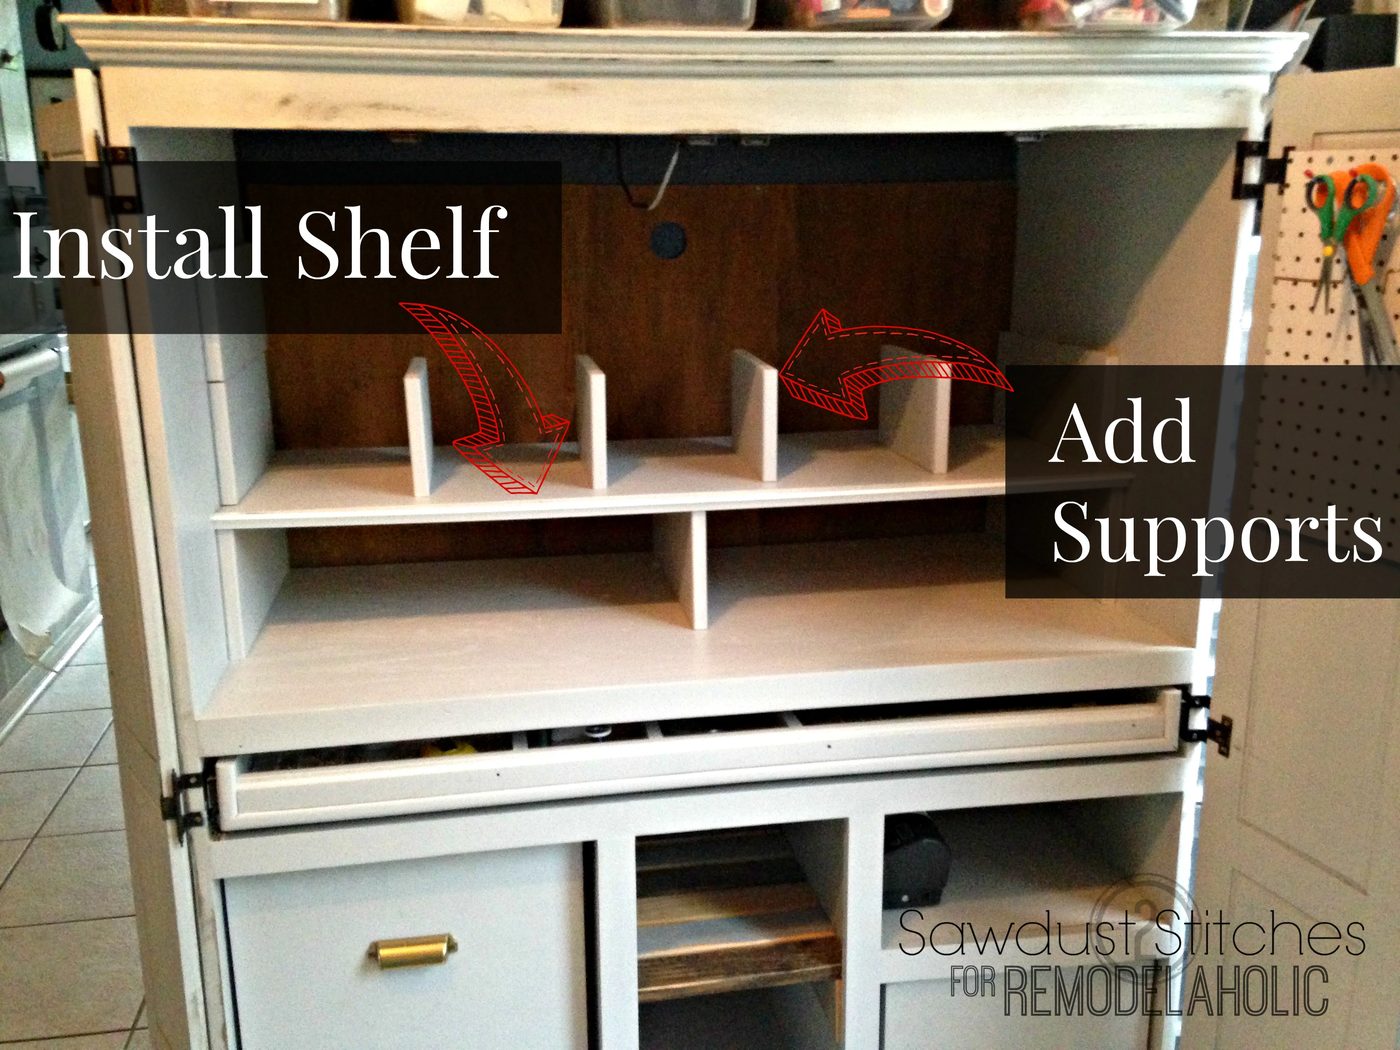
Repeat process as many times as applicable.
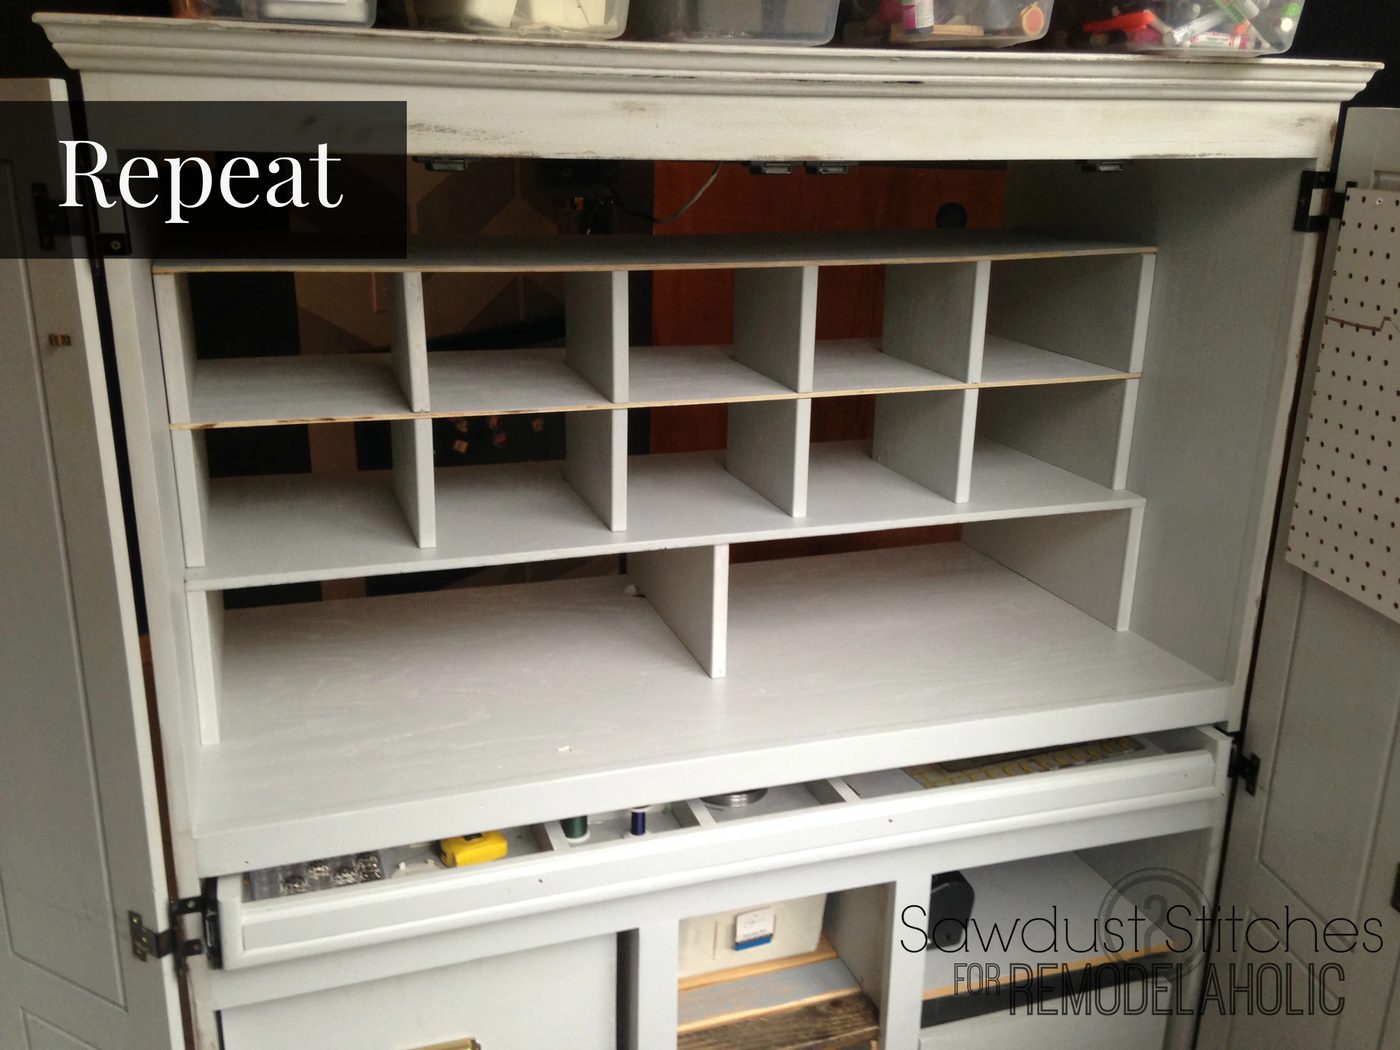
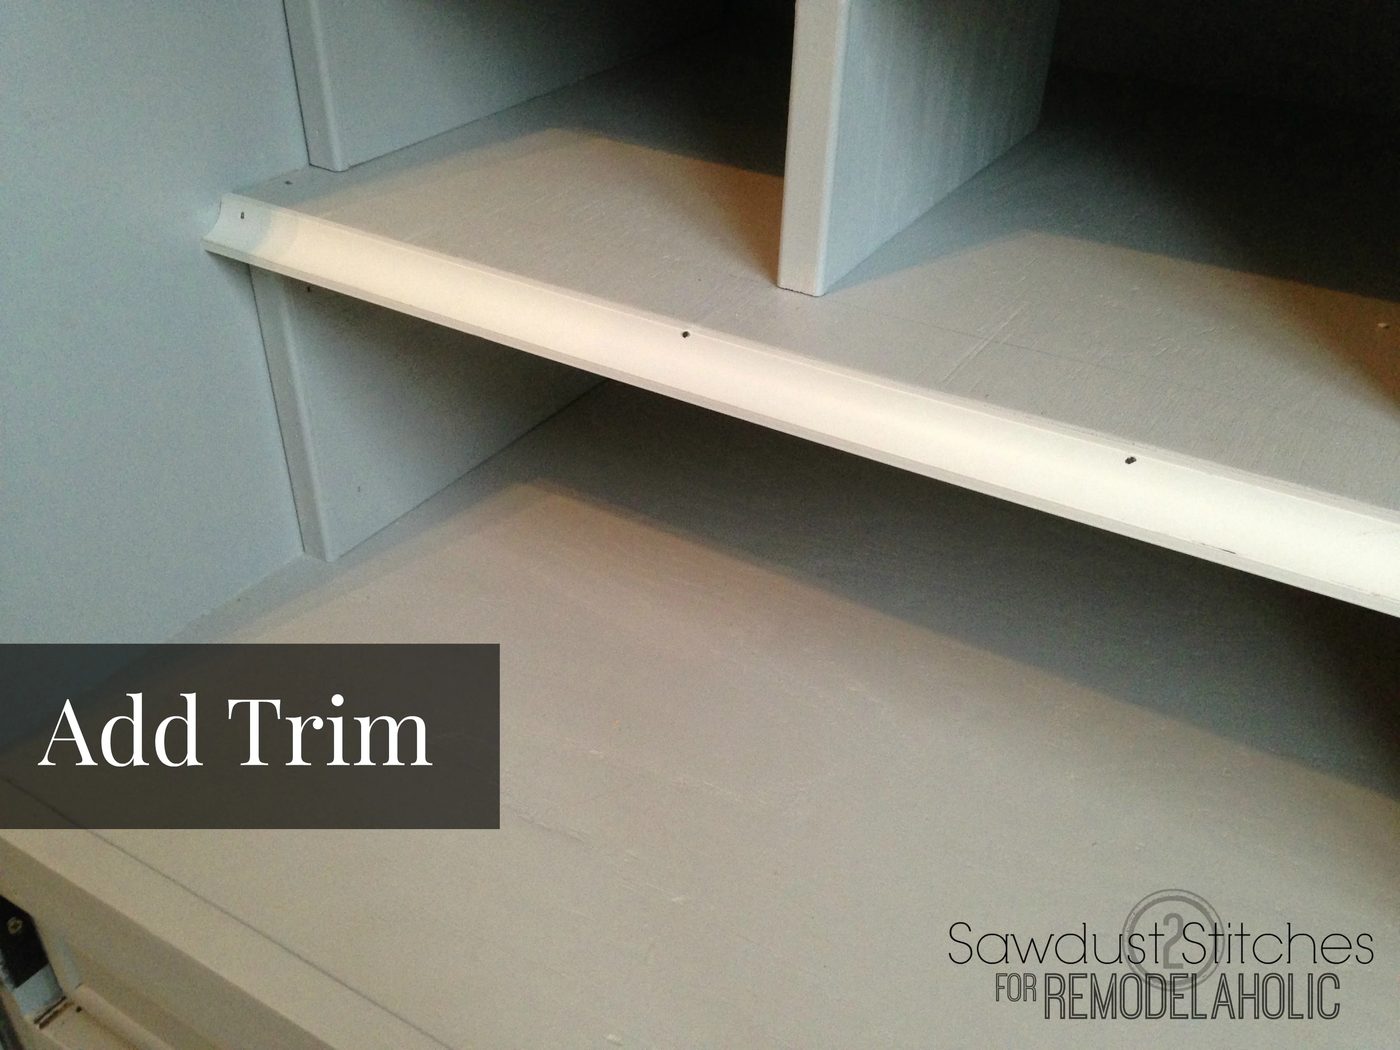
Purely for aesthetics I added trim to the outer edge.
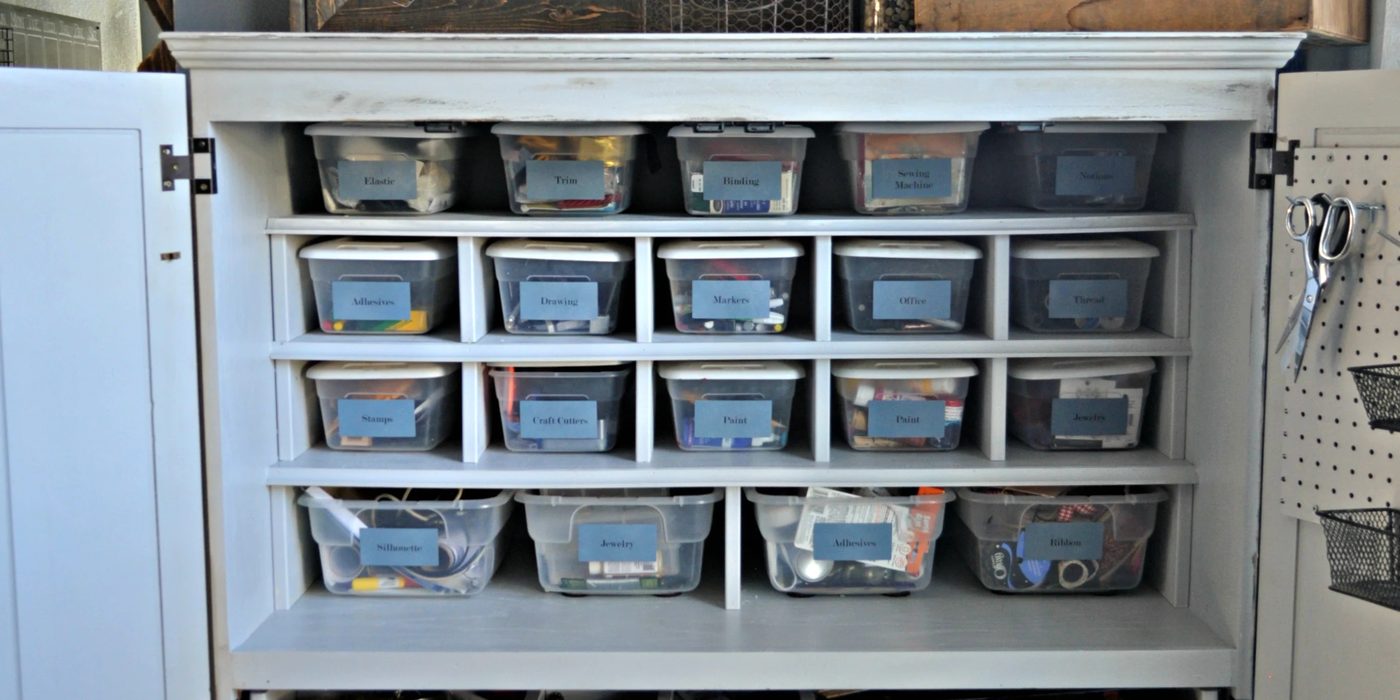
Ta -da! Look at all the crap you can fit in there ! I love it! I also love that when you have to get something out of the bottom bin you don’t have to rearrange the entire cabinet to access it . Ain’t NOBODY got time for that.
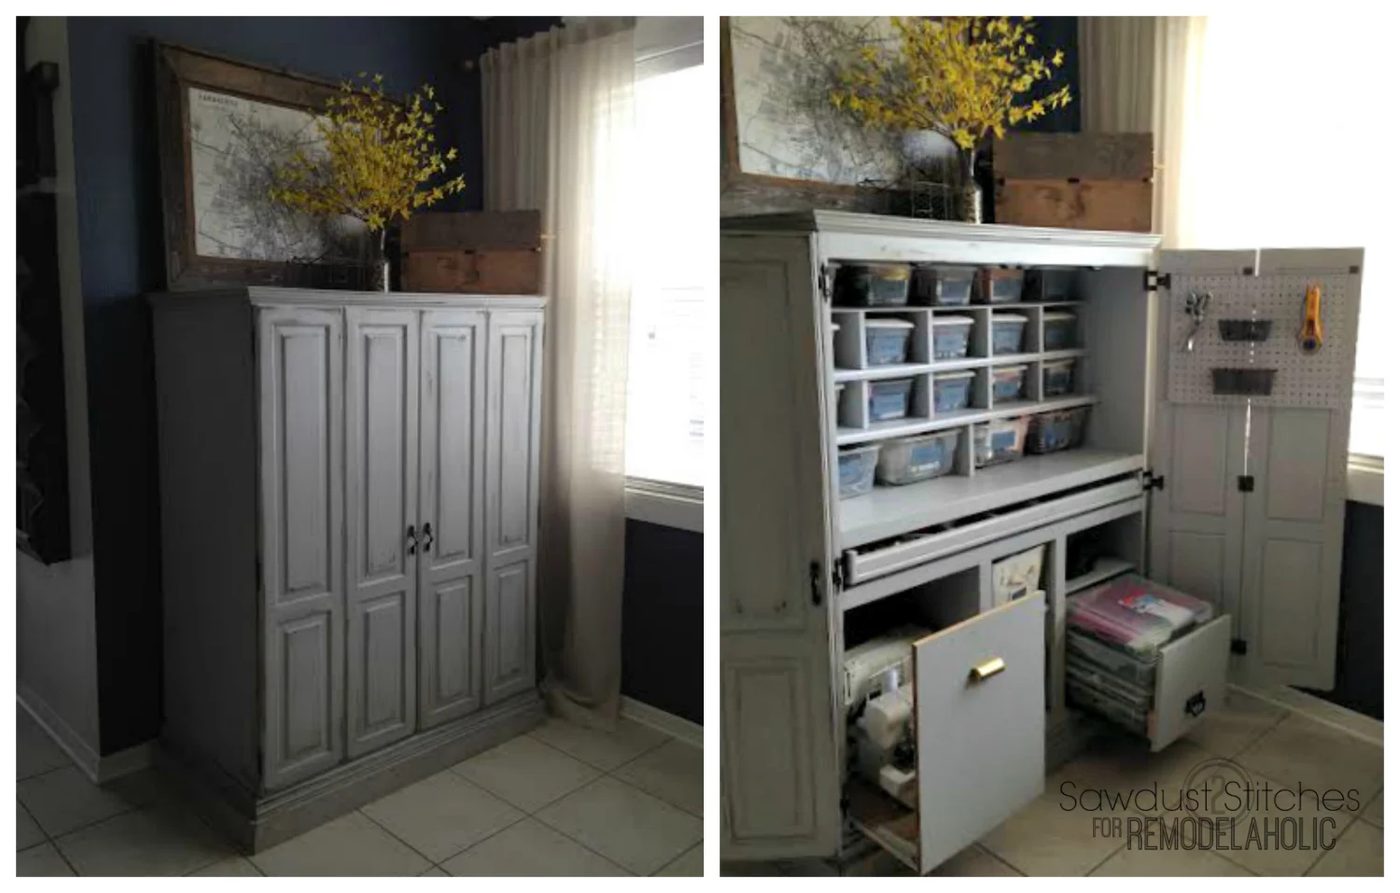
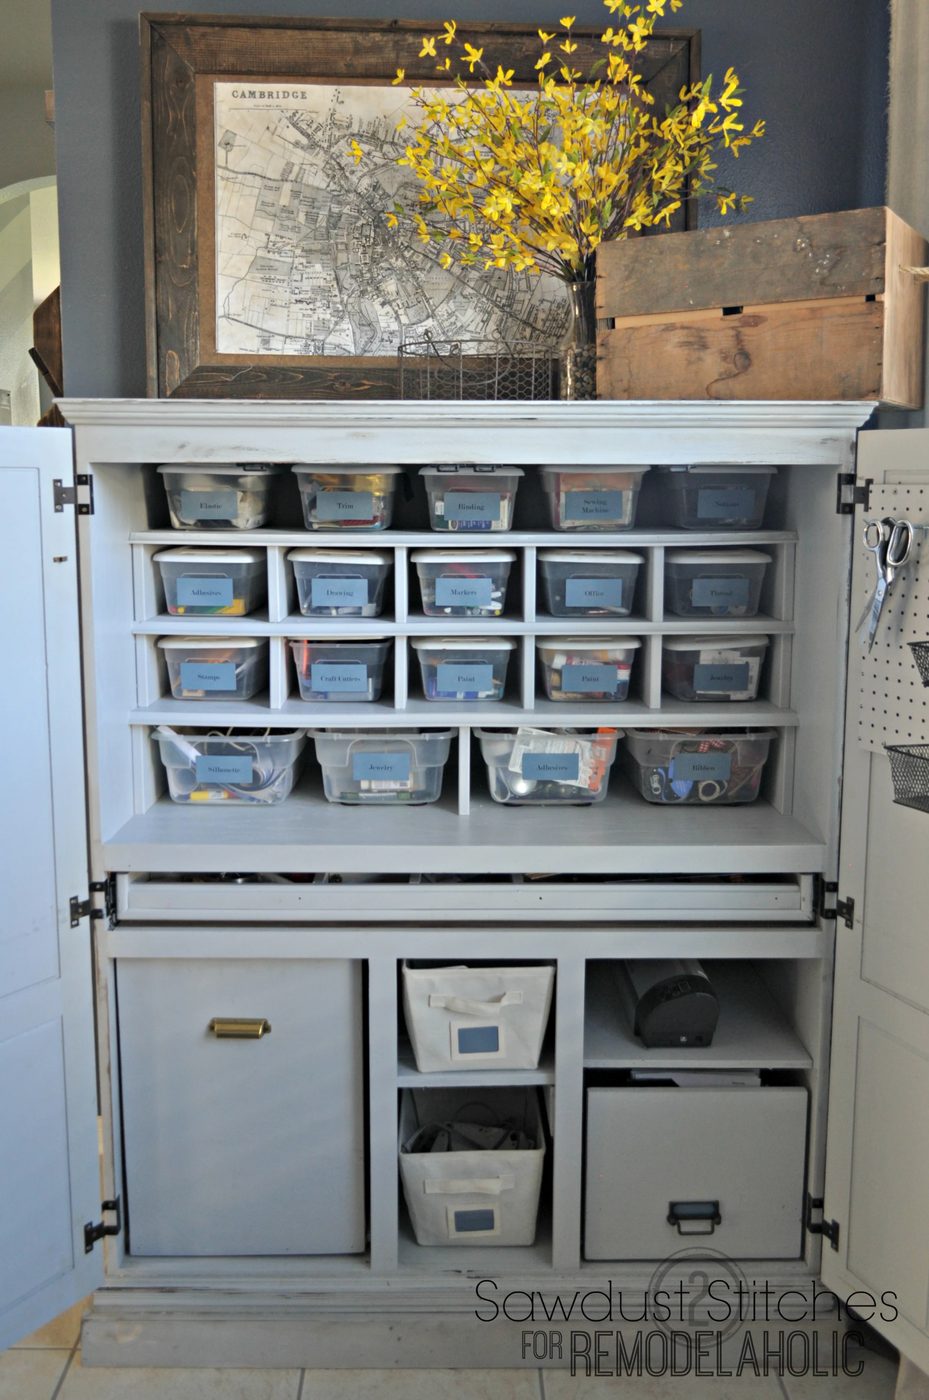 This just makes me happy! Everything in its place. … and no one would know, it is a freestanding craft room.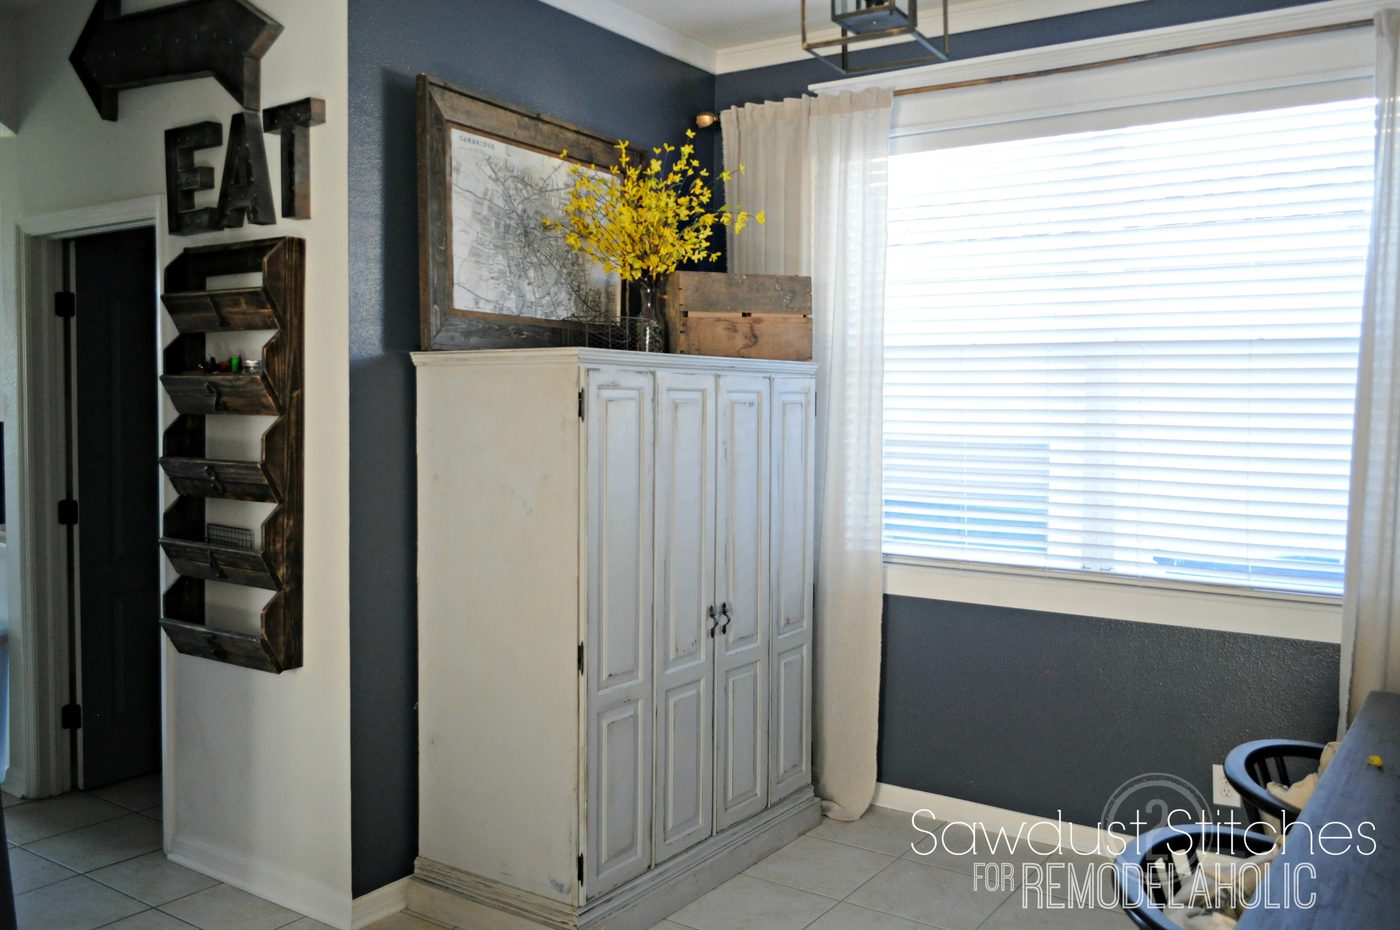
Have a great day, and take luck,
Corey
————————————
Try these other options to organize your craft space!