Read the sequence from the top before cutting, painting, or moving pieces.
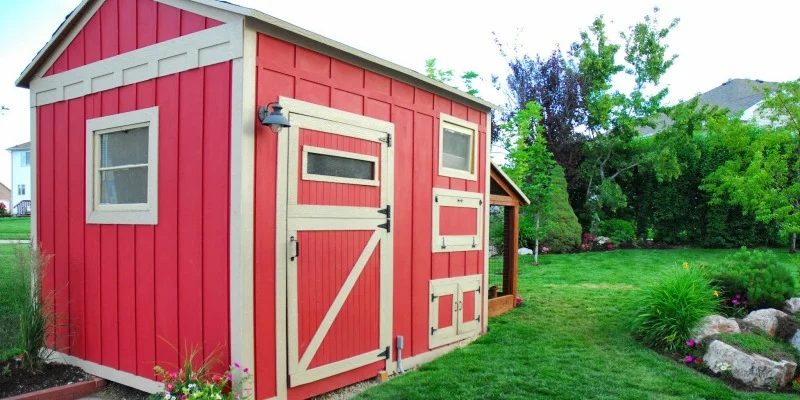
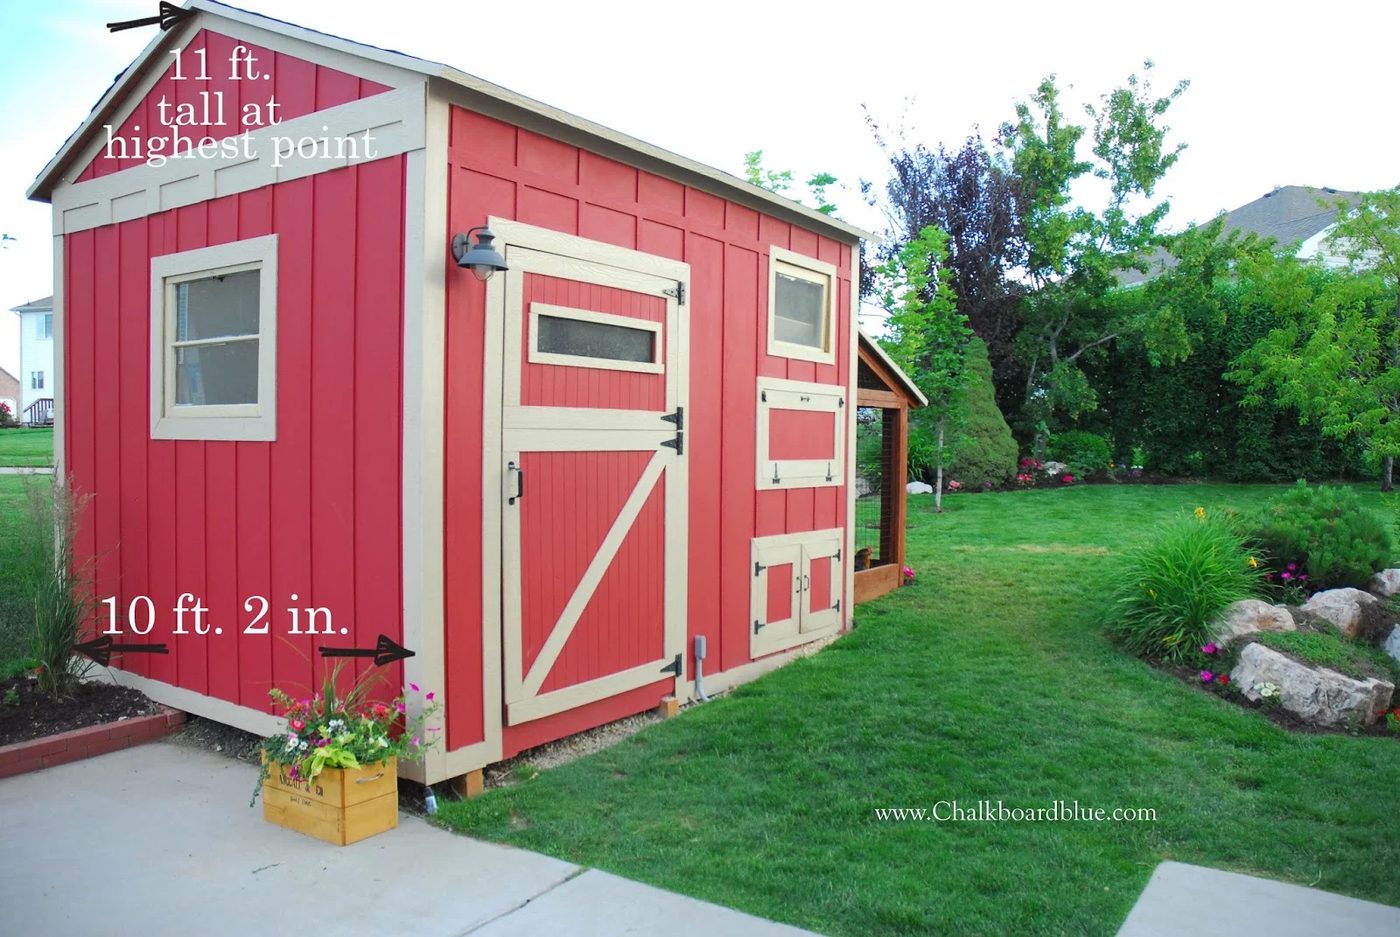
If you’ve been around Bekob a long time, and I mean a loooong time, way back to the beginnings in 2009 (which I’m pretty sure almost none of you were, except for maybe my mom, hi mom!) — anyway, the point is, that way back in 2009, a friend gave us 5 little chicks, and we built a great little chicken coop that matched our house. And it was then that I knew that I had a thing for cute chicken coops. So when I ran across this one over at Chalkboardblue, I was so excited and asked Michelle if we could feature her. Not only is it a nice chicken house, but it is combined with a great storage shed, and they both look so nice in Michelle’s yard! See what I mean: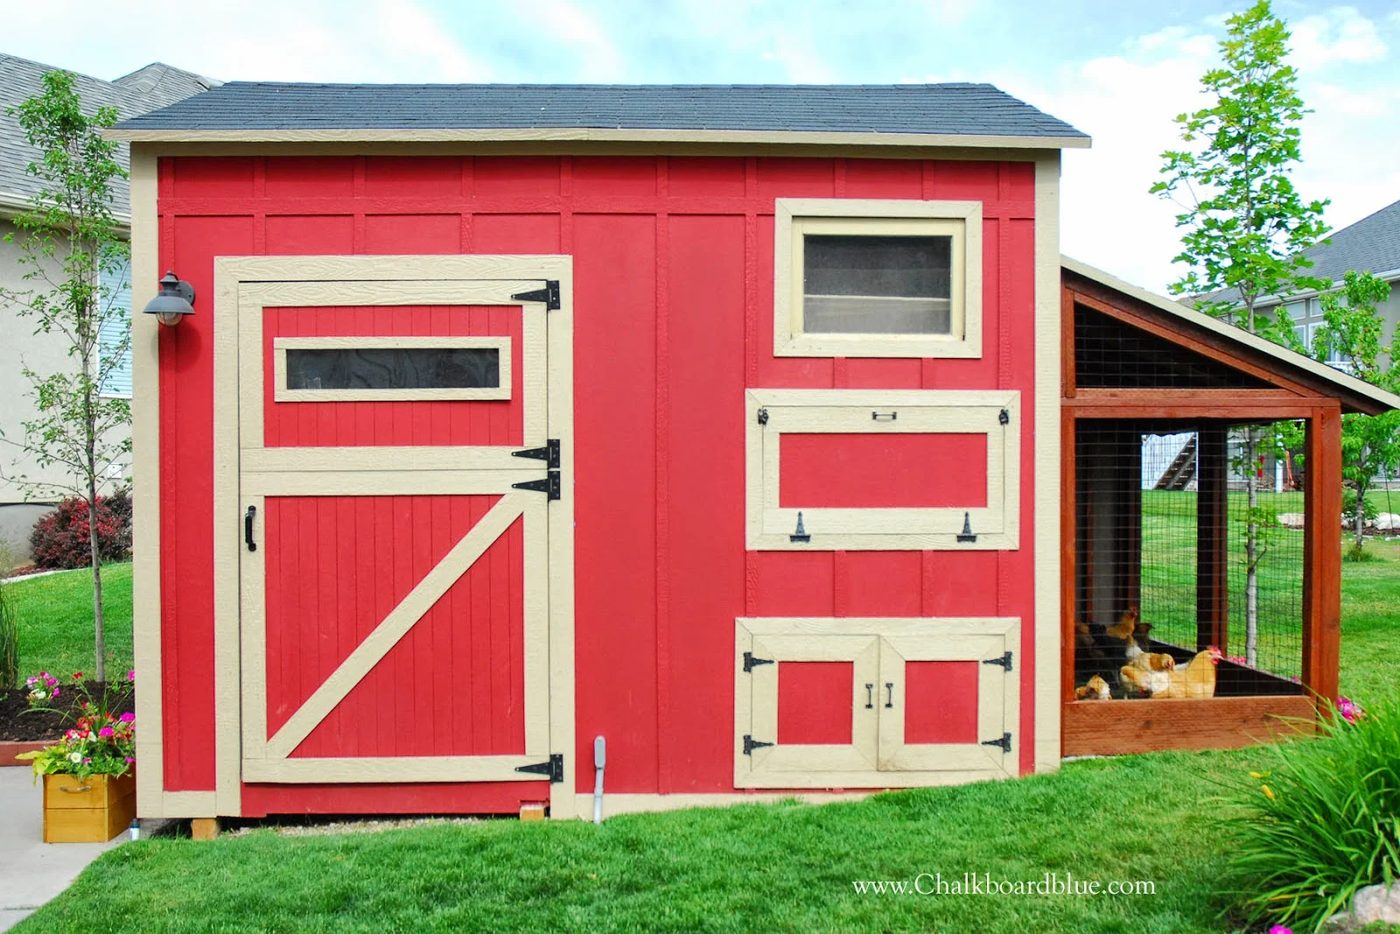
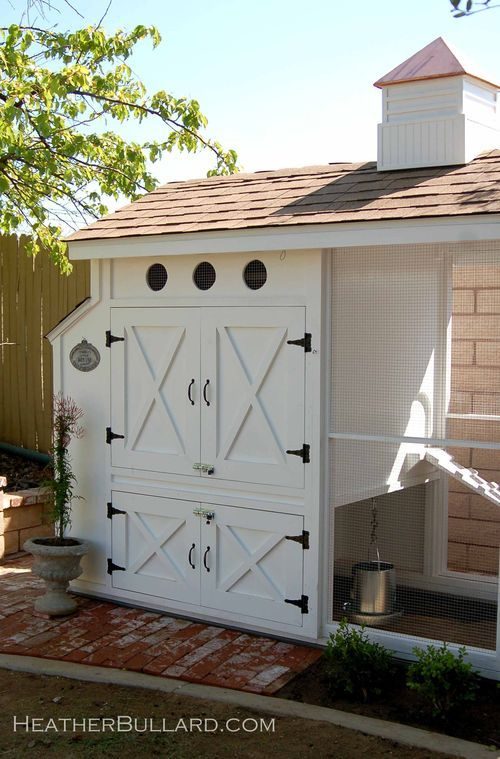
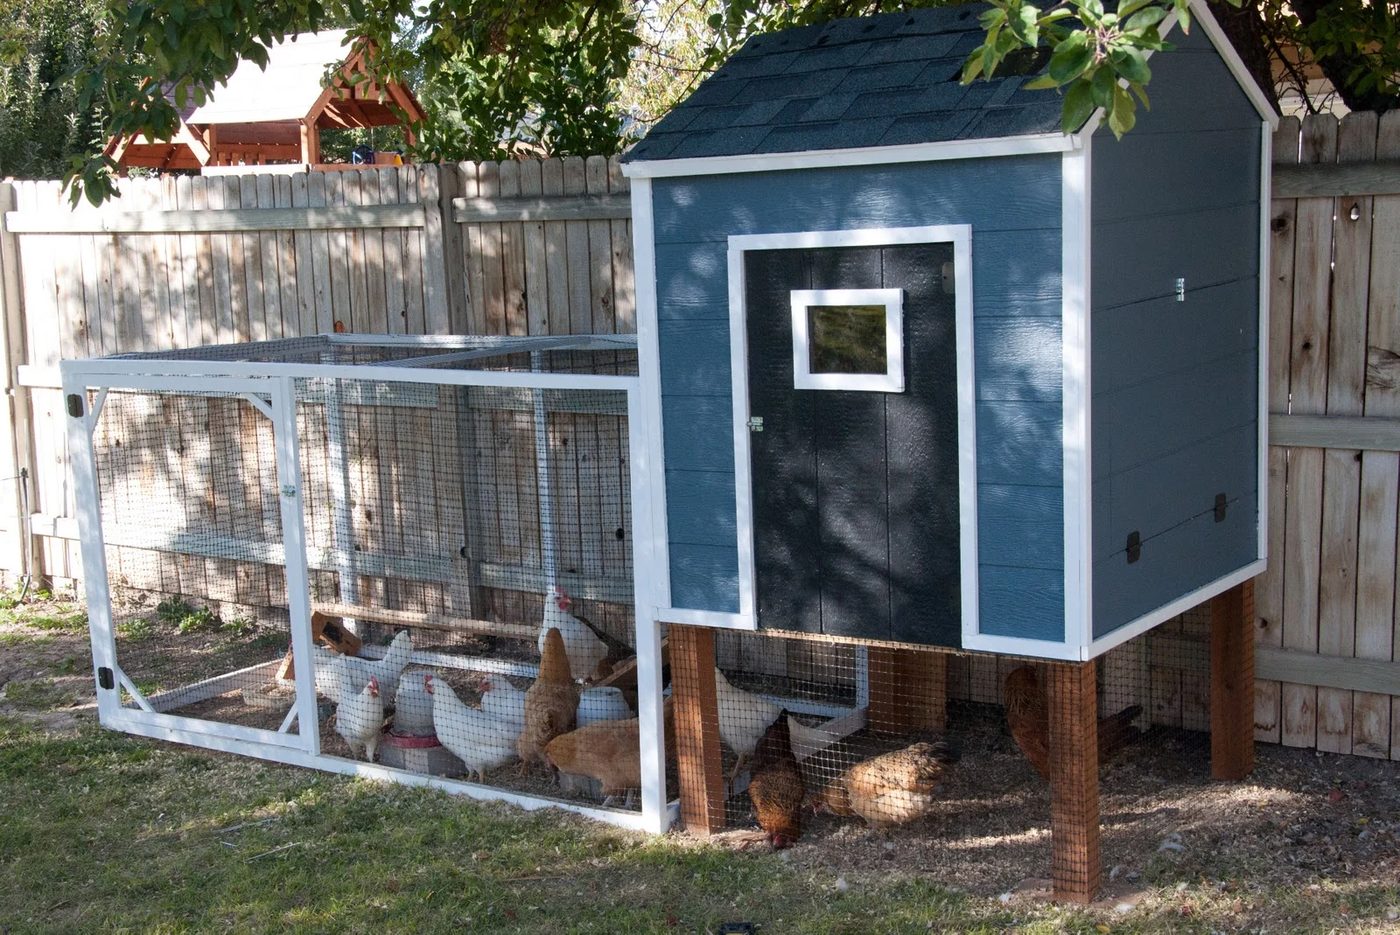
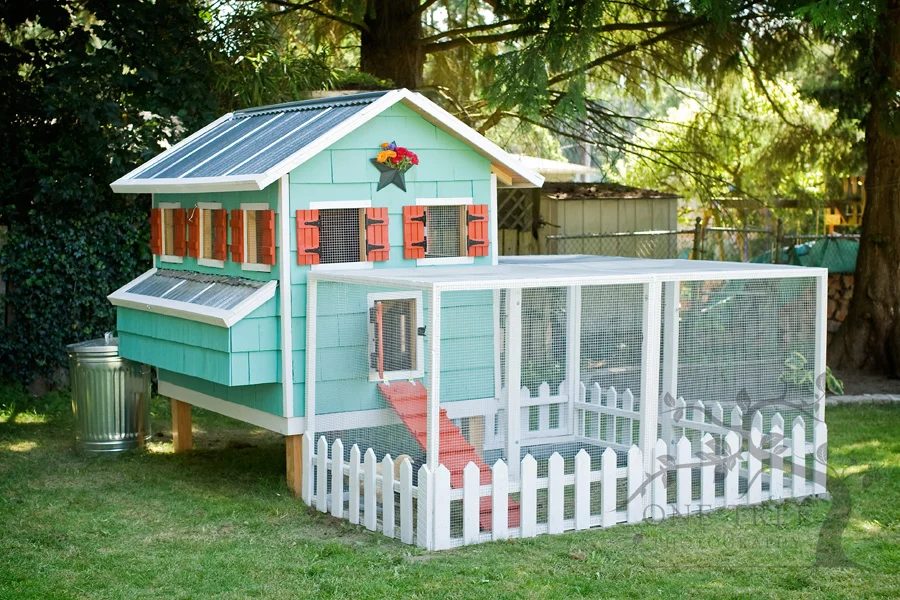
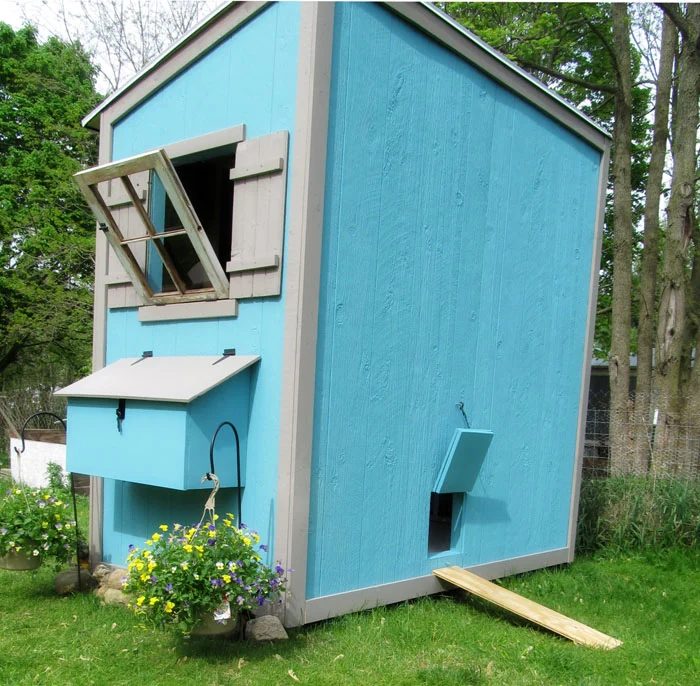
And this cuteness isn’t an anomaly! There are some really cute Handmade chicken coops in the world, like these:
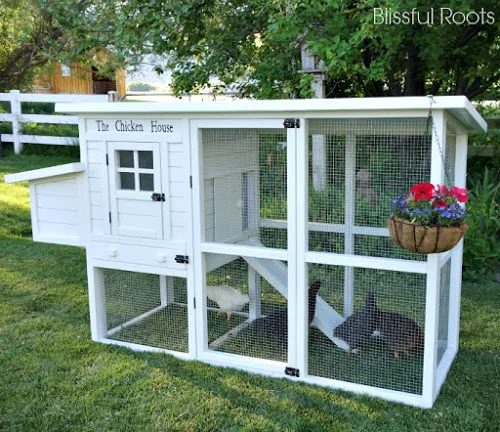
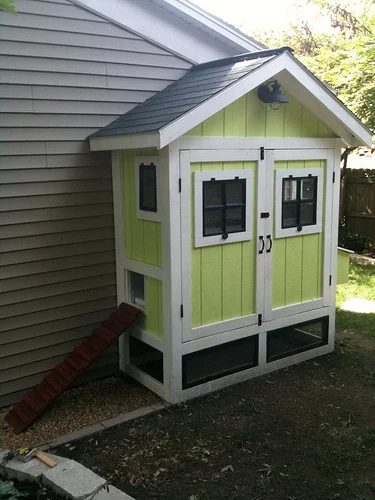
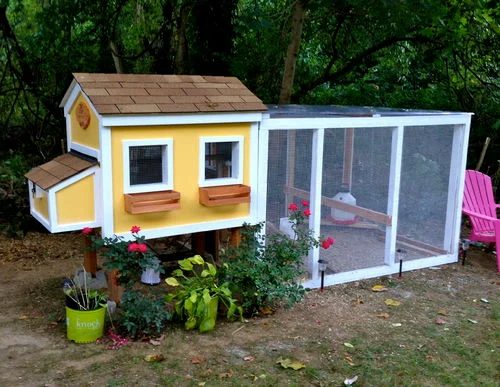
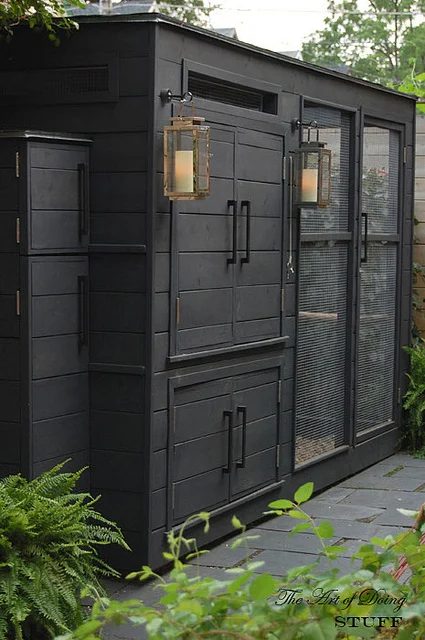
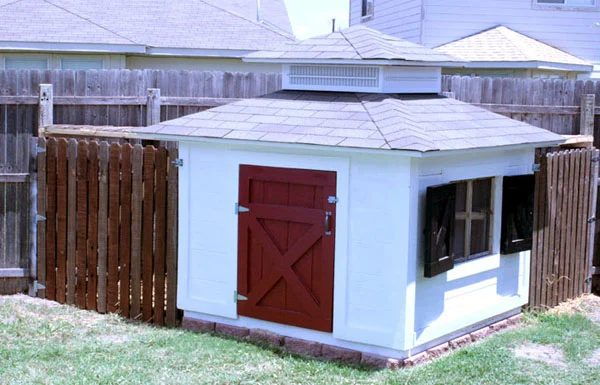
So now that you’re all ready for a cute chicken coop and a flock of feathery friends, meet Michelle and her solid chicken coop + storage shed:
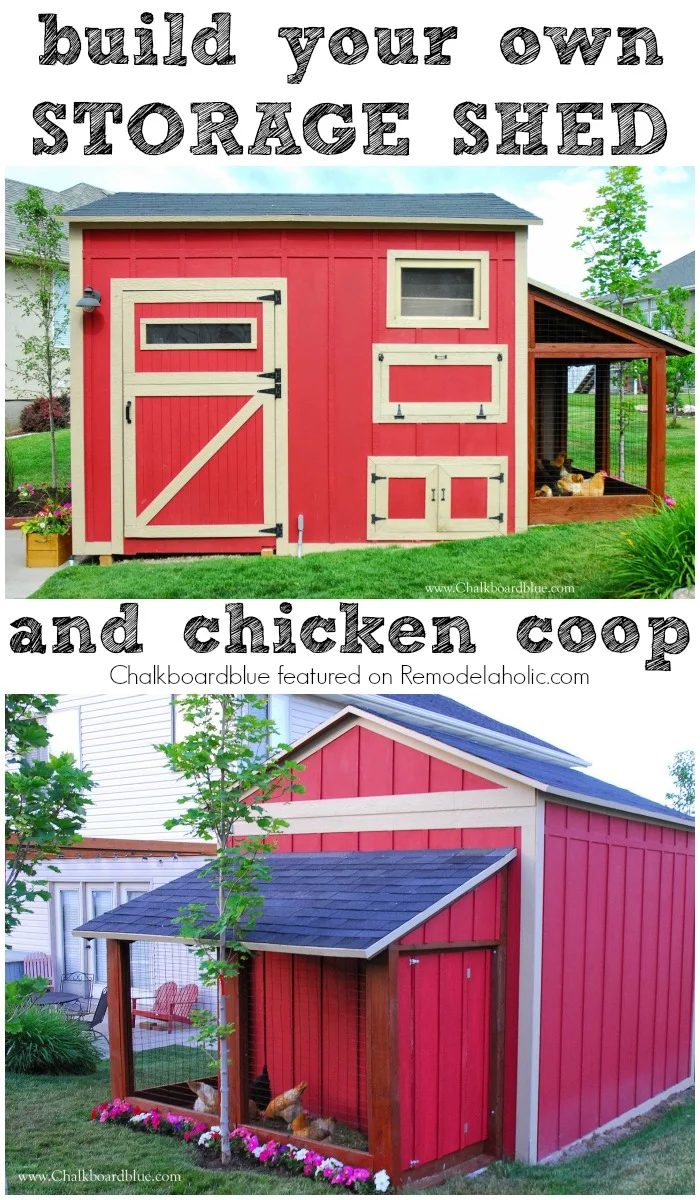
How to Build a Handmade Chicken Coop – Storage Shed Combo
by Michelle from Chalkboardblue
Hi My name is Michelle from Chalkboardblue. My blog features projects that I design and build! Today I’m sharing with you how we built a Backyard Shed AND and Chicken Coop combination.
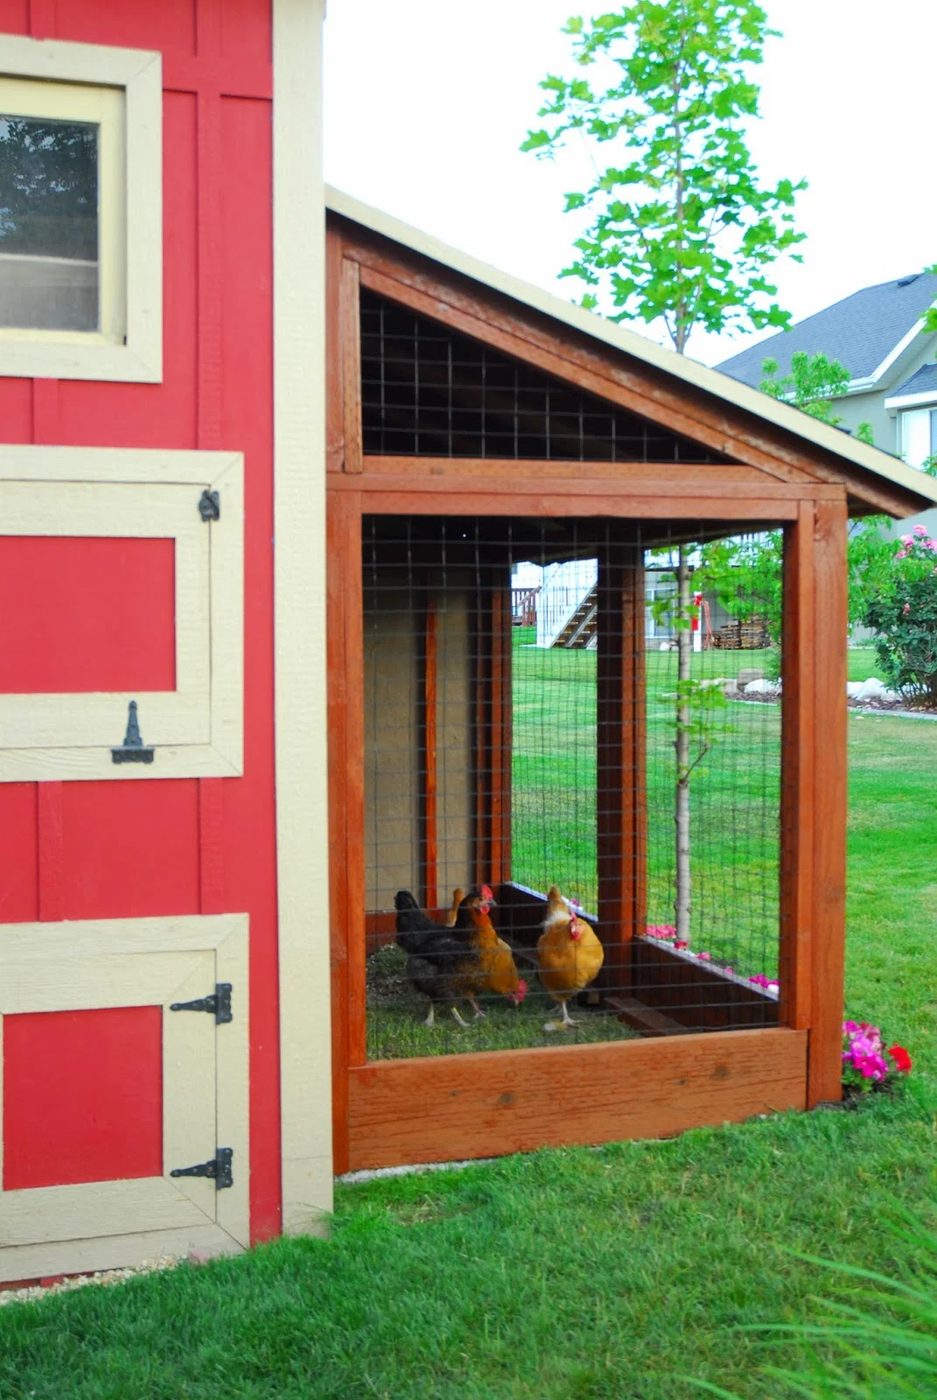
The front half of this structure pictured above is the shed portion. The back half is the Chicken Coop with its Outside Run.
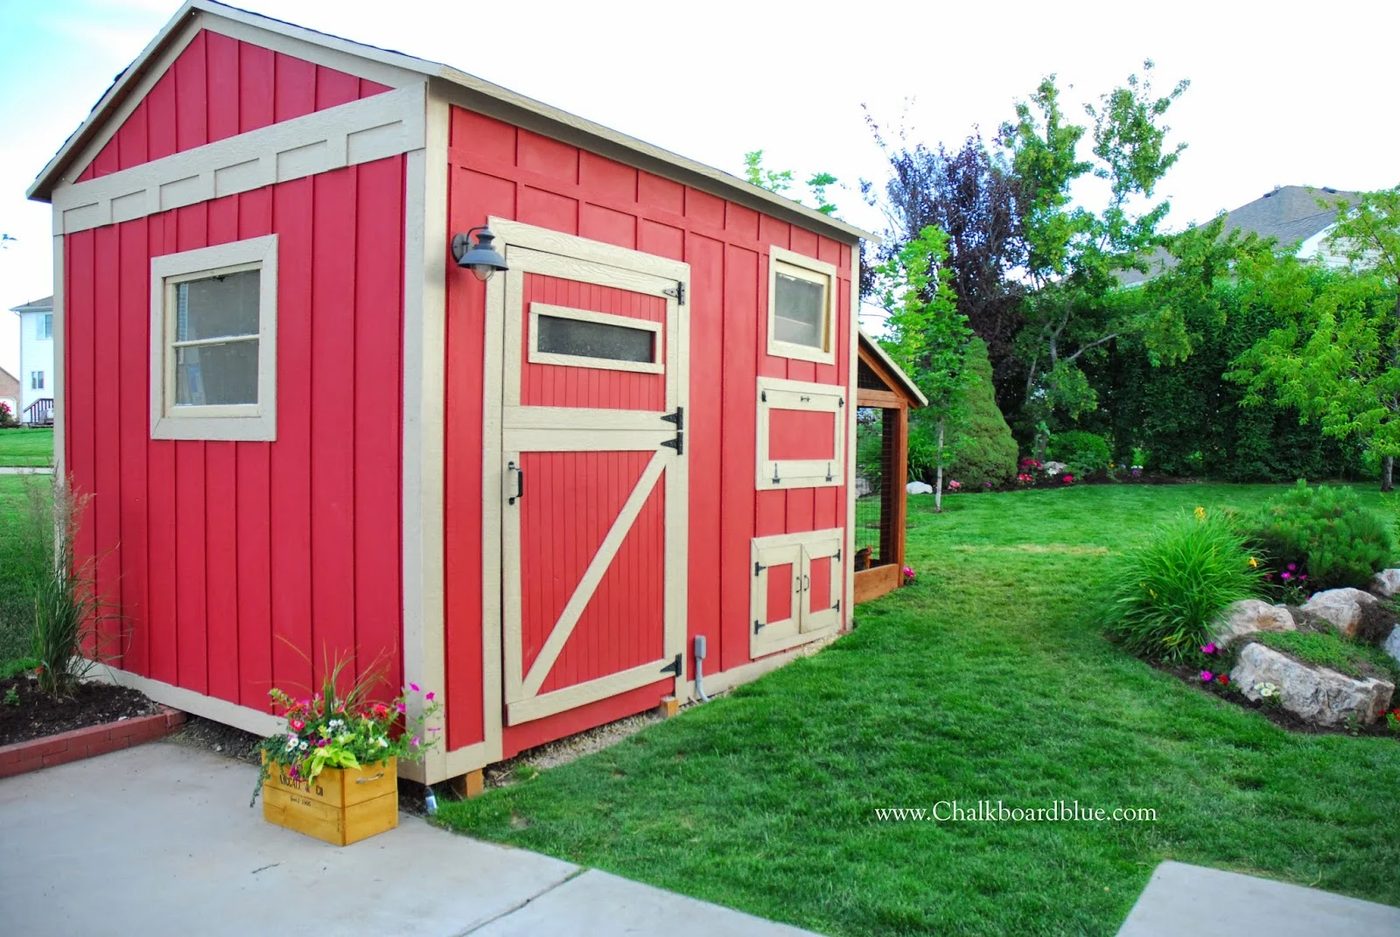
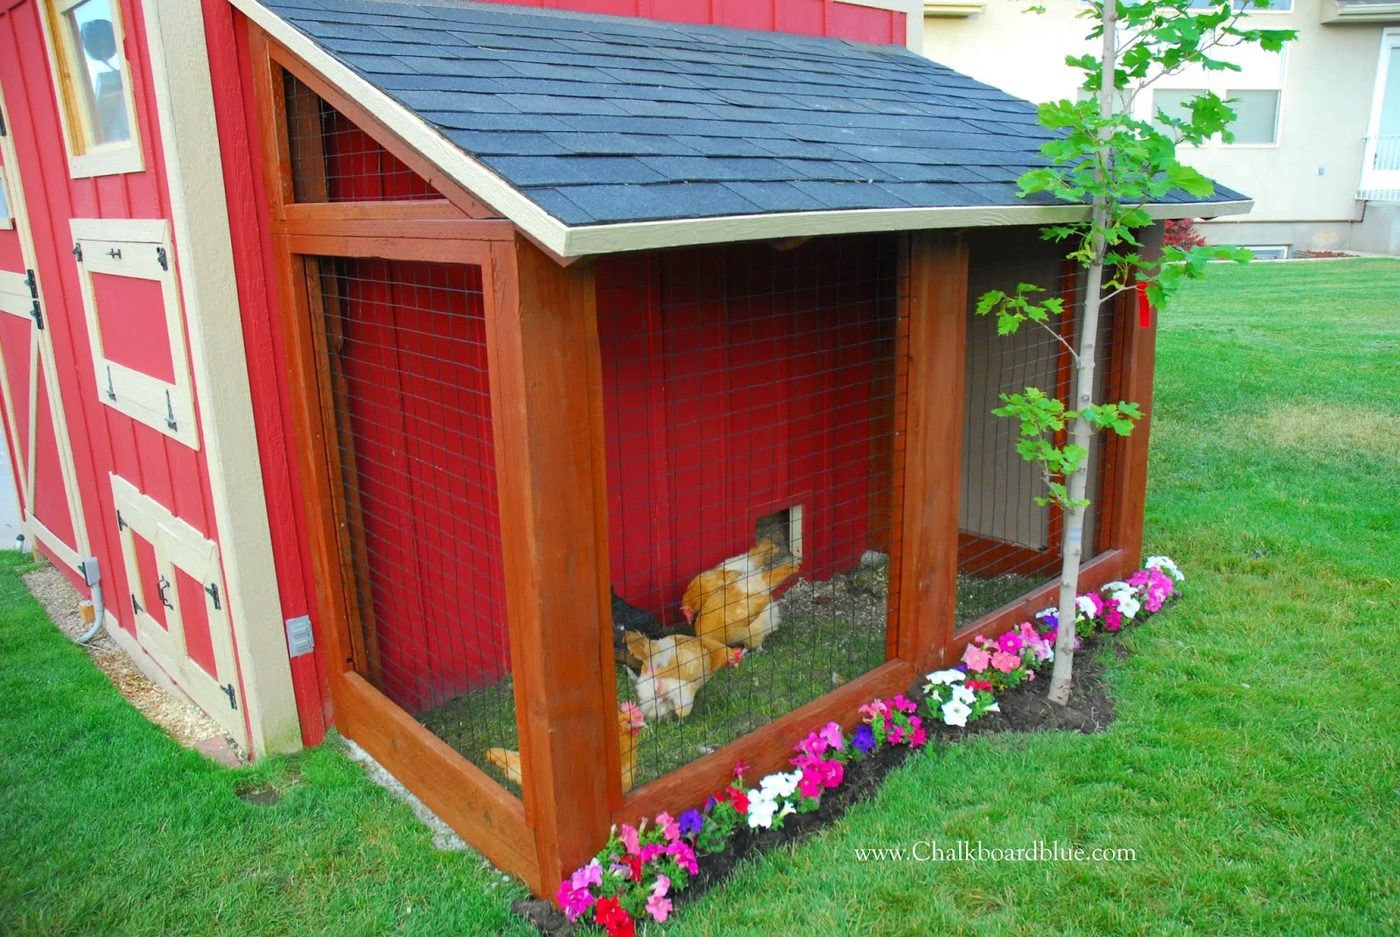
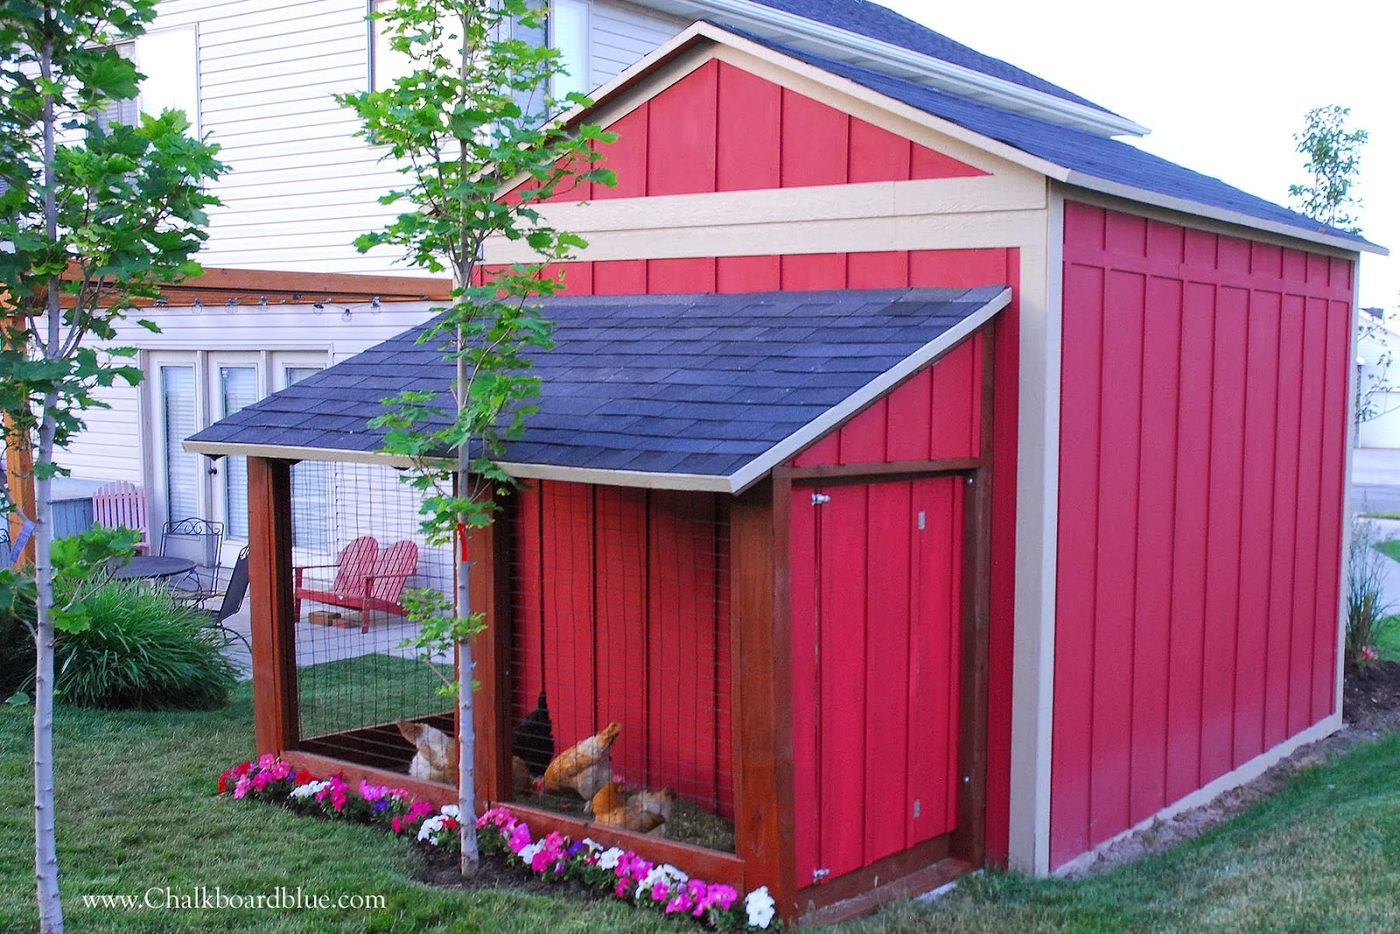
We needed a Shed for our Backyard and a home for our Chickens. We decided to combine to the two.
This is the design we came up with.
We first dug out our area and put a floor on. Our backyard is somewhat on a slope so we had to raise our floor and put it on cement pilings to allow for water drainage. Here below we have the floor on and some walls up.
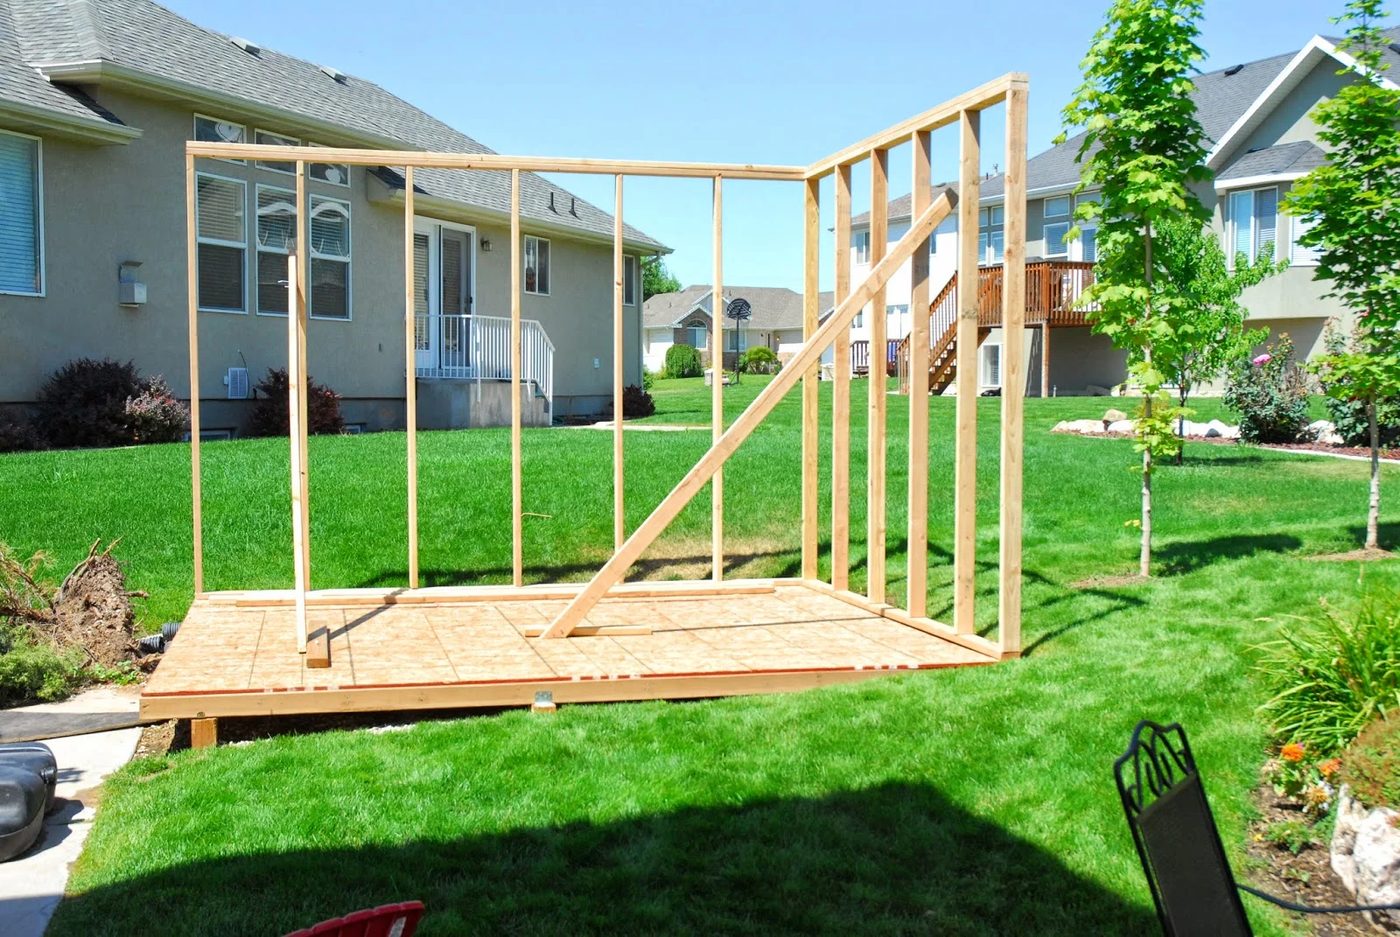
More walls… If you look closely there is a small inside wall for the Chicken Coop.
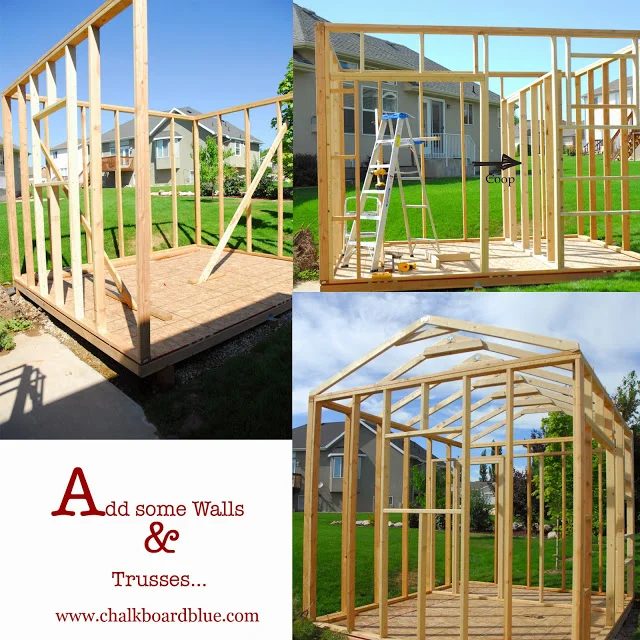
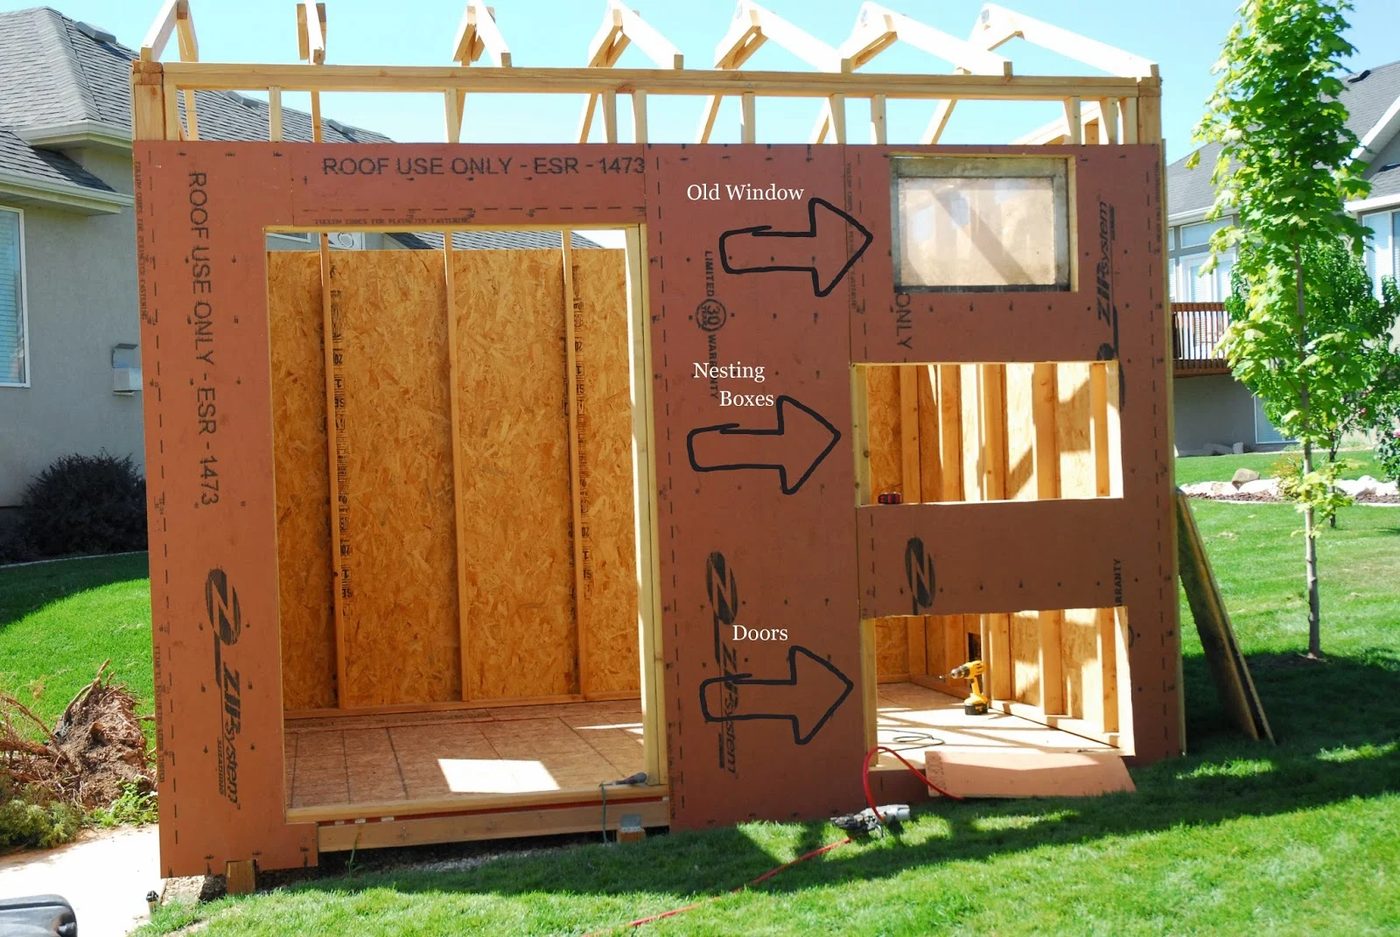
Next We placed Plywood on the outside. We then cut out the holes for our top window for the coop, the Nesting boxes below and the lower doors.
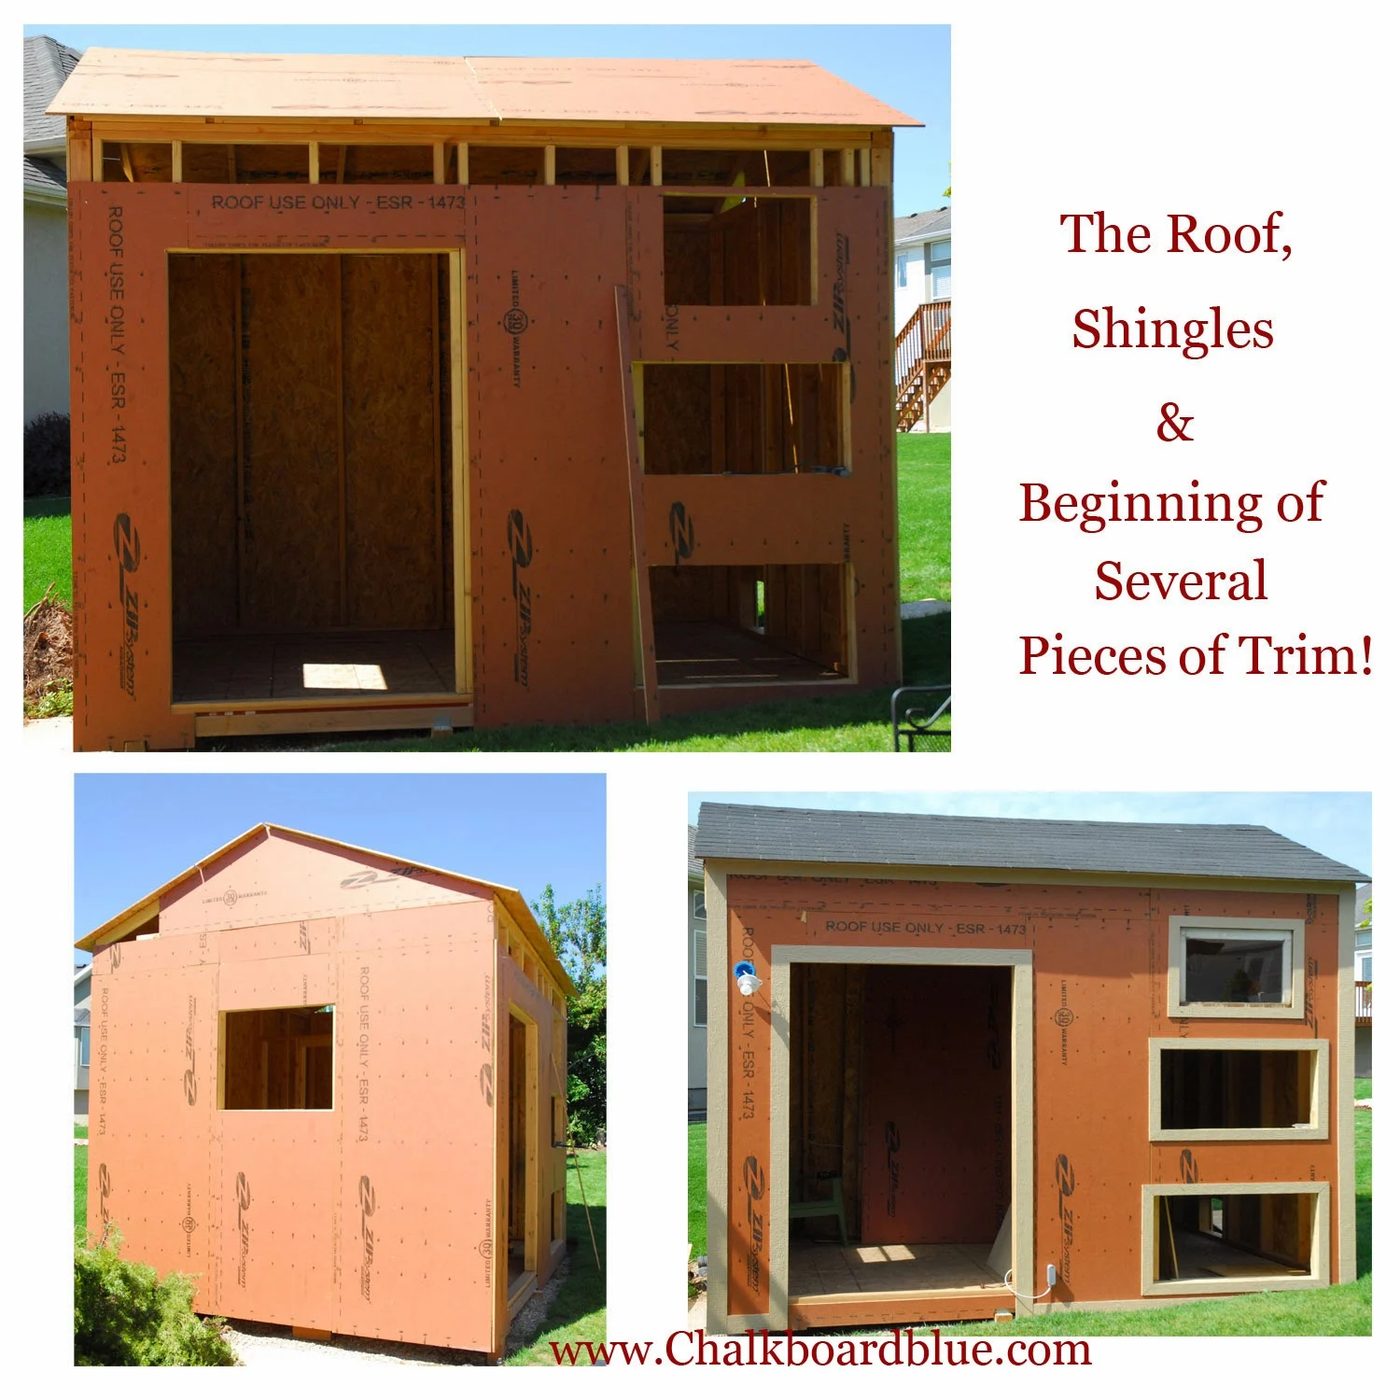
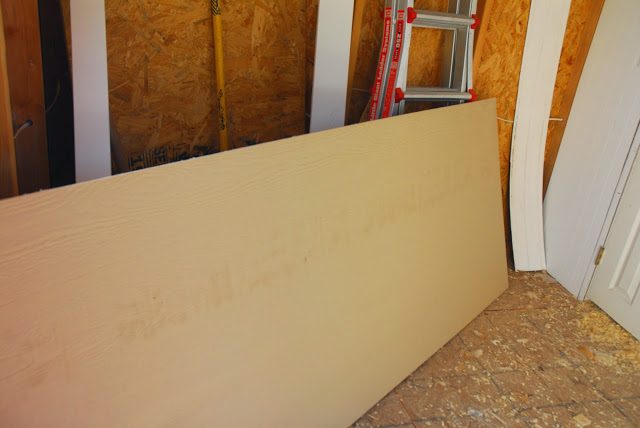
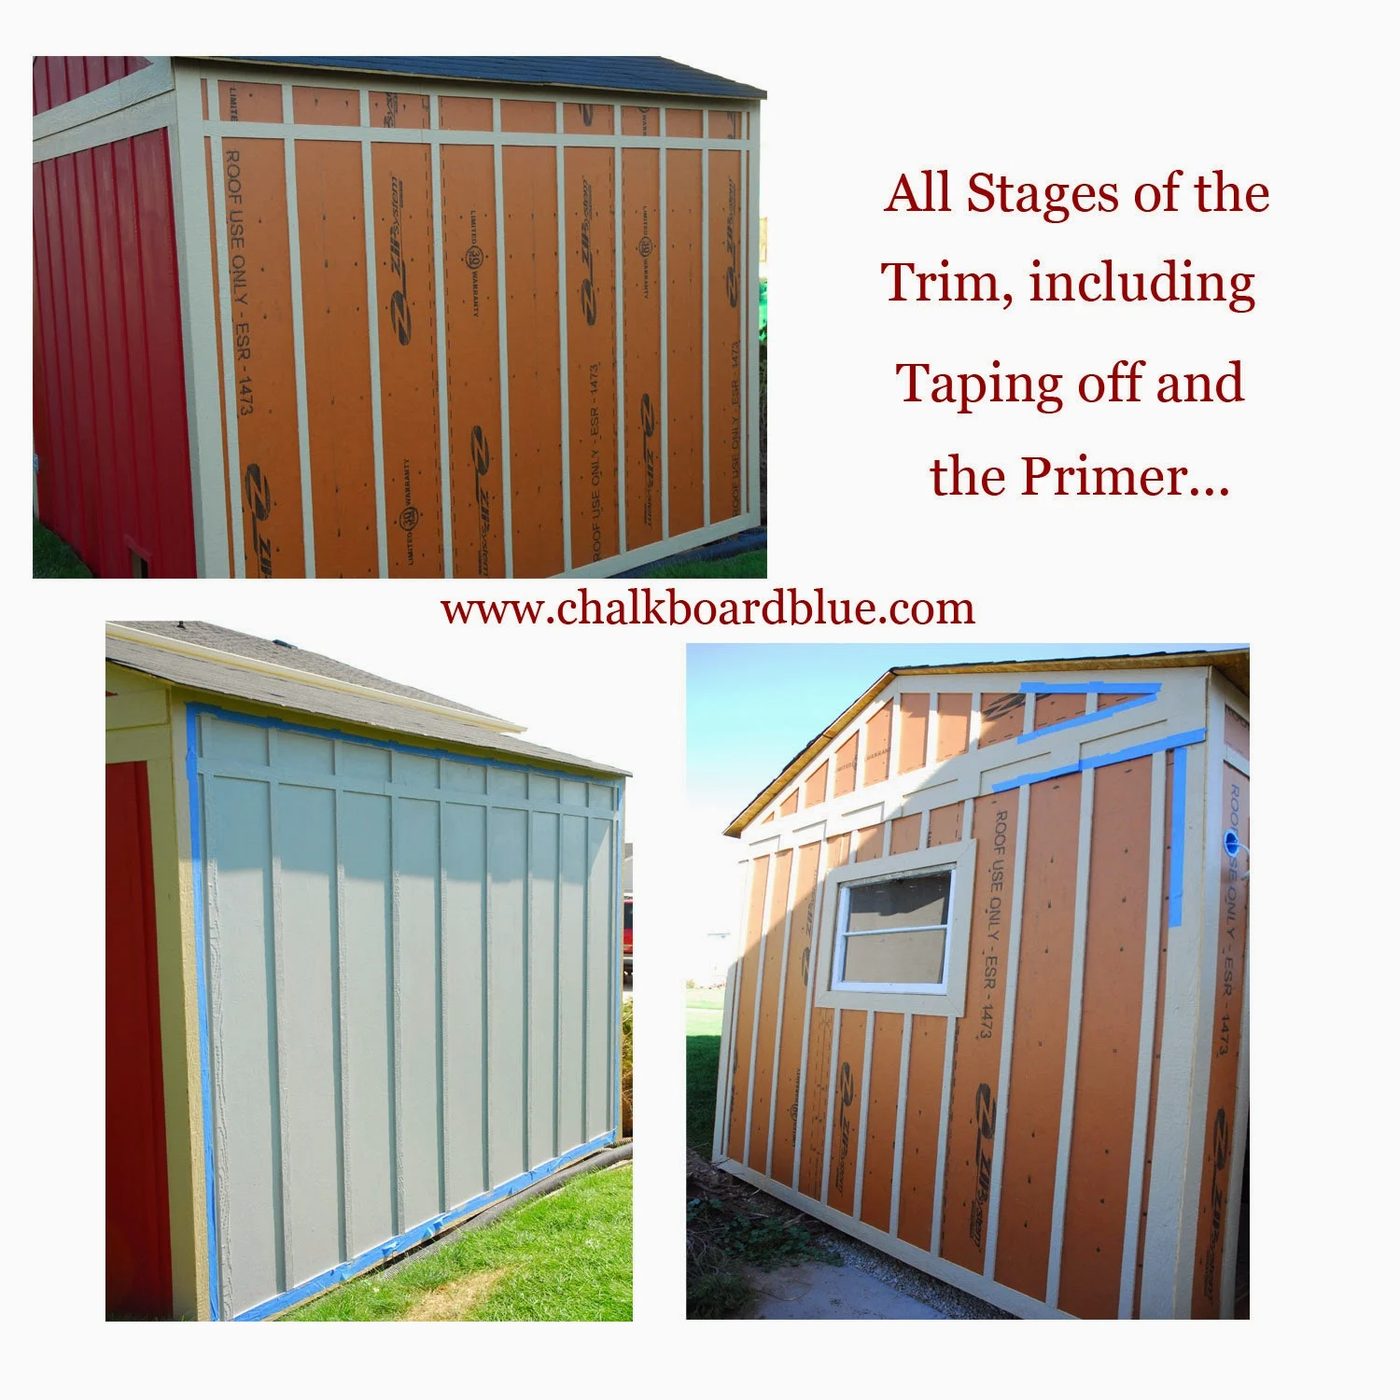
For our trim, we bought the large sheets of trim and ripped it on the table saw to the various sizes we wanted for our trim pieces. What I mean by trim pieces is the trim around all of the doors, on the doors and all of Board and Batton trim I placed on the shed. Here is a picture of the trim. I kept the trim color the same as it came for our window and door trim, but painted it for the Board and Batton.
Here is a picture of the doors I built and the large door grooved myself with the skill saw …
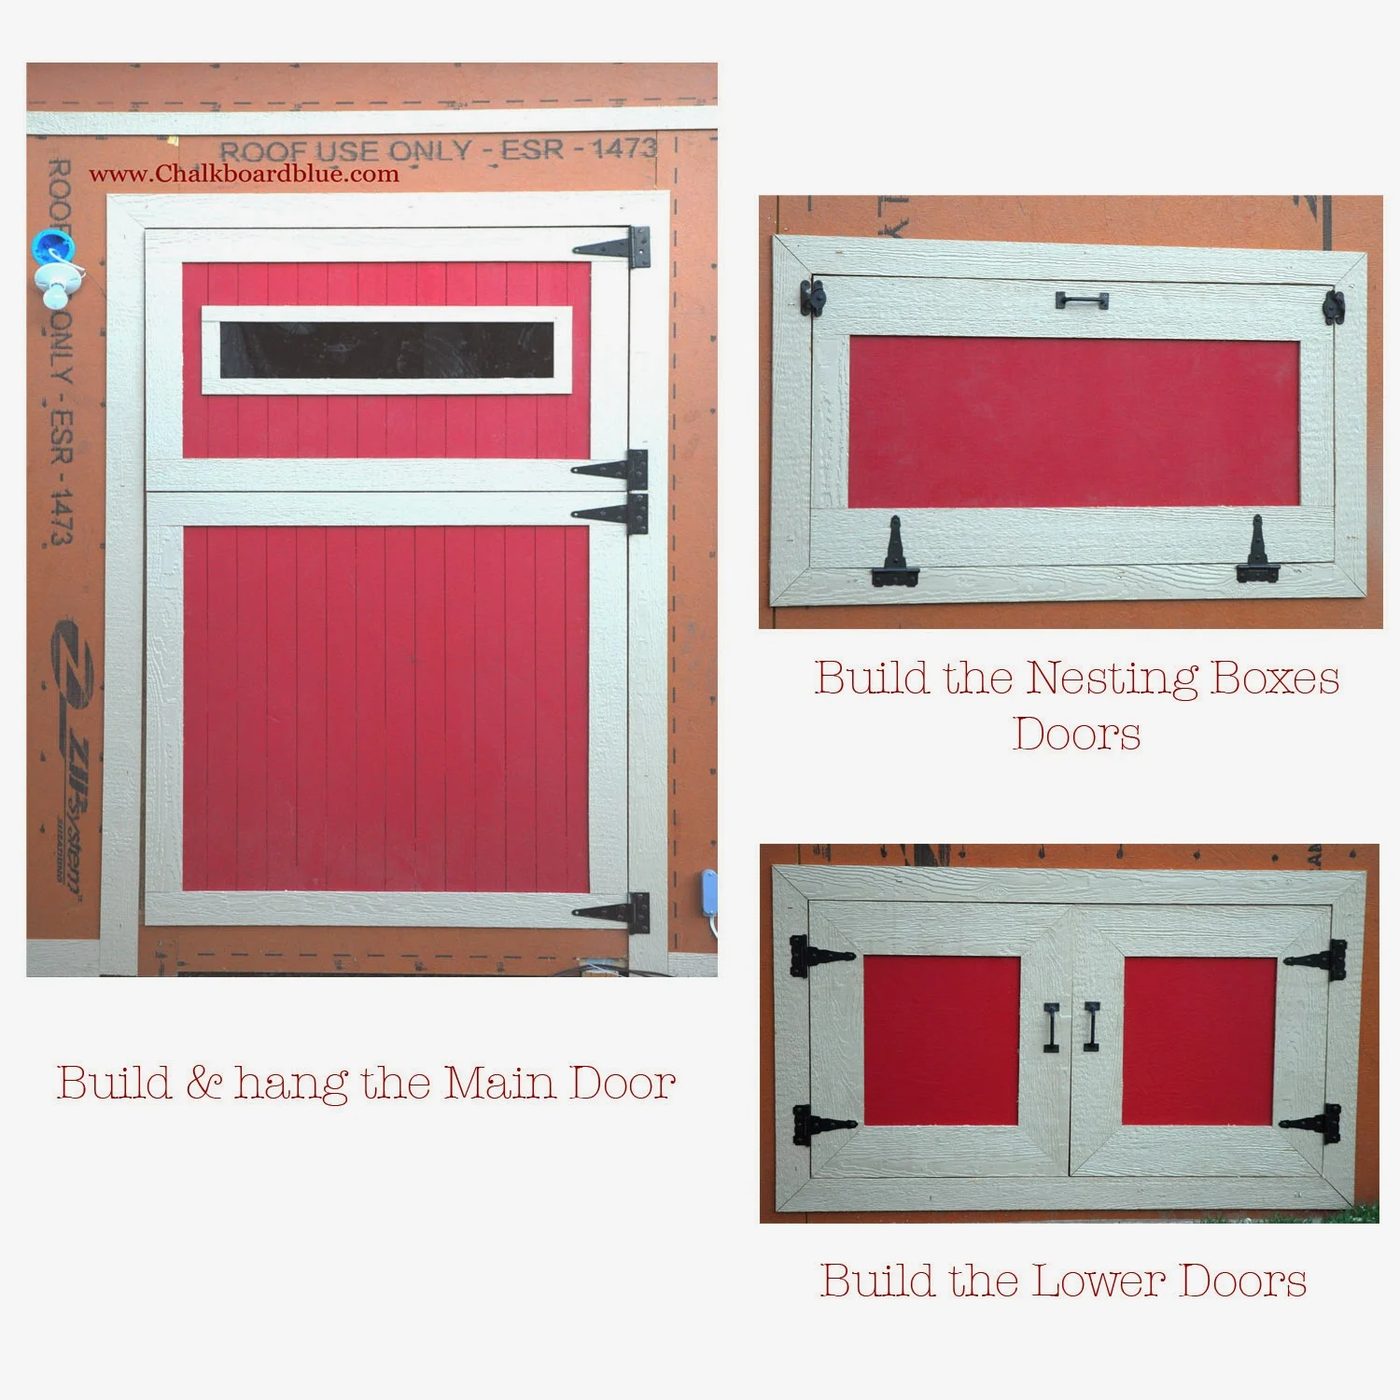
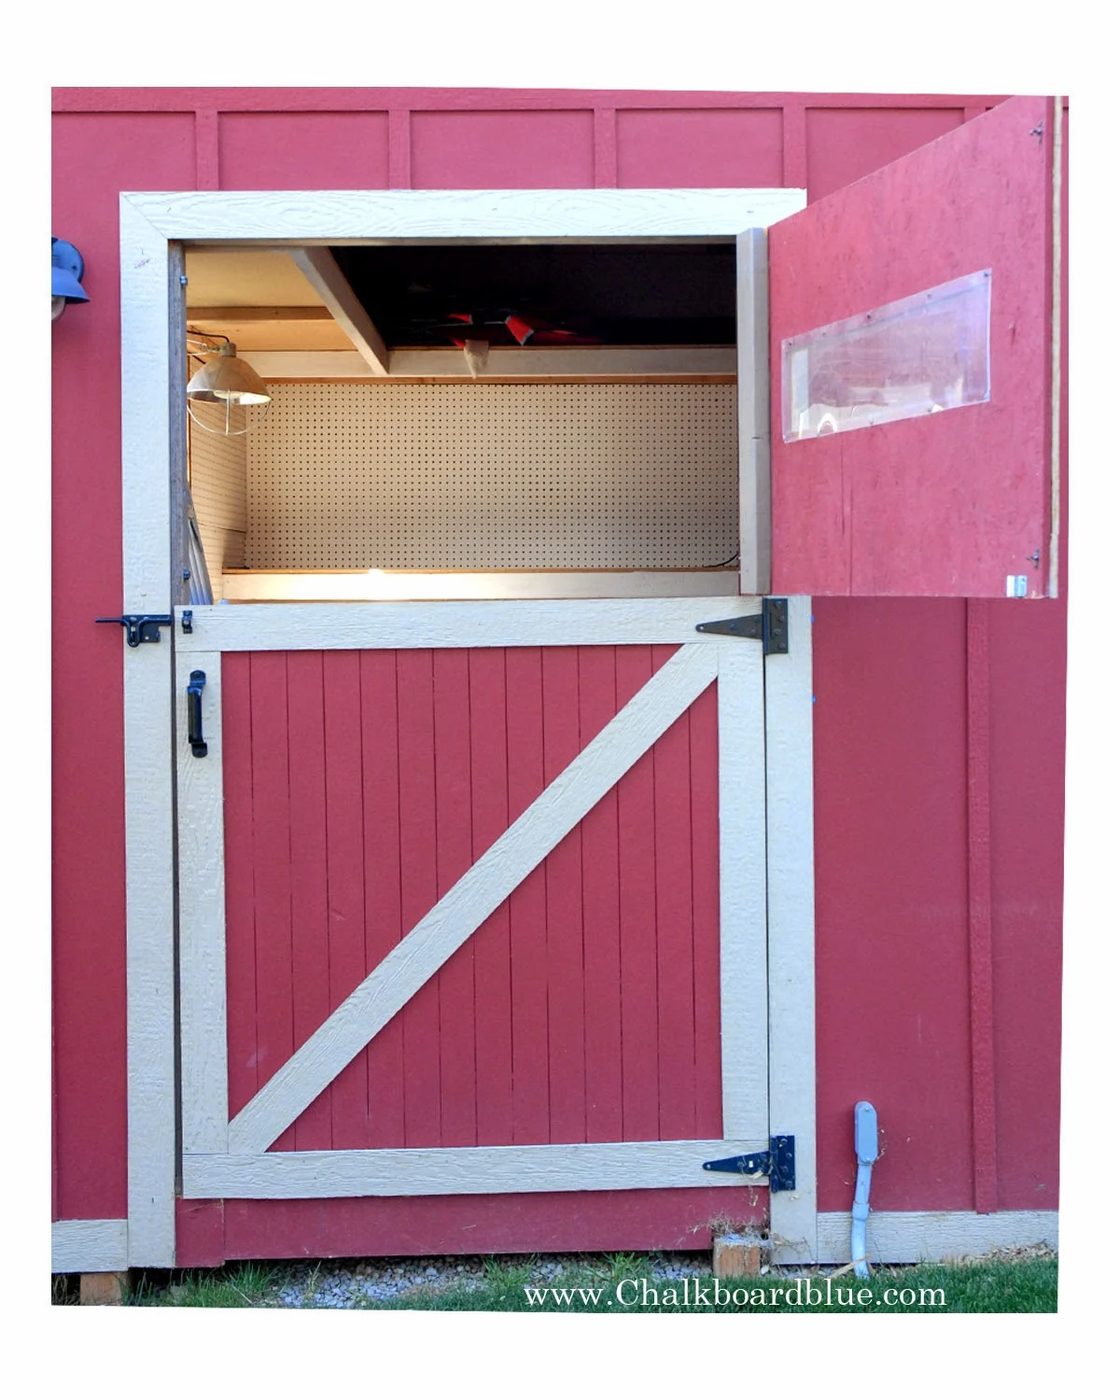
our Main door is a Split door to allow for ventilation…
Next I placed the Board & Batton trim. It is basically placed on just as if you were to do a wall of Board and Batton in your home.
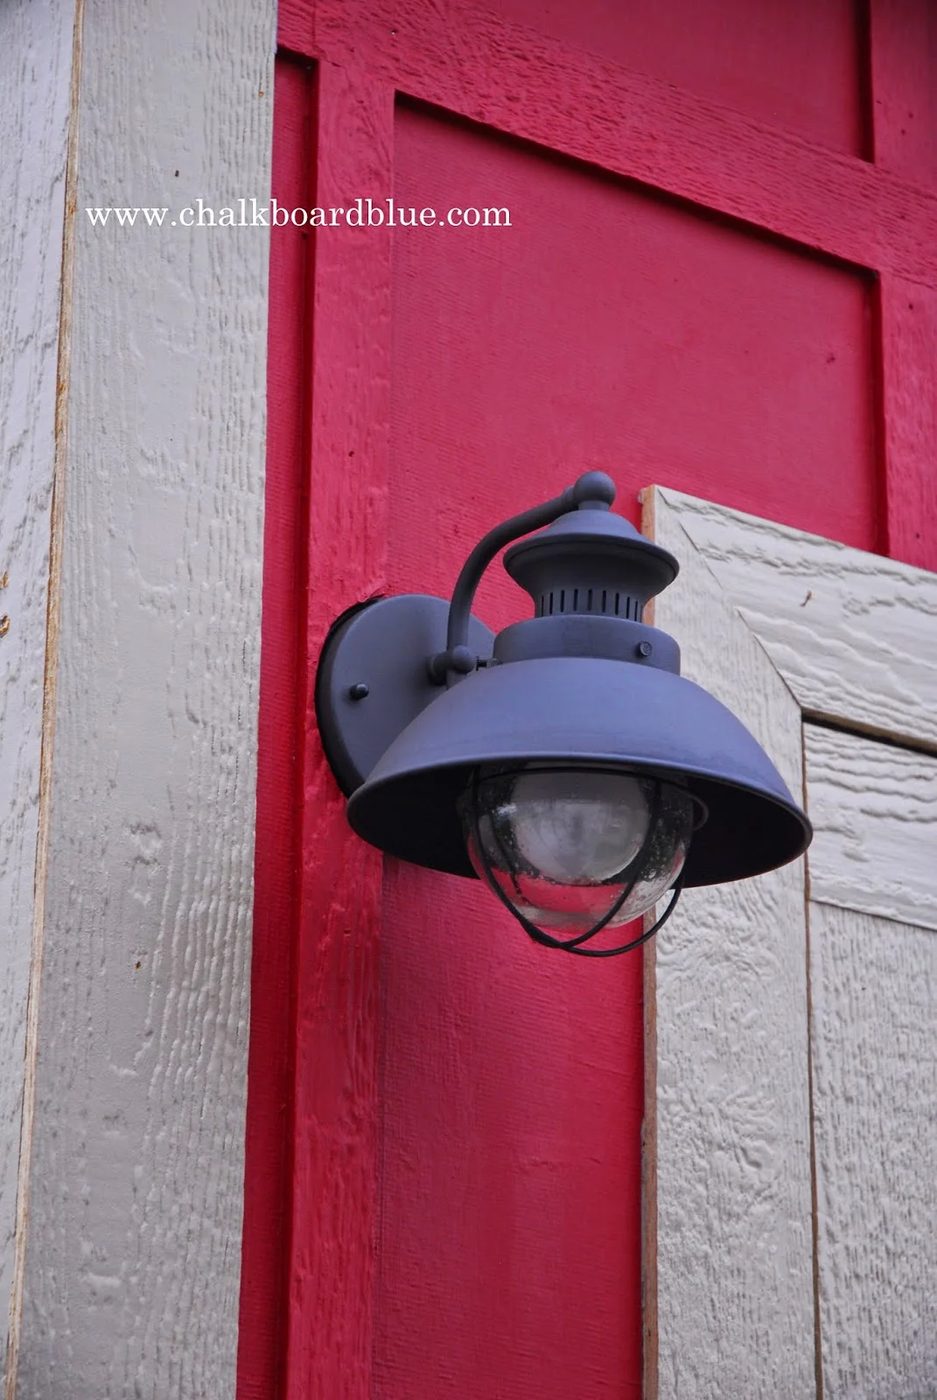
 We ran power to our shed so we can have lights inside as well as a porch light, which by the way is one of my go-to features! I bought it at Lowes. Here is also a close up shot of our trim…
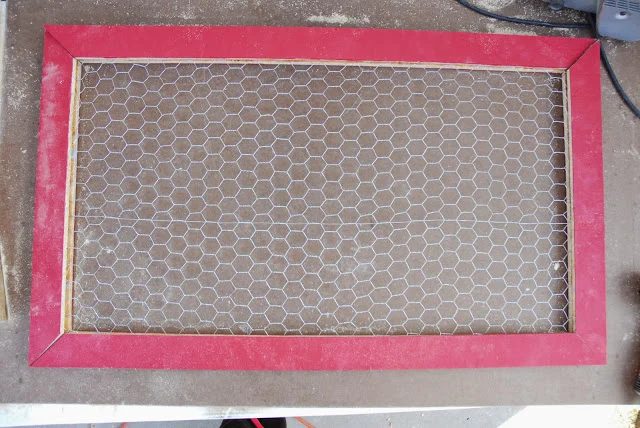
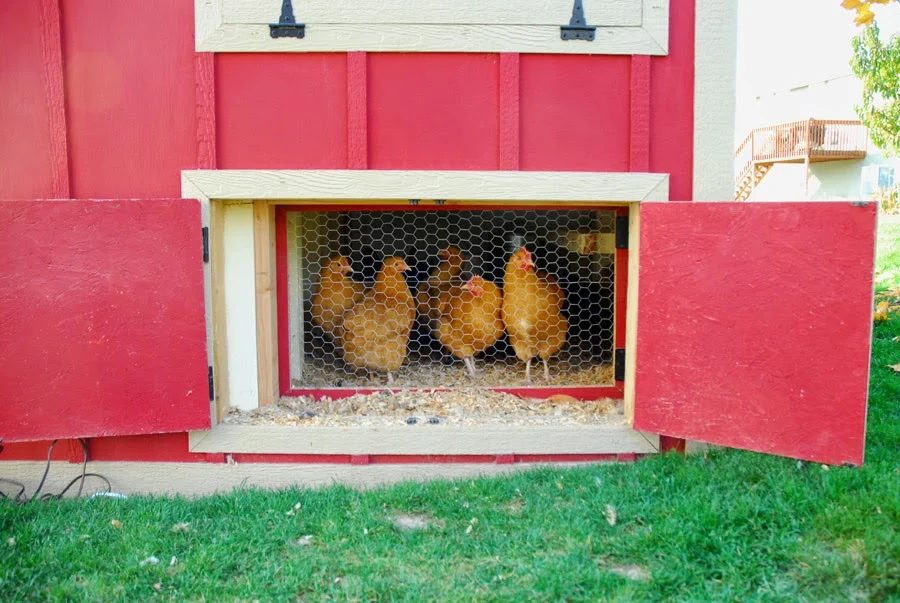
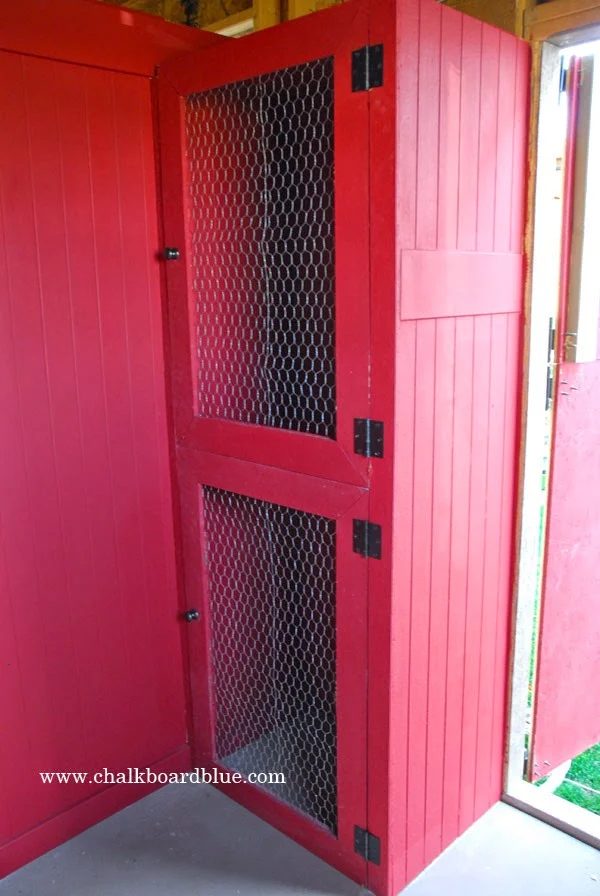
 I built a screen to put behind the lower doors to keep the chickens in, and for us so we can see them when they are inside their coop.
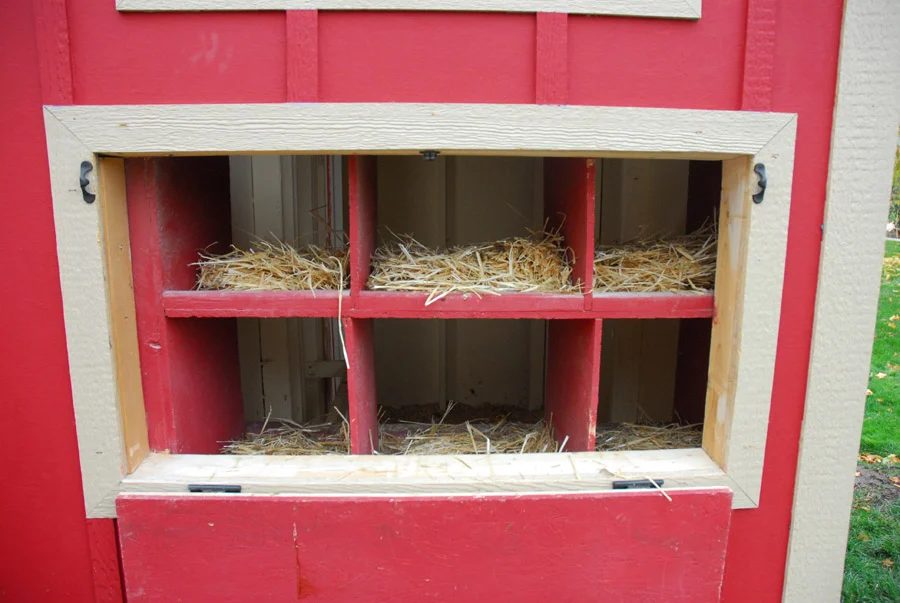
We built some Nesting boxes…
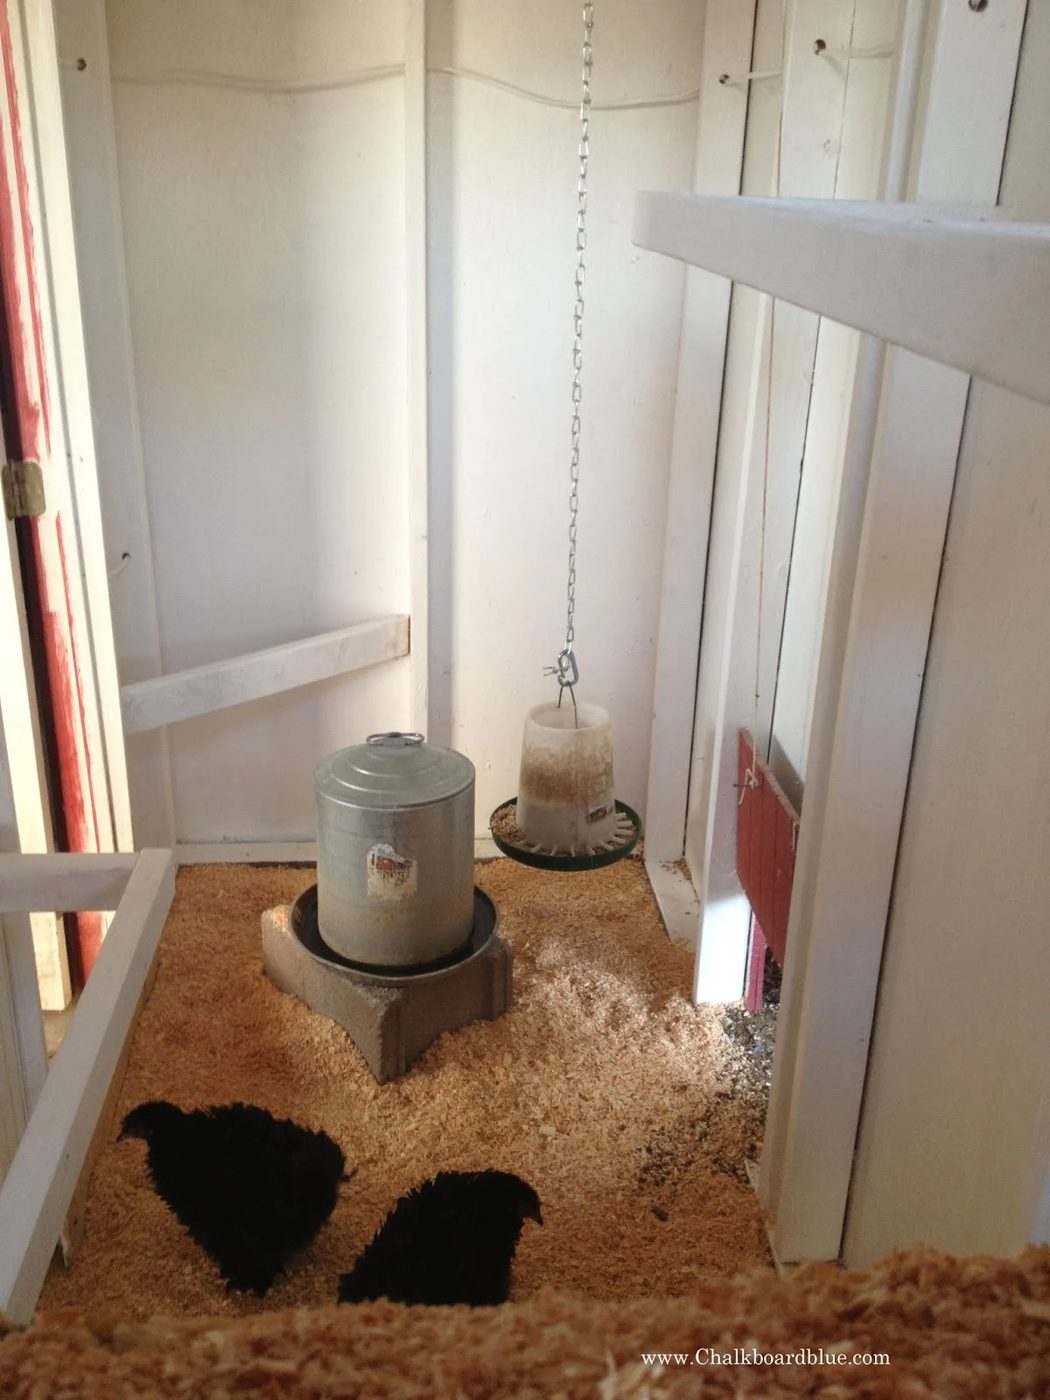
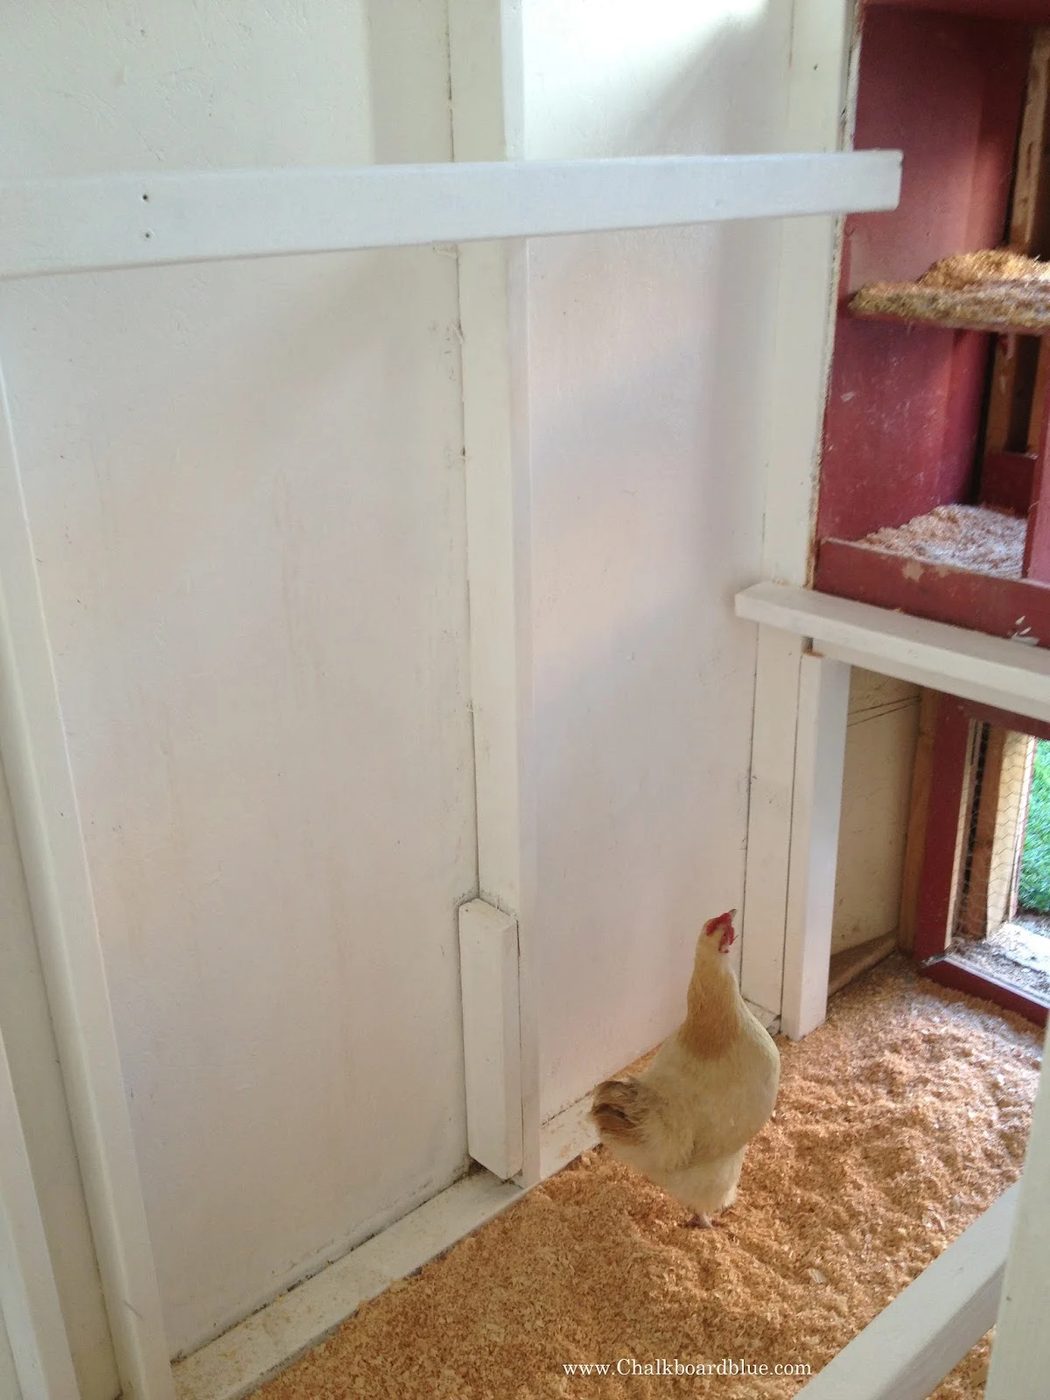
Roosts for inside the coop…
Next we had to build our outside run.
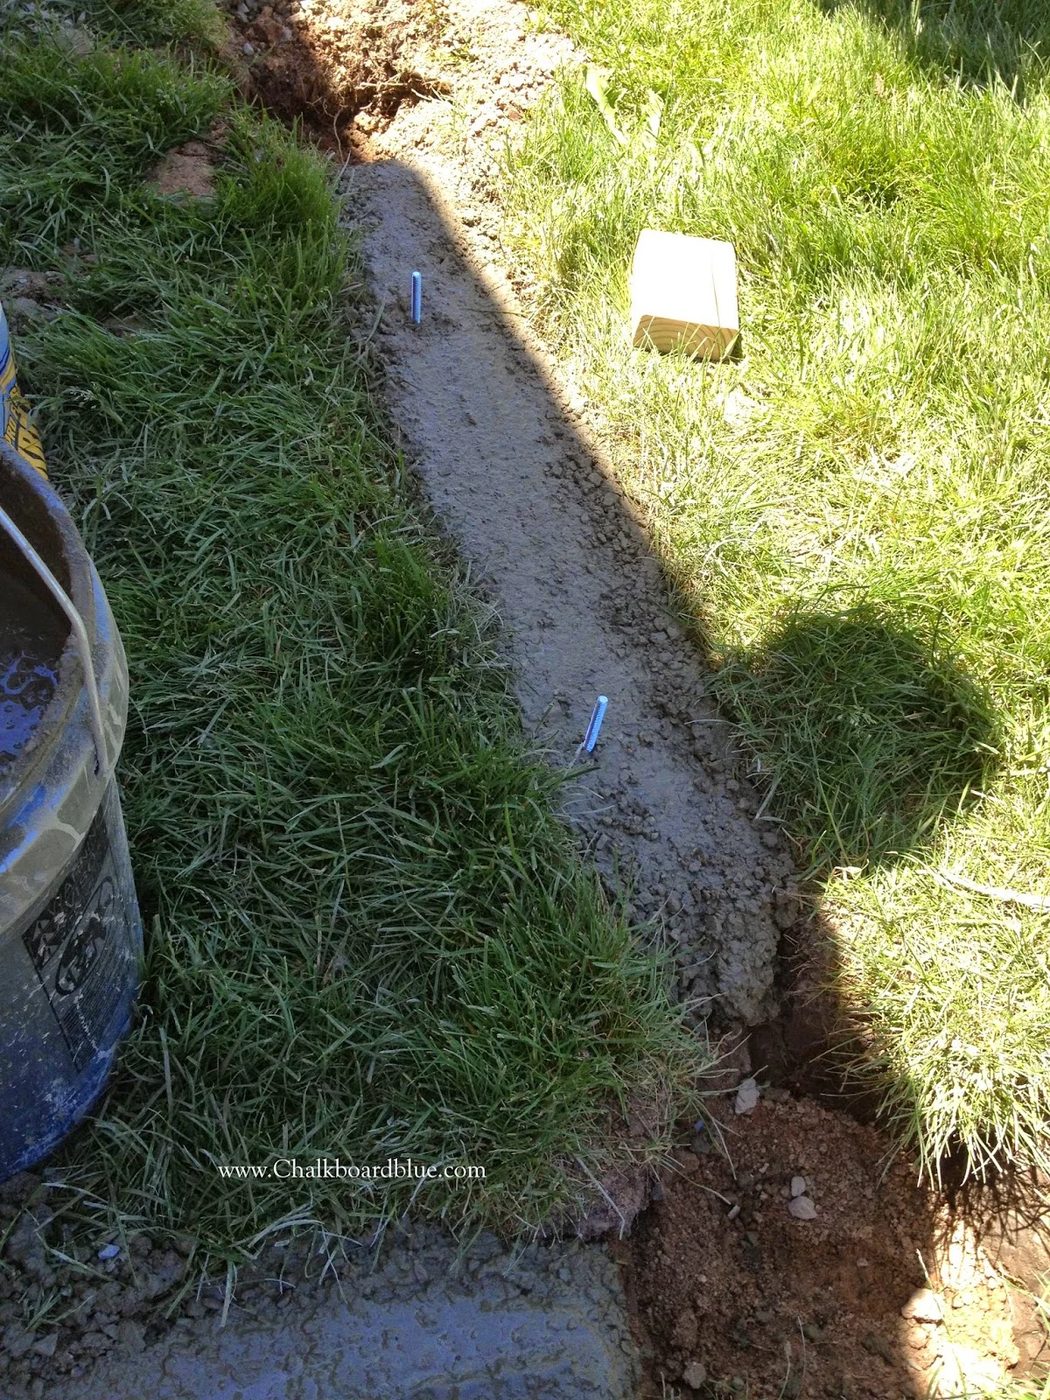
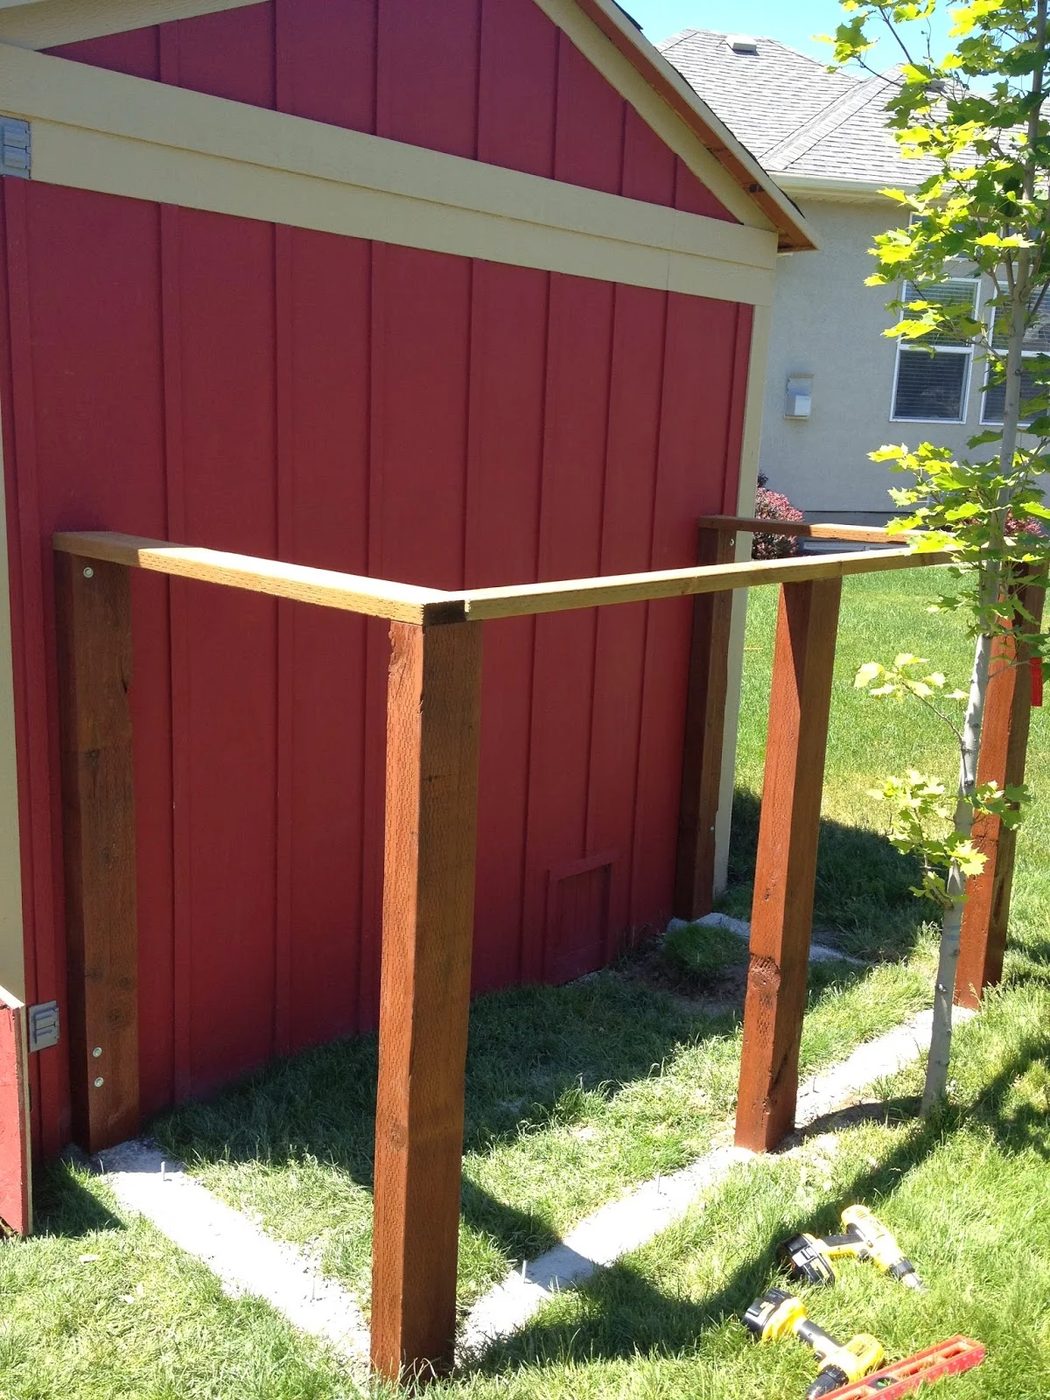
 we poured small footings with quickcrete and bolts and set our posts…
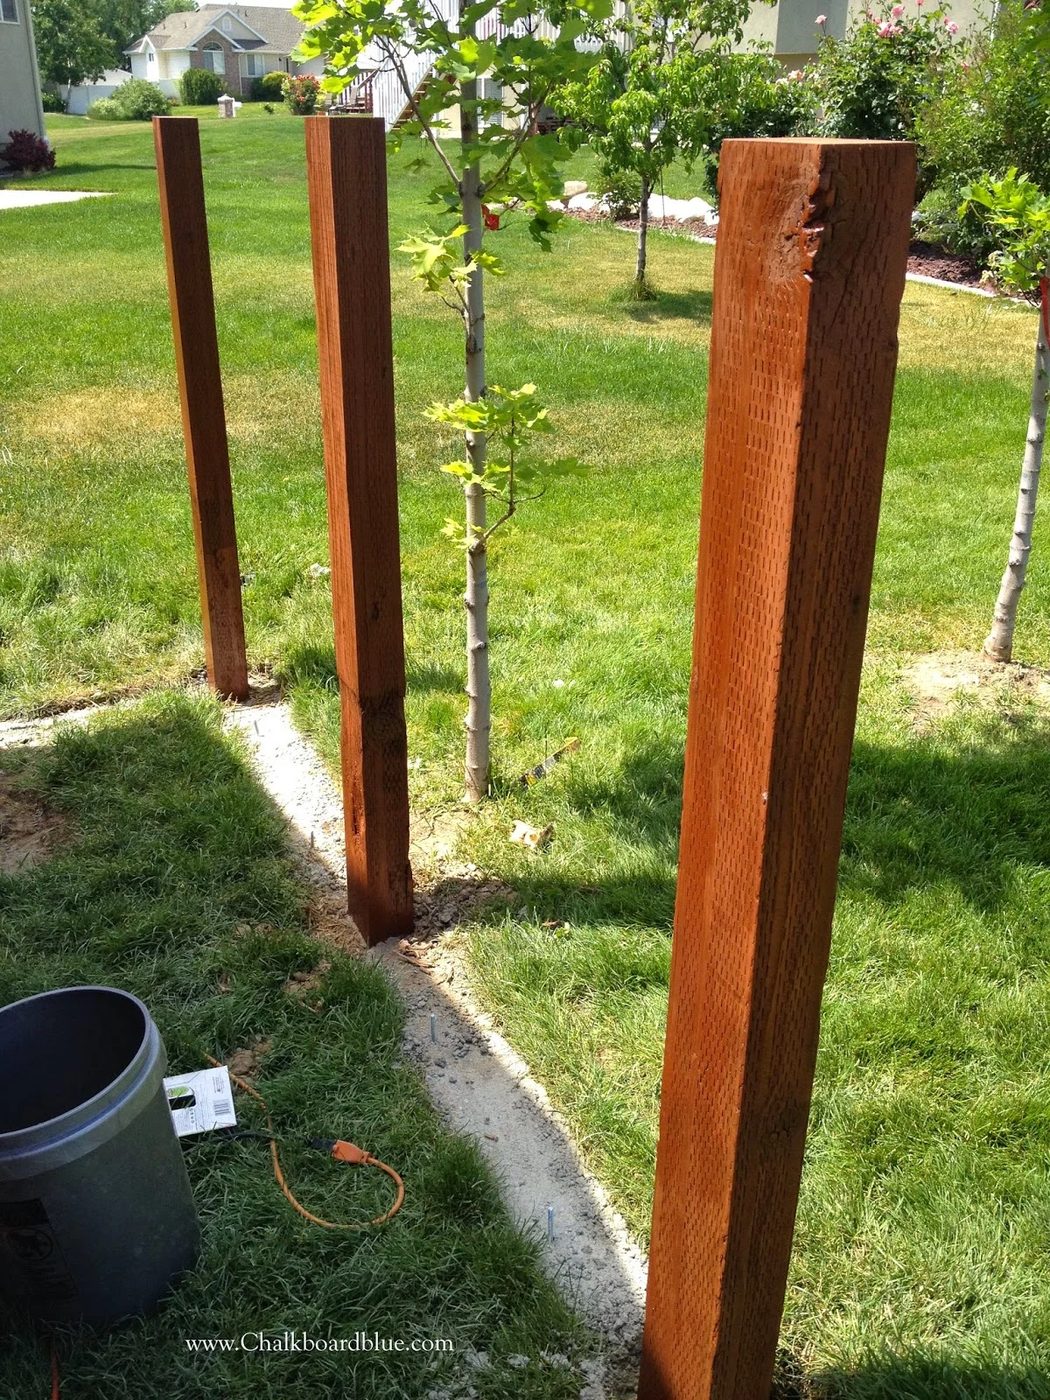
setting the posts…
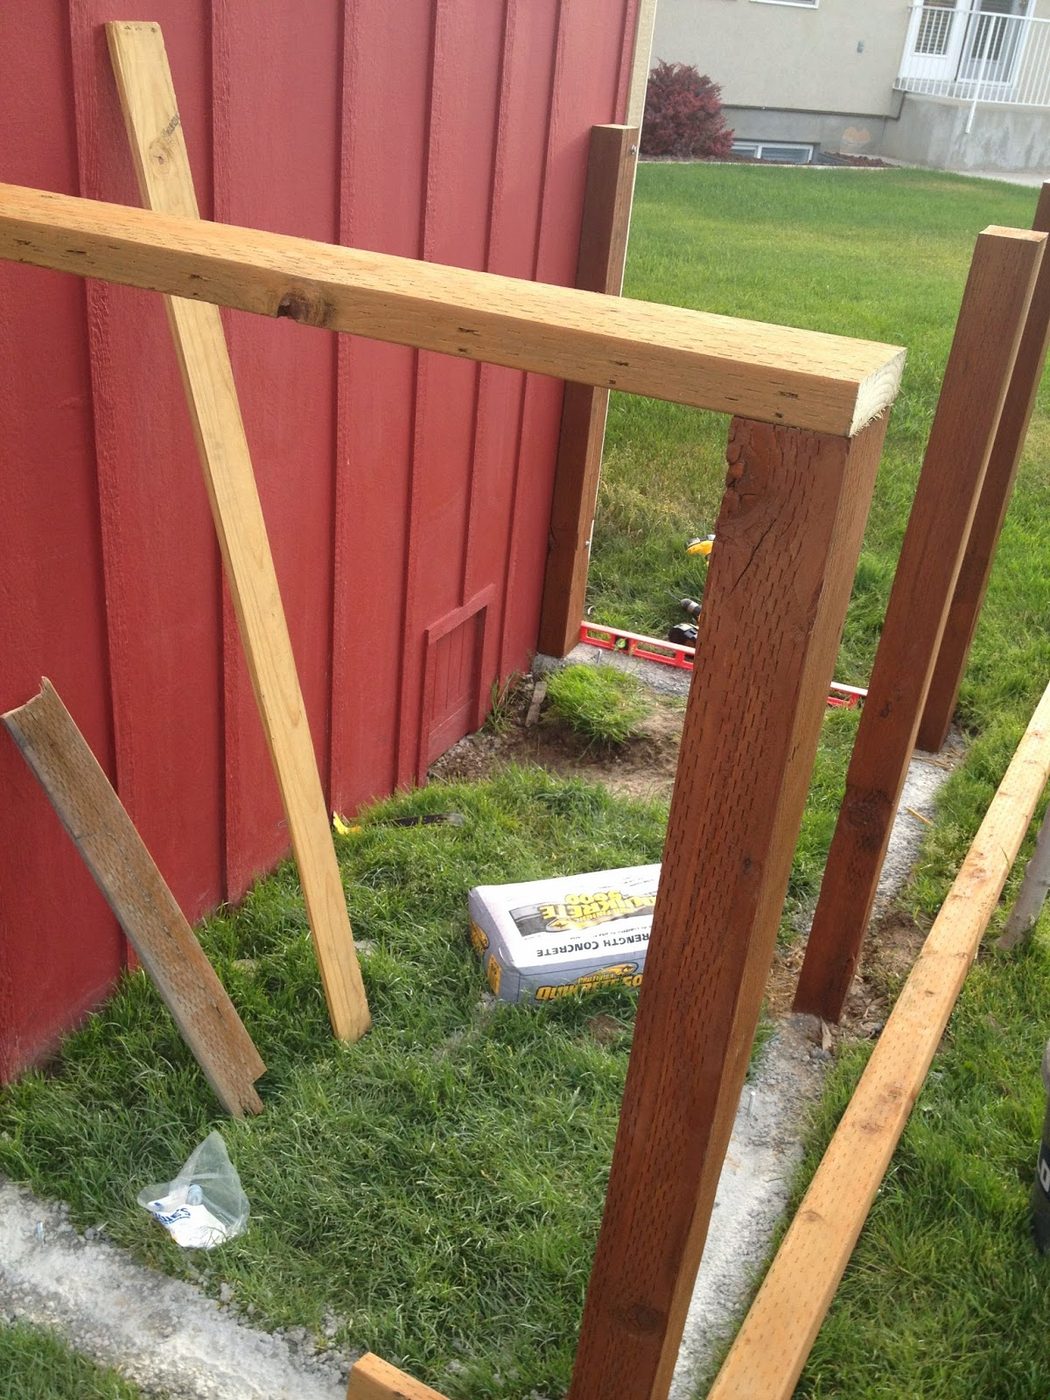
put top rails on
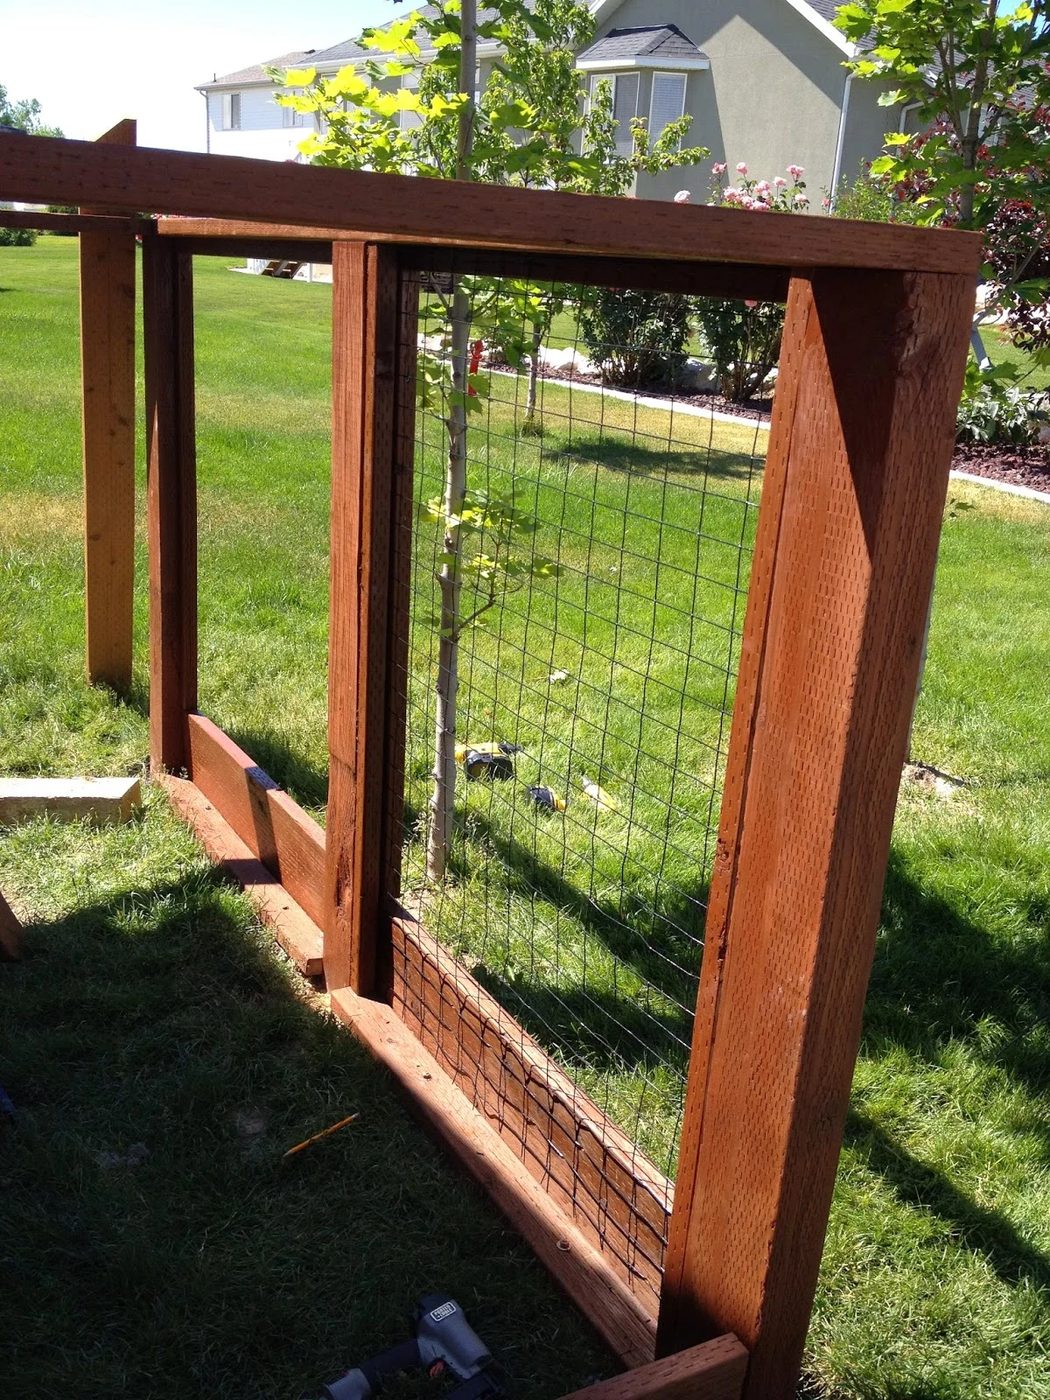
 framed in wire
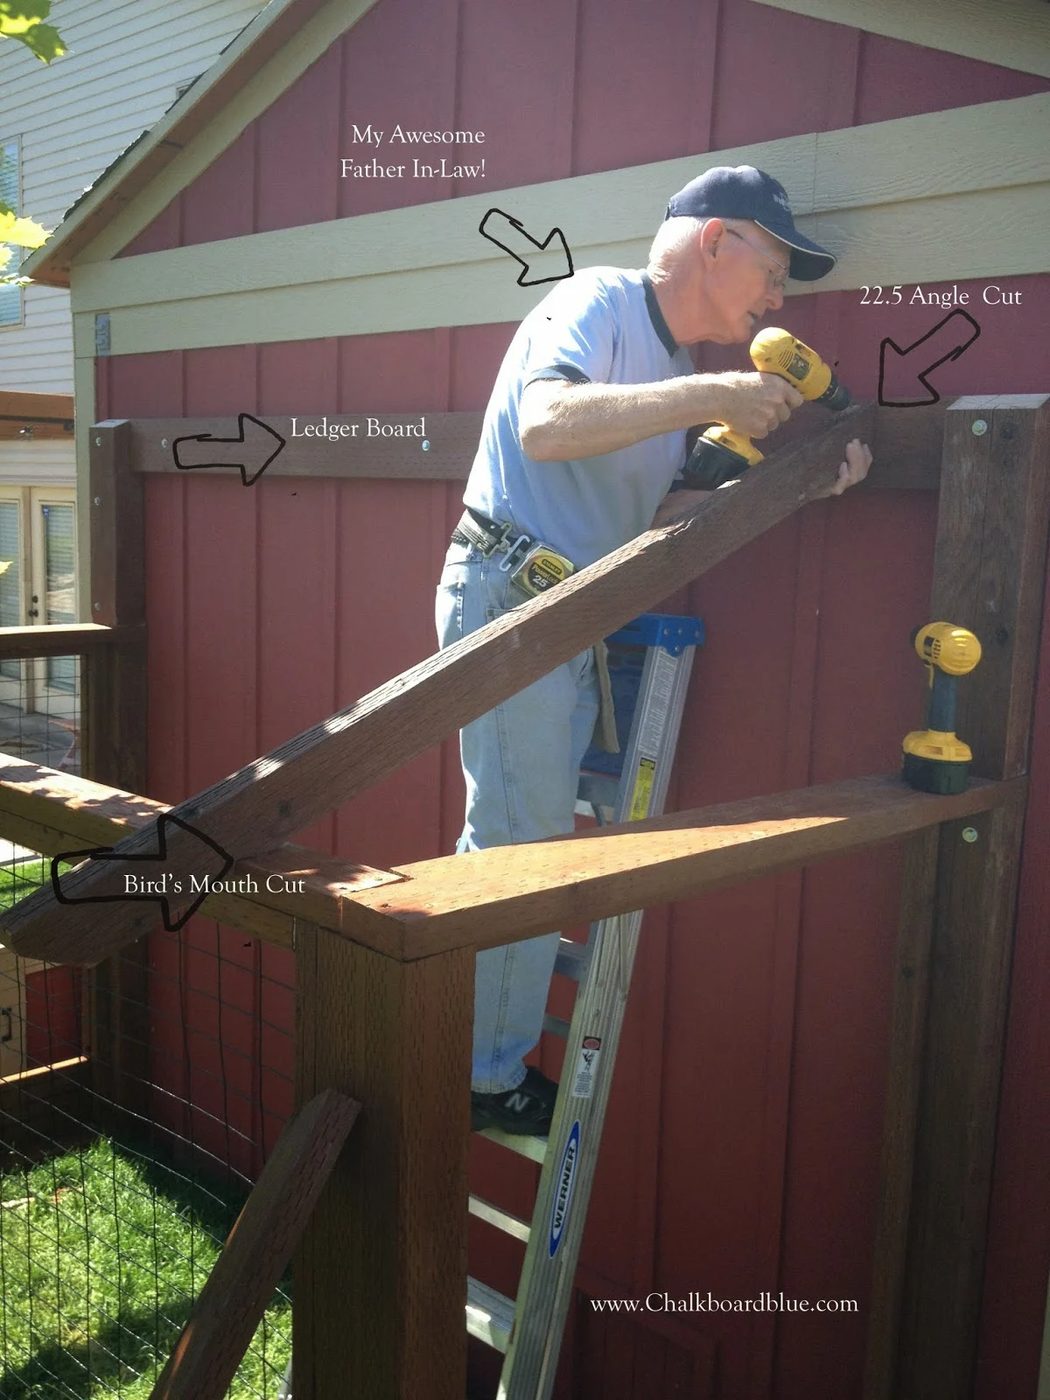
 Put up a ledger board for the trusses to lay on. Also notice the two tall posts at the top, we had to cut them at an angle also for the roof to lay flush on.
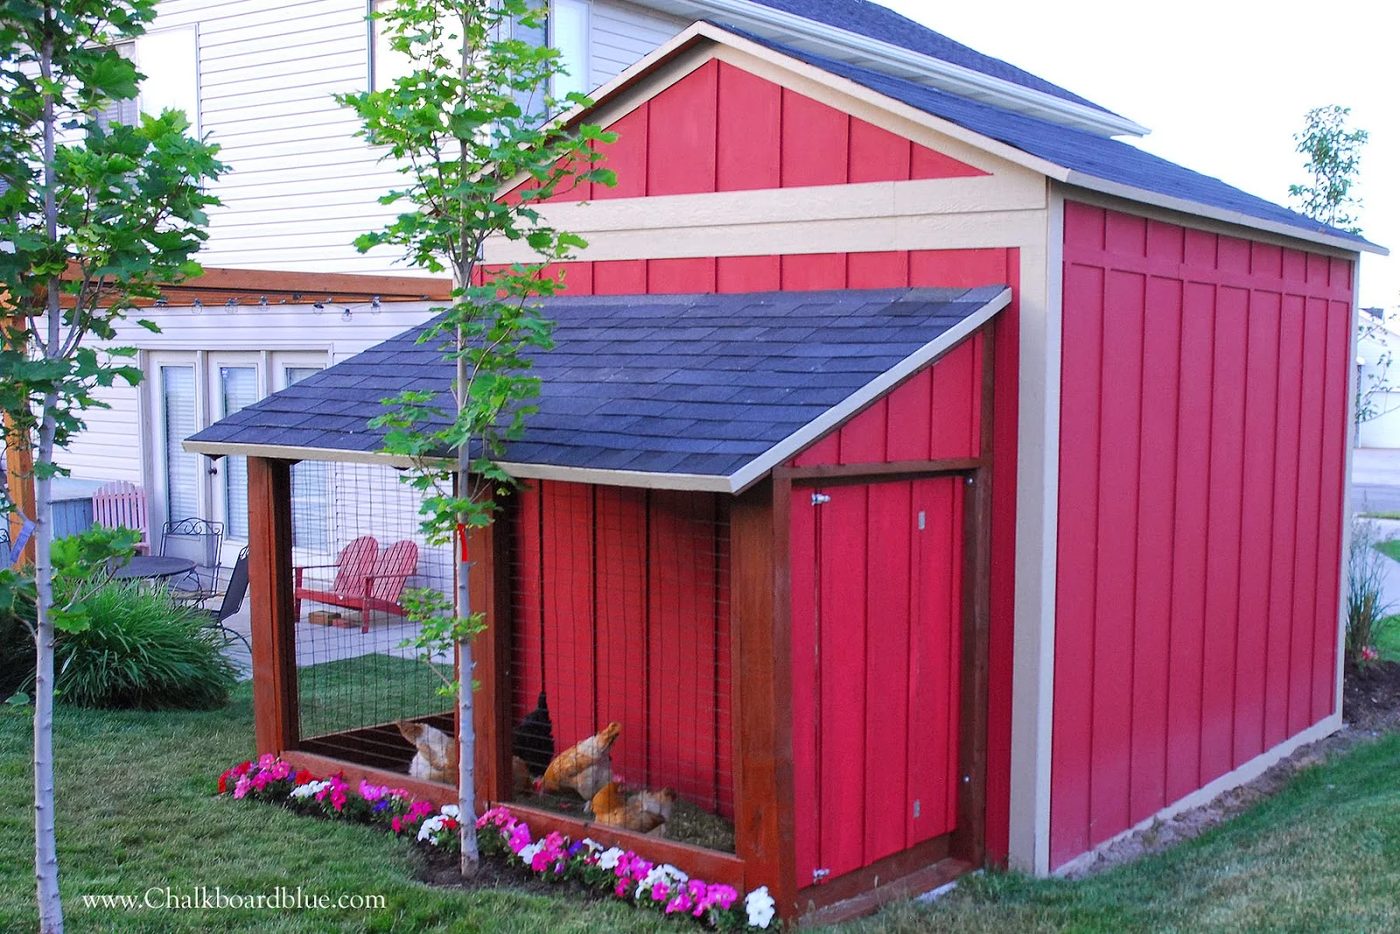
 placed a plywood sheet on the trusses, and topped off with shingles.
Built a back access door to get into the run…
placed a plywood sheet on the trusses, and topped off with shingles.
Built a back access door to get into the run…
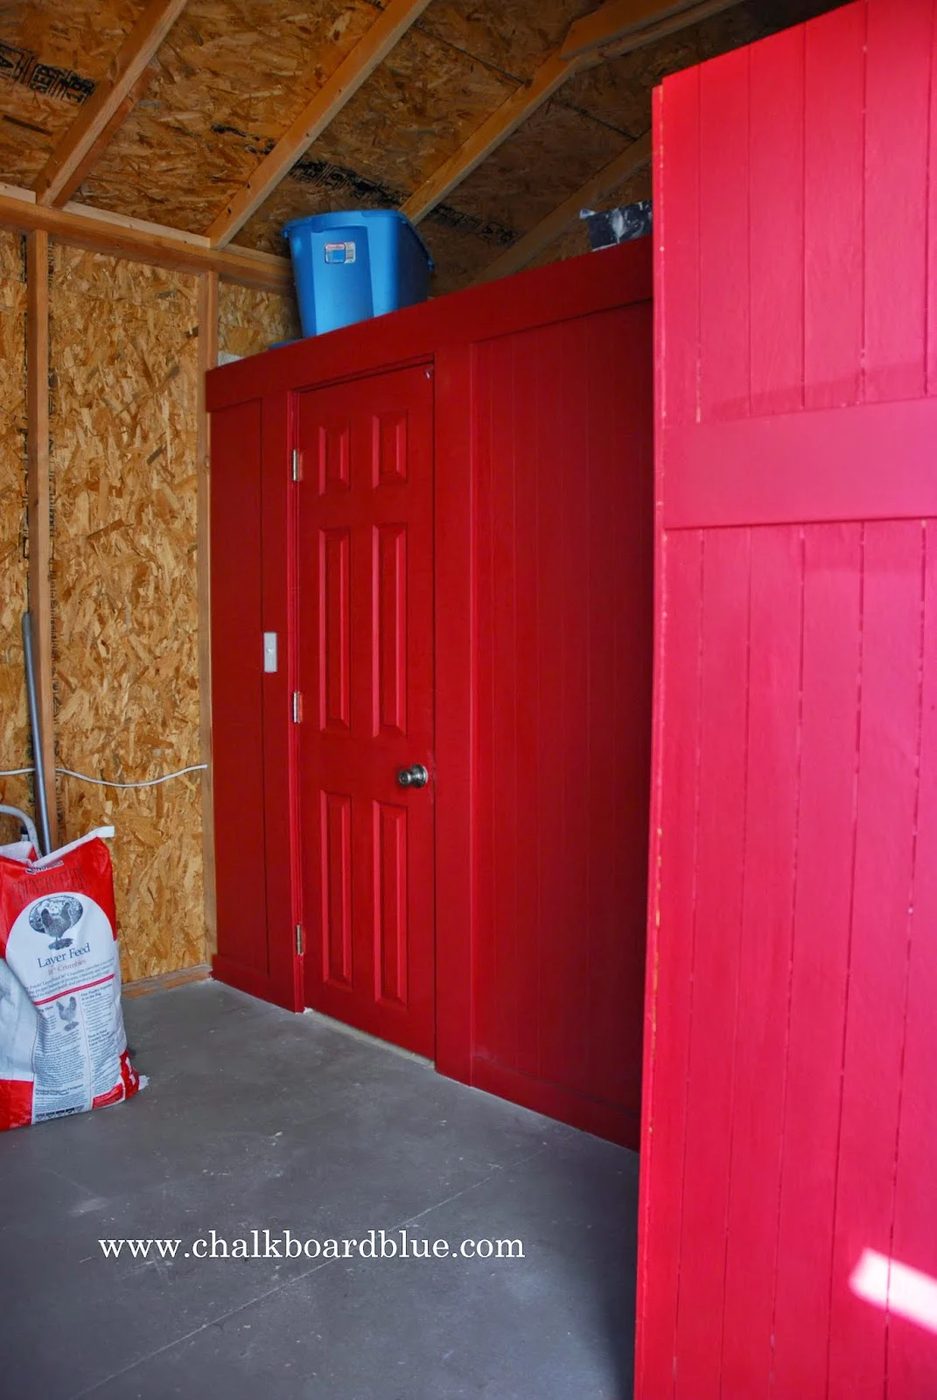
 Inside the shed, we painted the chicken wall red. Up above the coop is storage. Note, make sure to seal off the coop as best you can, because chickens create a lot of Dust!
 I also built some cabinets to store food, etc.
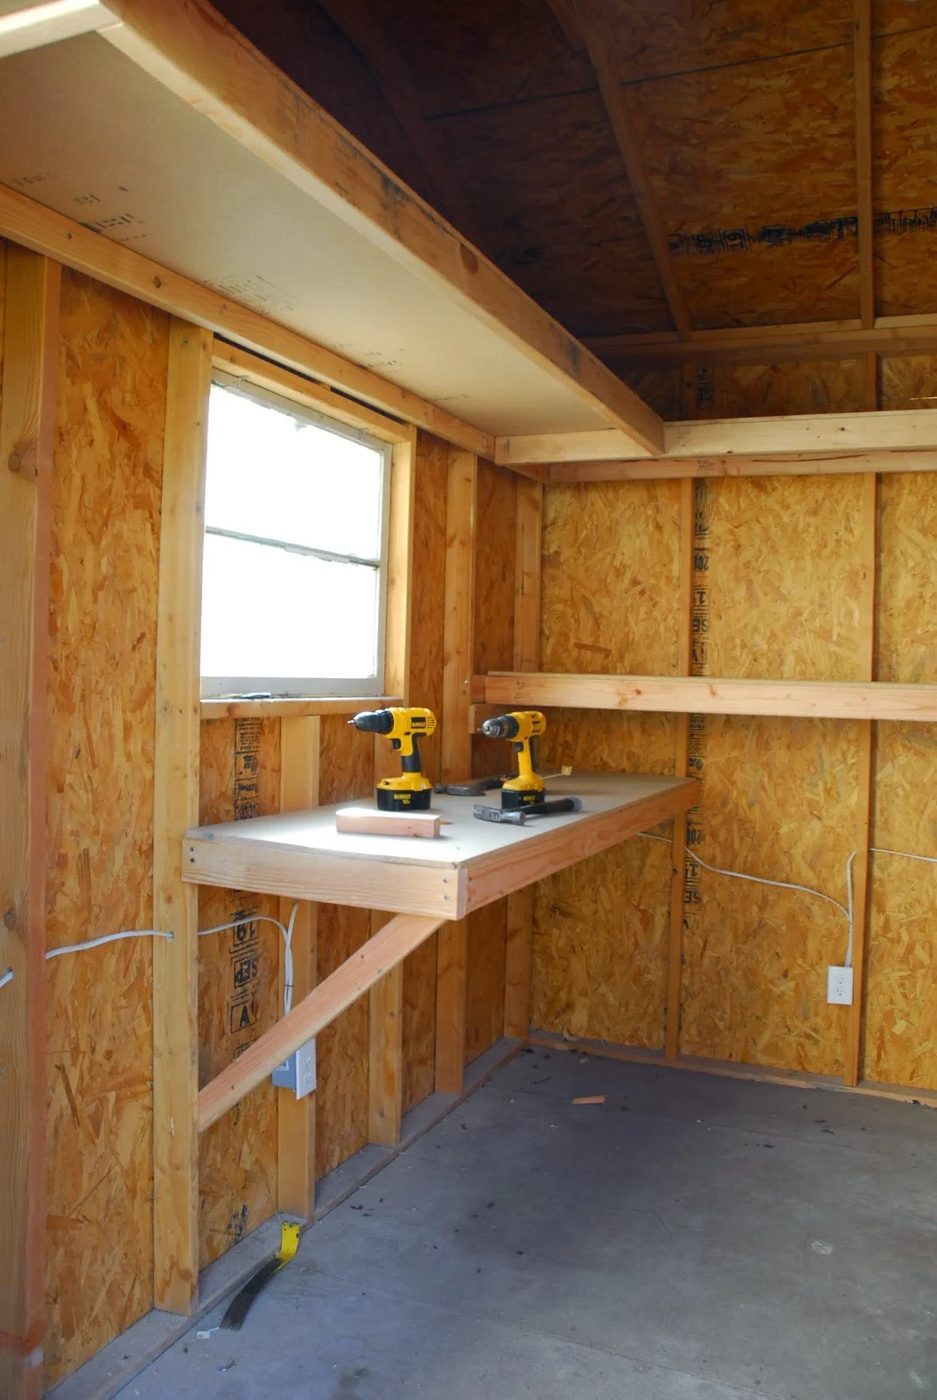
 Ryan and his dad made some shelves for the other half of the shed… Storage up high and down low.
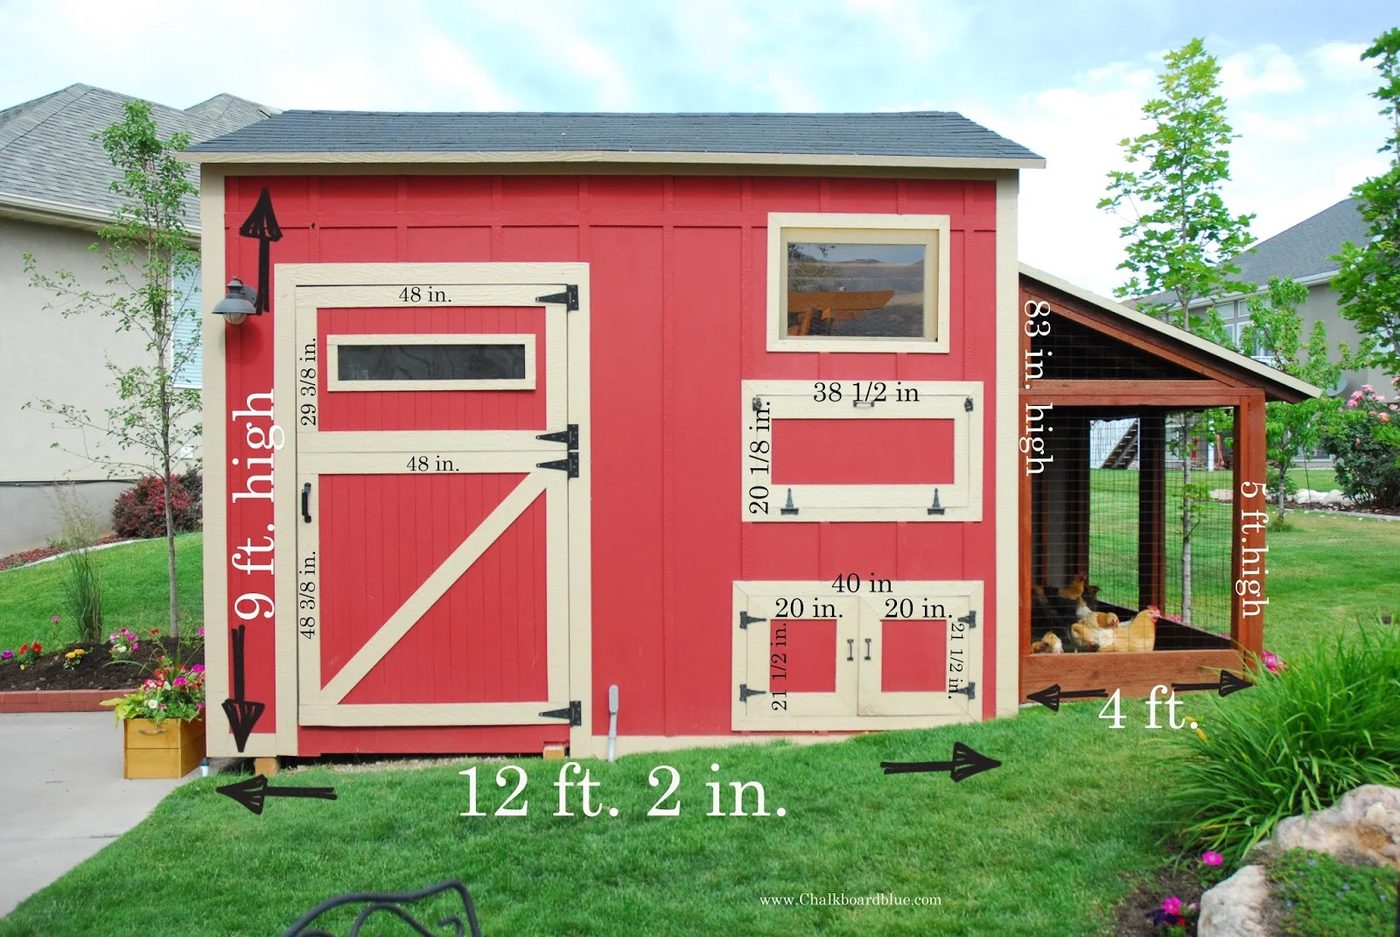
 Here are the dimensions of our shed/coop
 Time and Cost Breakdown for the Shed coop.
Time involved 2- 3 months.
Cost, approximately $1,600. Some items we purchased at full price and some pieces of plywood for our outside sheeting we acquired at a really good price. Our Posts for our outside chicken run we acquired from our neighbor that was tearing down an arbor so we stained and re-purposed them.
Paint Color is Eddie Bauer Cabin Red in a flat from Lowes.
Most of our materials were purchased from Lowes and Home Depot.
We have truly loved this Shed/Coop combination. If you would like to see more items I have built, such as our Fireplace or our Pottery Barn Lockers… you can see them HERE
Thanks for having me stop by today!
Time and Cost Breakdown for the Shed coop.
Time involved 2- 3 months.
Cost, approximately $1,600. Some items we purchased at full price and some pieces of plywood for our outside sheeting we acquired at a really good price. Our Posts for our outside chicken run we acquired from our neighbor that was tearing down an arbor so we stained and re-purposed them.
Paint Color is Eddie Bauer Cabin Red in a flat from Lowes.
Most of our materials were purchased from Lowes and Home Depot.
We have truly loved this Shed/Coop combination. If you would like to see more items I have built, such as our Fireplace or our Pottery Barn Lockers… you can see them HERE
Thanks for having me stop by today!

——————————————
Michelle, thank you so much for being our guest today! I love your chicken coop and so many of your projects!
Bekob, fly (hehe) right over to Chalkboardblue to see Michelle’s solid DIYing chops — don’t miss her brilliant folding wood totes and cubbies, and I’m drooling over her vivid fireplace, too!