Read the sequence from the top before cutting, painting, or moving pieces.
Remember Ananda? We loved her planters so much that we asked her to join our contributor team! You are going to love the creative projects she has up her sleeve! Give her a warm Bekob welcome!
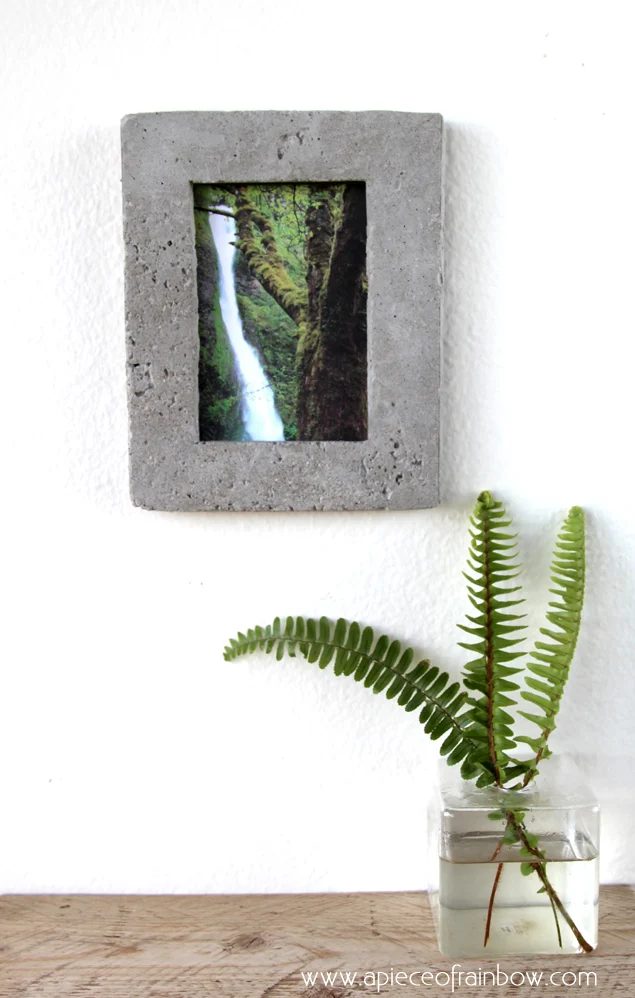
You probably know how much I love concrete from my previous walkthrough here at Bekob on how to make geometric concrete wall planters. Concrete is such a versatile material, and can add such a chic and modern touch to your home decor. Let get started!
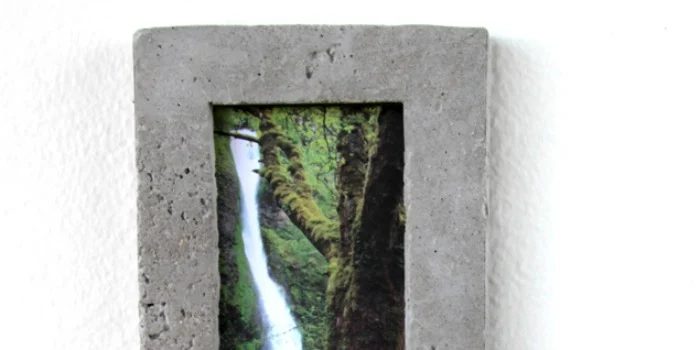
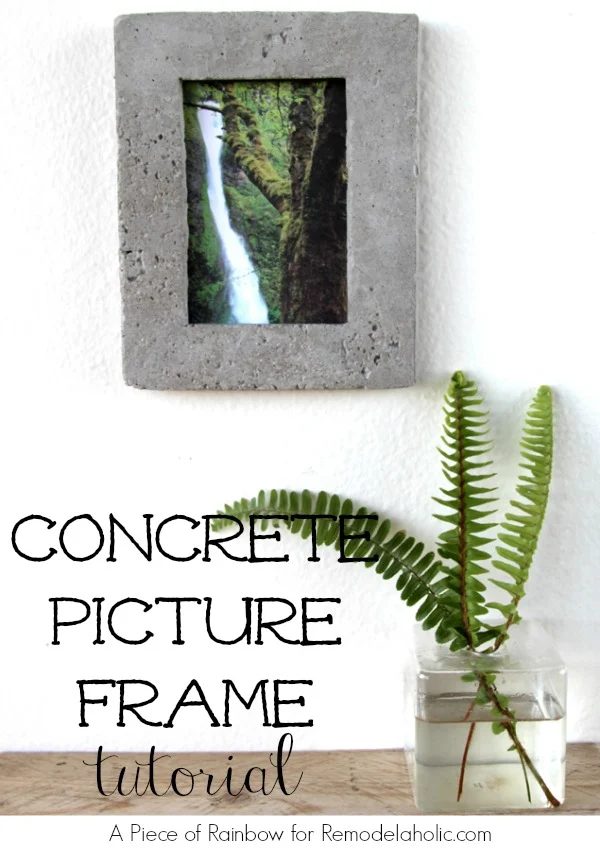
How to Make a Concrete Picture Frame
Materials and tools:
- pourable concrete mix, such as Quikrete 3000lb (used here) or 5000lb.
- cardboard or cereal boxes for making molds
- plastic containers to mix concrete, plastic bags for curing concrete
- exacto knife or scissors, glue and/or tape for the molds
- gloves, dust mask
- picture frame hardware, such as hangers, screws and turn buttons, all available on amazon, and small sections of wood pieces cut from branches
- glass from an old frame, 5″x7″ is what we used here, and acid free card stock backing
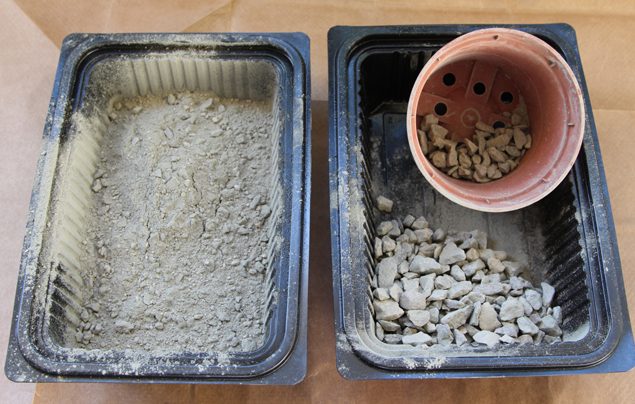
Because the frame have thin walls, I decided to screen those bigger chunks of aggregates out of the Quikrete 3000lb mix- a plastic nursery pot works great – and leave some small aggregates for strength. The aggregates give important structures that hold the cement together in concrete.
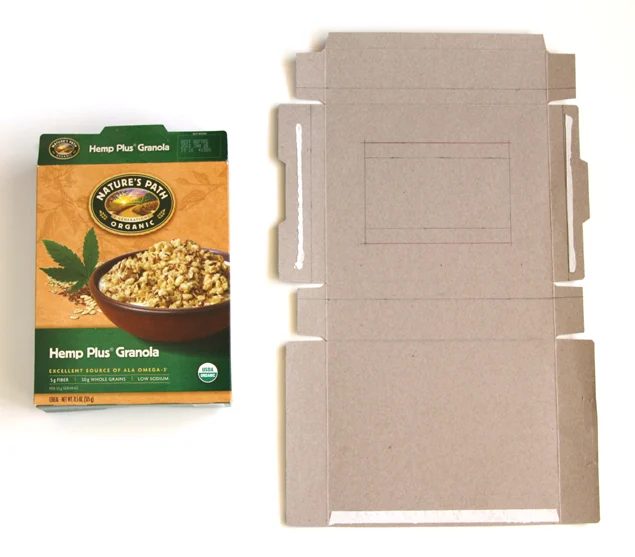
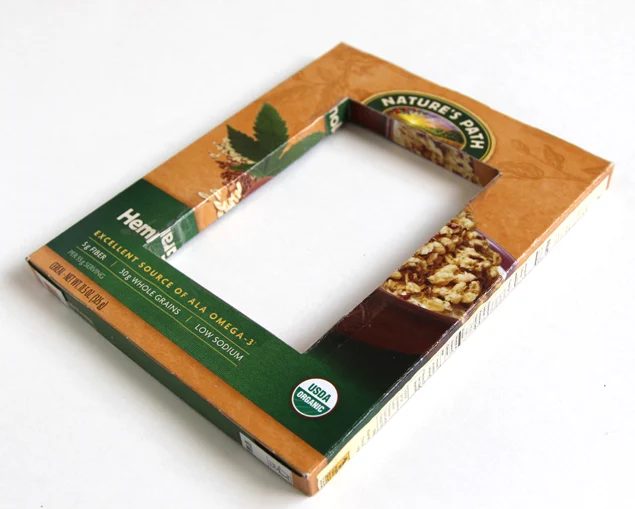
First we make a mold. Decide what size frame you would like to make. I recommend starting with a smaller one, such as 5″x7″ to get familiar with the process, then go on to 8″x10″, etc. Because of how strong concrete is after proper curing(more on that later), the thickness only needs to be 0.5″!
Draw the face of frame with the opening – if you use 5″x7″ standard glass, then draw the opening at about 4″x6″, the width is up to your artistic decisions.
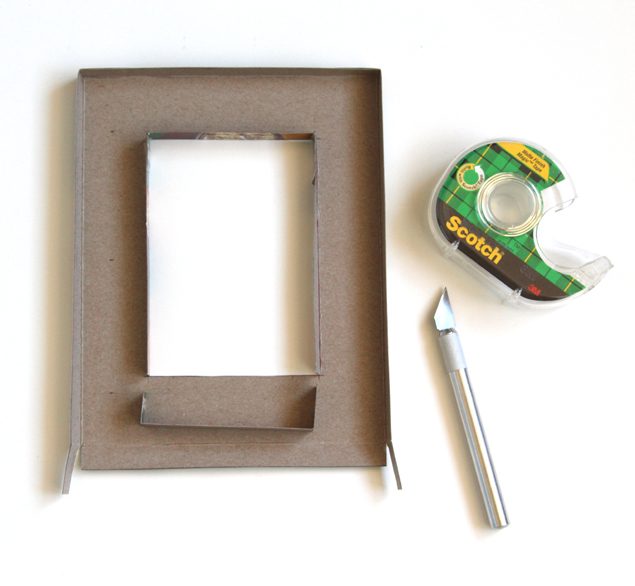
Score the lines where it needs to be folded, and cut the rest. You may need to cut some additional pieces and tape them together to complete the mold. Also cut some pieces at 0.5″ wide and tape along the sides to use as additional support to prevent bulging.
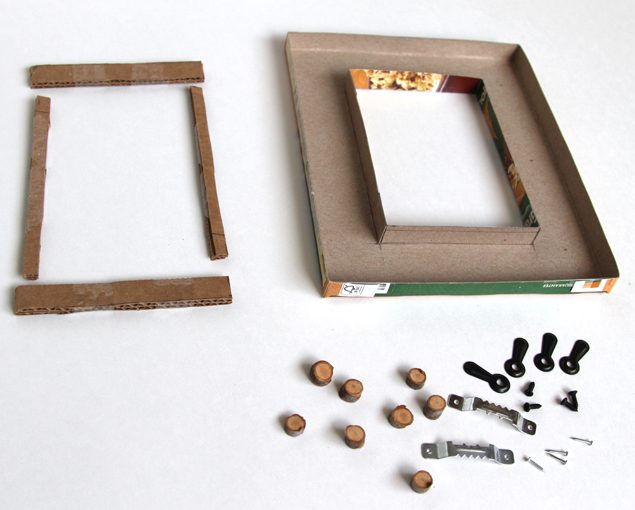
If you look at the back of a picture frame, there needs to be a recessed area to hold the glass. We will make some pieces about 0.5 wide and 1/8″ thick – cardboard is great for this – to create that recesses area. 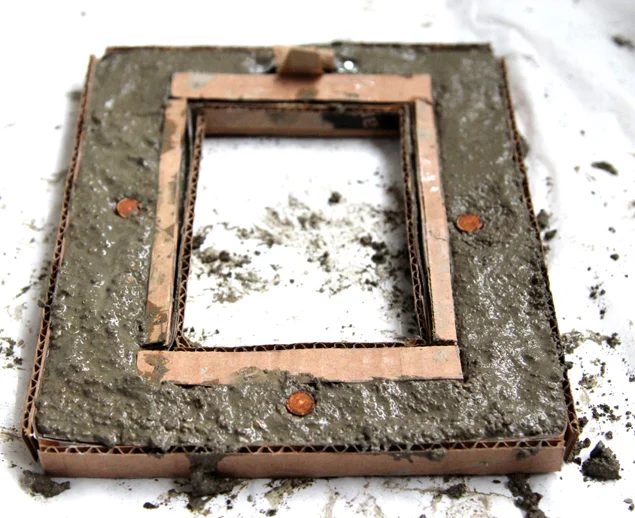
Now we are ready to mix our concrete! Add water to the screened mix, and use the recommended proportions on the bag. The consistency should be like a very thick oatmeal – but don’t taste it! =) Pour into the mold until it’s 1/8″ from the top rim, and place the pieces for the glass onto the concrete. Then pour the rest of the concrete till it’s level with the rim. gently press the small nails with the picture hanger (use some cardboard to ensure a gap), as well as the little wood pieces (for the turn button later) into the mix as shown.
Let the frame stay in the molds and cure for at least 3 days by misting them daily and wrapping them in plastic bags. This is a very important step to ensure that the concrete hardens as much as possible so they don’t chip or break. The more moisture you can keep in the plastic bag the better.
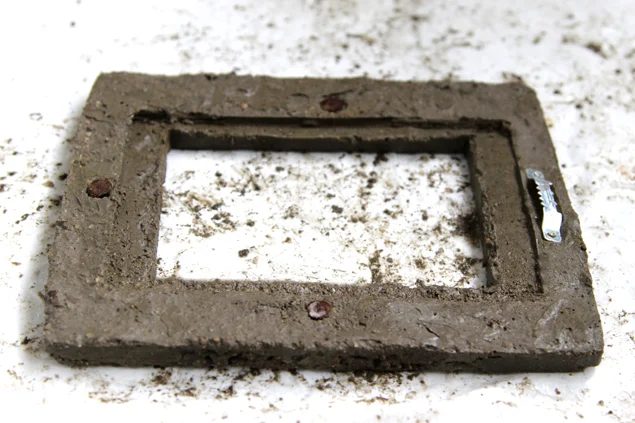
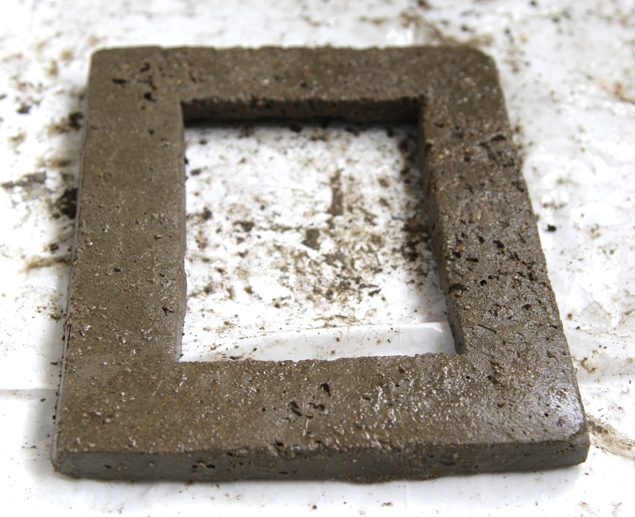
After day 3, you can take the frame out of the mold, rinse it and let dry. If the wood pieces are a little loose, use some glue to secure them in place. 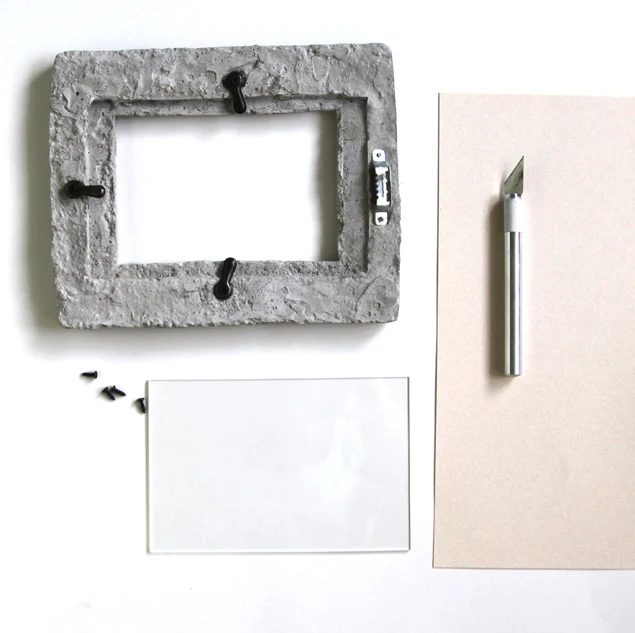
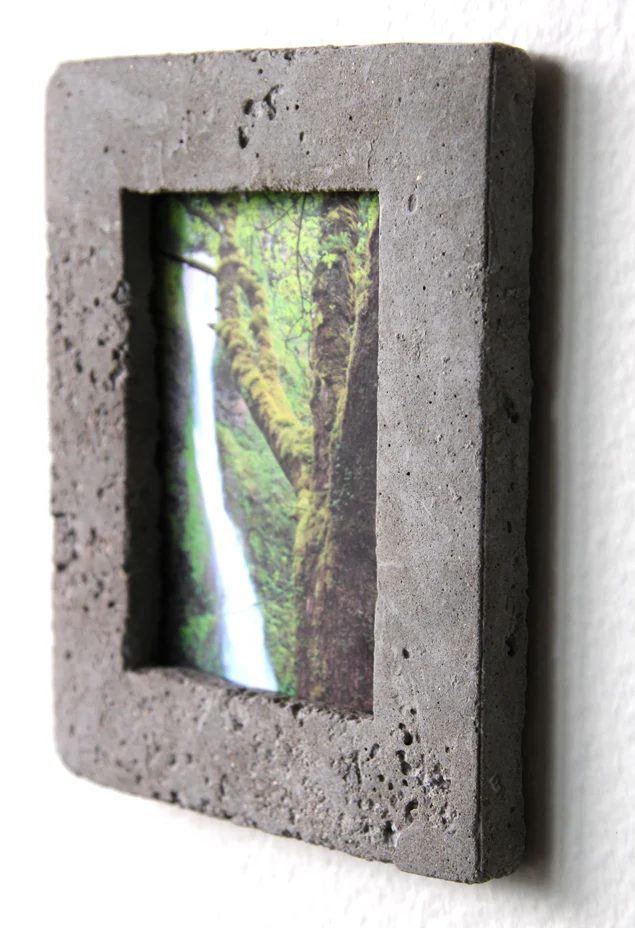
Attach the turn buttons onto the wood branch pieces with screws, cut the card stock backing to size, and now you can display your pictures in a modern concrete frame!
Want some more options for unique picture frames? look at how to make these weathered boat wood inspired frames without using power tools! 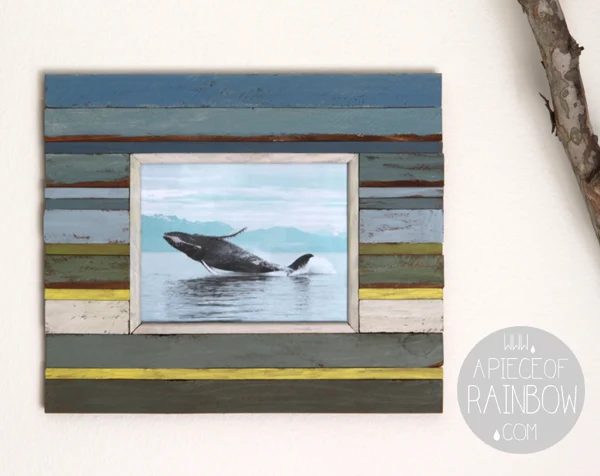
Add other striking touches to your wall by turning boring switch plates and outlet covers into designer ones, or make an industrial reclaimed wood & faucet coat rack, in these two direct handmade. 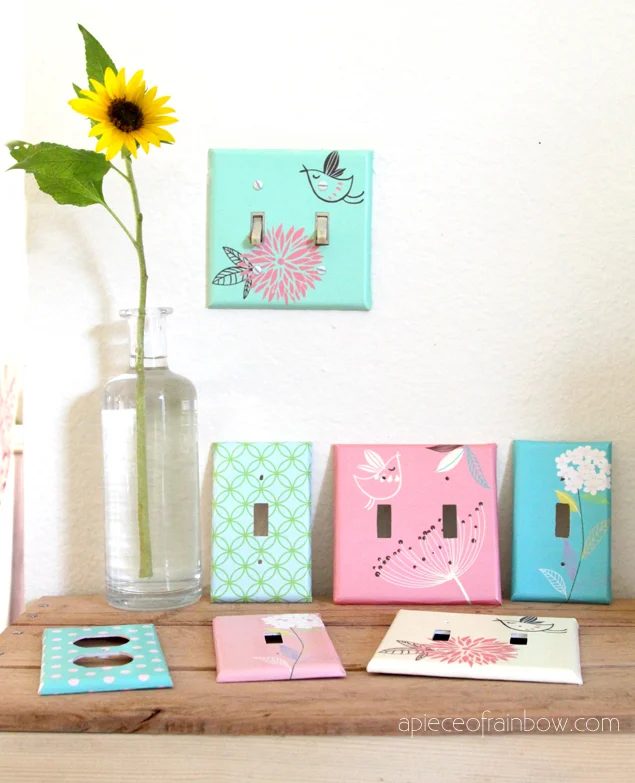
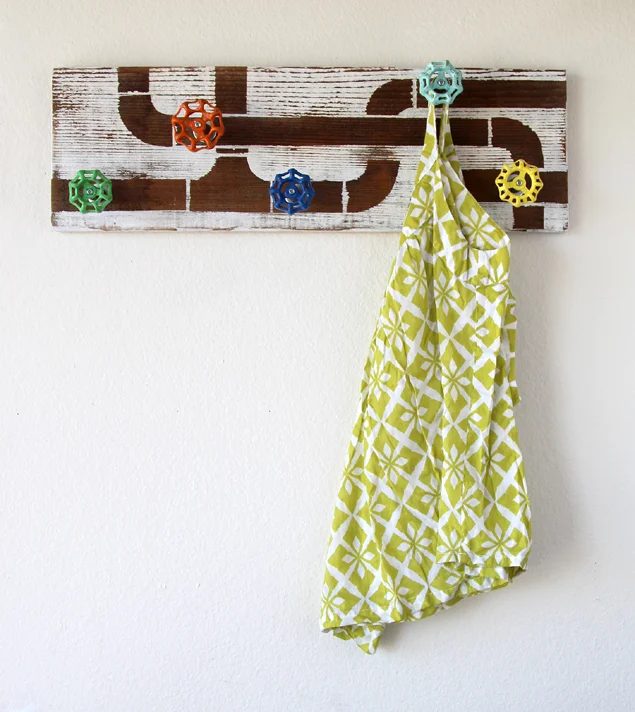
Want more concrete? See how straightforward it is to make a set of concrete coasters for unique gifts! 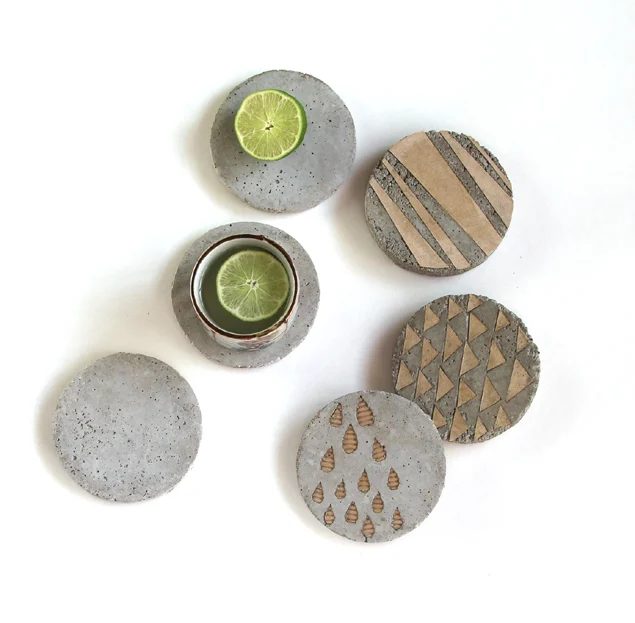
——————————————
Add a little industrial chic flair with these additional projects:
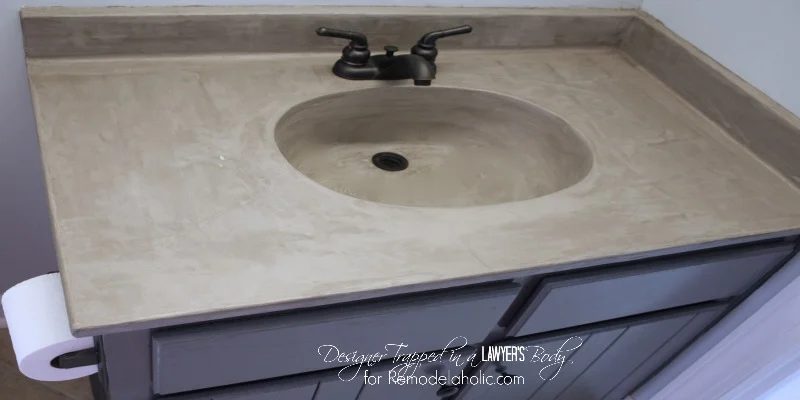
Inexpensive Cement Vanity Makeover
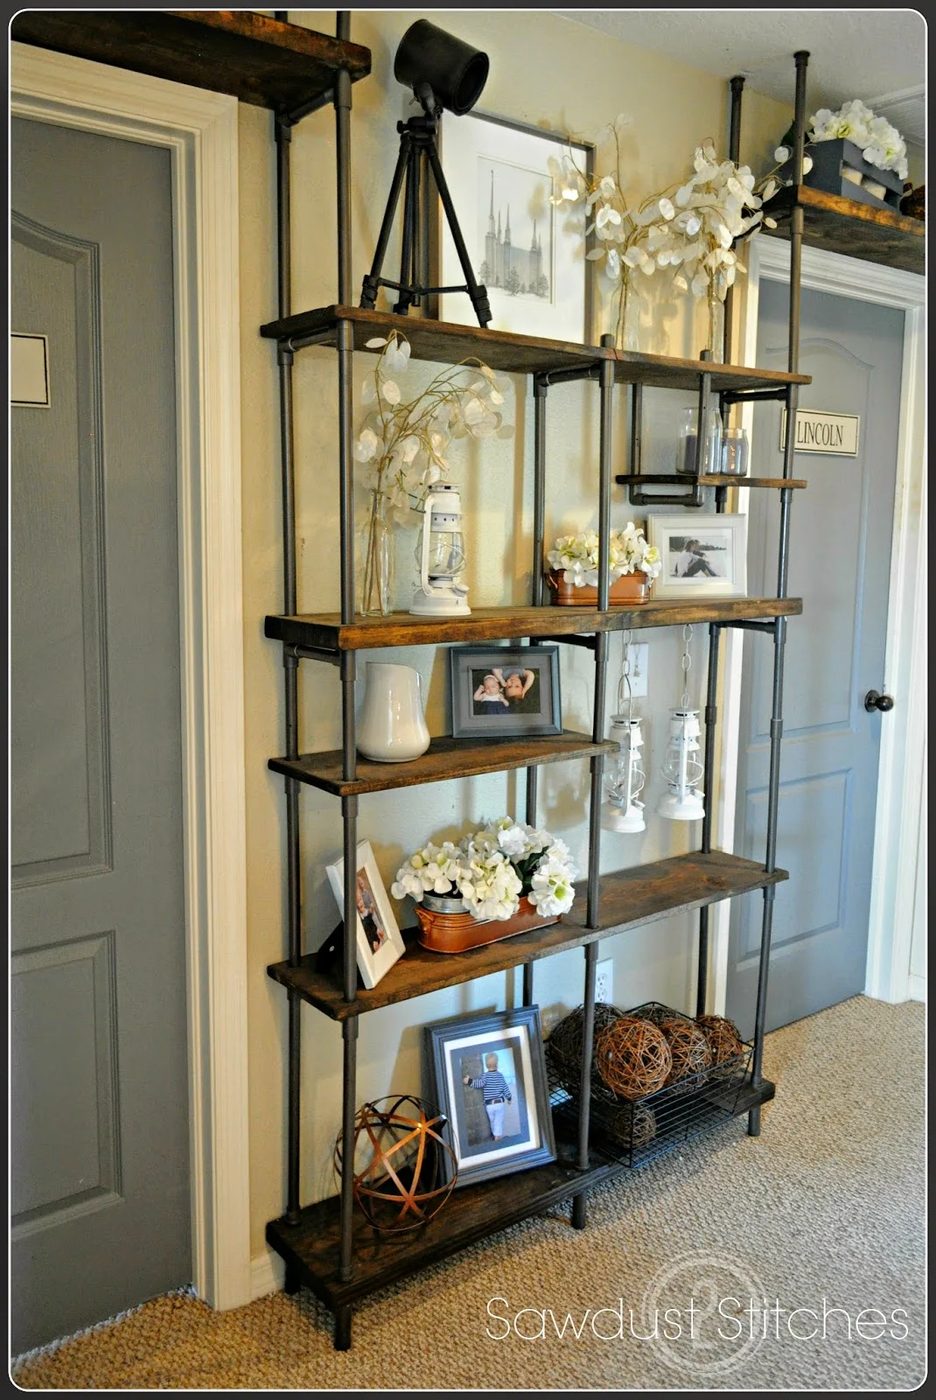
modest-cost-Friendly PVC Pipe Industrial Shelving