The steps below follow the order of the work for this decor project.
Remember that solid copper pipe pendant light a bit back? Brynne is the creative mind behind that, and she’s also a new member of our contributor team! Welcome her back and don’t forget to go visit her over at The Gathered Home, too.
Hello everyone! I’m Brynne from The Gathered Home & I’m so happy to be here sharing an solid new Handmade project with you today!
You may remember the Handmade Geometric Copper Pipe Pendant Light I shared here on Bekob last month. Well, I am still obsessed with copper and still in love with finding inspiration in the plumbing aisle of the hardware store!
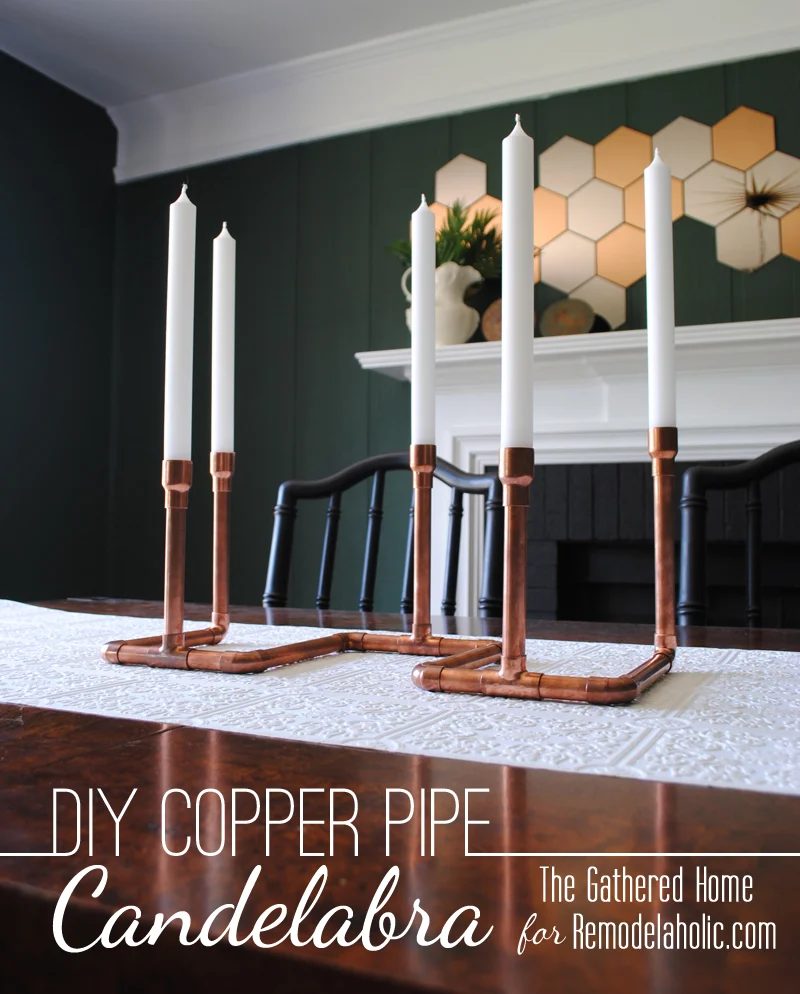
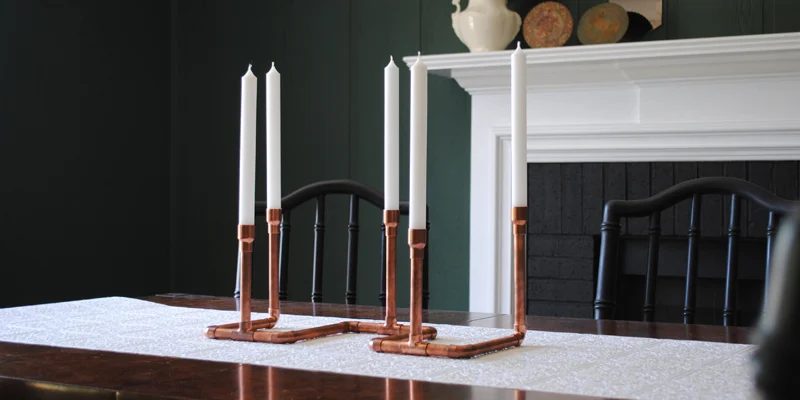
Handmade Copper Pipe Candelabra walkthrough
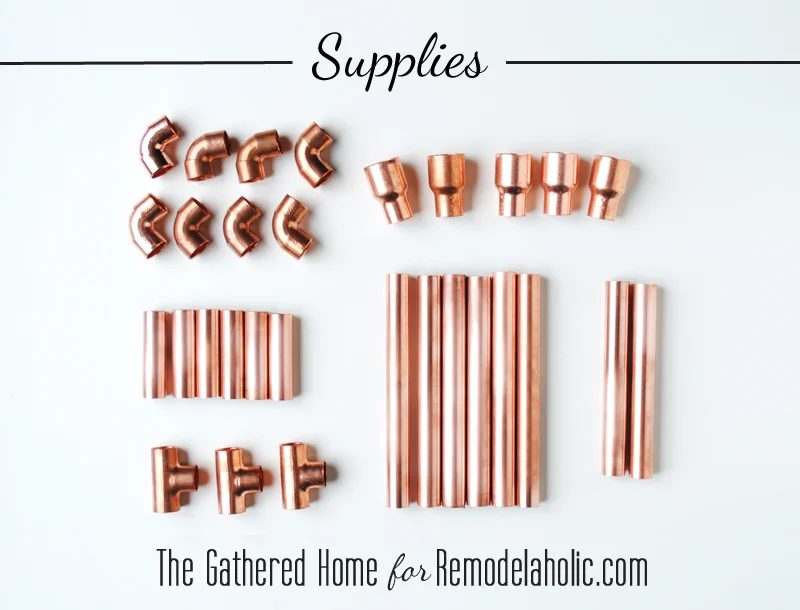
Supplies:
(8) 1/2″ copper elbows (you can purchase a bag of 10 for $3.50)
(5) 3×4″ x 1/2″ copper CxC coupling pieces – $2.30/piece
(3) 1/2″ copper tee fittings – $1.20/piece
(1) 10′ x 1/2″ copper pipe – $10 (Tip: you can quickly cut it down in the hardware store parking lot if it won’t fit in your vehicle!)
JB Weld Kwik-Weld
Copper pipe cutter
Cost: $33 for copper parts
Time Needed: approximately 2 hours
Step 1
Begin by cutting your copper pipe into the correct lengths.
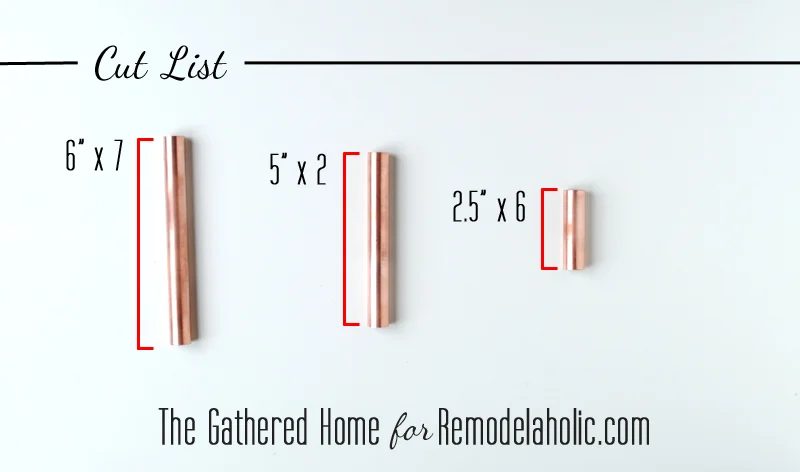
(7) 6″ pieces, (2) 5″ pieces, (6) 2.5″ pieces. Visit this post for tips on cutting & cleaning copper pipe the straightforward way!
Step 2
Once you have all your pieces cut, you’re going to form the base of your candelabra like this:

In the photo above, the “vertical” arms are four of your 6″ pieces, joined by elbows. The “horizontal” pieces are 2.5″ pieces with tees in the middle. In the photo, the tees and end elbows haven’t been rotated yet, to make it easier to see them. But then you’re going to turn them upwards – this is where you will attach the arms of your candelabra.
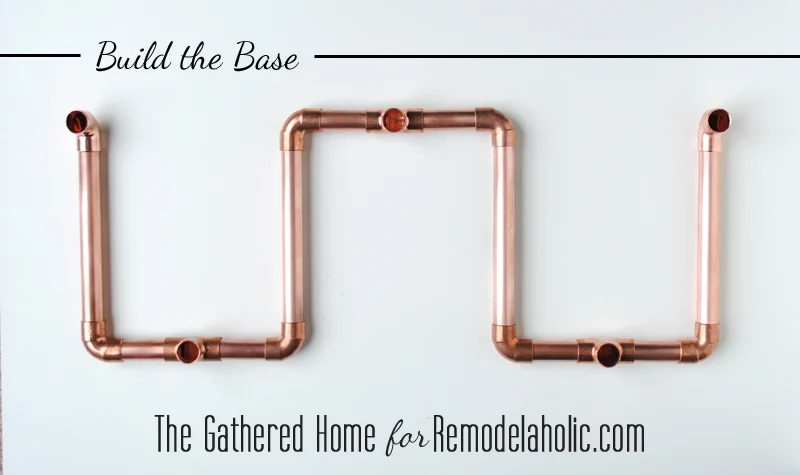
Mix up your JB Weld (it’s a 2-part epoxy) and use just a little to glue your pieces together – be careful to wipe up any that smooshes out the edge! Let the base dry for the recommended 6 minutes while you assemble the arm pieces.
Step 3
Build the arms.
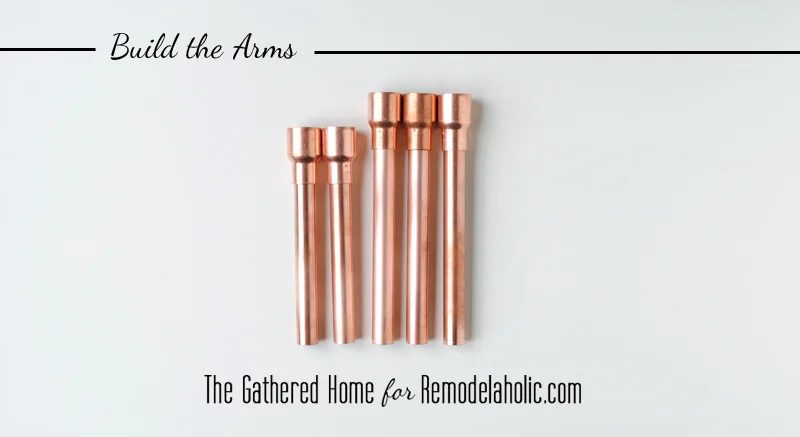
Glue the coupling pieces to the top of your remaining three 6″ pieces and you two 5″ pieces of pipe. Let them dry.
Step 4
Add the arms to the candelabra. The three 6″ arms on the back, the two 5″ arms on the front. You know the drill! More JB Weld. More waiting.
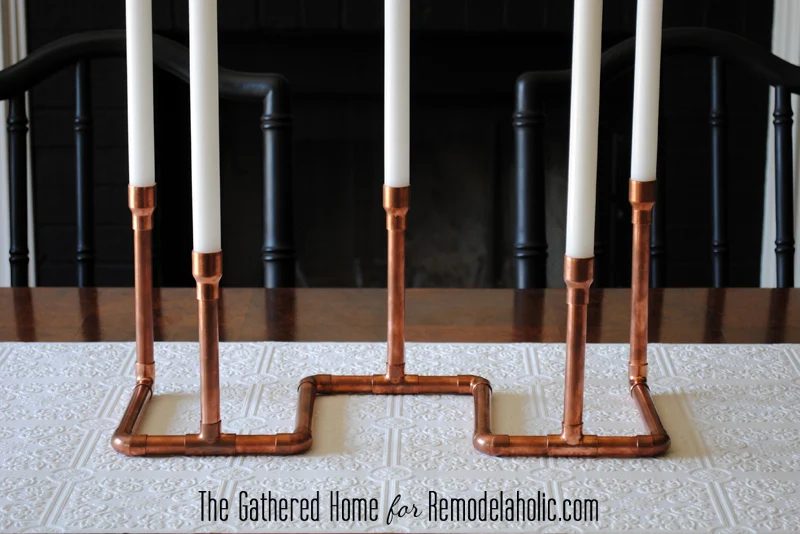
Step 5
Admire! Congratulations – you just made your very own Handmade copper pipe candelabra!
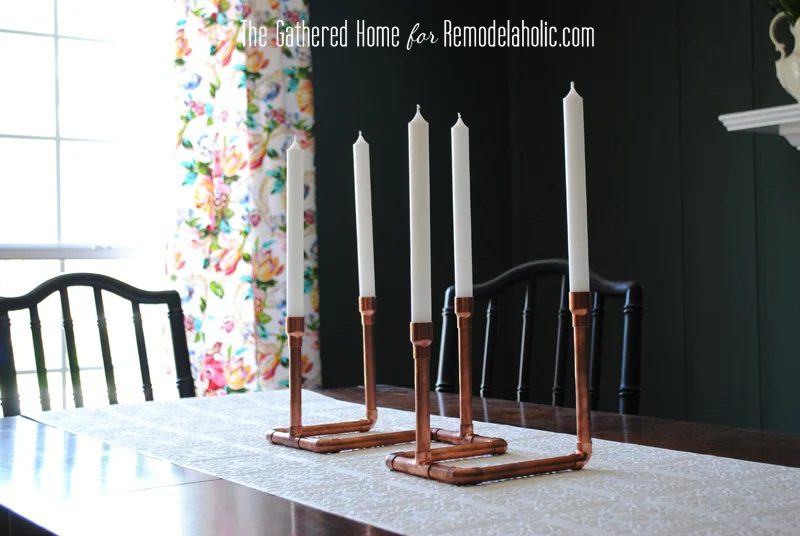
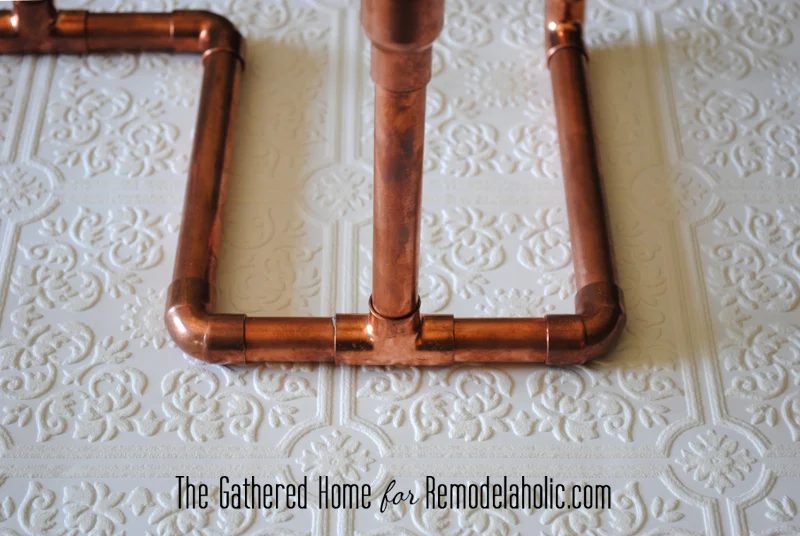
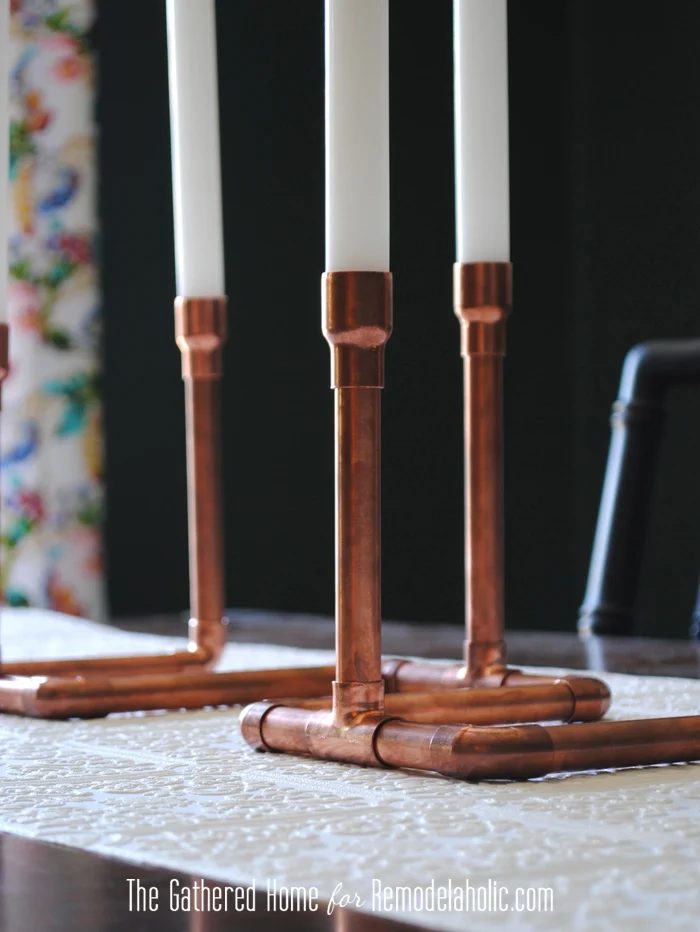
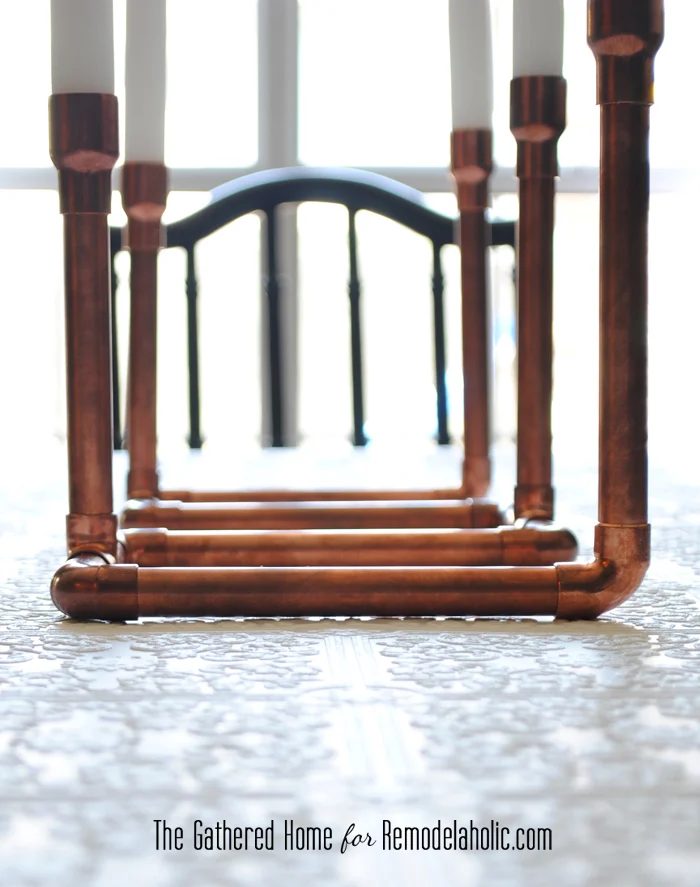
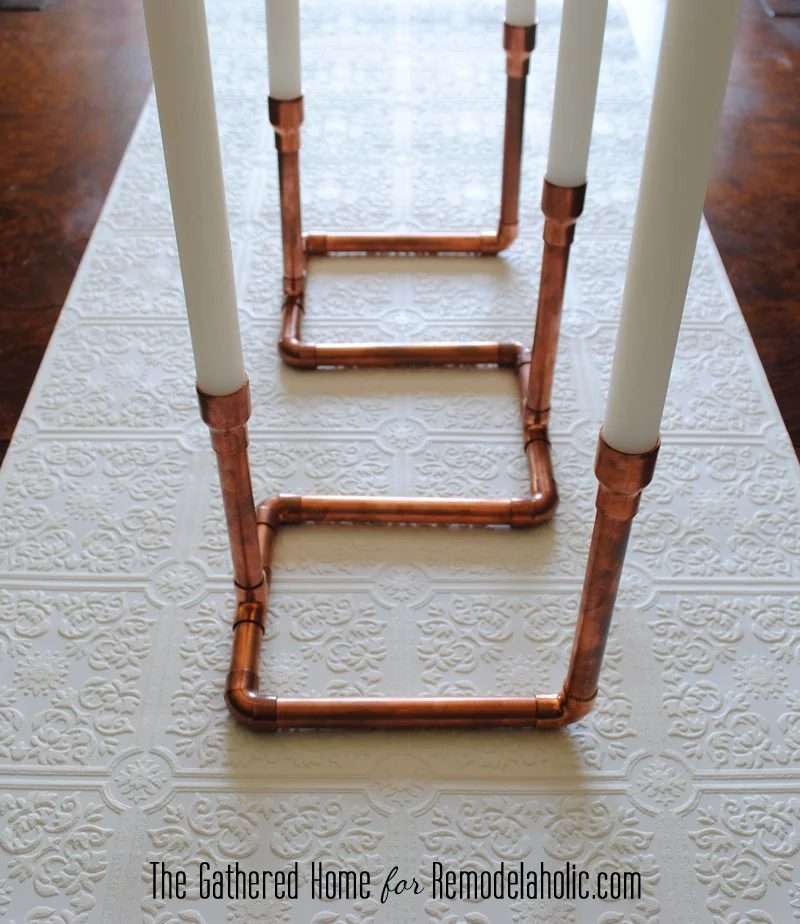
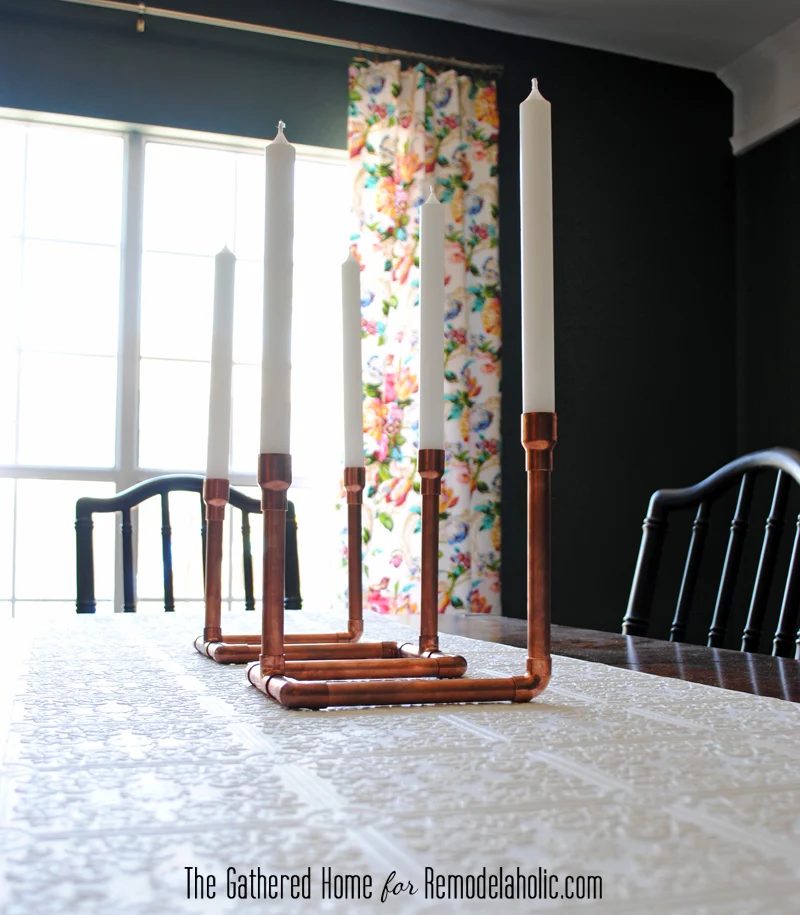
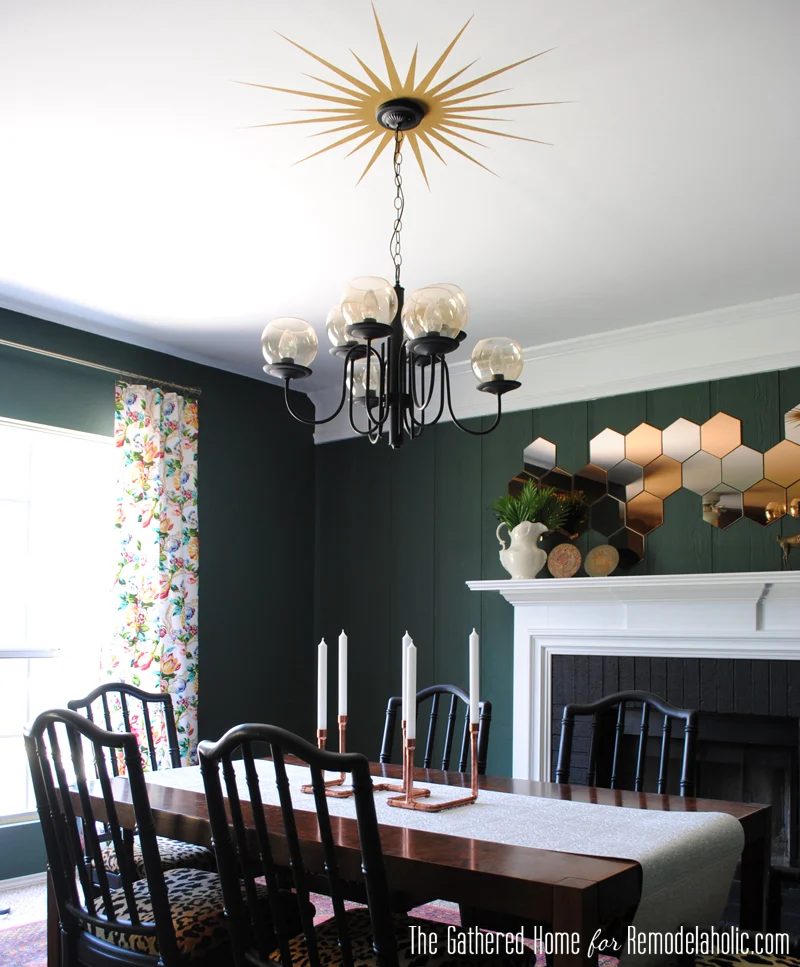
Are you excited to make a Handmade copper pipe candelabra of your own? I think it’s the well fitted finishing touch in my newly finished dining room makeover, don’t you?
Stop by The Gathered Home anytime to take a look around and see how I’m transforming my home one Handmade project at a time! You can get more details on the Handmade sunburst ceiling medallion or the vintage Chinese chippendale chairs I repainted & recovered, and I’d love to make your acquaintance!
————————————–
If you prefer hardware store shopping to craft store shopping (it’s okay to admit, you’re here among friends!) then don’t miss out on this great collection of hardware store decor crafts, too!