Materials and the sequence of the job sit together on this page.
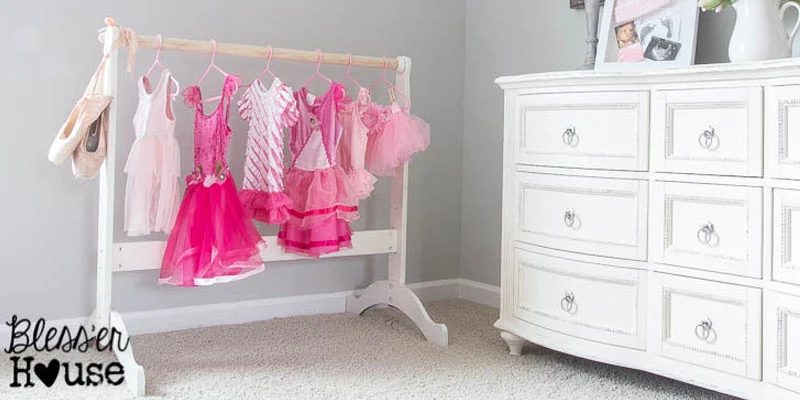
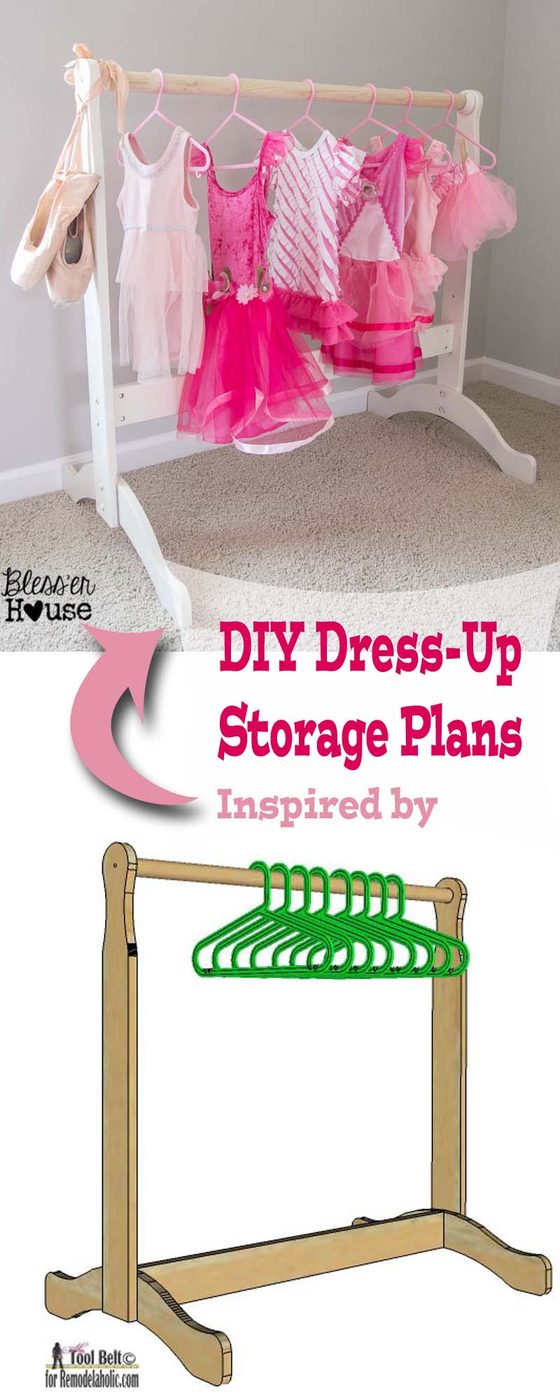
Hi, it’s Amy from Hertoolbelt back with another build project for you. A few months ago, Lauren at Bless’er House made the cutest Handmade Dress Up Rack that she upcycled from a low-cost yard sale find. It is the well fitted addition to her daughters room, you can read all about it here. Lauren is graciously letting us make build plans for her dress up rack, so you can make one even if you don’t have the luck of finding a yard sale bassinet. 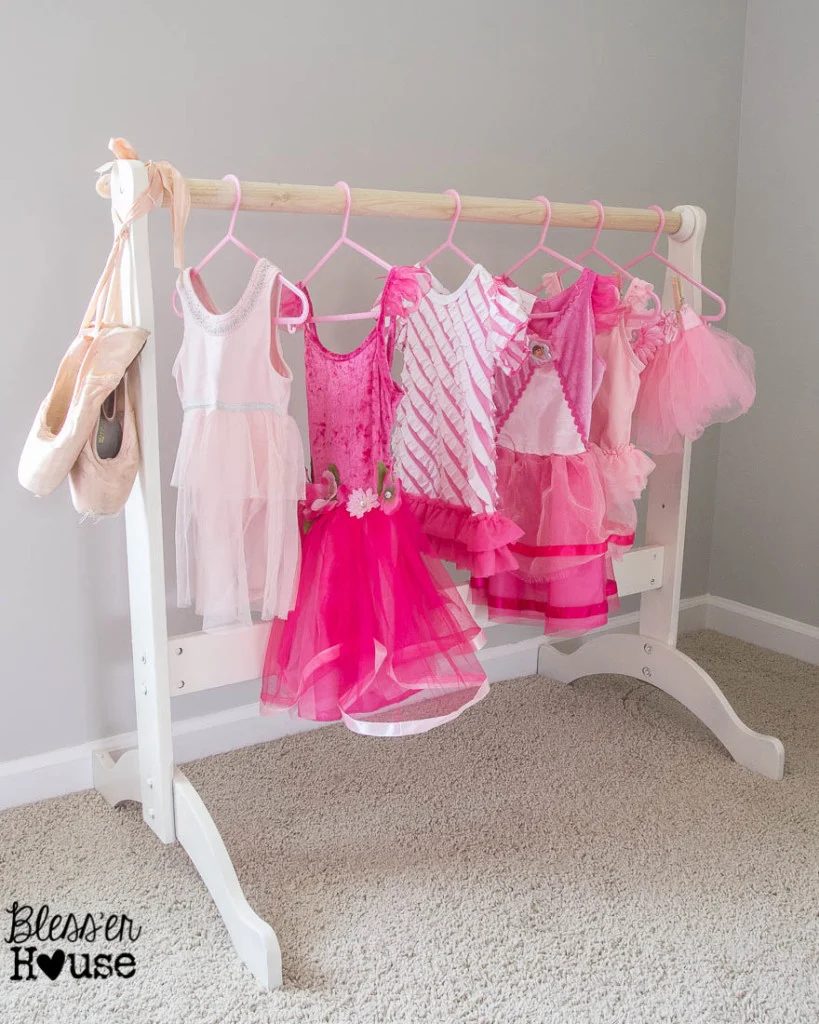
How to Build Handmade Dress Up Storage
Materials
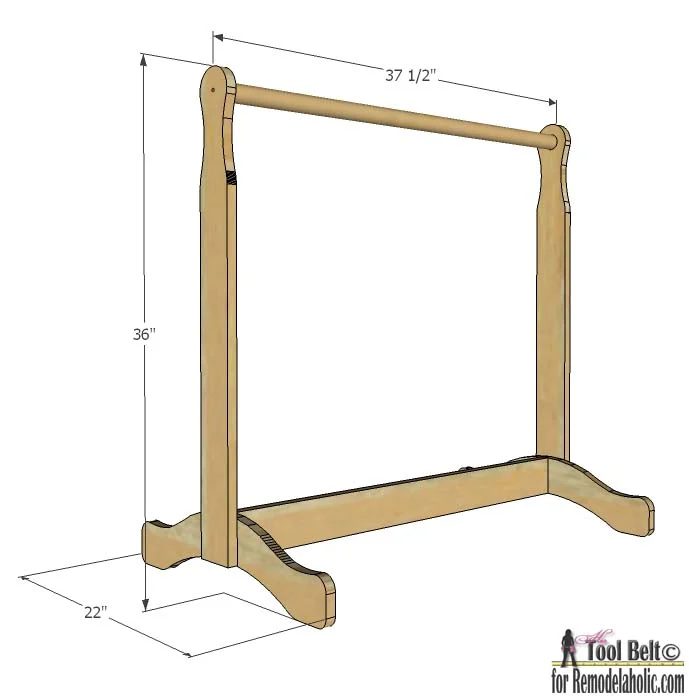
- 1 3/8″ round dowel x 36″ long (closet rod dowel)
- 2 – 1″ x 4″ x 8′ boards (actual 3/4″ x 3 1/2-3 1/4″)
- 1 – 1″ x 6″ x 6′ board (actual 3/4″ x 5 1/2″)
- 1 1/2″ min screws
- 1 1/4″ screws
- wood glue
- sand paper
- wood filler
- primer/paint (see Lauren’s post)
approximate wood cost – $14
Note: I lowered the crossbar to give a little more room the the dresses to hang. You can easily make this dress up storage longer and taller by adjusting the rod and crossbar or vertical supports.
Cut List
- 2 – 3/4″ x 5 1/2″ x 22″
- 2 – 3/4″ x 3 1/4″ x 34″
- 1 – 3/4″ x 3 1/4″ x 34 1/2″
- 1 3/8″ round dowel x 36″
Step 1
Cut 2 pieces of 1 x 6 x 22″. Download and print the pattern for the feet dress up feet 1 dress up feet 2. When printing make sure your settings are on 100% and not ‘fit to page’. Line up the pattern pieces (the gray lines should help), tape together and cut out. Trace the pattern onto the 1 x 6’s. Cut out the feet with a band saw, scroll saw or jig saw. Sand the feet to smooth any rough edges.
Cut the 1 x 4 x 34 1/2″ piece. Down the vertical center of the feet, pre-drill holes to attach the feet to the crossbar. Use wood glue and 1 1/2″ minimum length screws, attach feet to both ends of the crossbar. Countersink the screws so the screw heads are flush.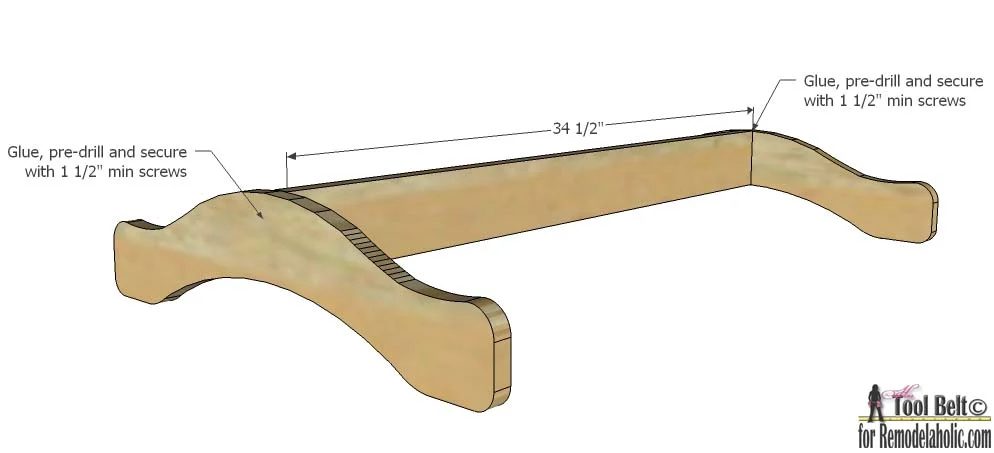
Step 2
Cut the 2 – 1 x 4 x 34″ pieces. Download and print the pattern for the vertical support dress up vertical pattern. When printing make sure your settings are on 100% and not ‘fit to page’. Trace the pattern onto the 1 x 4’s, mark the center of the hole. Cut out the vertical supports with a band saw, scroll saw or jig saw. Sand the curves to smooth any rough edges.
Line up the vertical supports with the center of the feet, pre-drill holes to attach the vertical supports to the feet. Use wood glue and 1 1/4″ screws, attach the vertical supports to the feet. 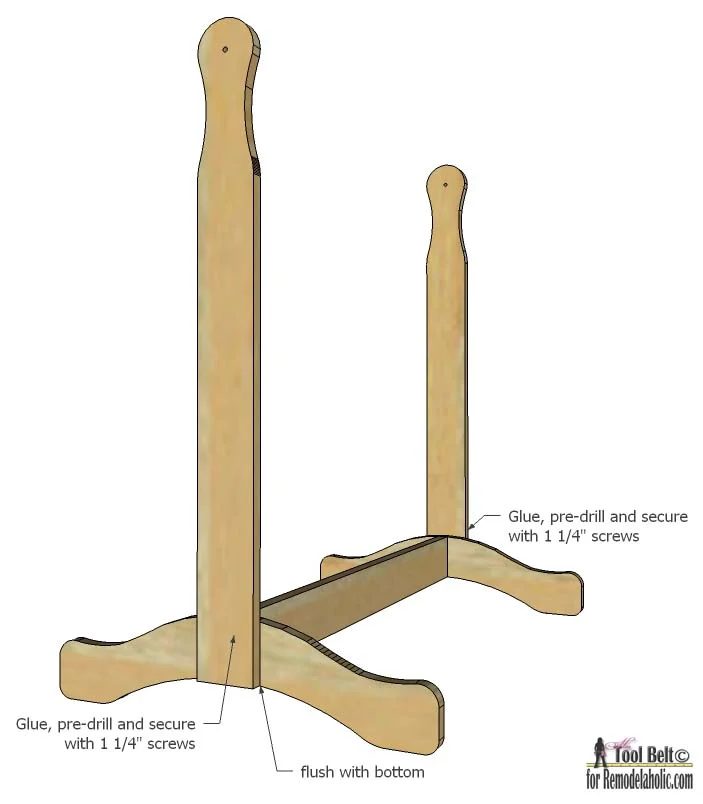
Step 3
If the dowel is longer than 36″, cut it to 36″. Pre-drill holes where the circle was marked. Attach the 1 3/8″ round rod between the vertical supports with 1 1/2″ min screws. 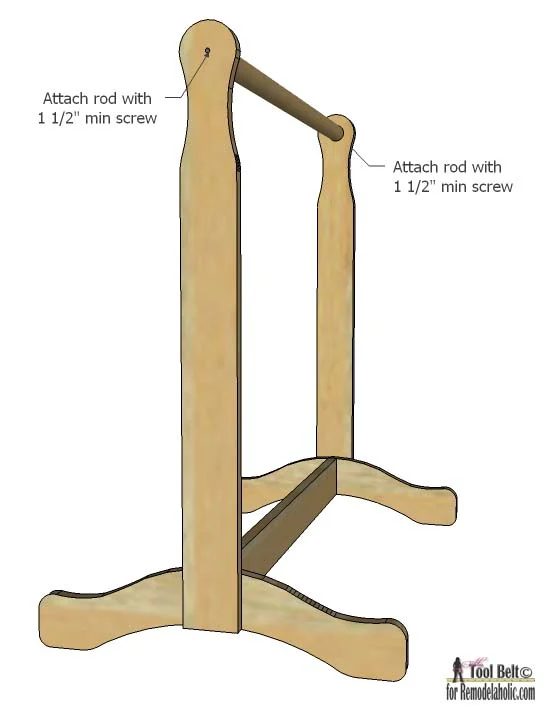
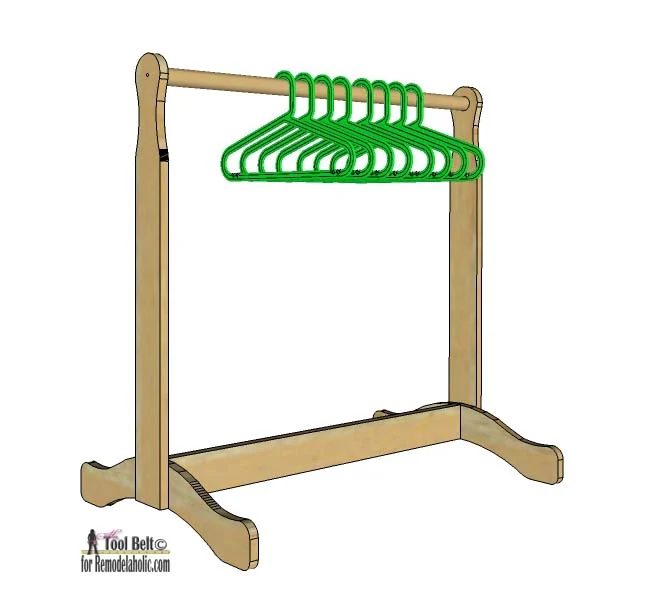
Step 4
Remove any excess glue, apply wood filler to holes, cracks and blemishes and allow to dry. Sand the Handmade dress up storage rack until smooth finishing with 120-150 grit sand paper, always finish sanding in the direction of the grain. Stain or paint the rack and allow to dry. See Lauren’s post for paint/finish info.
Enjoy your Dress Up Storage!
For more build plans look at Hertoolbelt:
 |
 |
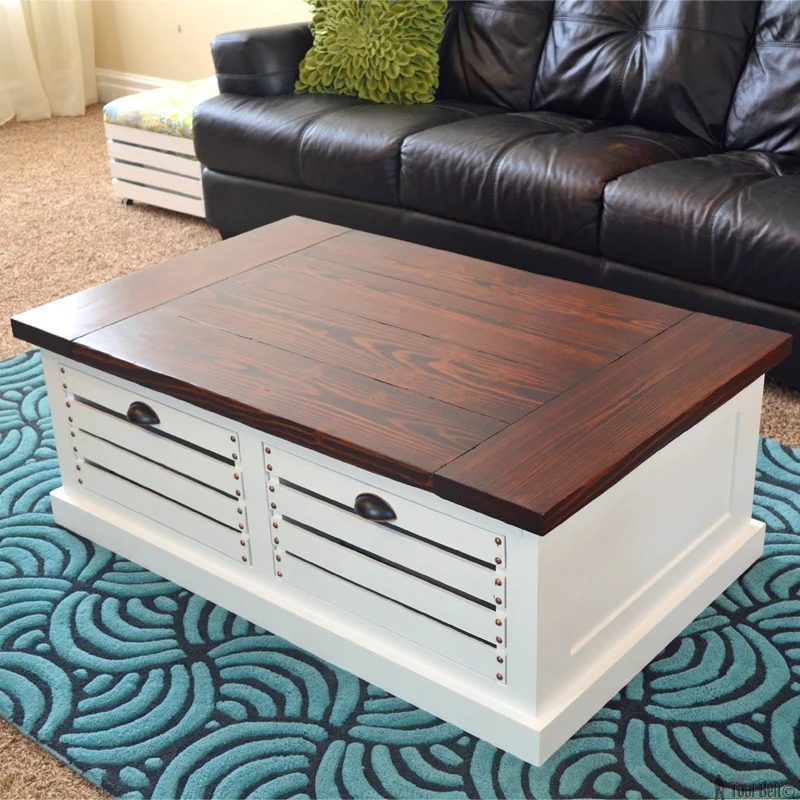 |
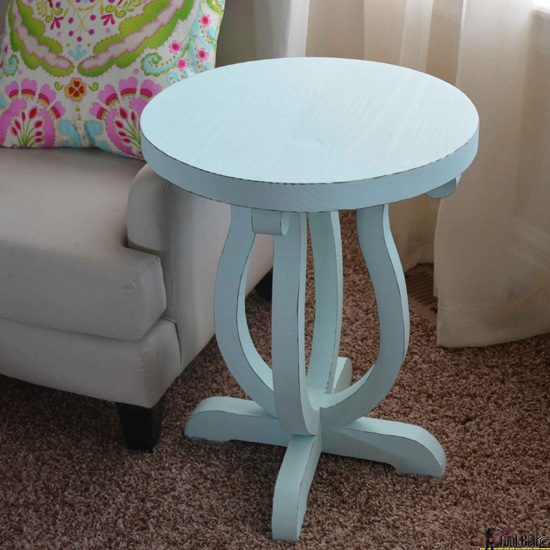
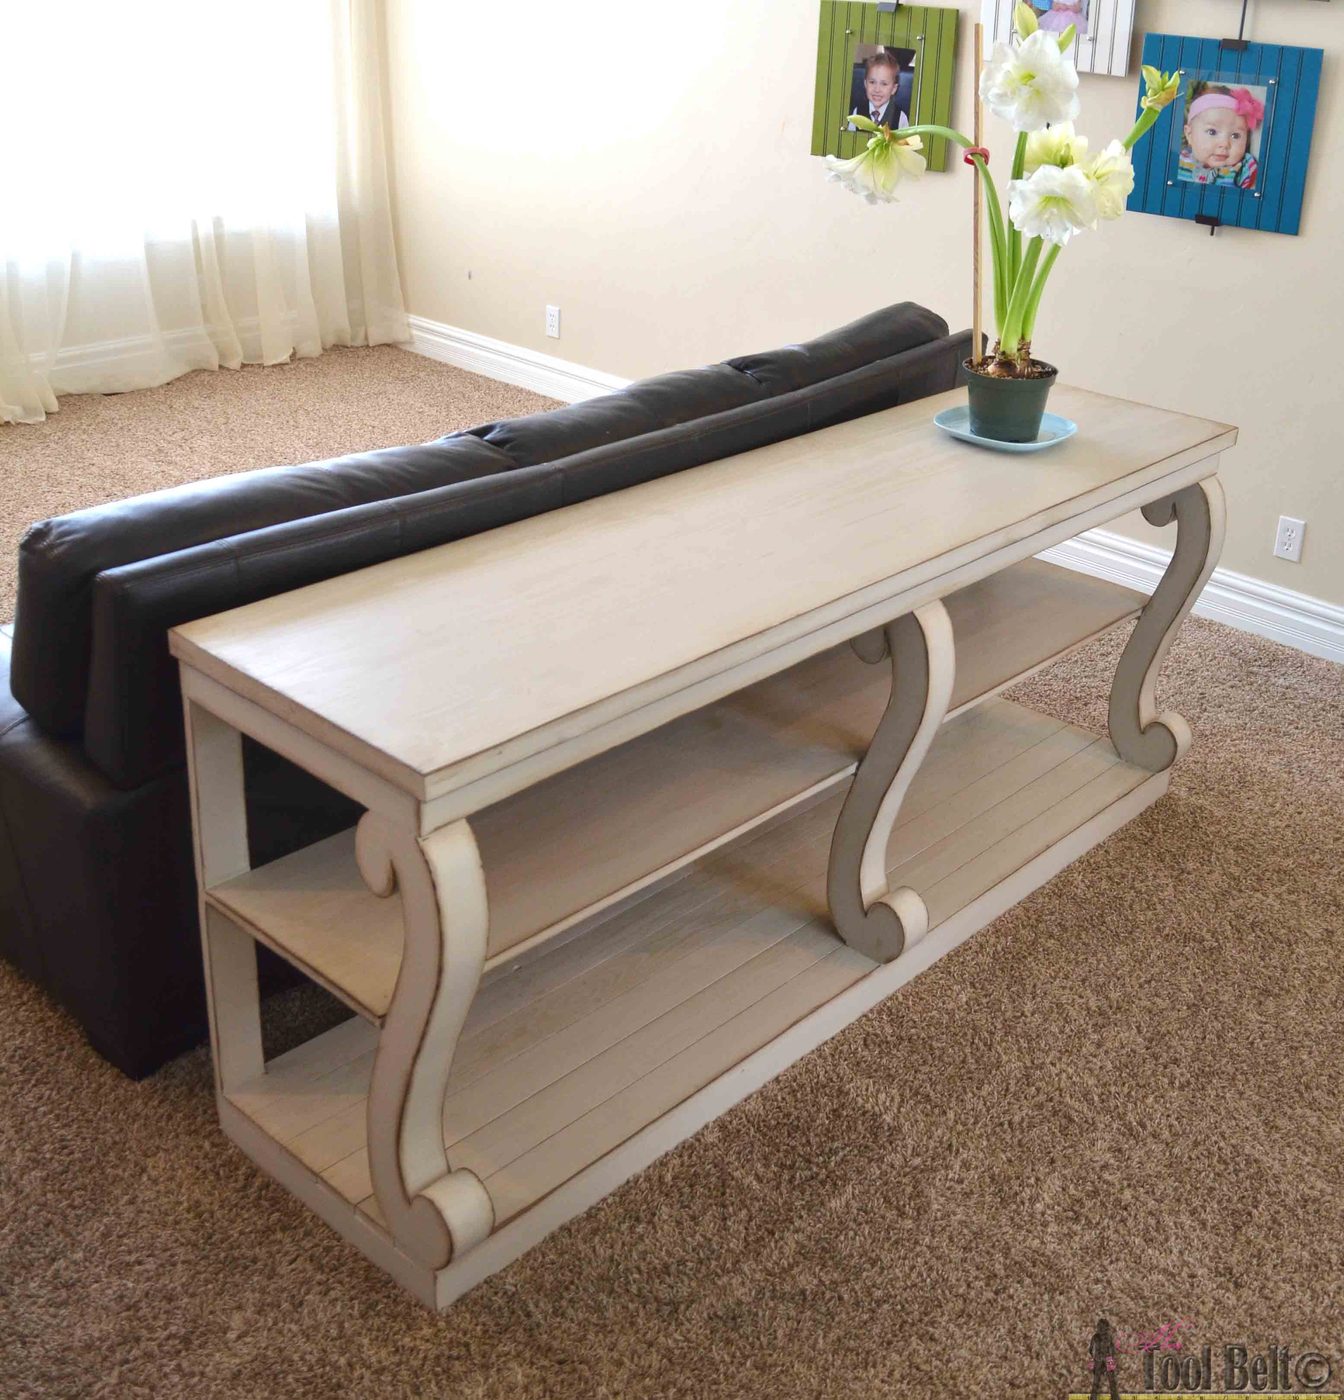
Curvy Side Table // Scroll Console Table // Crate Coffee Table
———————————