
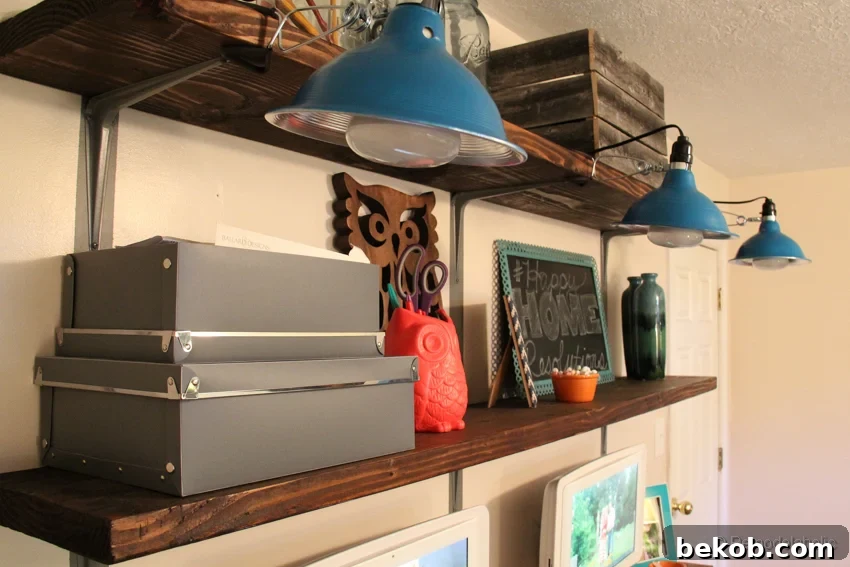
DIY Easy Rustic Wall Shelves: A Beginner-Friendly Project for Home Organization
Transforming a space with custom shelving doesn’t have to be a daunting task, even for those new to DIY projects. If you’ve been dreaming of adding practical storage and a touch of rustic charm to your home office, living room, or any other area, you’re in the right place. This comprehensive guide will walk you through creating beautiful, sturdy rustic wall shelves that are surprisingly simple to build. Forget complex carpentry; this project is designed for beginners, promising a rewarding experience and a stunning outcome.
I understand the pull of a creative idea versus the push of sitting down at a desk. Sometimes, inspiration strikes, but execution feels like a distant goal. Rest assured, this shelving project is so straightforward, you’ll be amazed at how quickly you can bring your vision to life. Not only will you gain valuable storage space, but you’ll also add a unique decorative element that reflects your personal style. Let’s dive into making these fabulous rustic wall shelves!
Crafting Your Own Easy Rustic Wall Shelves: A Step-by-Step Tutorial
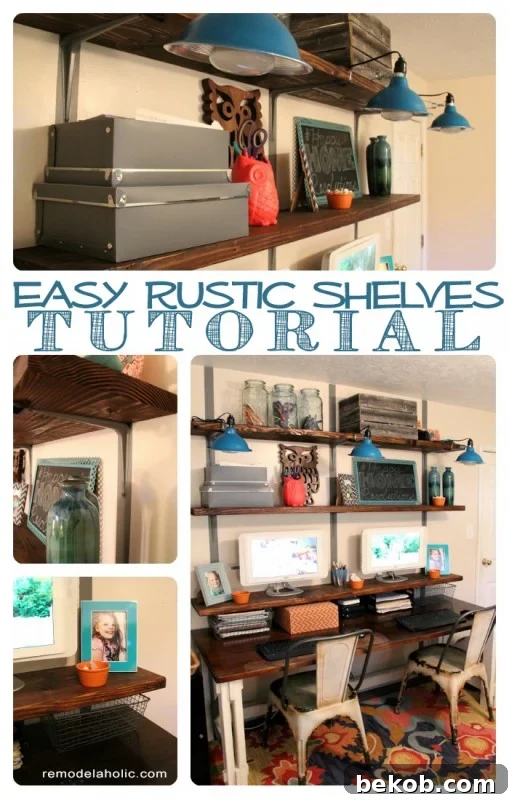
Before we begin, let’s gather all the necessary supplies. Having everything ready will make the process smooth and enjoyable. We’ve selected materials that are readily available at most home improvement stores and are ideal for achieving that coveted rustic aesthetic while ensuring durability.
Supplies You’ll Need:
- Small Paint Sample: Choose a color that complements your chosen brackets and contrasts subtly with your wall color. For example, Martha Stewart Zinc mixed into a satin Behr base works wonderfully to match standard gray brackets.
- 3M Painter’s Tape: High-quality painter’s tape is crucial for achieving clean, crisp lines when painting your wall stripes.
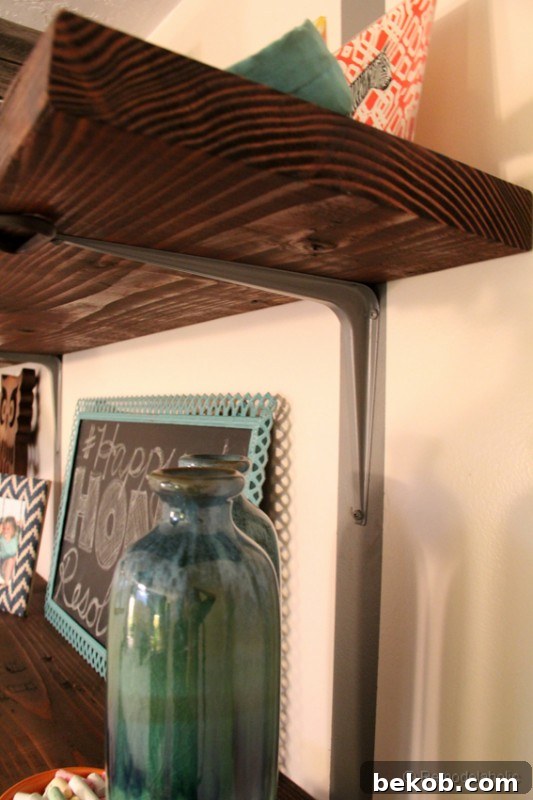
- 8″ x 10″ Grey Shelf Brackets: The number of brackets will depend on the length of your shelves. A good rule of thumb is one bracket for approximately every three feet of shelf length. These are commonly available in white, grey, or black at stores like Home Depot.
- Anchor Bolts: For secure installation, especially in drywall, screw-in anchor bolts are recommended. Look for ones rated to hold at least 75 lbs per piece to ensure your shelves can bear significant weight. Alternatively, if you can locate wall studs, those provide the strongest possible anchor point.
- 2 x 12 Lumber: This substantial lumber provides the perfect depth and rustic feel for your shelves. Purchase it in a length that can be cut to your desired shelf dimensions.
- Dark Walnut Stain by Minwax: A rich, dark stain like Minwax Dark Walnut will enhance the natural wood grain and give your shelves a classic, warm, rustic appearance.
- Optional: Protective Finish: Wax or polyurethane can be applied after staining to protect the wood and provide a lasting finish.
- Tools: Measuring tape, level, pencil, power drill, sandpaper, paintbrushes, stud finder (recommended).
Step 1: Preparing Your Canvas – Clean Up the Wall
A pristine surface is the foundation of any great DIY project. Begin by thoroughly cleaning the section of the wall where your new shelves will be installed. Over time, walls accumulate dust, smudges, and marks that can interfere with paint adhesion and the overall aesthetic. I highly recommend using a “magic eraser” or a damp cloth with a mild cleaner to remove any imperfections. This step ensures that your paint adheres smoothly and evenly, contributing to a professional-looking finish. Even if your wall paint isn’t fresh, a good cleaning can make a remarkable difference in the final outcome of your shelf installation.
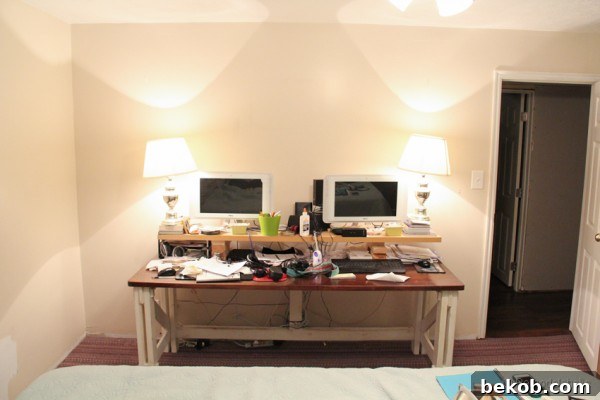
Step 2: Adding a Design Flair – Paint the Bracket Stripes
This step is where your rustic shelves truly get their unique character. Once your wall is prepped and dry, it’s time to create the painted stripes that will visually extend your brackets. This design element adds depth and a modern rustic touch. Choose a paint color that closely matches your chosen shelf brackets and provides a subtle, yet distinct, contrast with your existing wall color. For shelves requiring three brackets, typically you’ll have one centered stripe and two additional stripes positioned approximately six inches from each end of where your shelves will sit. Each stripe should be about two inches wide – a size that perfectly complements the bracket dimensions. You can hold a bracket up to the wall to visualize and determine the ideal width.
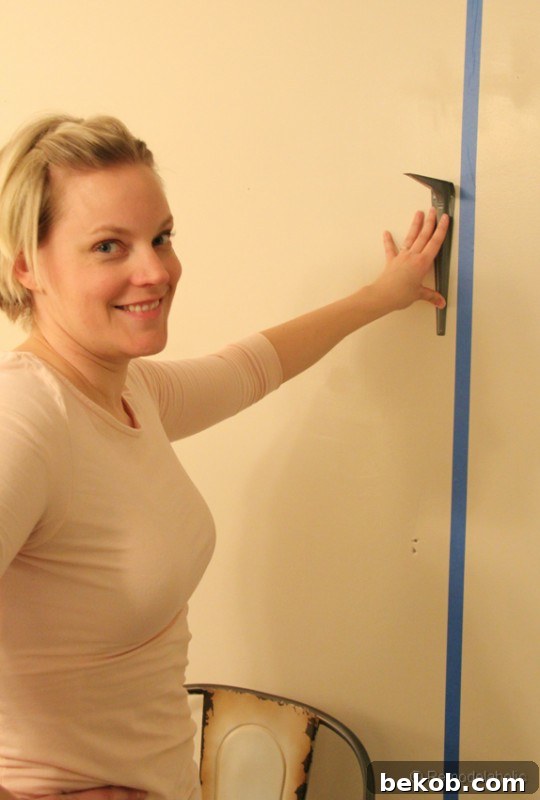
To ensure perfectly crisp paint lines, here’s a professional trick: After taping off your two-inch stripes using a level for accuracy, paint a thin coat of your existing wall color over the inside edges of the painter’s tape. Allow this to dry completely. This creates a seal, preventing the new gray paint from bleeding underneath. Once sealed, apply two even coats of your chosen gray paint within the taped sections, allowing adequate drying time between coats. While skipping this step might save a moment, it often results in less-than-perfect lines. Trust me, the extra minute is worth the flawlessly sharp finish!
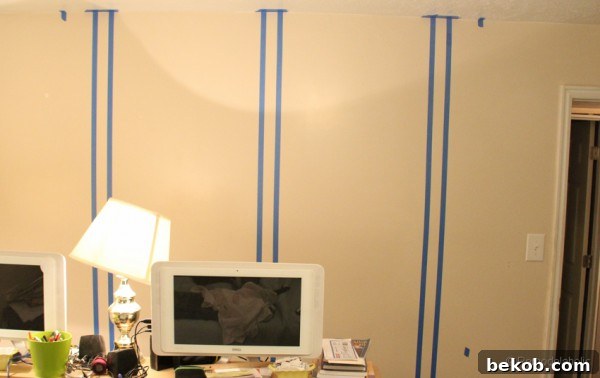
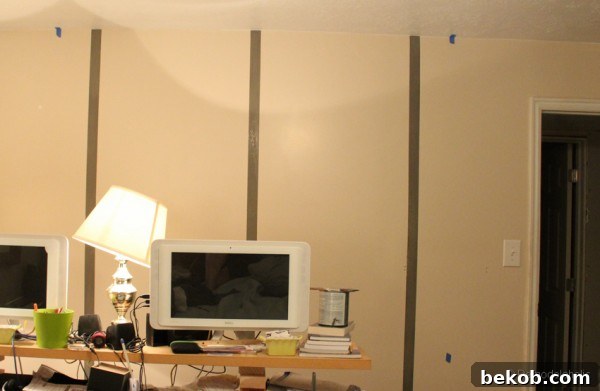
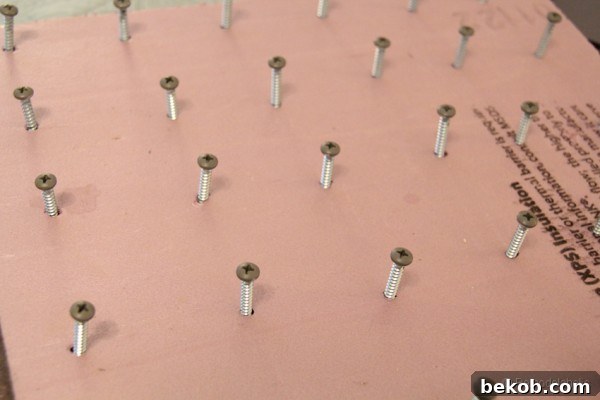
While you have your paint and brush handy, take a moment to paint the heads of the screws that will be used for mounting the brackets. This small detail ensures that the screws blend seamlessly with your painted stripes and brackets, contributing to a polished and professional look for your finished rustic shelves. Set them aside to dry thoroughly.
Step 3: Secure Placement – Locate Brackets and Install Anchors
Precision is key for safe and level shelving. Begin by deciding the exact height and placement for each shelf. Use a measuring tape and a pencil to lightly mark the desired bottom line of your first shelf across the wall. For perfect horizontal alignment, use a string level or a long spirit level to extend this line accurately across all bracket locations. Once your shelf line is marked, hold a bracket up, centering it carefully on one of your painted two-inch stripes, and mark the precise locations for the screw holes. Repeat this for all bracket positions.
Next, it’s time to install your anchor bolts. For maximum stability and peace of mind, especially with shelves that might hold heavier items, we recommend installing an anchor for each screw hole on every bracket. If you’re lucky enough to hit a wall stud with your drill, a direct screw into the stud is even stronger and may negate the need for an anchor in that specific spot. Once all anchors are securely in place, use a small paintbrush to give the visible parts of the anchors a quick coat of the gray paint. This ensures that no distracting white anchor material peeks out from behind your brackets, maintaining the clean aesthetic of your rustic shelving.
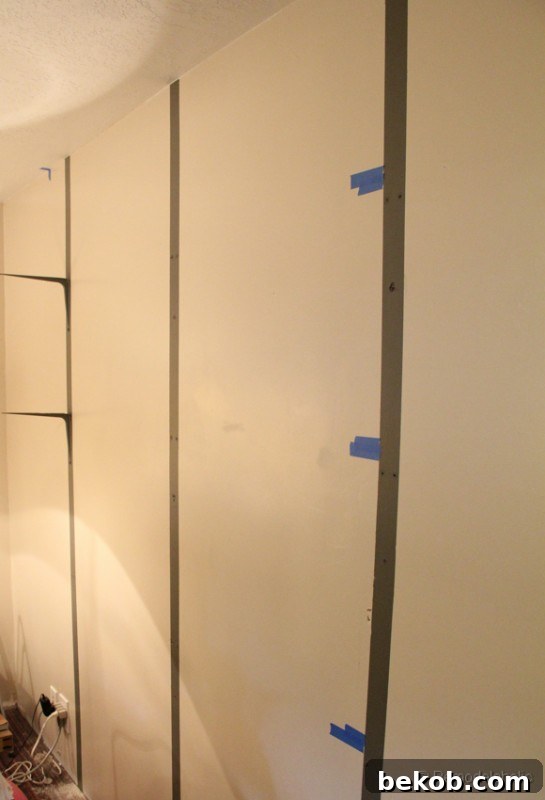
Step 4: Mounting the Foundation – Screw the Brackets to the Wall
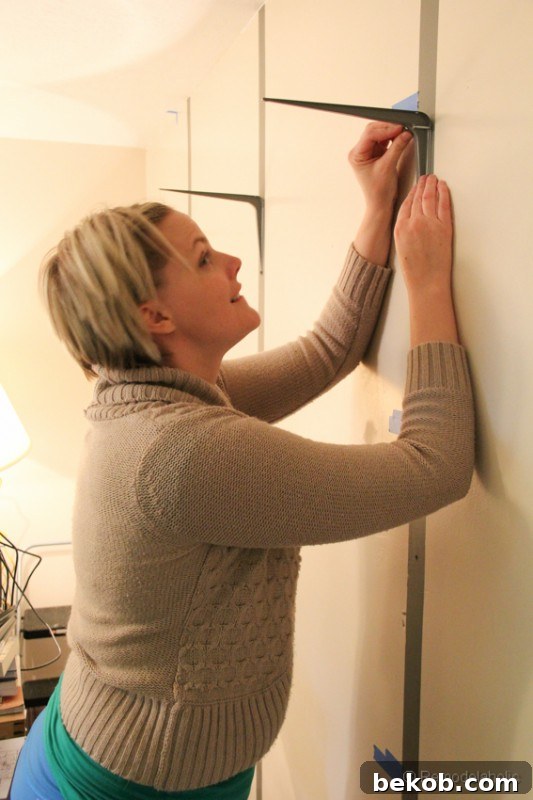
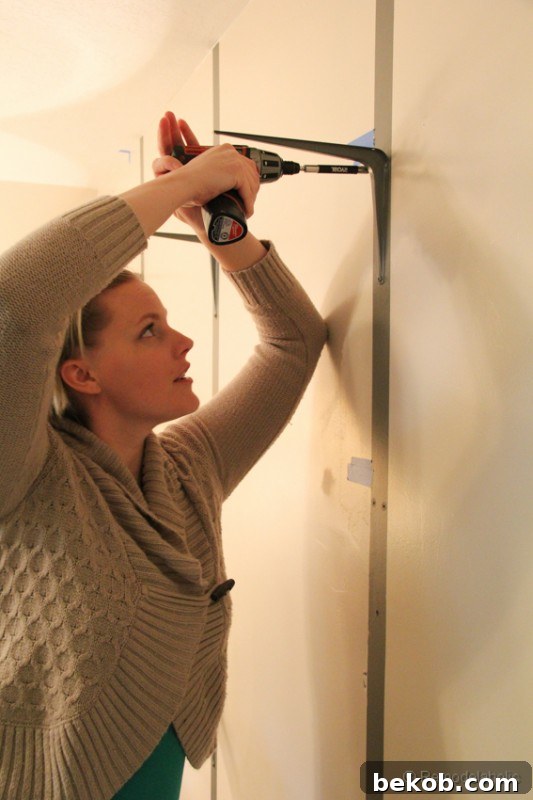
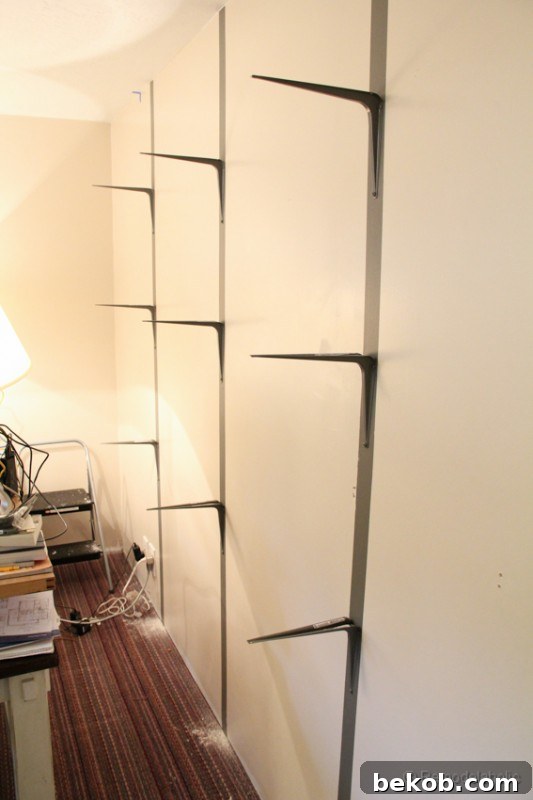
With your anchors installed and ready, it’s time to attach the brackets. Using the screws whose heads you previously painted to match the bracket color, carefully fasten each bracket to its designated spot on the wall. Ensure that each screw is fully tightened to secure the brackets firmly. Double-check that all brackets are level and aligned correctly before proceeding. The painted screw heads will seamlessly blend into the gray stripes and brackets, creating a cohesive and professional appearance for your rustic wall shelves.
 |
 |
Step 5: Crafting the Boards – Cut, Stain, and Finish Your Shelves
Now for the heart of your rustic shelving: the wood boards. Take your 2″ x 12″ lumber and cut it to the exact lengths required for your shelves. A helpful tip for cohesive design is to cut your shelves approximately two inches shorter than the width of any desk or furniture they will sit above or near. This creates a clean, intentional look, preventing the shelves from appearing disproportionately wide. Once cut, sand the edges and surfaces to a smooth finish, removing any splinters or rough patches. This is also an excellent opportunity to round off the corners slightly if you prefer a softer look.
Next, apply your chosen wood stain. Minwax Dark Walnut is an excellent choice for achieving a rich, deep hue that highlights the natural grain, embodying that perfect rustic charm. Apply the stain evenly, following the grain of the wood, and wipe off any excess according to the product instructions. Allow the stain to dry completely, which can take several hours or even overnight, depending on humidity and product specifications. For added protection and durability, especially if your shelves will see heavy use or are in a high-traffic area, apply a finish coat. A clear wax will provide a soft, natural sheen, while a polyurethane topcoat will offer robust protection against scratches and moisture, ensuring your beautiful rustic shelves last for years to come.
Step 6: The Grand Finale – Install Your Shelves
With your beautifully stained and finished shelf boards completely dry, it’s time for the final installation. Carefully center each shelf board onto its respective brackets. To prevent the wood from splitting when screwing, it is highly recommended to pre-drill pilot holes through the shelves where they will meet the brackets. Once pre-drilled, secure the shelves in place by screwing in a couple more of your painted-head screws through the top of the shelf into the brackets. This ensures maximum stability and prevents any accidental shifting or tipping of the shelves. Take a moment to step back and admire your handiwork – your easy rustic wall shelves are now complete and ready for styling!
 |
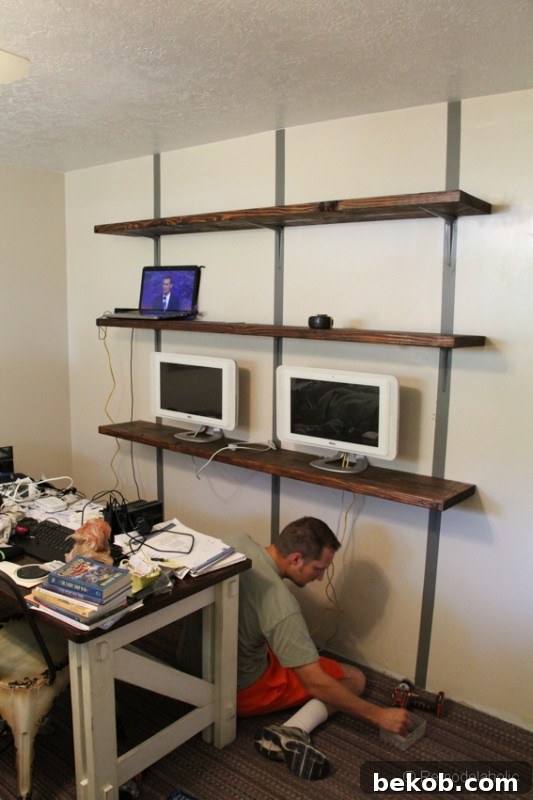 |
Congratulations, you’re done! Now comes the fun part: styling your newly installed rustic wall shelves to perfectly suit your taste and organizational needs. This easy DIY project not only adds valuable storage but also enhances the aesthetic appeal of your space, proving that even beginners can achieve professional-looking results. Enjoy the satisfaction of having built something beautiful and functional with your own hands!
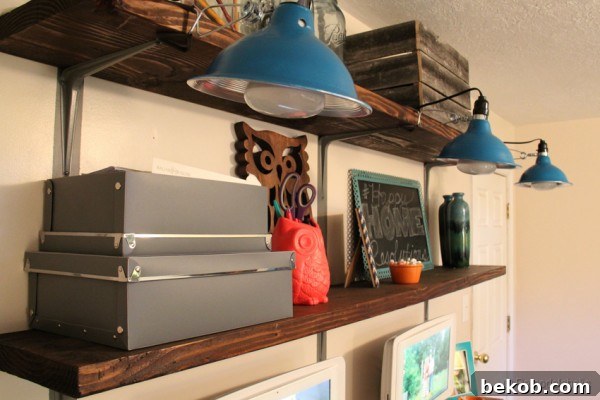
As promised, this project truly is simple and incredibly impactful. The visual weight of the substantial wood shelves combined with the clean lines of the painted stripes creates a look that is both modern and timeless.
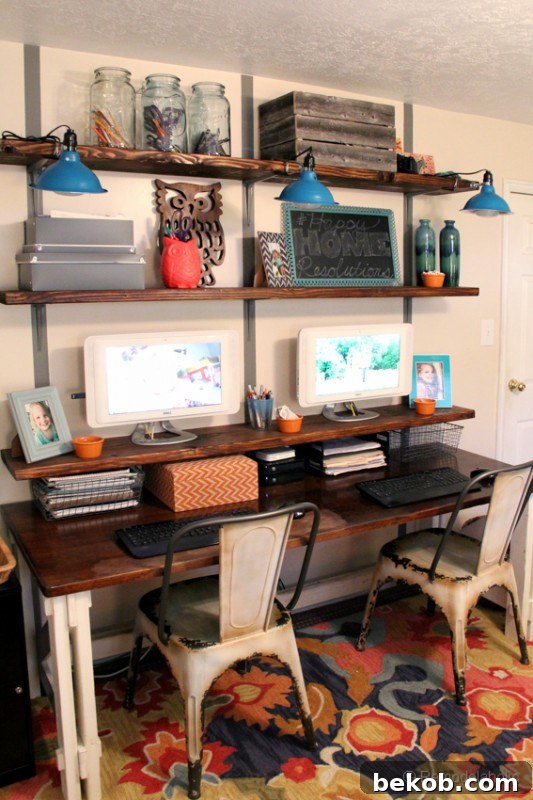
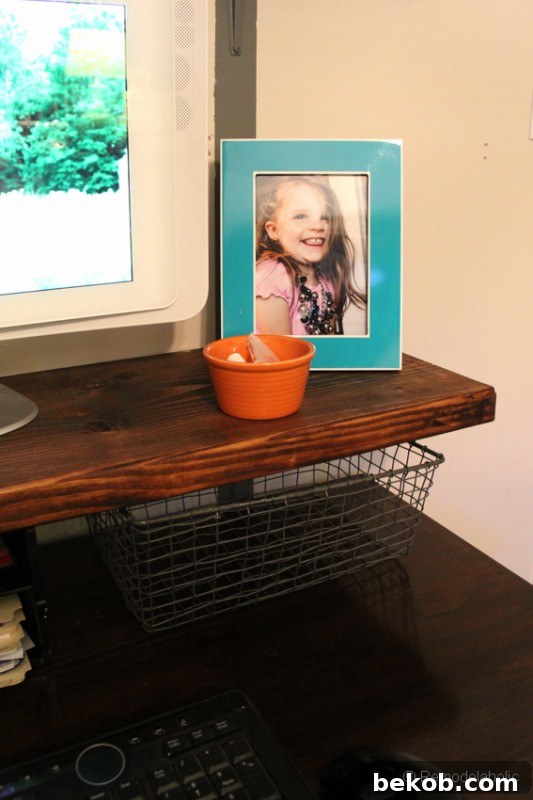
For a seamless look and efficient cable management, simply drill a hole in the shelf directly beneath your computer or other electronics to route cords out of sight.
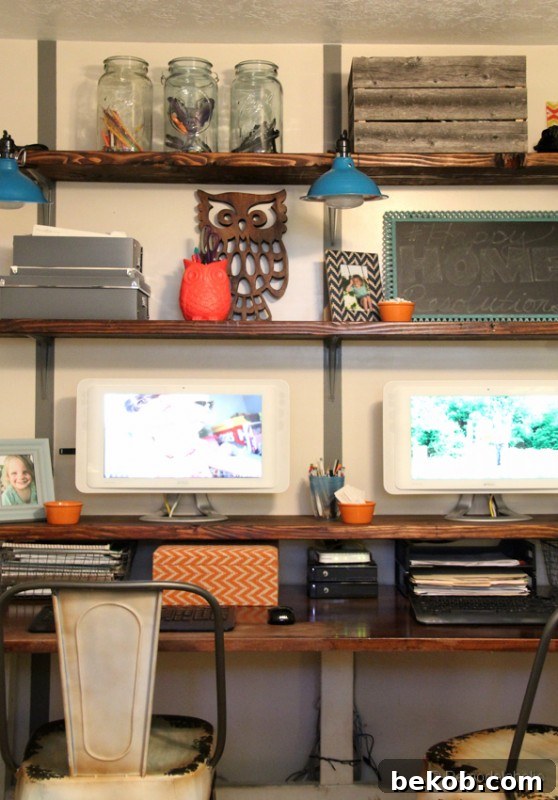
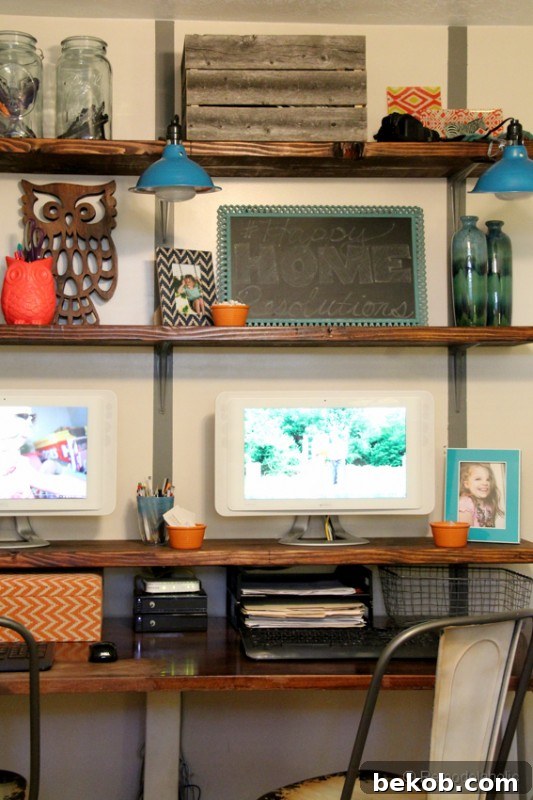 |
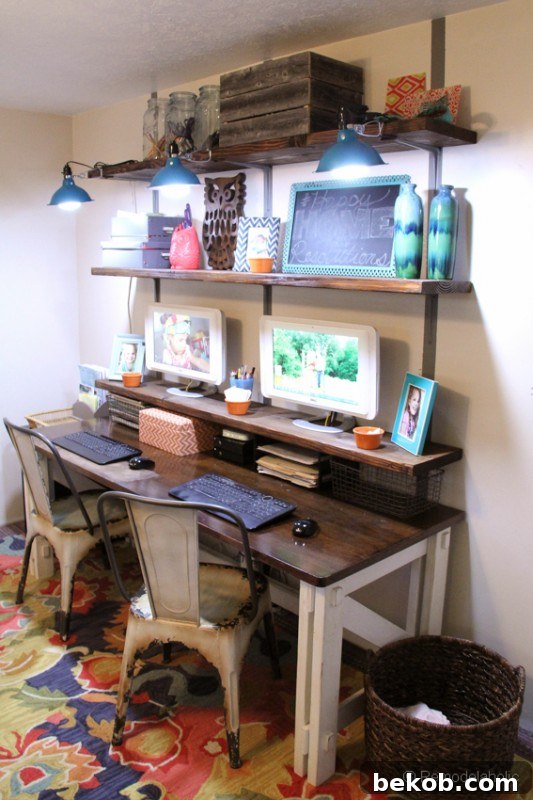 |
 |
 |
Expand Your DIY Horizons: Complementary Projects and Decor Tips
If you’re loving the newfound organization and style in your space, why stop here? For those eager to complete their home office or workspace, we also offer free plans to build a custom computer desk, perfectly complementing these rustic shelves. Or, if you need more enclosed storage, consider our tutorial for DIY rustic wall storage bins – another fantastic way to declutter and add charm.
Curious about the stylish clip-on lights featured in our setup? They are a budget-friendly find from Home Depot, transformed with a spray paint finish in Rustoleum Lagoon, proving that a little creativity can elevate everyday items into unique decor pieces.
And for those admiring the area rug, all the details about its selection and placement can be found by following this link. Each element contributes to a cohesive, inviting, and highly functional space. Embrace the joy of DIY and personalize your home, one project at a time!