Transform your living space with stunning, personalized wall art! Download our exclusive set of 12 large, hand-drawn feather printables and unlock a comprehensive guide to expertly mount printable art, crafting your own custom frames for a high-end look without the hefty price tag.
Looking for more creative inspiration? Explore our extensive Crafting Ideas Project page, where you’ll find a diverse array of DIY projects to ignite your imagination.
The quest for beautiful, unique home decor often leads to unexpected discoveries. Just recently, a captivating feather art piece on Instagram caught my eye, instantly sparking a desire to bring a similar aesthetic into my home. It’s rare for me to be so immediately captivated, but the elegant simplicity and organic charm of those hand-drawn feathers were simply irresistible. In that moment, I knew this wasn’t just for me – these exquisite designs deserved to be shared as a printable collection for all of you to enjoy!
I can genuinely say that embarking on this project has been one of my most rewarding crafting experiences in years. The results are truly breathtaking, and I am absolutely thrilled with how they turned out! What makes these feather printables even more remarkable is their incredible versatility. You’ll discover countless ways to arrange and display them on your walls, each configuration offering a fresh and captivating visual impact. Prepare to be inspired!
Ready to create your own masterpiece? Pin this project for later!
Exquisite Feather Printable Art: Elevate Your Home Decor
This post contains affiliate links, which means we may earn a small commission if you make a purchase through our links at no extra cost to you. Learn more by reading our full disclosure policy here.
To bring this vision to life, I collaborated with a talented graphic designer, Brian Fogleberg, who meticulously crafted these stunning feather illustrations. The goal was to create designs that felt authentically hand-drawn, capturing the delicate beauty and intricate details of real feathers. Once the designs were perfected, the next crucial step was printing them with exceptional clarity and scale. For this, I relied on my trusty Canon PIXMA iP8720 Wireless Inkjet Printer. This wide-format printer has revolutionized my crafting capabilities, allowing me to produce gorgeous, large-scale prints up to 13″ x 19″. Printing at this size makes all the difference; it transforms a simple printout into a substantial, gallery-quality art piece that commands attention and adds significant presence to any wall. It truly feels like owning original artwork, a tangible piece of beauty that elevates your home’s aesthetic.
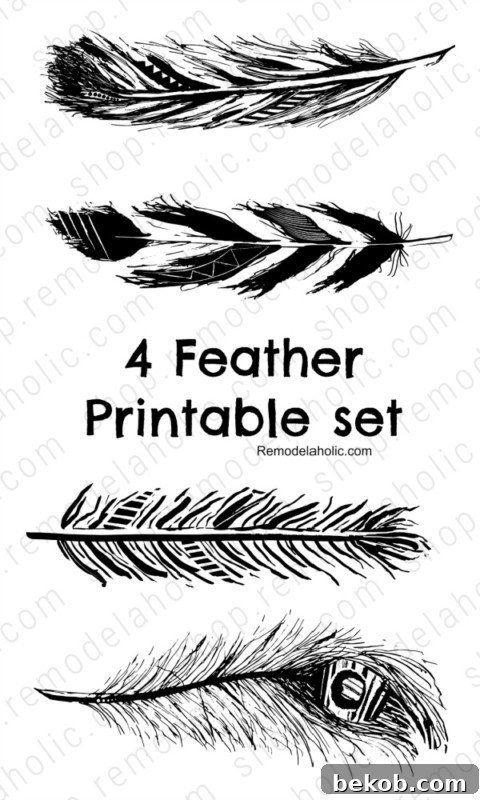
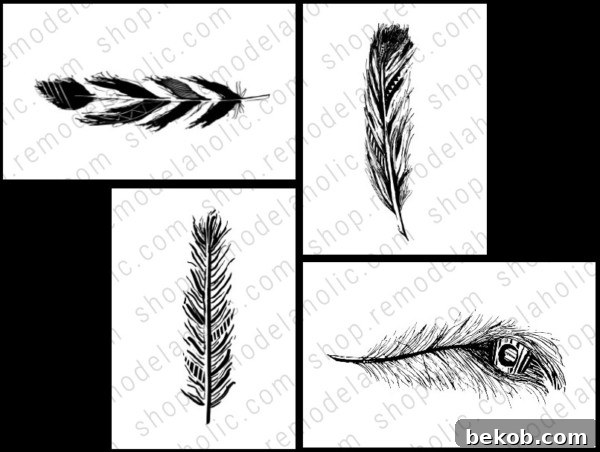
Our carefully curated collection features these elegant feather designs in three distinct color palettes, ensuring there’s a perfect match for any decor style. Each printable art set comprises four unique feathers, offering a cohesive yet dynamic visual when displayed together. While these prints look magnificent at their largest size, they are fully scalable, allowing you the flexibility to print them at any dimension that suits your creative vision.
The convenience of this digital download is unparalleled. You’ll receive pre-formatted PDF files in common sizes: 13×19, 8×10, 5×7, and 4×6, perfect for hassle-free home printing. Additionally, we’ve included high-resolution JPG files for each feather. These versatile JPGs enable you to send your chosen designs to any professional photo center for printing, giving you even greater flexibility in sizing and paper choice, ensuring your art is tailored exactly to your preferences.
The Ultimate Guide: How to Mount Printables and Craft Custom Framed Wall Art
Discover my absolute favorite, tried-and-true method for mounting printables on wood boards – a technique perfected over years of crafting. What makes it “tried and true”? Let me share a little backstory:
A few years ago, I faced the exciting challenge of organizing a craft project for 300 teenagers at a Girls Camp. With a tight budget and limited time, I needed a solution that was not only cost-effective but also produced an outcome the girls would genuinely love and proudly take home. After much deliberation, mounting printables on boards emerged as the perfect solution. I sourced a variety of engaging printables and then developed a streamlined process for prepping, painting, and mounting the boards, completing each piece in approximately 20 minutes. This very tutorial is the culmination of that experience!
This method stands out as one of the easiest ways to elevate your printable art. Depending on your choice of wood, it can also be an incredibly affordable option, allowing you to achieve a sophisticated, custom-framed look like the one pictured below without breaking the bank. Say goodbye to expensive custom framing!
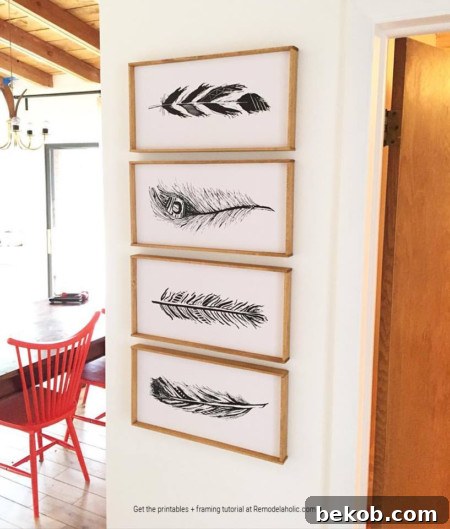
For a visual walkthrough of both the mounting and framing techniques, be sure to watch our detailed video tutorial! And don’t forget to subscribe to our YouTube channel so you never miss our latest DIY projects and creative tips!
DIY Mounted Wall Art: Feather Printables Set – A Step-by-Step Tutorial
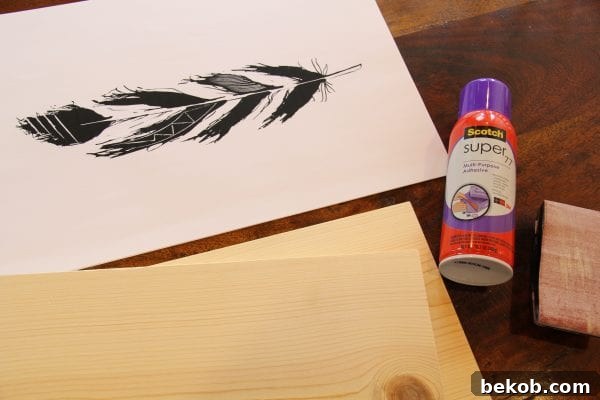
Supplies You’ll Need:
- Canon Pixma 13″ x 19″ Matte Photo Paper (or your preferred size and finish)
- Printed set of Feather Printables (for impressive large prints at home, I highly recommend a large format printer!)
- 1 – 1″ x 10″ x 8′ Pine Board ** (this will yield several board pieces)
- Optional: Wood stain or craft paint in a color that complements or strikingly contrasts your printables
- Scotch Super 77 Mounting Spray (ensure good ventilation when using)
- Sanding block (a firm, hard block is ideal for this technique, not the softer sponge type)
- 220 Grit Sandpaper
- Mounting hardware for hanging your finished boards (choose based on your wall type and desired display)
- 1/4″ x 2″ hobby boards (for creating the frame – note, actual size is typically 1/4″ x 1.5″)
- Miter saw or a reliable miter box saw for precise angle cuts
- Brad nailer and 1/2″ nails (for quick and clean attachment) — or a hammer and 1/2″ nails for a classic approach
**Pro Tip for Budget-Friendly Backers: To significantly reduce costs, consider using 3/16″ luan plywood boards (typically 8′ x 4′ sheets). These can be easily cut down to your desired size using a table saw or a circular saw, making them an excellent and economical alternative to pine boards, especially for multiple projects like the Girls Camp craft!
*All Remodelaholic printables are intended for personal, non-commercial use only. Feel free to use them for your home, or gift them to friends and family. However, please refrain from altering, selling, or distributing the prints or files commercially. Thank you for respecting our creative efforts!
Detailed Instructions to Mount Your Feather Printables:
You’ll be amazed at how quickly this project comes together. The entire process, from start to finish, took me only about 30 minutes for all four boards. While there are several distinct steps, each one is quick and efficient, contributing to a surprisingly fast overall completion time.
- Print Your Art: Begin by printing your chosen feather printables set. Select your preferred color option and size. For that impressive, substantial art feel, I printed mine at 13″x 19″ using my Canon PIXMA iP8720. It’s crucial at this stage: do not cut or trim your pages yet! The trimming will happen in a later sanding step for a perfectly flush edge.
- Prepare Your Wood Boards: Carefully cut your pine board to the desired length. For a 13″x19″ printable, I cut my boards to approximately 18 3/4″ long. This slight difference allows for a small overhang of the printable, which is essential for the precise trimming method we’ll employ.
- Light Sanding for Smoothness: With a light touch, sand off any minor imperfections or stray slivers of wood from your cut boards. The goal here is a smooth surface for adhesion, but be mindful to preserve the crisp, sharp edges of the wood – avoid rounding them off at this stage.
- *Optional: Edge Finishing: For an added touch of customization, paint or stain the edges of your pine board. Choose a color that either coordinates harmoniously or provides a striking contrast with your chosen printable design. Extend the paint or stain approximately 1/4 inch onto the front face of the board, but no more, to create a subtle border. If you opt for painting the edges, ensure you’ve printed your feathers on sturdy cardstock to prevent any paint bleed-through or transparency.
- Apply Spray Adhesive: Take your board to a well-ventilated area, preferably outdoors or in a space protected by a large cardboard box to contain overspray. Generously apply a layer of Scotch Super 77 Mounting Spray to the top side of the board. Follow the specific instructions on your adhesive bottle for optimal results. Focus on covering the entire top surface, paying particular attention to the edges, as strong adhesion there is critical for securing your print. Aim to spray from about 12 inches away to ensure an even coat without excessive pooling.
- Precise Printable Placement: With your adhesive-coated board ready, transfer it to a clean, level surface (use a drop cloth if you need to protect your workstation). Carefully eyeball the placement of your feather printable, aiming to center it on the board. You should observe a slight overhang of approximately 1/8 inch of paper on all sides. Pay close attention to aligning one side perfectly straight, as this will guide the overall level placement. A critical warning: once the paper makes contact with the spray mount, it’s very difficult to reposition without damage, so take your time with initial alignment!
- Smooth and Crease: With impeccably clean hands (spray adhesive can easily transfer), gently smooth the printable from its center outwards towards the edges. This action removes any air bubbles and ensures full contact with the adhesive. As you reach the edges of the wood, firmly crease the paper along the board’s perimeter. If your fingers feel sticky from the adhesive, use your forearms to smooth the paper to avoid leaving fingerprints.
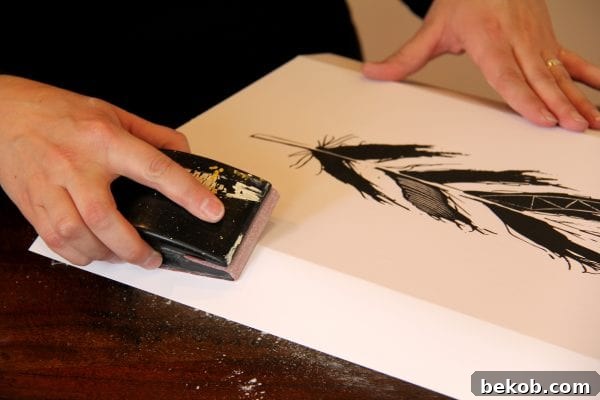
- Effortless Edge Trimming with Sandpaper: This is where the magic happens for a perfectly flush finish! Grab your sanding block (the hard kind) and 220-grit sandpaper. Hold the sanding block at a 45-degree angle against the creased edge of the paper where it overhangs the wood. With steady, even pressure, sand back and forth along the entire length of that side. The sandpaper will precisely cut the paper along the edge of the wood, creating a clean, professional finish. Once cut, you can easily peel away the excess paper strip. Repeat this process for all four sides until your printable is perfectly aligned with the board’s edges.

- Final Touches (Mounting): If you plan to hang your mounted art directly, attach appropriate mounting hardware to the back of the board at this point. And voilà! Your printables are now beautifully mounted and ready to adorn your walls! (Alternatively, if you’re adding frames, you can install hardware after framing.)
If you’re eager to elevate your wood-mounted prints even further by adding custom frames, the process is surprisingly simple. Just continue following the detailed instructions in the video above, or read on for the step-by-step guide. (Note: I purposefully omitted this framing step for the Girls Camp craft to keep it quick and simple for teenagers.) - Cut Your Framing Boards: Measure and cut your 1/4″ x 2″ hobby boards to the precise lengths of your mounted art pieces. For a polished, professional look, mitered (45-degree) corners are fantastic, but even square-cut corners will yield a beautiful, finished appearance. Perform a dry fit around your mounted printable board, making any necessary minor adjustments to ensure the corners meet perfectly and the frame sits flush. If you’re creating multiple frames, label the pieces to keep them organized and ensure they match their respective boards.
- Finish the Frames: Stain or paint your cut hobby boards in your desired finish. Allow them to dry completely according to the product instructions. This step allows for a clean, consistent look without risking drips or smudges on your mounted art.
- Attach the Frames: Carefully position the finished framing boards around your mounted art. Using a brad nailer (for speed and precision) or a hammer and 1/2″ nails, secure the framing boards into place. Drive the nails through the framing board and directly into the edge of the underlying wood board where your printable is mounted. Ensure nails are evenly spaced for a secure hold.
Inspiring Layout Options for Your 4 Feather Frames
One of the most exciting aspects of these large feather printables is their incredible adaptability. You have complete creative freedom to arrange and display them in a multitude of ways, allowing you to refresh your decor effortlessly. Here are six distinct and captivating layout ideas to inspire your next gallery wall or art display:
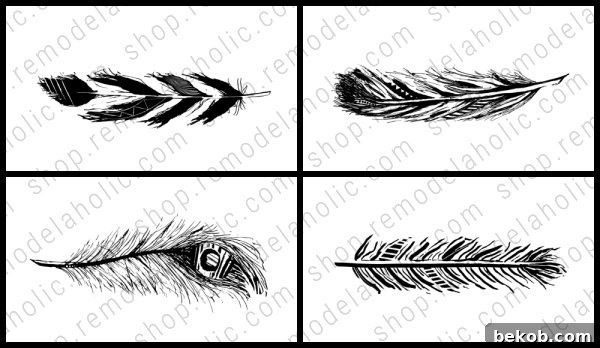
Option 1: The Horizontal Horizon
Display all four frames horizontally in a single, elegant row. This layout creates a sense of calm and expanse, perfect for above a sofa, a long console table, or a spacious entryway. It draws the eye across the room, adding a subtle yet sophisticated focal point.
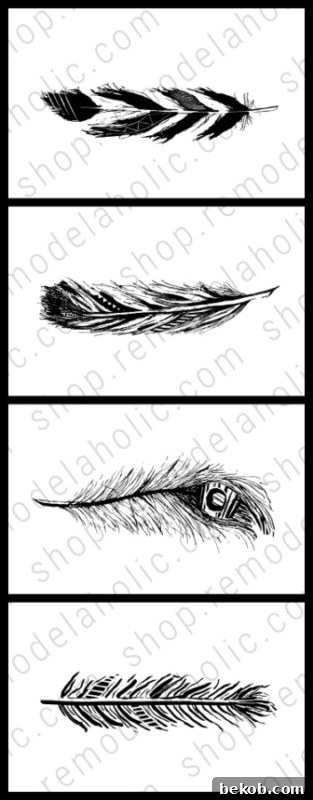
Option 2: The Vertical Grid Harmony
Arrange your four feather prints in a classic grid pattern, with each print oriented vertically. This symmetrical arrangement offers a clean, modern aesthetic that works beautifully in any room, from a minimalist living room to a cozy bedroom. It provides a sense of order and balance.
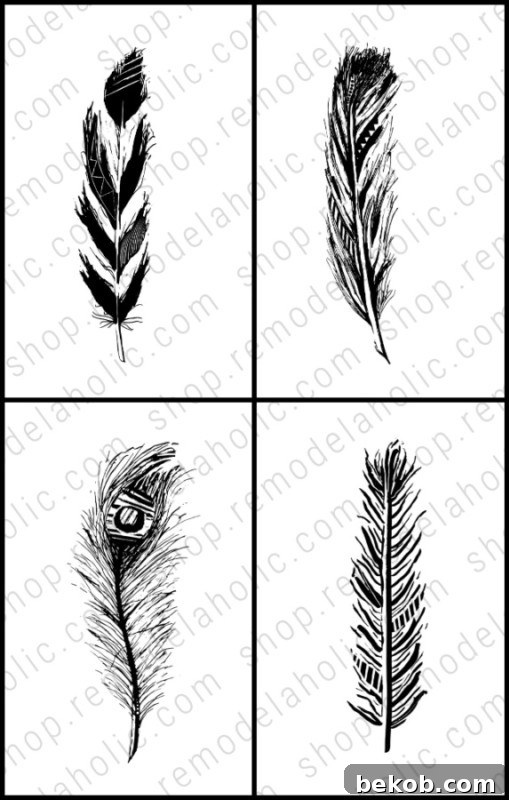
Option 3: The Horizontal Grid Power
Similar to the vertical grid, this option arranges the four prints in a grid, but with each feather art piece hung horizontally. This creates a broader, more expansive gallery wall effect, ideal for filling a larger wall space or complementing horizontal furniture pieces. It maintains symmetry while offering a different visual dynamic.
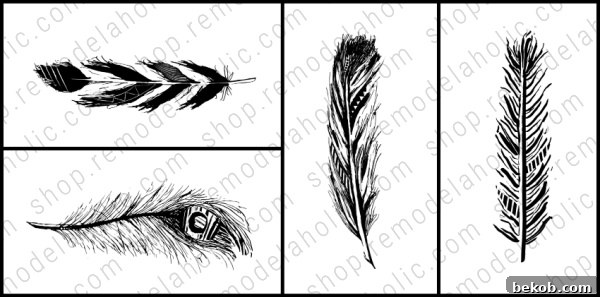
Option 4: Dynamic Duo – Half Horizontal, Half Vertical
Break free from rigid symmetry by combining orientations. Try hanging two frames horizontally and two vertically, perhaps side-by-side or stacked. This creates an intriguing, asymmetrical composition that adds visual interest and a touch of artistic flair to your space. Experiment with different pairings to find your perfect balance.
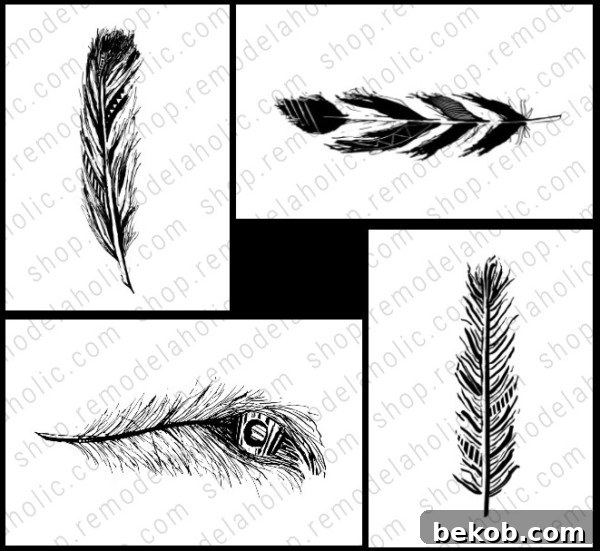
Option 5: The Circular Embrace
Arrange your four framed feathers to form a circular or semi-circular pattern. This unique layout adds softness and movement to your wall. It would be particularly charming with a complementary circular mirror, clock, or even a personalized letter in the center, creating a cohesive and striking vignette.
Option 6: The Starburst Effect
For a truly eye-catching display, arrange the four prints in a star-like configuration. This dynamic layout brings energy and a focal point to your wall, making it ideal for a vibrant gallery wall or as a standalone statement piece in a creative space. It’s a playful yet sophisticated way to showcase your art.
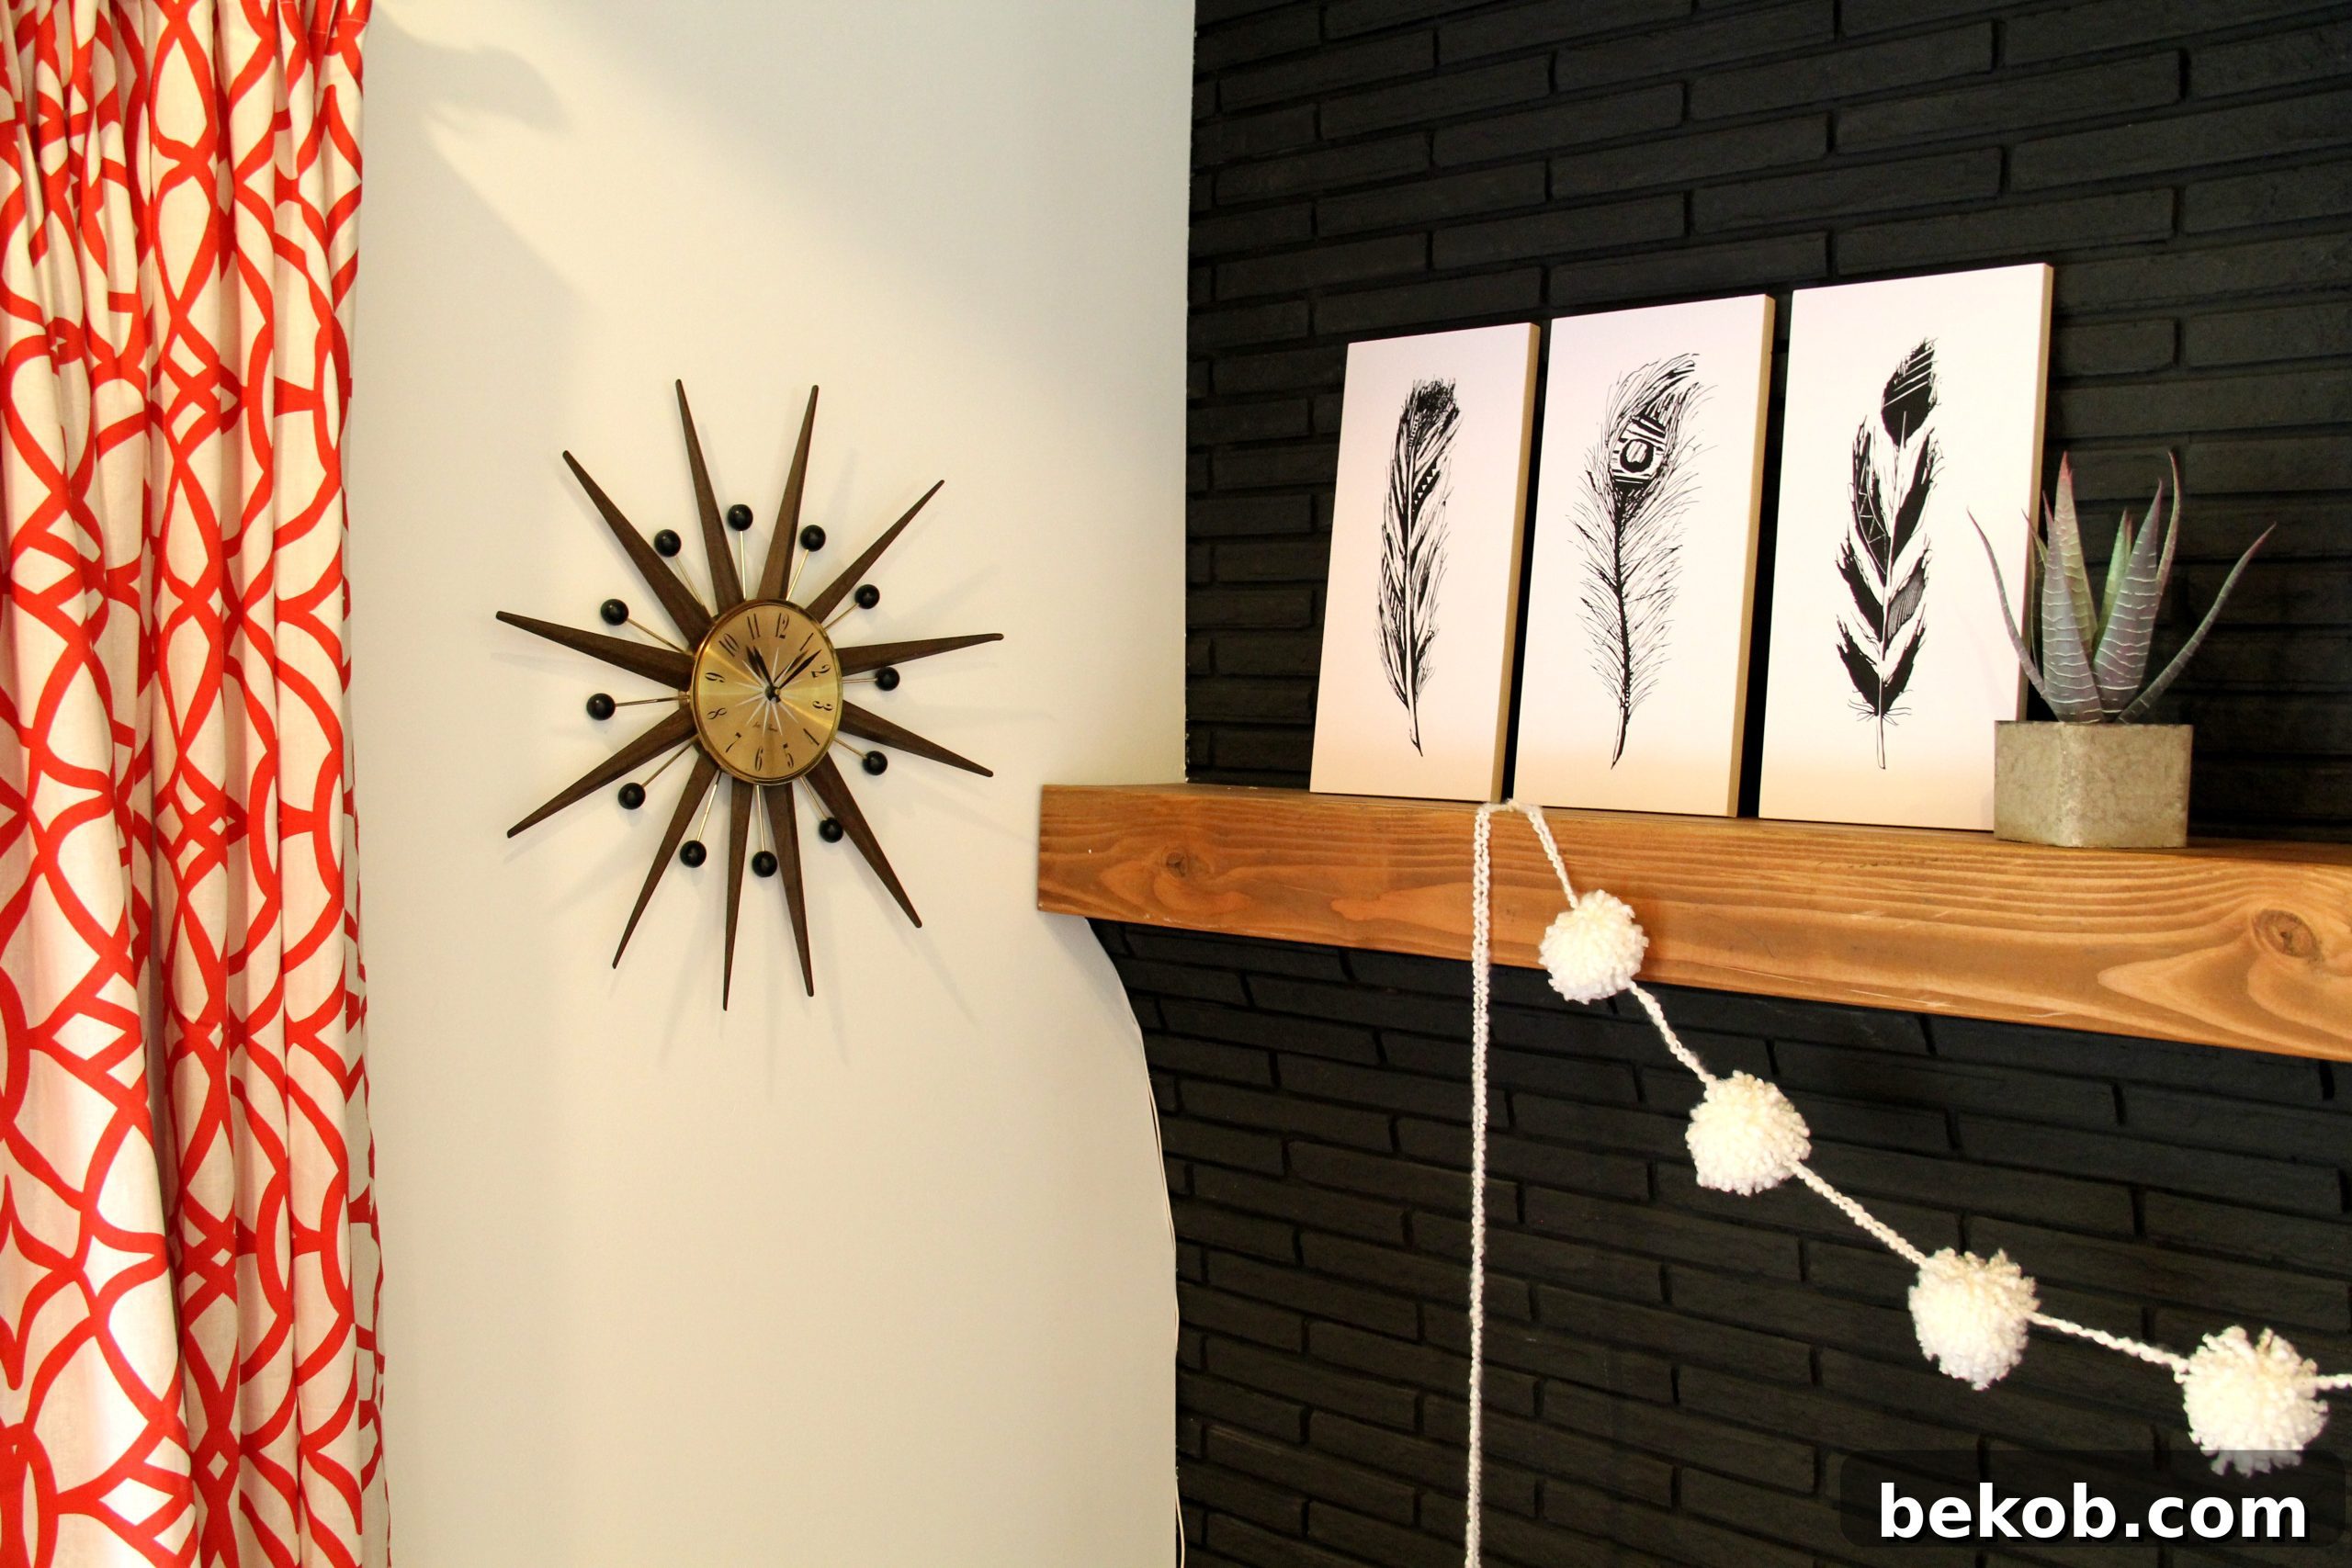
I personally chose to display my mounted feather prints on the mantel, where their clean lines and elegant design offered a stunning contrast against the black brick. The visual impact was truly exceptional, making the mantel a captivating focal point in the room.
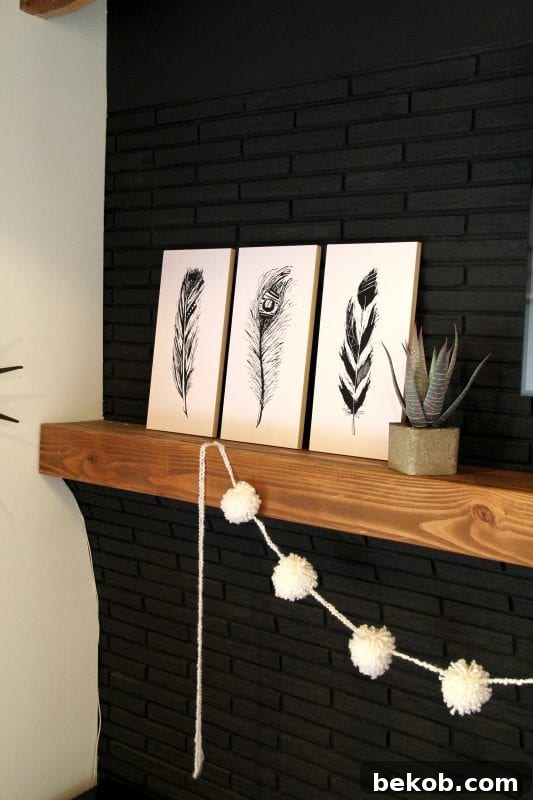
Ultimately, I decided to enhance their presence by adding custom wood frames, a process thoroughly detailed in the video tutorial above. The rich, stained wood frames provided a warm, natural border that made these beautiful feather prints truly “pop” against my white walls, creating a sophisticated and complete aesthetic.
Mounting printables onto wood boards is not just a crafting technique; it’s a creative gateway to displaying high-quality, personalized art on your walls quickly and affordably. It’s a method I wholeheartedly endorse, and I encourage you to give it a try!
Click here to purchase the complete large feather printable set, including all 4 distinct feather designs and all 3 stunning color options!
We extend our sincere gratitude to Canon for their invaluable partnership on this inspiring project. Their commitment to empowering creators through innovative printing technology made this venture possible. We highly recommend visiting Canon’s crafting ideas page for a wealth of other fantastic DIY and creative projects!

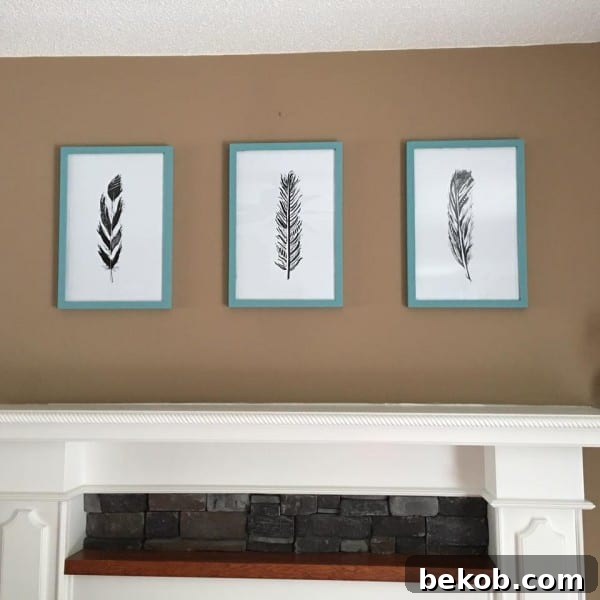
Update, January 2018: It’s incredibly rewarding to see our readers bring these projects to life! Our talented reader, Ange, generously shared her beautiful creation on Facebook. Her feather prints look absolutely fantastic, showcasing the versatility and charm of this DIY. Thank you, Ange, for sharing your wonderful work and inspiring others! You can view her original post and admire her stunning display here.