This decor walkthrough stays in the order the work happens.
Hi, I’m Vidya from Whats Ur Home Story. Very excited to be a contributor at Bekob. I blog about how our family of 4 is turning a cookie cutter into a unique and interesting home that tells our story. I believe that no project is too big or for that matter too small to try be it home decor, Handmade, crafts, gardening, sewing, or organizing. Today I have one such upcycle project for ya.
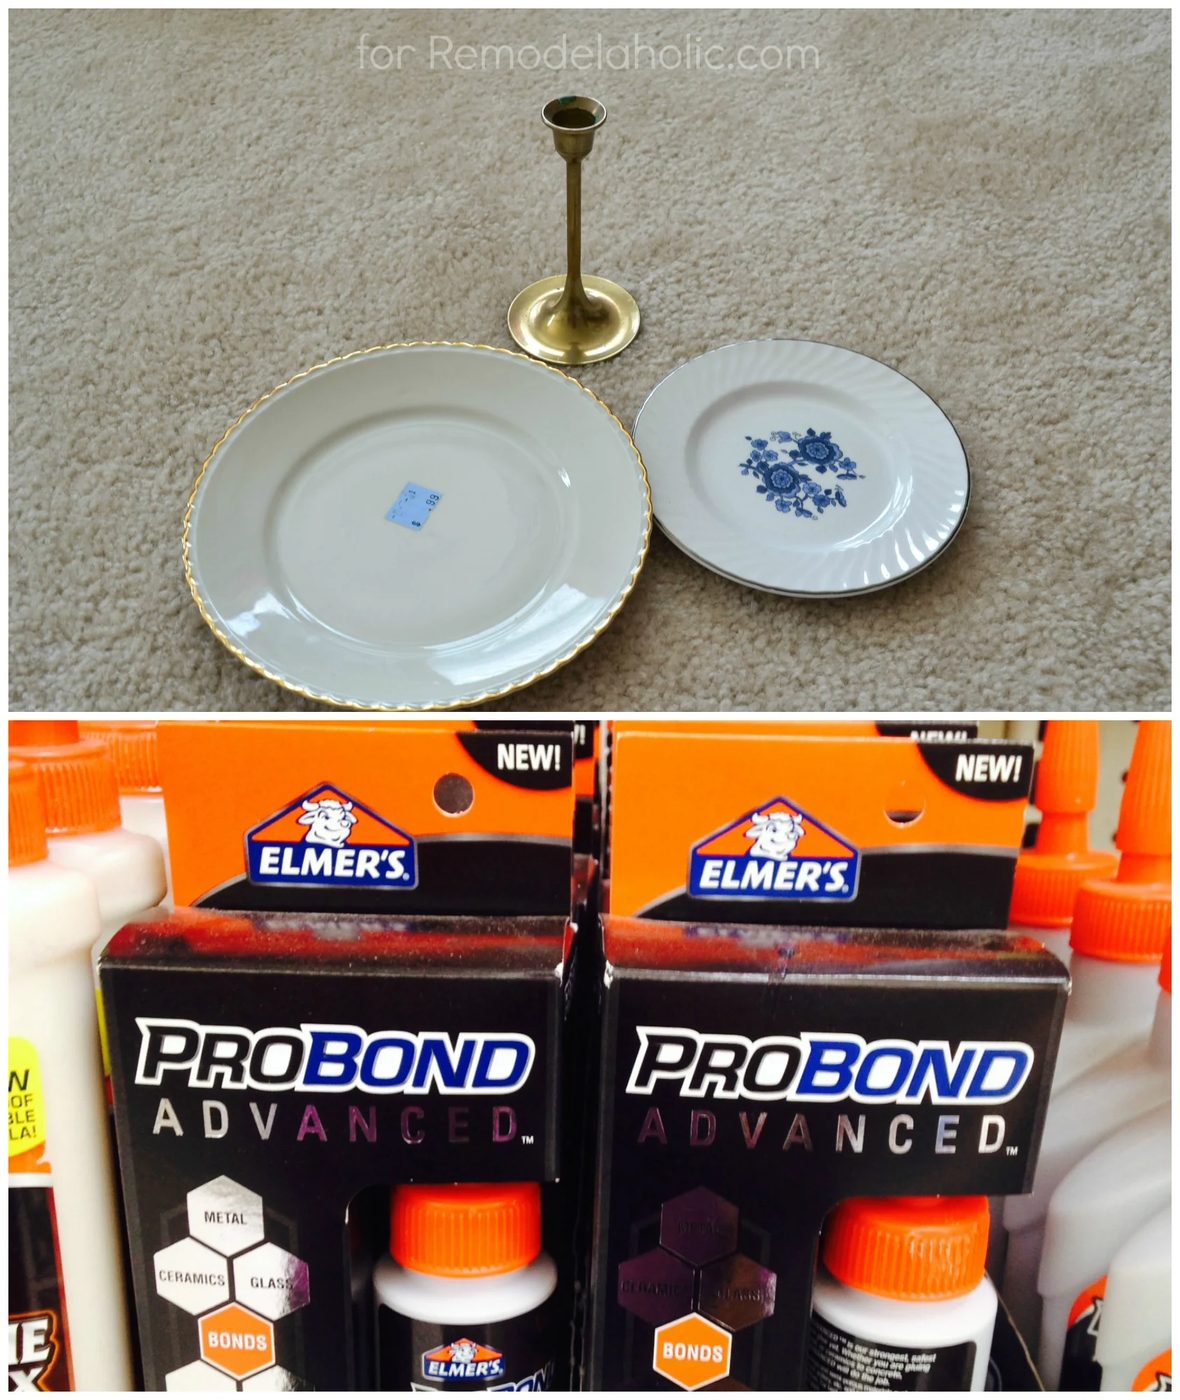
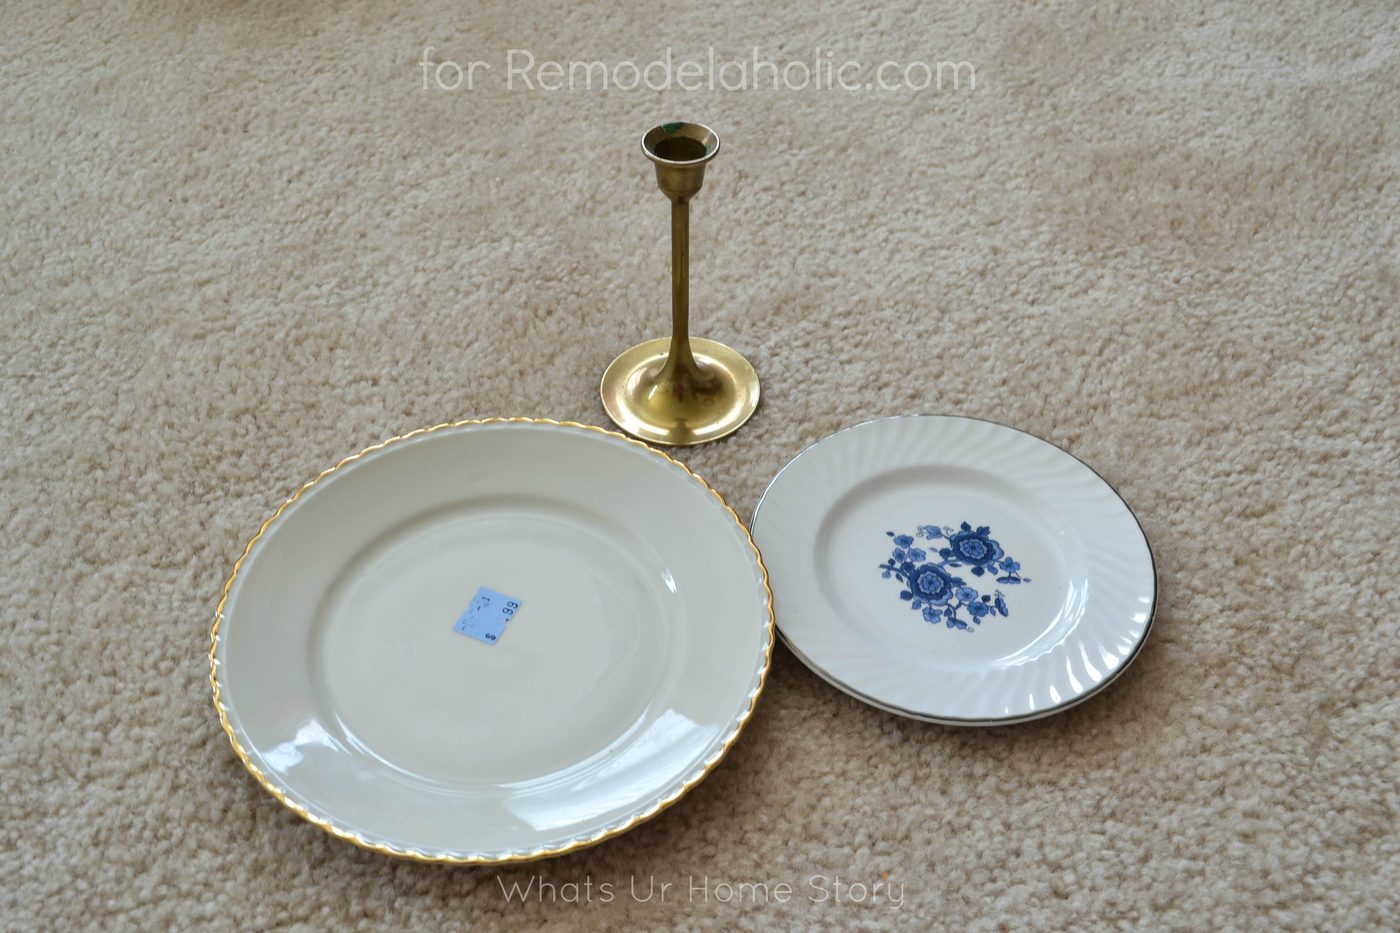 Ever since I started collecting plates for my creeping plate wall it has been hard for me to say no to pretty plates at the thrift store. The fact that these are most often 50 or 60 cents doesn’t help either. The plates and the candle stick in the above pic had been sitting in my basement for months until I realized I could use it for my jewelry.
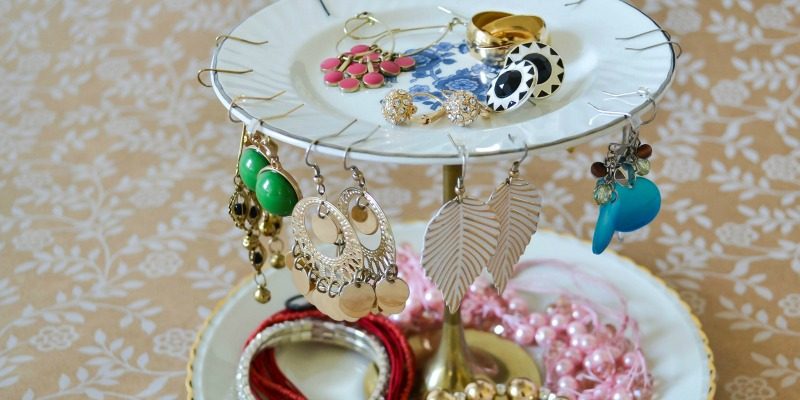
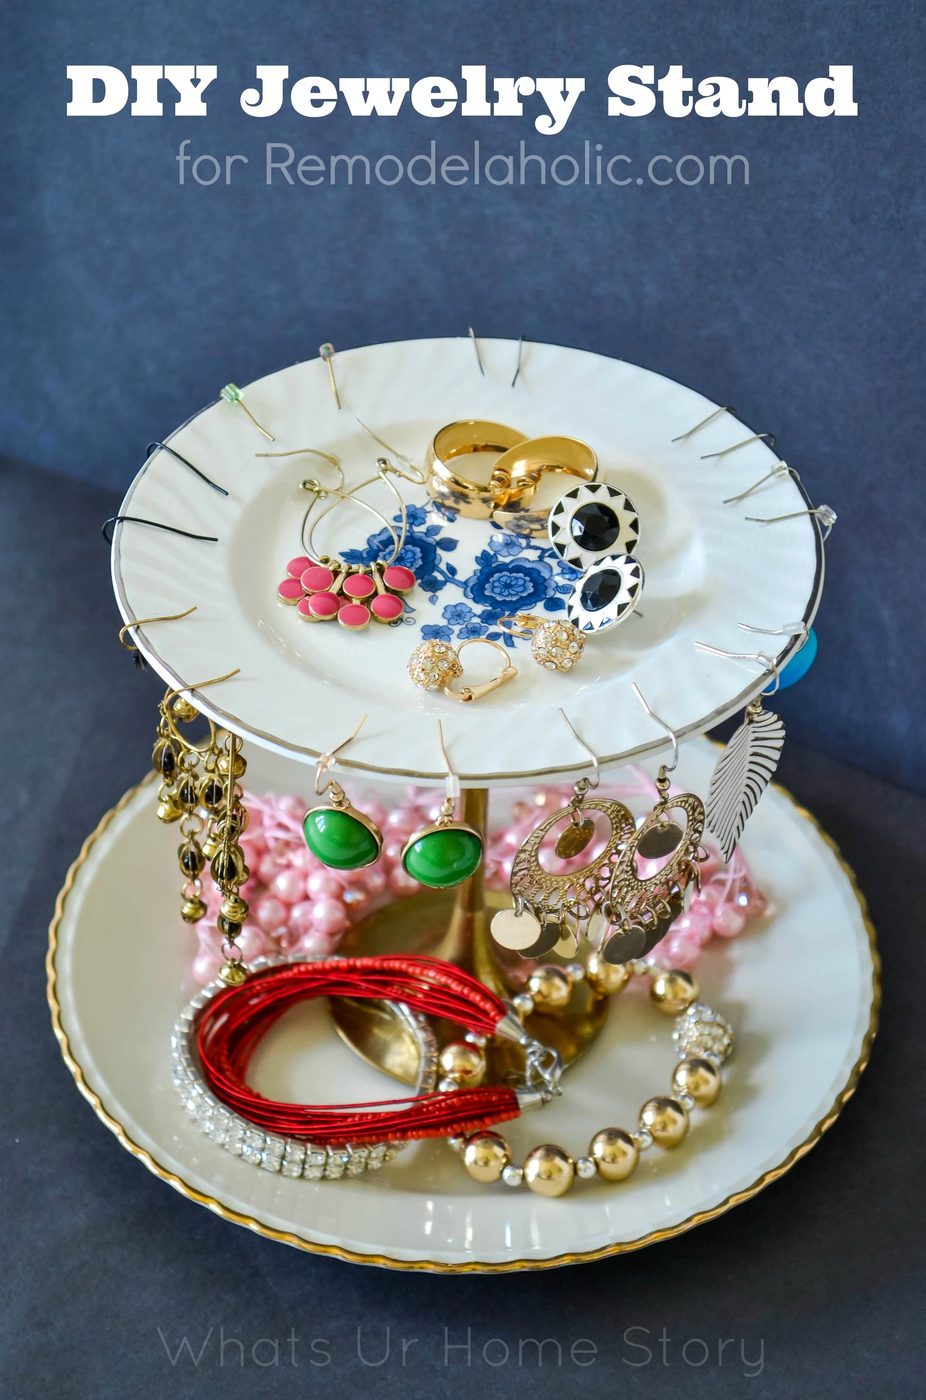
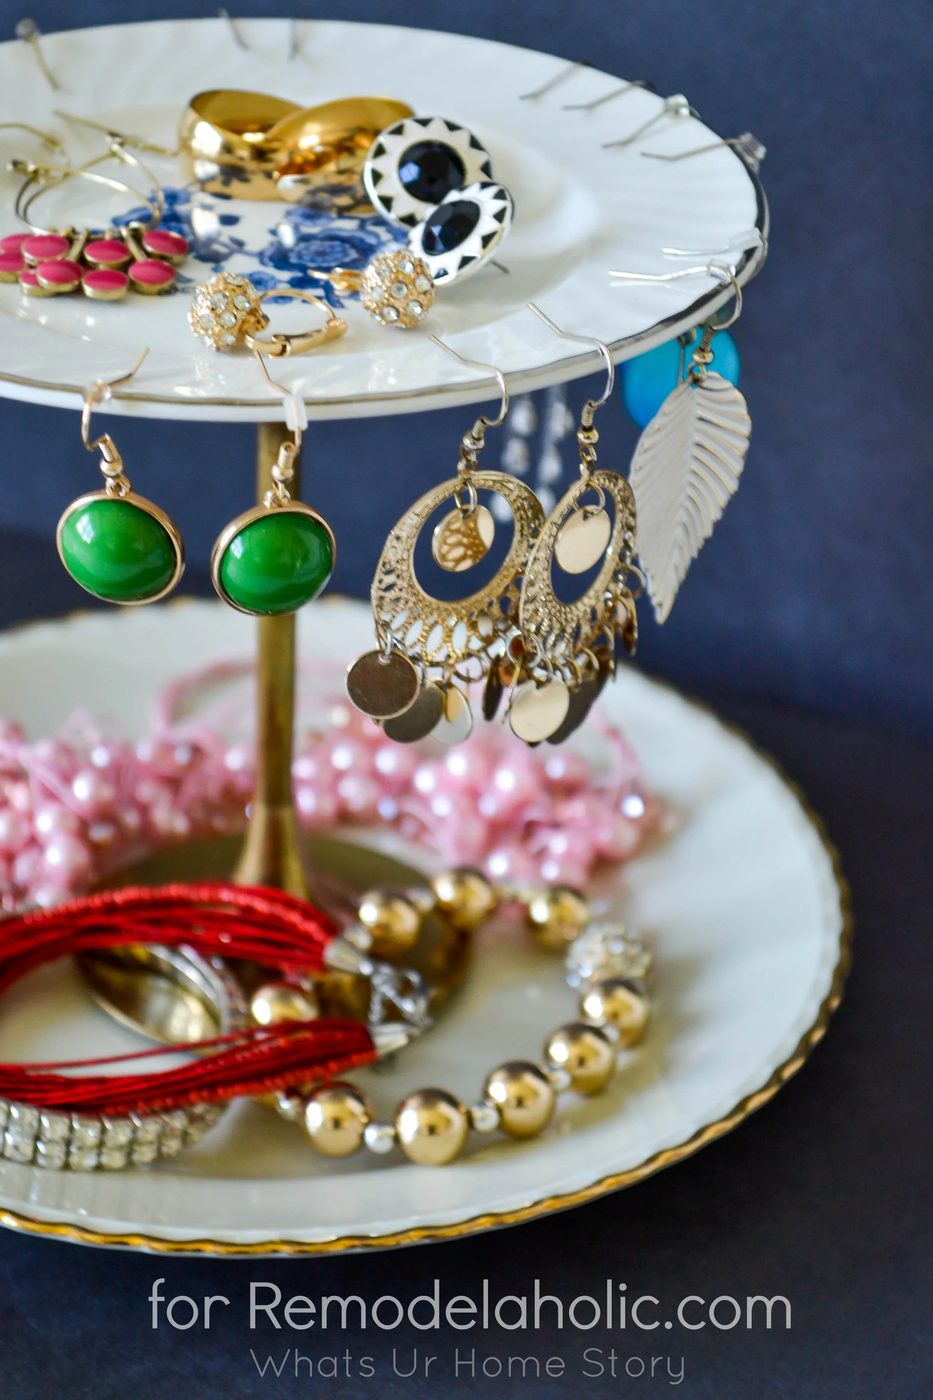
I usually store my jewelry in organizer drawers inside my dresser or on a Brass jewelry holder tree. Both of which are not very effective when you want to grab something as you rush out the door. The “inside the drawer” organizers often have the “out of sight out of mind” problem while there are way too many necklaces piled on the tree that I don’t have the patience to sort and untangle them to even get to the earrings hanging behind them. And I end up wearing the same set of earrings every time! Problem solved with this 2 tier stand.
 Materials
2 Ceramic plates one smaller than the other
Brass Candle Stick
Elmer’s ProBond Advanced Glue (I had some left over from my Tile Mirror project)
 How to Build a Handmade Jewelry Stand
- With a damp paper towel clean the plates off any dust and let dry completely.
- If you prefer the Brass to look shiny you could polish it with Brasso. I liked the tarnished look so used it as is.
- Apply the glue liberally to the base of the candle stick and place it firmly on the center of the bigger plate.
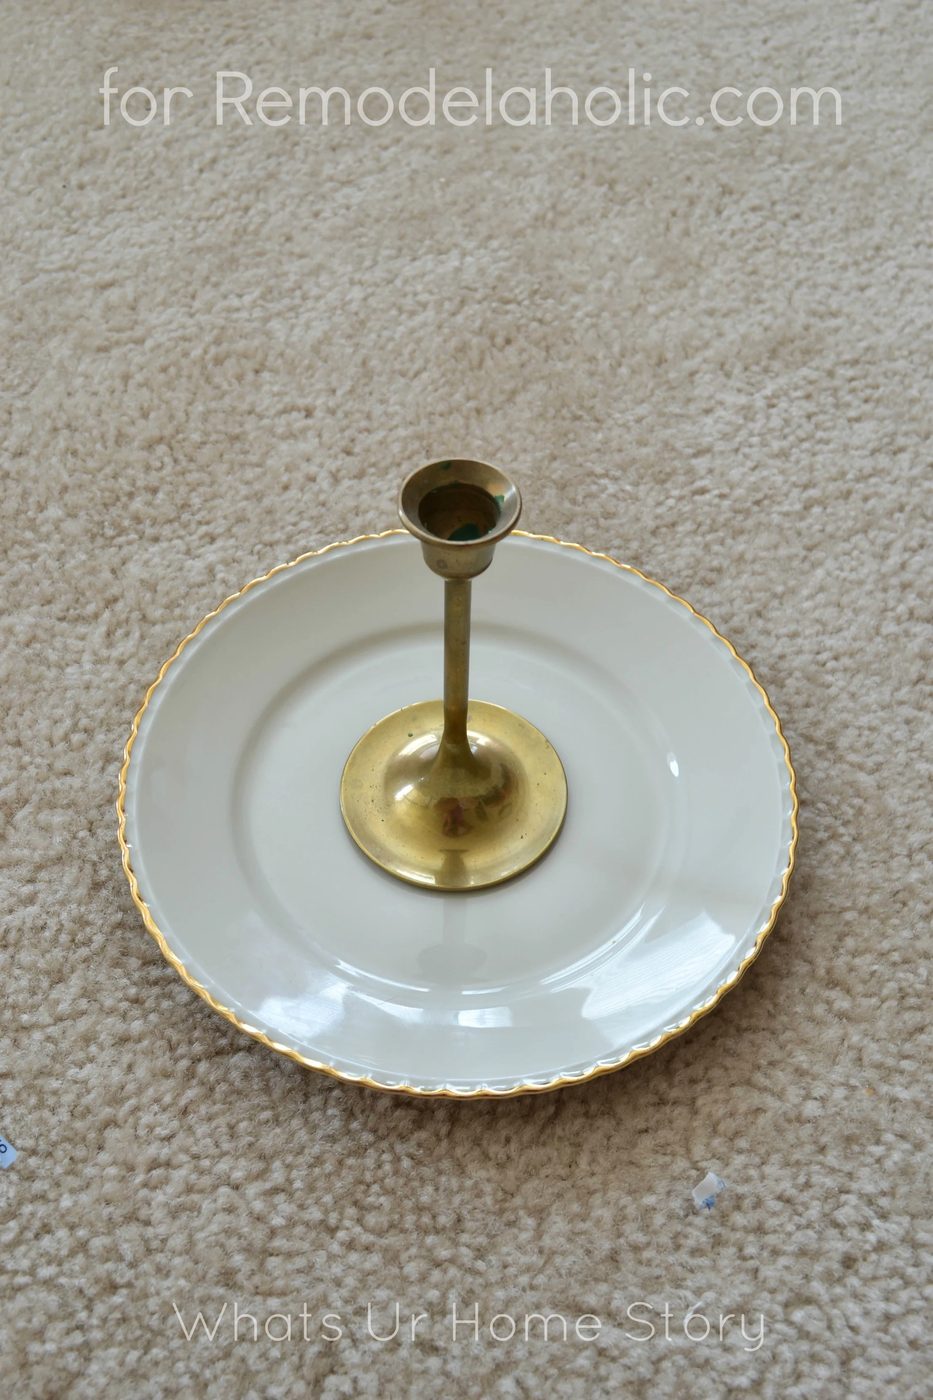
- Weigh the edges of the candle stick down with some books and let it set for 2-3 hrs.
- Now to attach the second plate. Again apply glue liberally to the top edge of the candle stick. Be sure to cover every bit of the rim. Unlike the first plate where most of the flat bottom of the candle stick was glued to the plate here the glued area is going to be just the rim circle. We have to make sure that all of the rim is glued to the plate for a firm stand.
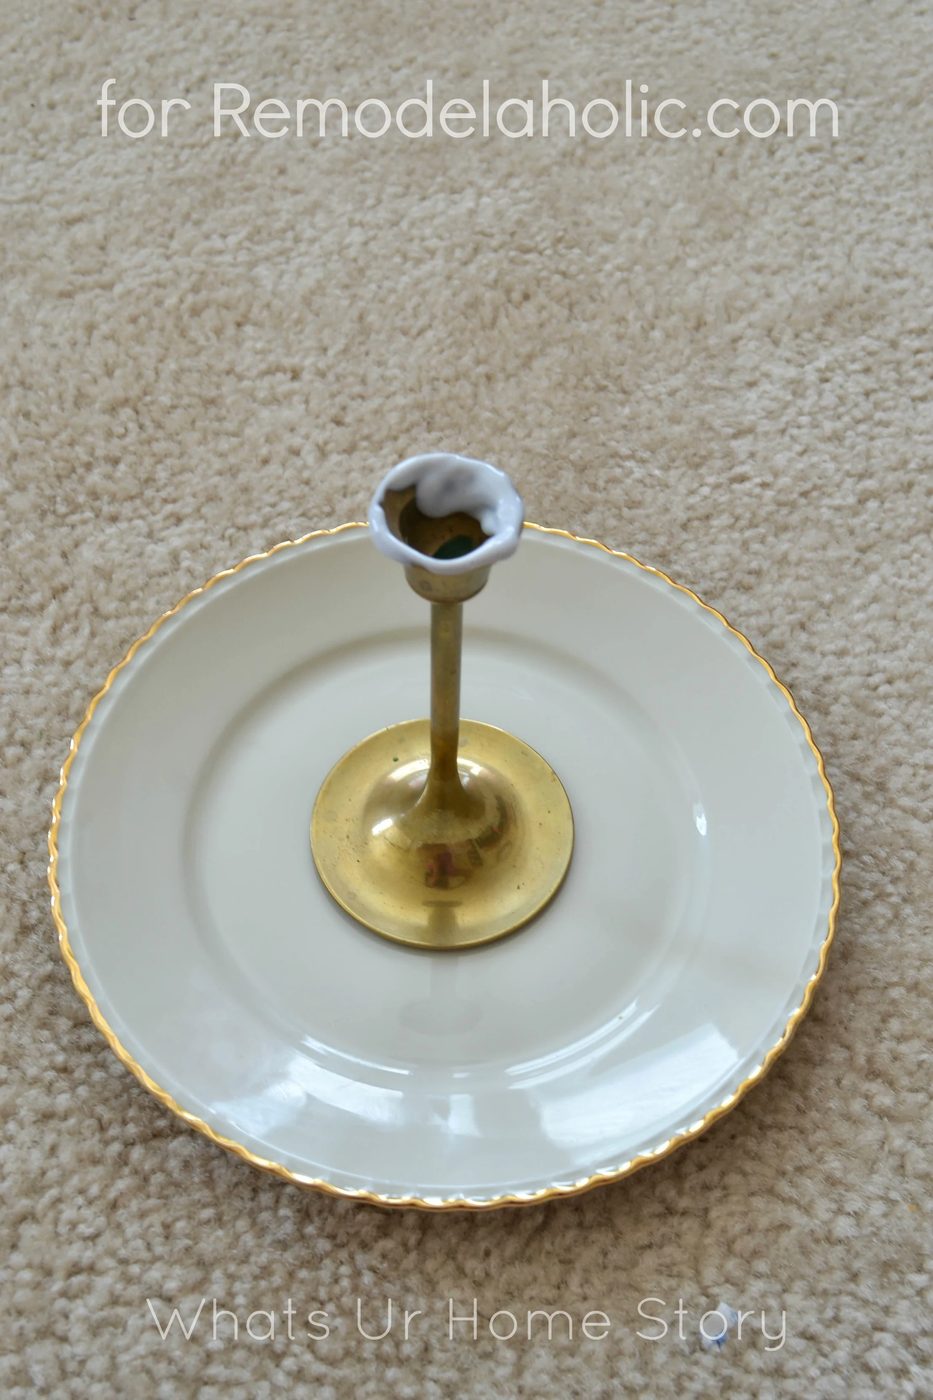
- Place the second smaller plate over the candle stick centering it correctly.
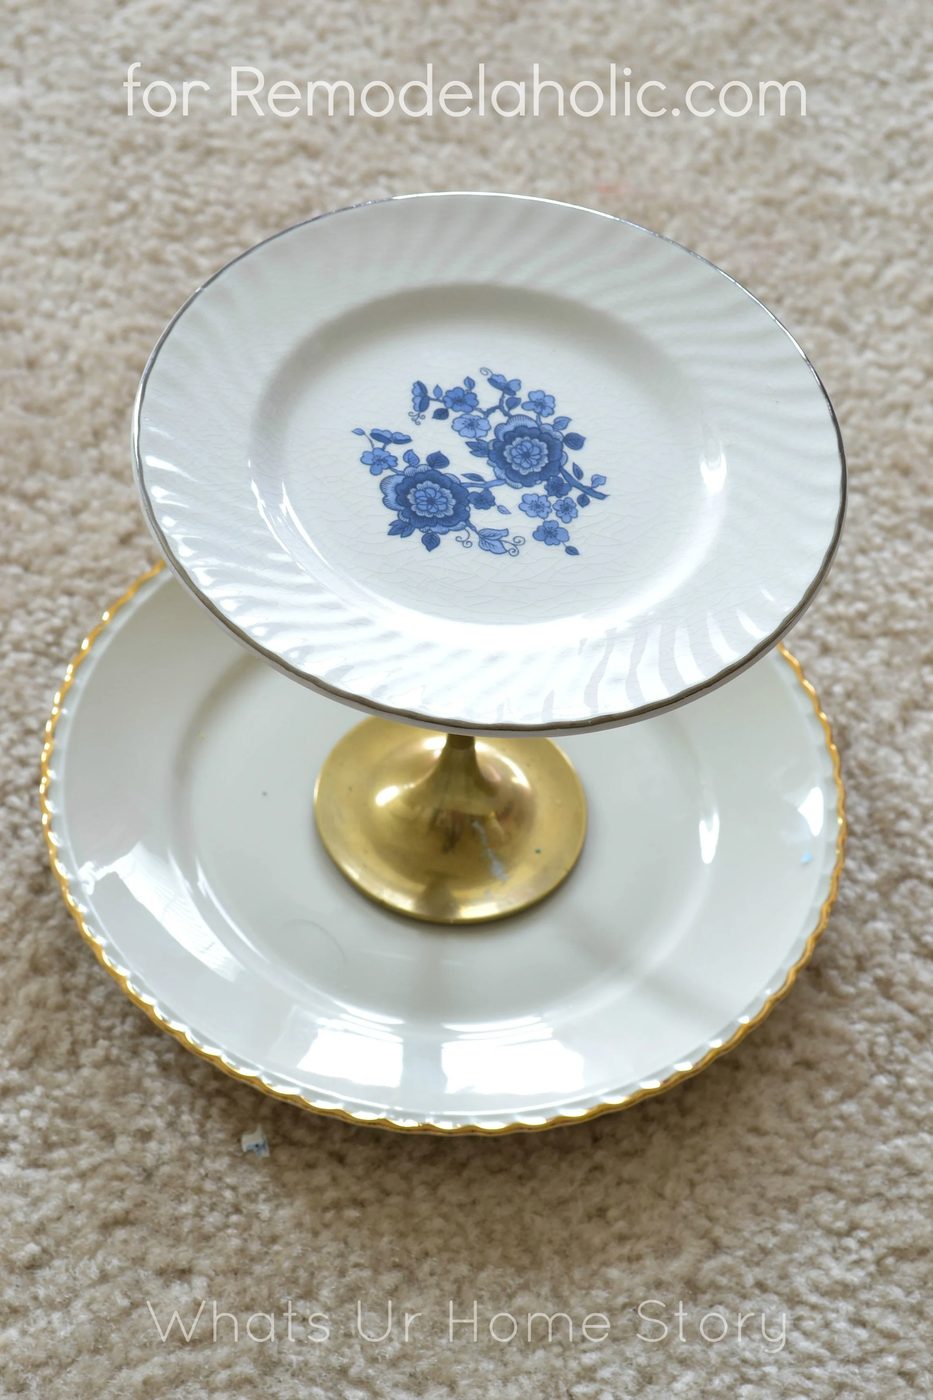
- Weigh it down with whatever you can get. I used soaps on the base, a bowl full of Lucky Red Seeds, even a candle. Could have used some books but didn’t want to the run the risk of tipping the whole thing over.
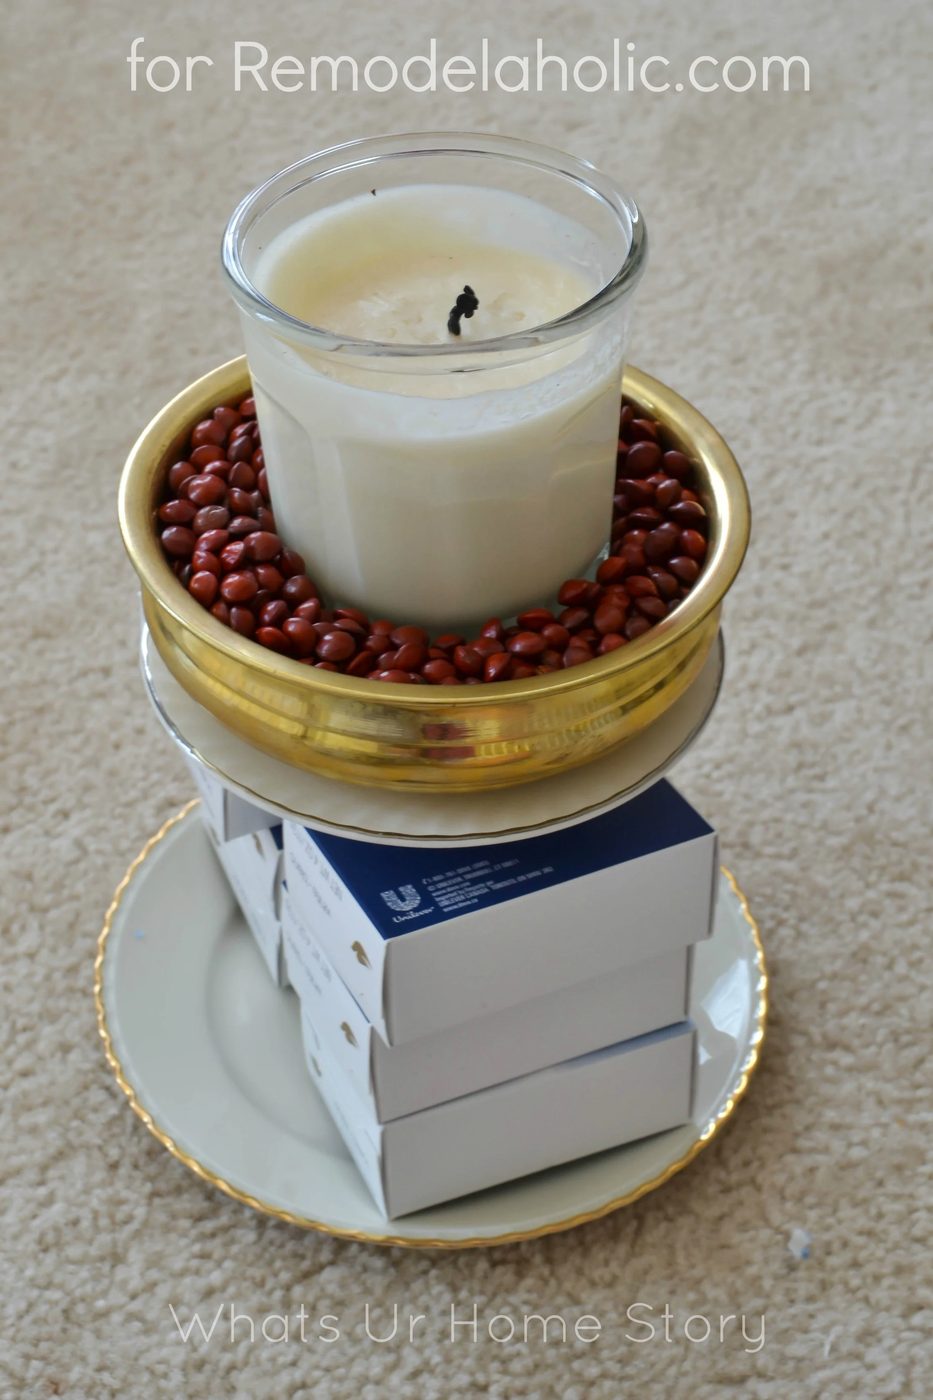
- Let it set for 6 -8 hrs and it is ready to use. If you like you could add more tiers or even a bowl to the top.
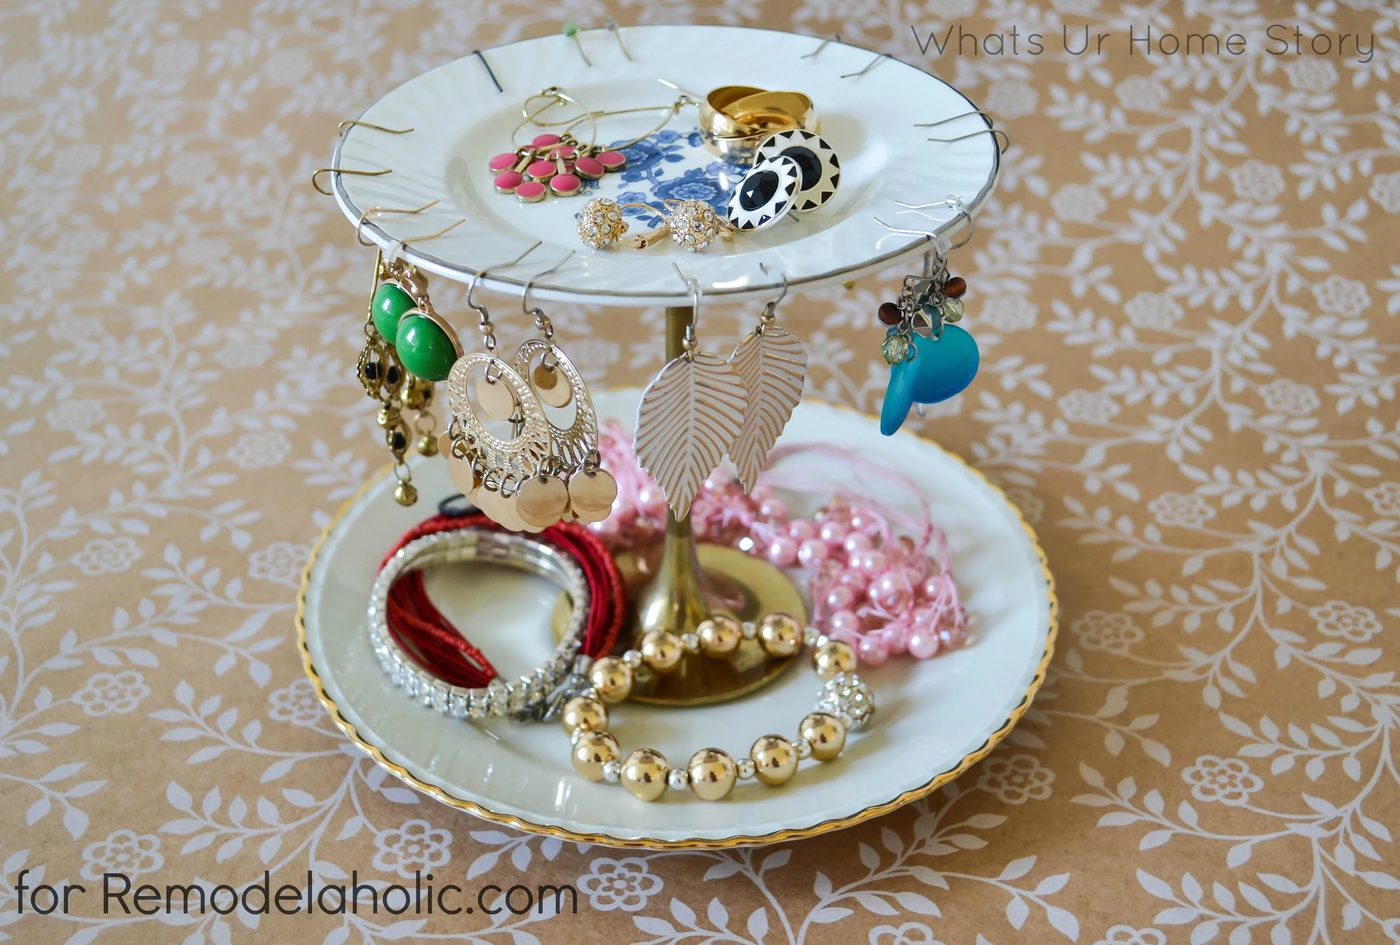 What do you say, isn’t that an straightforward way to store and display your jewelry?
————————————
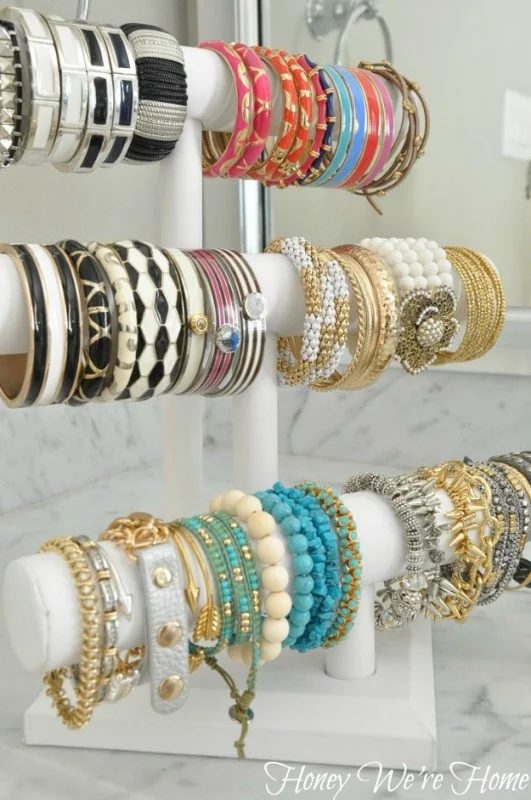
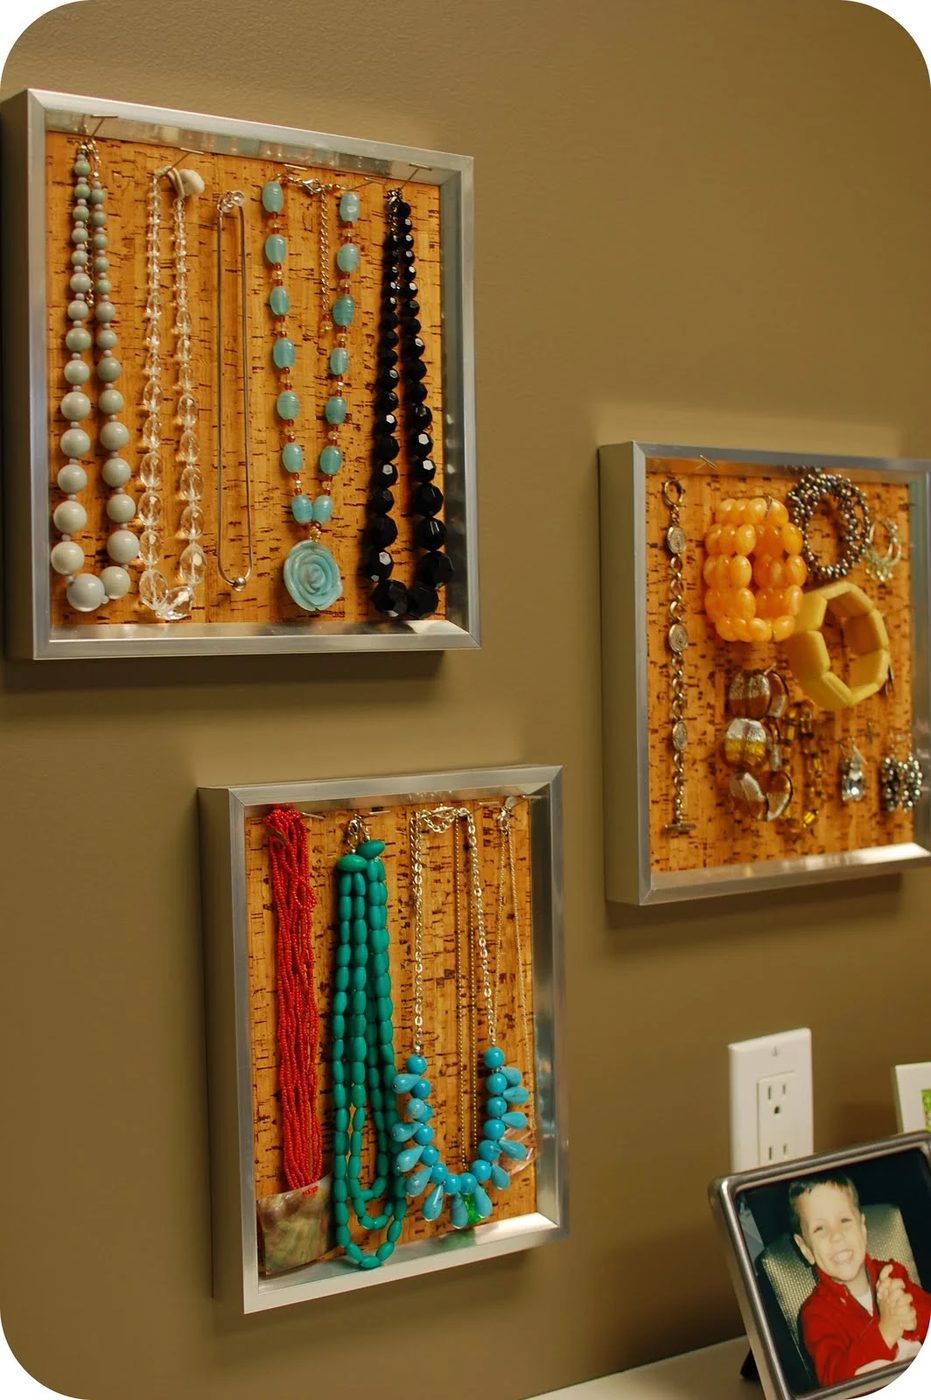
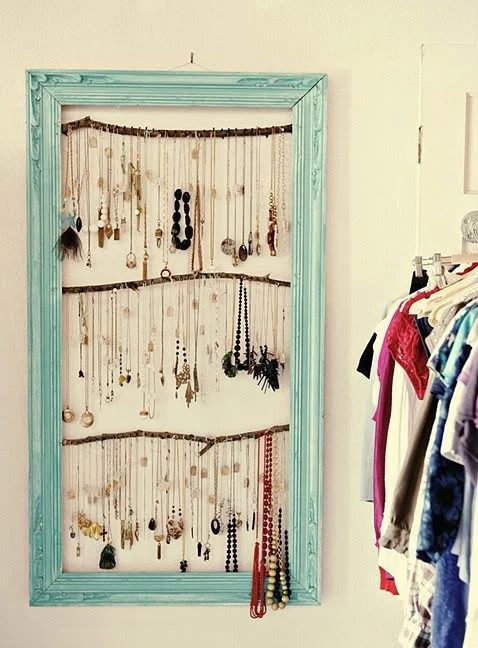
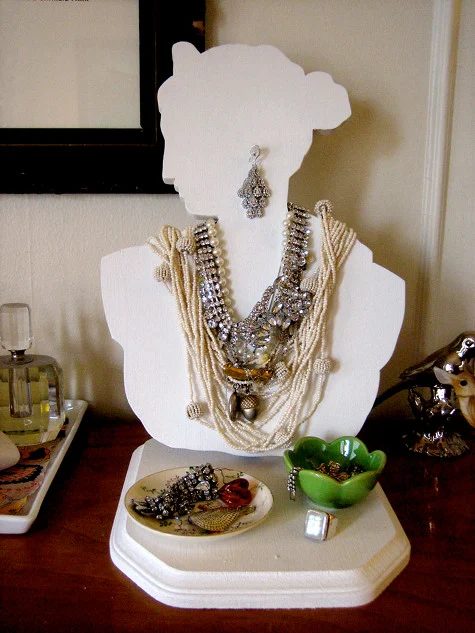
Looking for more ways to organize and store your jewelry? Click on the photos to see the original posts!