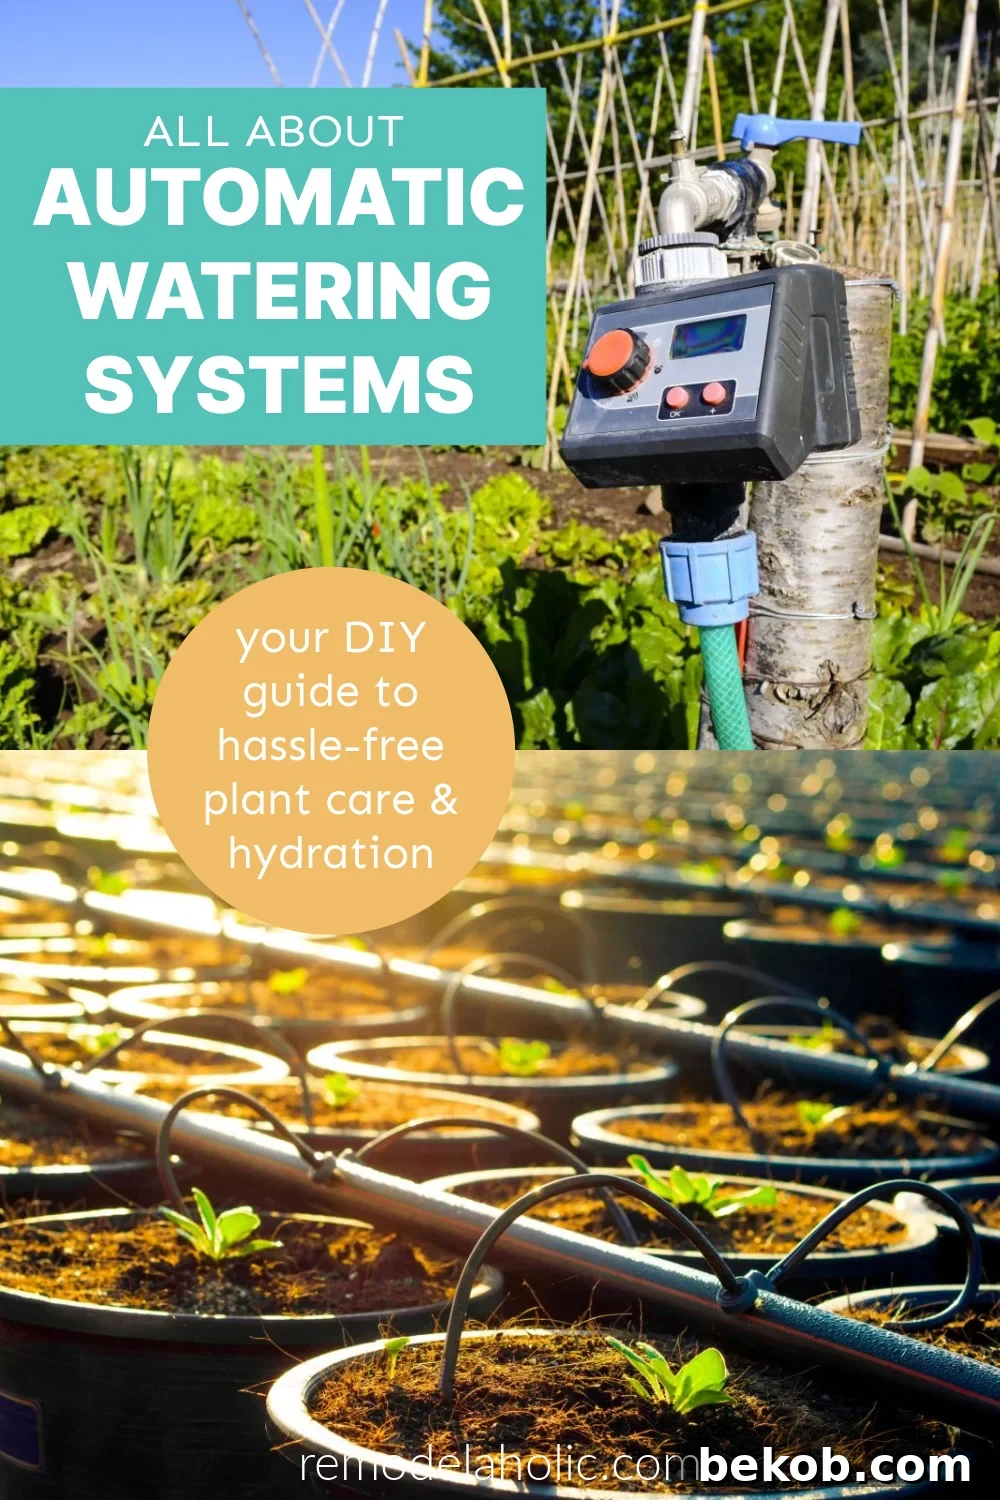
DIY Automatic Plant Watering Systems: The Ultimate Guide
Enhance your gardening experience with innovative and eco-friendly DIY automatic plant watering systems. Say goodbye to the daily hassle of watering and hello to thriving plants, both indoors and outdoors!
Are you tired of constantly worrying about whether your plants are getting enough water? Do you dream of going on vacation without the stress of finding someone to water your precious greenery? The solution is here: DIY automatic plant watering systems. These ingenious setups allow you to provide your plants with the perfect amount of hydration, consistently and reliably, with minimal effort on your part.
This comprehensive guide will walk you through various creative and budget-friendly methods for creating automatic watering systems using everyday materials. Whether you have a sprawling outdoor garden or a collection of beloved indoor plants, you’ll discover solutions that fit your needs and budget. Let’s transform plant care from a chore into a joyful and sustainable gardening practice!
Understanding Automatic Watering Systems
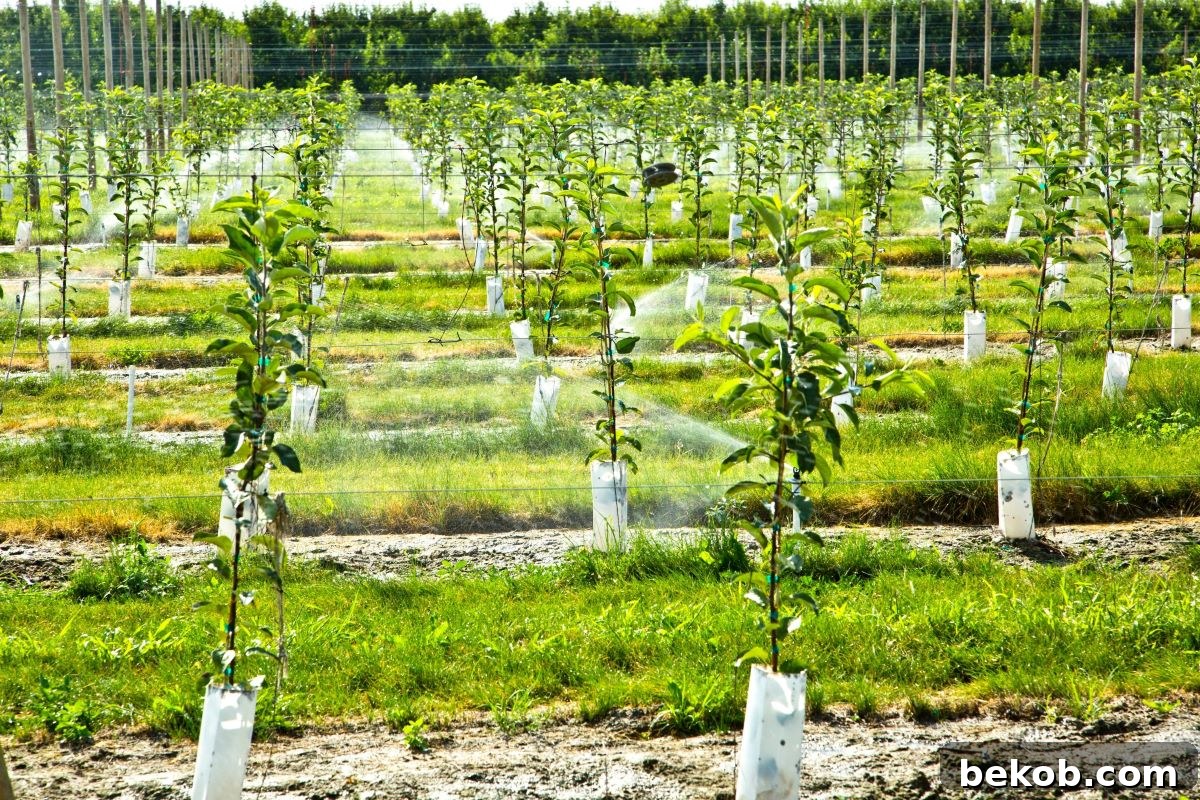
Before diving into the DIY projects, let’s establish a solid understanding of what automatic watering systems are and how they work. At their core, these systems are designed to deliver water to plants at regular intervals, eliminating the guesswork and ensuring consistent hydration. This is especially useful when you are away or too busy to water your plants everyday.
Key Concepts in Automatic Watering:
- Capillary Action: Harnessing the natural ability of liquids to flow against gravity, often used in self-watering pots and wicking systems.
- Drip Irrigation: Delivering water directly to the plant’s roots, minimizing waste and maximizing absorption.
- Timers and Sensors: Automating the watering process based on pre-set schedules or real-time soil moisture levels.
Popular DIY Automatic Watering Methods:
- Self-Watering Pots: Pots with built-in reservoirs that provide a continuous water supply through capillary action.
- Plastic Bottle Systems: Repurposing plastic bottles to slowly release water into the soil.
- Cotton Rope Wicking: Using cotton ropes to draw water from a reservoir to the plant’s roots.
- PVC Pipe Drip Systems: Creating a network of PVC pipes to deliver water directly to multiple plants.
- Wine Bottle Irrigation: Inverting wine bottles filled with water into the soil for slow-release watering.
- Soaker Hoses: Porous hoses that release water along their length, ideal for garden beds.
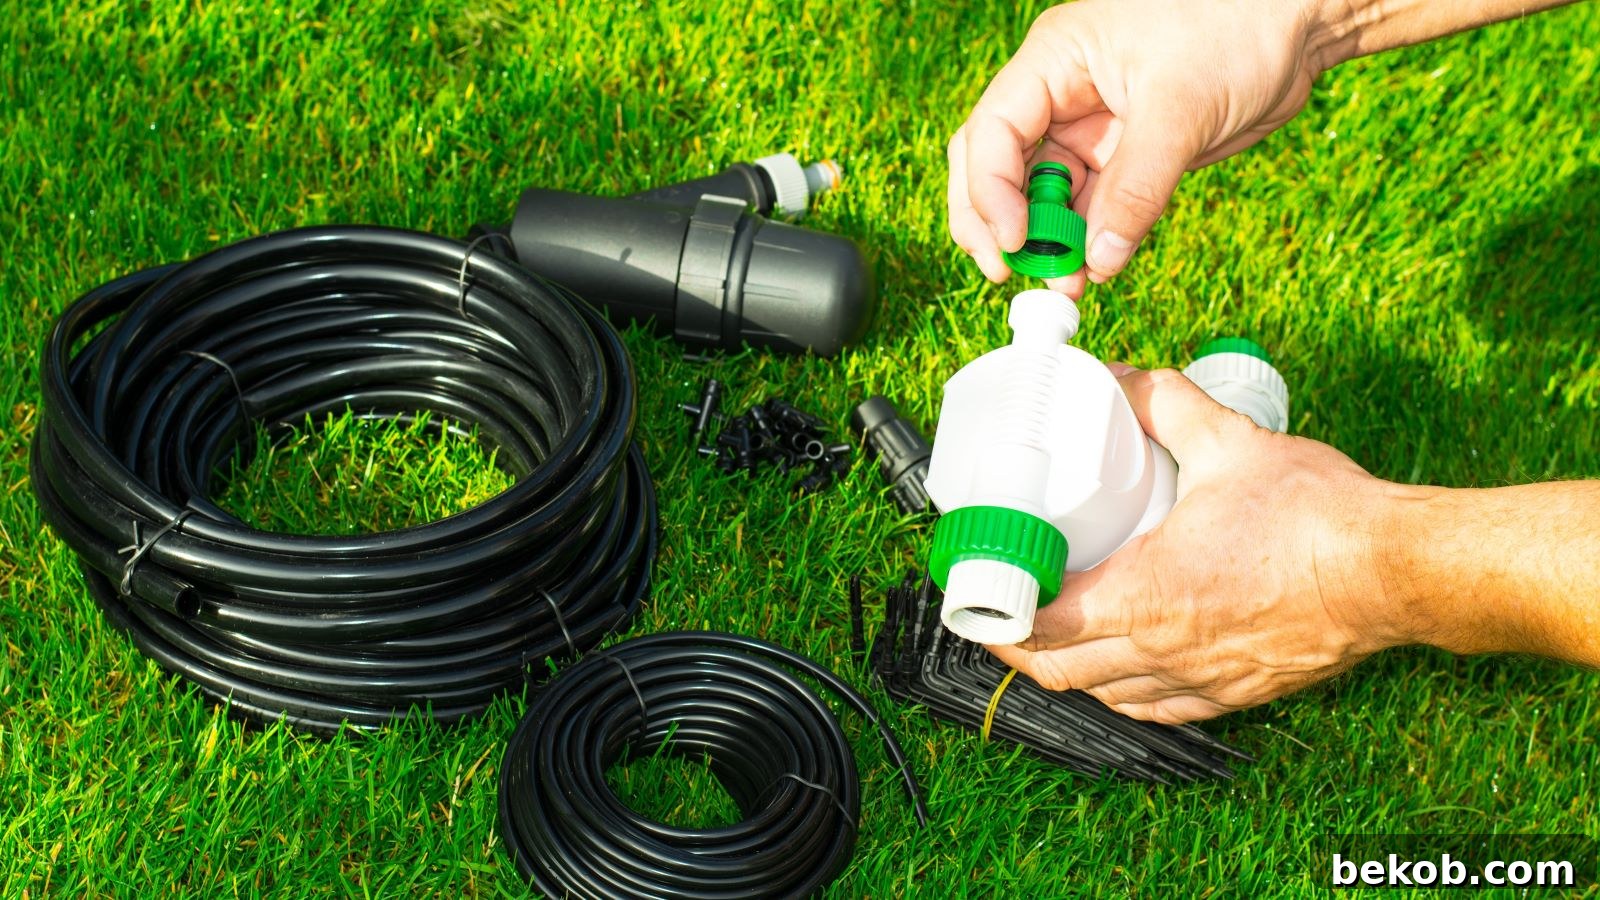
- Drip Irrigation Kits: Comprehensive kits with tubing and emitters for targeted watering.
- Hose Timers: Automating watering schedules with programmable timers.
Factors to Consider Before Building Your System
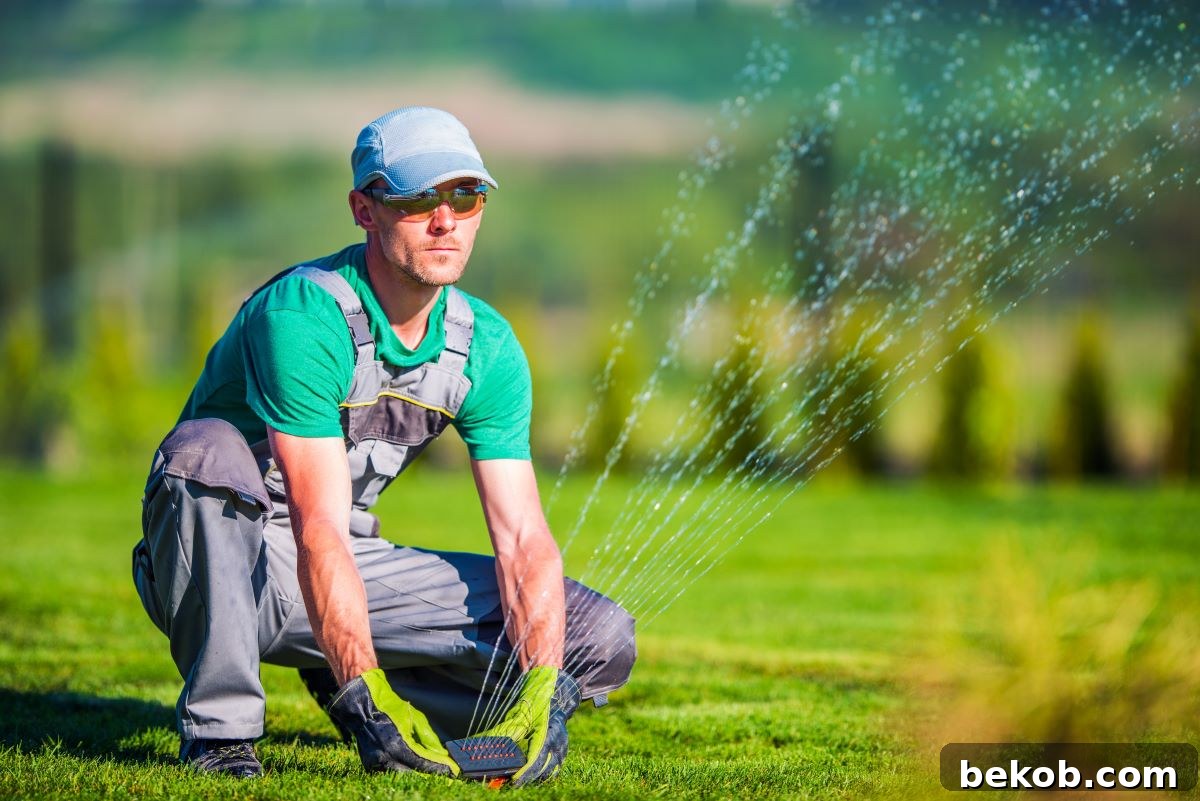
Before you start constructing your DIY automatic watering system, it’s crucial to understand the specific needs of your plants. Different plants have varying water requirements, and several environmental factors can influence how much water they need.
Plant Water Needs Depend On:
- Plant Type: Succulents and cacti require less water than leafy vegetables or flowering plants.
- Humidity: Plants in humid environments need less frequent watering.
- Sunlight: Plants exposed to direct sunlight dry out faster and need more water.
- Season and Rainfall: Adjust watering schedules based on the time of year and precipitation levels.
- Soil Type: Sandy soils drain quickly, while clay soils retain more moisture.
- Moisture Content: Check the soil moisture regularly to avoid over or under-watering.
If you’re unsure about the specific water needs of your plants, consult a local greenhouse, gardening expert, or do some research online. Understanding your plants’ individual requirements is essential for creating an effective automatic watering system.
Materials You’ll Need
Here’s a list of common materials you might need for your DIY automatic watering projects:
- Plastic bottles or glass bottles (empty wine or soda bottles work well)
- PVC pipes
- Cotton rope
- Water pump
- Plastic bags
- Water reservoir (water tank or bucket)
- Drill
- Hose timer (for more advanced systems)
- Soaker hose or drip irrigation kit
- Soil moisture sensor probe (optional)
DIY Methods for Indoor Plants
Keeping your indoor plants happy and hydrated doesn’t have to be a chore. Here are a few simple and effective DIY automatic watering methods for your indoor greenery:
1. Self-Watering Pots
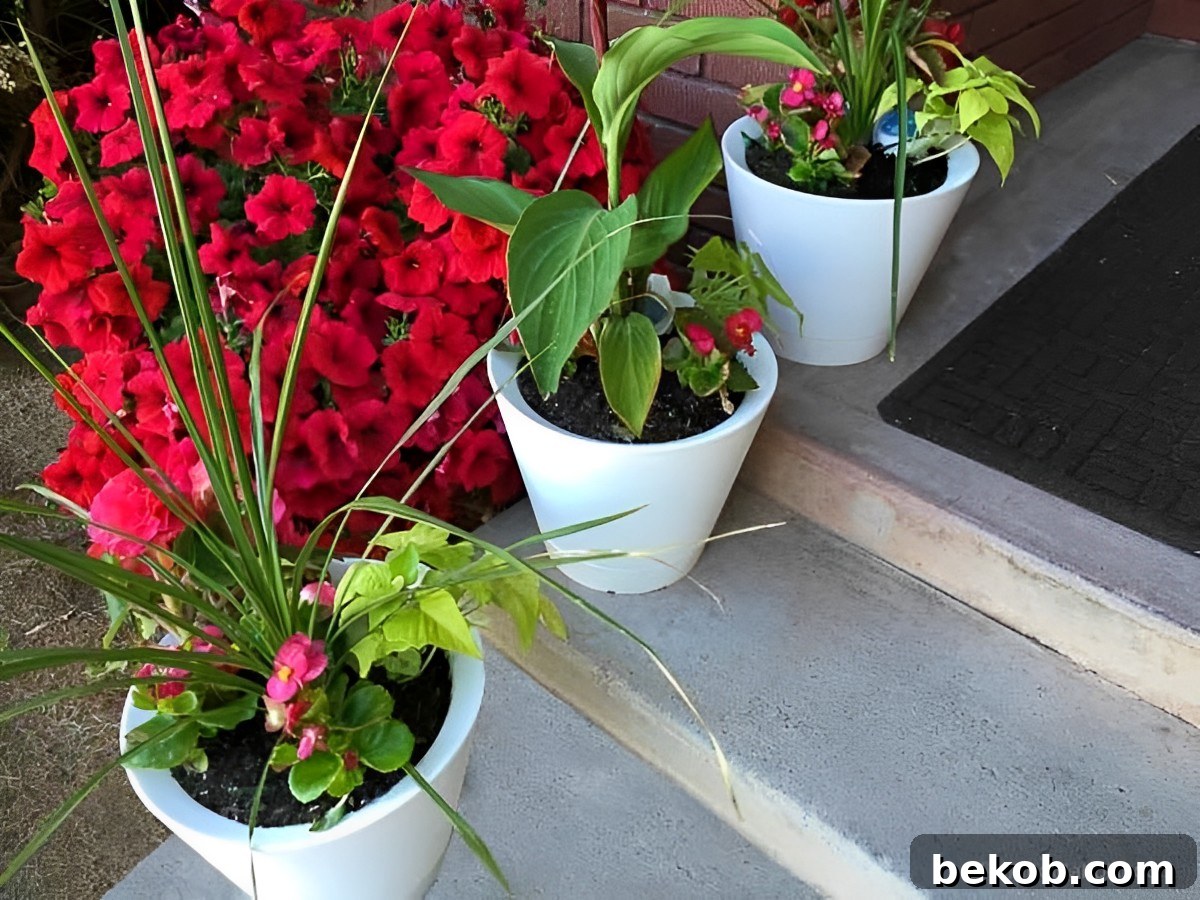
Self-watering pots are a convenient and reliable way to ensure your indoor plants receive a consistent supply of water. They work by using capillary action to draw water from a reservoir into the soil.
Materials:
- Self-watering pot
- Water reservoir
- Potting soil
Steps:
- Choose the Right Pot: Select a self-watering pot with a water reservoir at the bottom and adequate drainage holes.
- Add Potting Soil: Fill the pot with your preferred potting soil, leaving enough space at the top for easy watering.
- Water Reservoir Placement: Place the water reservoir at the bottom of the pot. The reservoir should have a capillary wick that extends into the soil. This is the mechanism that will allow the water to naturally come up into the planter as the dirt dries out, preventing the plant from getting too much water.
- Plant Your Green Companion: Plant your indoor greenery in the soil above the water reservoir.
- Capillary Action at Work: As the soil dries, it triggers capillary action, drawing water from the reservoir into the soil, providing your plant with a consistent and self-regulated water supply.
2. Plastic Bottle and Cotton Rope System
This is a simple and cost-effective DIY solution that ensures your indoor plants receive the right amount of water without constant attention.
Materials:
- Plastic bottle
- Cotton rope
- Drill
Steps:
- Prepare the Bottle: Drill small holes in the cap of a plastic bottle. These holes regulate the flow of water.
- Fill the Bottle: Fill the plastic bottle with water, ensuring the cap is securely screwed on.
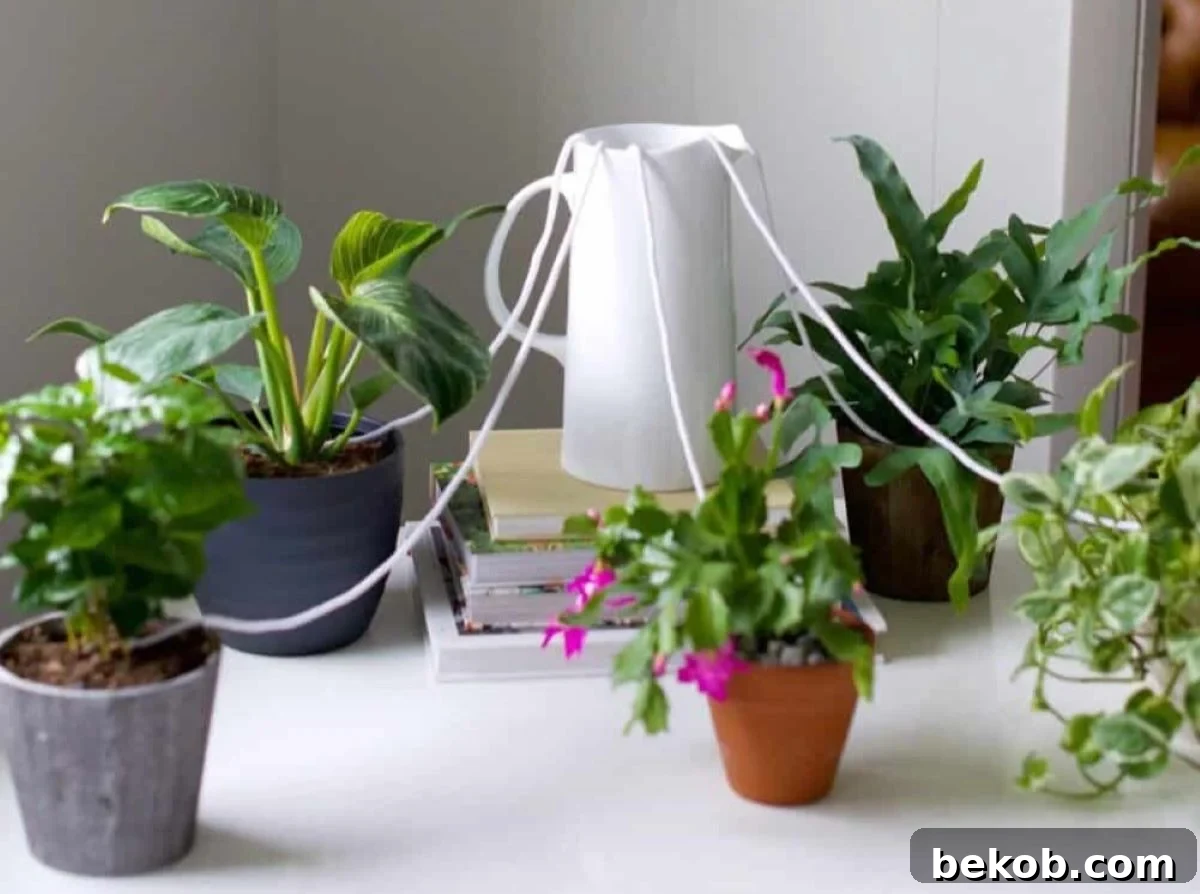
- Insert Cotton Rope: Thread a cotton rope through the holes in the bottle cap. The rope will act as a conduit for water.
- Place in Soil: Insert the other end of the cotton rope into the soil of your indoor plant, ensuring it reaches the root zone.
- Wicking Action: Through capillary action, the cotton rope will draw water from the bottle to the soil, providing a steady and regulated water supply.
DIY Methods for Outdoor Plants
Outdoor plants require a different approach to automatic watering due to their larger size and exposure to the elements. Here are some DIY methods that are well-suited for outdoor gardens:
1. Wine Bottle Drip Irrigation
Transform your discarded wine bottles into efficient watering tools with this creative and eco-friendly drip irrigation method.
Materials:
- Empty wine bottle
- Water
Steps:
- Prepare the Bottle: Ensure the wine bottle is clean and empty. Remove any labels or residues.
- Fill with Water: Fill the empty wine bottle with water, leaving some space at the top to facilitate the flow.
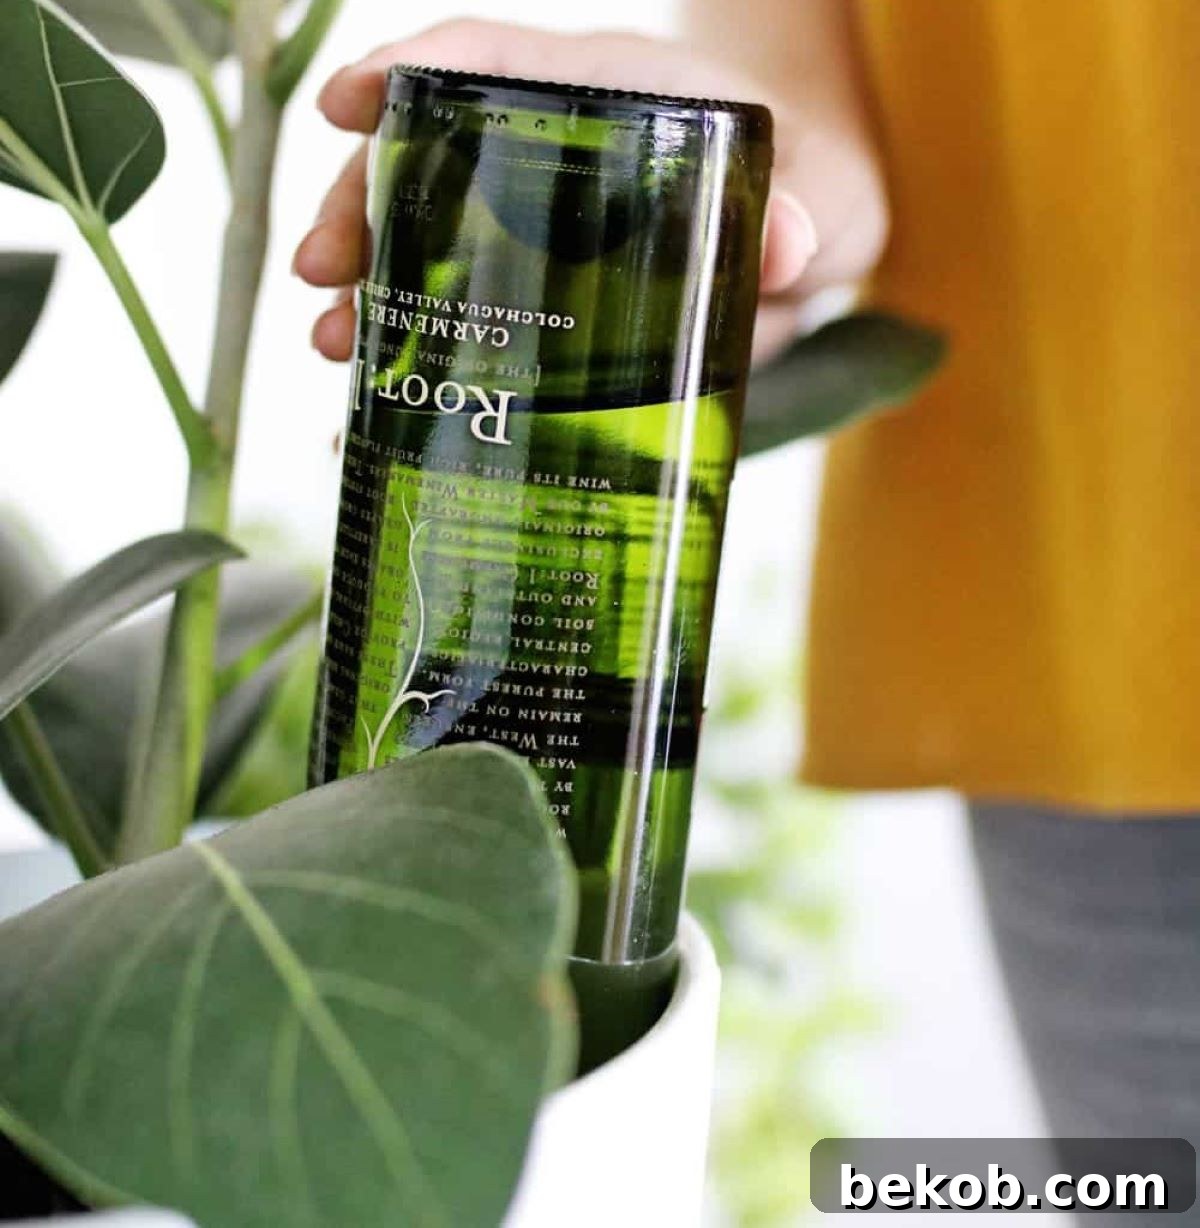
- Invert Into Soil: Dig a hole in the soil near your outdoor plant and invert the filled wine bottle into the hole, ensuring it is stable.
- Adjust Depth: Control the rate of water flow by adjusting the depth of the inverted bottle. Deeper placement slows down the flow, providing a consistent supply over a more extended period.
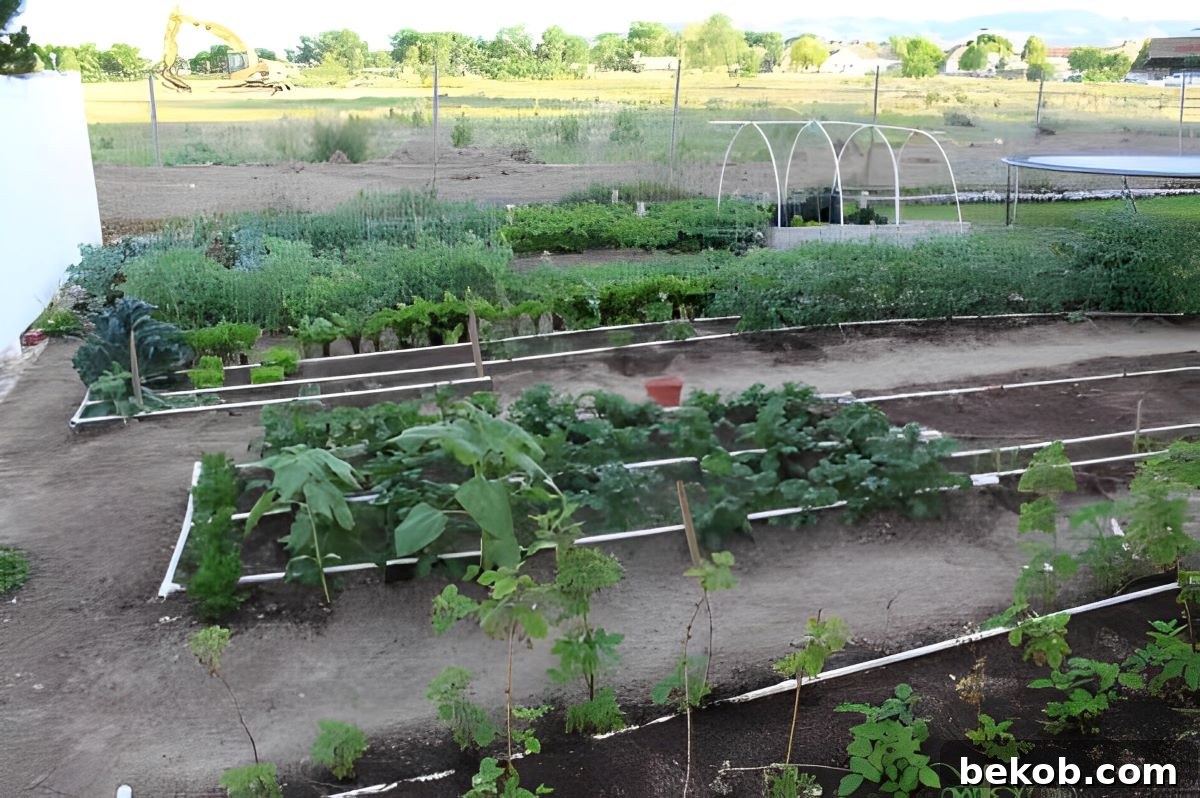
2. PVC Pipe Drip System
For larger plants or a cluster of potted greenery, a PVC pipe drip system is a sophisticated yet straightforward solution that ensures your plants stay adequately hydrated.
Materials:
- PVC pipe
- Water pump
- Water tank
- Drip heads
Steps:
- Assemble the System: Connect a PVC pipe to a water pump submerged in a water tank. Ensure a secure and watertight connection.
- Strategic Drip Heads: Position drip heads along the PVC pipe, strategically directing water flow to each potted plant.
- Place in Potted Plants: Integrate the PVC pipe into the arrangement of your potted plants, allowing each plant to receive a personalized and consistent water supply.
- Adjust Water Flow: Depending on your plant’s needs, adjust the water pump to regulate the flow and frequency of watering.
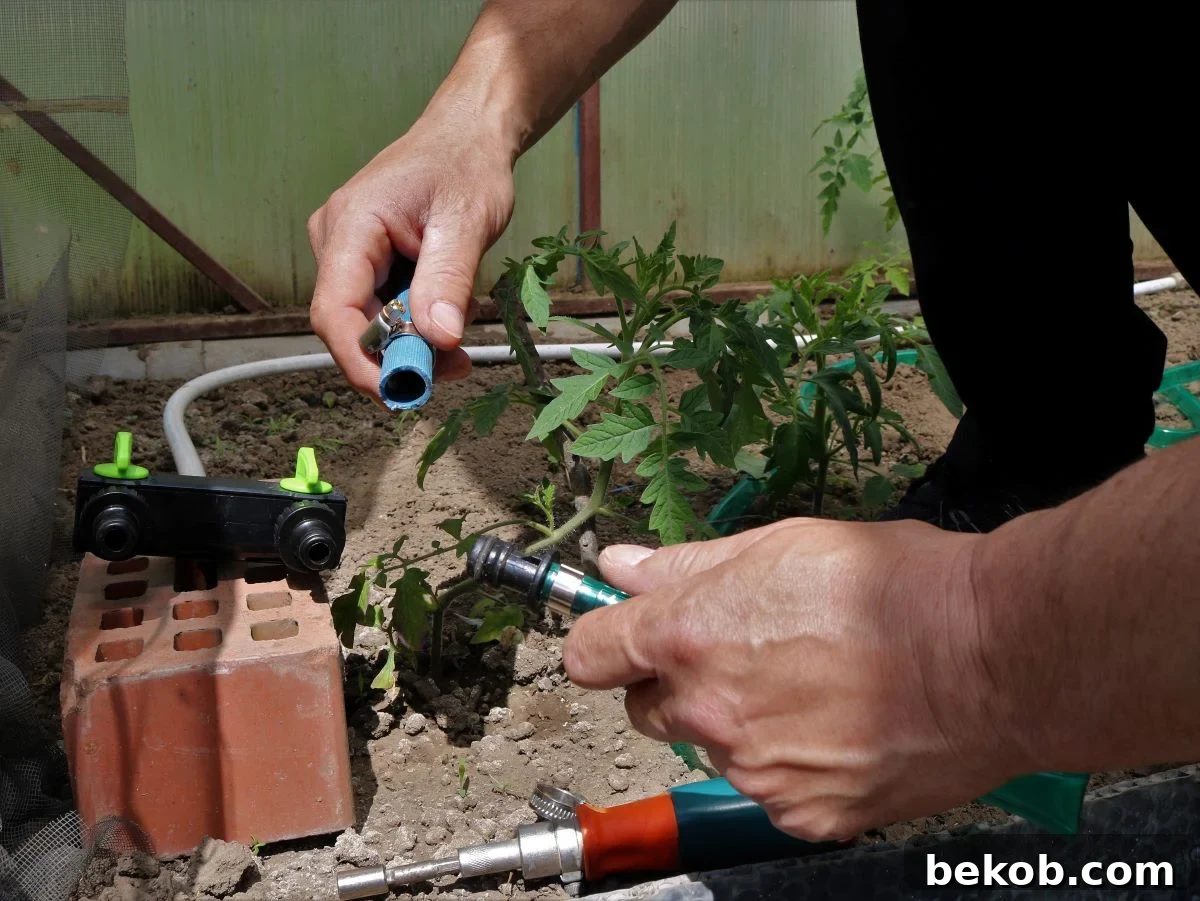
- Automation Advantage: This DIY PVC pipe drip system provides an automated solution, reducing the hands-on effort needed for maintaining optimal soil moisture levels. Irrigation timers are easy to use, and many modern smart timers can connect to bluetooth or wi-fi to be set from your smartphone or by using a smart-home platform such as Google Assistant or Amazon Alexa.
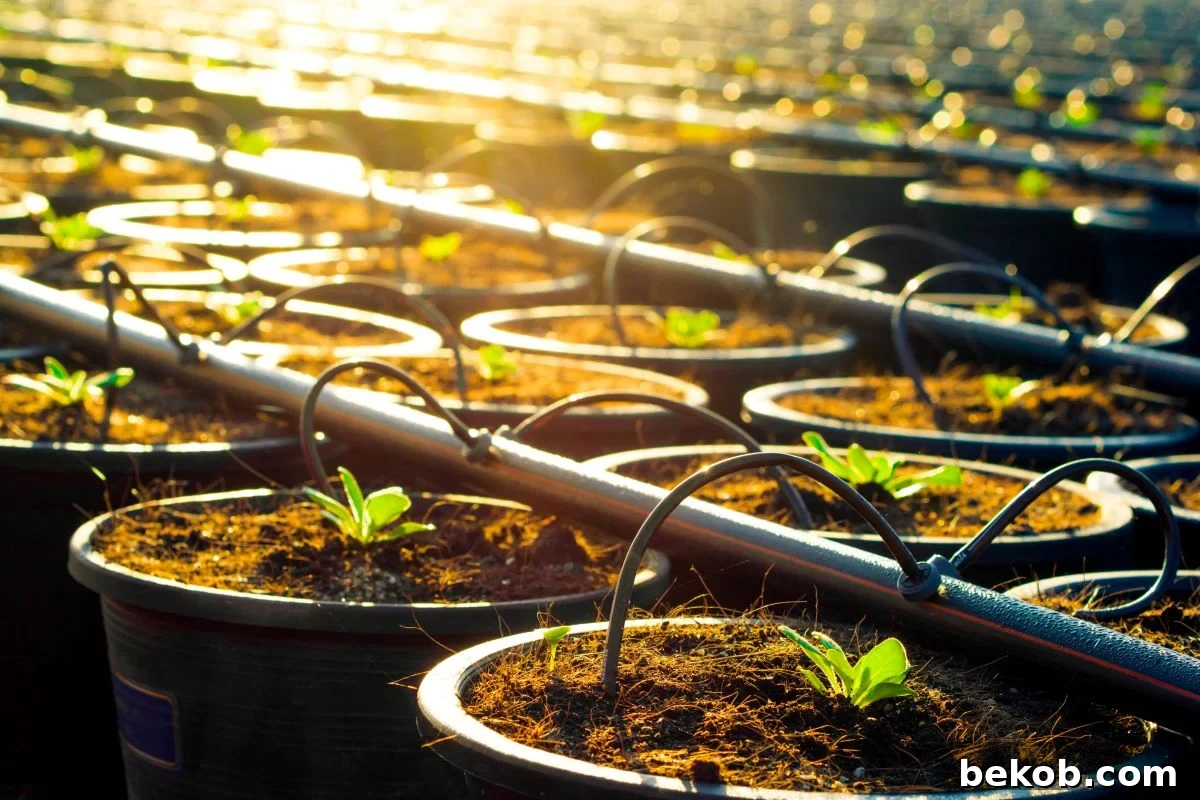
3. Soaker Hose or Drip Irrigation Kit
Upgrade your outdoor plant care with a soaker hose or a drip irrigation kit, ensuring each plant receives precise and efficient watering.
Materials:
- Soaker hose or drip irrigation kit
- Water container or hose
Steps:
- Lay the System: Position the soaker hose or install the drip irrigation kit in the soil around your outdoor plants. Ensure the system covers the root zones adequately.
- Connect to Water Source: Connect the soaker hose or drip irrigation kit to a water container or hose, providing a constant and controlled water source.
- Adjust Water Pressure: Depending on your plants’ needs, adjust the water pressure to regulate the flow and distribution of water.
- Customize for Each Plant: Tailor the layout of the system to suit the specific requirements of each plant, ensuring a personalized and efficient watering solution.
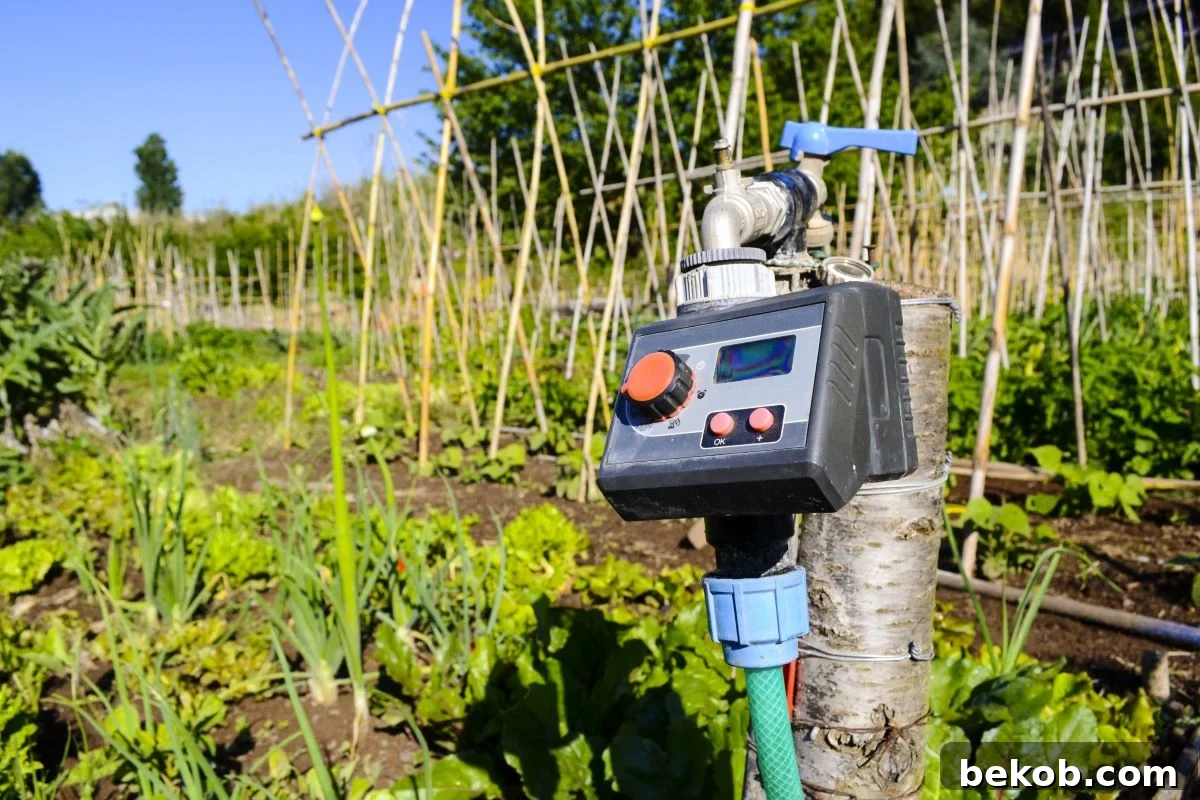
4. Hose Timer for Advanced Systems
Elevate your outdoor plant care to a new level of convenience with a hose timer, automating the watering schedule for your garden.
Materials:
- Hose timer
- Water source (hose or water container)
Steps:
- Install the Hose Timer: Attach the hose timer to your water source, whether it’s a hose or a water container.
- Set the Schedule: Program the hose timer to water your outdoor plants at specific intervals and durations. This allows for consistent and efficient watering without manual intervention.
- Optimize Watering Times: Adjust the watering schedule based on your local climate, considering factors such as temperature and rainfall. Consider investing in a smart hose timer so you can set the schedule right from the app on your phone and also integrate the schedule with the weather forecast and precipitation reports to prevent over-watering or add an extra watering cycle on extra hot days.
- Hands-Free Plant Care: With a hose timer, your outdoor plants receive the right amount of water at the right time, even when you’re not around, making it an ideal solution for those with busy schedules.
Additional Tips for Effective DIY Automatic Watering Systems
Enhance the efficiency and effectiveness of your DIY automatic watering system with these additional tips, ensuring your plants receive the optimal care they deserve:
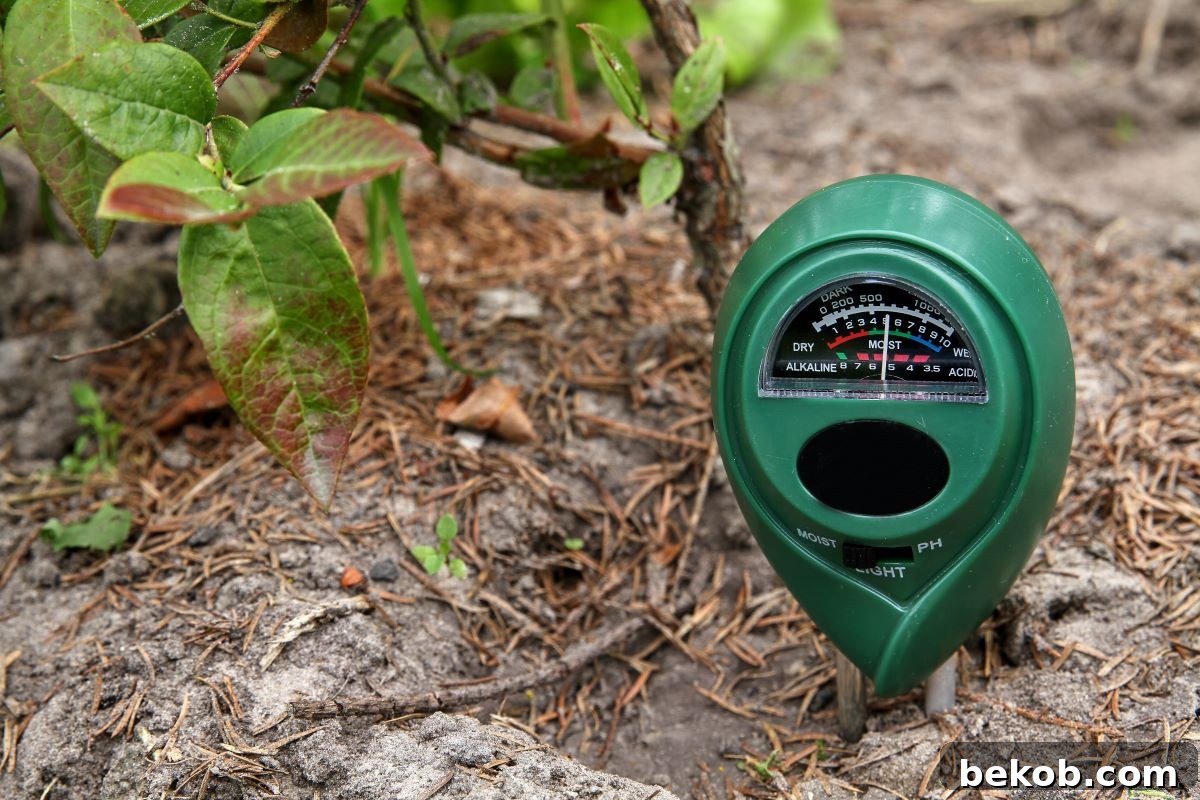
1. Soil Moisture Sensor Probe
Introduce a high-tech element to your DIY system by incorporating a soil moisture sensor probe. This tool provides precise insights into the moisture levels of the soil, allowing you to tailor your watering schedule accordingly.
Benefits:
- Accurate Monitoring: The sensor probe provides real-time data on the moisture content of the soil.
- Customized Watering: Adjust your watering system based on the specific needs of each plant, promoting individualized care.
Installation:
- Insert the soil moisture sensor probe into the soil of each potted plant or at strategic locations in your garden.
- Connect the sensor to your watering system or controller.
2. Overflow System
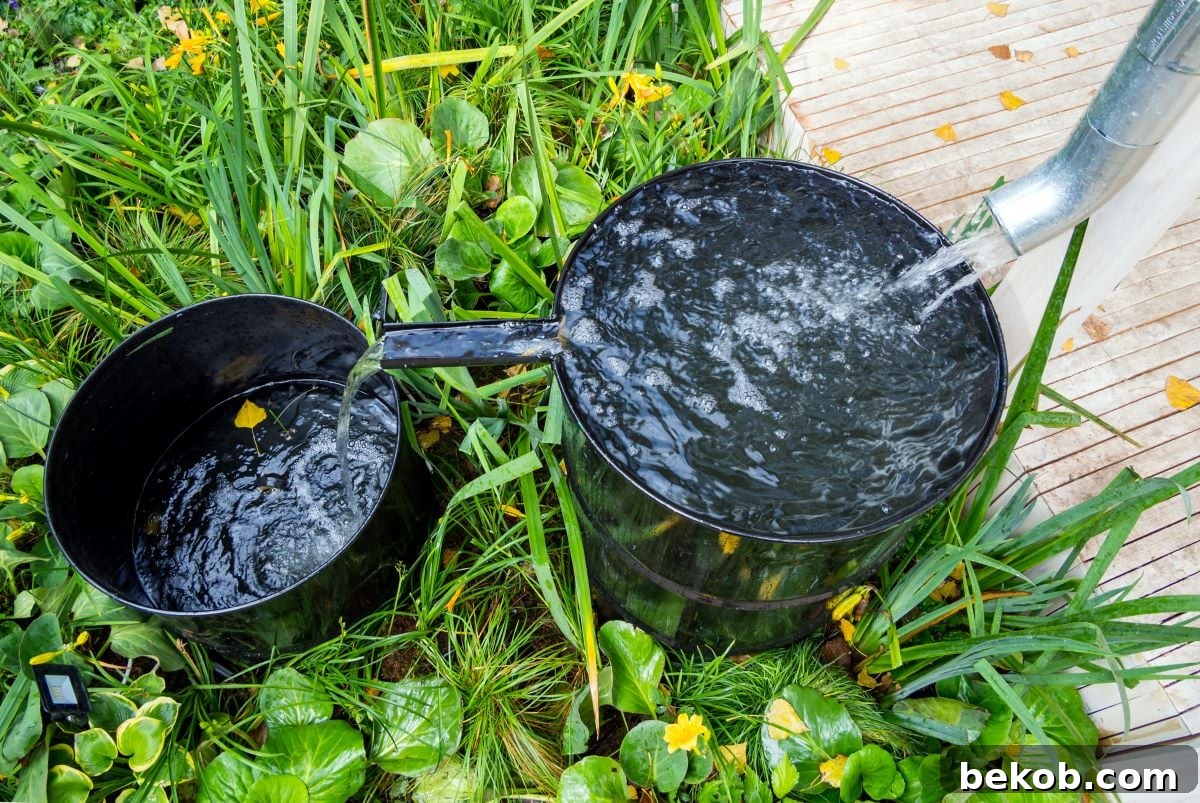
Prevent overwatering mishaps by implementing an overflow system in your DIY watering setup. This ensures excess water is efficiently redirected away from the plant, preserving its health and preventing waterlogged conditions.
Benefits:
- Avoids Waterlogging: Redirecting excess water prevents the risk of waterlogging, which can lead to root rot.
- Protects Plant Health: Maintaining proper drainage contributes to the overall health and vitality of your plants.
Implementation:
- Integrate an overflow mechanism, such as a secondary drainage system, into your DIY watering setup.
- Direct overflow away from the plant to a designated drainage area.
3. Root Rot Prevention
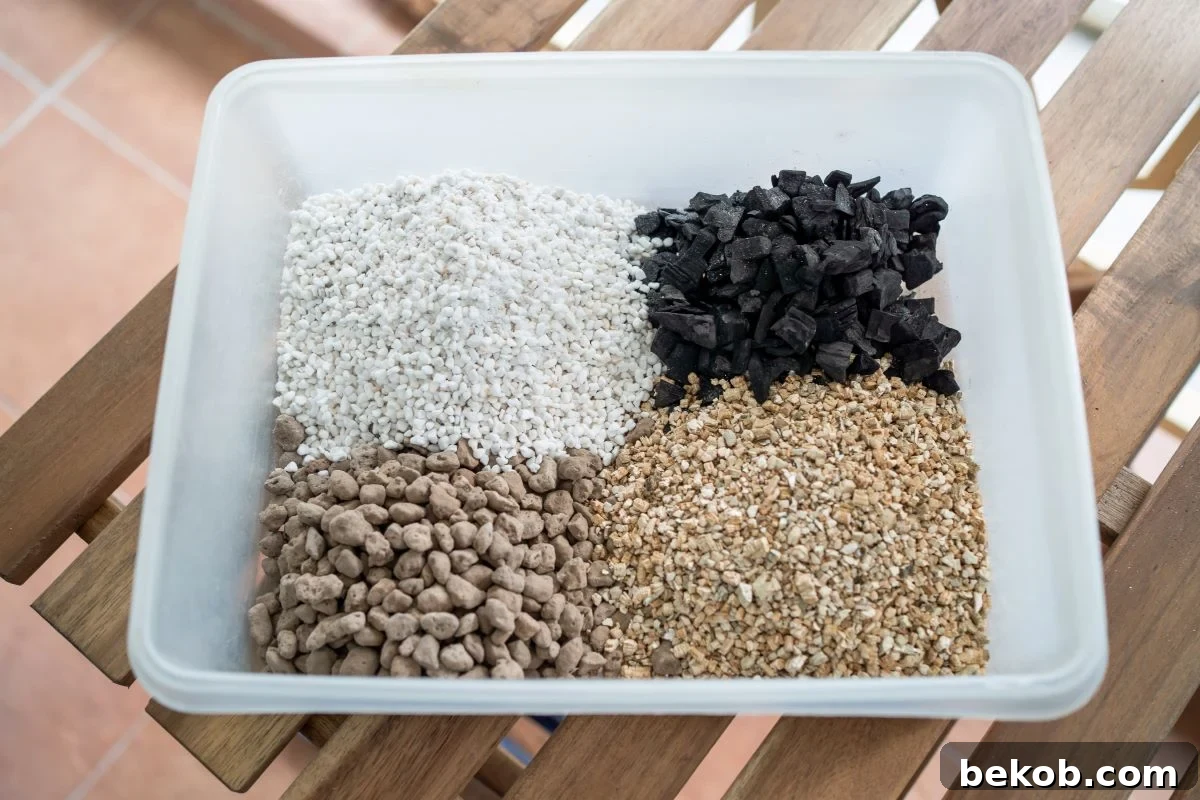
Safeguard your plants against the common threat of root rot by prioritizing good drainage. Elevate pots on blocks or opt for containers with drainage holes, allowing excess water to escape and ensuring your plants’ roots remain healthy.
Benefits:
- Healthy Root System: Adequate drainage prevents water from pooling around the roots, reducing the risk of root rot.
- Improved Oxygenation: Good drainage encourages proper aeration of the soil, promoting root health.
Implementation:
- Elevate pots slightly using blocks or other supports to facilitate water drainage.
- Choose containers with drainage holes to allow excess water to escape freely.
4. Water Waste Reduction
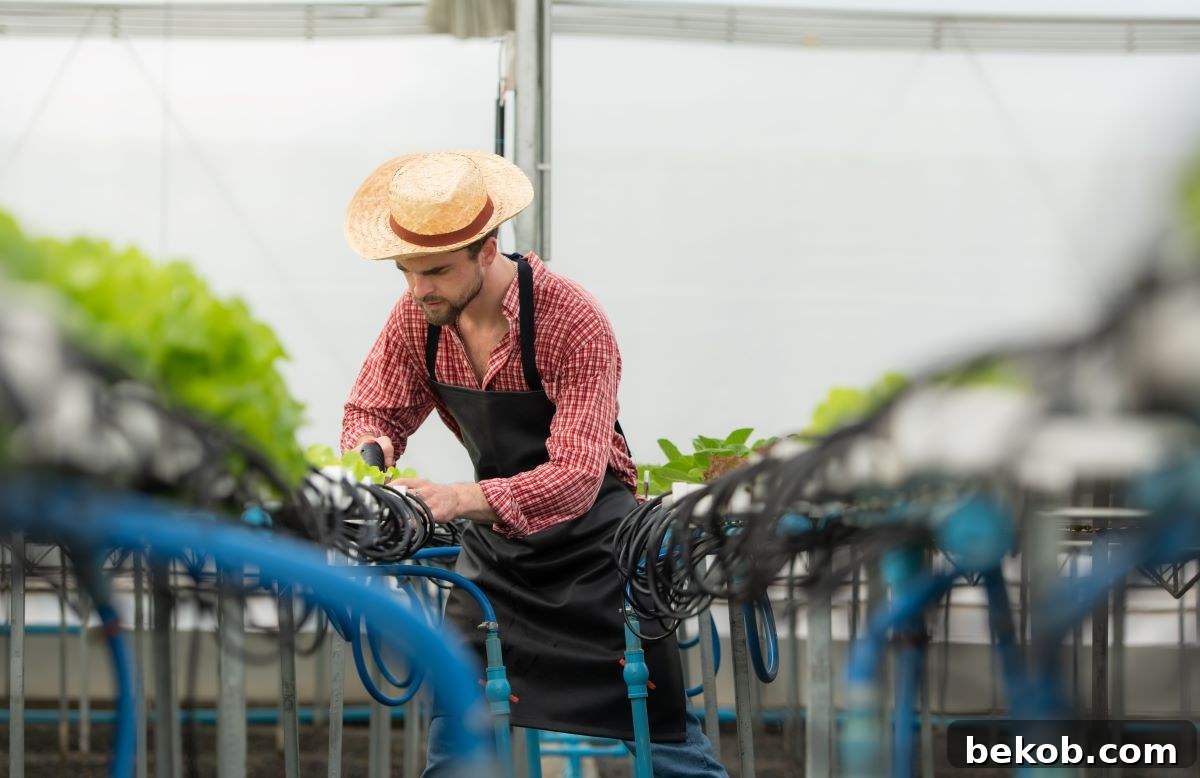
Design your DIY automatic watering system with water conservation in mind. Minimize water waste by delivering precisely the right amount of water needed for optimal plant health, contributing to both environmental sustainability and cost savings.
Benefits:
- Environmental Conservation: Minimizing water waste reduces the environmental impact of your gardening practices.
- Cost-Efficient: Using only the necessary amount of water helps cut down on water bills associated with plant care.
Implementation:
- Calibrate your watering system to provide the right amount of water for each plant’s specific needs.
- Utilize technology like timers and sensors to avoid unnecessary water usage.
Conclusion
Creating your DIY automatic watering system is a rewarding and sustainable way to care for your plants. Whether you’re tending to a lush indoor jungle or cultivating a thriving outdoor garden, the options are as varied as the plants themselves.
Embrace the convenience of automated watering systems, save time, and ensure the well-being of your plants with these DIY solutions. Experiment with different methods to discover the best automatic watering system for your unique gardening needs. Remember, the beauty of these systems lies not just in the technology but in the connection they foster between you and your garden.