The steps below follow the order of the work for this decor project.
I think this is such a cute direct project and you can never have too many options for wreaths right? This on e comes form Amanda at The Hand Me Down House and It is such a great creative option check it out!
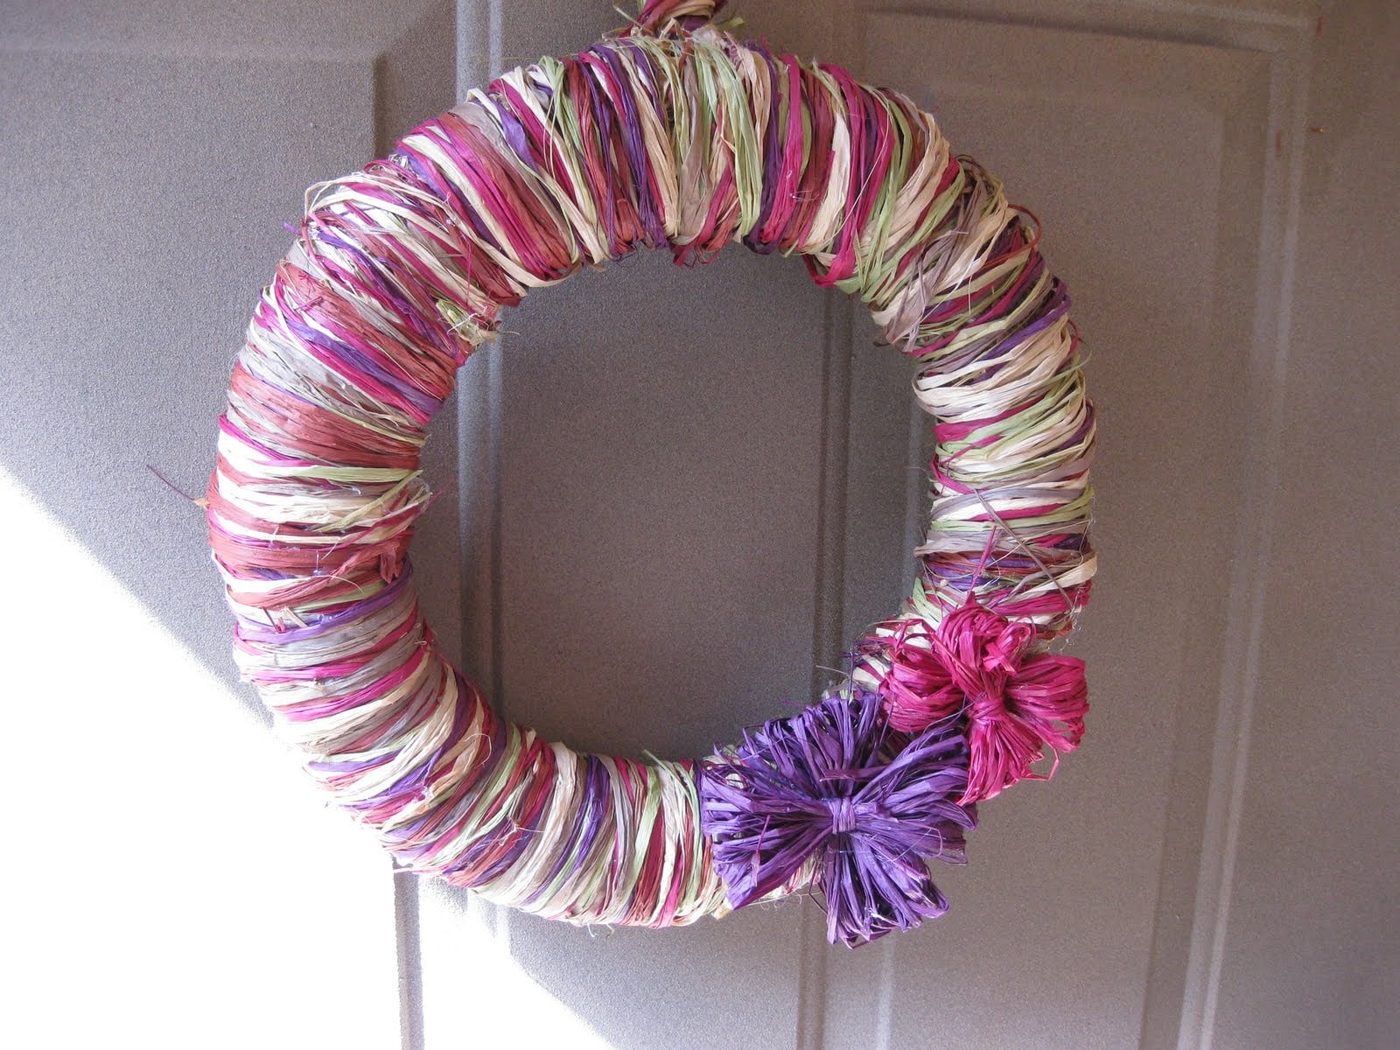
I absolutely LOVE fall — it’s one of those seasons that has completely grown on me. Ironically, as a kid I HATED fall — it meant we had to go back to school, stop swimming outside, and start wearing jackets. But now I adore the change — the crisp air, the rustling leaves — all of it. And this year it feels like the season came overnight! It got chilly really fast. So to celebrate the autumn season, I decided to make a Fall Wreath to hang on the front door. I used some decorating raffia, a wreath form and my glue gun.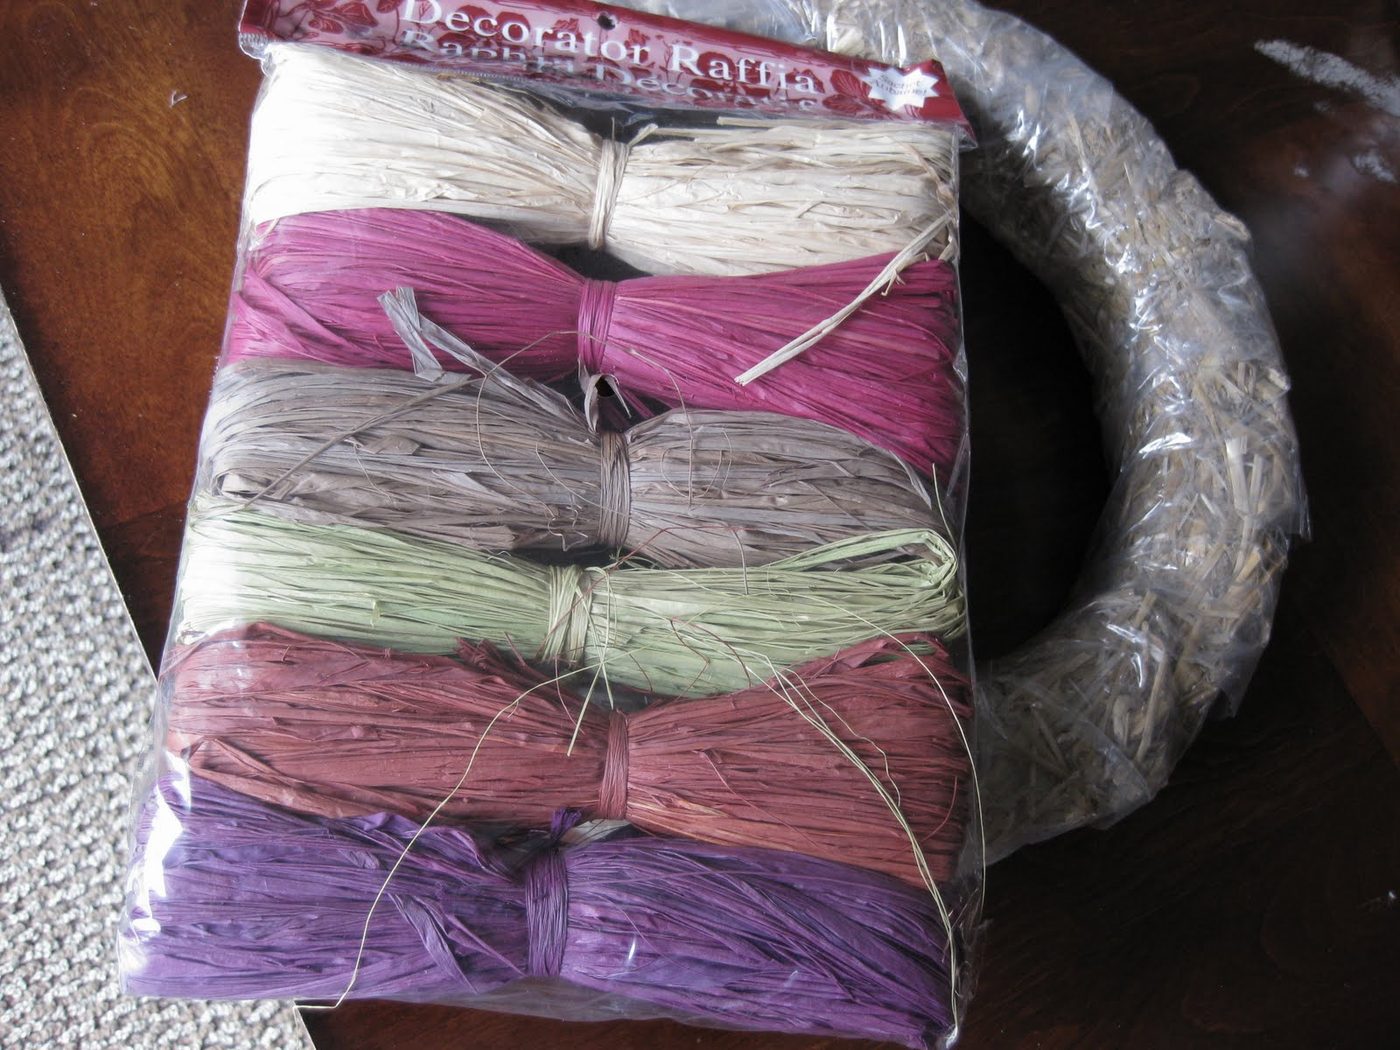 I got this raffia at Michael’s for around $4.00 with my 40% off coupon, and I managed to find the straw wreath form at Goodwill for $2.00.
First I took thee or four strands of each color raffia and glued one end of the bunch to the wreath.
I got this raffia at Michael’s for around $4.00 with my 40% off coupon, and I managed to find the straw wreath form at Goodwill for $2.00.
First I took thee or four strands of each color raffia and glued one end of the bunch to the wreath.
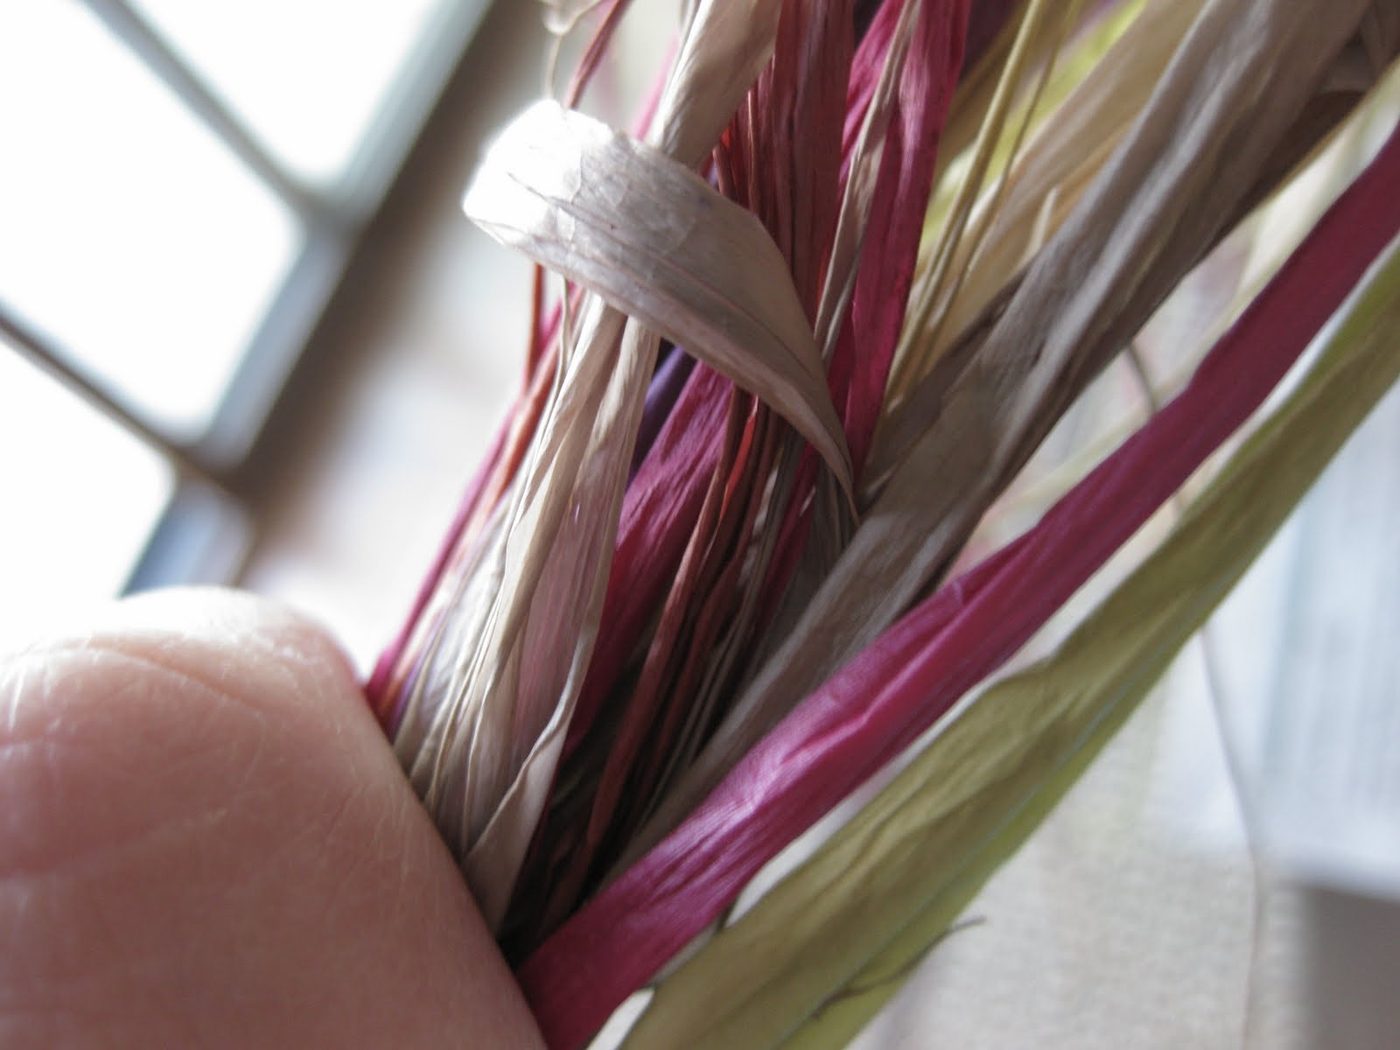 Then I wrapped them around the wreath tightly. I glued the end of the stands to the wreath and then started another bunch of raffia, overlapping the end of the previous bunch so no ends would be sticking out.
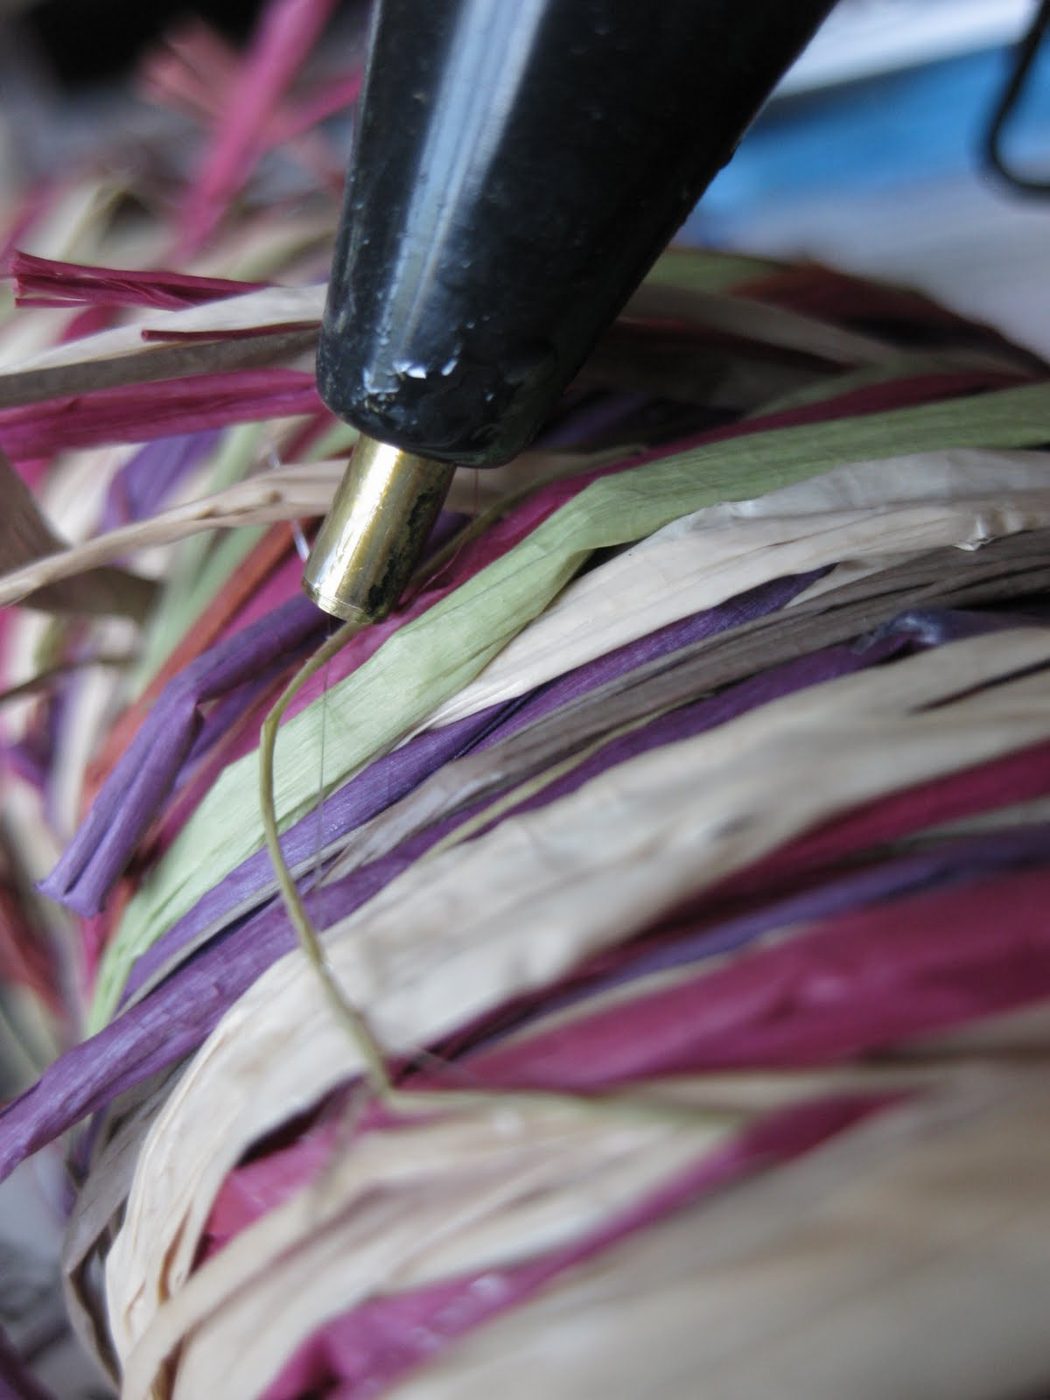 I continued doing this until the whole wreath was covered with raffia.
At the end there were a lot of loose ends and pieces sticking out. I trimmed as many as I could with scissors, and then the ones that I couldn’t trim short enough, I glued down (I tried to do most of my gluing on the back of my wreath where it wouldn’t be seen).
I continued doing this until the whole wreath was covered with raffia.
At the end there were a lot of loose ends and pieces sticking out. I trimmed as many as I could with scissors, and then the ones that I couldn’t trim short enough, I glued down (I tried to do most of my gluing on the back of my wreath where it wouldn’t be seen).
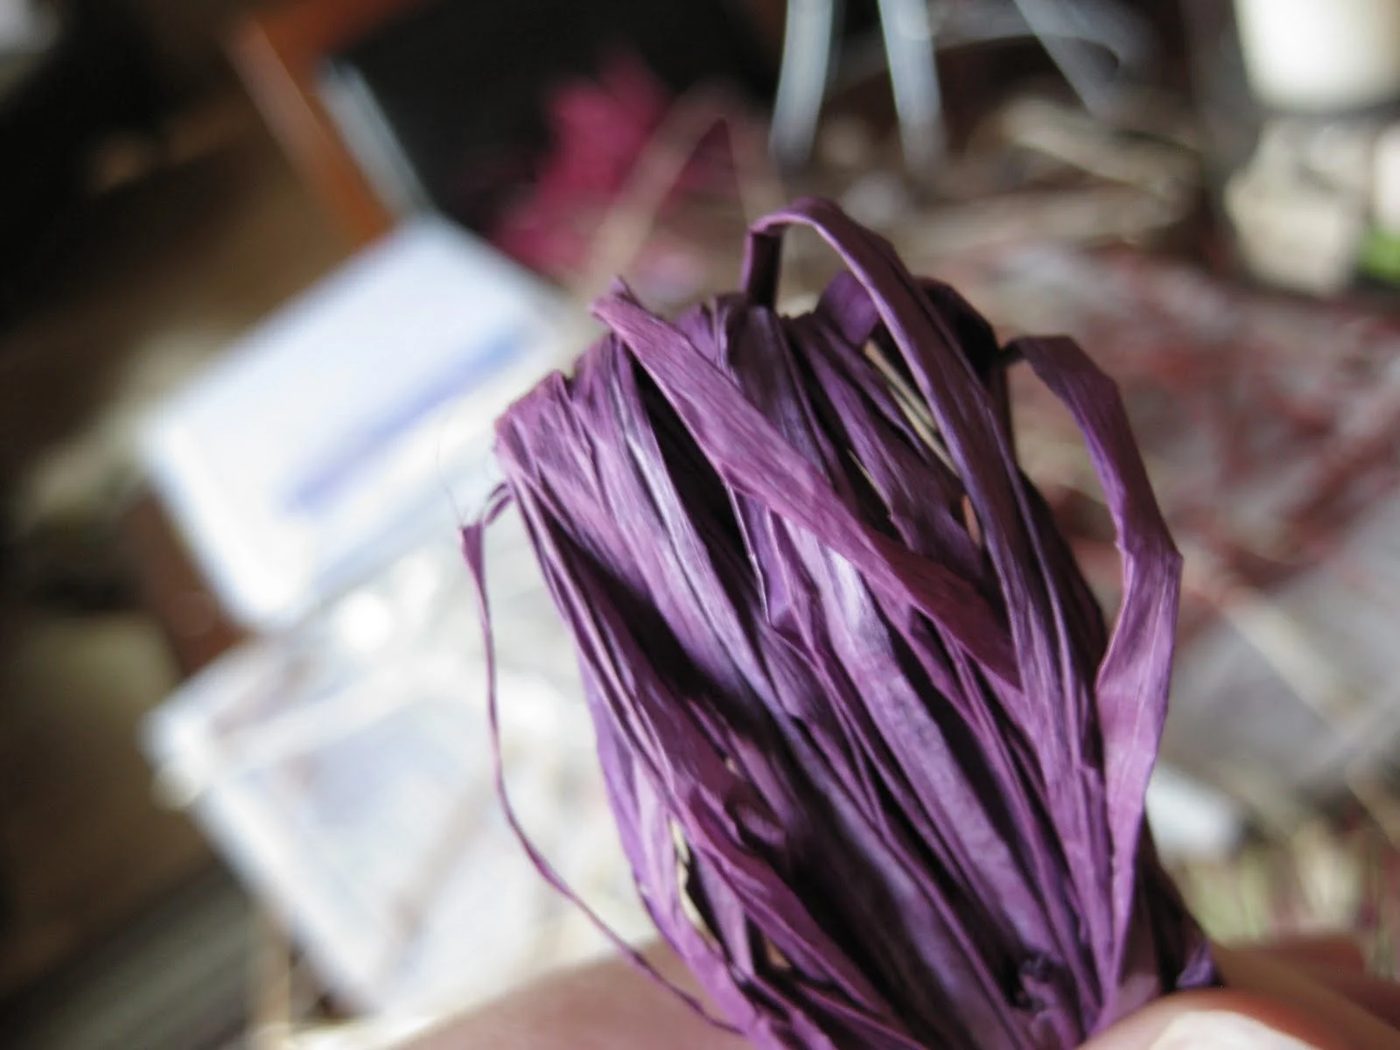
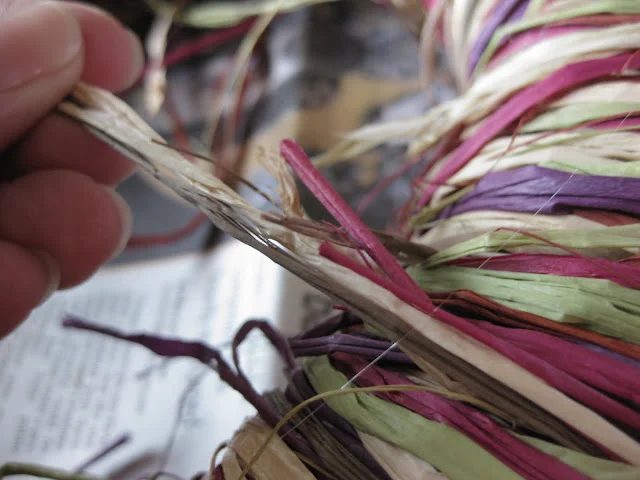 Now that my wreath was done, I decided to make raffia flowers. First I took the purple colored raffia and grabbed five to six strands.
I wrapped it around a cardboard form (or you could use your hand) so that it is uniform and even, like this:
Now that my wreath was done, I decided to make raffia flowers. First I took the purple colored raffia and grabbed five to six strands.
I wrapped it around a cardboard form (or you could use your hand) so that it is uniform and even, like this:
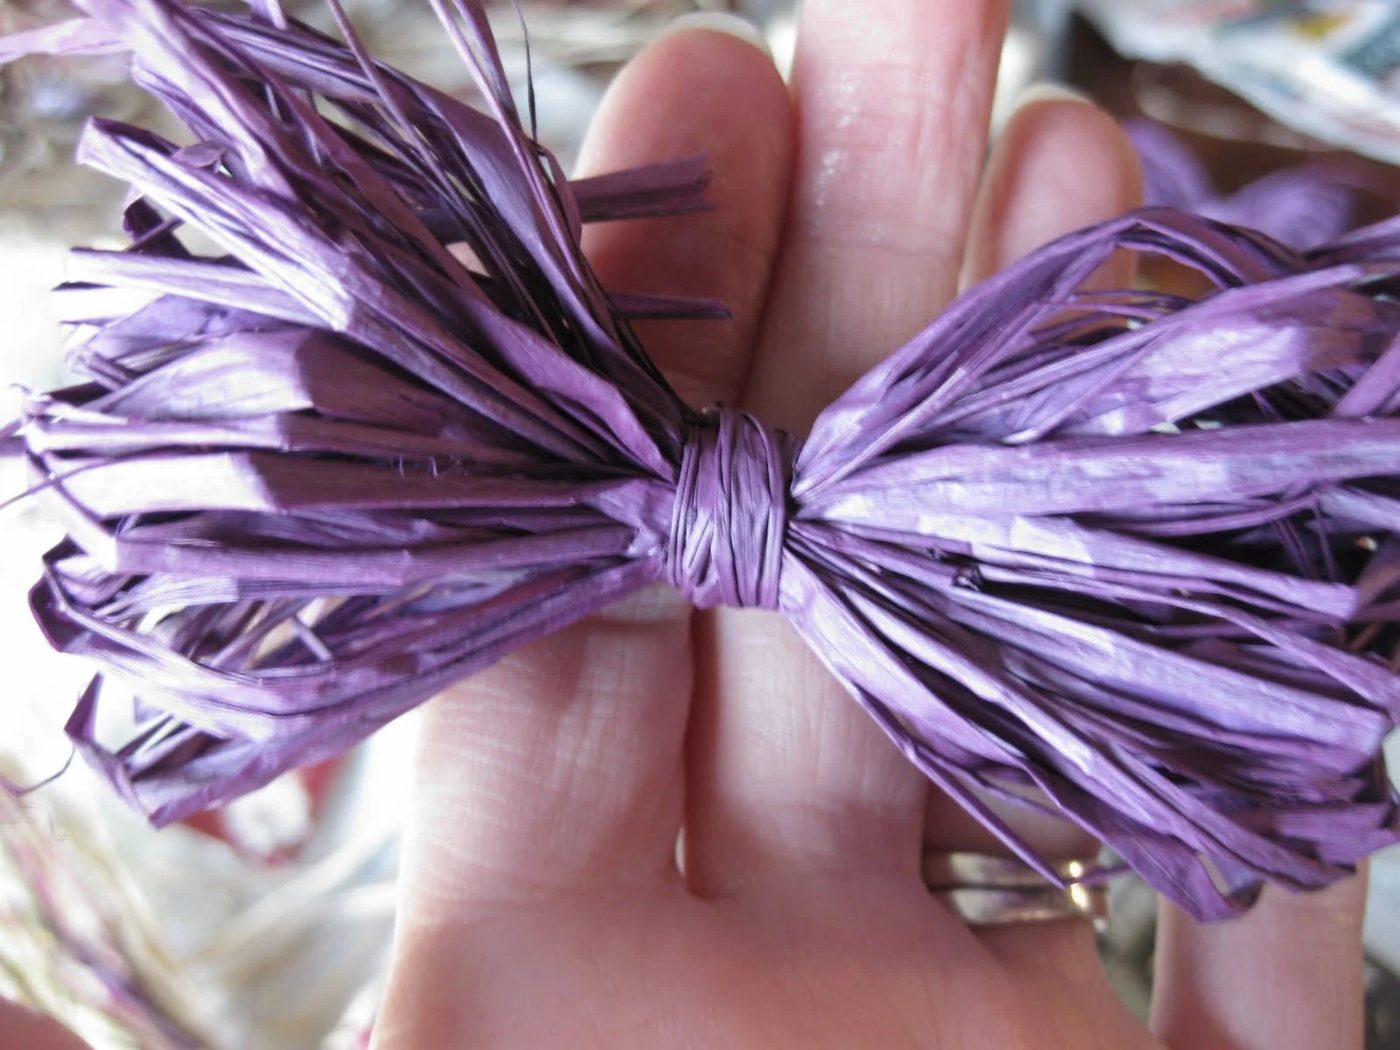 Then I made another “bow”, exactly like the one shown above and glued them on my wreath in an “X” to make a flower.
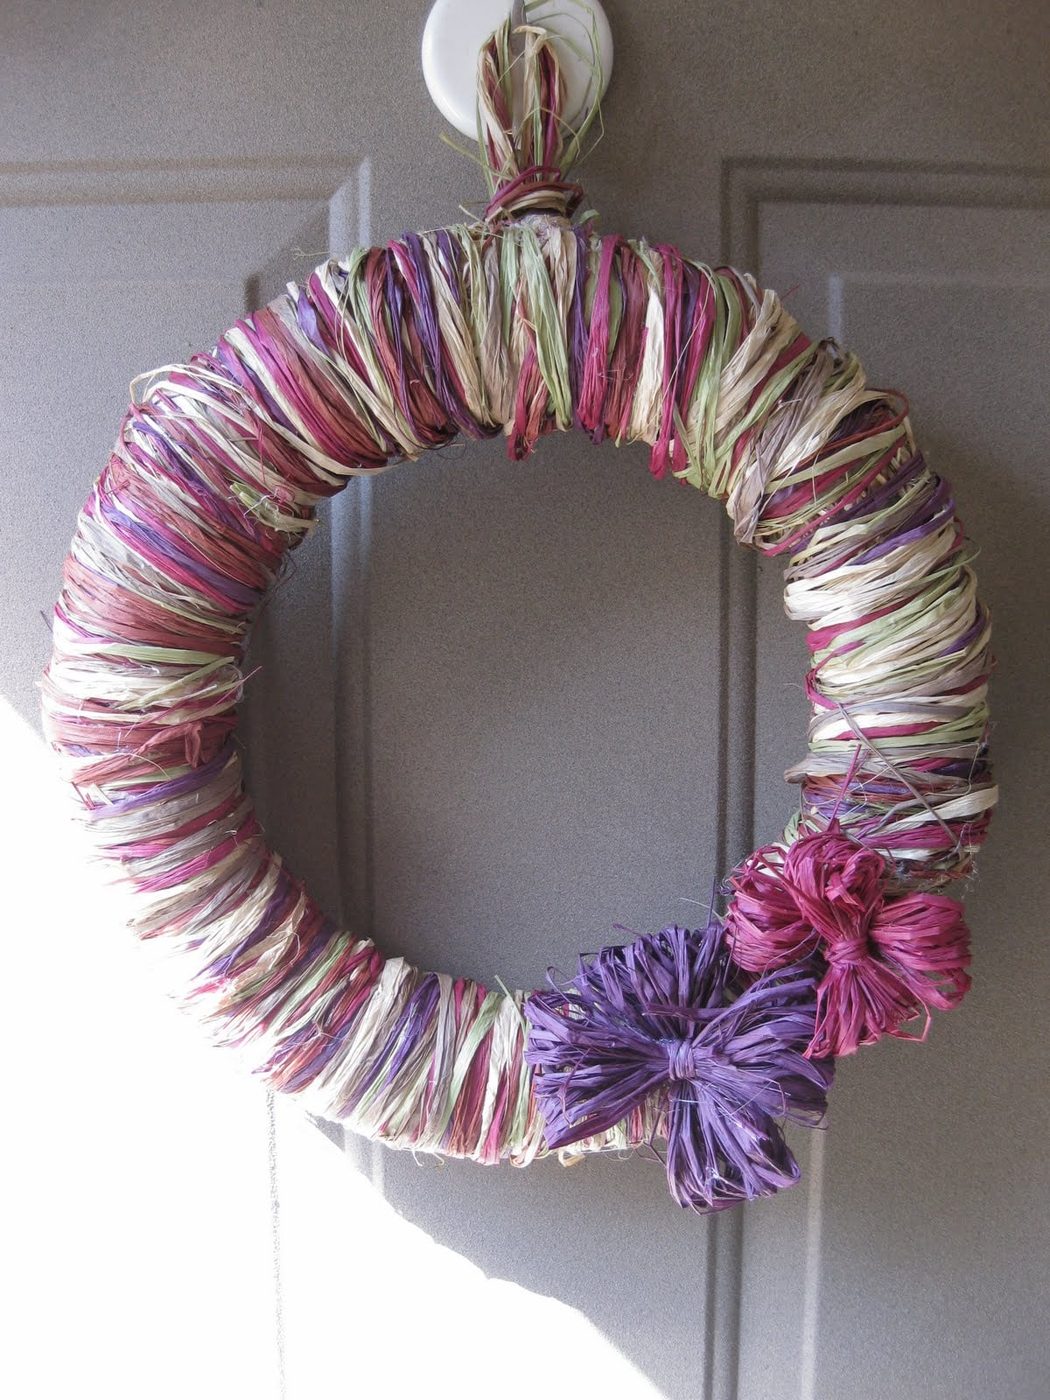
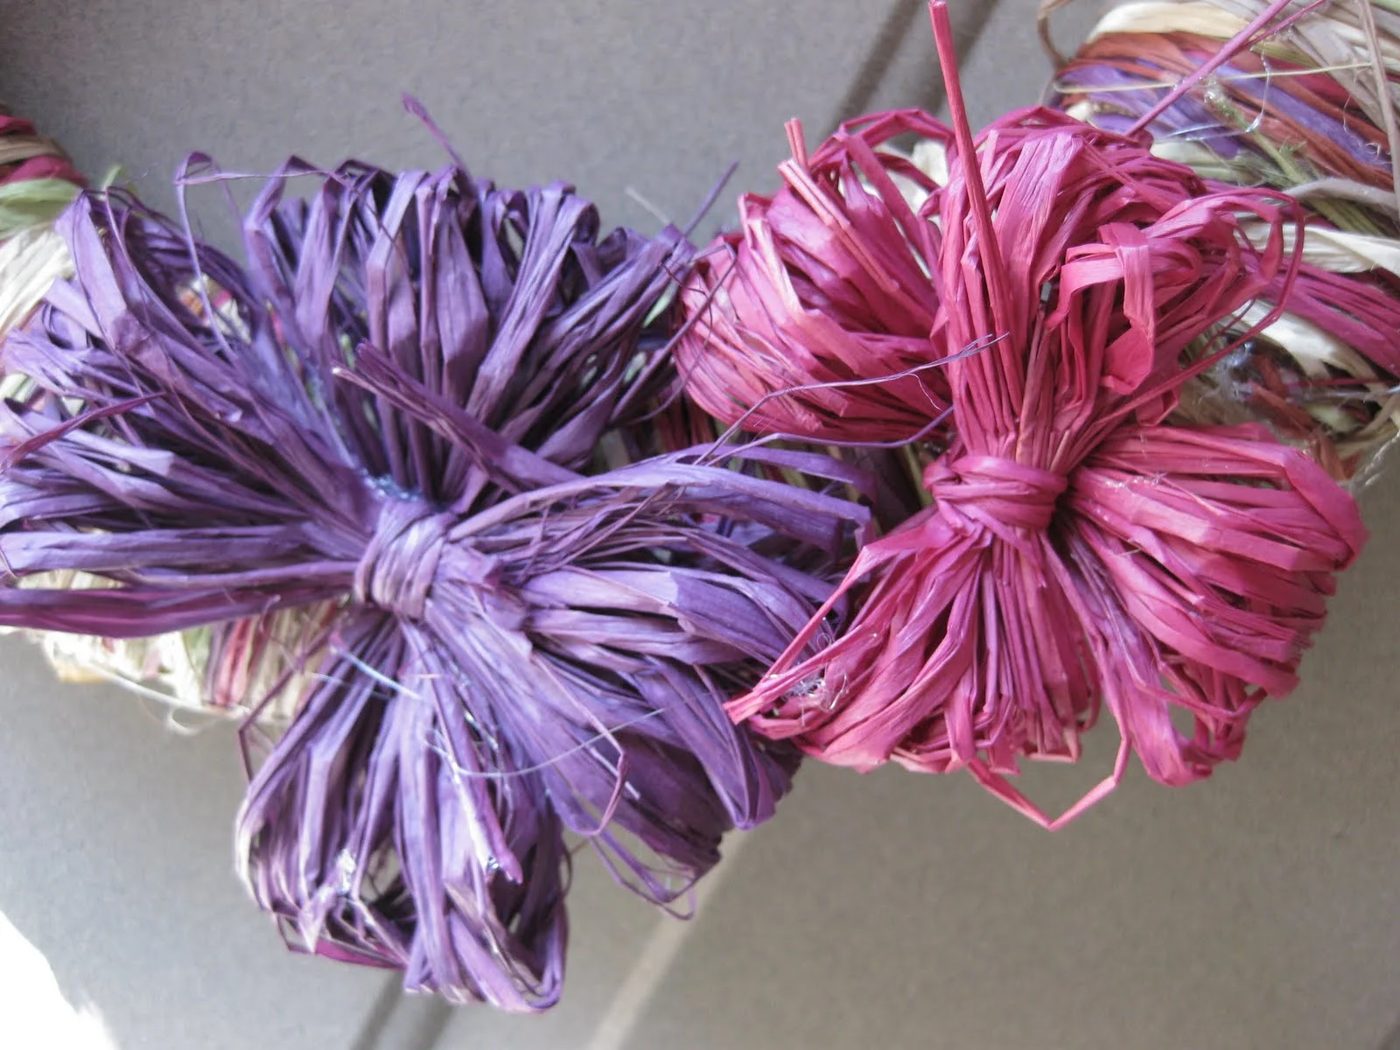 Finally, I hung it on the door and admired it.
What do you think?? I wish there was less pink and purple in there, but I still like it — it still says, fall, right?
Finally, I hung it on the door and admired it.
What do you think?? I wish there was less pink and purple in there, but I still like it — it still says, fall, right?
 Isn’t that fun?
Is this a project you might try?
Isn’t that fun?
Is this a project you might try?