Read the sequence from the top before cutting, painting, or moving pieces.
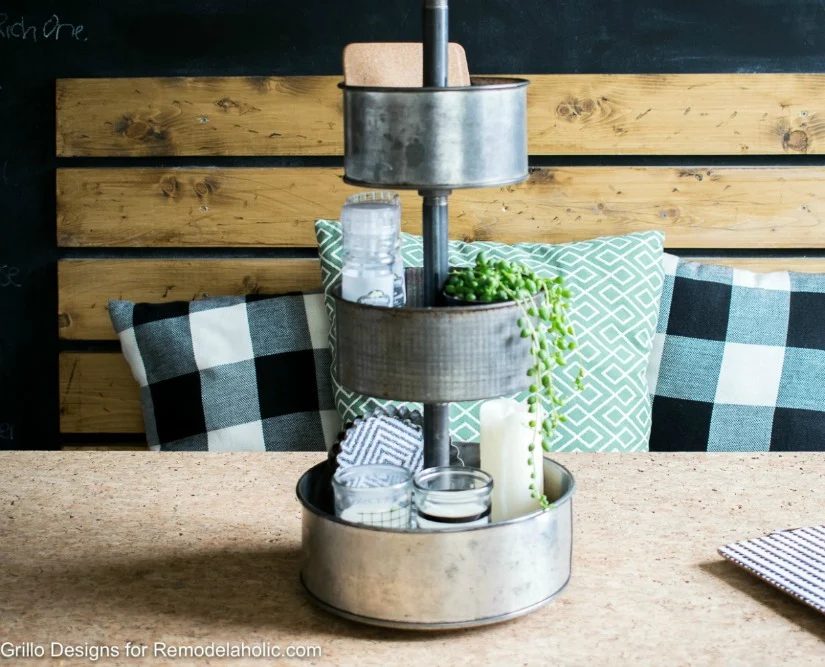
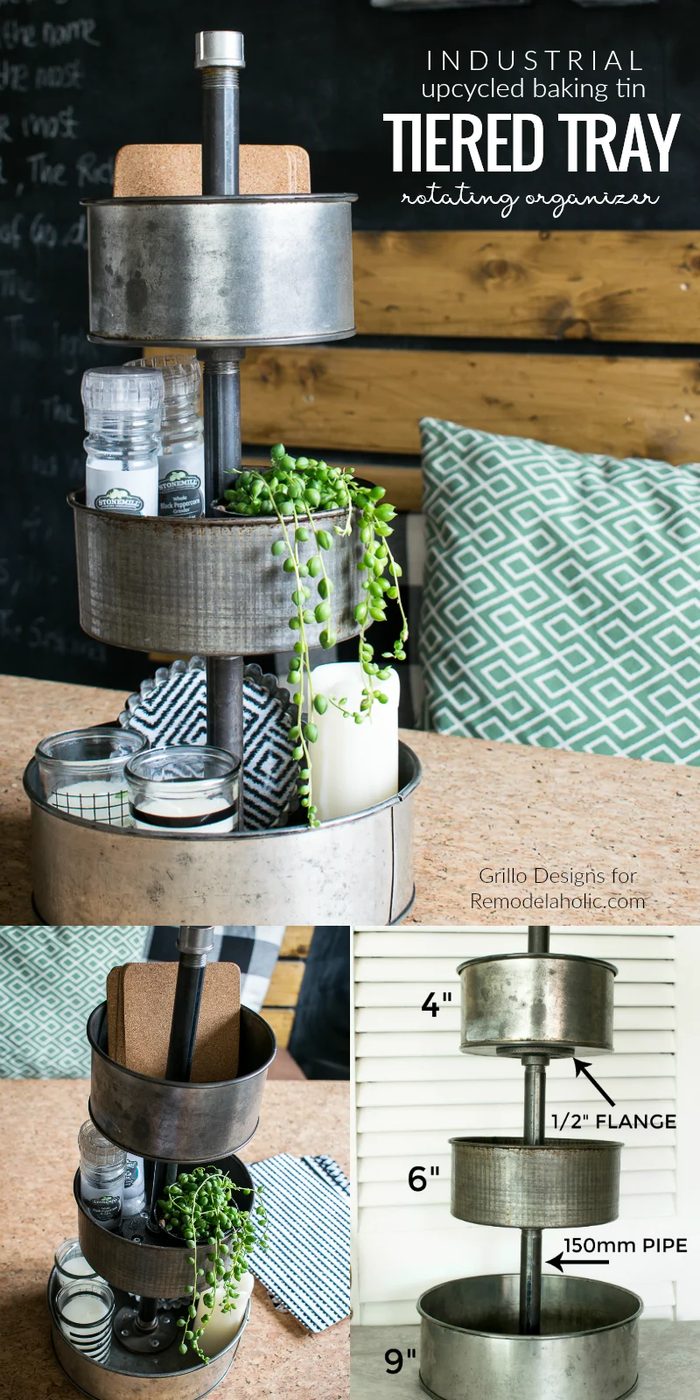
Hi Bekob! It’s Medina here from Grillo Designs. Last month I shared how to make mason jar candle holders and today I’m sharing how to make a rustic 3 tiered tray organizer from baking tins and industrial pipes.
So this year, I’ve had a bit of a love affair with vintage baking tins. I’ve been collecting them since January and it might be getting a little out of control because now and I have a whole cupboard full of them (much to my hubbys dismay). I’ve repurposed these tins into various items so far including tart tin coasters and a baking tin planter.
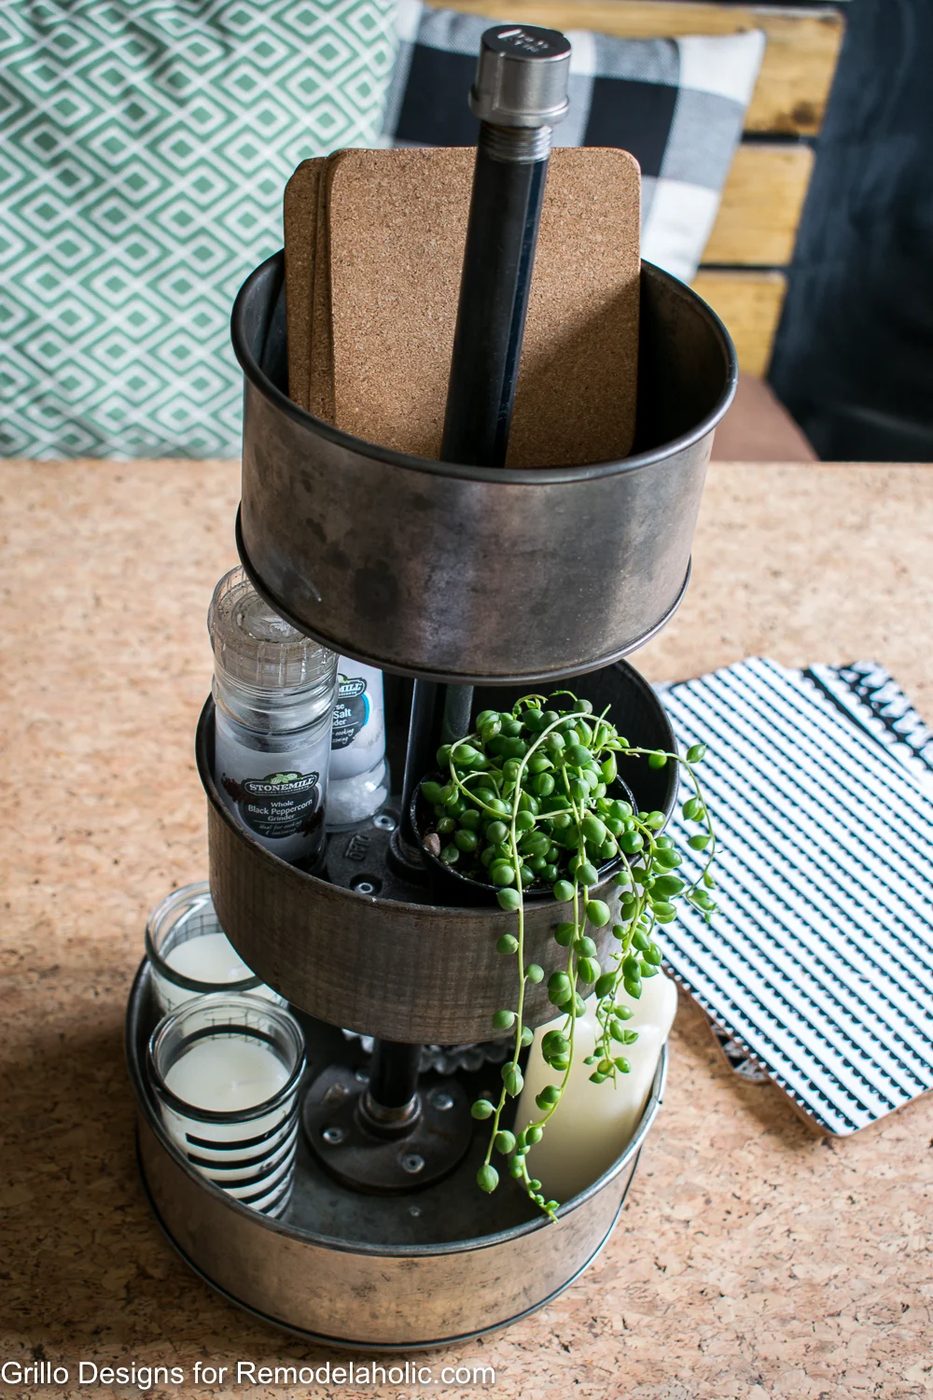
This Handmade industrial tiered tray organizer is my latest baking tin project! It looks a little rusty and battered, but that my friends is the beauty of vintage and industrial – the imperfections!
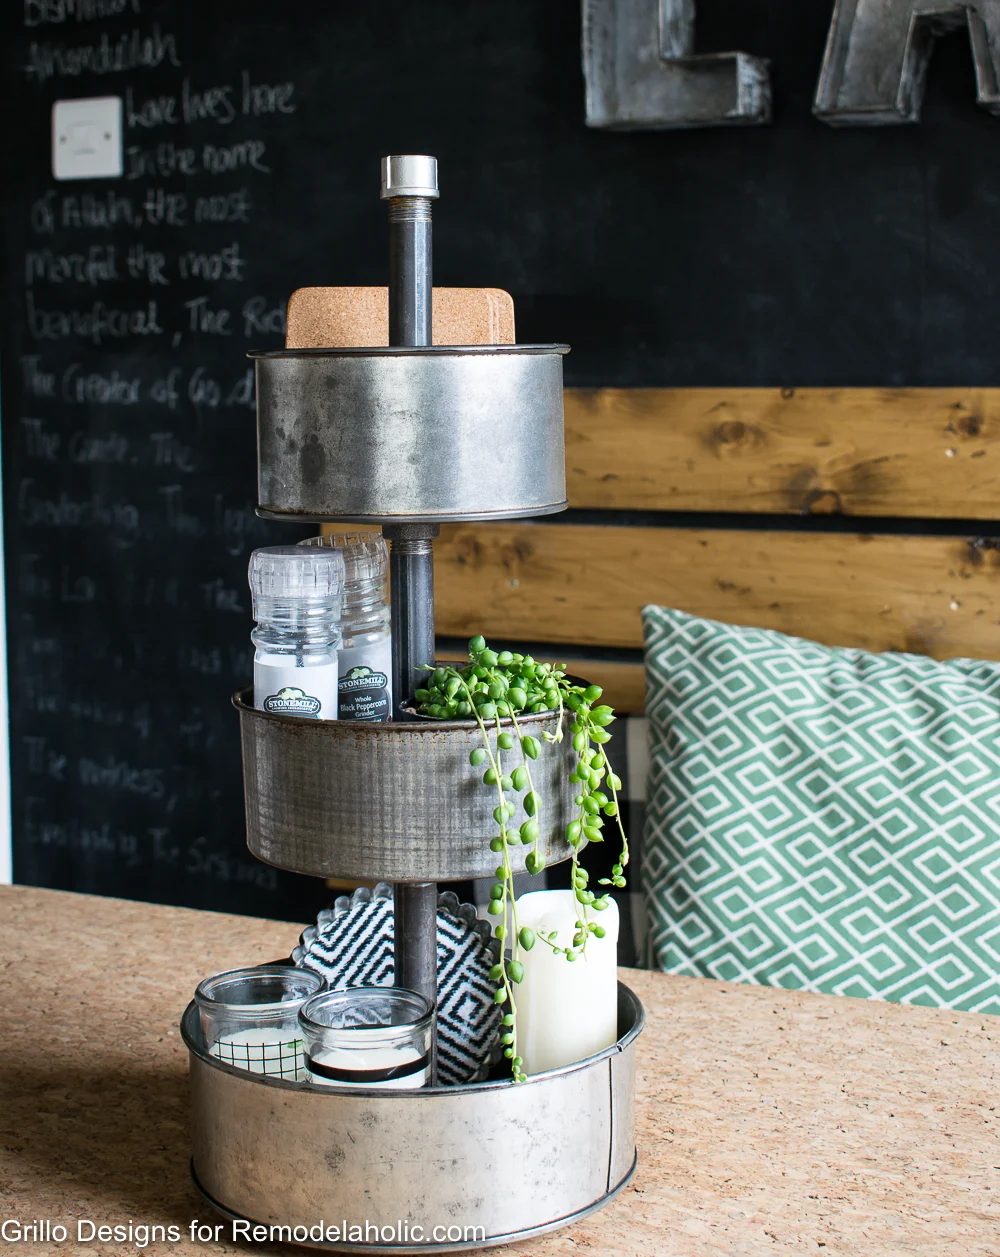 Here’s how you can make your own! Watch the video from our YouTube channel and read the written instructions below.
Handmade Industrial Metal Tiered Tray Organizer from Baking Tins
This post contains affiliate links for your convenience; learn more about how this helps Bekob and read our full disclosure policy here.
Materials used:
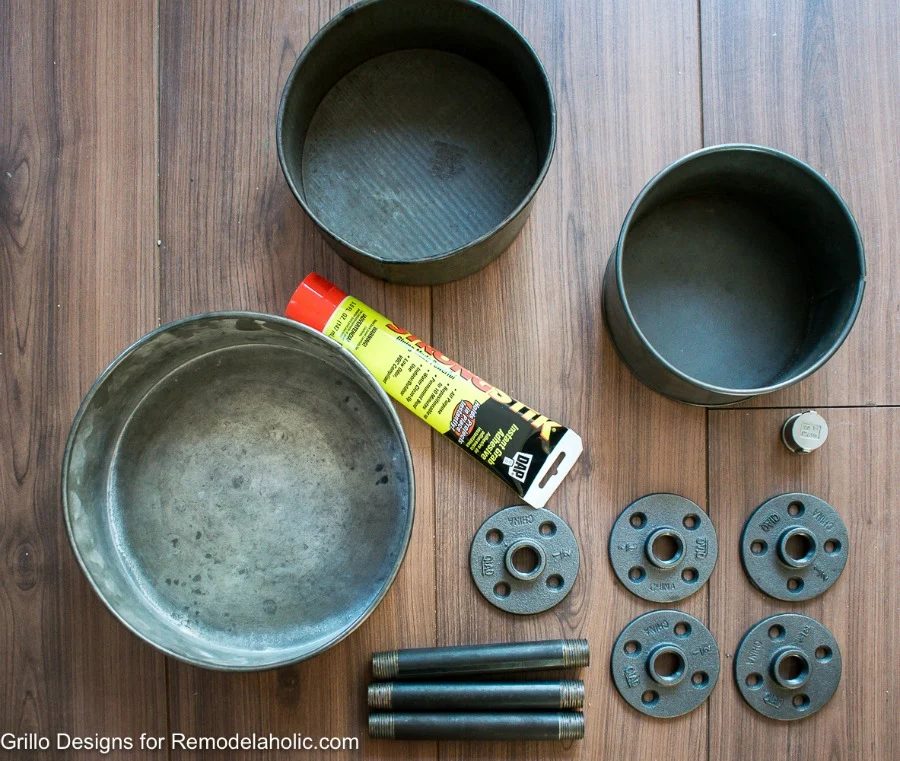
- lazy Susan mechanism (255mm/10″)
- 5 x 1/2 ” pipe flanges
- 1 x 1/2″ cap end
- 3 x 1/2″ 150mm iron pipes
- strong, fast adhesive appropriate for use on metal (like this one)
- 3 x baking tins- I used 9″, 6″ and 4″ baking tins
- Rivet gun and rivet screws (various sizes)
- Electric drill and drill piece
Industrial Metal Baking Tin Tiered Tray Instructions
STEP ONE: Attach the lazy susan turntable mechanism
First you need add the lazy Susan mechanism to the baking tin that will become your base for the tiered stand (use the largest of the three bakings tins ). This is the lazy susan mechanism I used and can be bought here.
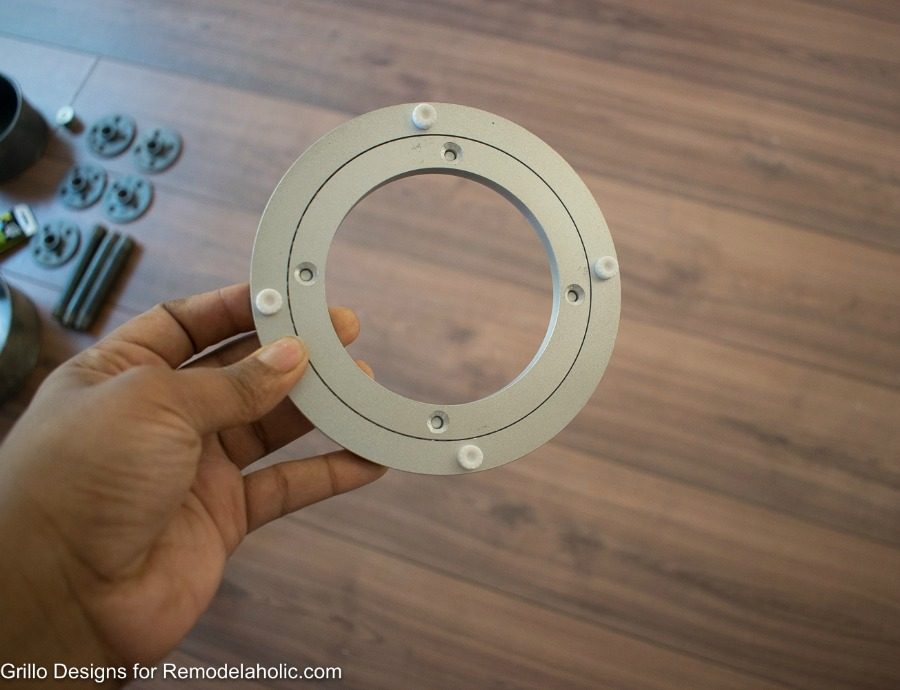
Place the lazy susan mechanism at the center of your baking tin, mark and drill holes with a drill.
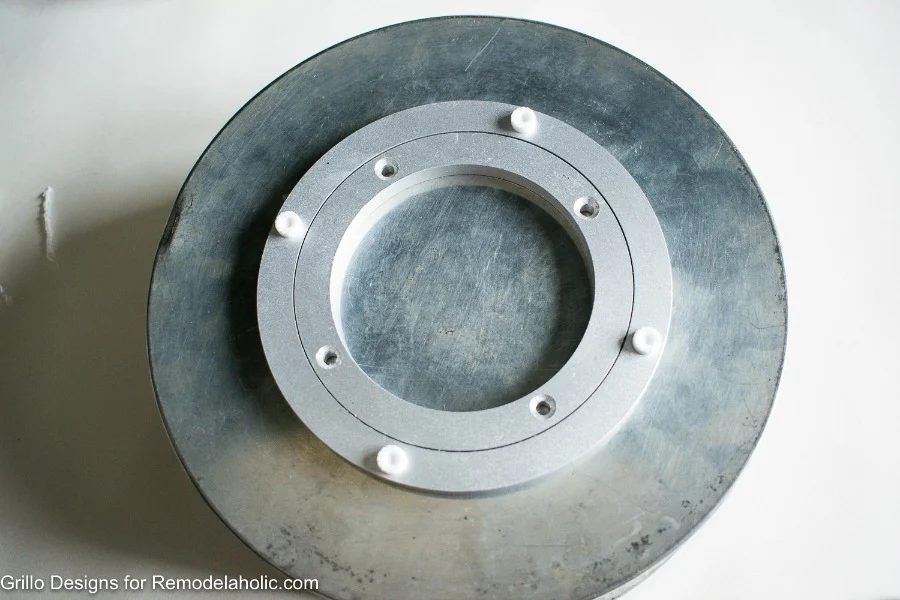
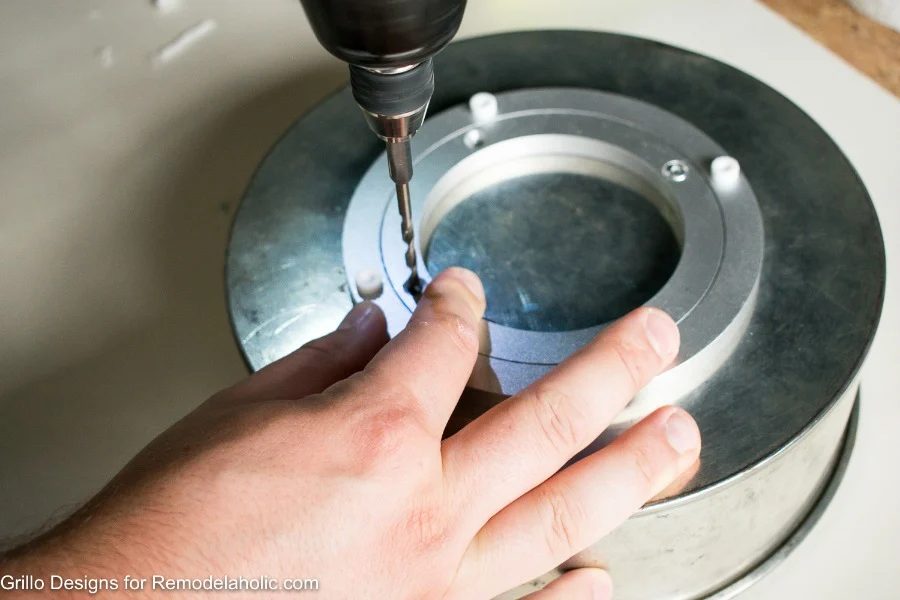
This is where it gets really clever. My husband persuaded me to use a rivet gun for this project rather than using JUST glue as I had originally planned. I’m so glad I listened to him (for a change) , because using rivets turned out to be a much better way to secure the metal pipes against the metal of the baking tins. (I watched this walkthrough on how to use a rivet gun before hand – and thankfully hubby was also around to help!)
The lazy susan mechanism was attached to the underside of baking tin with a rivet gun and rivets (please watch video to see exactly how this was done). We bought a selection of rivets ranging from 3/32” to 3/16”pcs. Choosing the right sized rivets depends on the size of the holes drilled.
Once flipped over, the inside of the baking pan looked like this
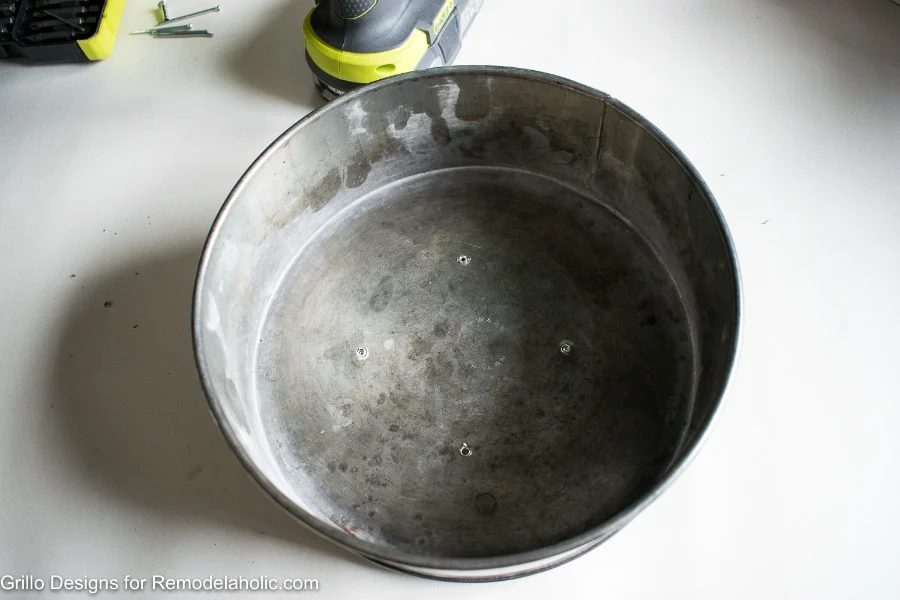
STEP 2: Attach the pipe flanges
You will need a total of 5 iron flanges. 3 of them will go inside the baking pans, and 2 for the underside of each baking tin.
Place the pipe flange in the center of the 9″ baking pan, mark and drill holes that align with the flange screw holes.
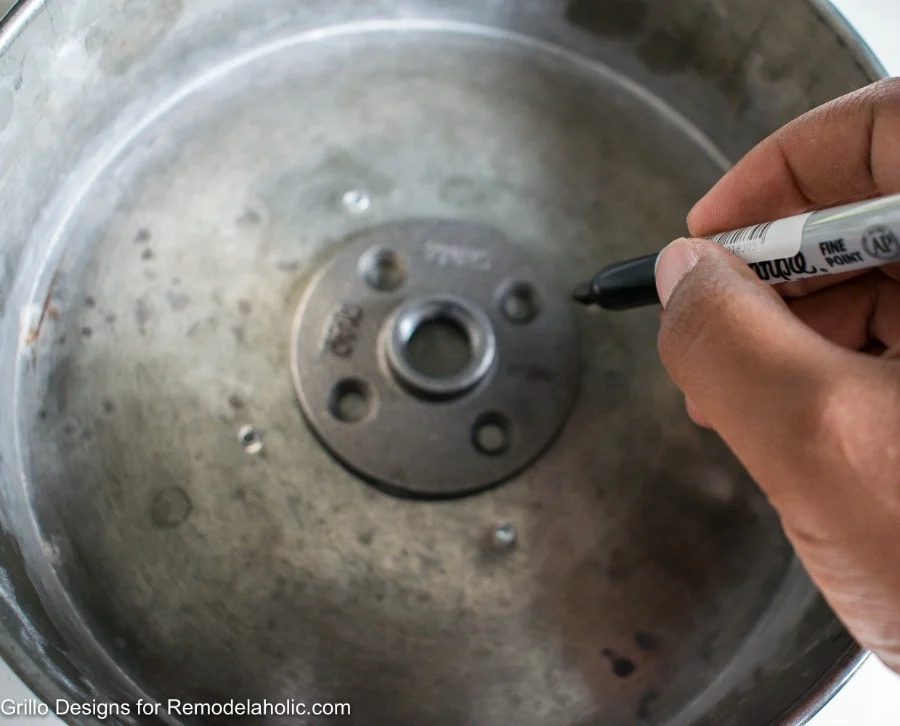
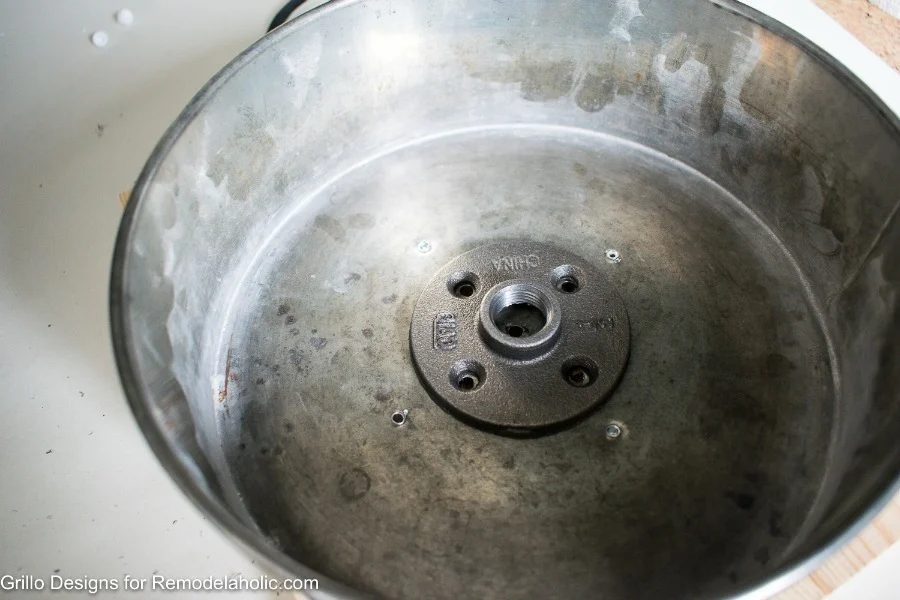
Use 4 rivets to the pre-drilled holes to secure the flange in place.
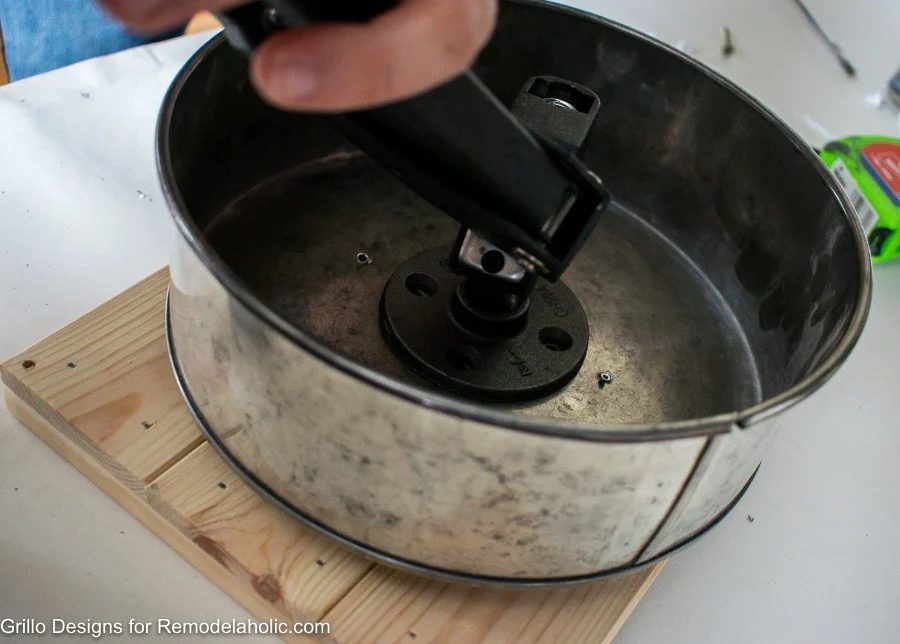
You will need to repeat these steps for the two other smaller baking tins.
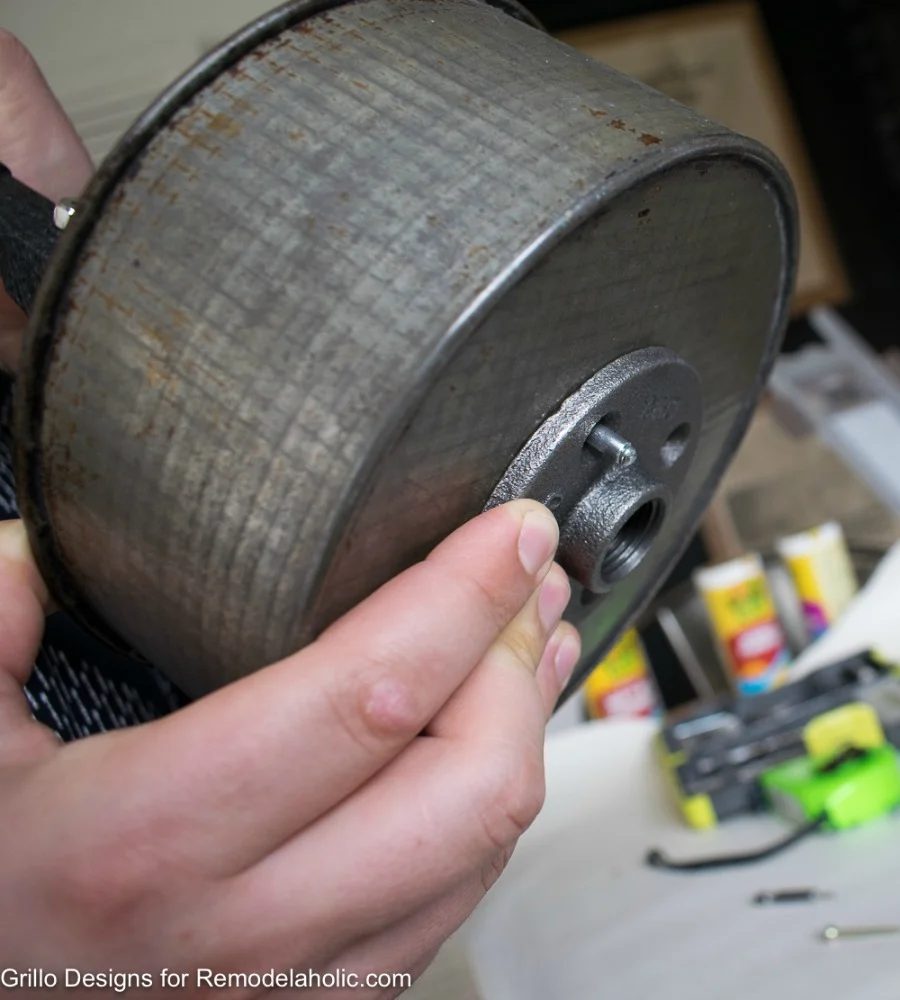
NOTE: We used this glue to attach the iron flanges to the underside of the two smaller baking tins and left them to bond overnight.
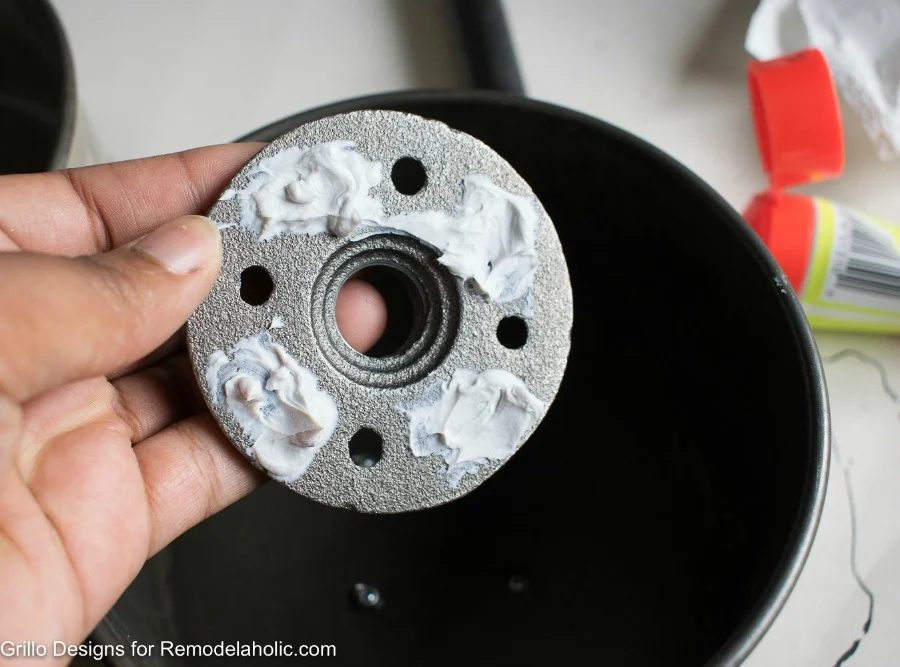
STEP 3: Assemble
Once you are happy that all your pipe flanges are secure, all that’s left to do is build the tiered stand. Screw the 150mm pipes into the flange of the largest pan.
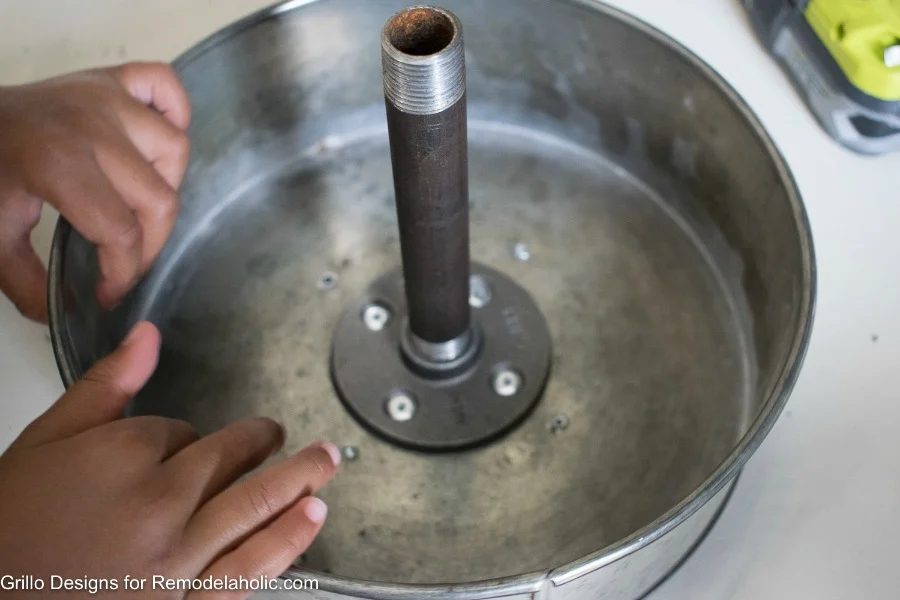
Then screw the underside of the 6″ baking pan to the end of this pipe, and repeat this process with the 4″ pan. When you attach the last pipe, add the pipe cap! You should end up with something like this
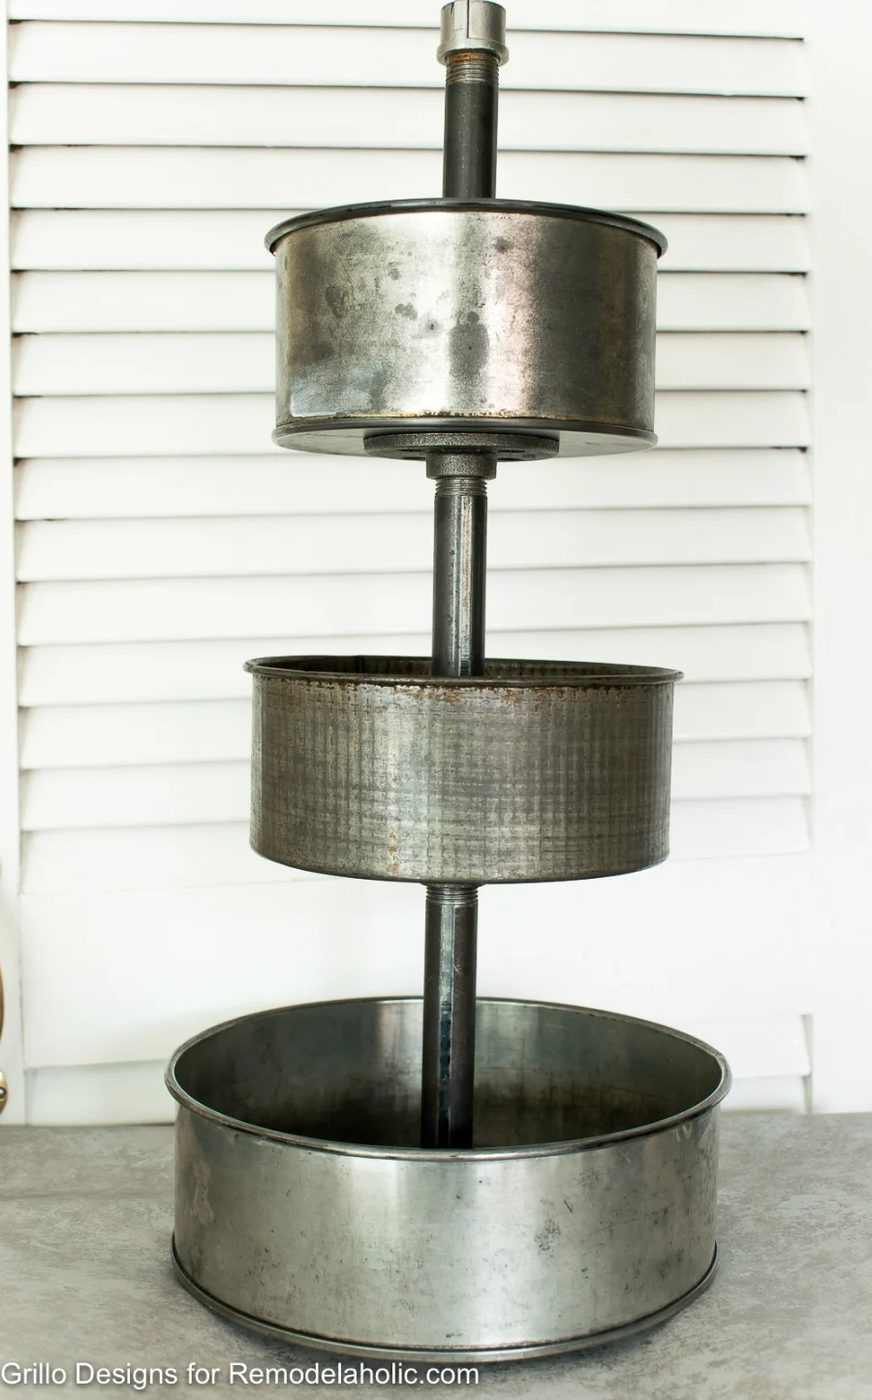
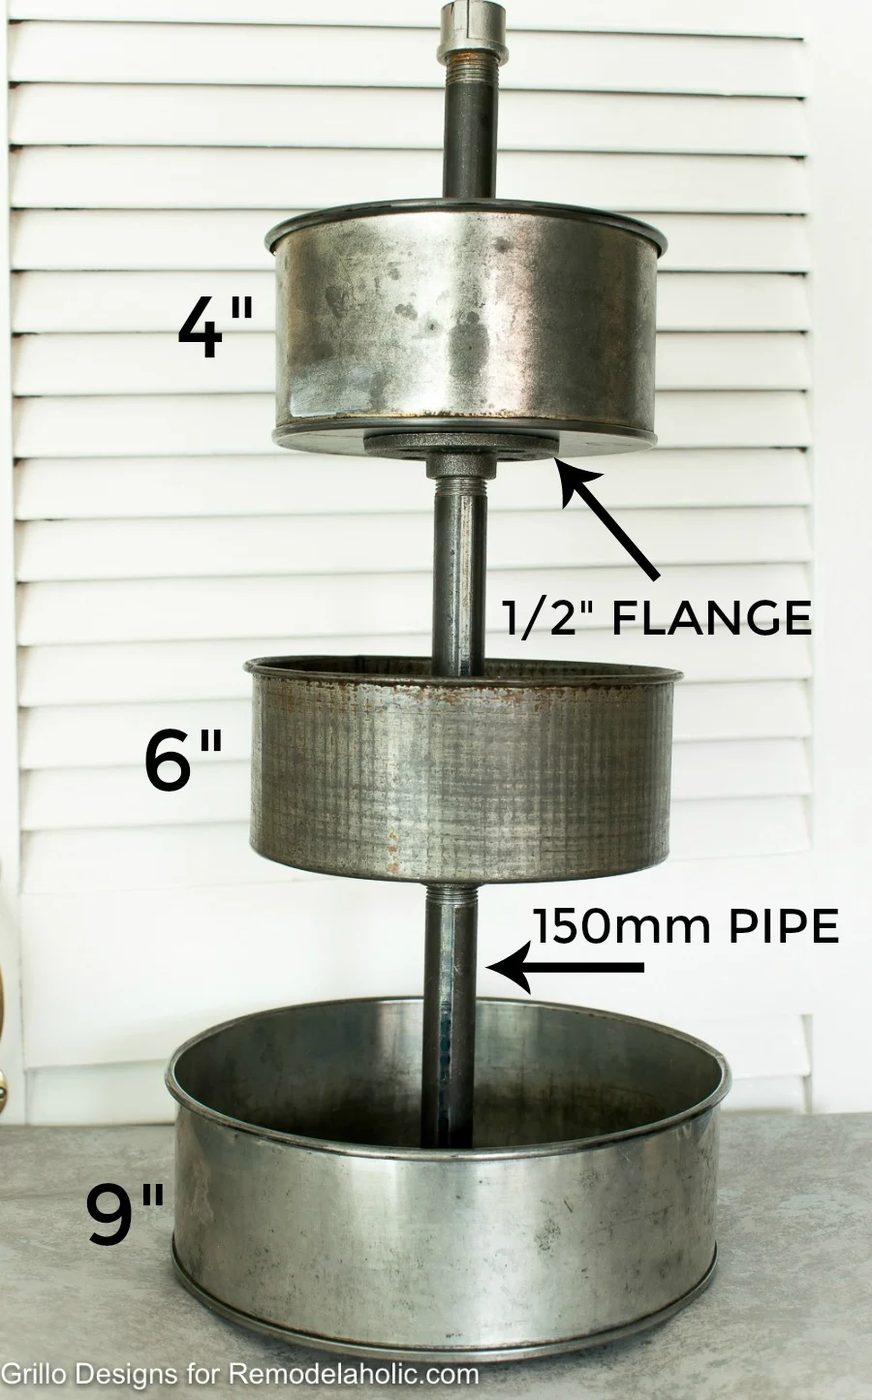
And thats it! Now you just need to decide what you want to use it for
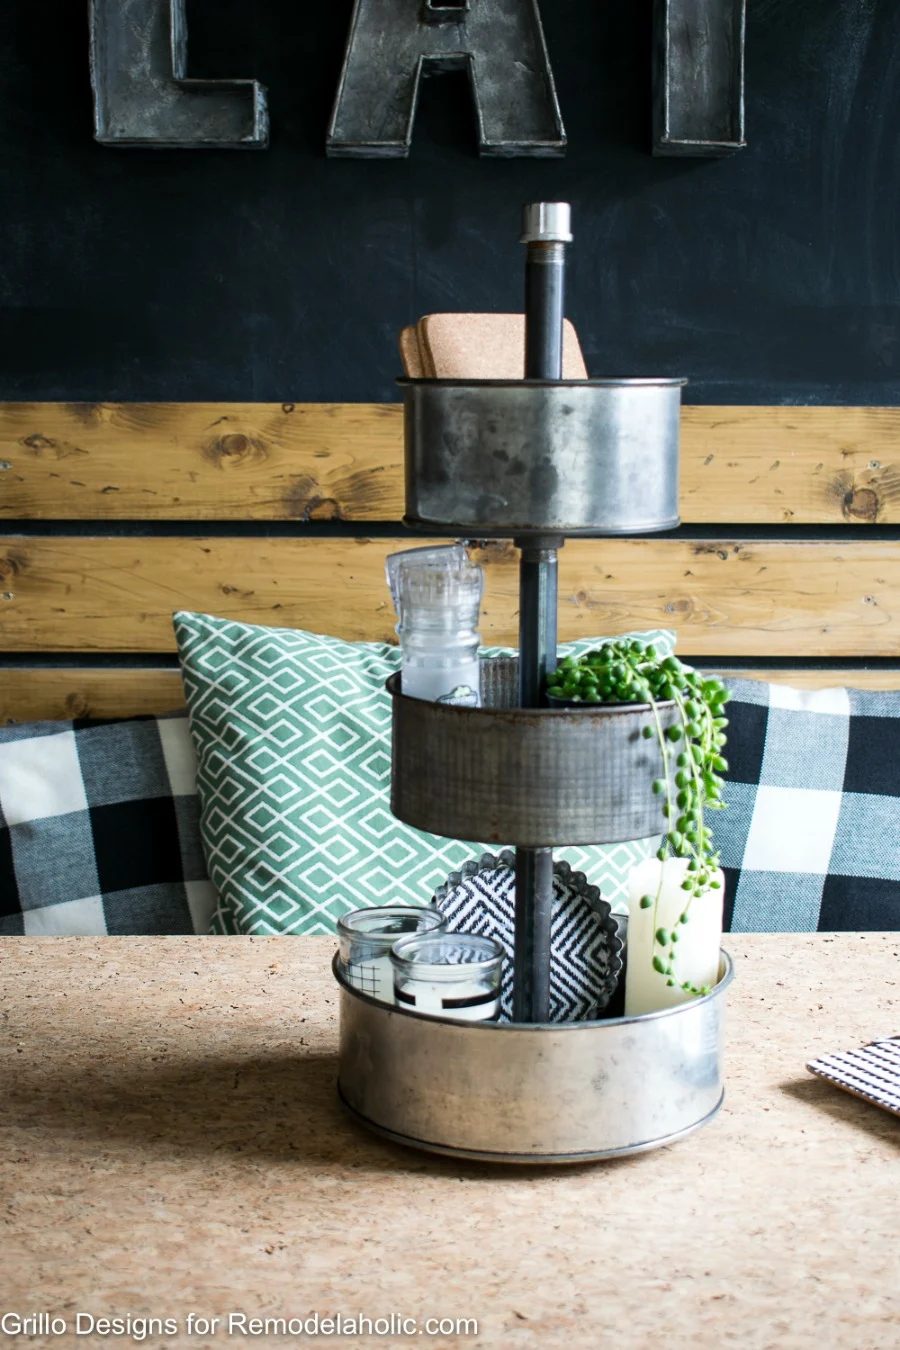
I hope you enjoyed this walkthrough. If you have any questions please leave me a comment below!
YOU MIGHT ALSO LIKE:
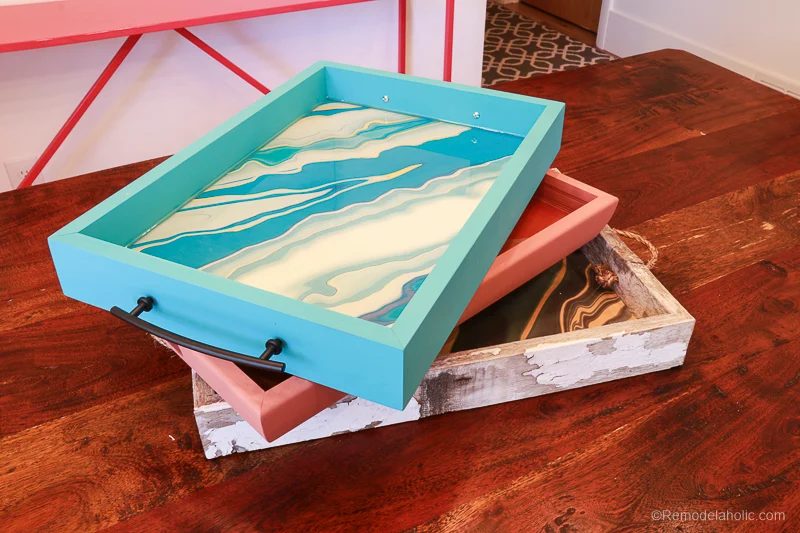
Printable Agate Patterned Breakfast Tray
10 Places You Should Be Using Trays in Your Home plus our go-to modest-cost-Friendly Trays

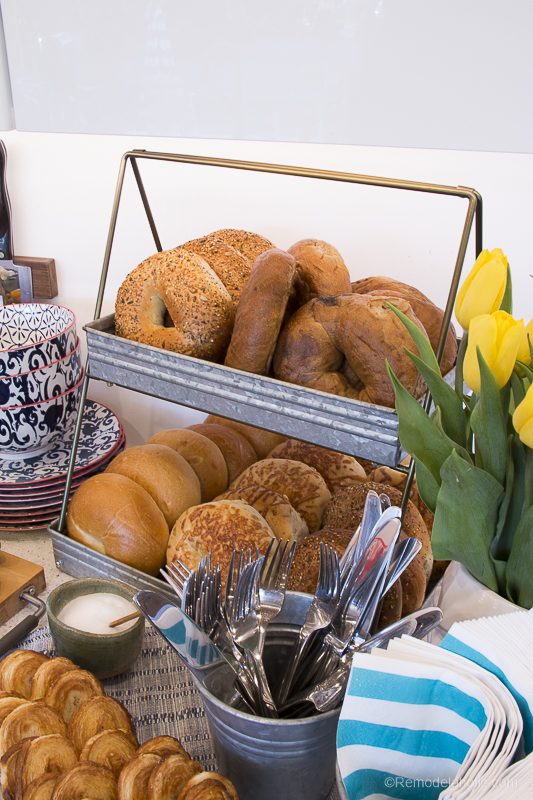
(plus look at this two-tiered metal serving tray we used here)
Handmade Ladder Plant Stand