The steps below follow the order of the work for this makeovers project.
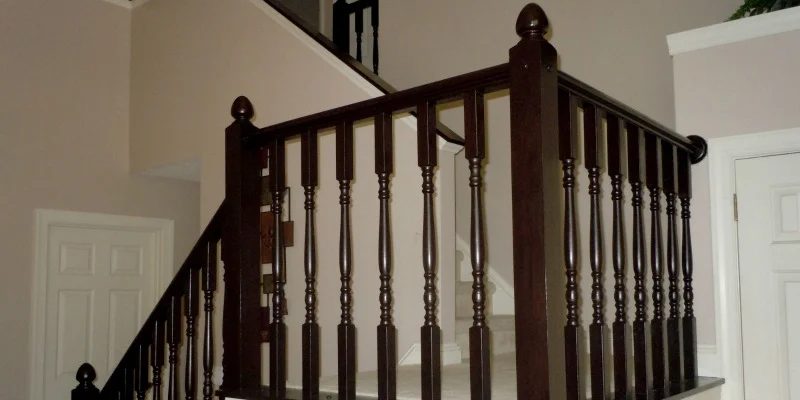
When we talk beautifying a builder-grade home, we hear two complaints most: builder beige (or “nicotine white”) paint and builder-grade oak — everywhere! If you’re looking to upgrade your honey oak stair railing, cabinets, or other oak fixtures, gel stain is a great way to update without having to do all the work of completely sanding everything down and restaining it. Our guest today is sharing her stair banister makeover: just look at the before and after!
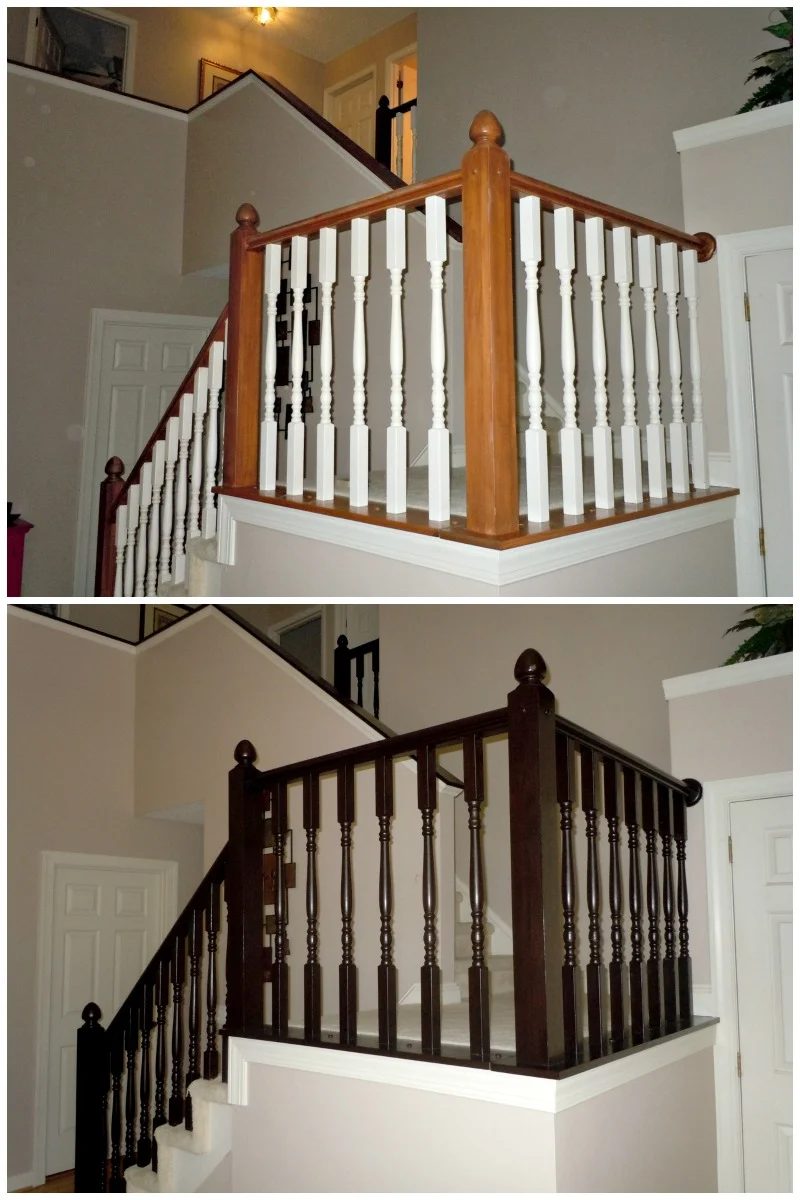
Scroll down for the info on how Delia updated her banister, and look at this post for ten more great stair makeovers:

Handmade Stair Banister Makeover Using Gel Stain
by Delia of Semi-Domesticated Mama
Hi y’all. I’m Delia- a sassy southern mama blessed with one hot husband & five crazy kids who think the cleaning fairy is a real thing. I share the best parts of raising a large family as well as the challenges of being mom of a special needs child and a foster/adoptive parent. I am on a mission to tame the chaos in our home- you can read all about that in my 31 Days to an Organized & Clutter Free Life series. I spent this summer completing a whole house remodel- from gel staining the kitchen cabinets to designing a fun shared bedroom for my son & daughter– and now I’m busy trying to convince my husband we need to turn our deck into a sun room. Wish me luck.
Gel Staining The Stair Banisters
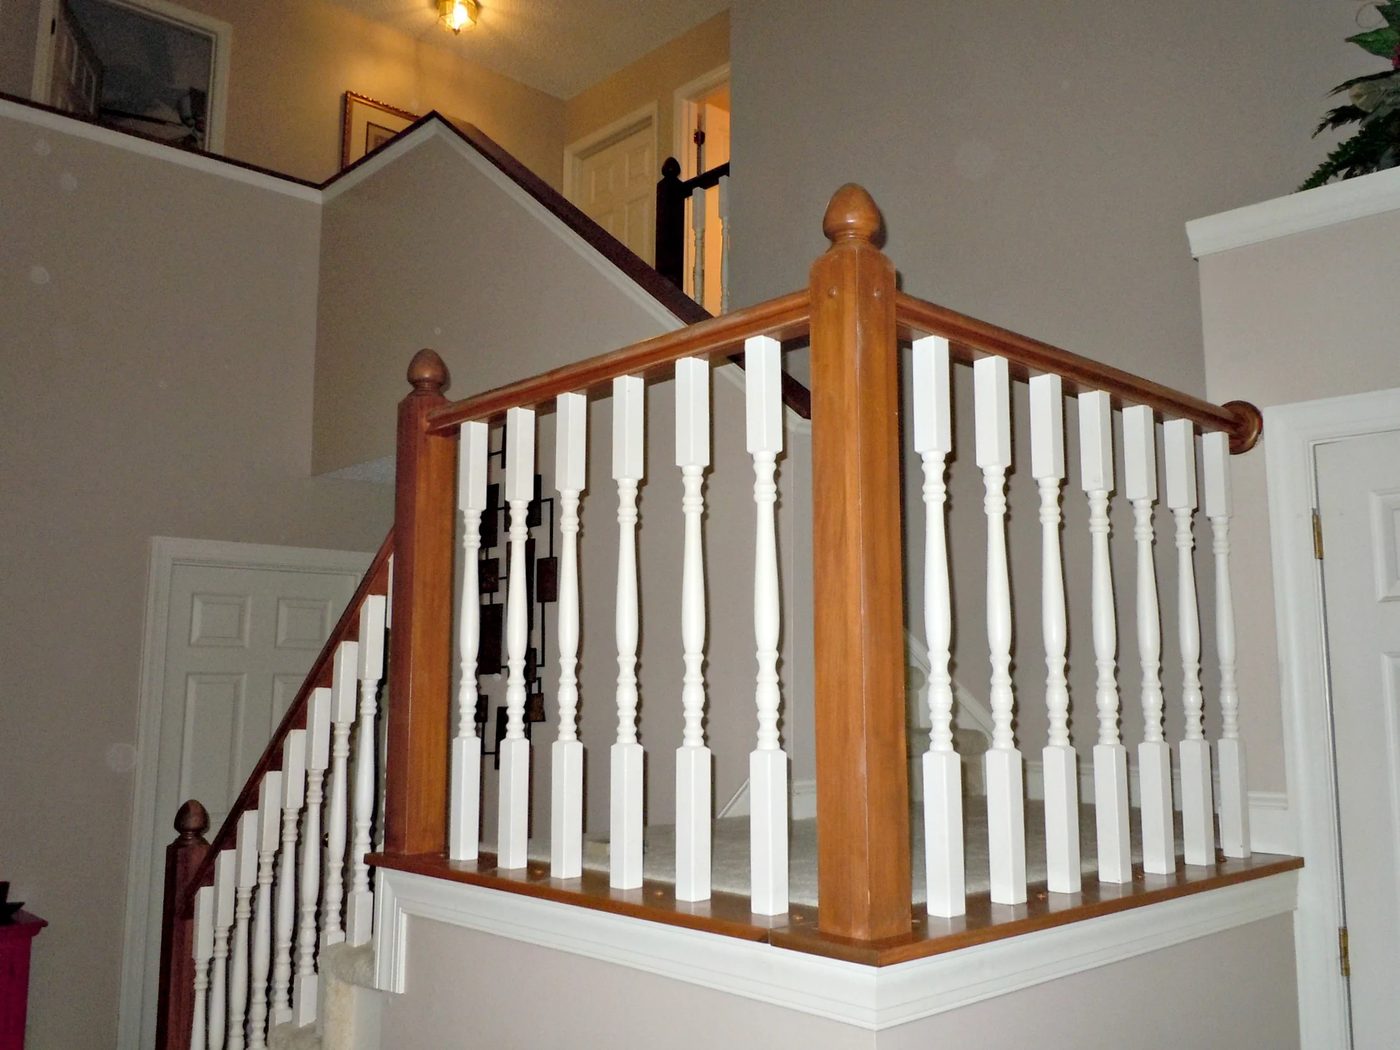
Our stair banisters and rails were original to the house and were a basic builder grade oak color with white rails. The varnish was chipped and peeling off on the banisters while the rails were old and faded. I had been putting off the project for awhile but something had to be done. The banisters and rails are literally the first thing you see when you enter the front door- and they were not making a great first impression. 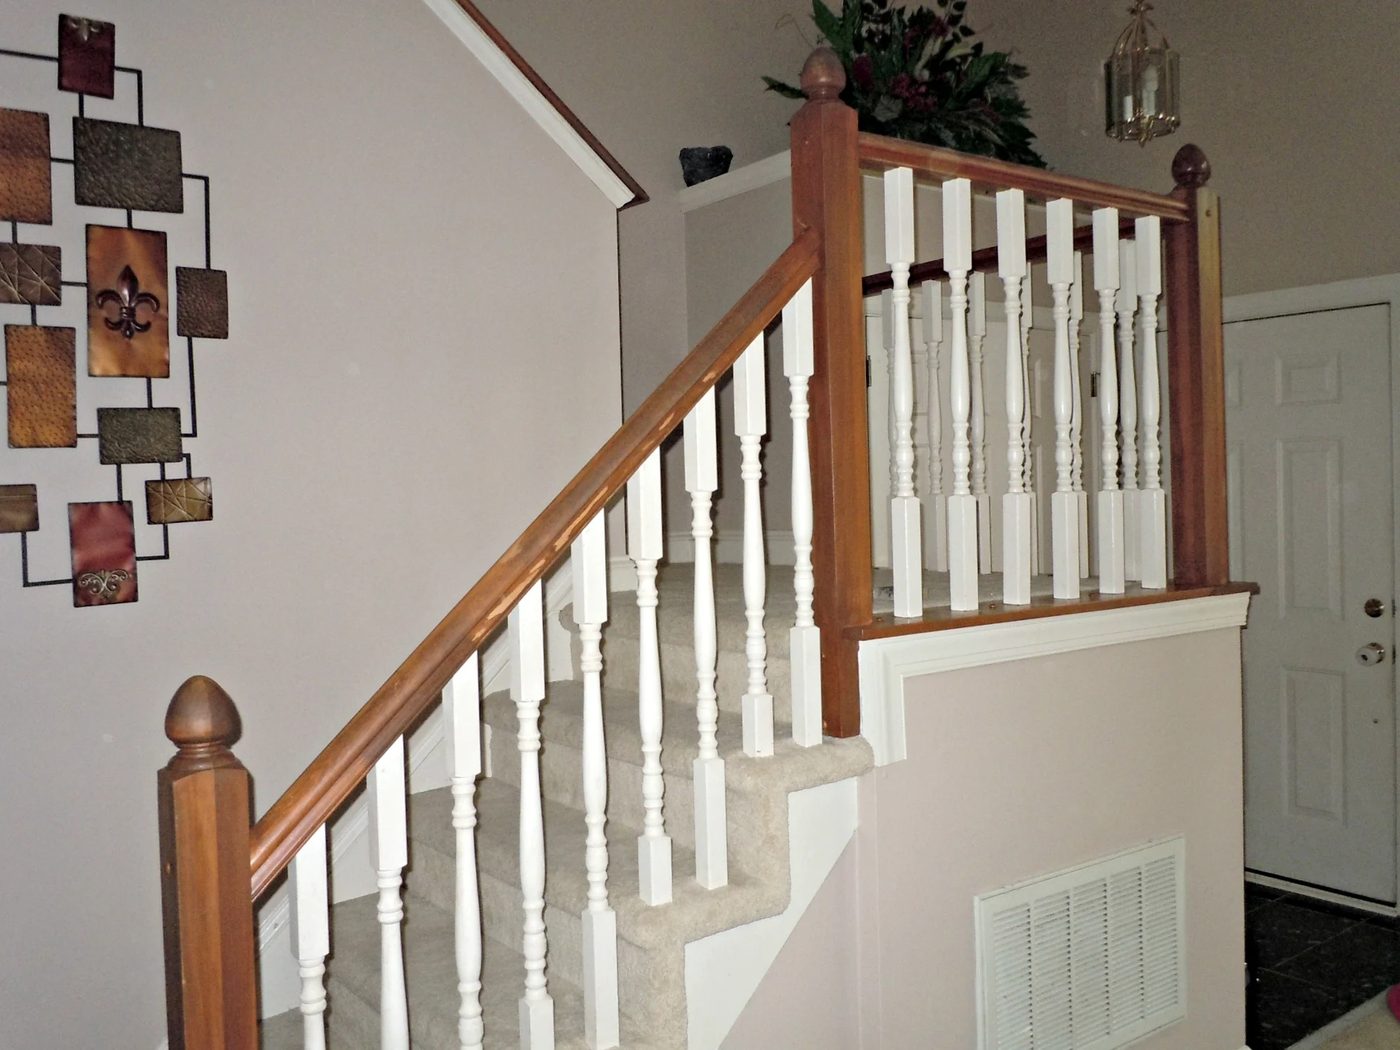
This post contains some affiliate links for your convenience. Click here to read our full disclosure policy.
I decided to use gel stain instead of regular stain, mainly because I did not want to strip the wood down completely. I wanted maximum effect with minimum effort. The gel stain allowed me to achieve the results I wanted without the hassle involved with using regular stain. I used General Finishes Gel Stain in the color Java (Bekob note: you can buy General Finishes Gel Stain in Java here on Amazon or find a store near you). I highly recommend this product and this walkthrough is based only on the use of this product.
The prep work is probably the most important step when you use gel stain. You cannot skimp on the prep or you will not get the results that you’re wanting from the finished product. For this project you will need the following materials:
- Lysol scrubbing wipes
- sanding block
- Painters tape/masking tape
- several white athletic socks
- pack of latex gloves
- small foam brushes
Step-by-Step Gel Stain Process
- Clean the surface of the wood with Lysol scrubbing wipes & allow to dry completely.
- Use a sanding block and lightly sand all the wood surfaces. Be sure to sand with the grain so you don’t create deep scratches or gouges in the wood. Use cheesecloth or a damp paper towel to remove any dust particles.
- Tape the walls, baseboards, and carpet around the banisters and rails. Make sure you are very precise- gel stain is hard to get off of carpet. You can even use plastic sheeting and tape that down if you’re really concerned about your carpet. I used painters tape on the walls and thick masking tape on the carpet.
- Apply a light coat of stain. The gel stain has a consistency similar to pudding. I wore double latex gloves with a white athletic sock over top to apply the stain. It’s much easier and faster than using a brush. For the grooves and crevices I used a small foam brush. The key to gel stain is to apply very light coats. If you glob on a thick coat you will regret it. Wipe the stain on with the grain. Do not wipe it off. Allow the first coat to dry- depending on the humidity where you live the drying process can take anywhere from 12 hours to 5 days. I chose to stain my banisters during a heat wave because clearly I lack common sense. It took my banisters 5 days to dry and it took the rails 3 days. You must wait for them to be completely dry before starting the second coat, otherwise you will just wipe the first coat right off and have to start over.
- Repeat the same process for the second and third coat. If you are staining over paint- for example, my rails were painted white- you should plan to do at least one extra coat to cover the painted surfaces. Otherwise three coats seem to be the magic number.
- Allow the finished product to dry for 24-48 hours. I allowed my banisters and rails to dry for a full 48 hours before I applied the top coat.
I used General Finishes satin poly/acrylic top coat for the finish. (Bekob note: you can buy General Finishes Poly/Acrylic in Satin here on Amazon or find a store near you) Apply it using the same white athletic sock/small foam brush method. I let the first coat dry for 6 hours before doing the second coat.
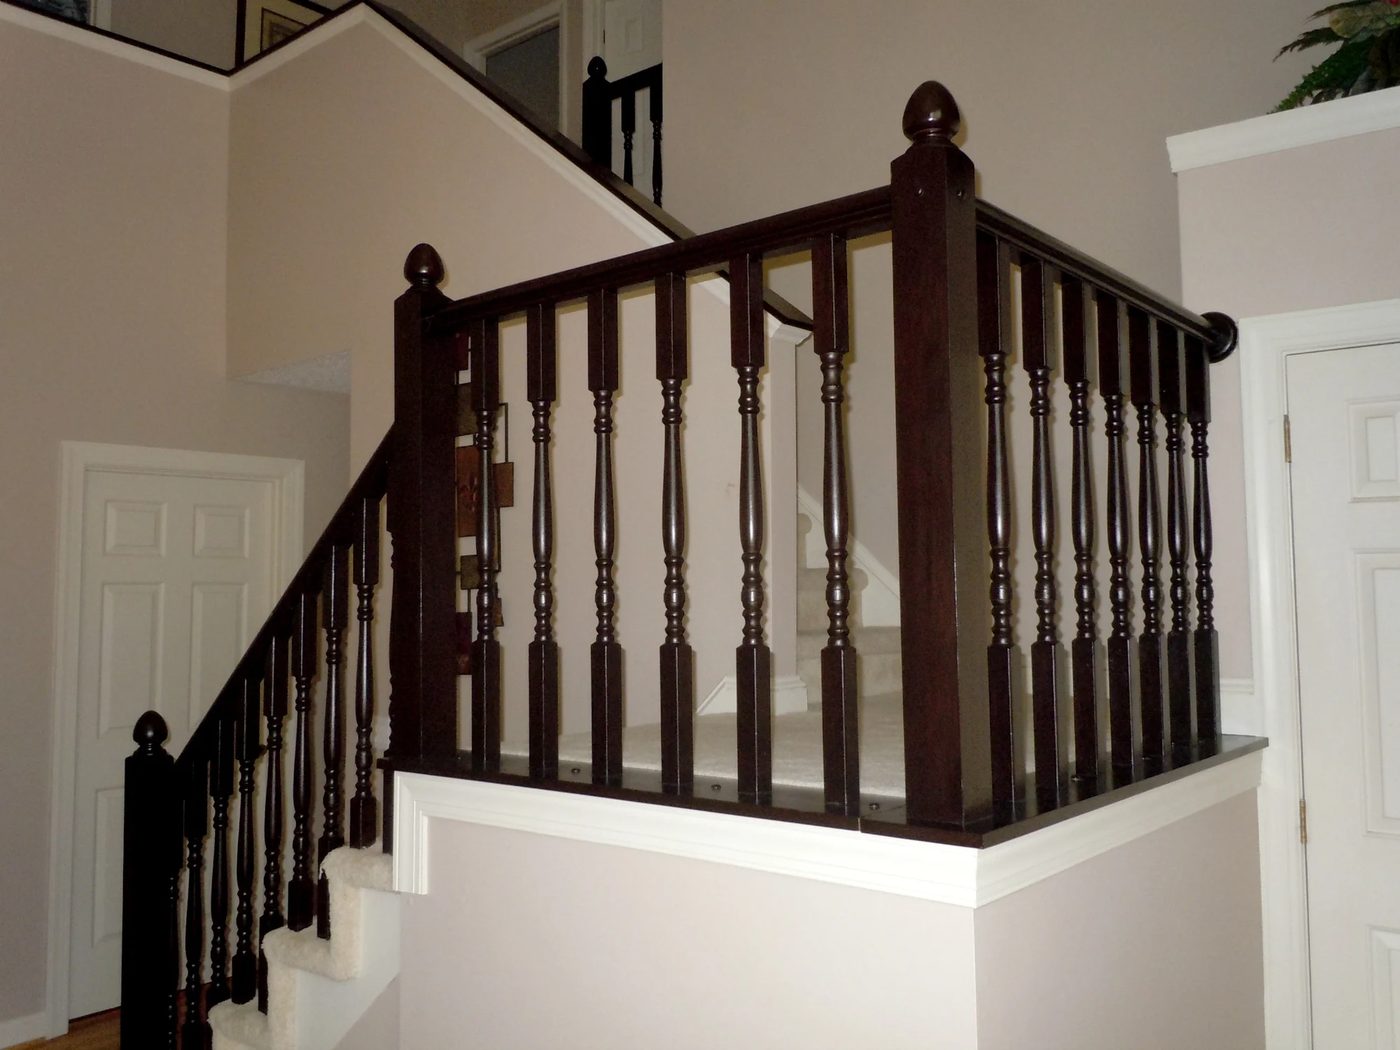
The final product was even better than I was expecting. I think it updated my whole foyer/living room area by at least a decade. The result was definitely worth the work.
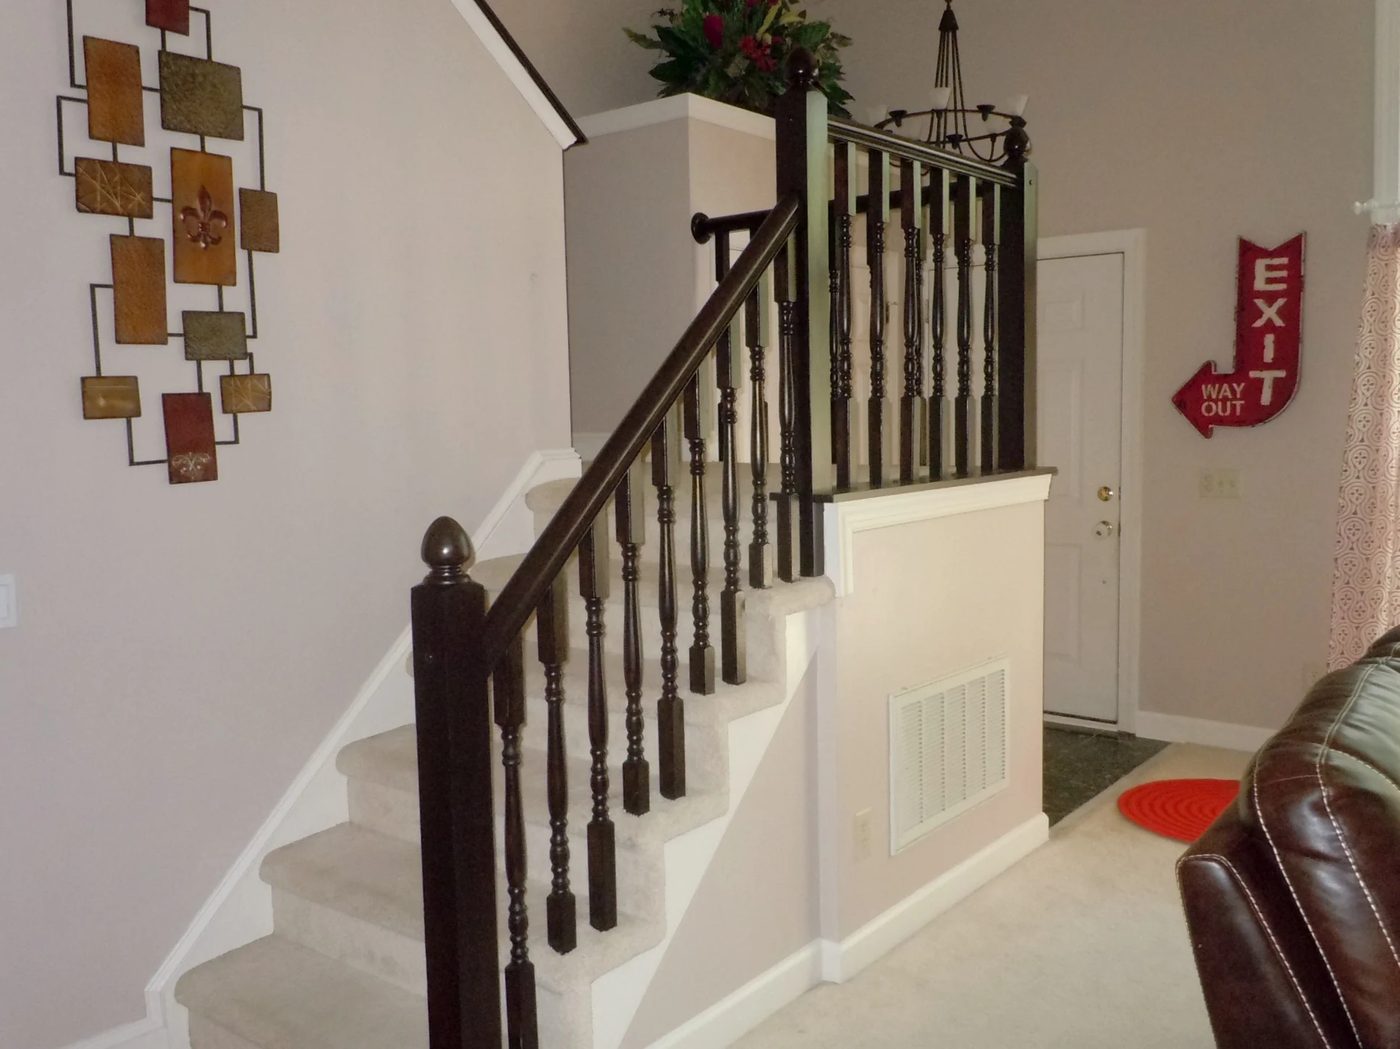
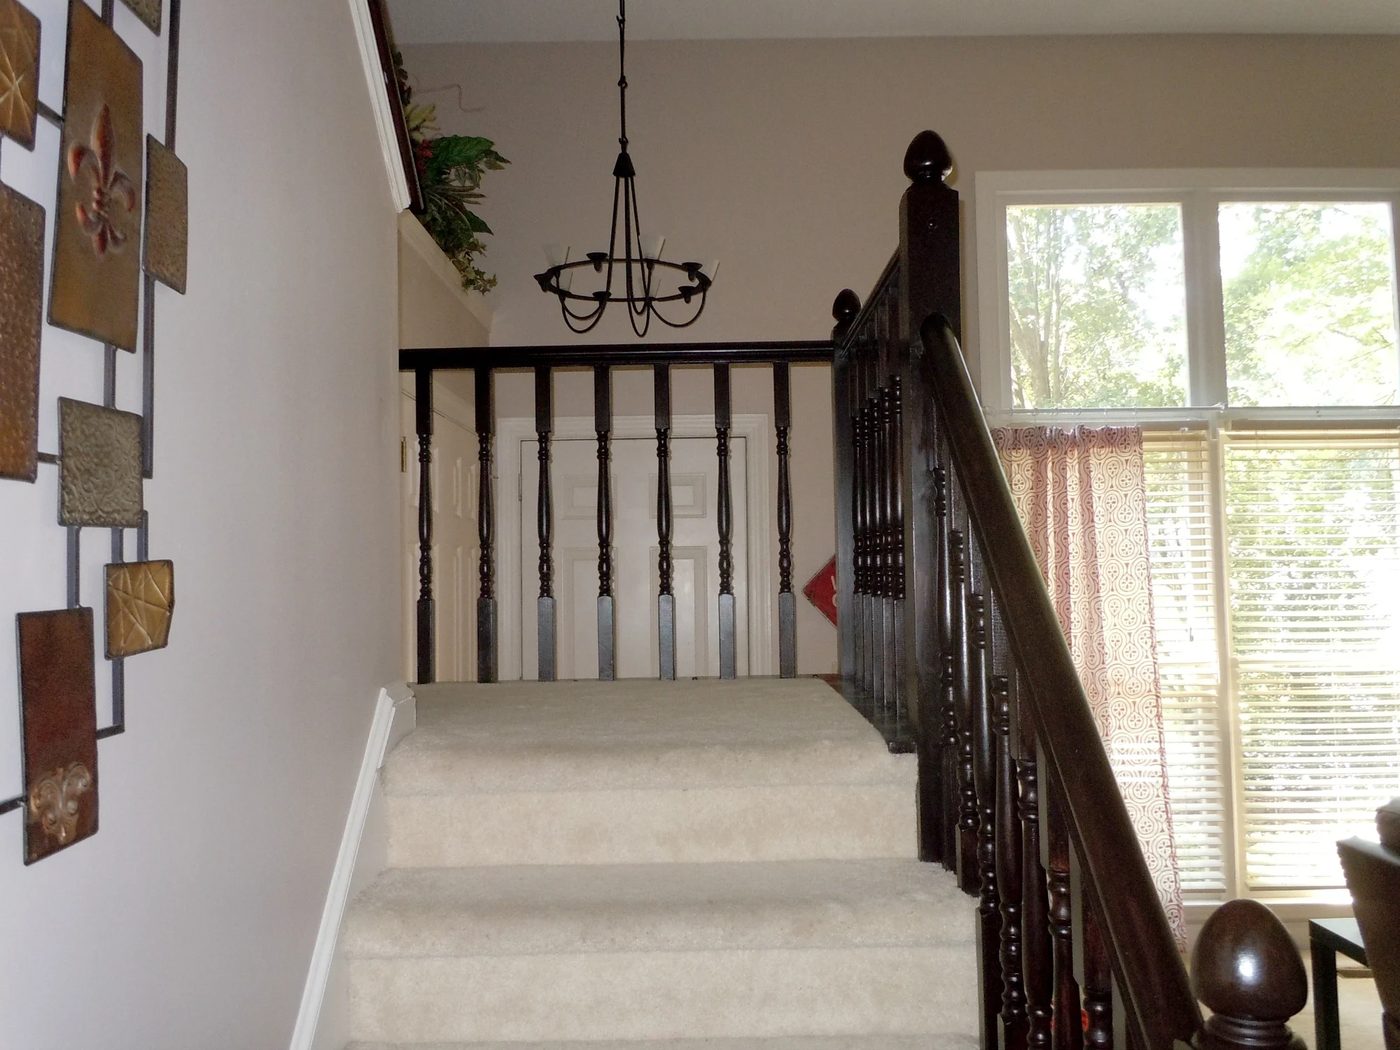
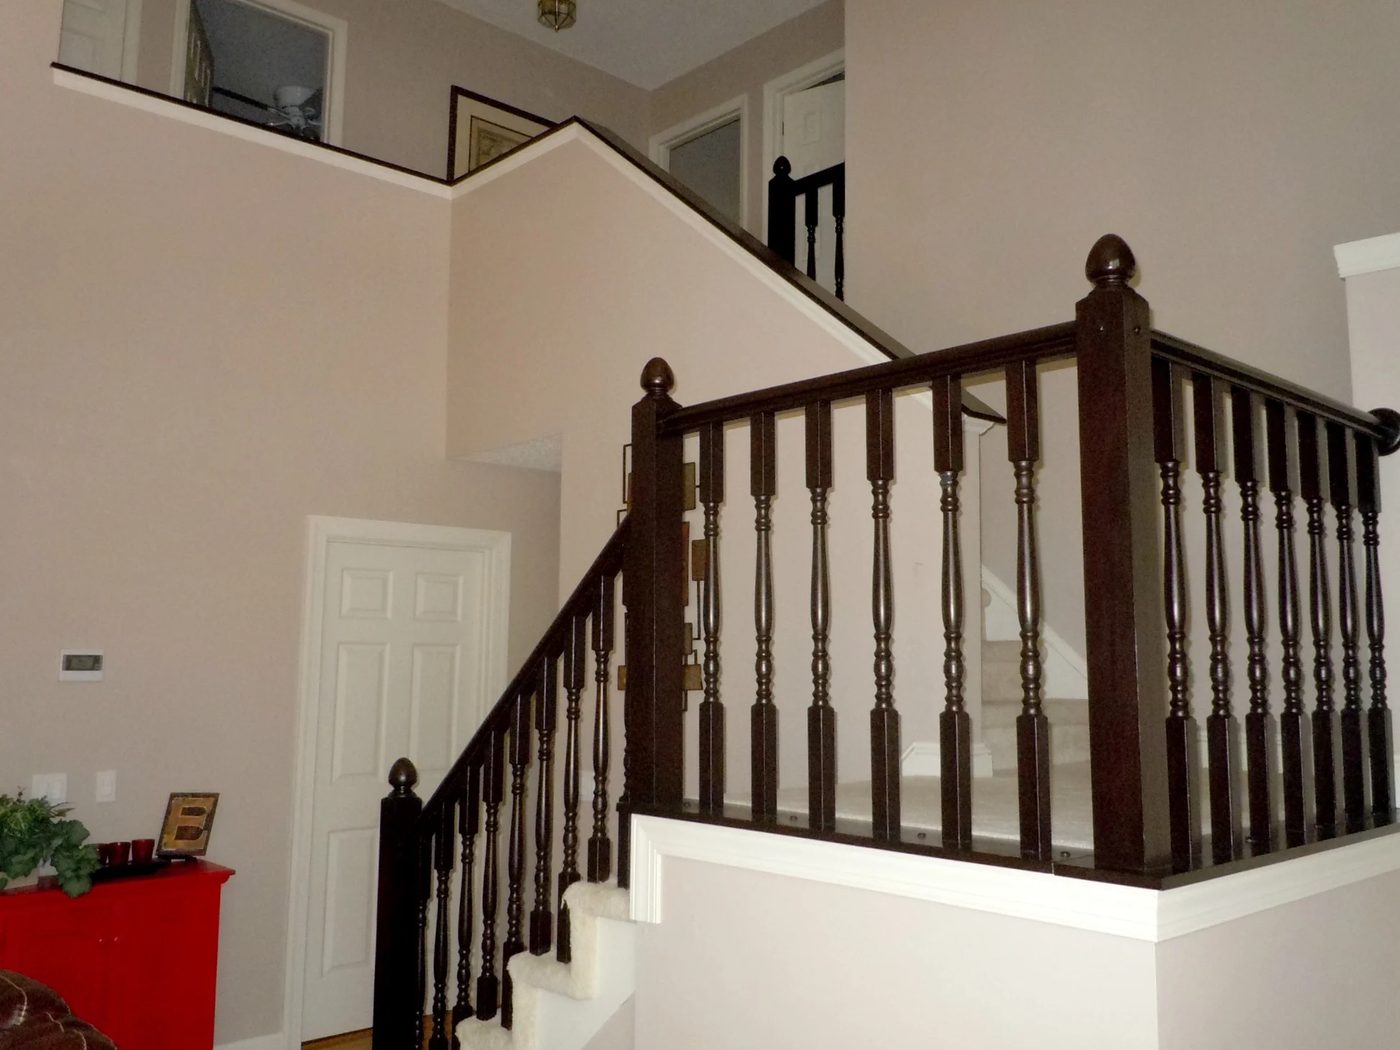
The total cost was very minimal. I bought one can of gel stain for $19.99 and that one can did the entire kitchen cabinets, the upstairs hall bathroom vanity and the stair case. The can of top coat was $20.99 when I bought it and even after completing all three projects I have over half a can left!
As I mentioned, I did my kitchen cabinets earlier in the summer using the same gel stain. I used pretty much the same process as I did with the stair banisters although the cleaning prep was more involved. The difference is simply memorable. If you are looking for an economical way to upgrade your kitchen cabinets and don’t mind doing a little Handmade work, I highly recommend using gel stain!
Thanks for sharing your vivid new stair railing with us, Delia! I love the change!
Visit Delia over at Semi-Domesticated Mama for more Handmade and home decor, plus organizing and family life options.