The steps below follow the order of the work for this methods project.
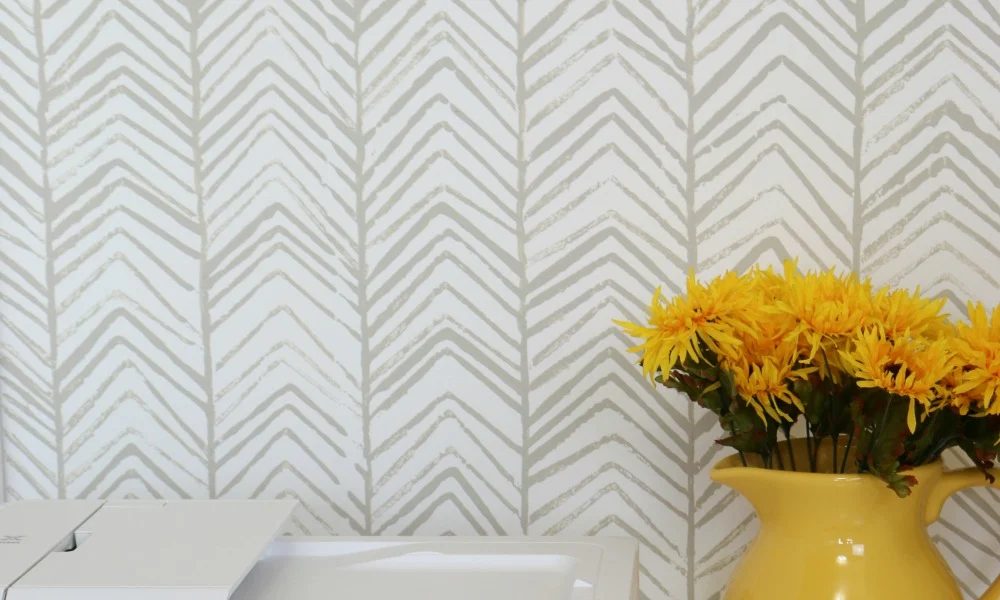
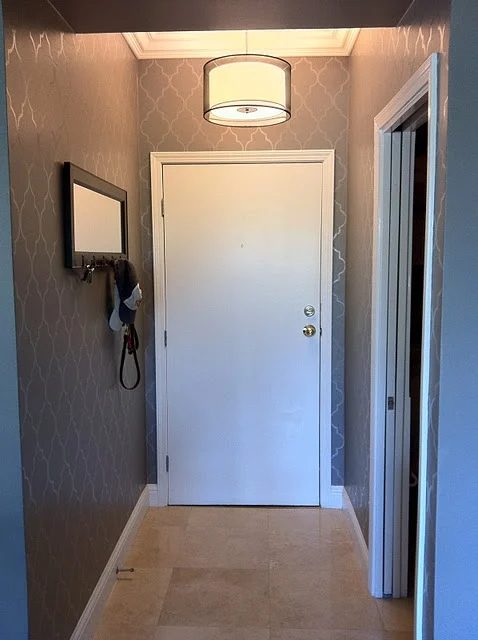
Handmade Stenciled Faux Wallpaper Contributed by The Savvy Stylist Daily I love the look of wallpaper – but it can be sooo expensive! When J and I bought our condo {almost exactly 3 years ago}, the first thing we did was wallpaper my office and our master bedroom. I LOVE how it turned out and certainly don’t regret it. But since then, I have come across some GREAT alternatives! {I apologize for all the crummy iPhone pics!} Anyway – here is my Handmade painted wallpaper that I did in my entryway: 1. I ran across this walkthrough awhile back from Emily over at Jones Design Company, and I knew I wanted to try it! I used this template that I liked and printed it out, traced it onto cardboard, and then cut that out. 2. I traced the cardboard image with pencil in a repeating pattern on each wall of my entry. 3. Then I just took a small paint brush {the width of how thick I wanted my lines to be} and started painting over all my pencil lines. I wanted one shade lighter than my wall color {which is Creek Bend by Behr in eggshell} & in a high gloss finish. But Creek Bend is the lightest shade on the color swatch, so I went online to see what one shade lighter is – which is porpoise {the color on the left}. It was waaay too light for me, so I went back to Home Depot and had them darken it by 50%. I took that home and it was STILL too light! Back to the Depot I went, having them darken it again by 25%. And waa-laa! This is what I was looking for! (right) The finished product: I love how it turned out! It does require some patience and time – but I think it is worth it. And I especially love the gloss; it creates more interest and provides a great sheen in the evening when we turn on the lamps! Now I’m hooked and looking forward to my next project!