Materials and the sequence of the job sit together on this page.
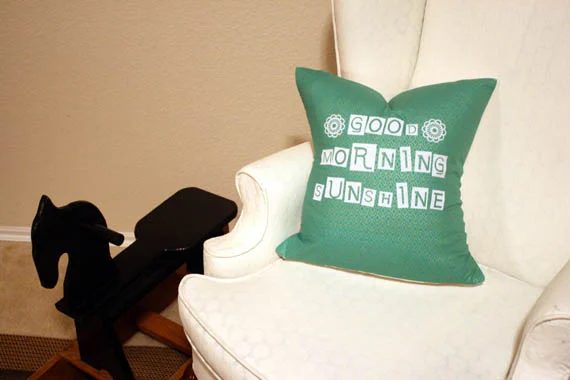
I decided to make a little pillow sham this month. Pillow shams are very straightforward to make because all you have to do is sew a few straight (or straight-ish) lines and you are done. So, for those of you that think you can’t sew this is the easiest pillow cover walkthrough to give you some confidence that you can…Easiest Pillow Cover walkthrough
Supplies: Sewing Machine Scissors Pillow form (any size) Fabric Thread Pins Iron(Flocked Heat Transfer optional, but way fun!)
The fabric size will depend on your pillow form. You can do the same fabric for front and back or different fabric, (which I did since this was a “no shopping, use what I have” project!)
2 fat quarters (which are 18″ x 22″ inches) will work on any pillow form up to about 16×16.
Easiest Pillow Cover walkthrough
Step 1.
Iron all fabric!!! Do not skip this step ironing makes every project more professional, and makes sure that things fit properly! IRON like the life of your pillow depends on it!
Step 2.
The front piece of fabric should be cut to a square 1 inch more than the size of your pillow. For example if you are using a 16″ x 16″ inch pillow cut the square to 17″ x 17″ inches (piece A).
Step 3.
The back piece of fabric needs to measure at minimum 22 inches x 17 (for 16 x 16 pillow!) Cut it in two pieces at approximately 2/3 so you have a piece about 14.5″ inches (Piece B) and the second piece is about 7.5″ inches (Piece C)(or this one can be longer… I made mine longer just because I had the fabric!).Step 4.
You need to finished one 17″ long edge of those two pieces. By folding over 1/2″ an inch of fabric and ironing. Then folding that again over itself to conceal the raw edge, iron again, (this will make it easier to sew). Pin if you need to to hold it all in place and sew that fold in place. In the end you have a piece that looks like this: See the one finished edge?
Easiest Pillow Cover walkthrough
Step 5.
Now place your front piece A fabric, good side up on the table. Place Piece B Good Side down aligning to one side. When sewing remember you want good sides together. You want the folded portion of the edge to be in the center of the pillow.
Step 6.
Overlap Piece C on top of Piece B so that the finished seam is also in the center of the square of fabric. Like below: