
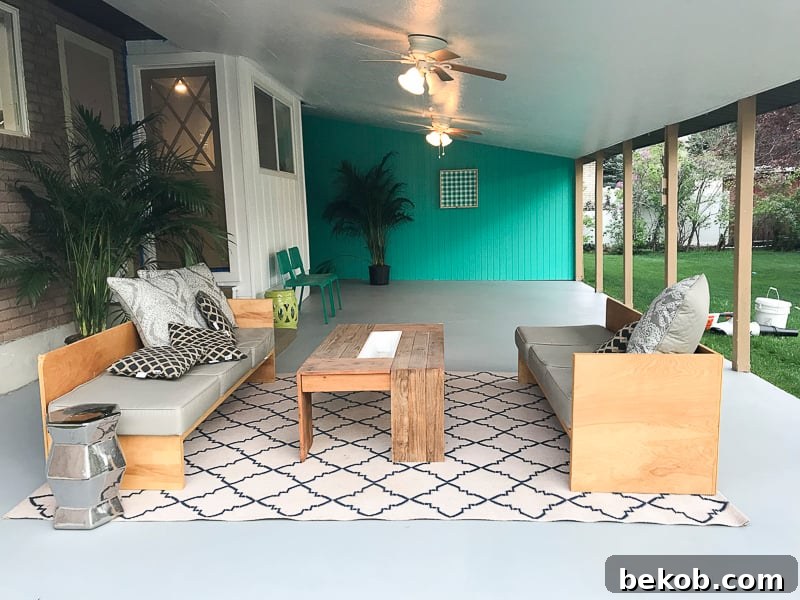
Transforming an old, worn-out concrete patio or porch into a vibrant, inviting outdoor living space is not just possible, it’s a remarkably rewarding DIY project! If you’ve ever wondered, “Can you paint a concrete patio?” The resounding answer is yes, absolutely! Dive into our comprehensive guide on how to paint a concrete patio, even if it’s showing signs of age with cracks and stains. We’ll share the exact concrete patio paint we utilized, explain why we recommend it, and provide a candid update on its performance nearly four years later.
Looking for more creative ways to enhance your outdoor areas? Explore 9 Innovative Ways to Update a Concrete Patio, or for the ambitious homeowner, learn how to pour your own new concrete patio, just like we did.
DIY Concrete Patio Painting: A Fresh Start for Outdoor Living
One of the many features I adore about our new home is the magnificent covered patio. It’s more than just an outdoor space; it’s an extension of our living area, where countless hours are spent relaxing, chatting, and envisioning future family barbecues. Even before we moved in, we knew our wonderful neighbors, the previous owners, made constant use of this fantastic space.
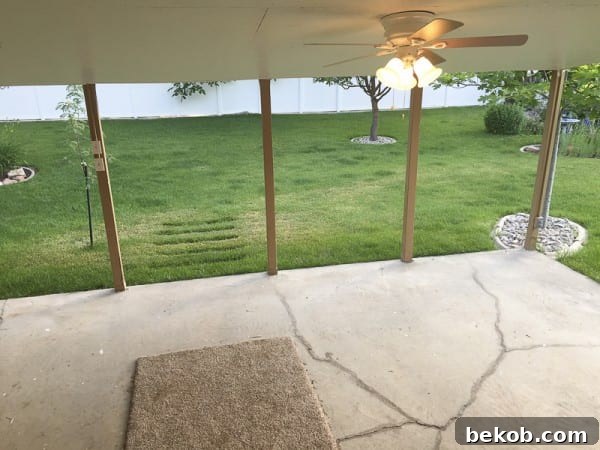
When we first acquired the house, the concrete porch had a rather unassuming appearance. It was plain, aged concrete, exhibiting a few cracks, yet structurally sound overall. A perfect canvas awaiting a transformation!
Your Comprehensive Guide to Painting a Concrete Patio
We extend our heartfelt thanks to DRYLOK® for collaborating with us on this exciting patio renovation! We are absolutely thrilled with the results and the enhanced functionality of this space. All opinions expressed in this post are entirely our own; please note this content includes affiliate links. For more details, kindly review our full disclosure policy here.
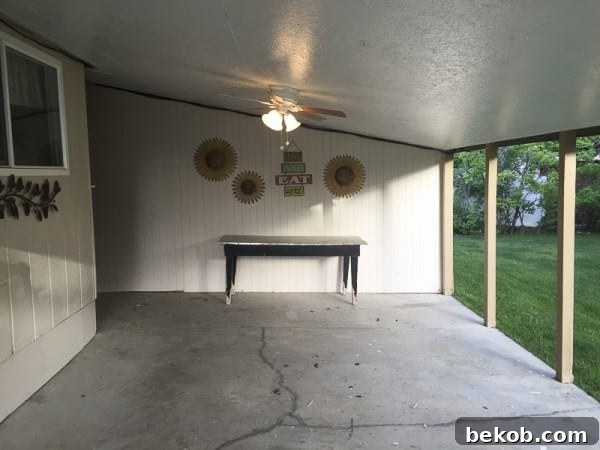
This concrete patio proudly celebrates its 40th anniversary this June. While still fully functional, it’s undeniable that the concrete has seen better days. The realities of #reallife, especially just after a long winter, meant the patio was far from its most organized or pristine state. This realization solidified our decision to undertake a concrete patio painting project.
Instead of opting for a standard exterior latex paint, we strategically chose a specialized concrete patio paint from our trusted partners at DRYLOK®. This premium paint is expertly formulated for superior moisture resistance and exceptional durability, making it ideal for high-traffic concrete surfaces like porches, patios, and garage floors. Furthermore, it offers the added benefit of being non-slip when combined with a no-skid additive, ensuring that our hard work will endure for years and provide a safe environment for our family to enjoy.
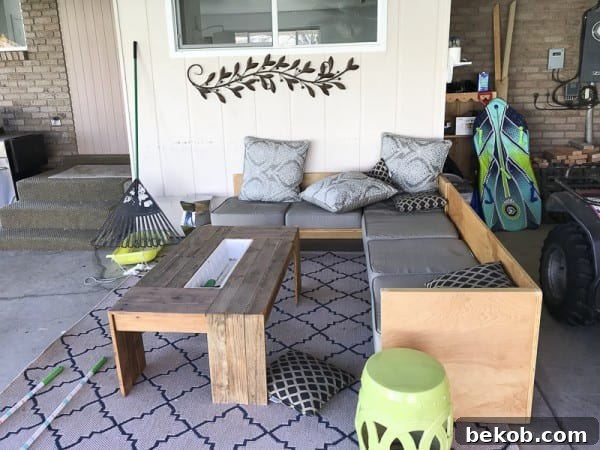
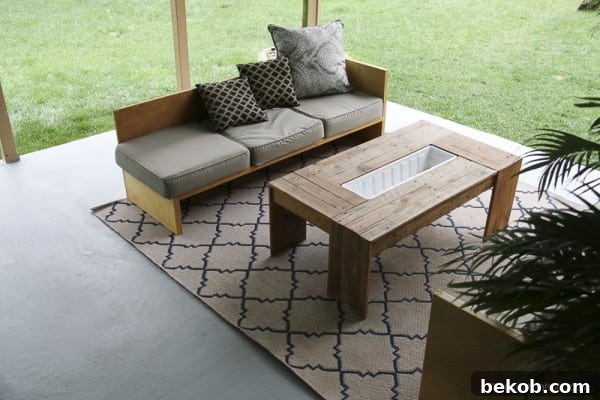
Prior to its makeover, our patio served as a somewhat disorganized storage area, housing various items including our custom-built DIY outdoor sectional sofa and the practical outdoor coffee table with a built-in drink trough that we constructed last year. I must confess, showing you these “before” images feels a bit like exposing a secret, and the patio itself might be a tad embarrassed by its former appearance!
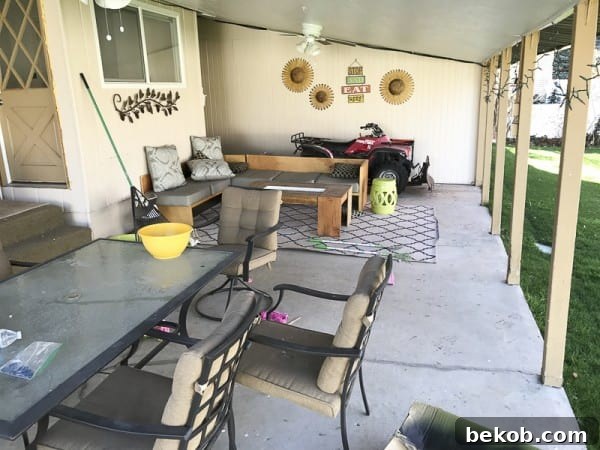
Step 1: Declutter and Clear the Concrete Patio Space
The very first and most crucial step in any patio painting project is to completely clear the area. We systematically emptied the entire space, relocating our large outdoor table to our office deck for temporary storage. Following that, we efficiently loaded everything else onto our reliable small trailer, hitched to our 4-wheeler, and safely parked it all in the garage. This proved to be a smart move, as the weather during this period was, to put it mildly, horrendous!
Step 2: How to Thoroughly Prep a Concrete Patio for Painting
Preparing the concrete patio surface is paramount for a lasting paint finish. The goal is to ensure it’s entirely free of debris, dirt, and stains. Rather than resorting to arduous manual scrubbing, we utilized a powerful pressure washer. This highly satisfying chore effectively removed years of accumulated grime, stubborn stains, and any remnants of old paint drips. You’d be amazed at the sheer amount of dirt that came off!
Discover our top recommendations for excellent pressure washer machines here.
After a thorough pressure wash, the patio was left significantly cleaner, revealing its true potential. This step alone made a massive difference.
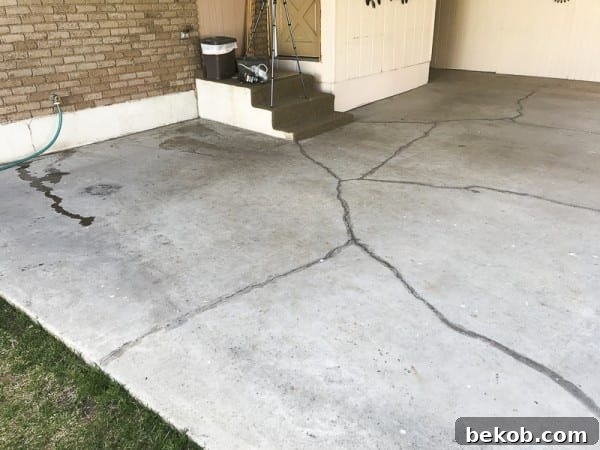
Step 3: Removing Stubborn Stains & Expertly Filling Cracks in Your Concrete Patio
Despite the vigorous pressure washing, our 40-year-old patio presented several persistent issues:
- Significant Cracks: Several large, noticeable cracks marred the surface.
- Extensive Staining: The concrete bore numerous stains from spills, grease, and general wear.
- Water Splash Marks: Rain and snow had left unsightly water splash stains.
- Organic Debris Staining: Constant plant debris blowing onto the patio caused consistent discoloration.
One particular large stain, pictured below, proved especially stubborn. Even after repeated attempts with the pressure washer, it simply refused to lift.
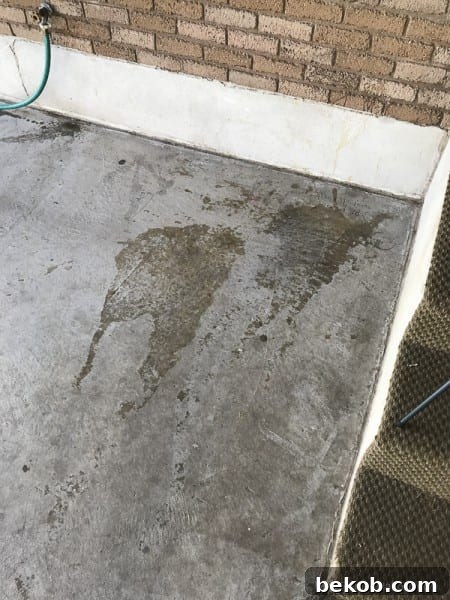
Another challenge was the existing silicone filler in the cracks. Since paint cannot adhere effectively to silicone, we meticulously cleaned it out. Due to years of natural settling, certain sections of the concrete had lifted to slightly different levels. To achieve a perfectly flat and smooth surface for painting, we made the decision to grind down these uneven areas.
Justin expertly used a handheld plugin grinder tool, fitted with a robust diamond bit grinder blade, approximately 4 inches in diameter, to tackle this task. This process was undeniably laborious and incredibly dusty, a true test of endurance!
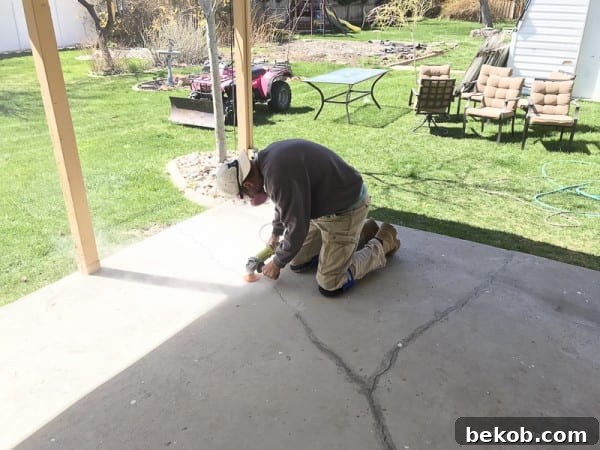
This phase of work was genuinely back-breaking, creating a significant amount of dust. Safety gear, including a mask and eye protection, was absolutely essential.
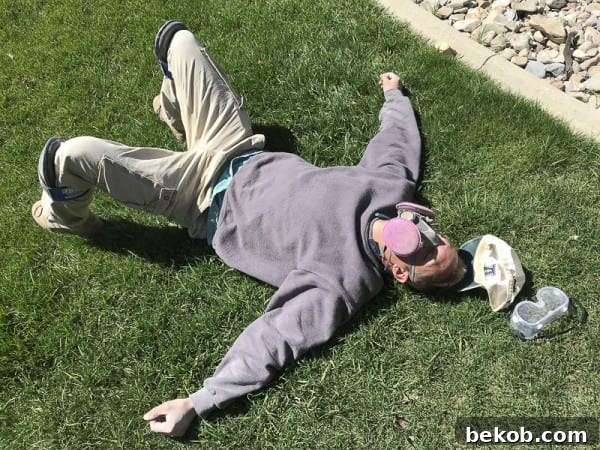
Once all the grinding was complete, the cracks looked significantly better, ready for the next step in their repair journey.
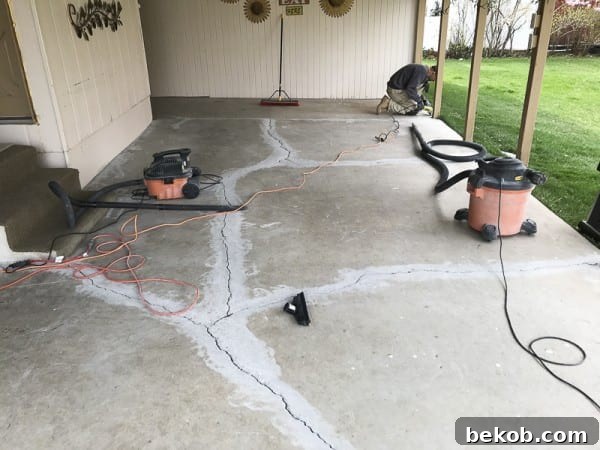
Step 4: Precisely Fill and Repair Concrete Cracks for a Smooth Finish
After the grinding, a significant amount of dust blanketed the patio. We undertook a thorough vacuuming to ensure the surface was impeccably clean. The entire preparation process, including crack repair, spanned over a month, primarily due to unpredictable weather. We faced several snowfalls, and to adhere strictly to the manufacturer’s instructions for the concrete patch, we needed consistently dry conditions and a minimum temperature. Patience was key!
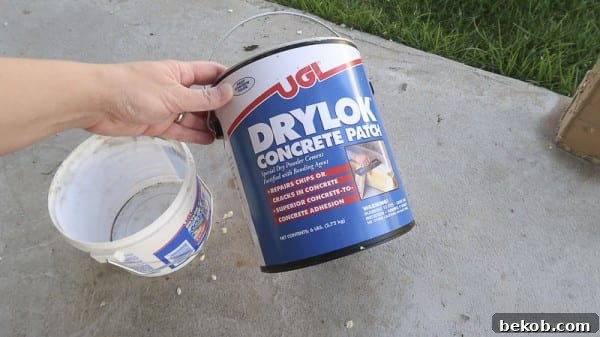
Our next critical step was meticulously filling the cracks using DRYLOK® Concrete Patch. Achieving the perfect fill required a bit of finesse; we ultimately applied two coats to adequately compensate for years of settling.
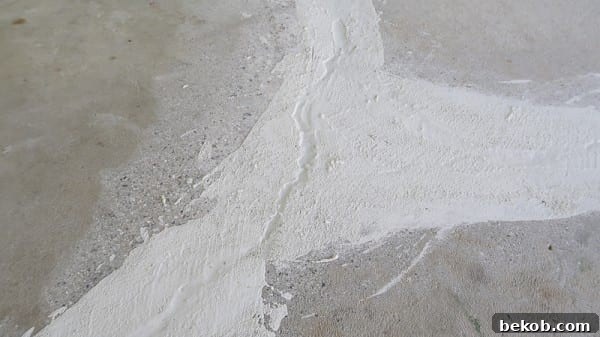
Following the application, we lightly ground down the crack filler to create an even surface. In retrospect, a more careful initial application would have minimized flaking and breakage during this final grinding. However, we embraced the imperfections, knowing that the specialized paint would astonishingly conceal most of them. You’ll be amazed at the final result!
Step 5: How to Apply Epoxy Floor Paint for a Durable Concrete Patio Finish
When it came to selecting the paint color, I aimed for a shade that wouldn’t deviate too drastically from the natural concrete aesthetic. While a bolder color might be an option for a future project, for now, the subtle elegance of gray was the perfect choice. We opted for the DRYLOK® E1 1-Part Epoxy Floor Paint in Gray, and I am incredibly pleased with the significant improvement in the patio’s appearance!
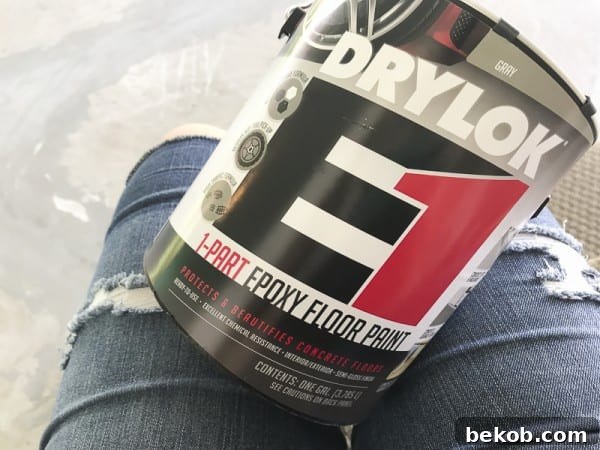
Considering our children frequently run across the patio, often transitioning from damp grass, ensuring a non-slip surface was a top priority. To address this, we strategically incorporated the DRYLOK® Non-Skid Texture Additive into our paint.
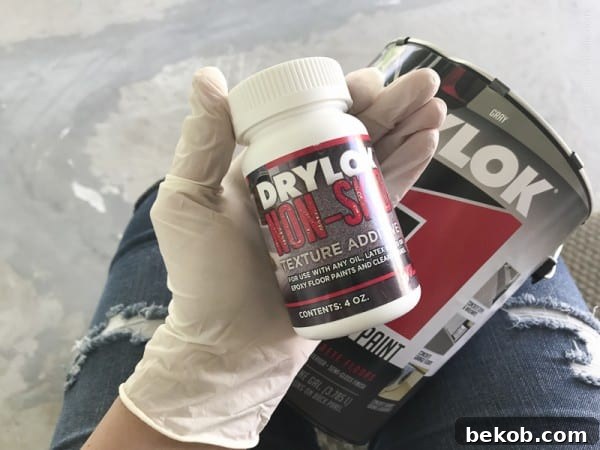
Mixing the Non-Slip Concrete Patio Paint: Tips for No Clumps
To ensure a consistent, clump-free application, we added the non-skid texture additive to the gallon paint can in small, controlled batches, mixing thoroughly after each addition. This technique is crucial for achieving an even texture and preventing any clumping.
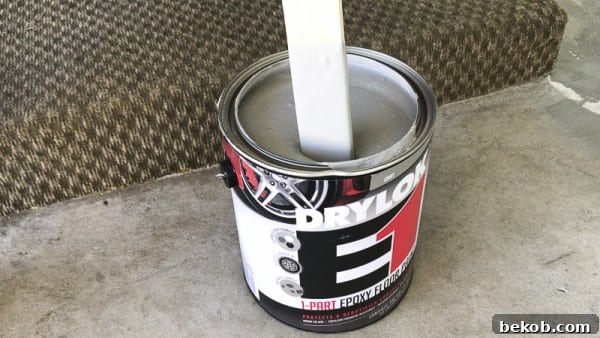
Once the paint was perfectly mixed, the truly enjoyable and immensely satisfying work commenced: the actual painting! A significant advantage of using DRYLOK Epoxy Floor Paint as a concrete patio paint is that no primer is needed, streamlining the process considerably.
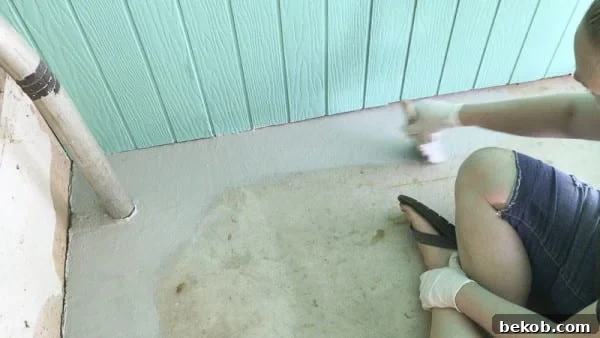
I began by “cutting in” along the edges of the patio using a wide brush, ensuring neat, precise lines. Subsequently, I used a wide paint roller attached to an extension pole, with a regular paint tray, to efficiently cover the larger central areas.
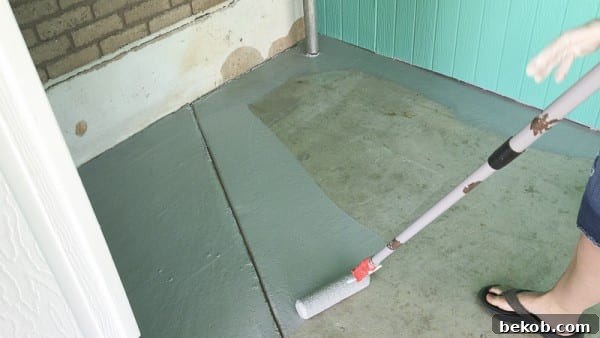
The Transformation: No More Stains & Cracks After Painting!
The immediate impact of the paint was incredible. You can truly appreciate how effectively the specialized epoxy paint concealed all the previous staining. And the most gratifying part? The unsightly cracks that plagued the patio before are now virtually invisible! The epoxy paint applied with remarkable smoothness, making the entire process quick and effortless.
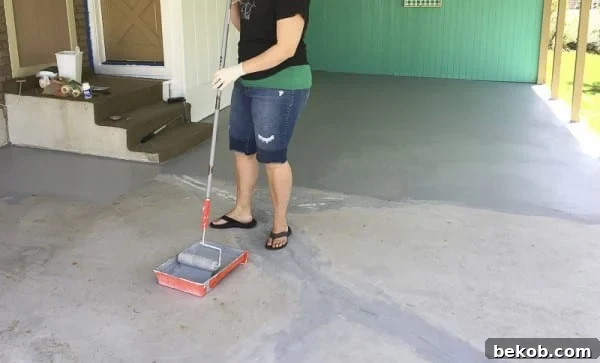
Even with just the first coat of paint drying in this picture, the dramatic difference this paint makes is undeniable. The transformation was already well underway!
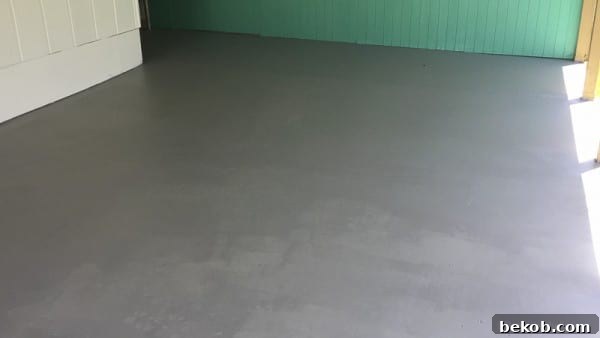
At this stage, one could easily have introduced painter’s tape to create captivating designs, such as painted stripes or tile squares, similar to how Bekah transformed her concrete porch. Alternatively, stencils could be used to add intricate patterns. However, as we previously mentioned, our vision was to maintain a clean, neutral concrete aesthetic, which we planned to complement with a vibrant rug and inviting furnishings. So, we skipped the patterns this time, but the possibilities for customization are endless!
The Finished Look: A Brand New Painted Concrete Patio
After applying the second coat of paint and allowing it to fully dry, the patio’s appearance was nothing short of miraculous. It genuinely looks like a brand-new patio!
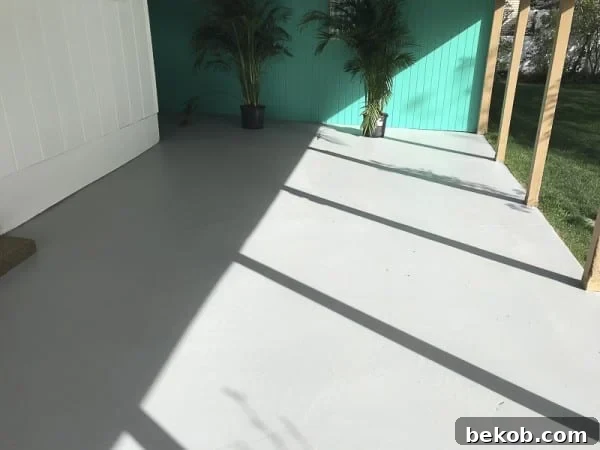
Forty years never looked so good! This once-tired concrete slab has been completely rejuvenated.
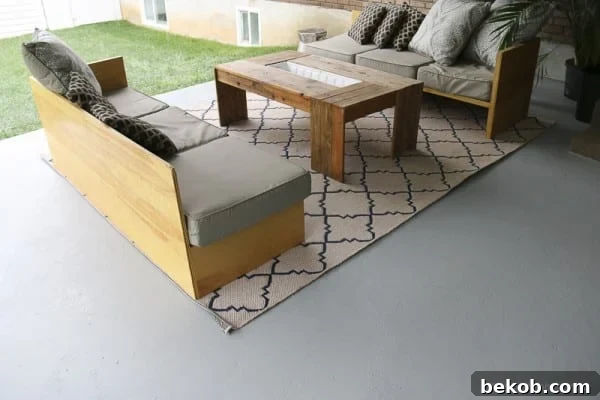
With the fresh paint dry, we promptly moved our existing furniture back into place. To further enhance the space, I also painted the back wall a wonderfully bright new color, as part of our outdoor dining space transformation, which you can explore further here. Now, every time I step out, I feel like I’ve been transported to sunny Florida – a feeling I absolutely adore, even if it was a chilly 30 degrees this morning in May!
Related Reading: From Boring Slab to Beautiful Patio Retreat
Looking ahead, I’m considering painting the back door, perhaps a bold black or something even brighter? I also plan to paint the columns white to match the bump-out, potentially thickening them for a more substantial look, and adding screens to keep out bugs and debris. The only other change I foresee is updating the cushions on our DIY plywood sofas with a more colorful selection, and perhaps investing in a prettier outdoor rug. What are your thoughts? Let me know in the comments!
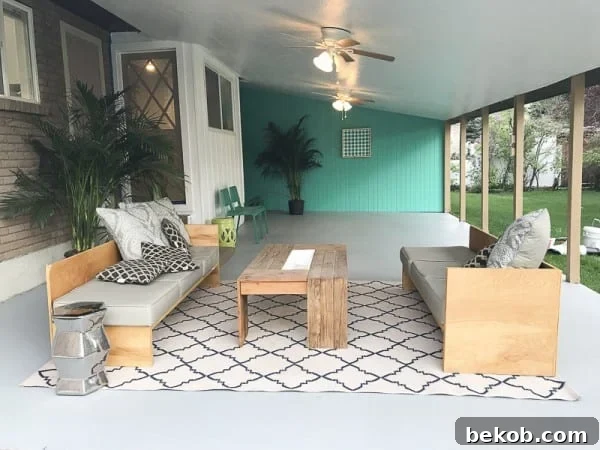
I’m particularly excited to fill our coffee table’s drink trough with vibrant plants. I’m craving more greenery and beautiful living elements in this outdoor sanctuary.
To truly appreciate the transformation, it’s essential to revisit the “before” state of the concrete patio.
Just a bit of crack filling and a couple of coats of specialized paint, and BAM! The “After” reveals a monumental difference. Even though the color change is subtle, the overall impact is nothing short of enormous.
Here’s one last picture, slightly fuzzy, but it captures the patio after a recent onslaught of rain and even more snow last night – UGH! Crucially, the concrete edges no longer show unsightly stains, and the surface drains remarkably fast. Previously, rain, sprinkler moisture, or condensation would soak in, discoloring the edges for several hours until they dried out. It’s incredibly satisfying to no longer contend with that persistent problem!
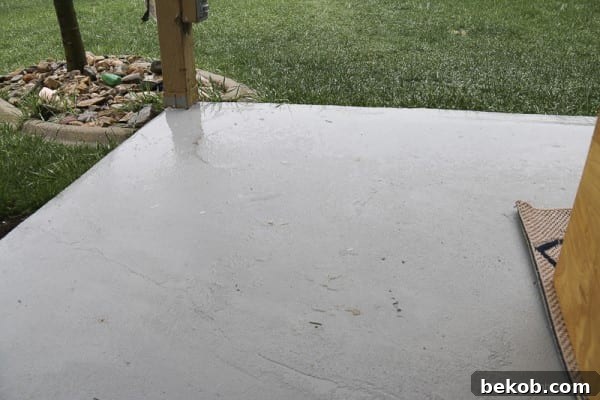
P.S. Can you spot the kids’ painted rocks in the small planter bed? This is real life around here! And yes, I definitely need to tackle weeding out that grass soon!
A huge thank you again to DRYLOK® for sponsoring this post. I’m genuinely excited to continue enhancing this space, especially now that its foundation looks so impeccably clean and fresh. For another inspiring DRYLOK® project, be sure to check out how we updated the old cinder block brick fence at my parents’ house a few years ago, also with DRYLOK®! This product truly is a marvel for outdoor concrete porches, patios, and even garage floors. (All opinions expressed are my own – and we couldn’t be happier with our revitalized patio!)
4 Years Later: A Candid Review of Our Painted Concrete Patio’s Durability
We frequently receive inquiries about the long-term performance of our painted concrete patio, almost four years since its initial makeover. Our honest assessment? It’s holding up pretty well overall, with some notable considerations.
The painted concrete continues to perform acceptably, with the exception of areas where water and snow consistently accumulate and sit for extended periods. In these specific spots, moisture has managed to infiltrate beneath the paint layer, leading to some peeling. However, in regions of the patio that remain predominantly dry throughout the year, the paint has maintained its integrity and appearance exceptionally well, showcasing its impressive durability in less harsh conditions. This observation highlights the critical importance of proper drainage and minimizing standing water on any painted outdoor concrete surface.
If we were to embark on another concrete patio painting project in the future, we would certainly explore oil-based floor and porch paint as a potential alternative. While our current choice has many merits, understanding its limitations in persistently wet areas would lead us to consider options that might offer enhanced resistance to moisture-induced peeling.
More Inspiring Porch and Patio Update Ideas:
- 9 Creative Ways to Make Over a Concrete Patio or Porch
- An Easy Front Porch Update for Spring
- Stylish Front Porch Planters: Options to Build or Buy
- 50 Fun and Functional 2×4 Projects for Your Patio and Yard
This content is a sponsored conversation written by me on behalf of UGL (DRYLOK®). The opinions and text presented are entirely my own and reflect my genuine experience.