Read the sequence from the top before cutting, painting, or moving pieces.
Submitted By The 36th Avenue
Here is my last home improvement project.
Actually I just finished it yesterday.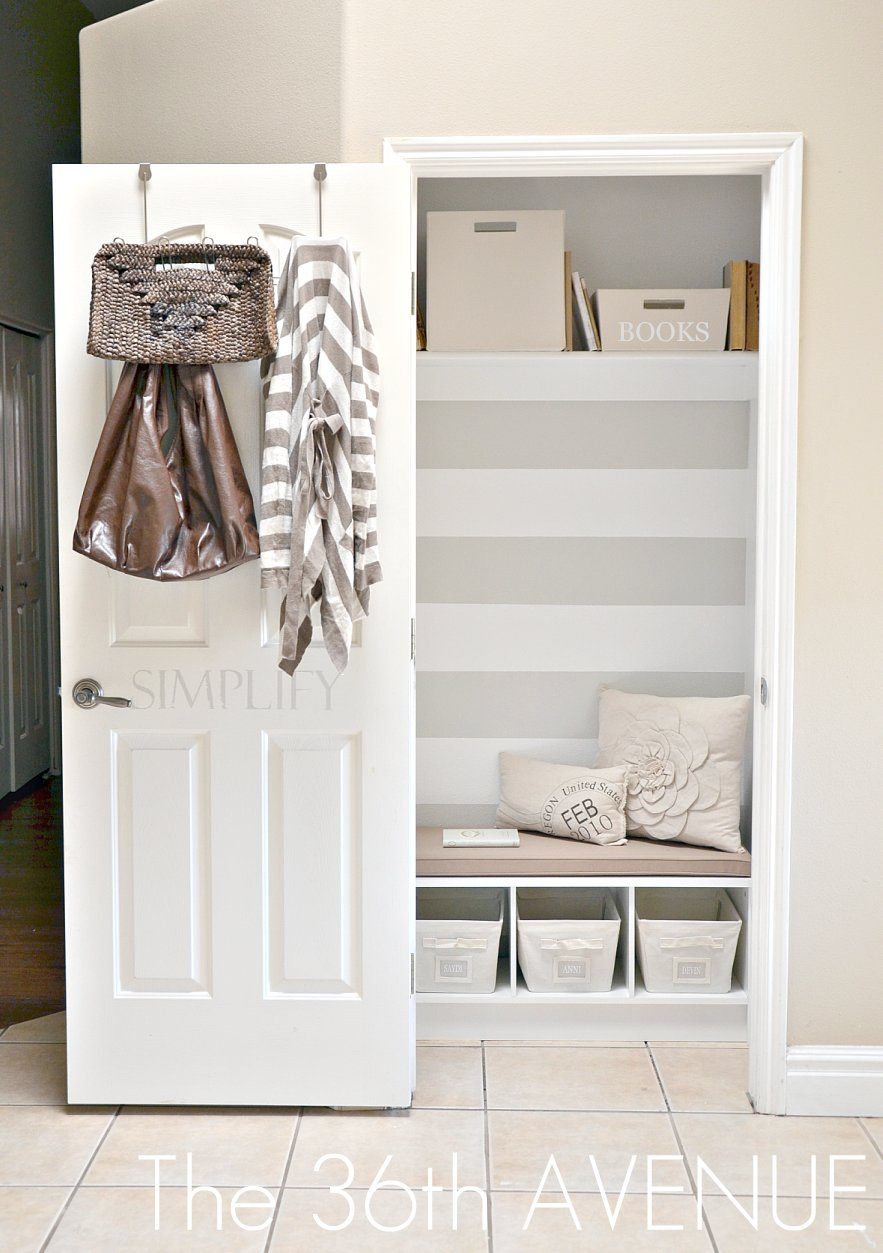 .
.
And here is the story behind it…
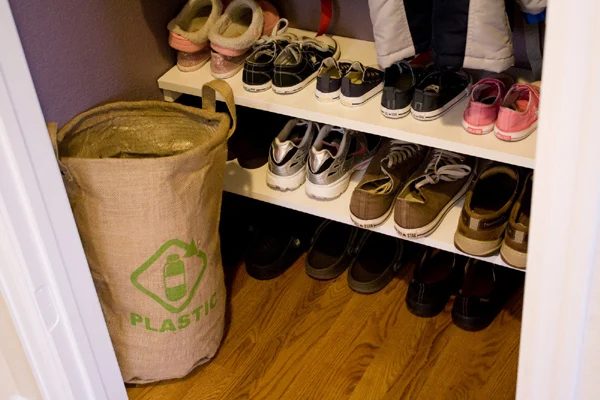
As you know I am participating in American Crafters party at Naptime Crafters… I am happy to say that thanks to your votes I managed to be part of Round 2. THANK YOU ALL! The theme for this round was “A HOUSE OF ORDER” and I am beyond grateful for this challengebecause it gave me the much needed motivation to take care of a small closet that we have in the entry of our home. Allow me to show you a picture of the dump area. . WARNING: This picture has some disturbing images WHAT A MESS! .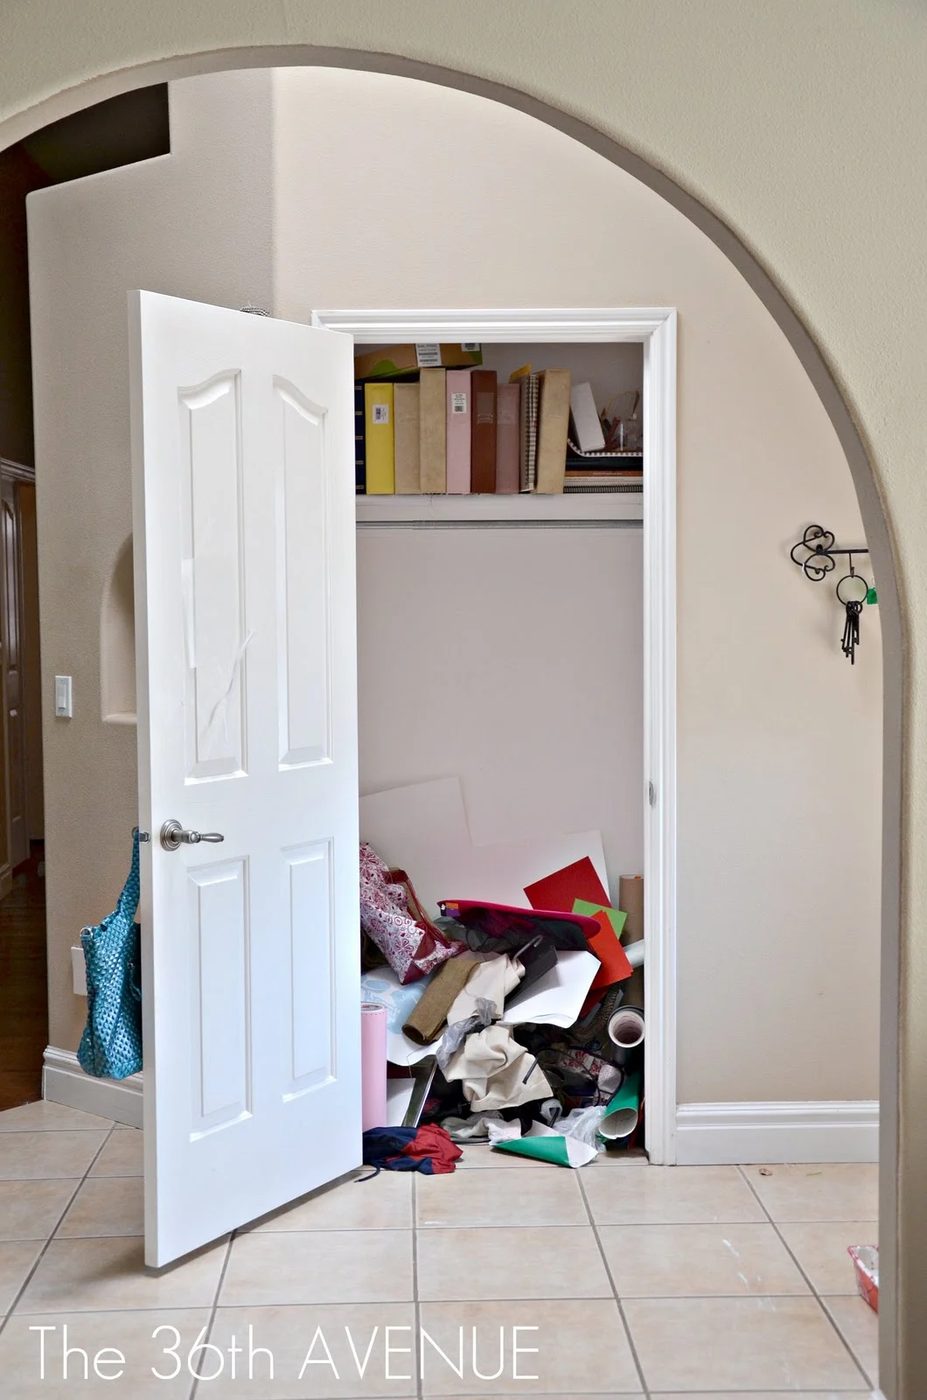 .
Here is what happened next:
.
FIRST
.
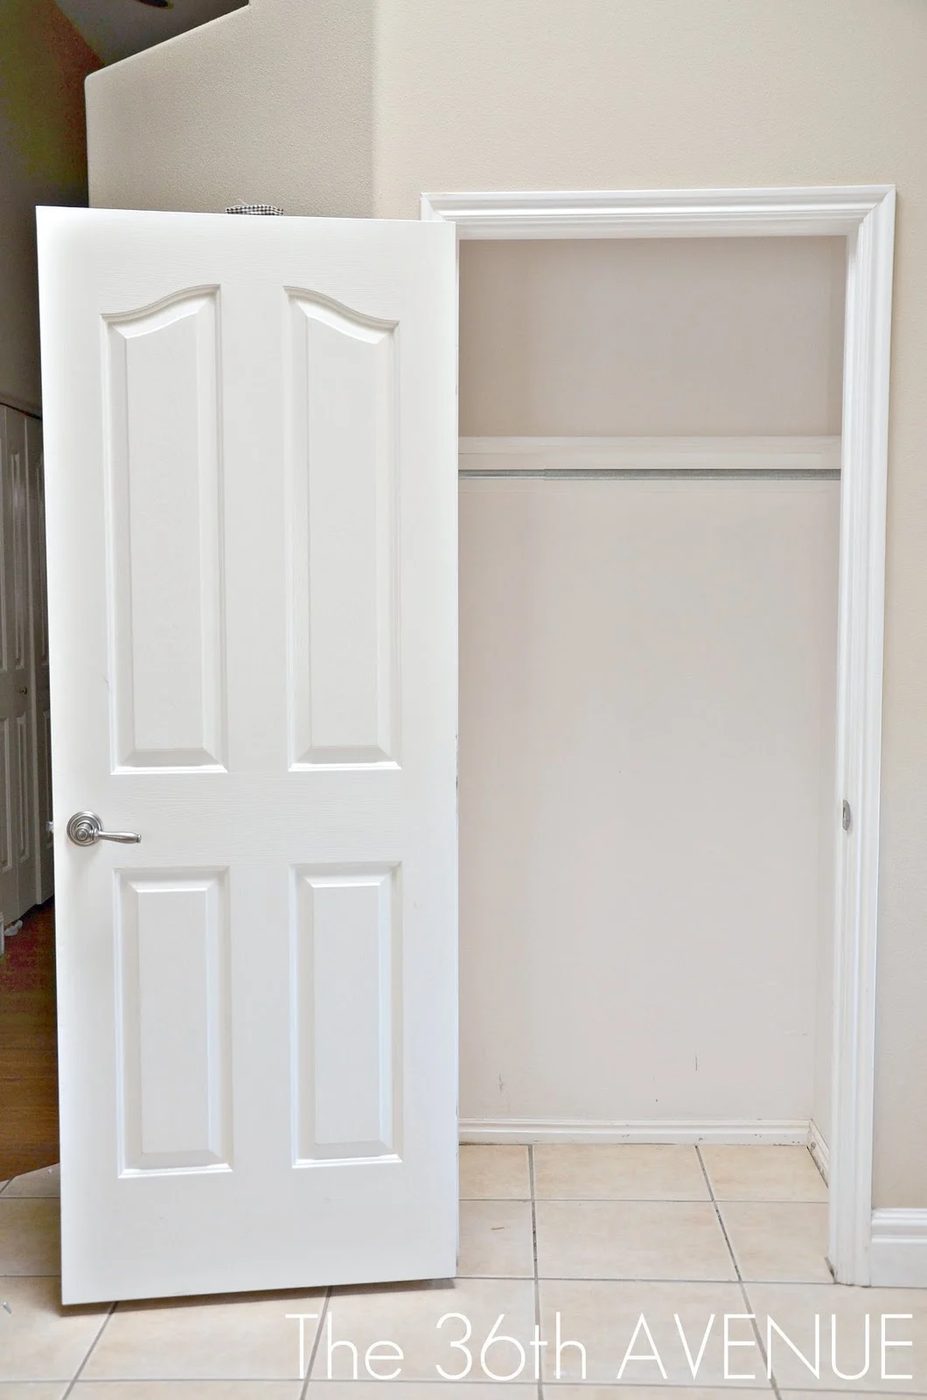
I cleaned the closet. I didn’t just take the things OUT and put them on top of a table.
With the help of my kids {love them} we found a place for everything… At this point I was thinkingWHY didn’t I do this before?
Look how much better it looks already.
.
.
Here is what happened next:
.
FIRST
.
I cleaned the closet. I didn’t just take the things OUT and put them on top of a table.
With the help of my kids {love them} we found a place for everything… At this point I was thinkingWHY didn’t I do this before?
Look how much better it looks already.
.
. SECOND.
I painted the entire closet whitest white. Nothing like a well fitted clean canvas. My original thought was to stenciled the wall and painted on yellow with navy blue accessories…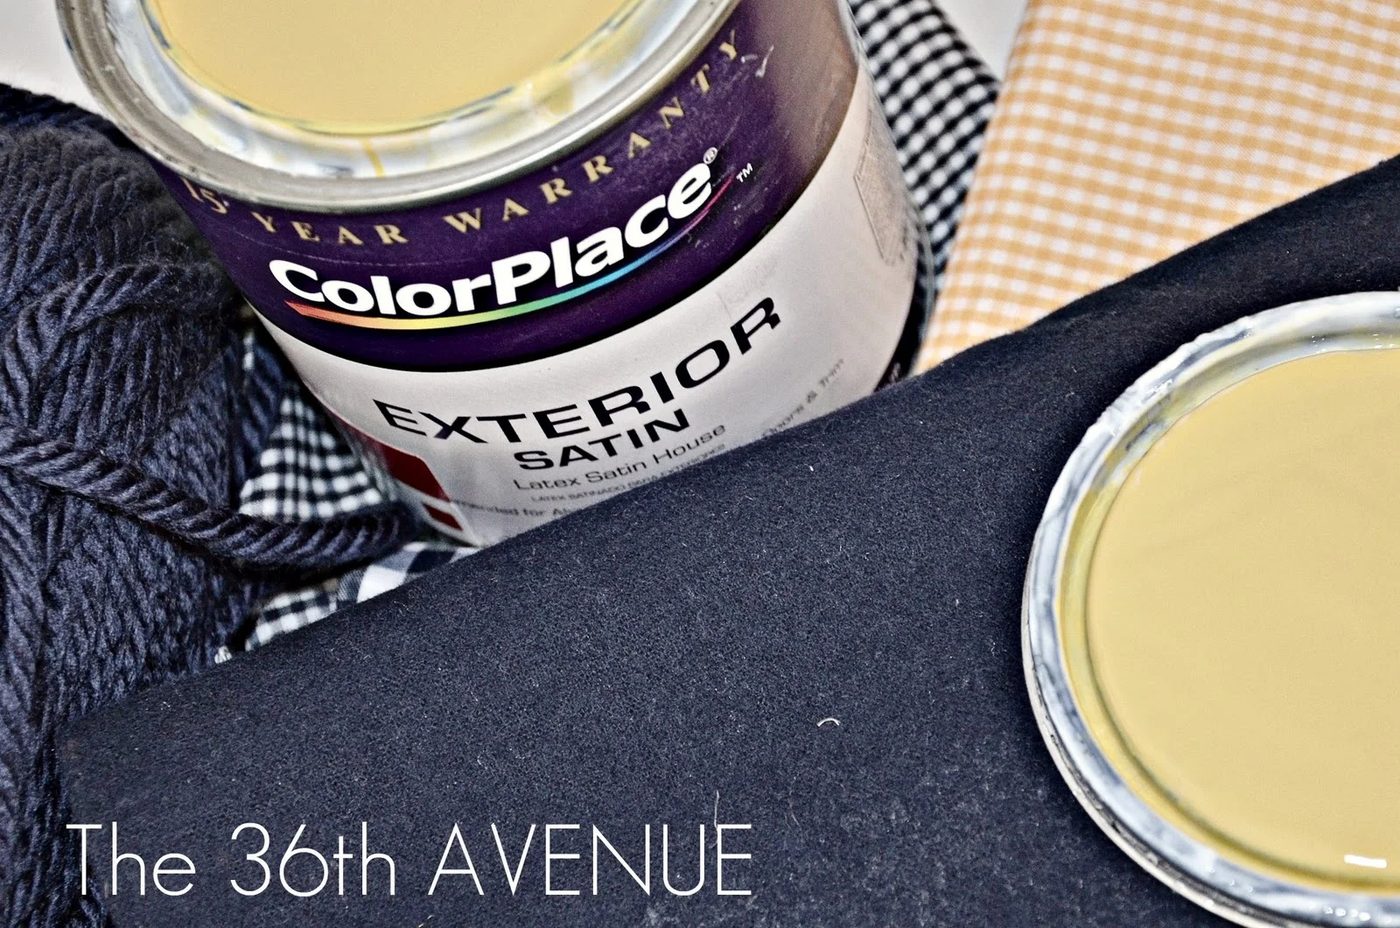 .
So after consulting with the experts { my Facebook readers } I made the stencil and as soon as I started transferring it to the wall I knew this was not it…
I liked it but I didn’t love it!
.
So after consulting with the experts { my Facebook readers } I made the stencil and as soon as I started transferring it to the wall I knew this was not it…
I liked it but I didn’t love it!
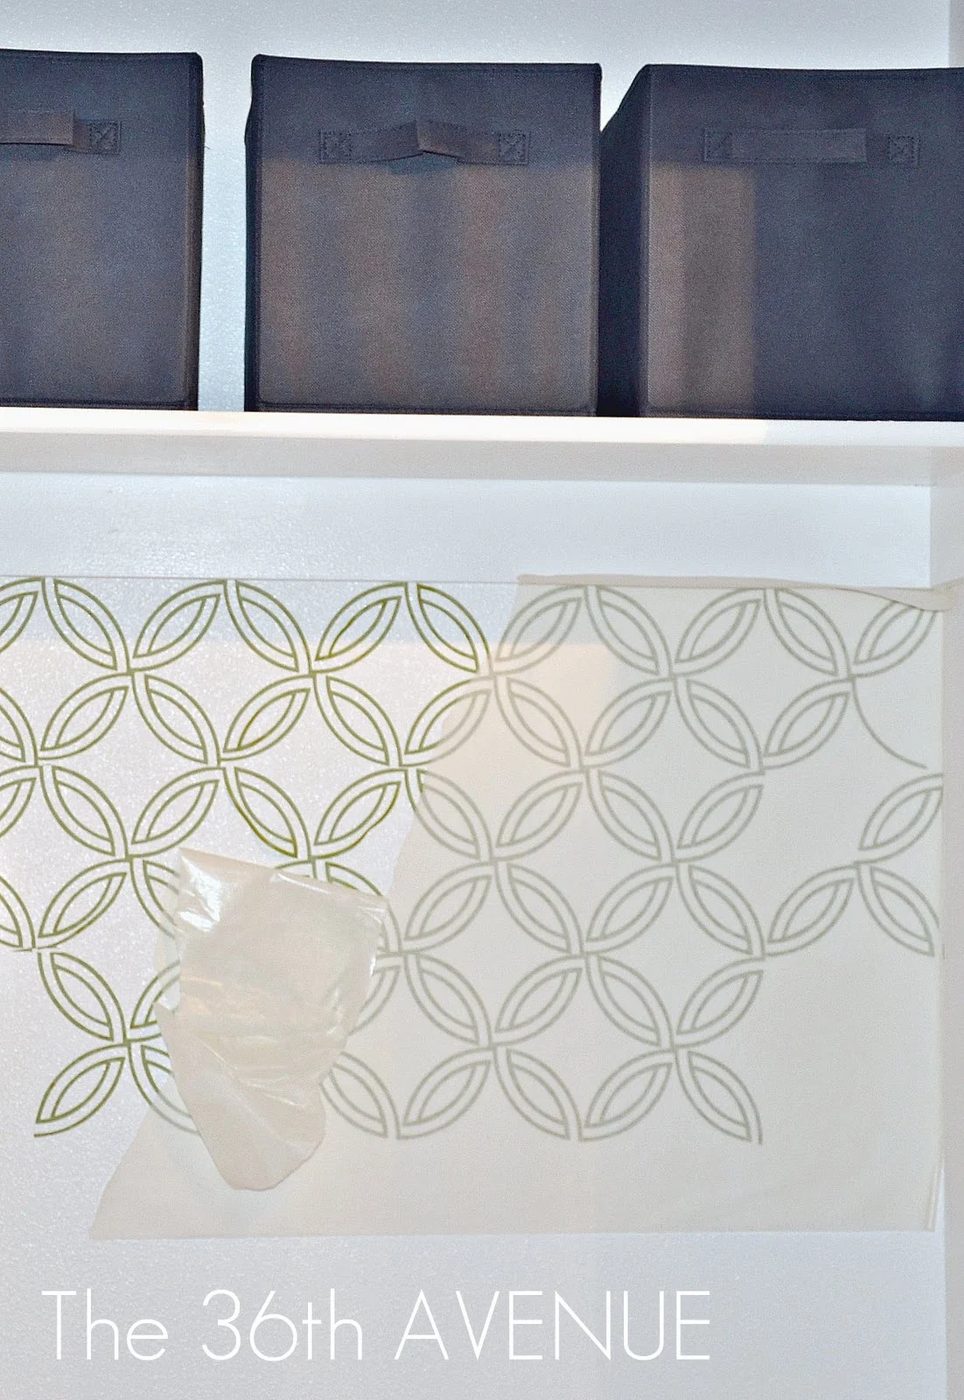 .
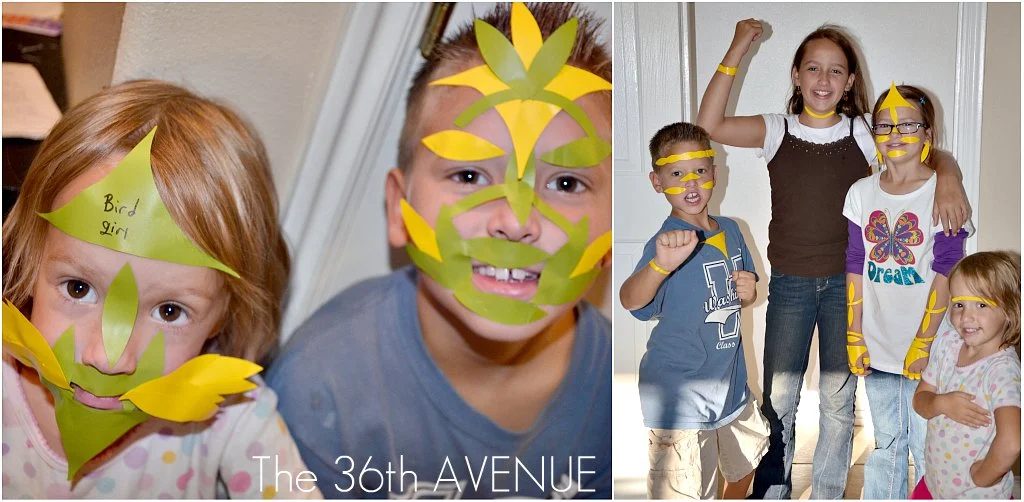
My kids however had a blast playing with the vinyl…
{Anni was the designer}
.
My kids however had a blast playing with the vinyl…
{Anni was the designer}
.So I took it out and I went with my go-to pattern:
the old classic stripes. I measure and taped 10″ stripes on the wall.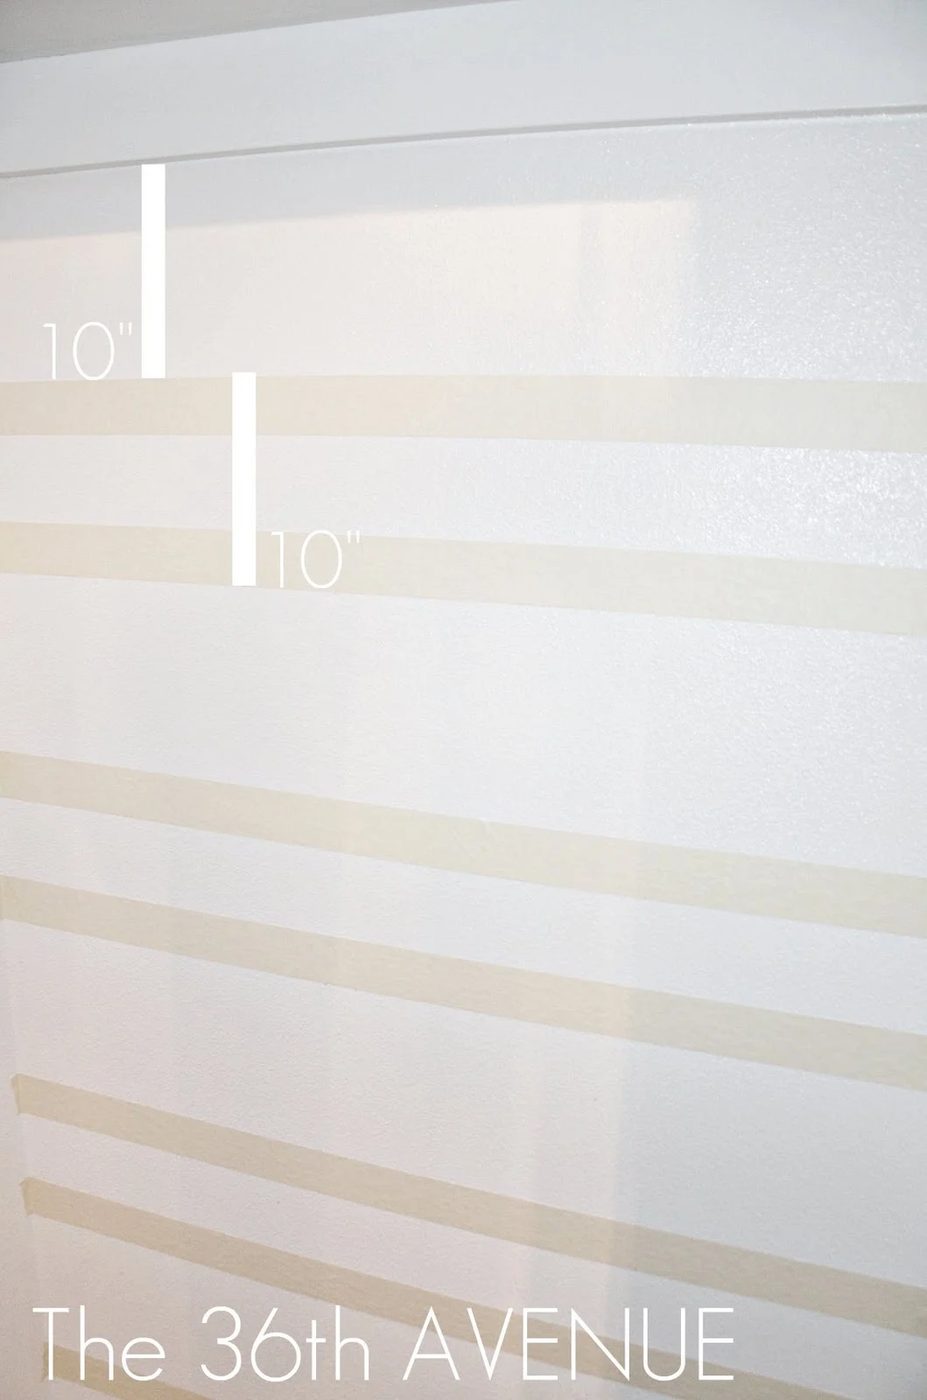 .
THIRD
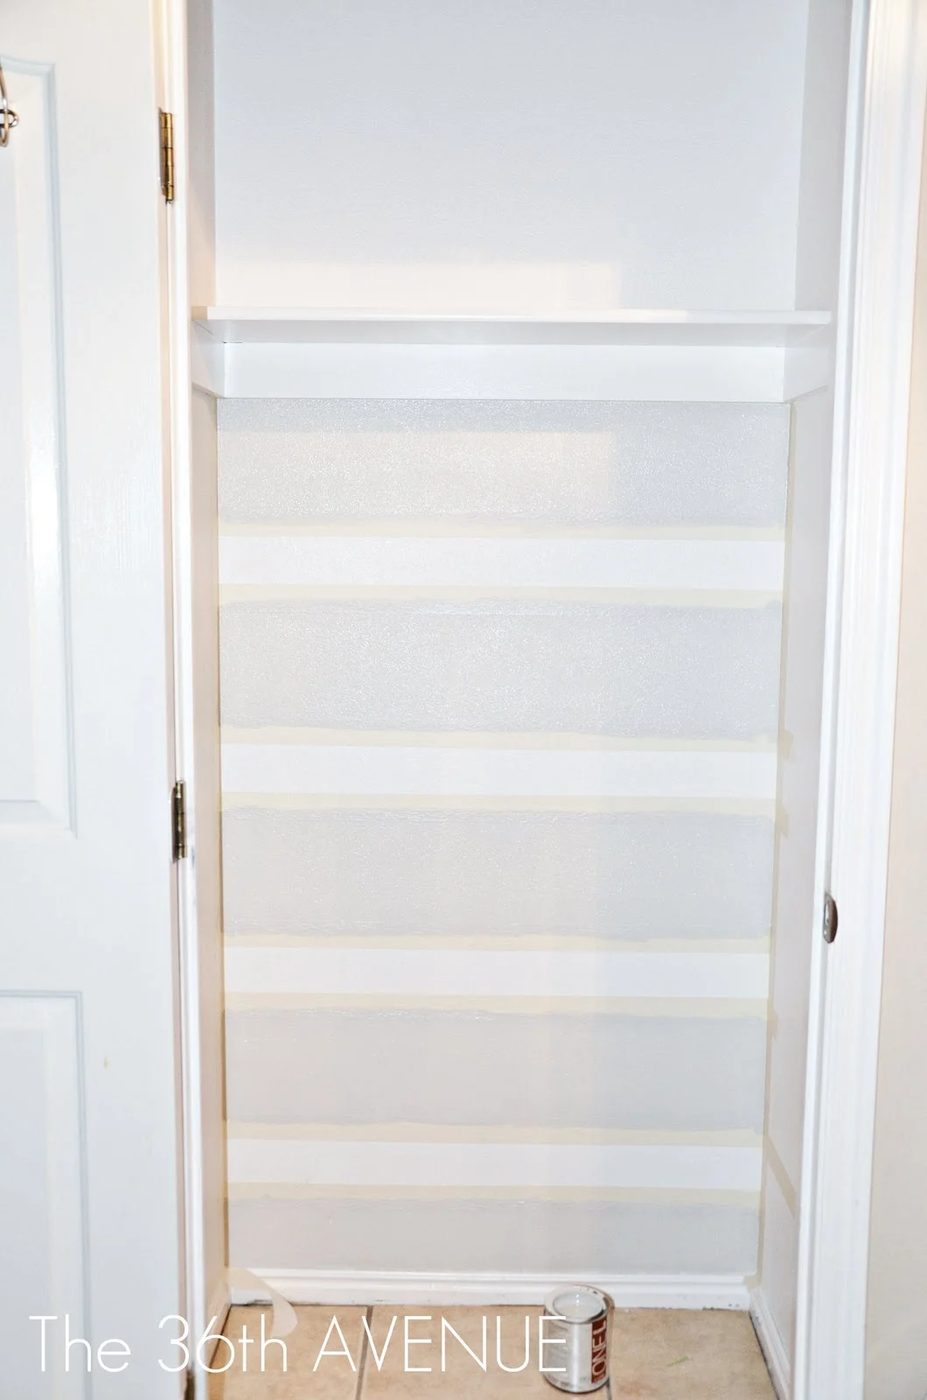
Then it was time to paint. I used a small foam Dollar $tore disposable roller.
I love them! They come in packages of two. Not bad!
.
THIRD
Then it was time to paint. I used a small foam Dollar $tore disposable roller.
I love them! They come in packages of two. Not bad!
 .
This gray is PERFECTION.
.
This gray is PERFECTION.
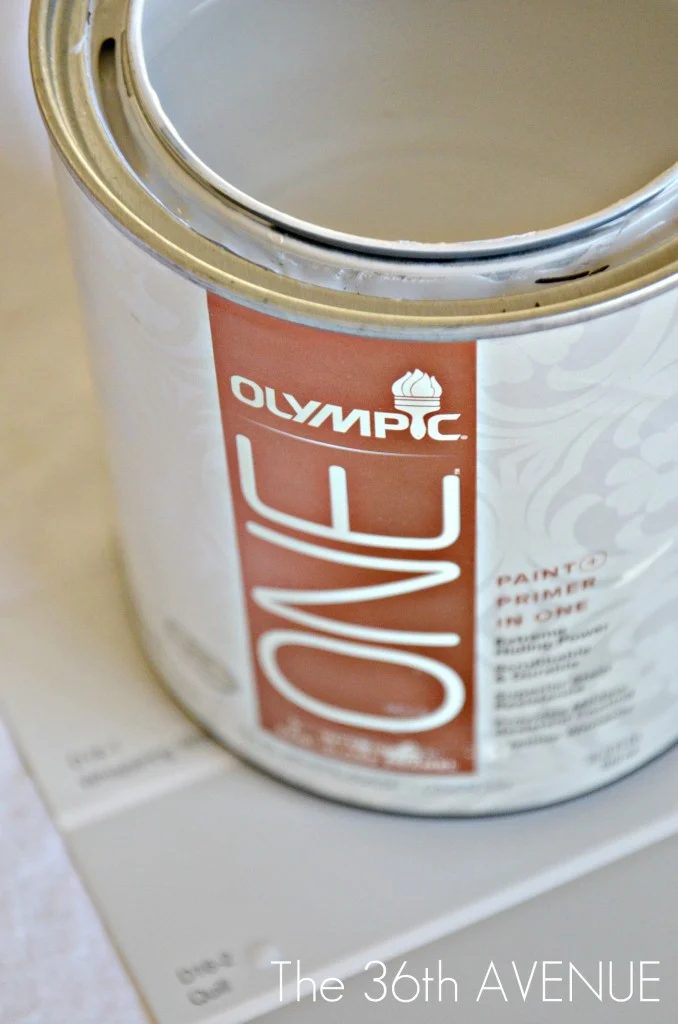 It is made by Olympic and you can find it at Lowes.
The name of the paint is Quilt { D16-2 }
I like to use semigloss for my walls { I have kids } and Olympic ONE { Pain+PRIMER in ONE}
.
FOURTH
Next morning the closet was ready to be truly transformed.
Instead of a built-in I was lucky to find an unassembled bench at Target that was just one inch smaller that the closet… Just well fitted! So all I had to do was to put it together.
It is made by Olympic and you can find it at Lowes.
The name of the paint is Quilt { D16-2 }
I like to use semigloss for my walls { I have kids } and Olympic ONE { Pain+PRIMER in ONE}
.
FOURTH
Next morning the closet was ready to be truly transformed.
Instead of a built-in I was lucky to find an unassembled bench at Target that was just one inch smaller that the closet… Just well fitted! So all I had to do was to put it together.
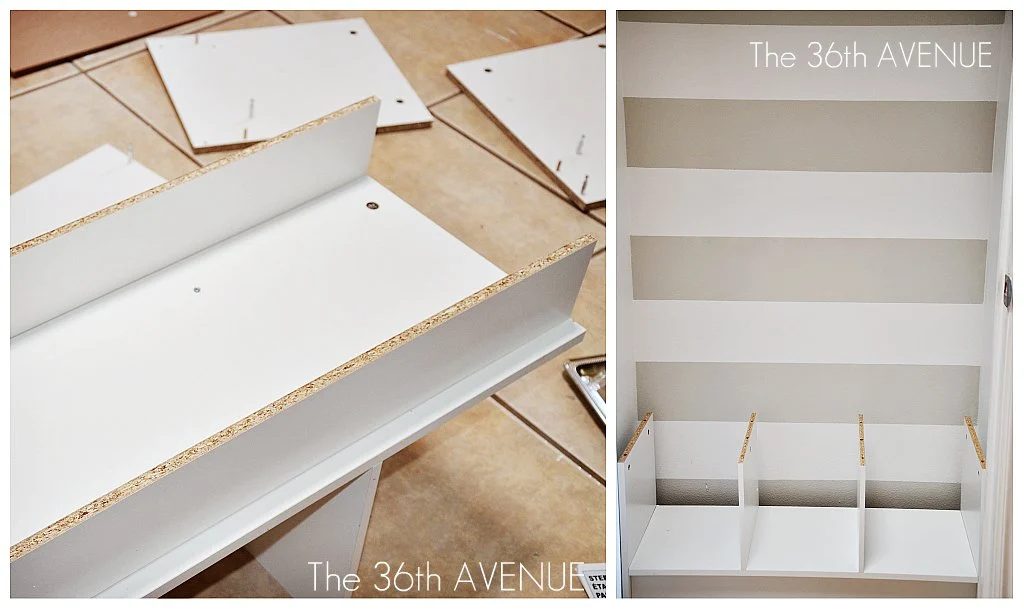 This is how it looked after 25 minutes of work…
I am not a man I read the instructions!
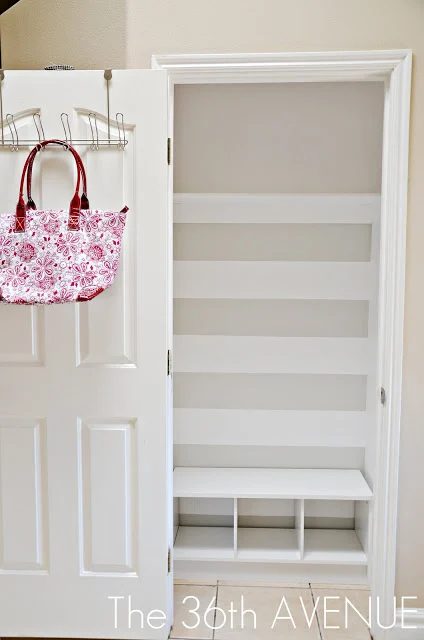
What a difference!
This is how it looked after 25 minutes of work…
I am not a man I read the instructions!
What a difference!
 .
FIFTH
SAY it!
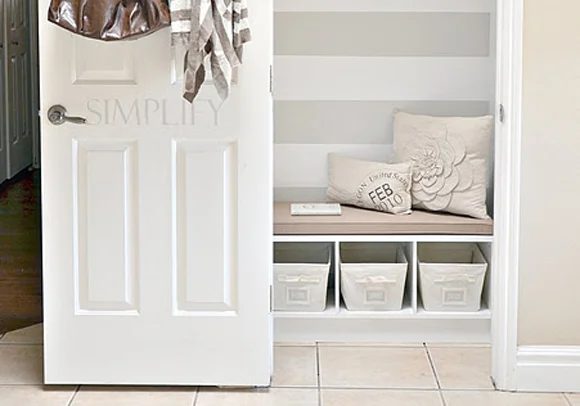
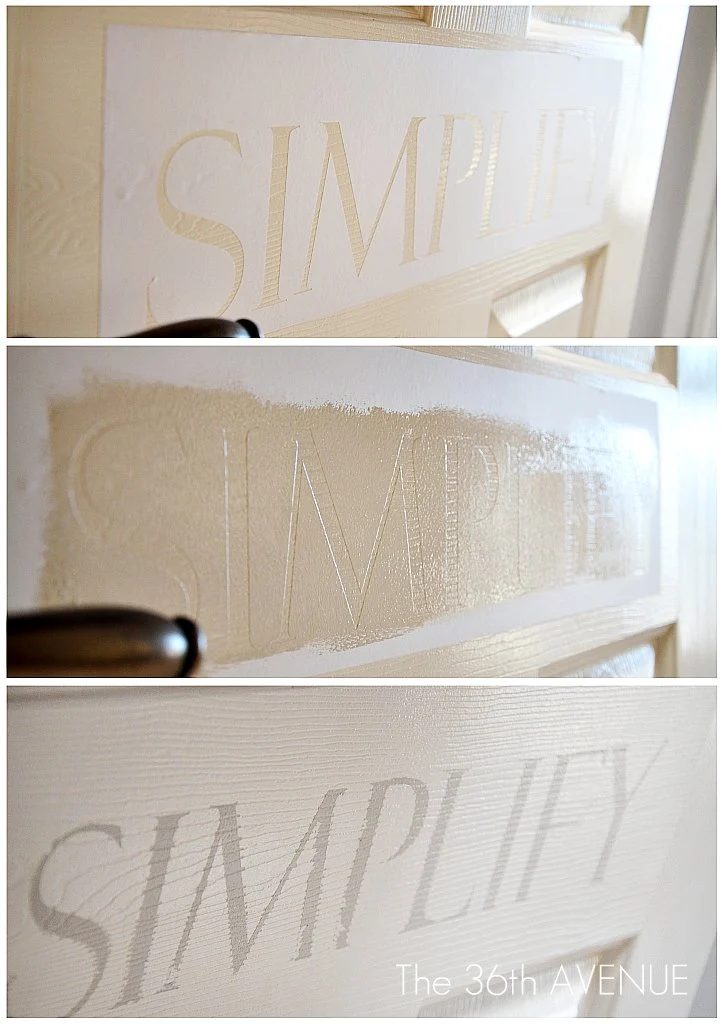
I made a SIMPLIFY vinyl stencil to remind us all to never let the mess come back! You know what to do here…
Apply it, Paint it, Peel it off!
Enjoy!
.
FIFTH
SAY it!
I made a SIMPLIFY vinyl stencil to remind us all to never let the mess come back! You know what to do here…
Apply it, Paint it, Peel it off!
Enjoy!
.SIXTH
Time to HAVE FUN! Because the gray was so incredibly clean and well fitted I could have accessorized this closet in pretty much any color: yellow, red, turquoise, green… But I love neutrals, you can check later my Neutralicious Pinterest Board for striking spaces decorated in neutral colors. These are the elements I used: . PILLOWS I made these pillows a while ago… and I love them both. Click HERE for the Flower Pillow walkthrough.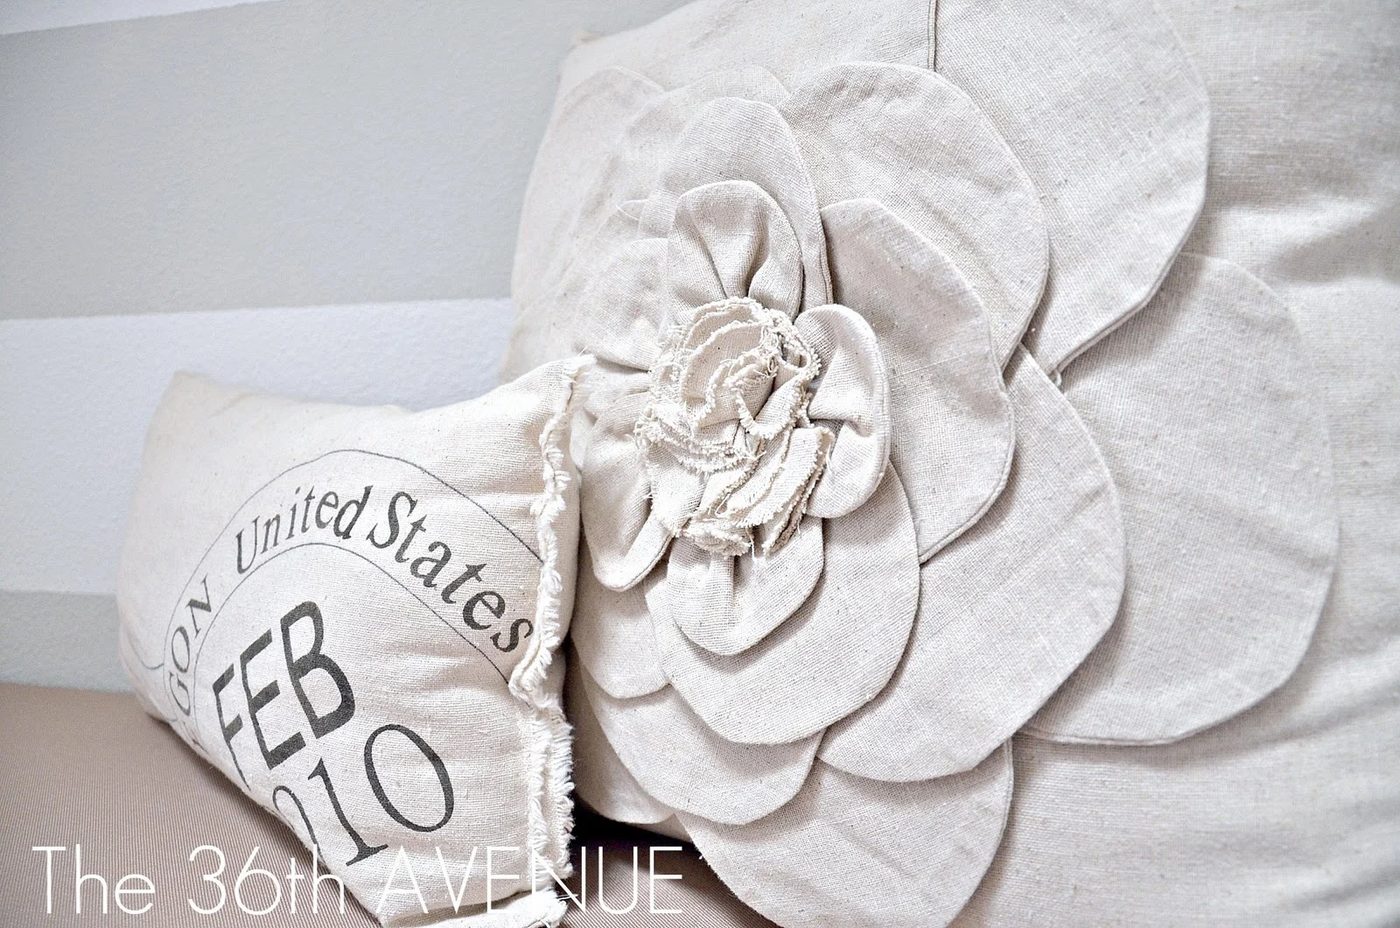 .
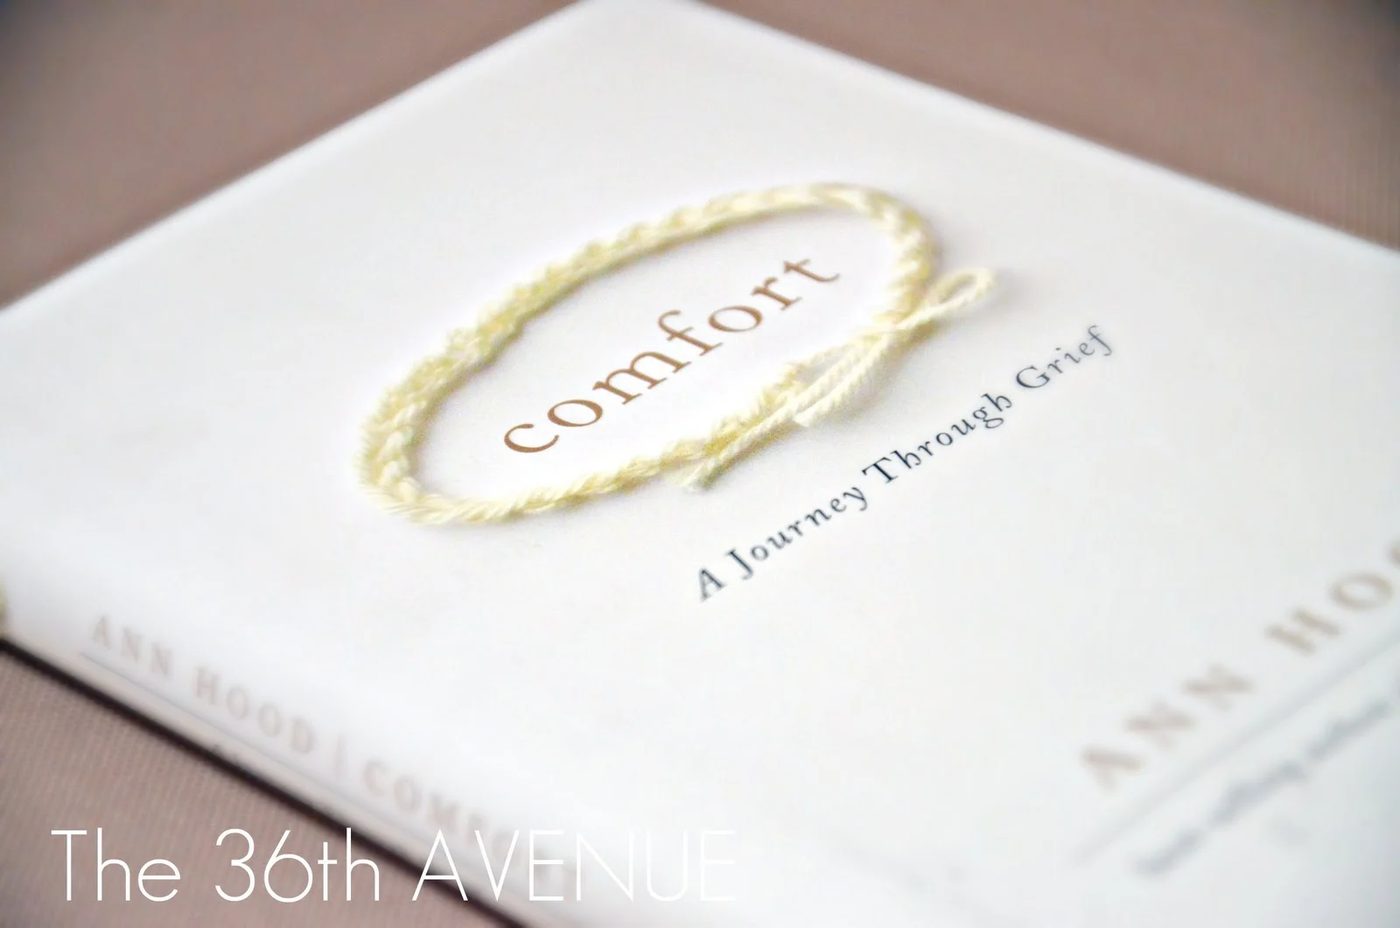
BOOKS
As I was working on the closet I thought this could be a cute little reading nook area.
.
BOOKS
As I was working on the closet I thought this could be a cute little reading nook area.
 .
.
STORAGE BASKETS
Here my children can put their little shoes… I added their names to the baskets using vinyl.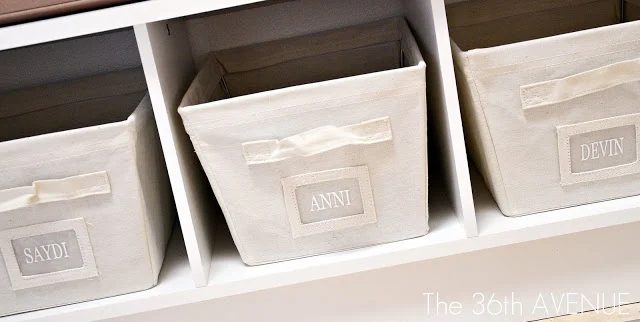 .
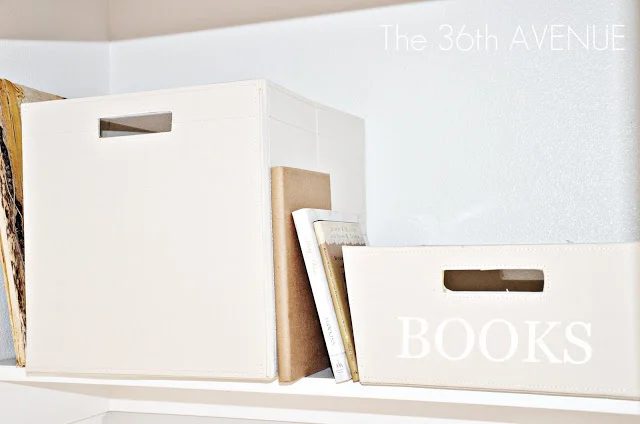
And these other baskets are well fitted for library books and other school materials.
.
And these other baskets are well fitted for library books and other school materials.
.
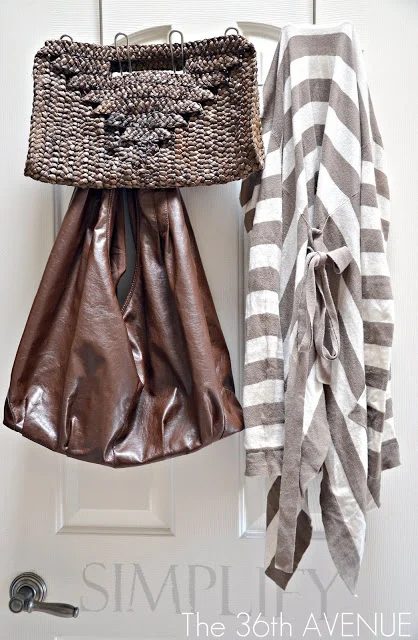
COAT RACK
I used the type that you just place over the door.
straightforward!
I was done…
I have to say that we love this small space. It is peaceful and inviting and yes my children LOVE to snuggle in there and read their books…. From Ordinary…
To EXTRAORDINARY?
What do you think?
.