Read the sequence from the top before cutting, painting, or moving pieces.
Yesterday I showed you the entry and stair project review. And you can look at all the individual stair posts under my stair tag.
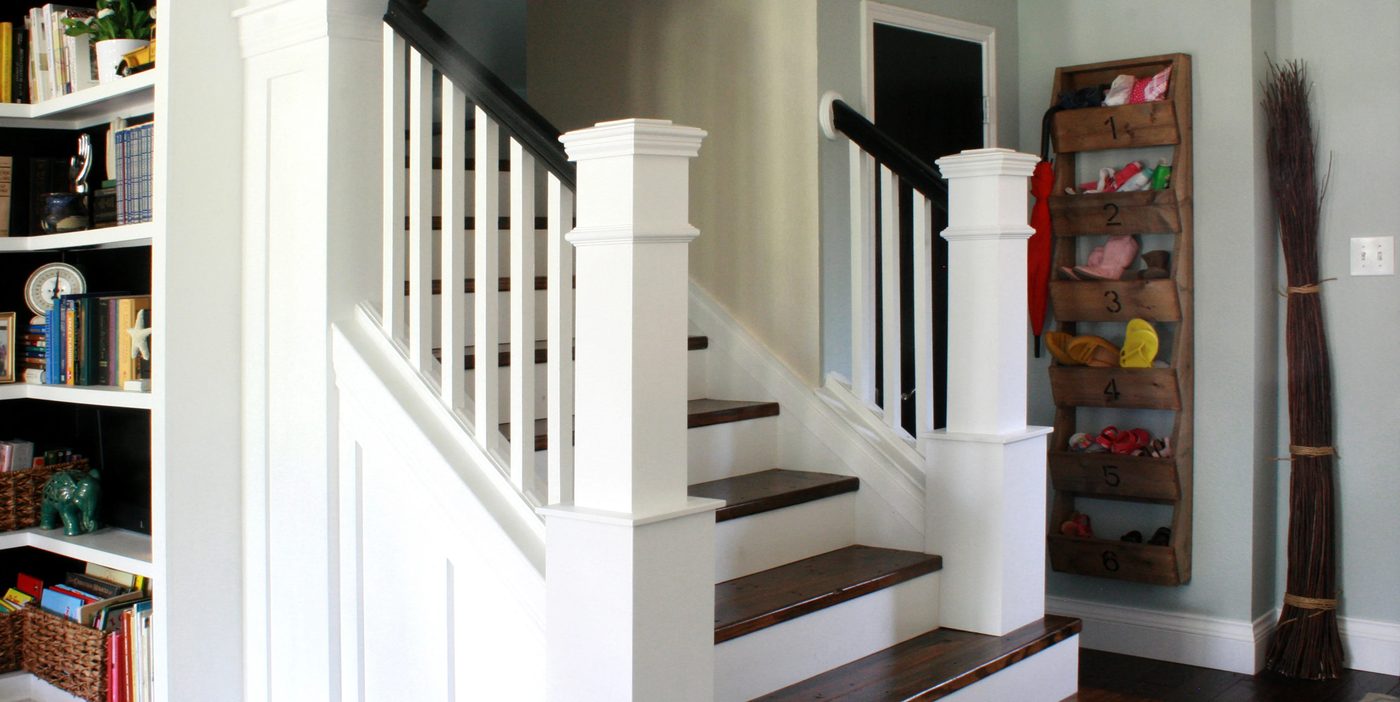
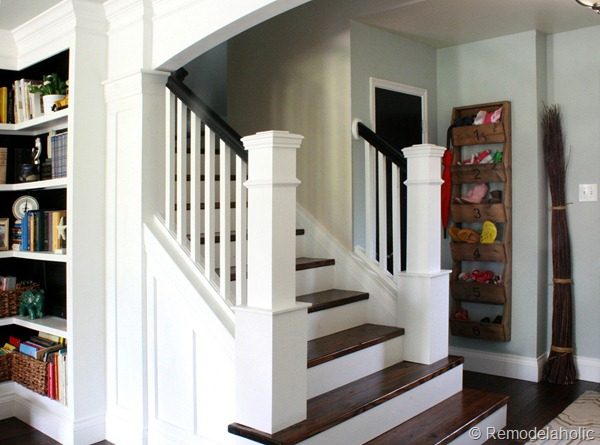
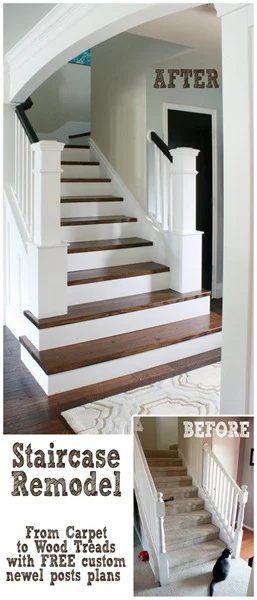
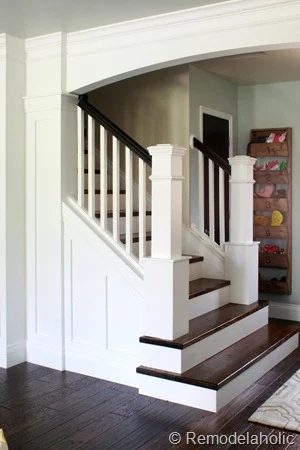
striking Staircase Makeover!
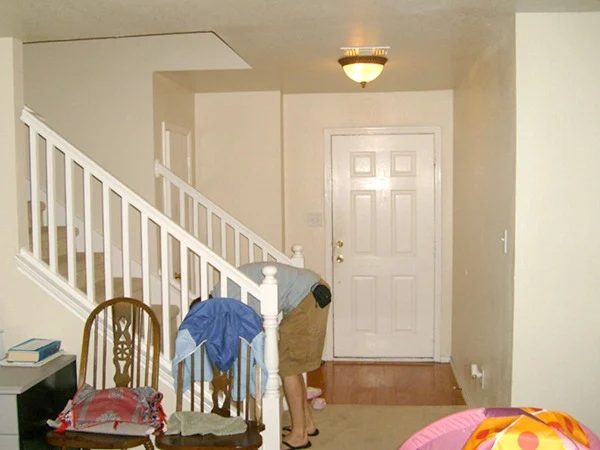
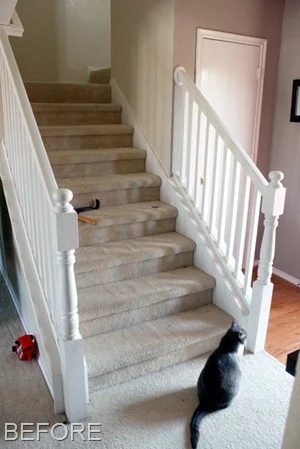
Just a reminder of the before:
 |
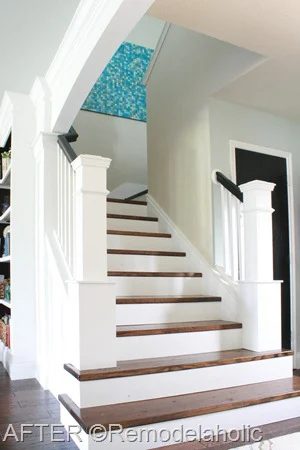 |
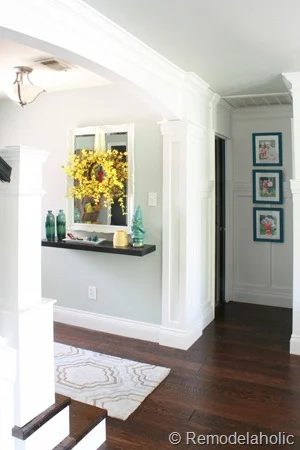
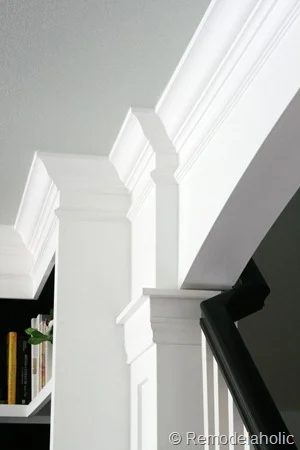
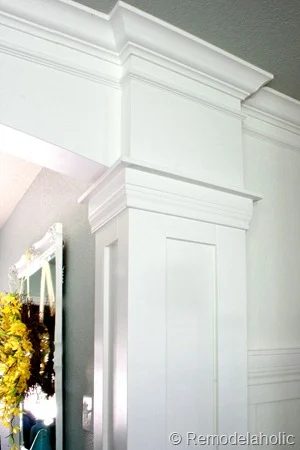
So let’s just let the pictures tell the story. Hope you enjoy!
The view from above:
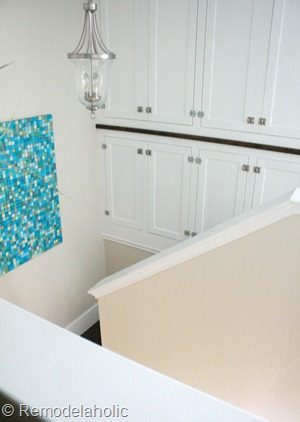 |
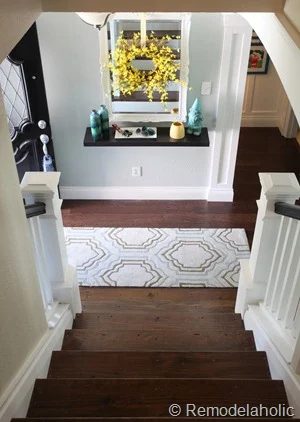 |
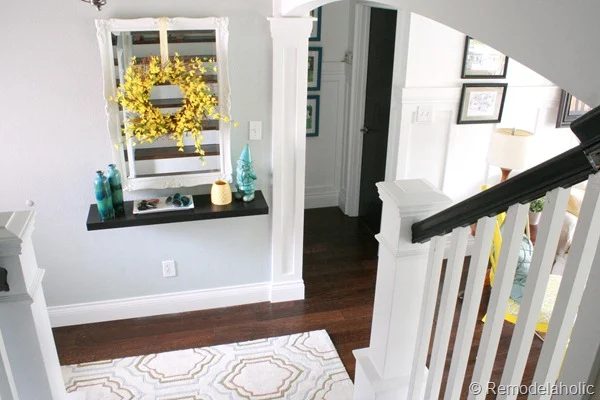
 |
 |
 |
 |
 |
 |
Overall view of the space:
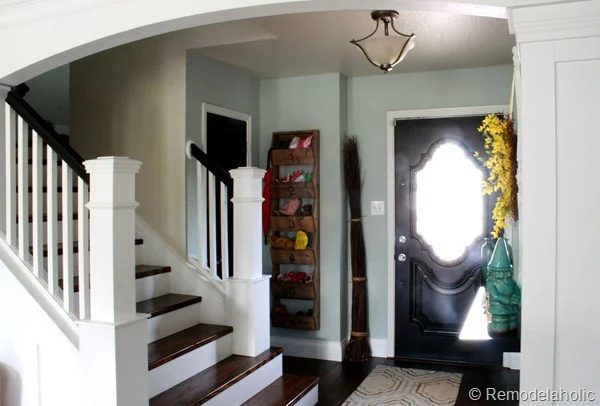
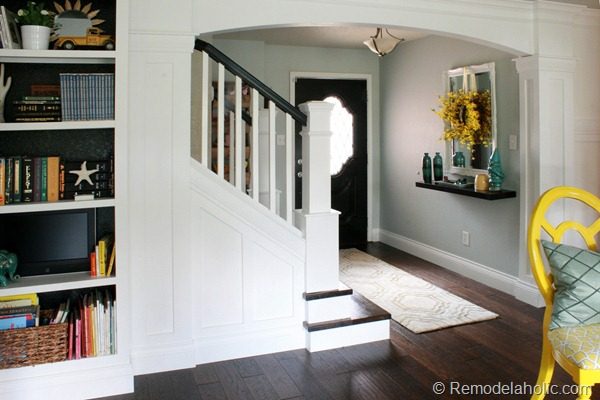
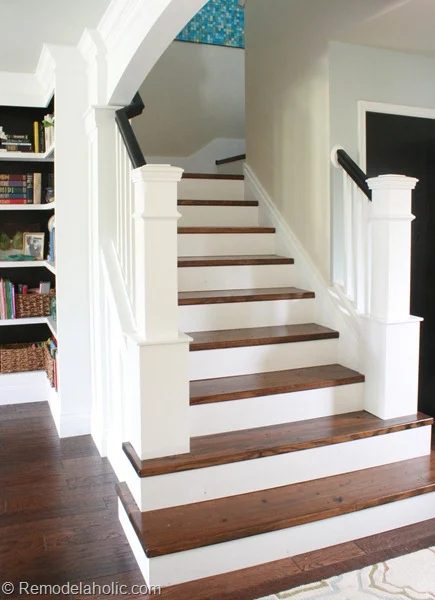
So finally this is the staircase makeover reveal, I hope you like it!!! (the occasion calls for three exclamation marks for sure)
And if you do look at the kitchen makeover and dining room reveal in our park house… more rooms to come soon! I’d love to hear what you think!
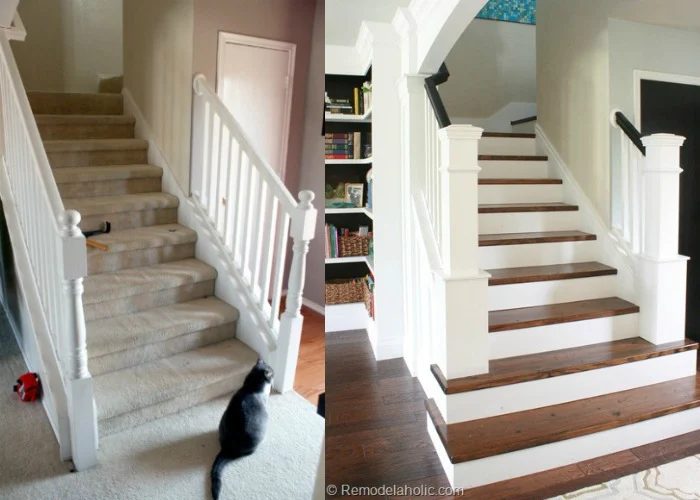
EDIT * I’ve had a lot of emails asking about the flooring we used.
I posted all about it in the living room floor installation post. Hope that helps!
If you are wondering about the blue artwork in the hall the walkthrough to make that is at the link!
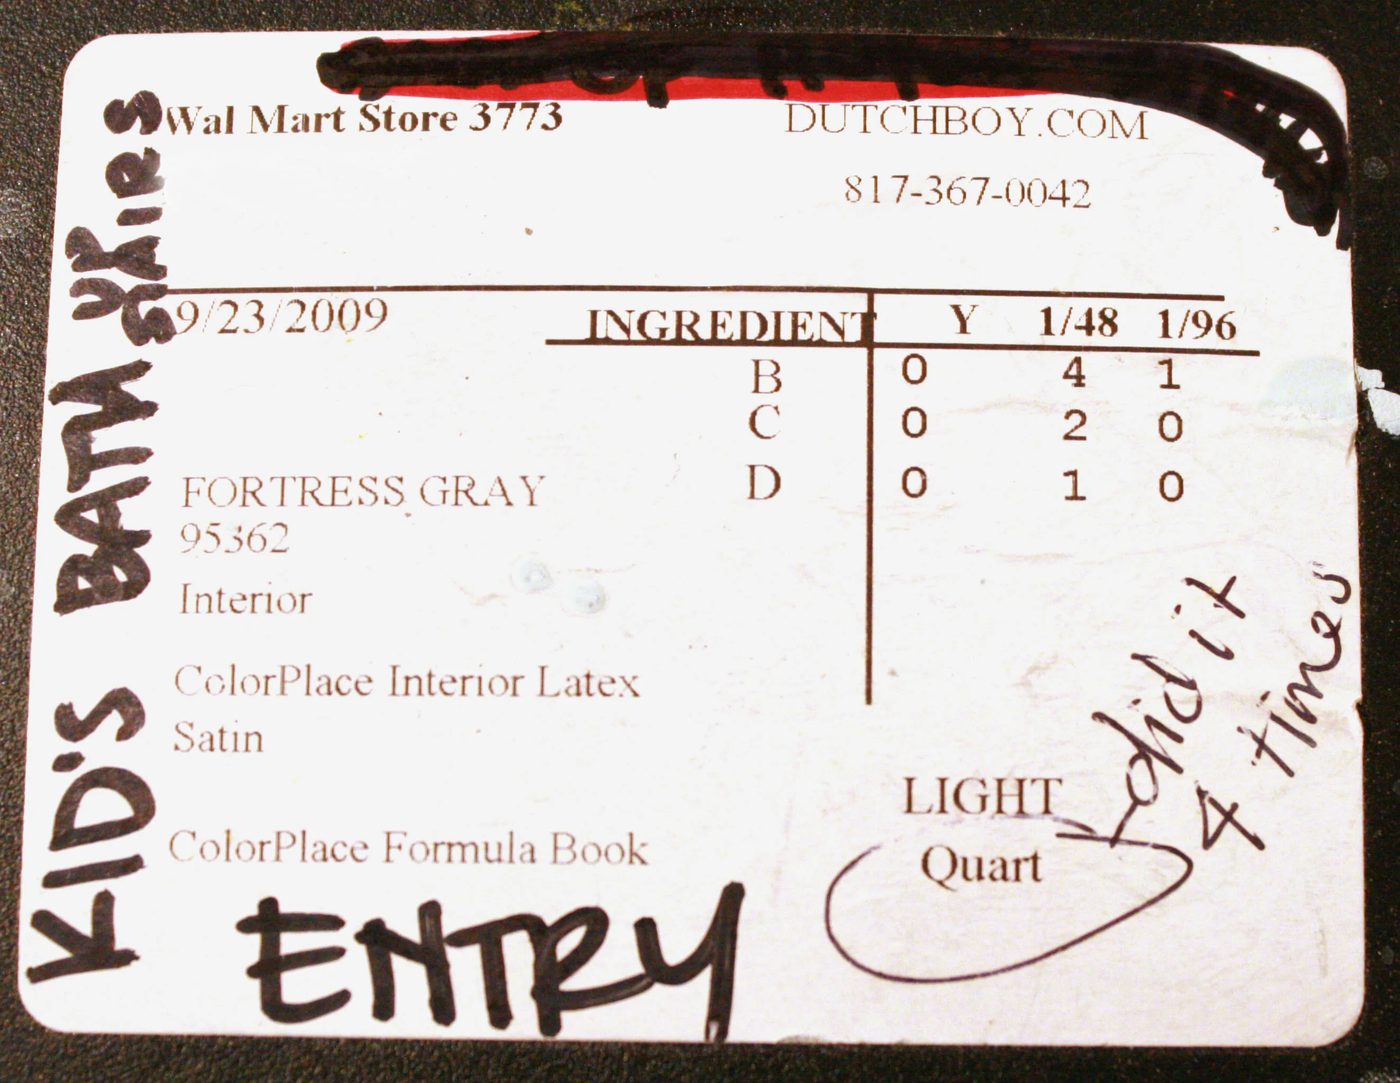
I’ve had a LOT of questions about the paint it is Fortress Grey in the Dutchboy line.. I used left over paint that I had from an upstairs bath. I bought the paint at Walmart a few years ago. Here is the label, they accidentally only added enough for a quart the first time, so they did it four times. How is that for confusing… but here you go!
——————–Update 5/21/2016——————
Check this out!
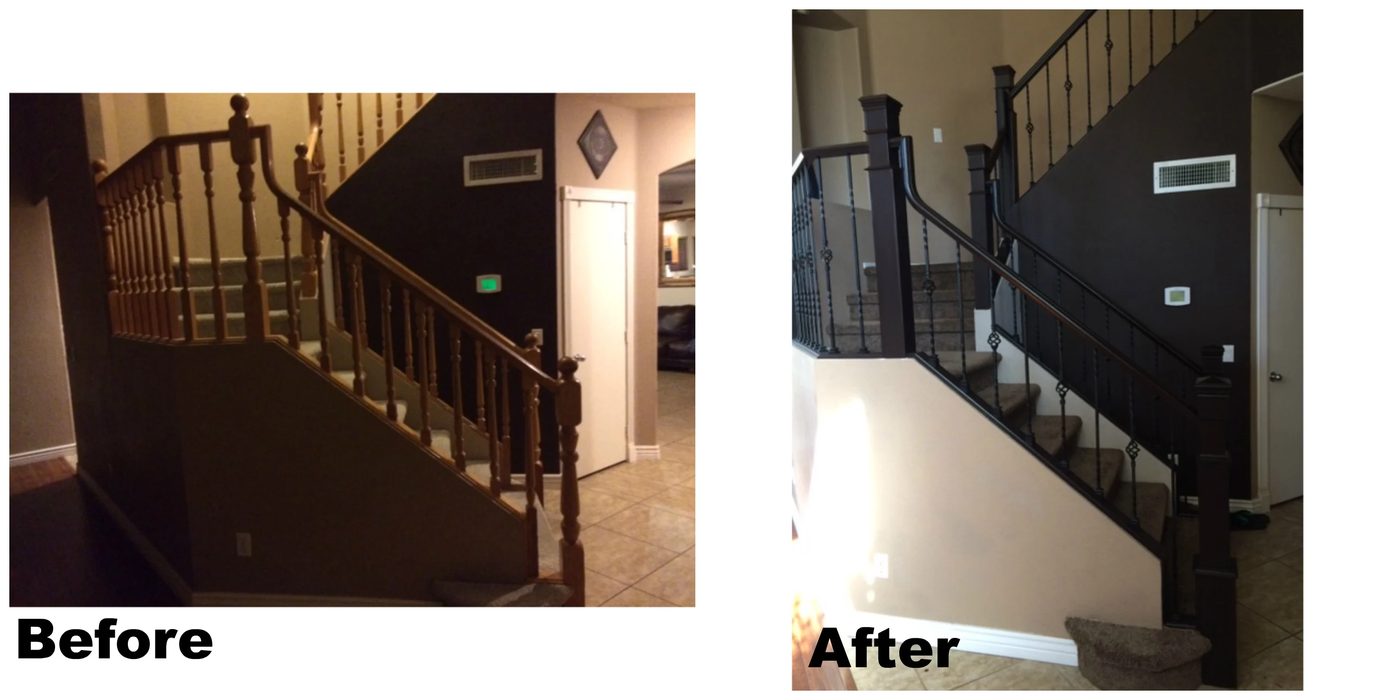
Readers Annie and Scott sent us these photos of their staircase makeover. Here’s what they had to say about it:
Just followed directions, except no wooden spindles, spent a little more $$ and purchased wrought iron, so worth it! Very straightforward to install, and so elegant looking!
striking transformation, you two! Definitely elegant!
Do you have a project inspired by one of our posts that you’d like to share? We’d love to see it! Let us know here.