Materials and the sequence of the job sit together on this page.
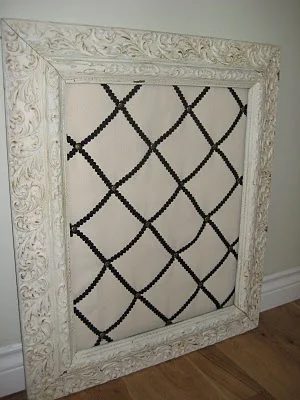
Andrea @ Willow Wisp Cottage has framed her fabric bulletin board. See how nice it turned out.
There are so many inspirational, creative projects out there in blogland. I used to rely on HGTV and decor magazines for my inspiration, but since discovering blogs, I am overwhelmed by all the notable talent out there. I have put many of these projects on my to-do list (which is ever-growing!). There are a few projects, in particular, that almost seem like an initiation right into blog-dom: one must attempt a memo board, use blackboard paint (on just about anything), and try glazing/distressing. In my most recent project, I’ve become initiated in 2 of 3 of these and what fun I had!!
The Project:
Today I tackled a memo board and distressed, glazed frame. I saw Centsational Girl’s memo board walkthrough and knew it was well fitted for what I had in mind. She gives a great step by step walkthrough here. Here is my abbreviated version:
My husband (my hands most certainly aren’t quite as hairy!) cut some thin board to size.
I gathered all the tools I would need to tackle the project. I opted for a canvas fabric and direct black ribbon. The frame is quite ornate already, and there is some pattern in the room that the board is going in, so I didn’t want the fabric to be too busy.
I placed 2 layers of quilters batting underneath and cut to size.
I did measure the diamonds to ensure they were all the same size. I didn’t trust ‘eyeballing’ it.
Voila, the board complete….now onto the frame (although the board sans frame, is cute also!)
I finally was able to find some Glaze. I asked several paint stores and got funny looks when I asked for it. I wanted to say ‘You know, Glaze, like what they’re always talking about in blogland?’ but I figured they’d really look at me strangely! I got this at Home Depot. One problem I did have, was tinting it. The salesperson really wasn’t sure, so I decided to do it on my own at home and customize it for each project. I am ok with the colour of the glaze on the frame, but I think I’ll go much darker for my next project. I’m still considering putting a darker layer on this too. It reads a bit orange-ish to me.
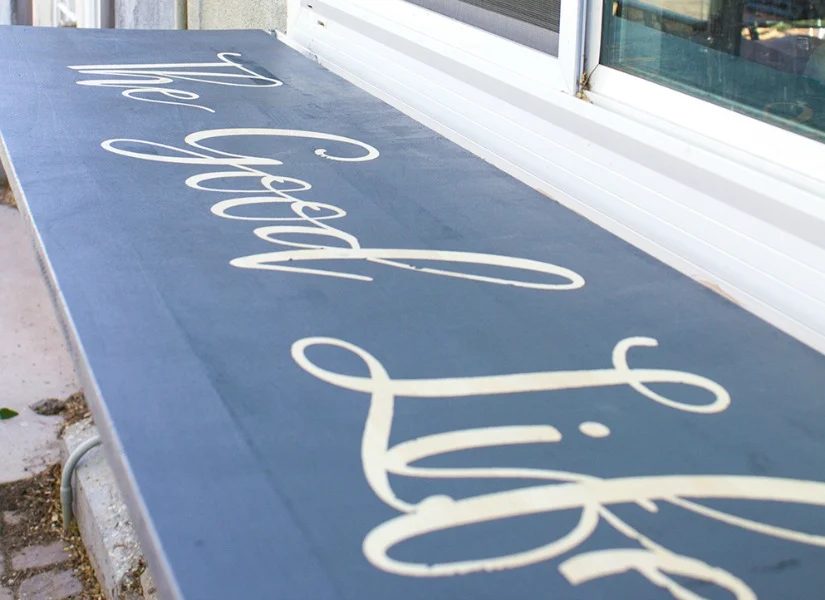
The process was straightforward: Paint it on, rub it off. So there you have it. Now I’m looking around for something to throw blackboard paint on…..love this option from Kari & Kijsa (ohhhhh, how I wish they’d come back-LOVE their blog!!) Nice job on the fabric bulletin board. I like how the frame turned out do you?