Materials and the sequence of the job sit together on this page.
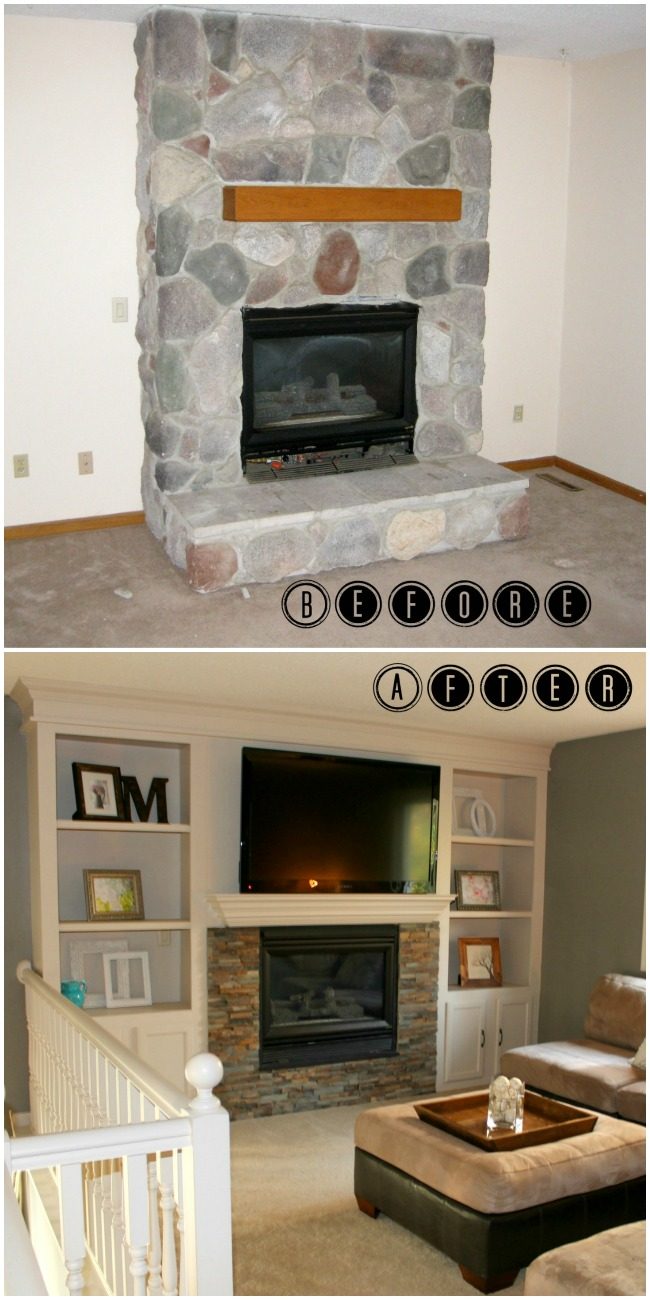
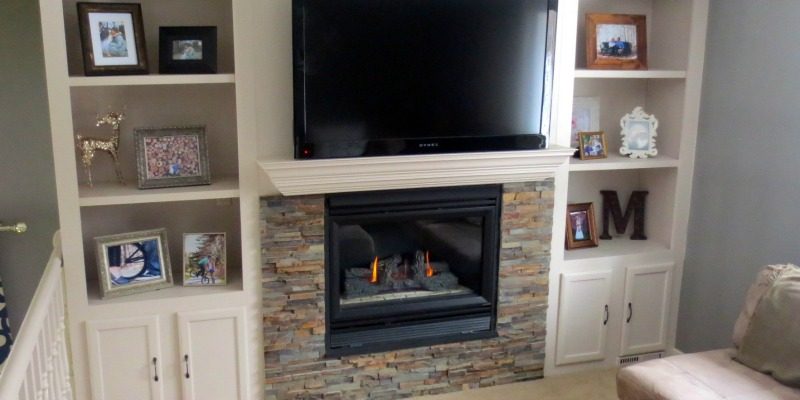
The weather is starting to warm up here, but it’s still chilly enough that there are days when I wish we had a fireplace to curl up next to (instead of the faux fire we have). Combine that with our love for built-ins, and you’ll see why we are so excited to feature this lovely fireplace makeover (that we found at one of our weekend link parties, you should come join!). Just look at all this coziness and lovely shelving: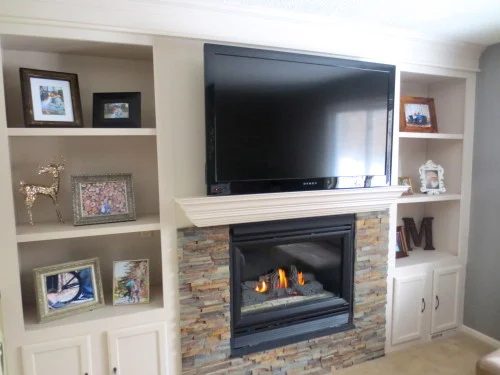
Fireplaces can be such a striking architectural feature in a home! Keep reading to see how Jamie and Morgan updated their fireplace, and try not to drool too much as we show you some more of our go-to ways to update a fireplace, like
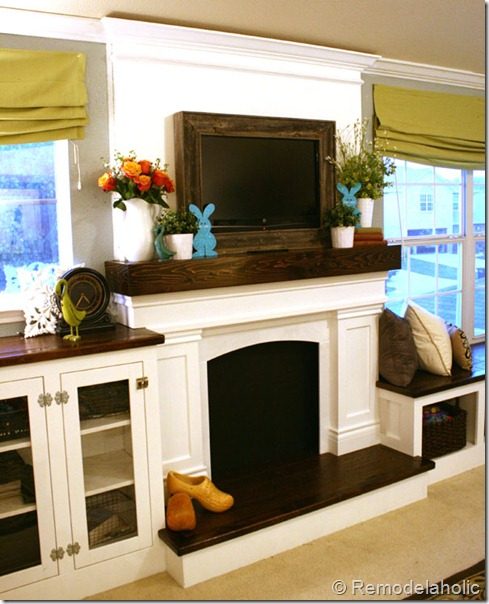
adding a mantel to our faux fireplace (and hiding our TV cords in it!)
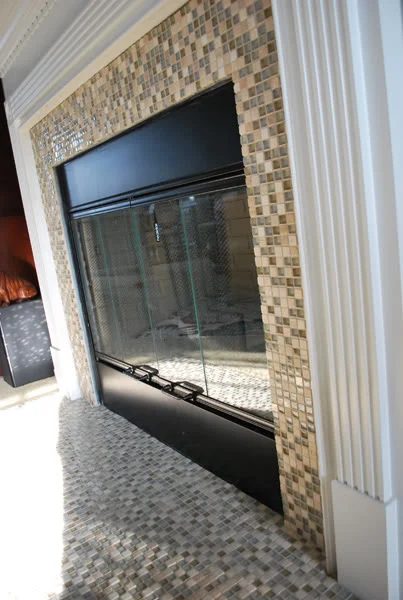
You can also update a fireplace with something as direct as mosaic tiles:
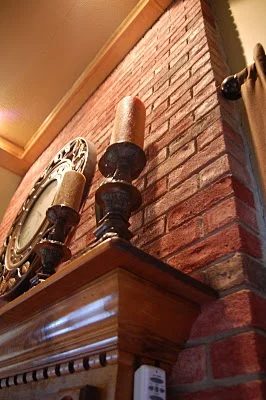
Or update that brick fireplace by staining it (no joke!)
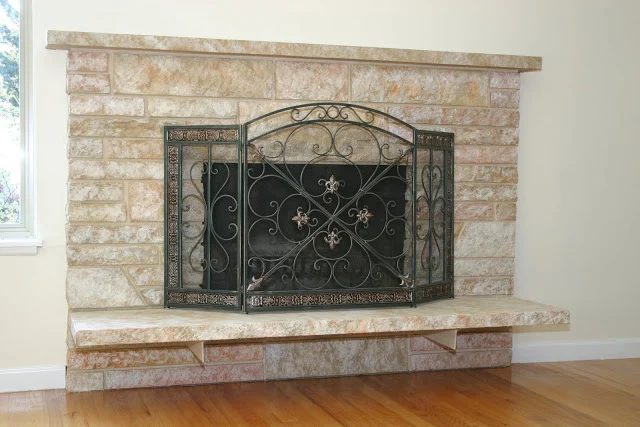
If you have a stone fireplace that has been painted over, you can restore the stone, too:
Okay, now that you’re properly inspired… here’s Jamie and Morgan to share their fireplace makeover!
Fireplace Makeover with Built-in Shelves
by Jamie and Morgan from construction2style
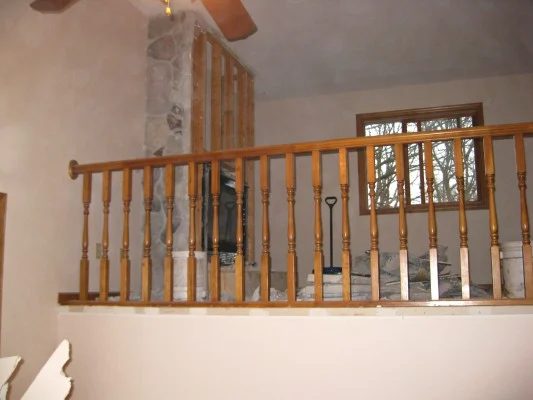
Hi everyone!! I am Morgan here with my husband Jamie and we are BEYOND thrilled to be here at Bekob sharing our built-in entertainment center with all of you!! We blog over at construction2style about our home renovations and Handmade projects. We have been married just shy of 6 months. A couple years prior to getting married, Jamie purchased his first home. I was so excited when he let me help him with the remodel of the house. This house was very outdated and needed a ton of work. With Jamie’s carpentry skills and my style we were able to turn this house into our first home together.
One of the first things to go was the fireplace. It was very large and made the room look really small. Jamie could not wait to take a sledge hammer to this monster. The demo of this fireplace was not straightforward. Jamie used a sledge hammer and a pry-bar to remove all of the rock. We had to be careful around the fireplace to not break the glass because we weren’t planning on replacing the actual fireplace itself. It took us about three hours to get all of the rock torn off.
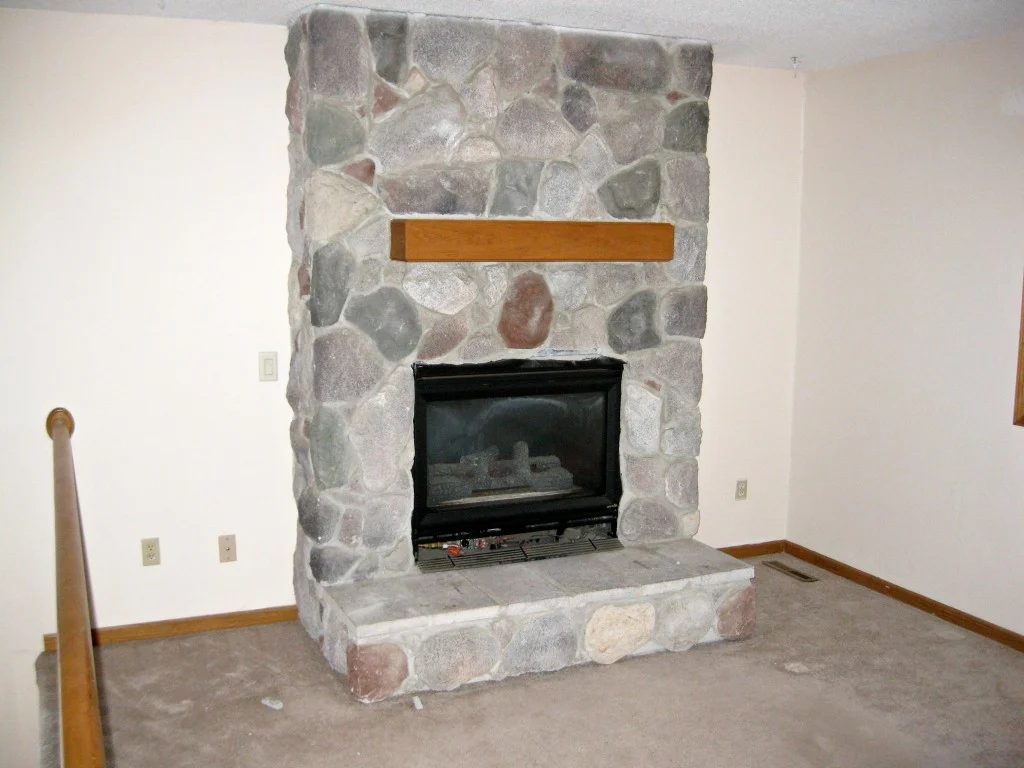
The next thing to come off was the large hearth, this is the portion of rock that projects out front of the fireplace. That even took up more unnecessary space in the living room than needed.
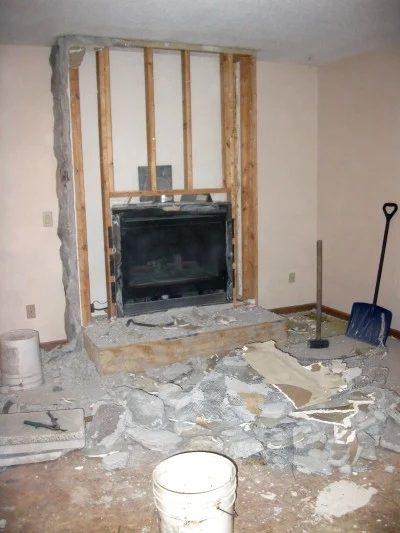
Once we got all of the rock down and cleaned up Jamie started on the built in entertainment center.
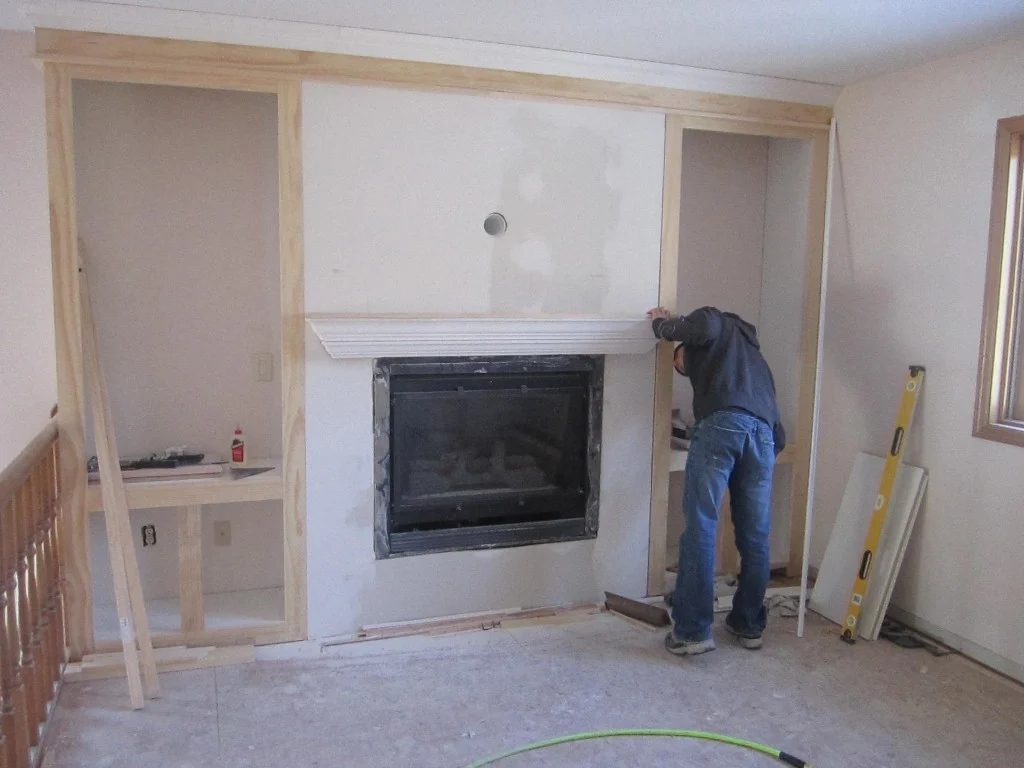
He started by building the cabinet boxes on each side of the fireplace and then built the face frames to size to fill in the left over area. It is best to leave the face frame wider, usually a 1/4″ ear, than the cabinet box so it fits tight to the sheetrock because it’s usually not perfectly square in the back corners. The ear is only used when it is tight to a wall. The far left part of the cabinet is seen from the dining room so that needed to be flush with the face frame.
Jamie joined all the pieces together using a pocket hole jig and pocket screws. Once the cabinets were in place the top was finished by the use of three different trim pieces. The crown molding was the last piece to the puzzle and really gave it the built in look. With the ceiling texture still up the crown had some small gaps here and there so Jamie filled the space with a caulking that is designed specifically for this type of problem, which you can find at any home improvement store. If you notice the hole above the fireplace it is a PVC tube with two elbows that run into the cabinet. This was done so all of the TV cords could be hidden.
We created the mantel above the fireplace by stacking two pieces of crown molding on top of one another other. We first put a 2×4 ledger board onto the wall. We then made a frame for the crown molding to be nailed to. Once the crown was nailed to the frame, we hung the mantel on the ledger board and glued and nailed it off.
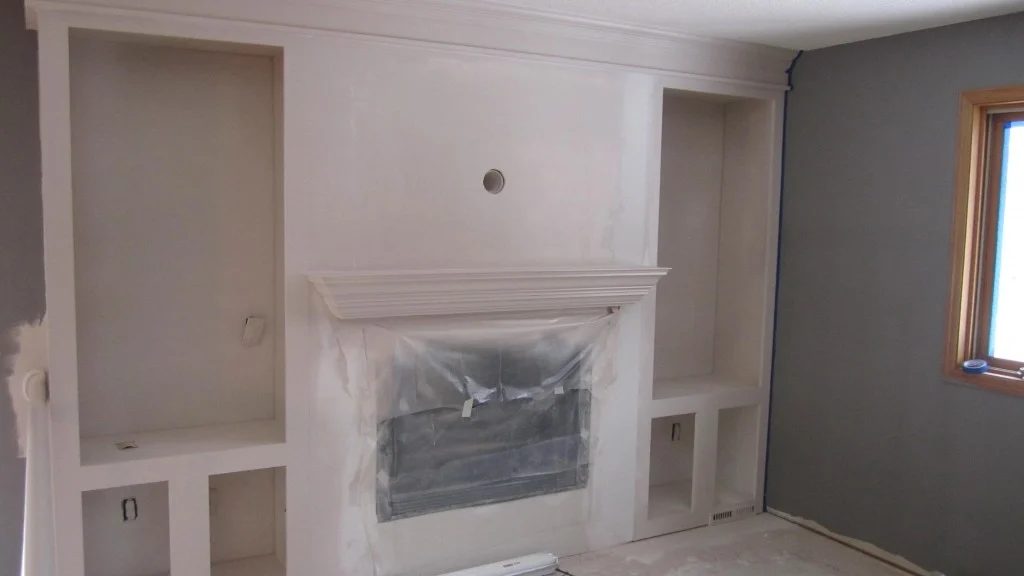
Once we got it all installed and all the small joint gaps filled we spray painted it all an off white. The paint was called Cedar Key, and came from a local paint supplier.
Once we got it all painted, we started on the stone in the fireplace. I decided on a natural slate with multiple depths and colors to break up the all white built-in and give it some character. The stone came from The Tile Shop and was $15 per square foot.
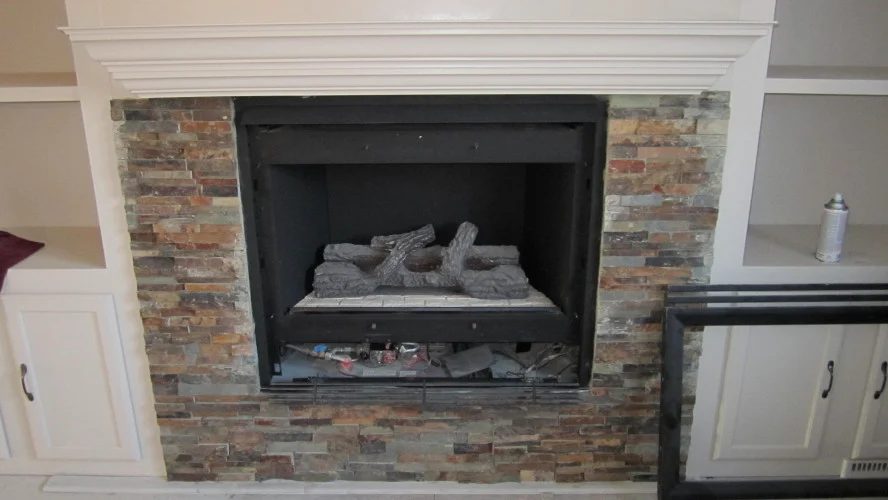
Rather than making the doors Jamie decided to buy them. Buying them was a little more expensive as oppose to building them, however, the time saved was worth the cost.
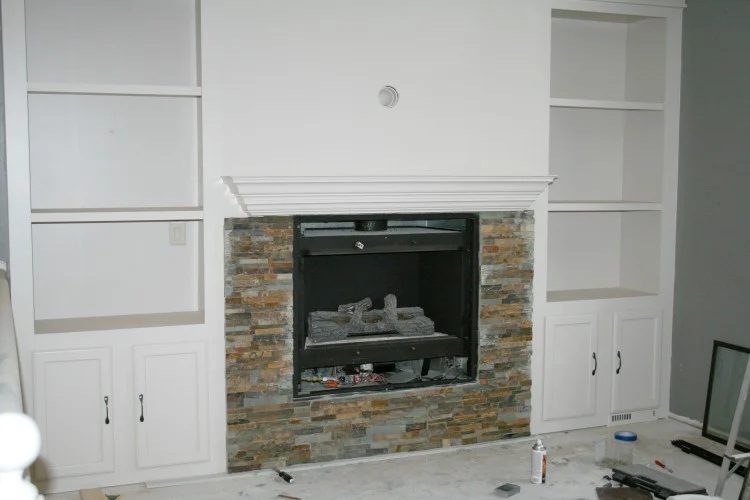
Finally, it was all coming together. We were both really happy on how it turned out. It really opened up the entire house and made the living room look a lot bigger than before.
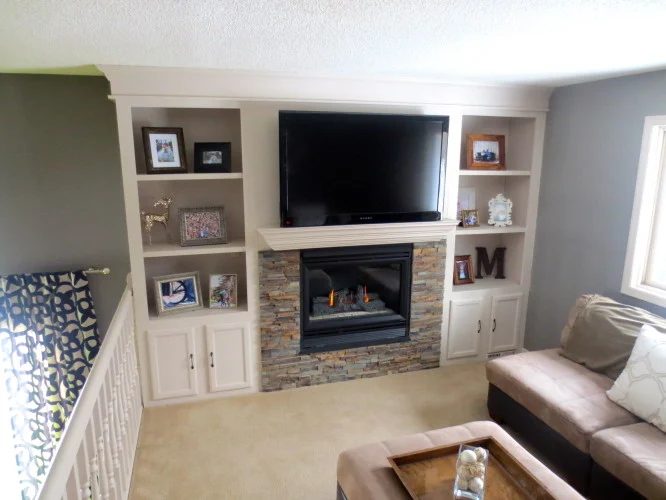
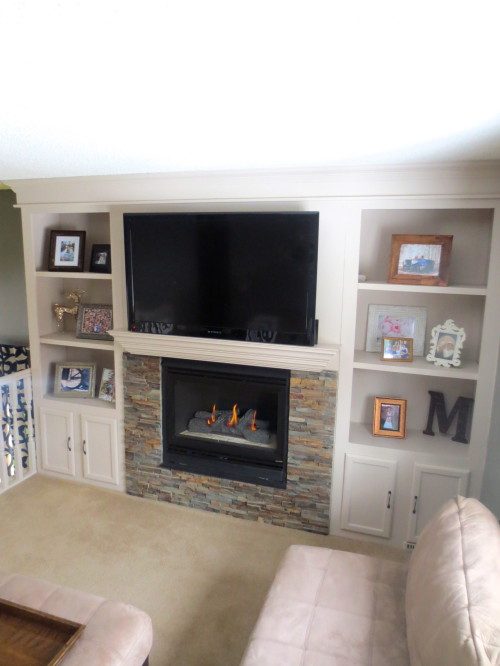
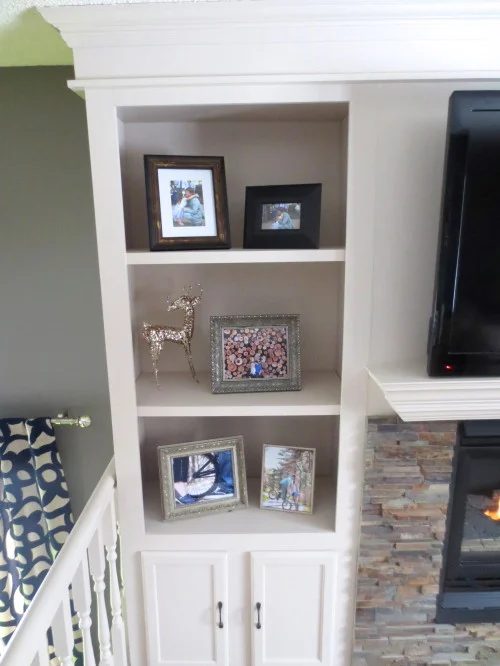
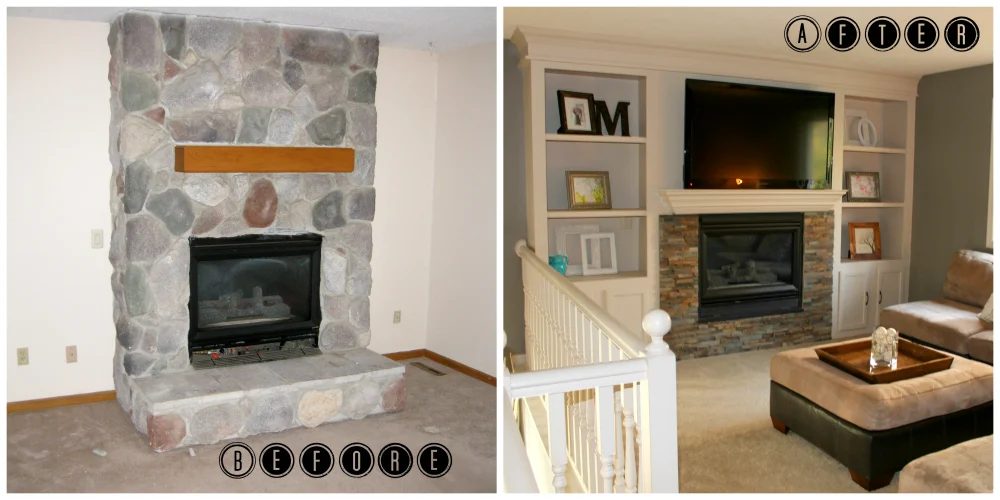
In the end it took us about 10 hours from start to finish. The overall cost for the built-in was right around $500. Doing it yourself is always so much more cost effective and is always so rewarding!
————————
solid makeover, guys! Love seeing other husband and wife duos, making a house a home. Great work!
Be sure to head over to construction2style to see more the great things that Jamie and Morgan are doing with their home, like renovating a Mickey Mouse bathroom.