This kitchens walkthrough stays in the order the work happens.
From Dresser To Kitchen Island contributed by Binkies and Briefcases
Remember this u.g.l.y dresser? (Ok, not this actual one, I stole this picture from ebay, but it’s the exact same dresser I bought from ReSource York, except mine didn’t come with the hutch.)
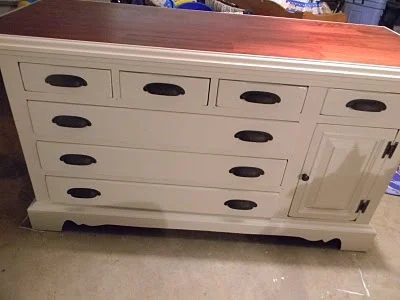
This was the best before picture I could get of our actual dresser in the awful light in our garage.
I wanted to turn it into a kitchen island like I saw Jonni do at House of Johns.
Eddie wanted to make it a little more elaborate so that it looked as much like a piece of kitchen cabinetry as possible.
That’s my handy man at work
He added bead board to the back and a little overhang/bar area (The top is two pine board panels from Lowes glued together with liquid nails and trimmed out with decorative molding, doing it that way was half the price of buying butcher block from Ikea plus we didn’t have to rip it down like we would have the Ikea top.) and I sanded and stained and primed and painted my little heart out and a month later we now have…
Still sitting in the garage waiting for the last few steps to be completed, but once we break out the drill for new holes for hardware in the top drawers (they are spaced differently than the lower drawers, bummer) and put a coat of polyurethane on top, she is done!!
The total came in around $300, which is more than I thought I would spend (and was due in large part to the fact that I splurged on really expensive hardware) but totally worth it.
Estimated costs break down:
dresser & delivery fee: $75
paint: $30 (I bought a gallon because I’m going to use the rest for something else, you really only need a quart. You can get a quart of Oops paint for $2.50)
beadboard: $20
decorative posts: $60 (not really necessary, but I love them)
Top:$70 (You could cut that in half by just buying one panel, but I wanted the height)
Hardware: $65 (again, not really necessary, I could have spray painted the old ones, but I splurged and I LOVE the new ones)
Stain, sandpaper, nails, trim, caulk, primer: already on hand $0
Total: $315 (ish)
Best of all, I actually like it better than this one that JC Penny’s sells for $900.
I’m SO excited to get it into the kitchen this weekend!!
Expect glamor shots once I get everything in place.
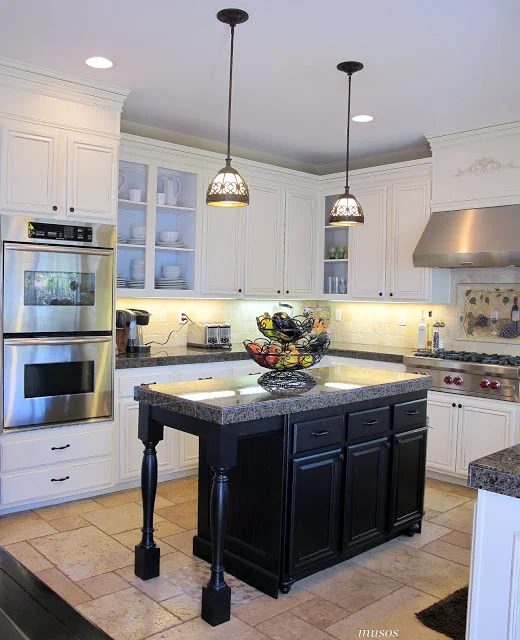
Update: DONE!!!!!!!!!!!!! open this to see it in the kitchen.
Tips if you want to try this yourself:
1. Try to find a dresser with a combination of wide and narrow drawers. The wide ones are great for things like baking sheets and table linens. The narrow ones are good for cookbooks and cooking utensils.
2. Check the height of your counters. I know that my counters hit me right at my hip bone so when I was out looking for dressers it was straightforward to tell if they were going to be a good counter top height even if I didn’t have a tape measure.
3. Paint. Don’t try to stain anything but the top because it is made of so many different kinds of materials by the time it all comes together paint is the best bet. 2 coats of primer and 3 or 4 coats of a semi-gloss. Maybe even a clear coat on top of that. (Don’t forget to sand first!)
4. If you can find a dresser with a door in it scoop it up! I really think this helps it look less like a dresser and more like a piece intended for a kitchen. That was the main reason I chose this piece. (plus it’s a great place to keep a mixer or a bread machine)
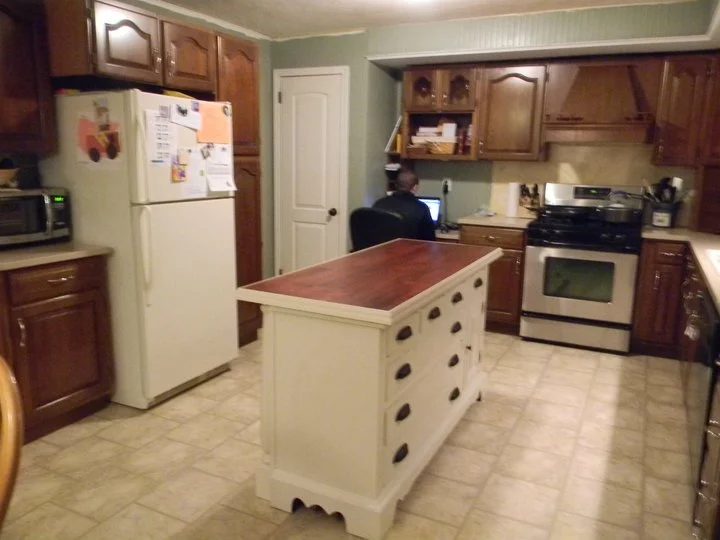
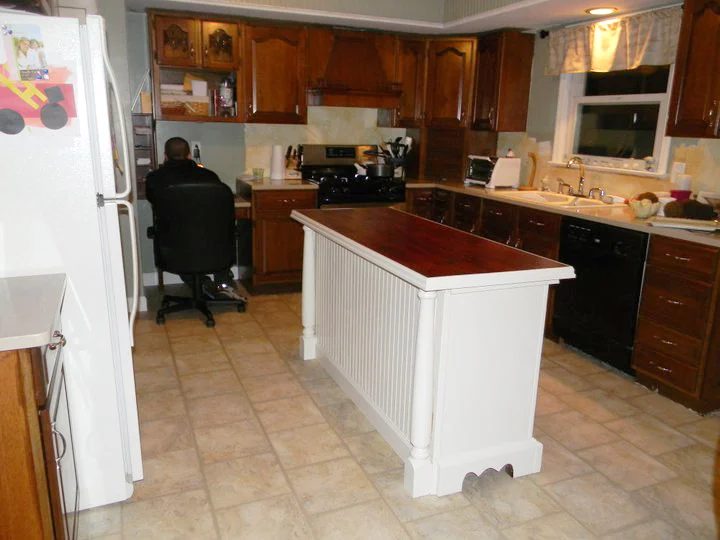
I hope you try this for yourself because it’s a very rewarding project plus it actually adds to the resale value of your house to have a kitchen island.