Materials and the sequence of the job sit together on this page.
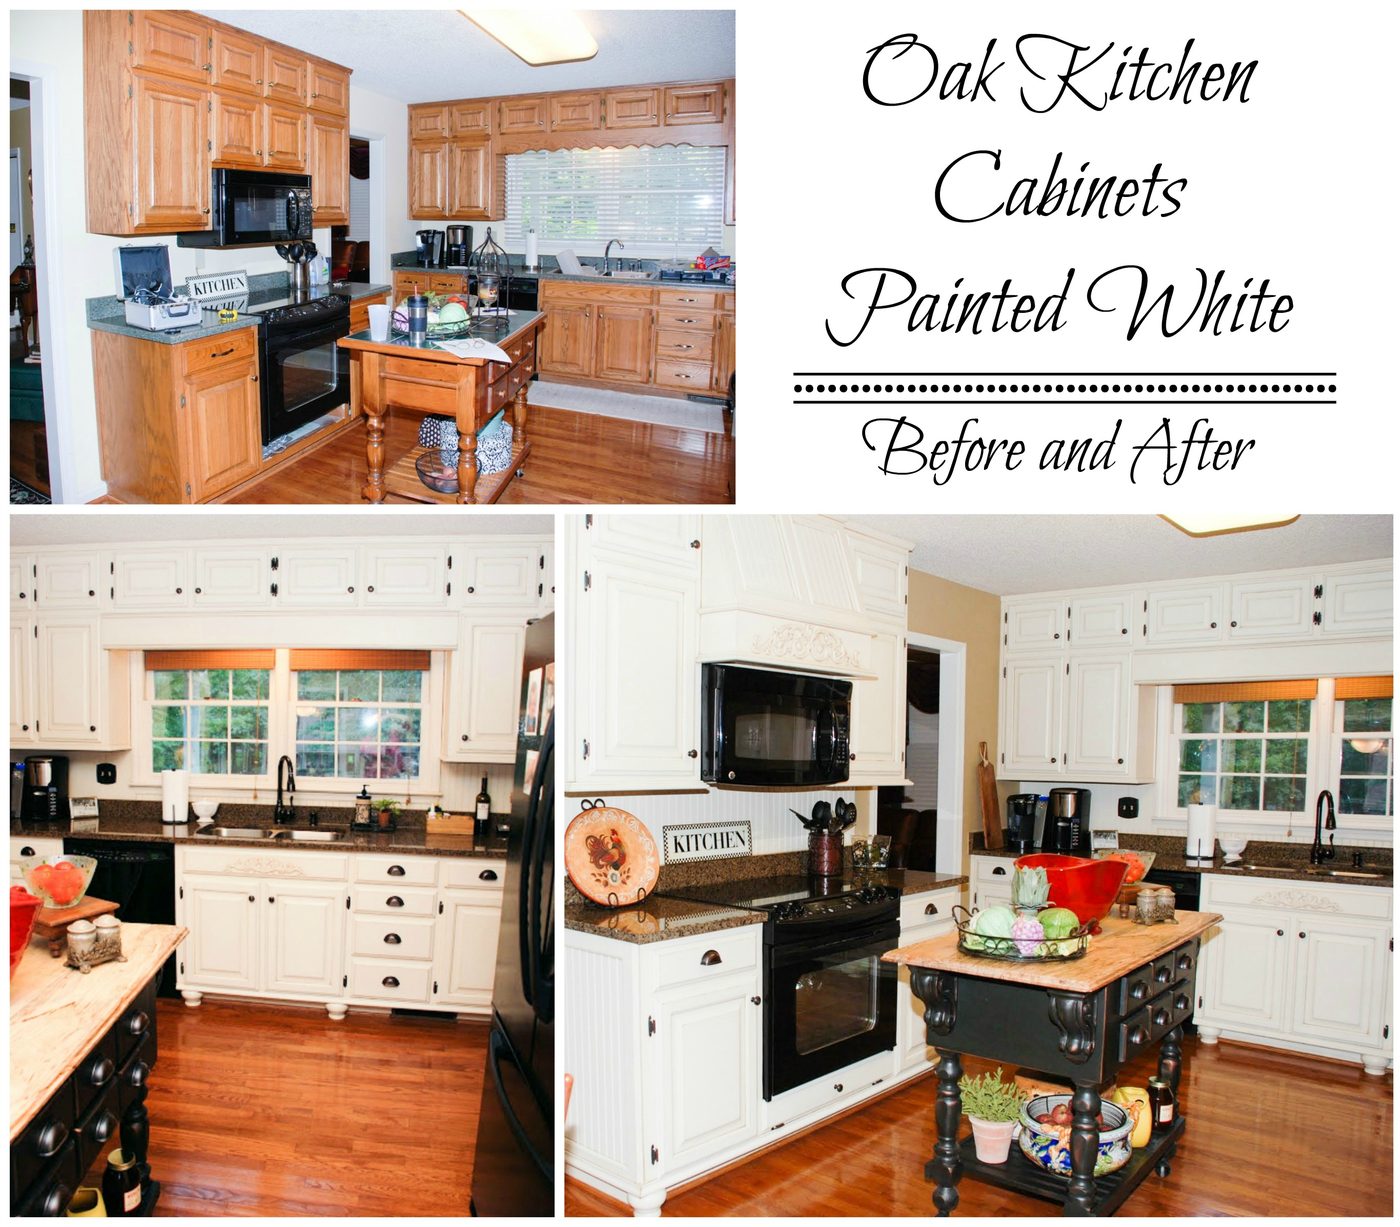
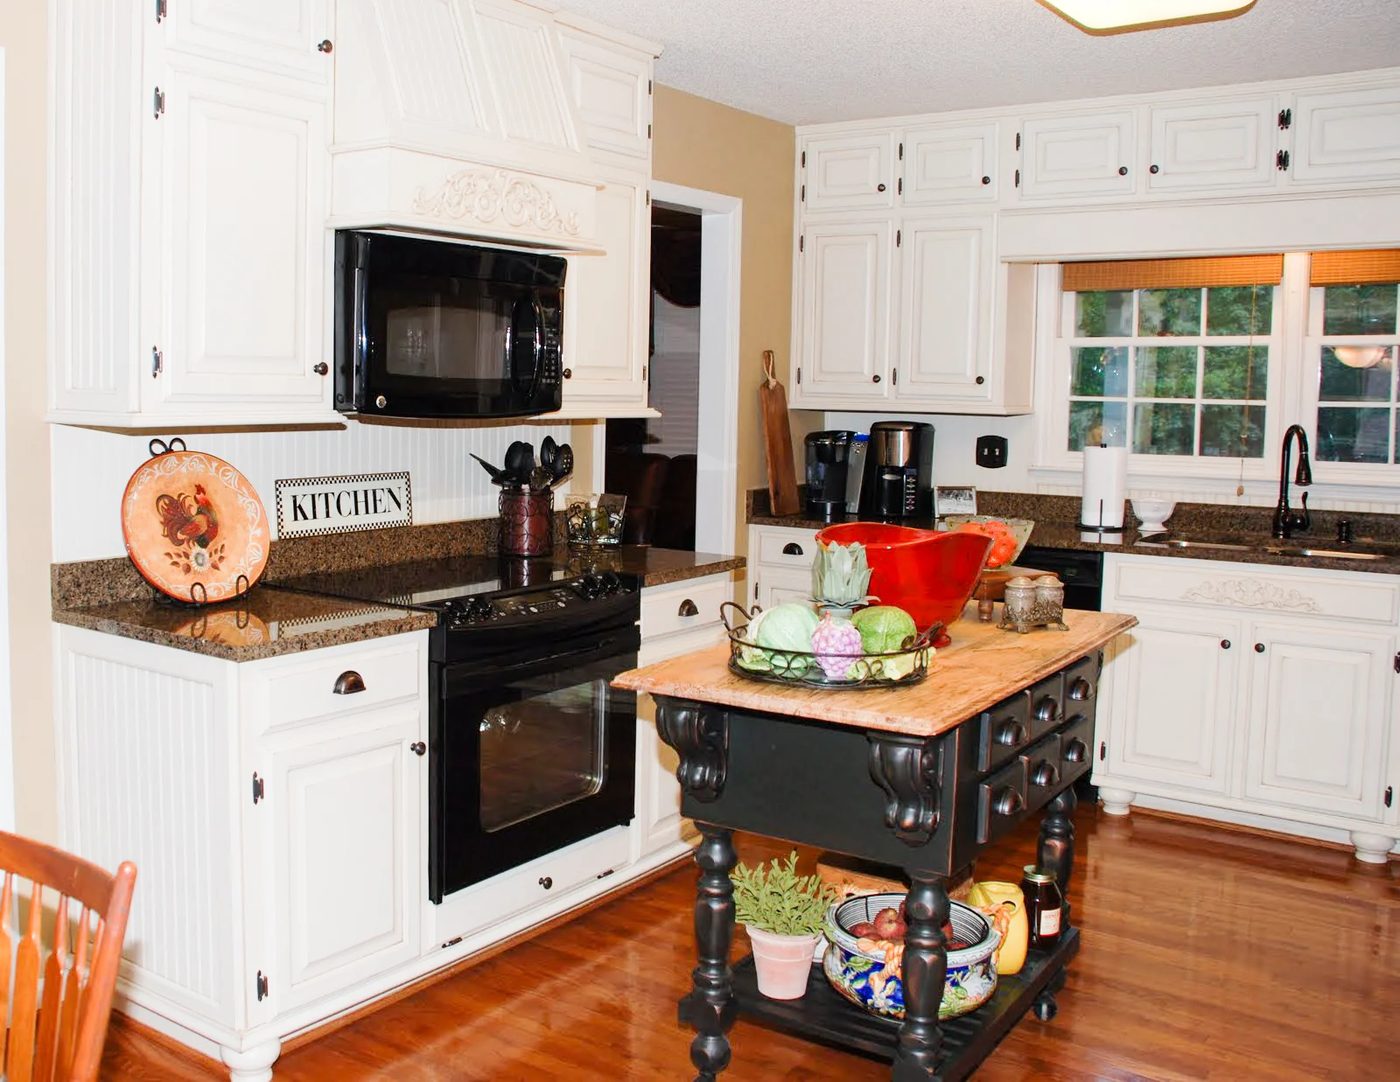
This kitchen update is pretty great, the kitchen was actually a good space to start with, but the freshening effects of the white paint, new hood and architectural details makes all the difference. look at what Jennifer of Southern Inspirations had to say about it:
And this is what it looks like today. Big change, huh? Let me show you around…
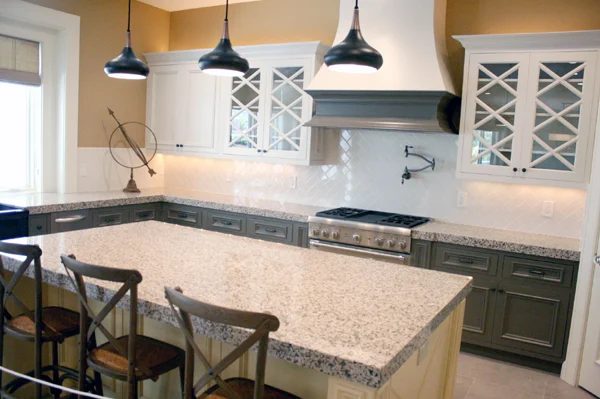
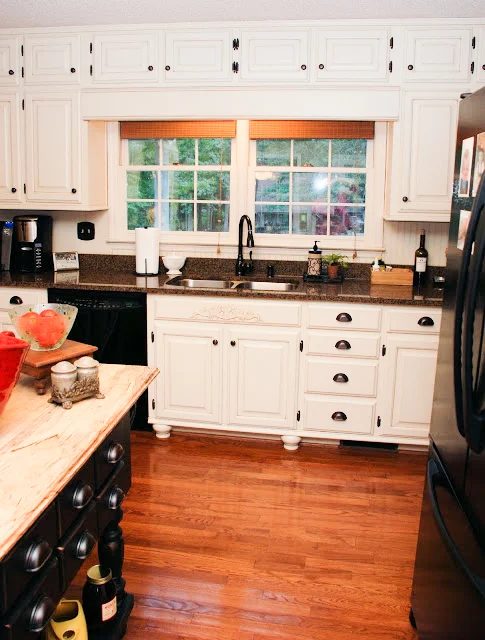
Do you see the feet underneath the cabinets? We think they add some character. Also you will notice the old scalloped thingy over the windows has been replaced with this straight one.
We had this cabinet built and used the granite remnant from where they cut out our sink. (By the way those two pics hanging to the right of the cabinet – I painted those myself!) I love the little feet on this cabinet – see close up below.
Aren’t they so cute!!
That’s our pantry to the left of the dining room door. We wanted it to look more like furniture so we had a furniture type molding added to the bottom.
This is a close up of the pantry molding.
The side of our pantry and some of the cabinets were very plain so our cabinet maker/painter guy added these bead board end caps. He also added a bead board back splash for us.
I took this pic from the sink area so you can see our breakfast nook. By the way we painted the kitchen BM Decatur Buff – a color I will most definitely use again. I also updated the rug to one with more of my most go-to color red.
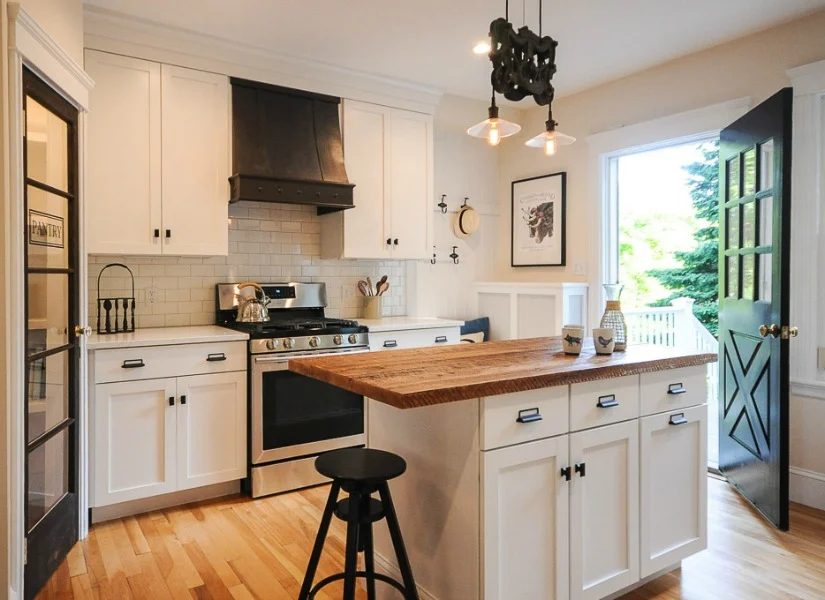
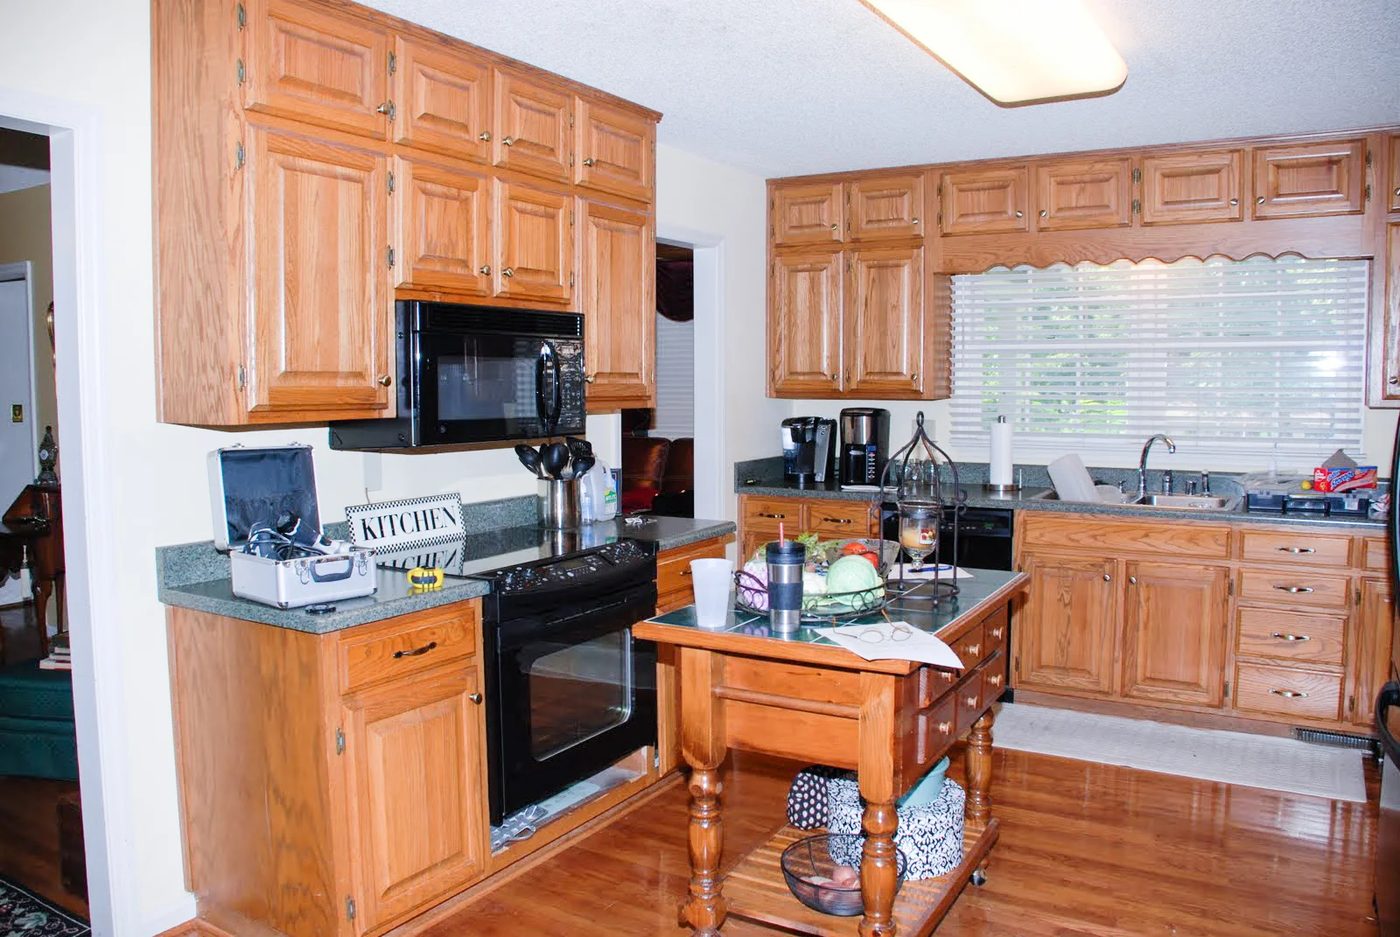
By the way, this is the original island – can you believe it? We added a new spalted maple top, corbels, new drawer pulls and the cabinet painter guy painted it black with copper glazing. I could have kissed him!!! Take another look at the before below. I really didn’t think the “before” island was so ugly until it was updated and I looked back at this pic! I love that the top is longer now so I can pull up a bar stool (if I ever get one!).
We also had this little drop down door added beneath the stove. When we replaced the stove several years ago it left a space at the bottom. Now I can use it to store trays! Yippee – more storage space!
So, once again here is the before and after shots.
I love to wake up in the morning and stroll into the kitchen for a cup of joe!
We still have some work to do – I would love to add recessed lighting and replace that ugly fluorescent fixture with a hanging one.
Now a question for you – would you add a window treatments??? I sometimes think with all the hard surfaces a little soft fabric might make it more homey. My husband disagrees. What do you think? I really appreciate your feedback!
Looks striking!! What is your go-to part?