Read the sequence from the top before cutting, painting, or moving pieces.
Handmade Striped Art walkthrough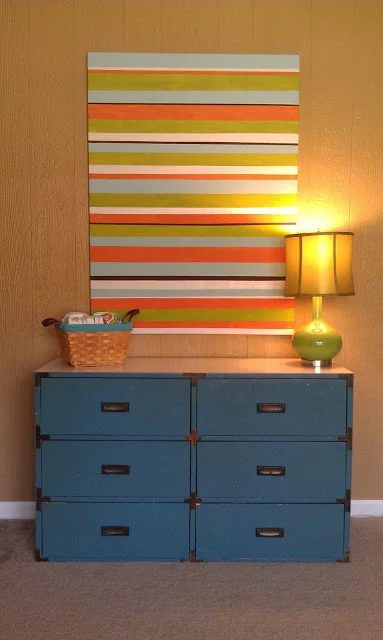 Hi! I’m Alison from Classy Columbus Designs, and I am so honored to be guest posting today at Bekob!! Cassity was so sweet to ask me! Thank you!
I am an interior designer by trade. I moved to Savannah from the bitter cold north about ten years ago and I now claim to be a Southerner! I love design, and love to save money even more!
We have moved across Georgia and now live in Columbus, near Fort Benning.
I am a proud mama to two very active little boys and I’m also a proud army wife.
Blogging gives me a creative outlet and a way to share a lot of projects that I would be doing around the house anyways, it’s just so fun to document it and share with you!
Hi! I’m Alison from Classy Columbus Designs, and I am so honored to be guest posting today at Bekob!! Cassity was so sweet to ask me! Thank you!
I am an interior designer by trade. I moved to Savannah from the bitter cold north about ten years ago and I now claim to be a Southerner! I love design, and love to save money even more!
We have moved across Georgia and now live in Columbus, near Fort Benning.
I am a proud mama to two very active little boys and I’m also a proud army wife.
Blogging gives me a creative outlet and a way to share a lot of projects that I would be doing around the house anyways, it’s just so fun to document it and share with you!
Now, on to our art walkthrough:
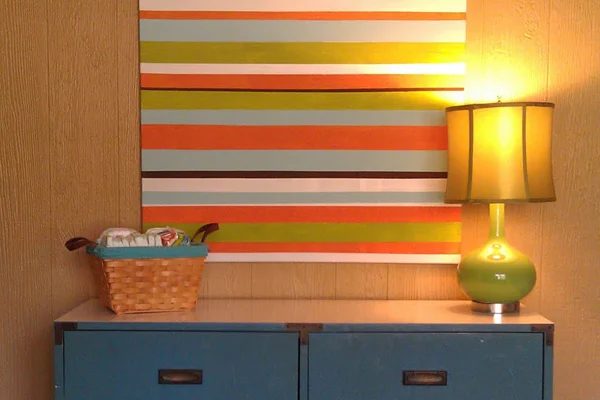
I’ve had this canvas forever… I bought it for our first house and painted it to mimic a dish I had bought at a little shop in downtown Savannah. I got sick of it, I think I had given the plate away, and I had a very haphazard, unplanned attack on this canvas with a blue paintbrush about a year ago and it was an epic fail… so it sat around just begging for a facelift and to go back on the wall somewhere. Pre-stretched canvas can usually be purchased at any arts & crafts store. Check the paper for coupons for Michael’s and Hobby Lobby to save yourself a few dollars! My canvas here is 36″ x 48″.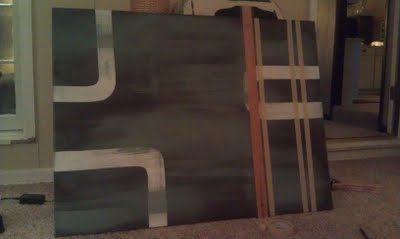 I started taping off the stripes and quickly remembered rule #1 of painting. Prime. oops.
Then, I used a T-square left over from my college days that just so happened to be about the same length as my canvas to make sure my lines were straight. I taped the masking tape directly to the T-square and rolled it across the canvas. It worked like a charm.
I started taping off the stripes and quickly remembered rule #1 of painting. Prime. oops.
Then, I used a T-square left over from my college days that just so happened to be about the same length as my canvas to make sure my lines were straight. I taped the masking tape directly to the T-square and rolled it across the canvas. It worked like a charm.
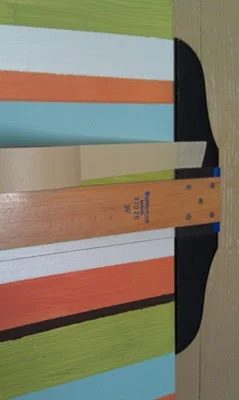 I started out trying to eyeball it, and that didn’t work. I am way too lazy to measure anything, so thank goodness I had the T square on hand. I taped off one color at a time then painted each line. I just made the lines random widths and knew that with all of the different colors, I could make it work
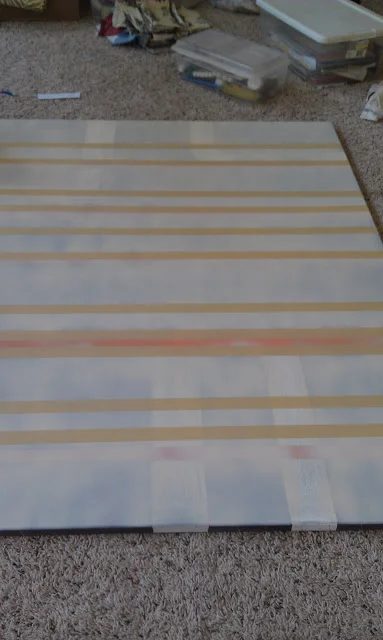 The paint dried very quickly since it was acrylic paint and I made sure to peel the masking tape off pretty quickly before the paint dried completely so that it would not peel. Success!
For the paint, I used acrylic and colors that I had on hand:
The paint dried very quickly since it was acrylic paint and I made sure to peel the masking tape off pretty quickly before the paint dried completely so that it would not peel. Success!
For the paint, I used acrylic and colors that I had on hand:
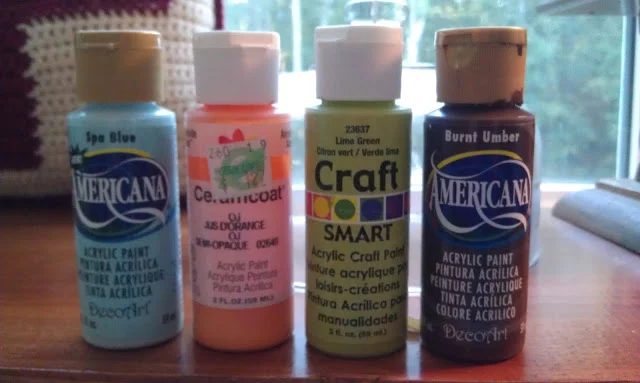 Americana Spa Blue & Burnt Umber
Ceramcoat OJ
Craft Smart Lime Green
The white was latex wall paint.
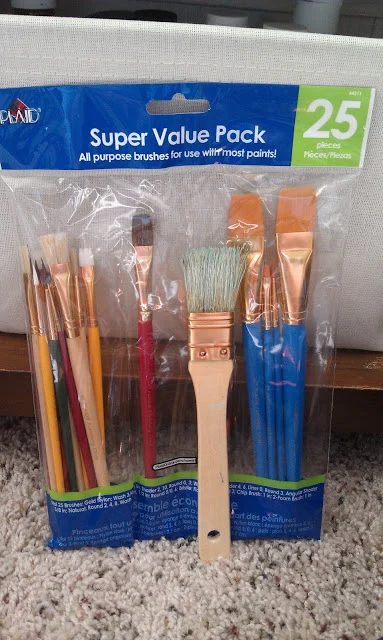
I found this clearly Value Pack of brushes from Plaid at Wal-Mart for under $5.
It really is a clearly value! I used the chip brush for all the colors.
Americana Spa Blue & Burnt Umber
Ceramcoat OJ
Craft Smart Lime Green
The white was latex wall paint.
I found this clearly Value Pack of brushes from Plaid at Wal-Mart for under $5.
It really is a clearly value! I used the chip brush for all the colors.
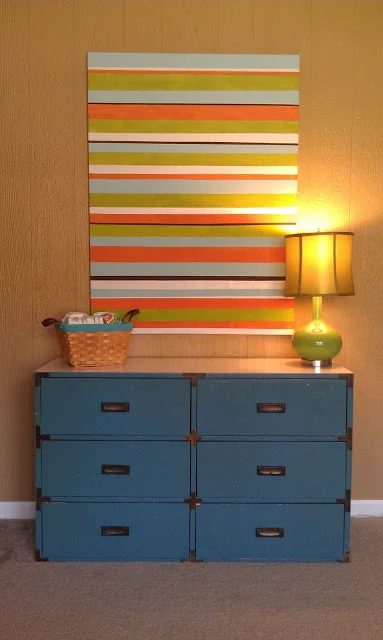
 And voila! Finished product:
 Thank you again, Cassity! I hope you all enjoyed that and I hope you’ll stop by and see me at
Classy Columbus Designs!
Thank you again, Cassity! I hope you all enjoyed that and I hope you’ll stop by and see me at
Classy Columbus Designs!