Materials and the sequence of the job sit together on this page.
Hello Everyone!
My name is Shannon, and I can be found blogging over at Posh Pieces. I am so ecstatic to be here today! Cassity is the best letting me hang out over here at Bekob.
Do you want to make some shades with me?
My little guys room has been in need of some serious light screening. In the summer months the sun sets on the front of our house where his bedroom is. With the sun going down after 9, and as late as 10 sometimes he can have a hard time sleeping. Last summer I actually had to tie up a sheet over his blinds to screen the sun. Yeah, a sheet, tied up to the blinds. It wasn’t cute, so I wont show you that.
It’s Spring, and the sun is staying out later these nights which means it is time to take down the sheet and fix my sons window covering.
There are a lot of different techniques out there on how to make roman shades. Do your searches, you will find many choices. The Little Green Notebook has a great walkthrough as well, it is the same walkthrough I followed the first time I made these.
Supplies:
Mini-blinds – I have used low-cost style as well as the faux wood style.
Fabric -including a backing fabric such as muslin or blackout fabric.
Scissors
Fabric Glue or hot glue depending on fabric choice ( More on this later)
Ribbon if you chose
The first step is to dissemble the blinds. Remove the plugs from the bottom and save them for later.
Then you want to cut and remove the outer strings. Cut along the ladder string portion on each slat. Be careful not to cut the middle lift string which runs up the middle of the ladder through the slats.
Plug
After you have removed the outer ladder strings, you can completely remove them from the blinds. Your slats should now only have one string (the lift or pull string) going through the middle.
Now remove the slats, and leave on only the amount of folds you want in your shades. Each slat = 1 fold.
I kept 5 slats.
Prepare your fabric, and lay it out on the floor. You will want to lay the blinds face down on the fabric with the back side of the blinds facing you. You should have about 2 inches of extra fabric on both sides.
Position your slats at the desired location and spacing you wish. I would measure both sides and mark with a pencil so that when you glue you dont have to remeasure.
Now you are ready to glue!
**Some tips on glue**
I have used fabric glue, as well as hot glue. Both worked well. The fabric glue worked well on lighter weight fabrics, like linen or cotton. However, the fabric glue bled through my heavier fabric, and left dark wet looking marks all over my fabric that never went away. Do a test first. Trust me, you dont want to waste all that fabric and time to find out the glue bled through.
Lets glue!
Start gluing each slat down to the fabric being cautious not to glue the pull string.
Now you want to fold over that extra fabric you have on the sides onto the slats. I had a little more than 2 inches so I created a fold, and then glued the fold to my slats. This created nice even line on both sides.
If you are using fabric glue, it will take a while to set. You may want to set some heave books in the folds to get a good hold.
Are you ready for the final steps?
Position your backing over the blinds you glued down, and cut any excess off. Glue the backing on in the same locations you glued the fabric on, gluing the sides and along the slats being careful not to glue the pull string.
Now your ready to attach the bottom piece and secure the fabric to it. First you will want to replace the knot and plug in the bottom piece, making sure it is even all the way across. Make sure the knot and plug are VERY, VERY secure. Again, trust me here. You don’t want the pull string to come out of once everything is assembled.
Fold the fabric around the bottom piece and glue.
Here is the before picture of my sons room.
And Now…
You can see how dark they are. I used a dark brown microfiber fabric to help block out the light. They do an excellent job at keeping it dark!
I added the white top finishing slat that comes with the blinds to give it a finished look.
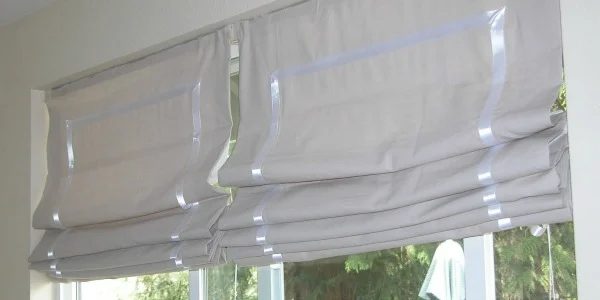
Here are the linen shades that I made for my eating nook area above our window seat. I made these the same way, only I used a linen fabric, and I added ribbon.
The lightweight linen makes for a nice fold.
I added ribbon to my linen shades by using a fuseform glue. I cut the ribbon to size, and glued it on. clearly straightforward!
Now go out and make yourself some roman shades!
See more options:
25 Great Window Coverings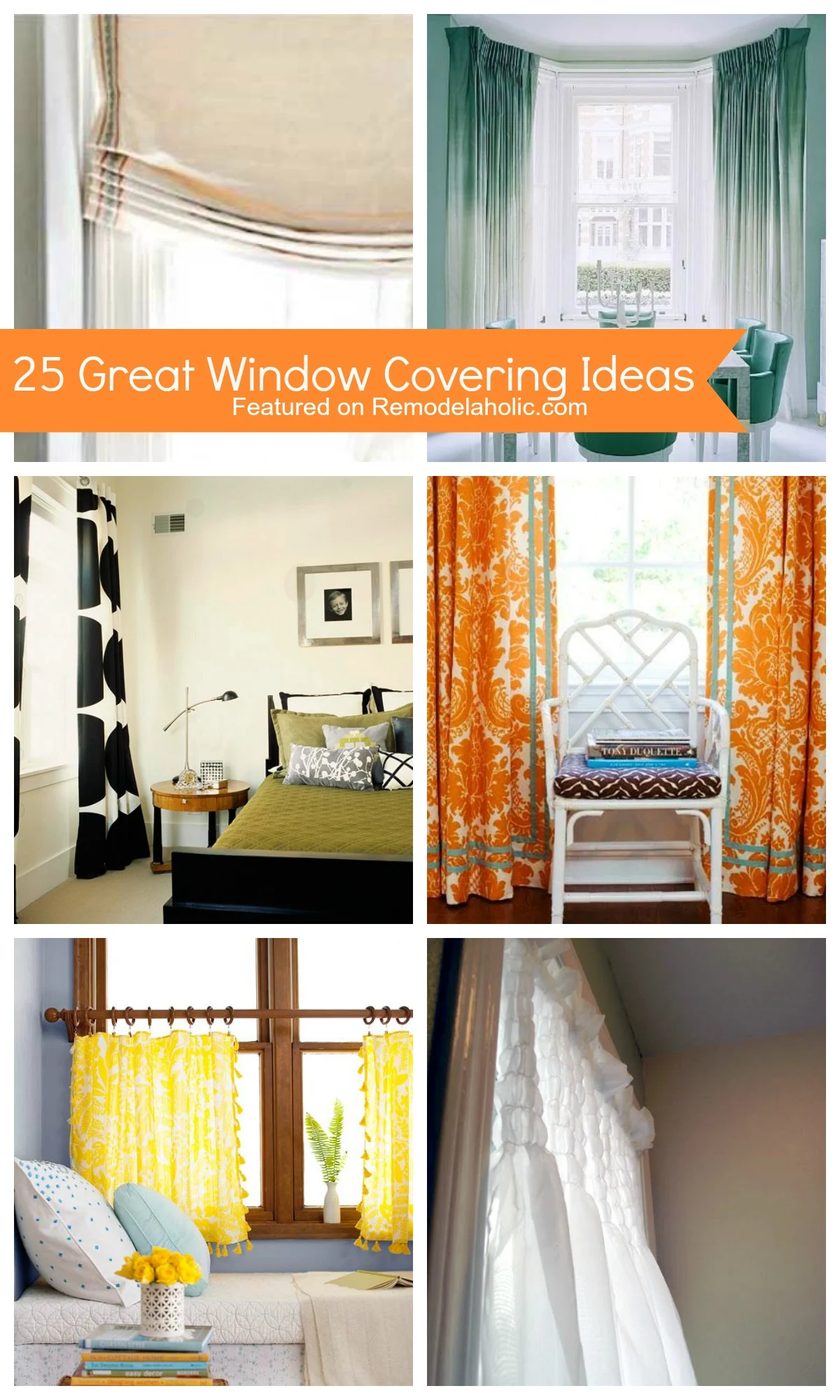 25 more Handmade window covering tutorials