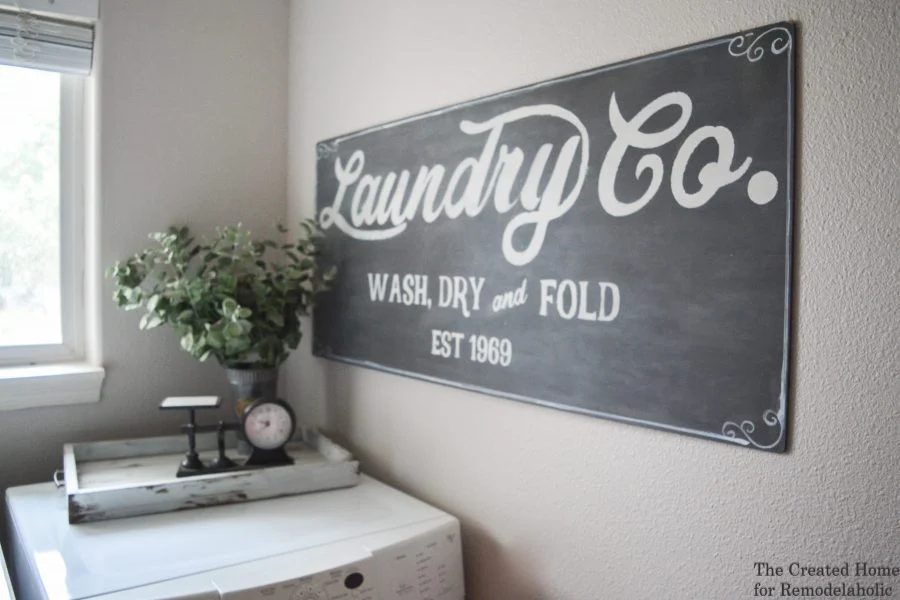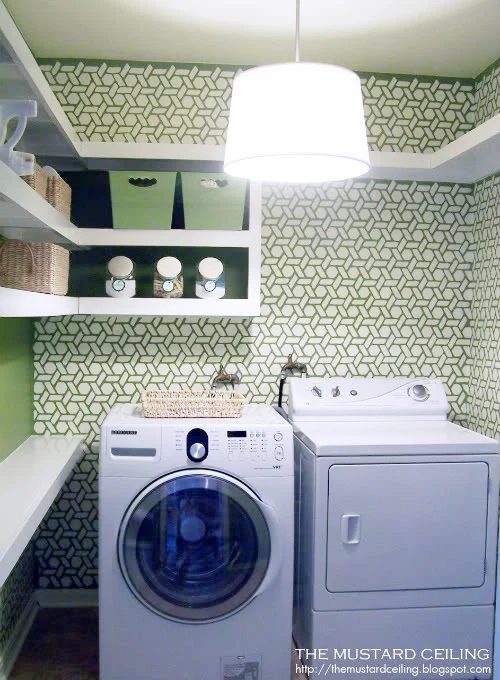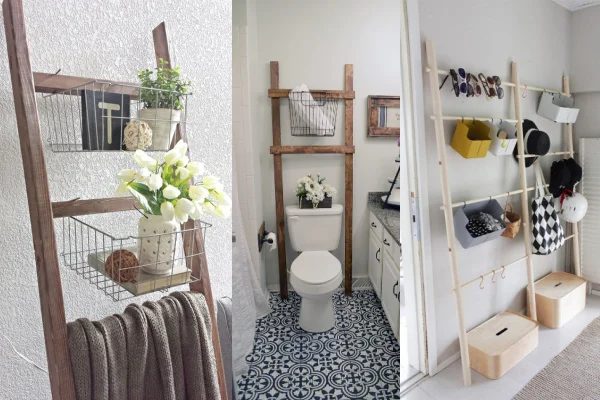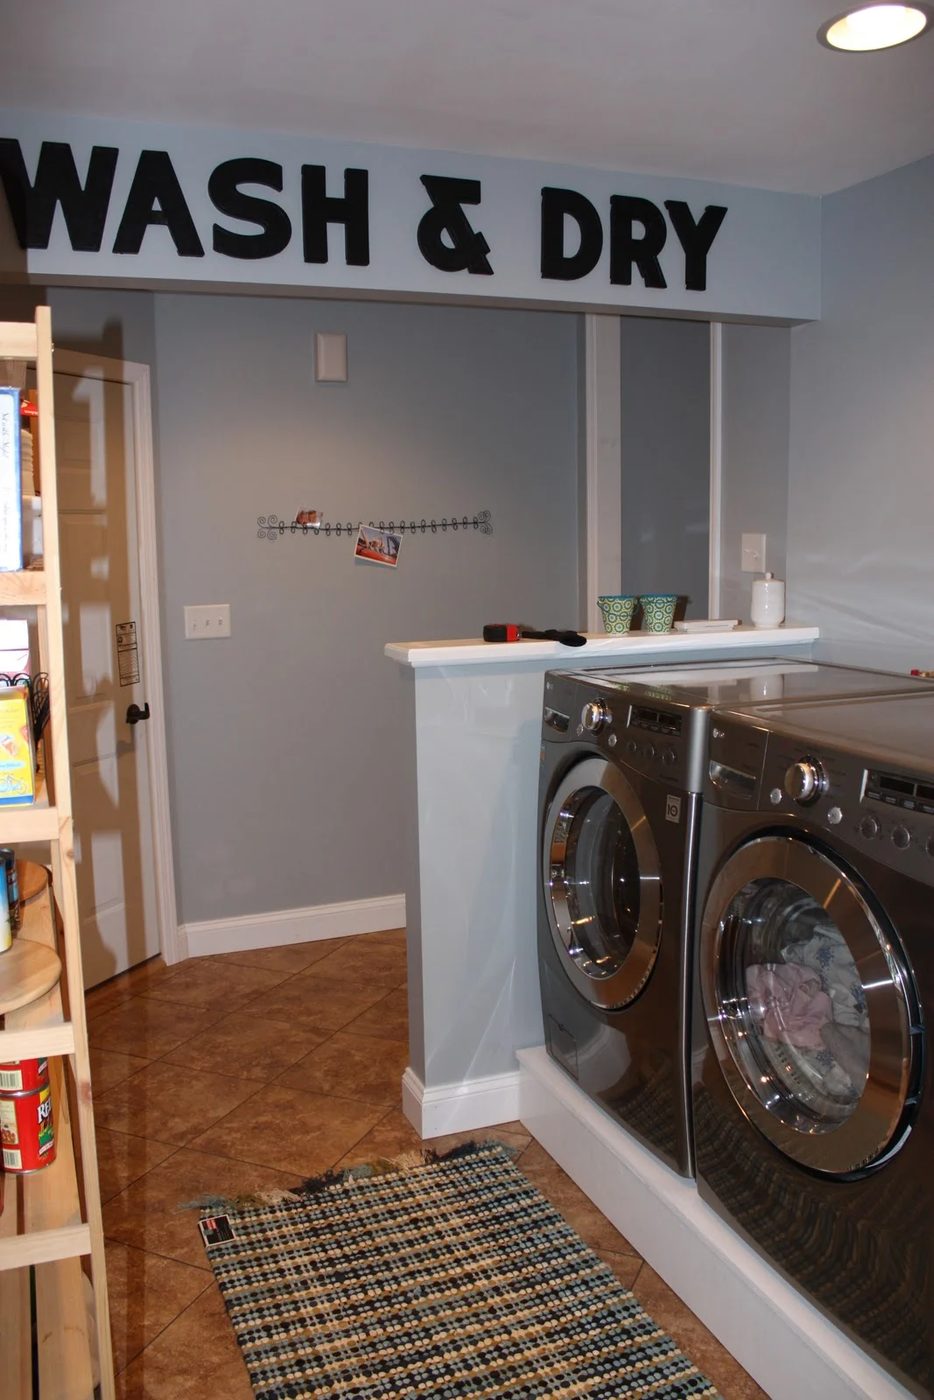
The steps below follow the order of the work for this laundry rooms project.
Hi guys! I’m Sara, and I am the Handmade home décor blogger behind Sincerely, Sara D. I am excited to be here on Bekob, and I love sharing my projects in hopes of inspiring and showing how anyone can create a striking space with little cost! Some of my more recent posts are Handmade Large Wooden Sign and Handmade Shiplap walkthrough.
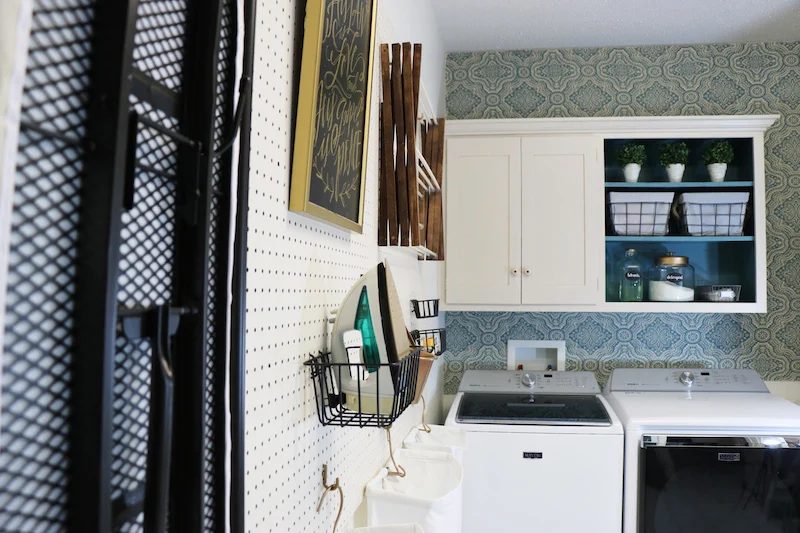
A few months ago, I shared the walkthrough for creating the fabric wall in my laundry room. Today I’m sharing how to hang pegboard which is great for organizing all those laundry supplies. It would also be a great solution for a crafter and all the supplies that come with crafting!
Small laundry room? Sara has a nice large laundry room, but pegboard can be used in a smaller laundry room for great added storage too, like The Handmade Mommy used in her cute laundry room here.
How to Hang Pegboard for Laundry Room Storage
by Sincerely, Sara D
This post may contains some affiliate links. Please see our full privacy policy and disclosure here.
Here’s what you’ll need:
- Peg Board (4′ x 8′)
- (6) Furring Strips (1″x 2″ x 8″)
- Chop Saw (to cut the wood strips to size)
- Nails
- Hammer or Nail Gun
- Screws
- Electric Screwdriver
- Primer & Paint
- Paint Roller
To begin, decide where you want your peg board to go and what size you want it to be.
Peg board typically comes in a 4 feet x 8 feet sheet, and I decided to not make any cuts and keep it the full size. I found the center of my wall and measured out where my peg board would go.
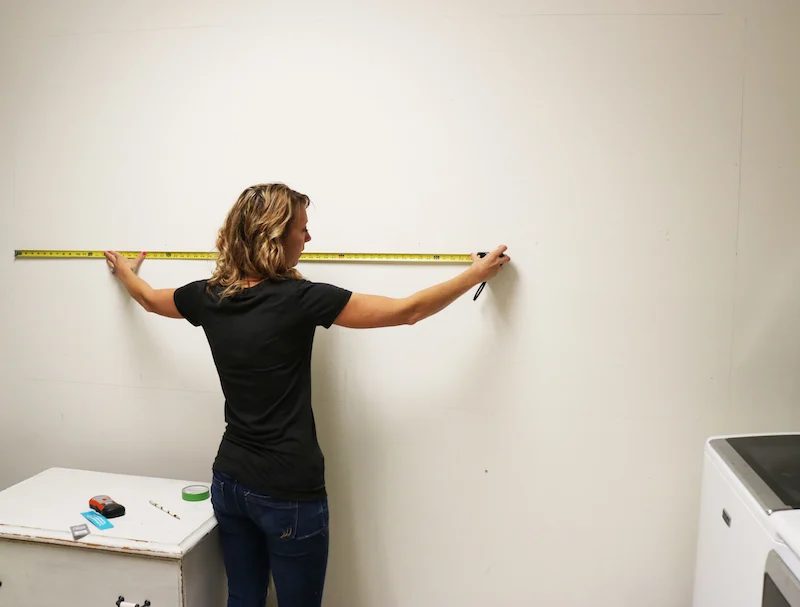
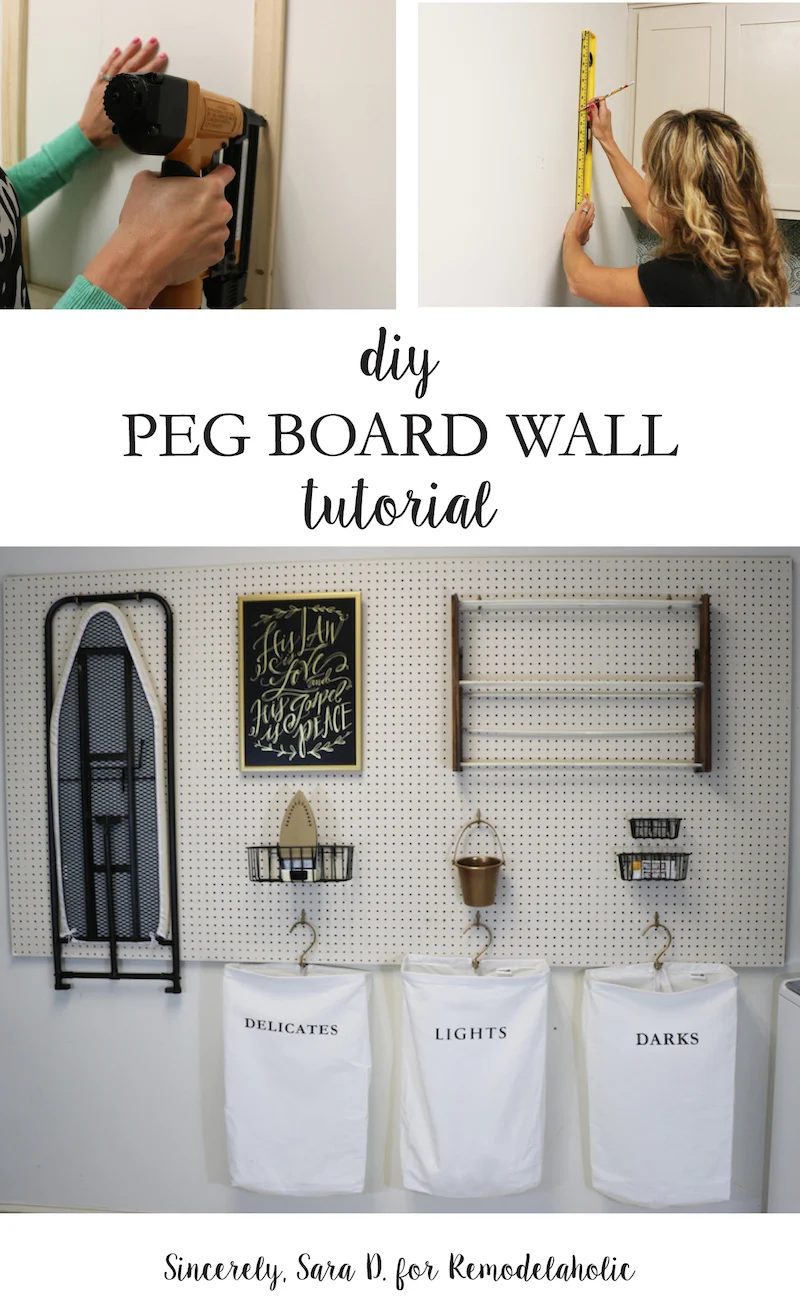
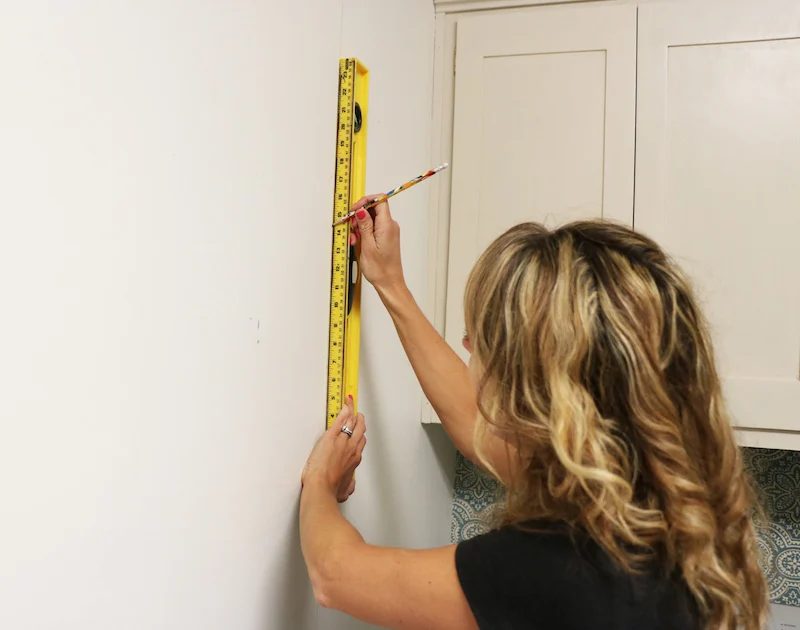
You will want to create a frame for the peg board so it sits off the wall. In order to easily do this, I took my level and drew the perimeter of the 4’x8′ rectangle.
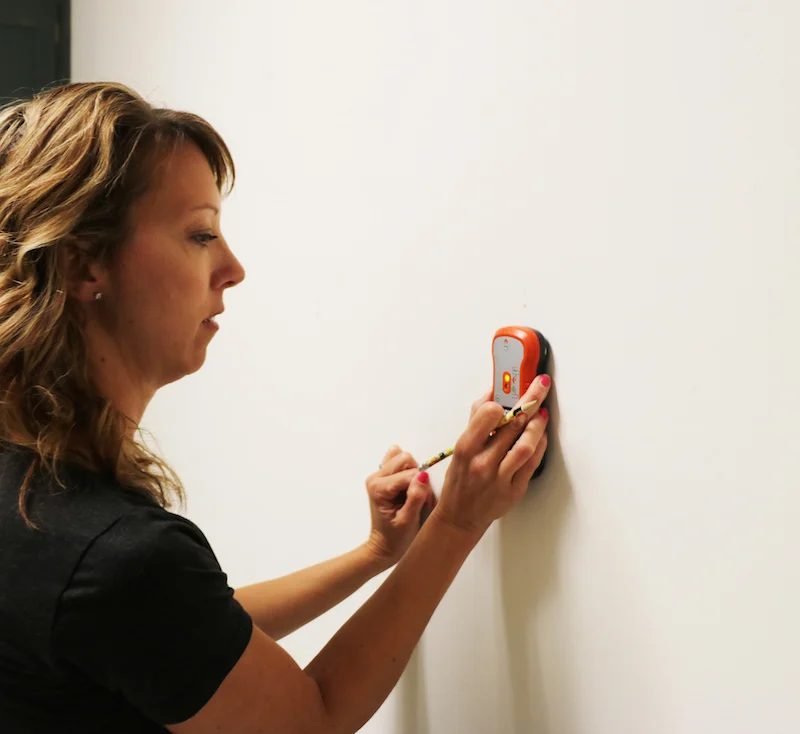
Once I knew where my pegboard was going, I found the studs and tried to strategically place my furring strips over the studs. This proved to be a little tricky since some of the furring strips were not straight.
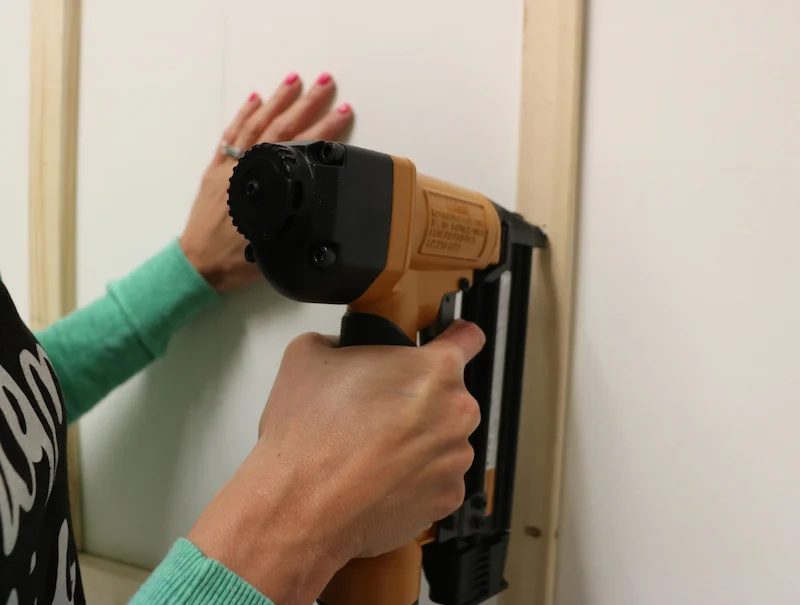
I used a nail gun to hang my strips.
After the frame was up, we added several more furring strips for support since I was going to be hanging some heavier items like my iron and ironing board.
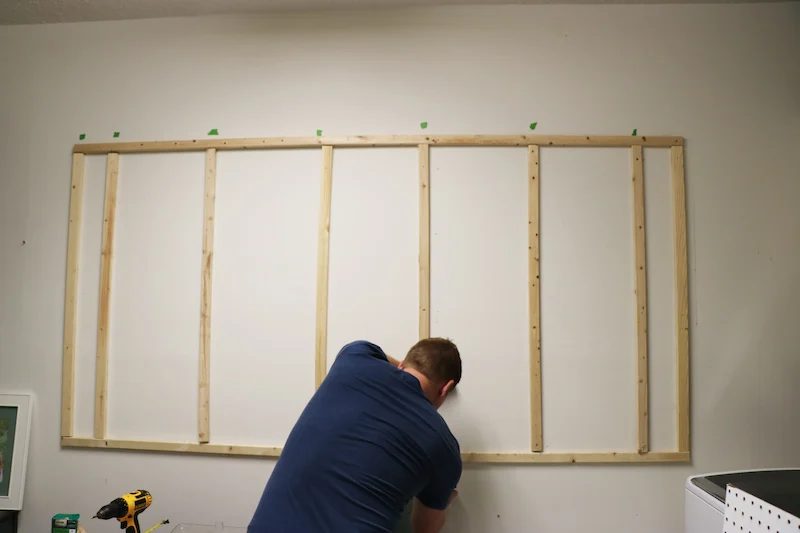
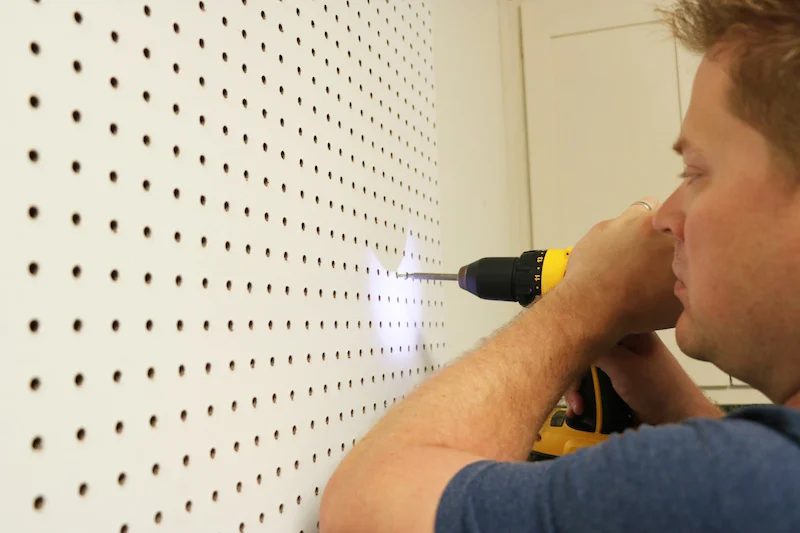
We went through and drilled holes for the screws.
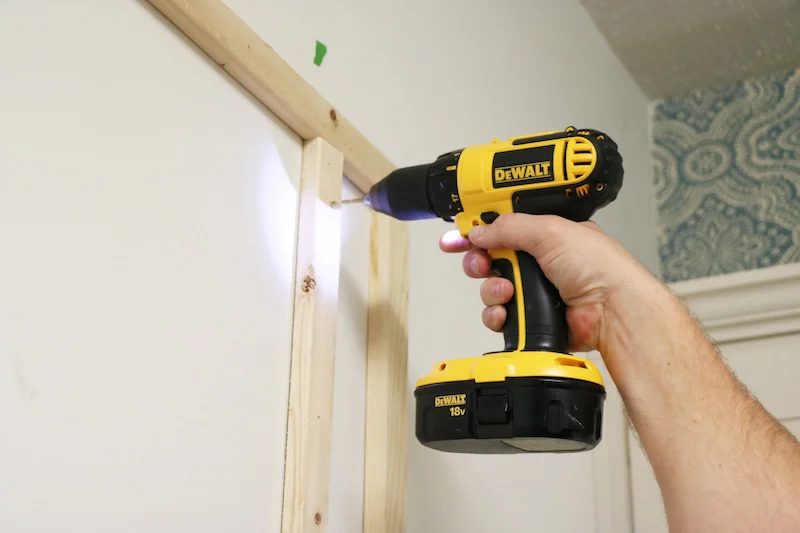
The majority of the screws were in studs.
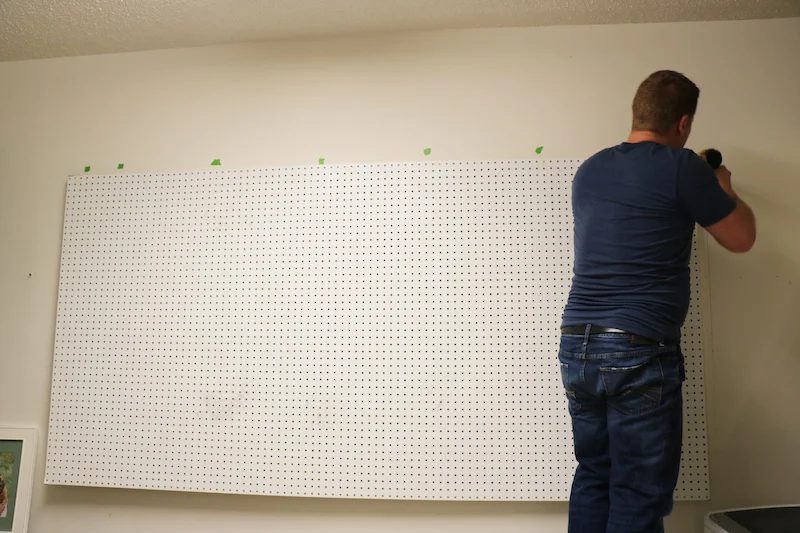
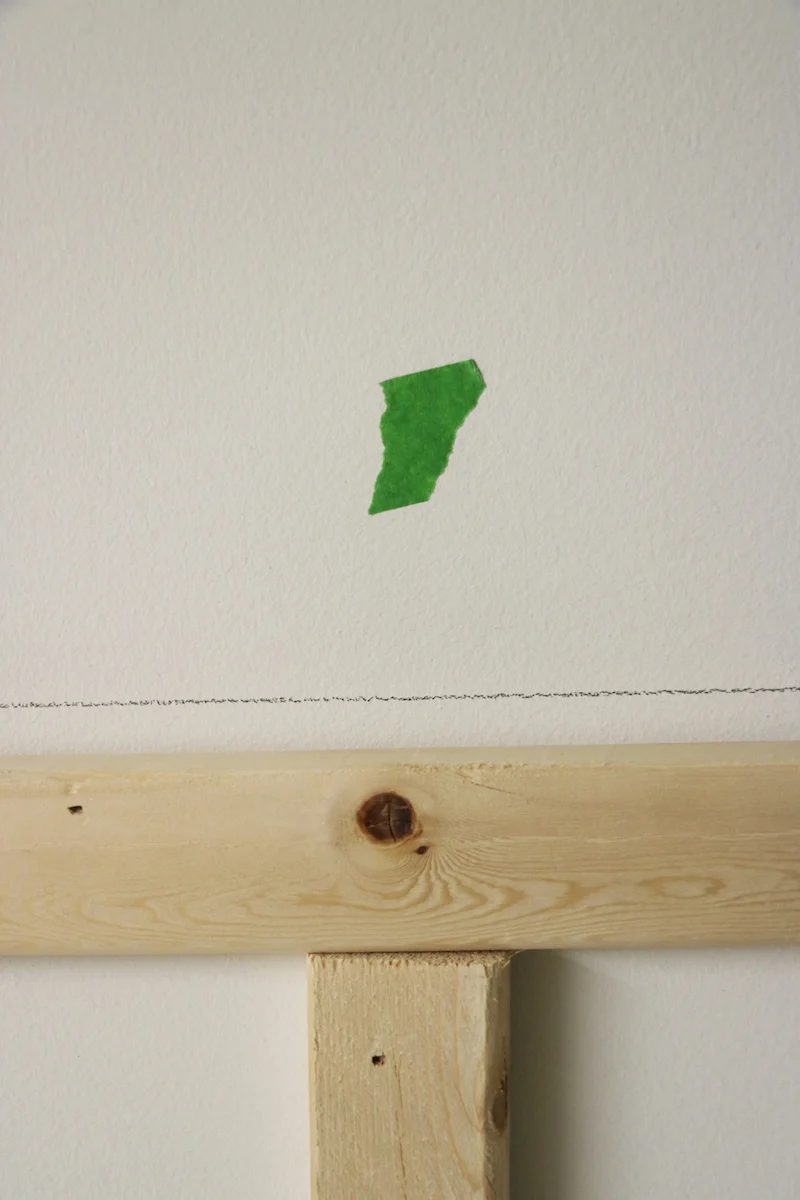
We marked off the studs above the peg board.
We then attached the pegboard with screws making sure the majority were in studs.
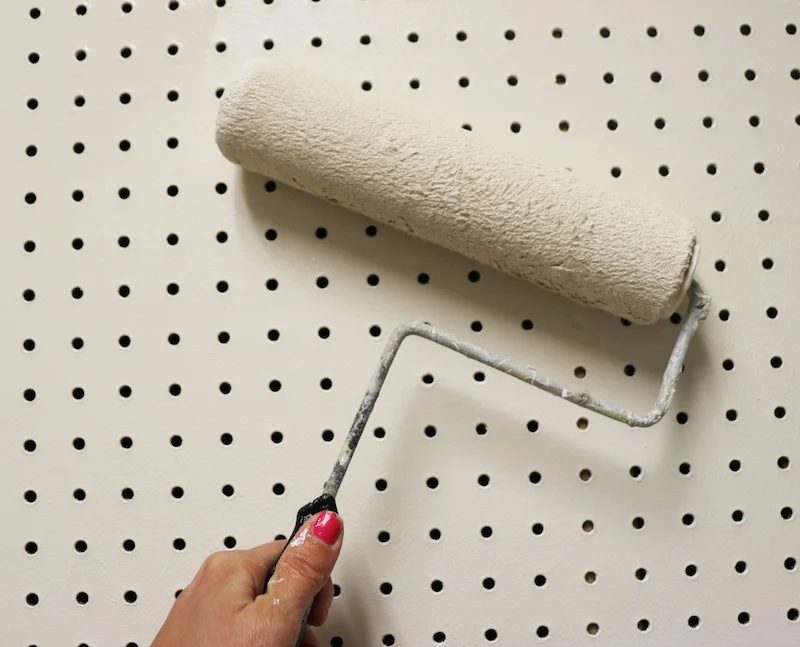
I primed and painted the pegboard using Zinsser Primer 123 and finished it with Valspar’s Signature Paint + Primer in Coconut Milk.
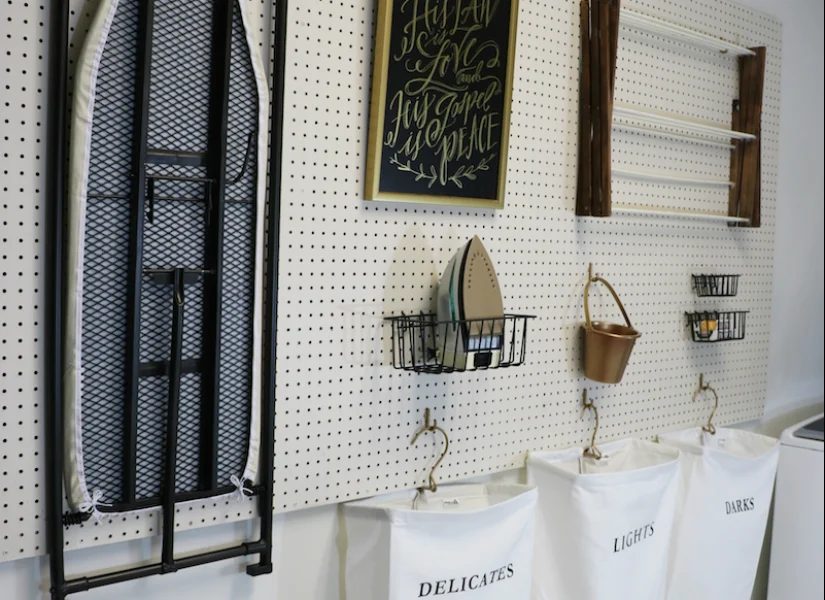
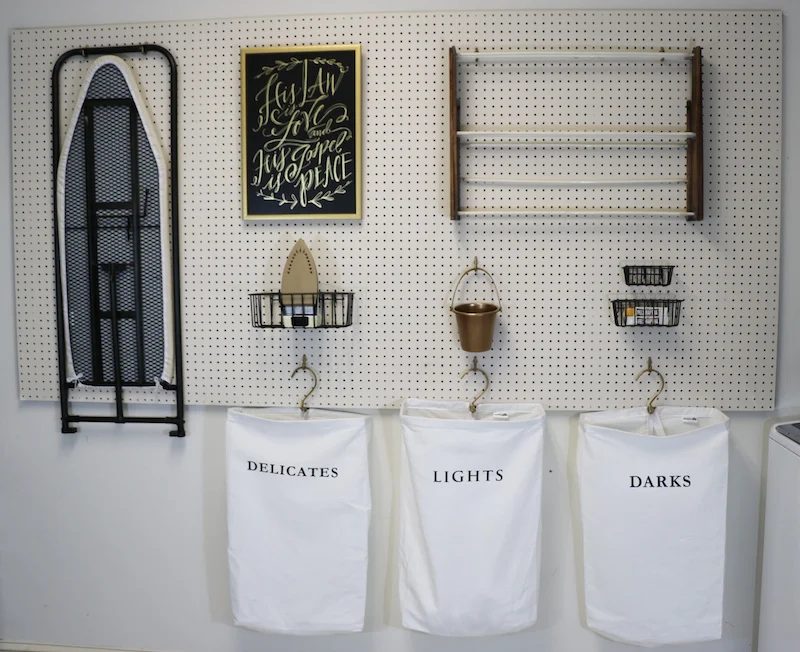
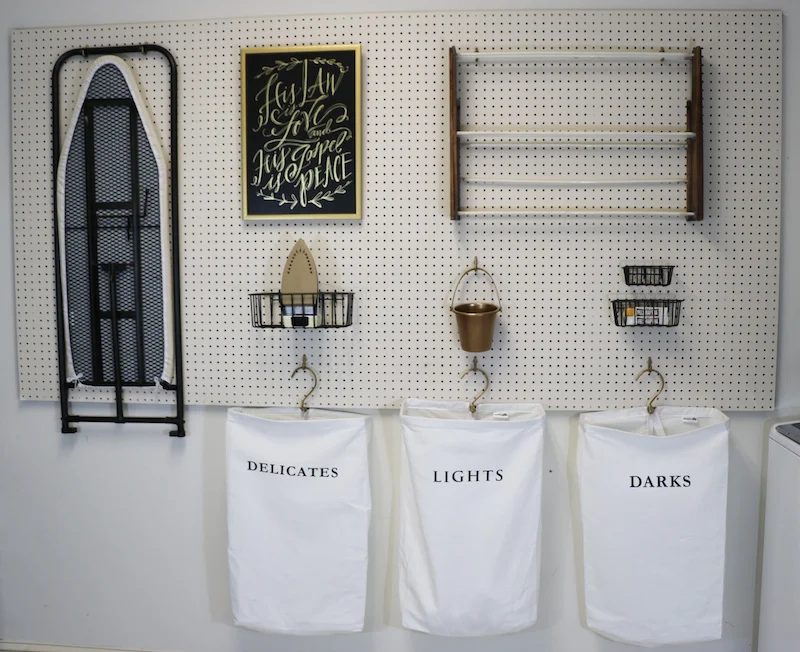
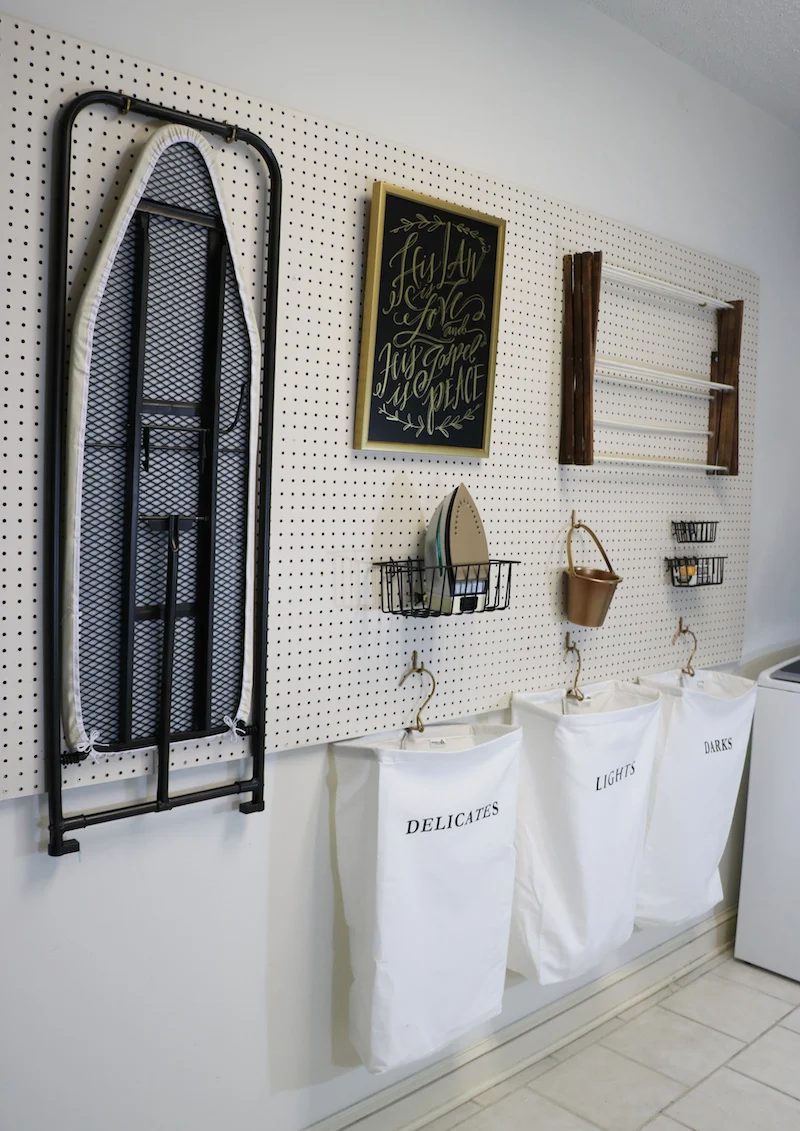
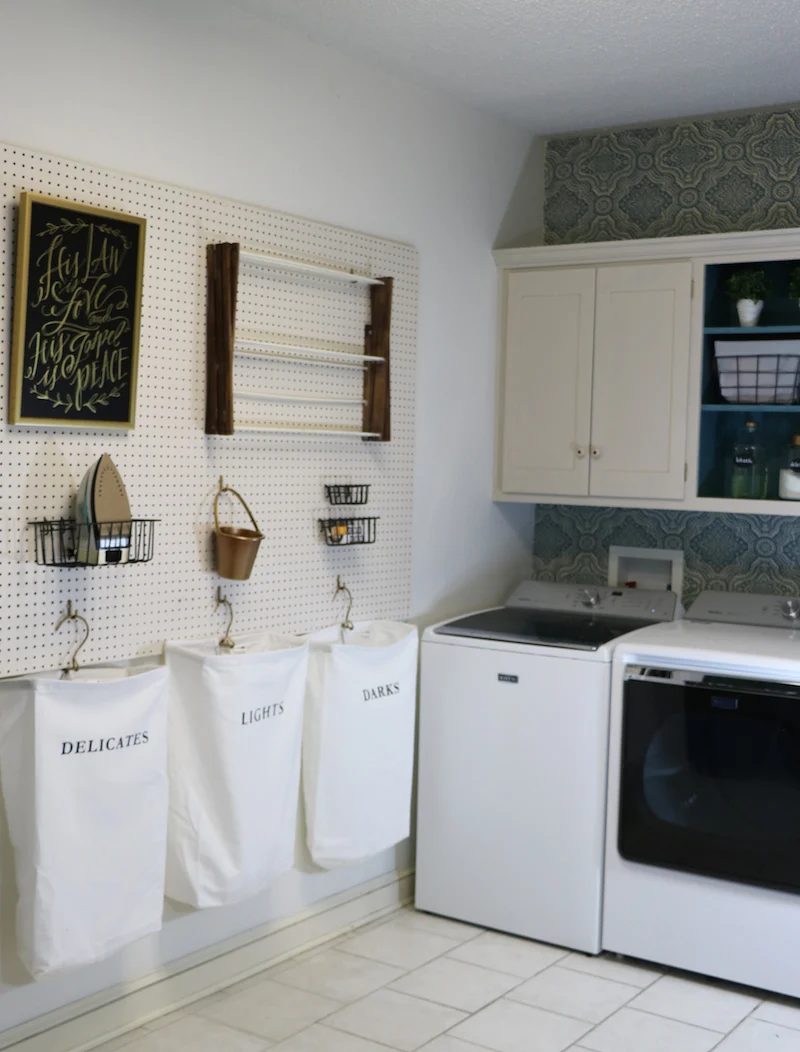
Once the paint was dry, I hung my laundry supplies!
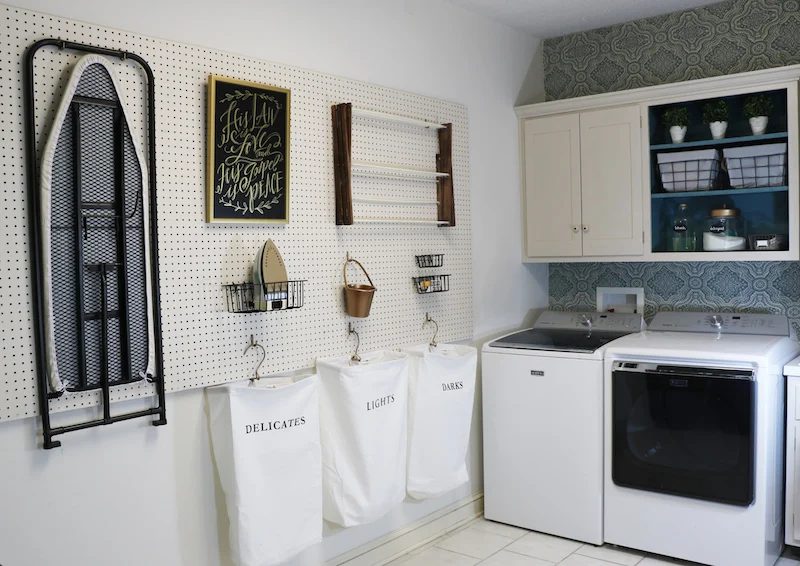
If you want to see all the details on where I found the supplies for my pegboard, you can look at this post.
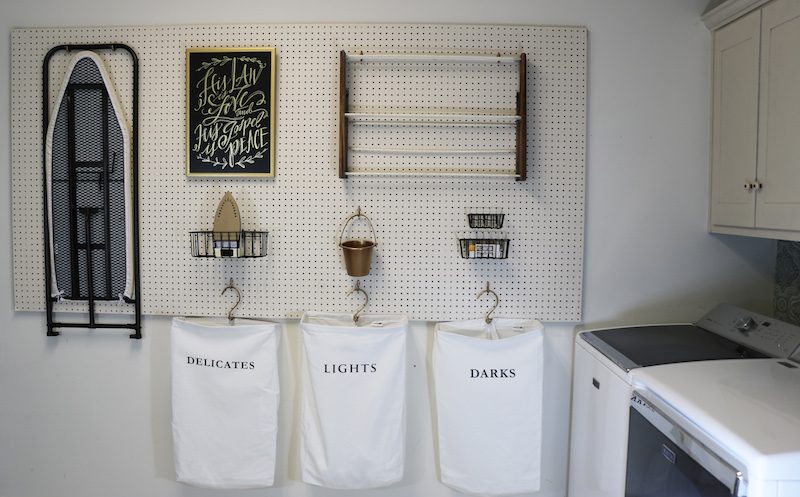
I have plenty of room to add more items if needed.
Thanks so much for allowing me to be with you all today!
Find me on Facebook Instagram Twitter Pinterest
Isn’t pegboard a well fitted place to put those *hanging laundry bags (affiliate link) that we loved in this small laundry room makeover:
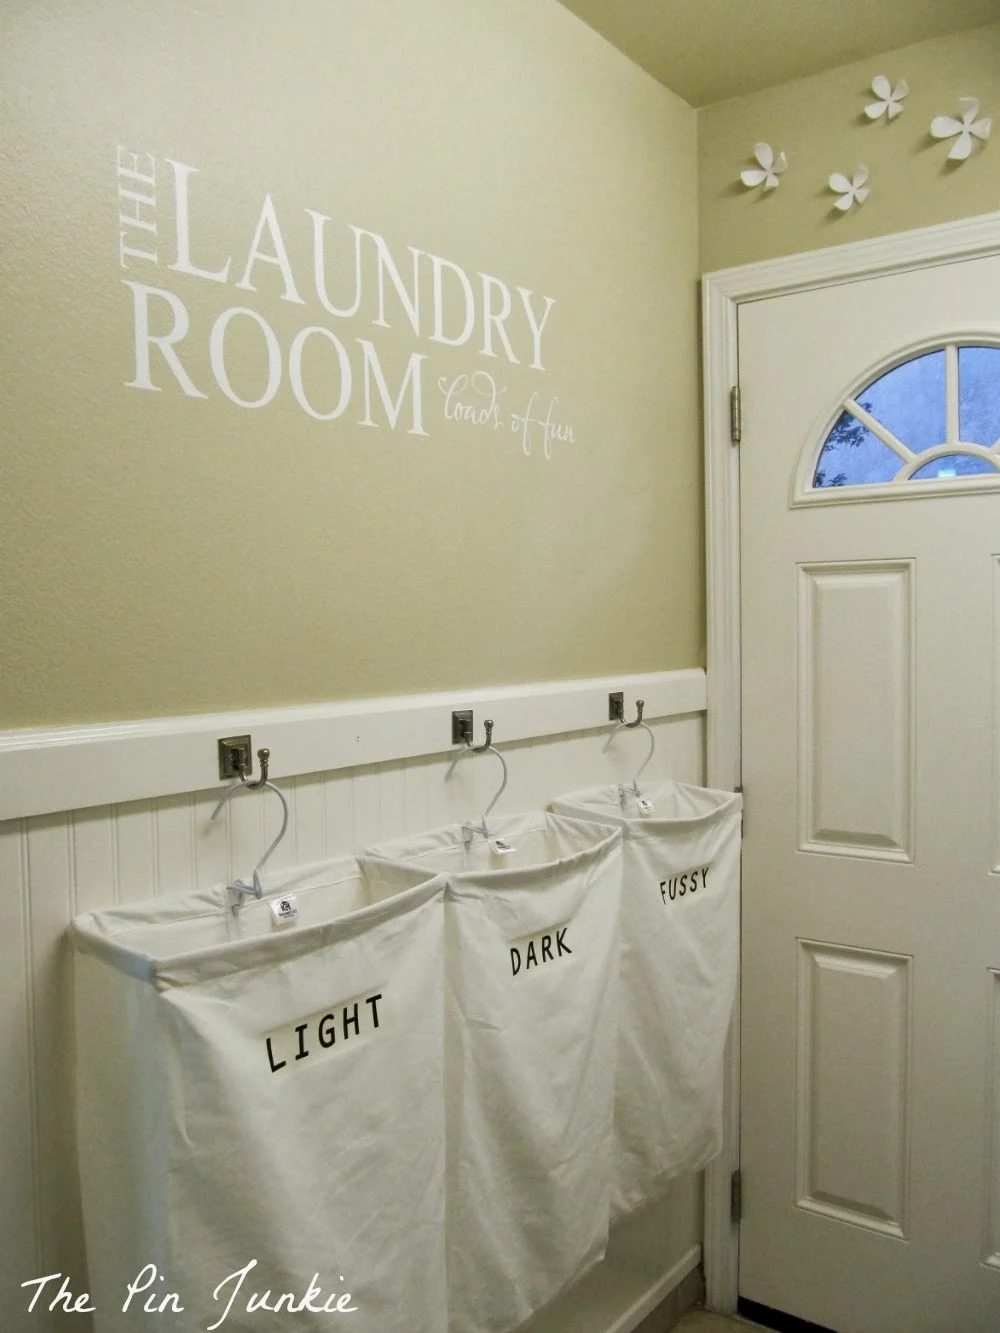
Get inspired with low-cost TOTAL laundry room transformation:
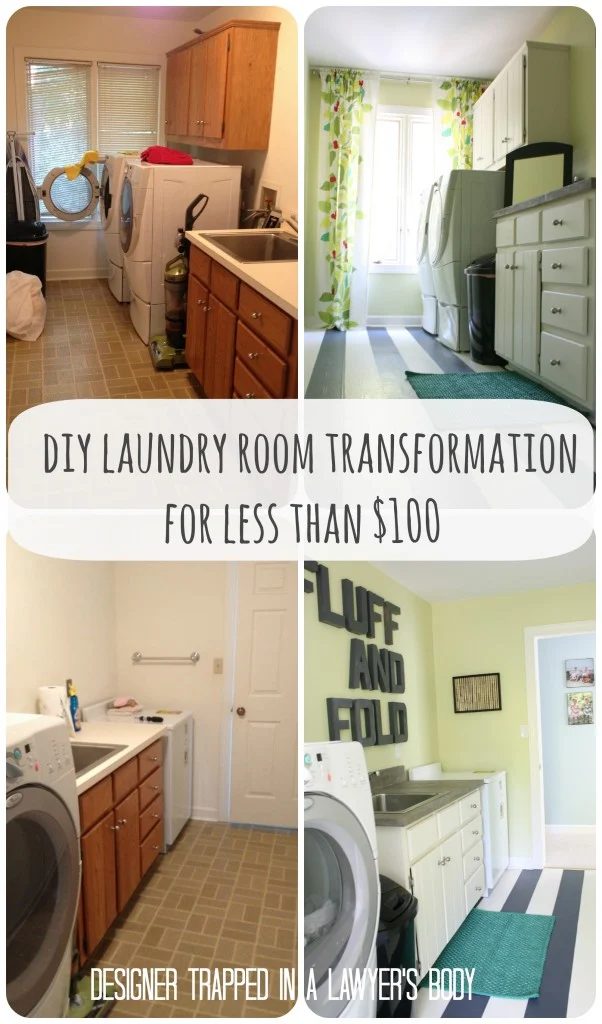
And look at more than 100 other striking laundry rooms, large and small, here: