Materials and the sequence of the job sit together on this page.
#ShutTheFrontDoorDIY couldn’t be complete without addressing the most numerous doors in your house: cabinet doors! Learn how to paint cabinet doors in the best way — the way that means you only have to do it ONCE — from Meredith (and don’t forget to link up your door projects and then make us laugh for a chance to win $25)
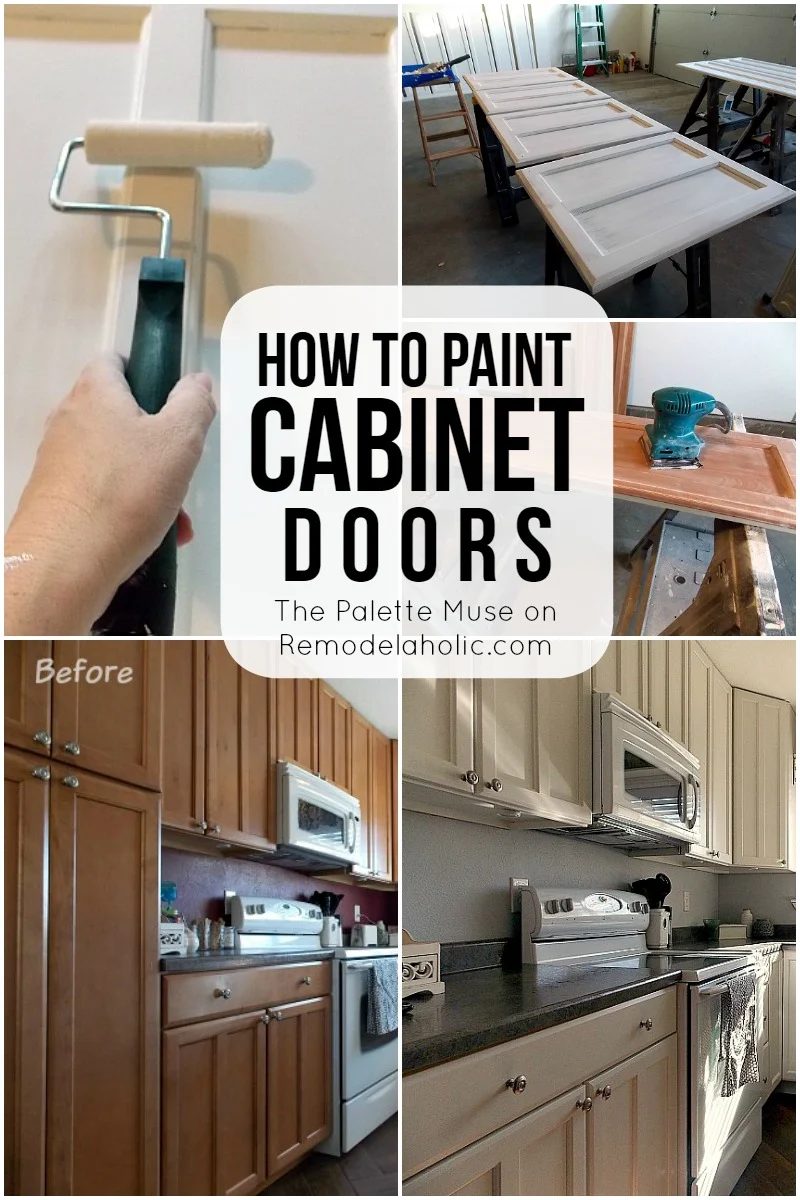
How to Paint Cabinet Doors — The Right Way
by Meredith from The Palette Muse
Hi! I’m Meredith from The Palette Muse, where I create Home Decor, Handmade, Crafts, and Organizing projects. I love to inspire people with their own projects, and offer encouragement along the way. Handmade-ing can be intimidating, but oh-so-fun and rewarding! I specialize in straightforward tutorials using common, easily-accessible, and safe materials. But every now and then I take on a big project, such as re-tiling my whole living area or repainting my kitchen cabinets!
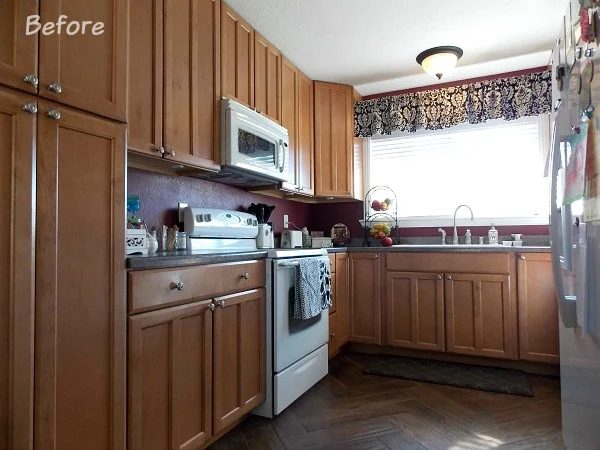
When I set out to repaint my kitchen cabinets, I knew it was a project I’d only want to do once. Ever. I also knew, from several earlier projects, that the doors would be the trickiest part. I was so pleased with the process I used and its results that I’m thrilled to share it with you here on Bekob today.
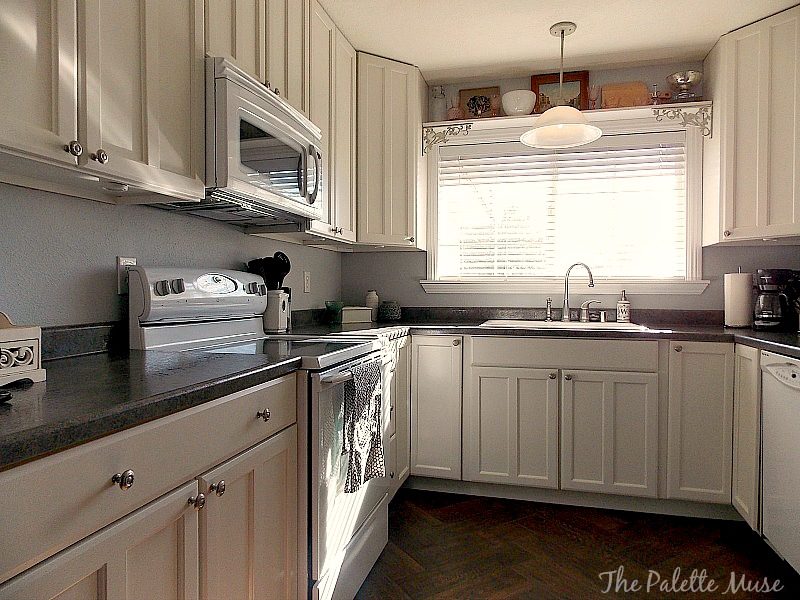
The Secret to Painting Drip-free and Brush-Stroke-free Cabinet Doors
Painting cabinets can be intimidating, but with a little patience and planning ahead, you can save hundreds of dollars by doing it yourself. I’ll give you the step-by-step method to repainting cabinet doors, but first I’ll let you in on my little secret. Actually, it’s three secrets in one. To get a truly professional finish on your cabinets, you need:
- Self leveling, slow-drying paint and primer
- A mohair roller, and synthetic brush
- A horizontal surface to lay the doors on during painting and drying time.
I used Benjamin Moore Advance paint and primer, which is specially designed to cut down on brush strokes. You can see the strokes as you apply the paint, but it levels out as it dries. 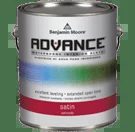
In order to have time to level out, the drying process takes a little longer, but it’s so worth the wait! I had fallen in love with a Valspar color, “Totten’s Inlet”, so when I decided on Ben Moore paint, I simply asked them to mix it in this color for me, in a satin finish.
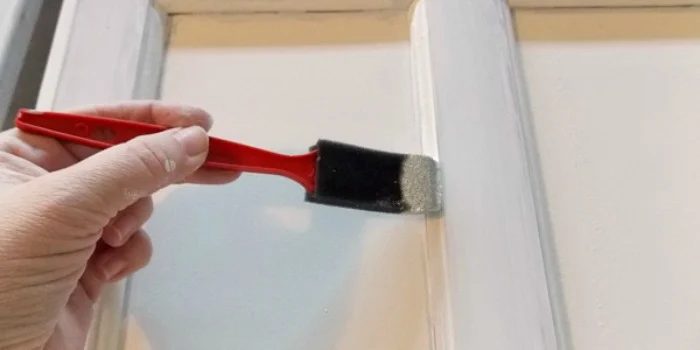
I also used a 4″ mohair roller (which sounds expensive but actually was about the same price as a foam roller) for the flat surfaces of the doors, and a foam craft brush to get into the crevices and molding.
I set up my workspace so that I could lay the doors on a flat surface to work on them. Using sawhorses and two-by-fours, I made long worktables. This way, I could paint a door and leave it to dry while moving on to the next door. The longer you can let your doors lay flat, the better the paint can dry, which cuts down on drips. Drips are caused by gravity working on wet paint, so you can imagine that if you put a bunch of paint on a flat surface, then stand it up vertically, the wet paint will start to slide down the surface, leaving drips. Argh! That’s not what we want. So do yourself a favor, and put some thought into how you’ll keep your doors flat for as long as possible.
So, now that you have a workspace in mind, let’s move on to the process.
How to Paint well fitted Cabinet Doors
- First, label all your doors and cabinets. (Do not remove a single door until it’s labeled! I promise this step is worth the few minutes it takes.) Then remove the hinges and knobs. If you have adjustable hinges, label them and put them inside each cabinet so you don’t have to readjust all of them when you rehang your doors.
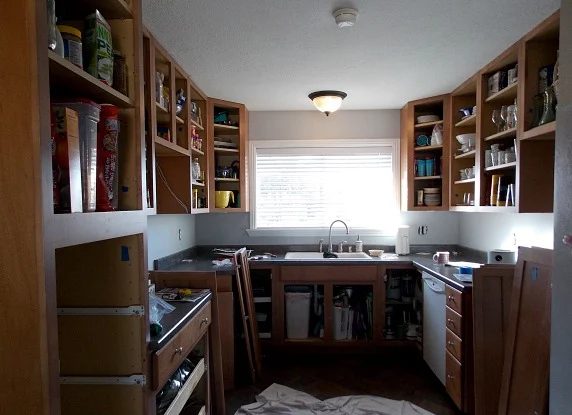
- Clean the doors with a good degreaser, such as Krud Kutter.
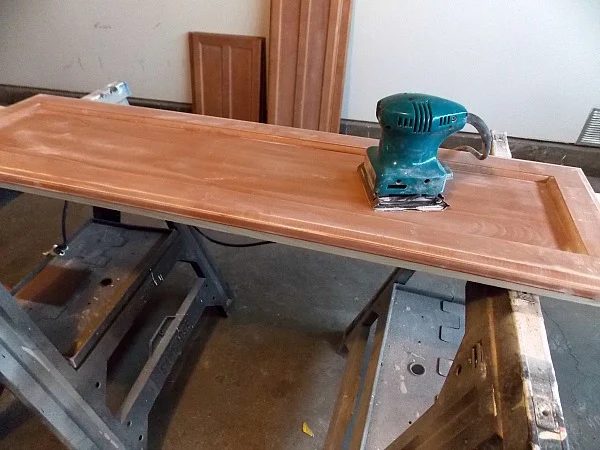
- Sand thoroughly. You want to remove all the gloss from the previous surface so the primer and paint can adhere well. You do not need to remove all the stain or paint, just the surface layer of gloss.
- Clean well. I used a vacuum cleaner attachment, then a microfiber cloth with rubbing alcohol. Do not use water or it will raise the grain of the wood, which interferes with a smooth finish.
- Roll on primer onto flat surfaces, then use the brush to apply a light coat into all the molding edges. Allow primer to dry completely.A word about priming: Yes, you should do it. Sanding makes the surface easier for the paint to adhere to, and priming makes the paint coverage look more even and prevents stains from showing through. They do not serve the same purpose, and for a really professional looking job, I recommend doing both.
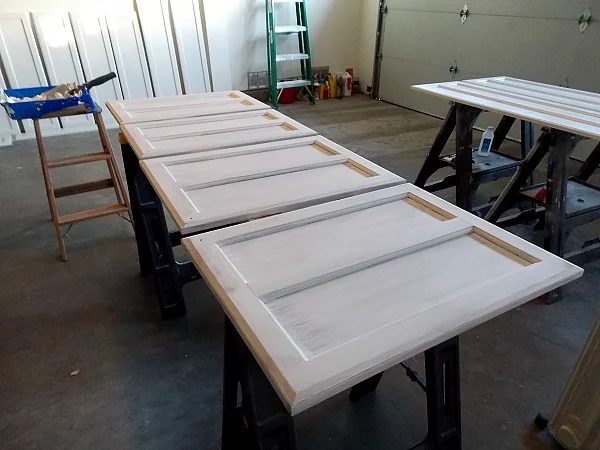
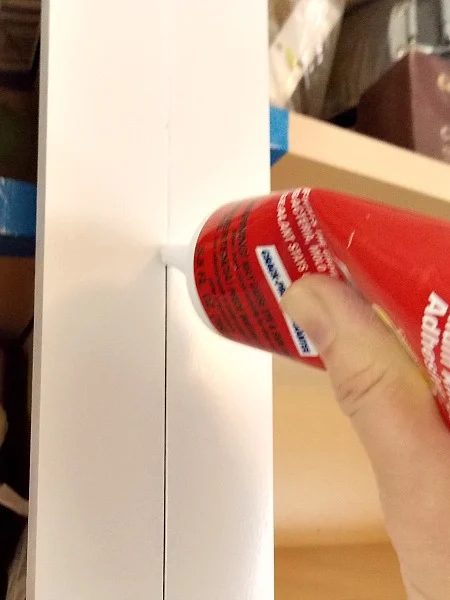
- Caulk any open seams between the panels and the molding. Allow caulk to dry completely. This seems like a small detail, but it really makes a difference in the finished product!
- Sand lightly again with 200 grit sandpaper. Clean well again.
- Now you are ready for a coat of paint, and a little finesse in how you apply it. I found that there is an order that helps eliminate brush strokes and drips. Basically, you want to work from the lowest panel surface to the highest. First, use the roller on the interior panel.
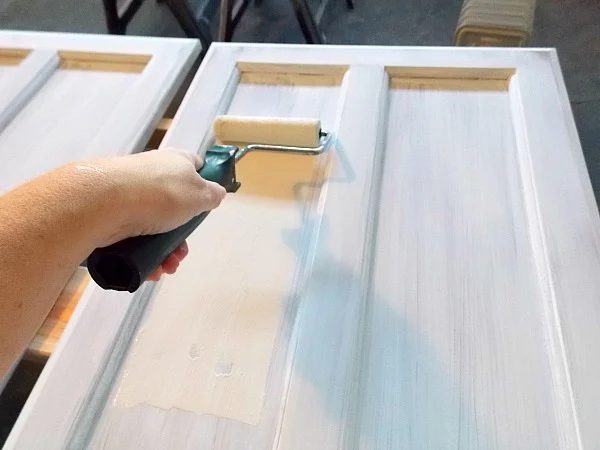
Then use the foam brush to add paint to the molding between the interior and exterior panels.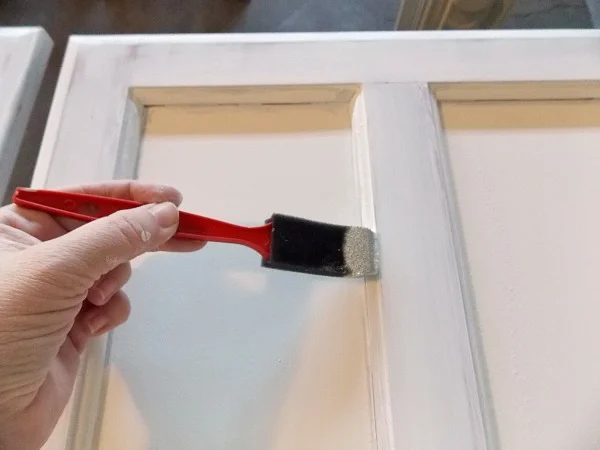
Then use the roller again on the exterior, or top, panels and around the edges of the doors.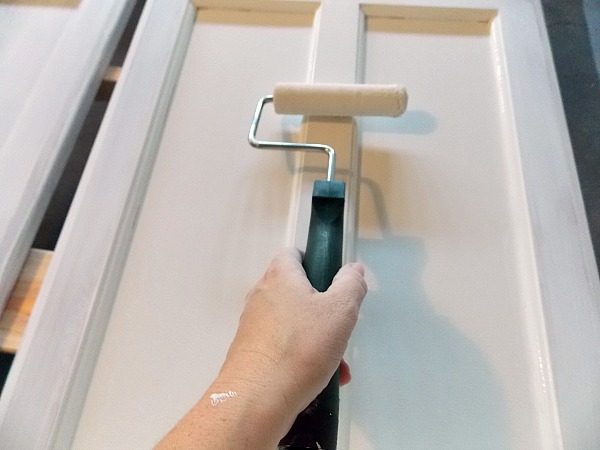
This way, you can smooth out any extra paint left on the edges from the brush.Don’t overload your brush and roller, and attempt to get a nice light, even coat of paint on the door. Too much paint at one time can lead to drips forming.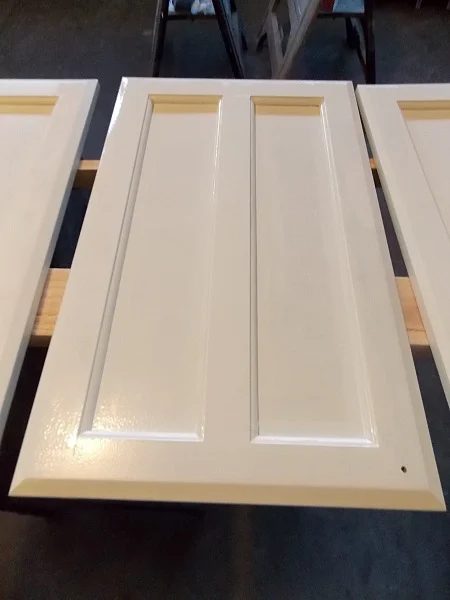
- Once the paint is dry (follow manufacturer directions on the can and don’t rush!), sand and clean again. If you are painting the inside of the cabinet doors, you’ll want to flip them over and use the same process before putting the second coat on the front.
- Finally, apply a final coat repeating step 8.
- Let your painted doors cure well for a couple of days before rehanging them, so they don’t stick to the cabinets. Also, consider adding felt pads to the corners to cut down on banging doors. While your doors are drying, you can use this same process to paint the cabinet frames (which goes a lot faster, due to less surface area and less nooks and crannies!).
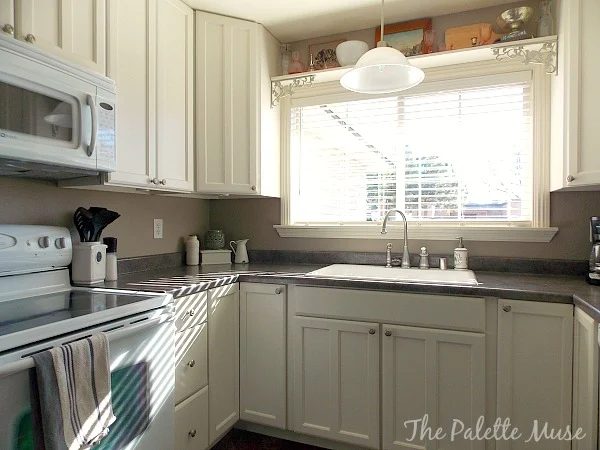
I know this may not be the quick and painless way to paint cabinets, but it’s so worth it to come to the end of the project and have a whole kitchen that you can be really proud of, and you know will last a long time. Every time I walk into my kitchen, I love the way it looks, and I love knowing that I did it. For more details and tips, look at my post on Repainting Kitchen Cabinets, and best wishes for your own painting projects!
————————————
Thanks, Meredith! Such a big job, but worth doing right to only do it once!
Bekob, pay Meredith a visit over at The Palette Muse to see her striking bedroom makeover, plus look at her tips for identifying your decorating style and this smart decorating tip.
Coming up in #ShutTheFrontDoorDIY:
(be sure to subscribe by RSS or email to get updates for every post of Shut The Front Door Handmade week)
Build your own cabinet doors — two different styles!