
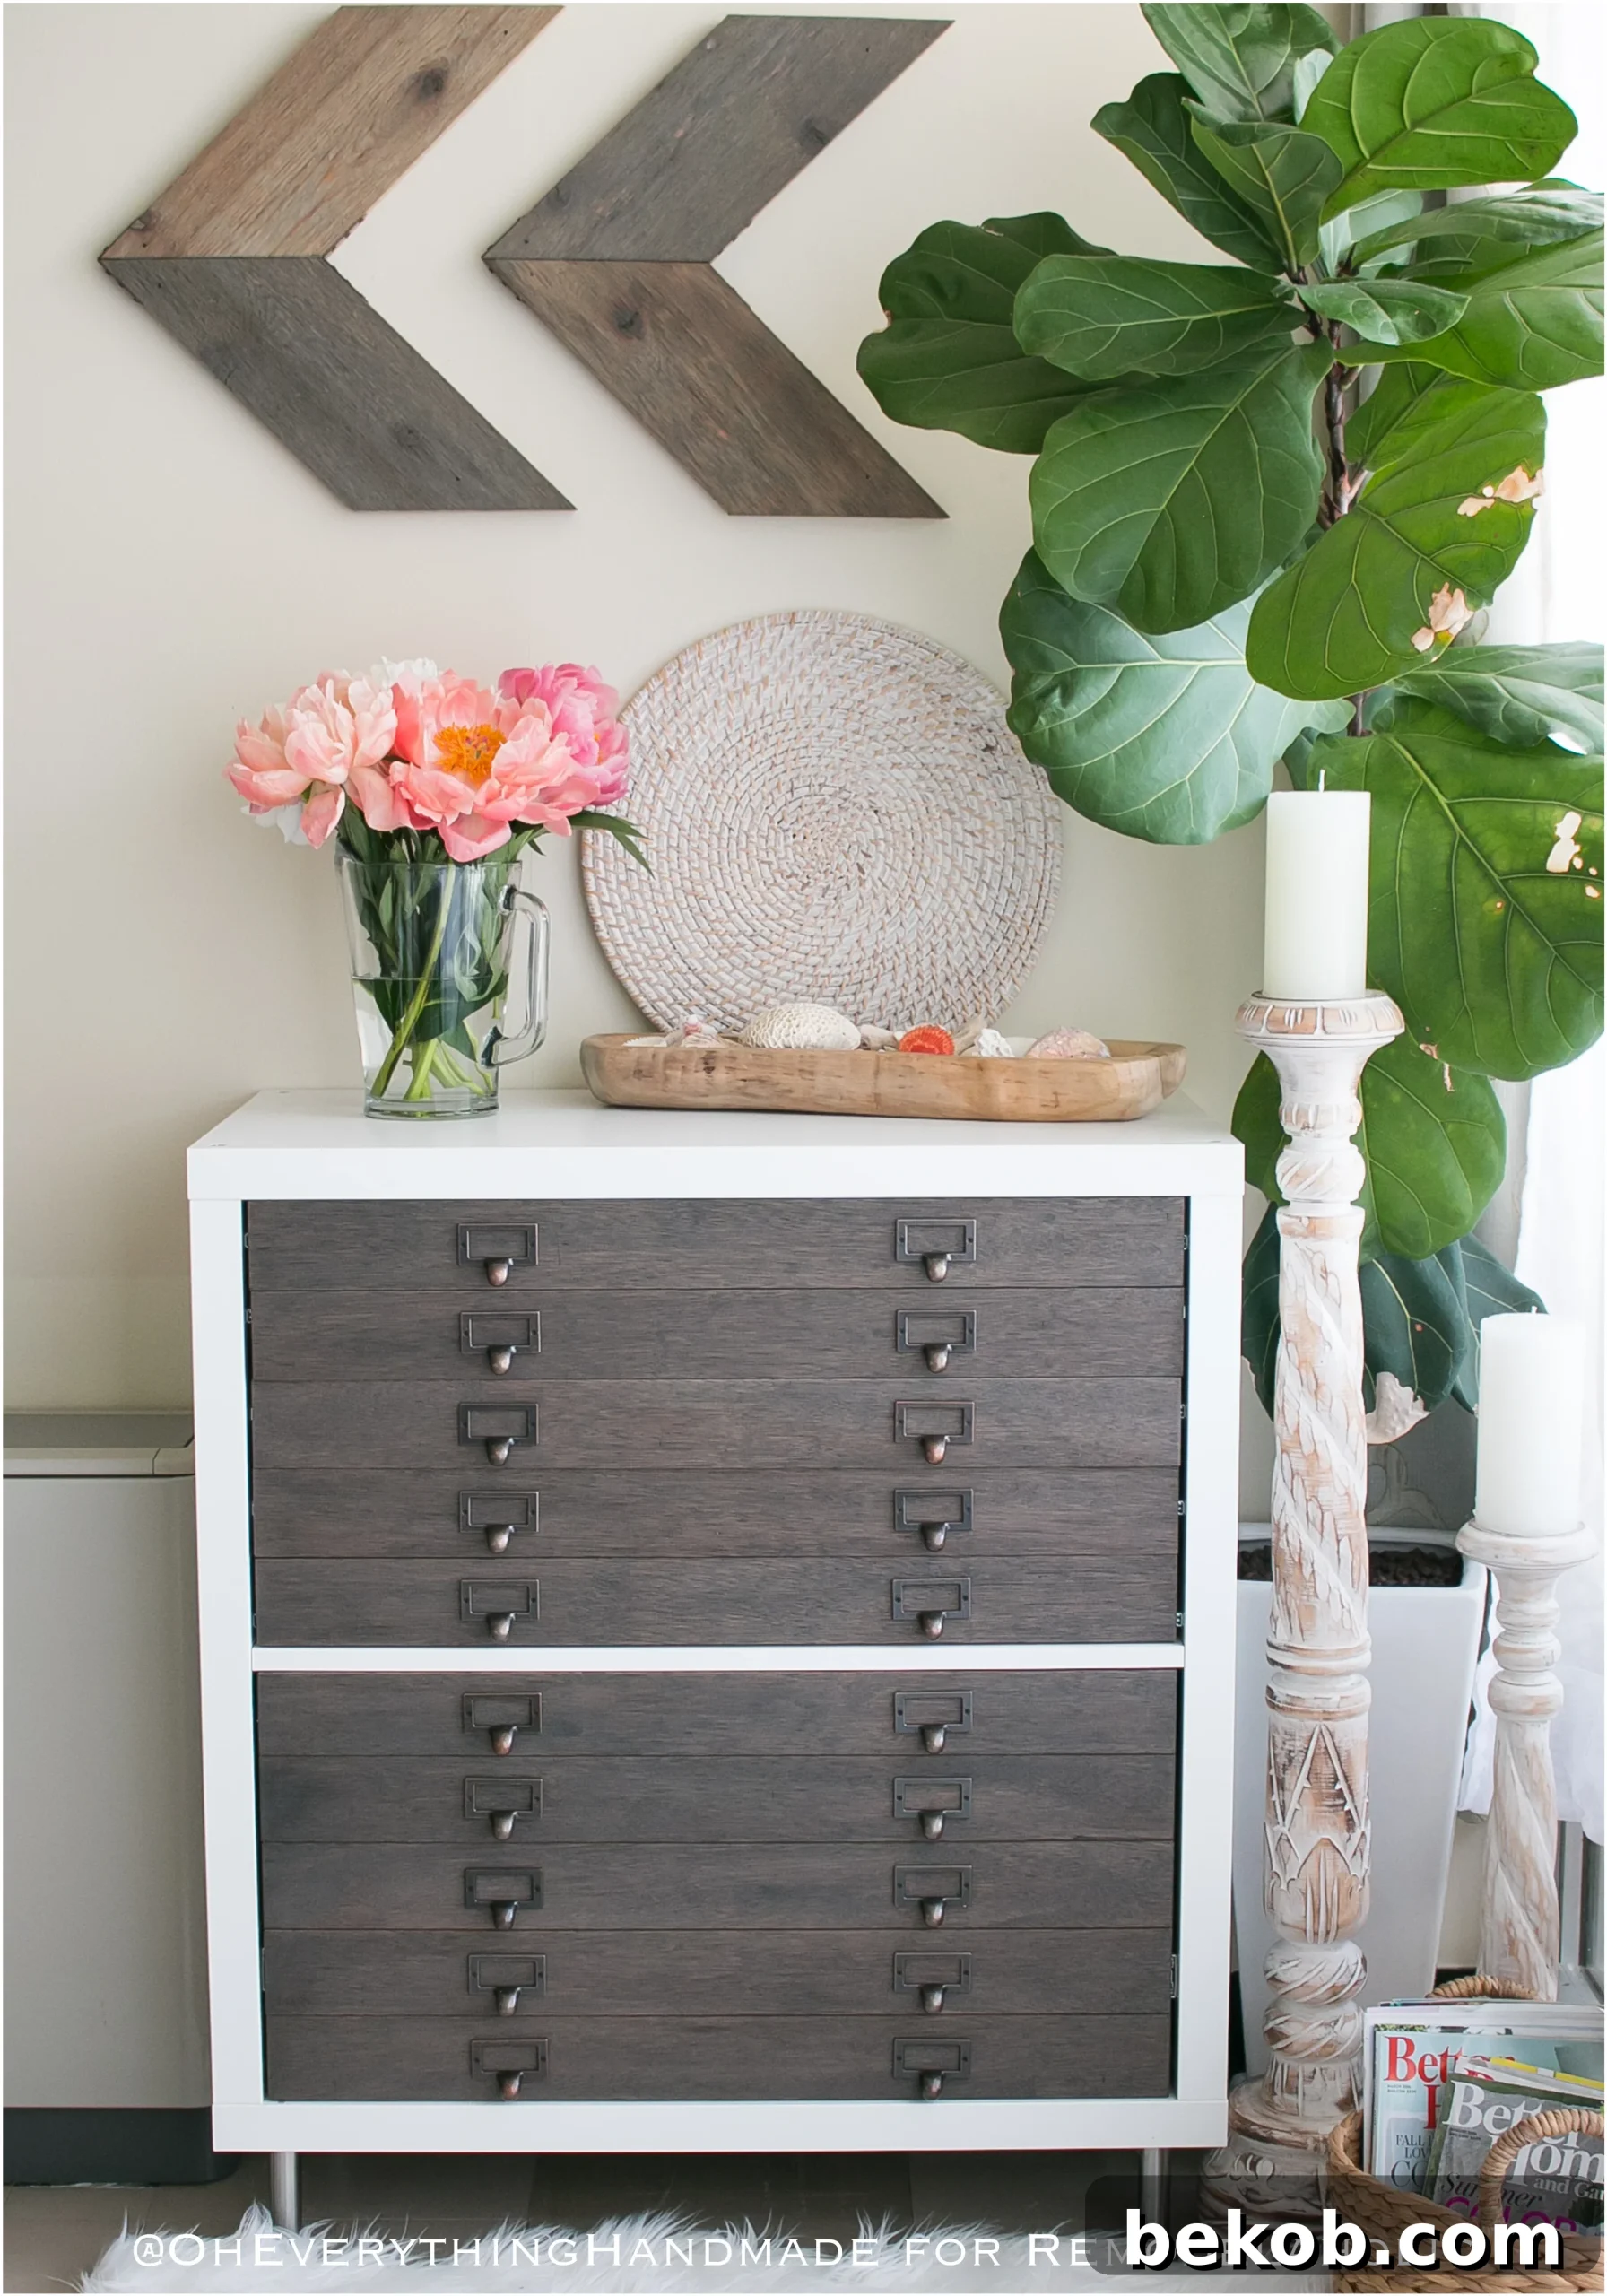
Unleash Your Creativity: The Ultimate IKEA Kallax Flat File Cabinet Transformation
Discover the magic of this IKEA Kallax Flat File Cabinet transformation. It’s truly remarkable how a simple cube unit can become such a sophisticated storage solution!
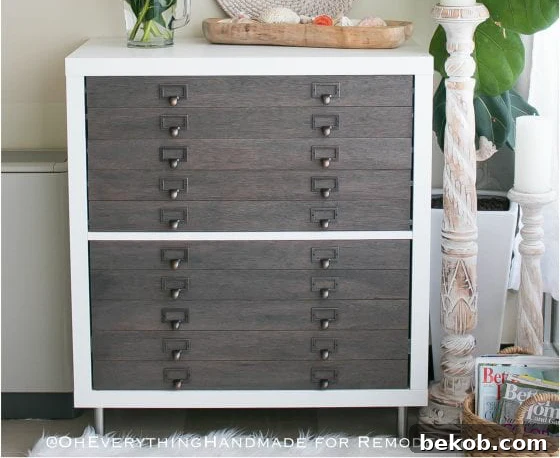
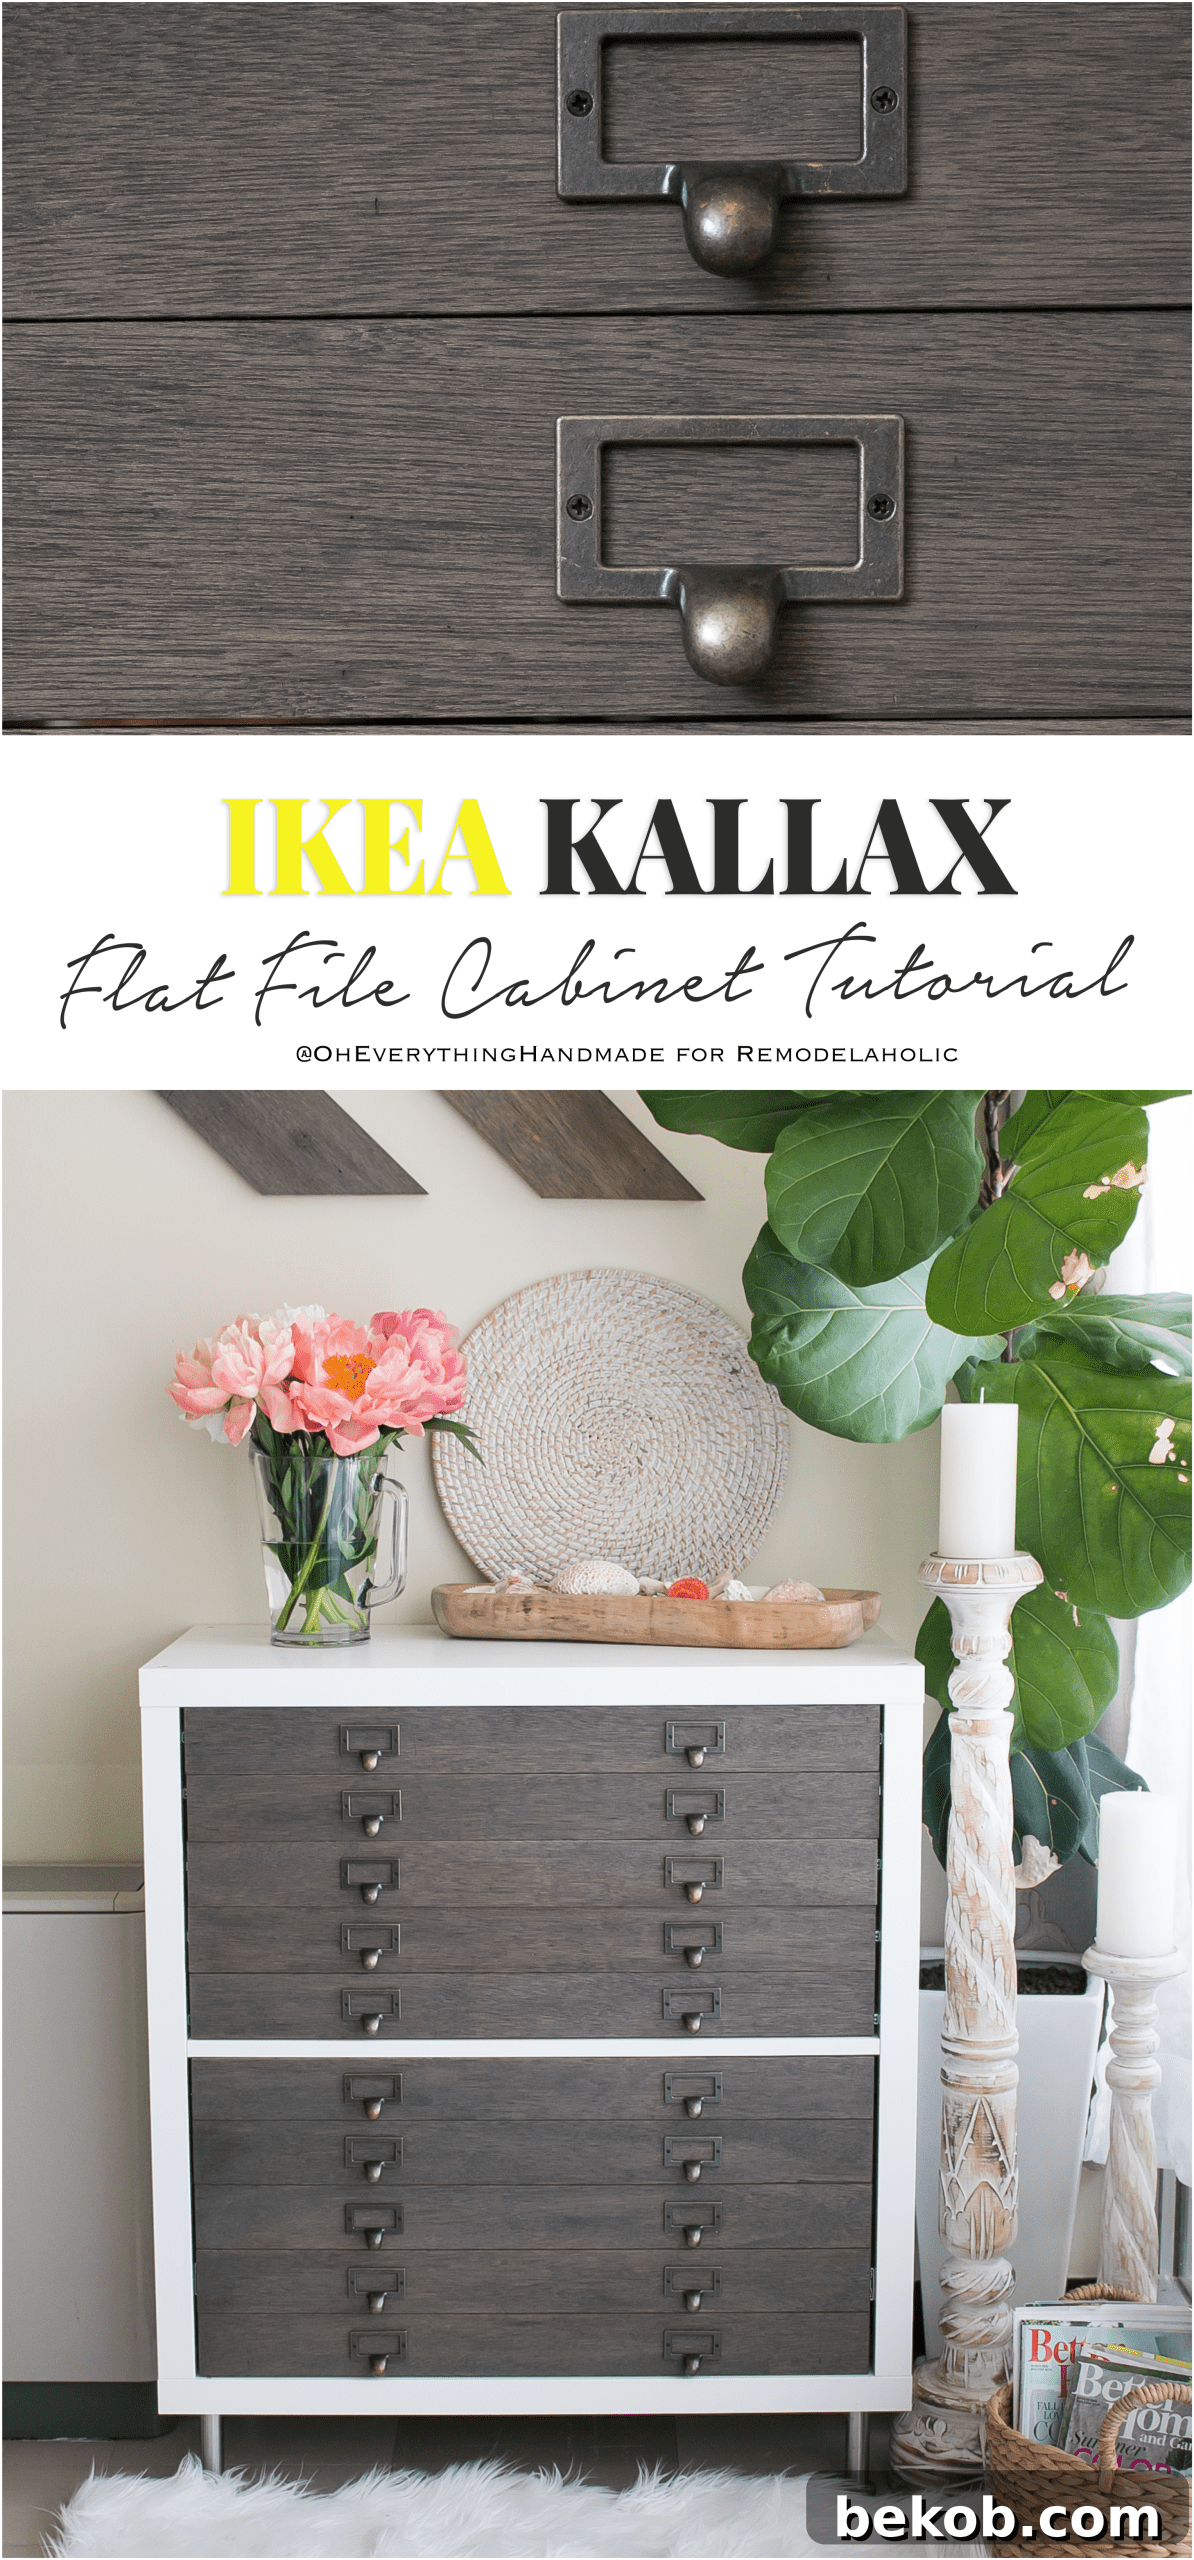
This ingenious IKEA Kallax hack masterfully integrates five individual flat file drawers and one spacious bottom drawer featuring faux drawer fronts. It’s not just a storage unit; it’s a beautiful and highly functional command center for all your arts and craft supplies, large documents, or anything that benefits from flat storage.
Elevate your creative sanctuary or home office with our curated collection of Favorite IKEA Hack Desks and vibrant Colorful Home Office Decor. Learn the secrets to creating an Awesome Crafting Space that inspires productivity and joy.
For a complete visual guide, watch the full video tutorial and subscribe to the Remodelaholic YouTube channel here. Detailed written instructions follow below.
Hello everyone! Betty from Oh Everything Handmade here, absolutely thrilled to guide you through one of my favorite IKEA KALLAX hacks: transforming a standard 4-cube unit into a sophisticated flat file (or lateral) cabinet. This project is a game-changer for anyone struggling with organizing large sheets of paper, fabric swatches, blueprints, artwork, or various craft supplies. Let’s dive into creating a truly custom and beautiful piece of furniture!
This post contains affiliate links. Learn more and read our full disclosure policy here.
Get a PDF version of these building instructions
Why Choose a DIY Flat File Cabinet with Kallax?
Flat file cabinets are essential for preserving and organizing items that cannot be folded or rolled without damage. Think valuable artwork, important documents, fabric swatches, large maps, or architectural plans. Commercial flat file units, however, can be incredibly expensive and often lack the aesthetic charm to blend seamlessly into a modern home or craft studio. This is where the IKEA Kallax hack shines!
By transforming an affordable and readily available IKEA Kallax shelving unit, you can create a custom flat file cabinet that perfectly suits your storage needs and style preferences. This DIY approach not only saves you money but also allows for personalized finishes, turning a generic piece of furniture into a bespoke masterpiece. It’s an ideal solution for artists, crafters, designers, teachers, or anyone needing elegant, wide, and shallow storage.
Gathering Your Materials and Tools for This Kallax Transformation:
Before embarking on your DIY journey, ensure you have all the necessary materials and tools. Proper preparation is key to a smooth and successful project. This hack requires a few specific tools, but they are common in most DIYers’ arsenals and will open up many future project possibilities. Quality materials will also ensure the longevity and durability of your new flat file cabinet.
- 1 sheet of 3/4″ thick plywood (We recommend a 3′ x 6′ sheet for ample material)
- 1/4″ thick plywood (A 6′ x 11′ sheet will be sufficient for the drawer bottoms)
- 1″x2″ x 6′ Boards (You’ll need approximately 6 boards for the drawer frames)
- Drawer pulls (Choose a style that matches your aesthetic, like these elegant options)
- High-quality drawer slides (Ensure they are suitable for the weight and depth of your drawers)
- 1″ pocket hole screws (Essential for strong, concealed joints)
- Kreg jig pocket hole system (An invaluable tool for sturdy joinery)
- Wood glue (For added strength and durability)
- Clamps (Crucial for holding pieces in place while glue dries and screws are driven)
- Hammer (For small adjustments and securing with nails if preferred)
- Electric drill (For pre-drilling and driving screws)
- Measurement tape & Pencil (For accurate marking and cutting)
- Electric sander + 220 grit sandpaper (For smooth, professional finishes)
Large Bottom Drawer Cut List:
This spacious drawer, designed to sit at the bottom, is robustly constructed entirely from 3/4″ thick plywood to handle heavier items or bulkier supplies. Remember to measure twice and cut once for precision.
- Drawer front – 5 pieces – 2 1/2″ x 26 3/4″ (These will create the faux drawer fronts)
- Sidewalls – 2 pieces – 12 7/8″ x 10″ (The vertical sides of the drawer box)
- Front – 1 piece – 26 1/4″ x 12″ and Back wall – 1 piece – 26 1/4″ x 11 1/4″ (The horizontal front and back pieces of the drawer box)
- Bottom – 1 piece – 24 3/4″ x 12 7/8″ (The base of the drawer, providing stability)
Flat File Drawer Cut List:
The flat file drawers are designed to be sturdy yet lightweight. The drawer frames are constructed from 1″ thick boards, the bottoms from slender 1/4″ thick plywood, and the visible drawer fronts from 3/4″ plywood for a consistent look with the larger drawer.
- Drawer front – 5 pieces – 2 1/2″ x 26 3/4″ (These are the decorative faces of your flat file drawers)
- Drawer frame – 5 frames – 26 1/4″ x 12 3/4″ (Constructed from your 1″x2″x6′ boards)
- Drawer Bottom – 5 pieces – 26 1/4″ x 14 1/4″ (The thin bases for your flat file drawers)
Step-by-Step Construction Guide: Building Your Kallax Flat File Drawers
With your materials cut and tools ready, it’s time to bring your vision to life. This section details the assembly process for both the large bottom drawer and the flat file drawers, followed by crucial tips for installation and finishing.
Kallax Hack: Constructing the Large Bottom Drawer
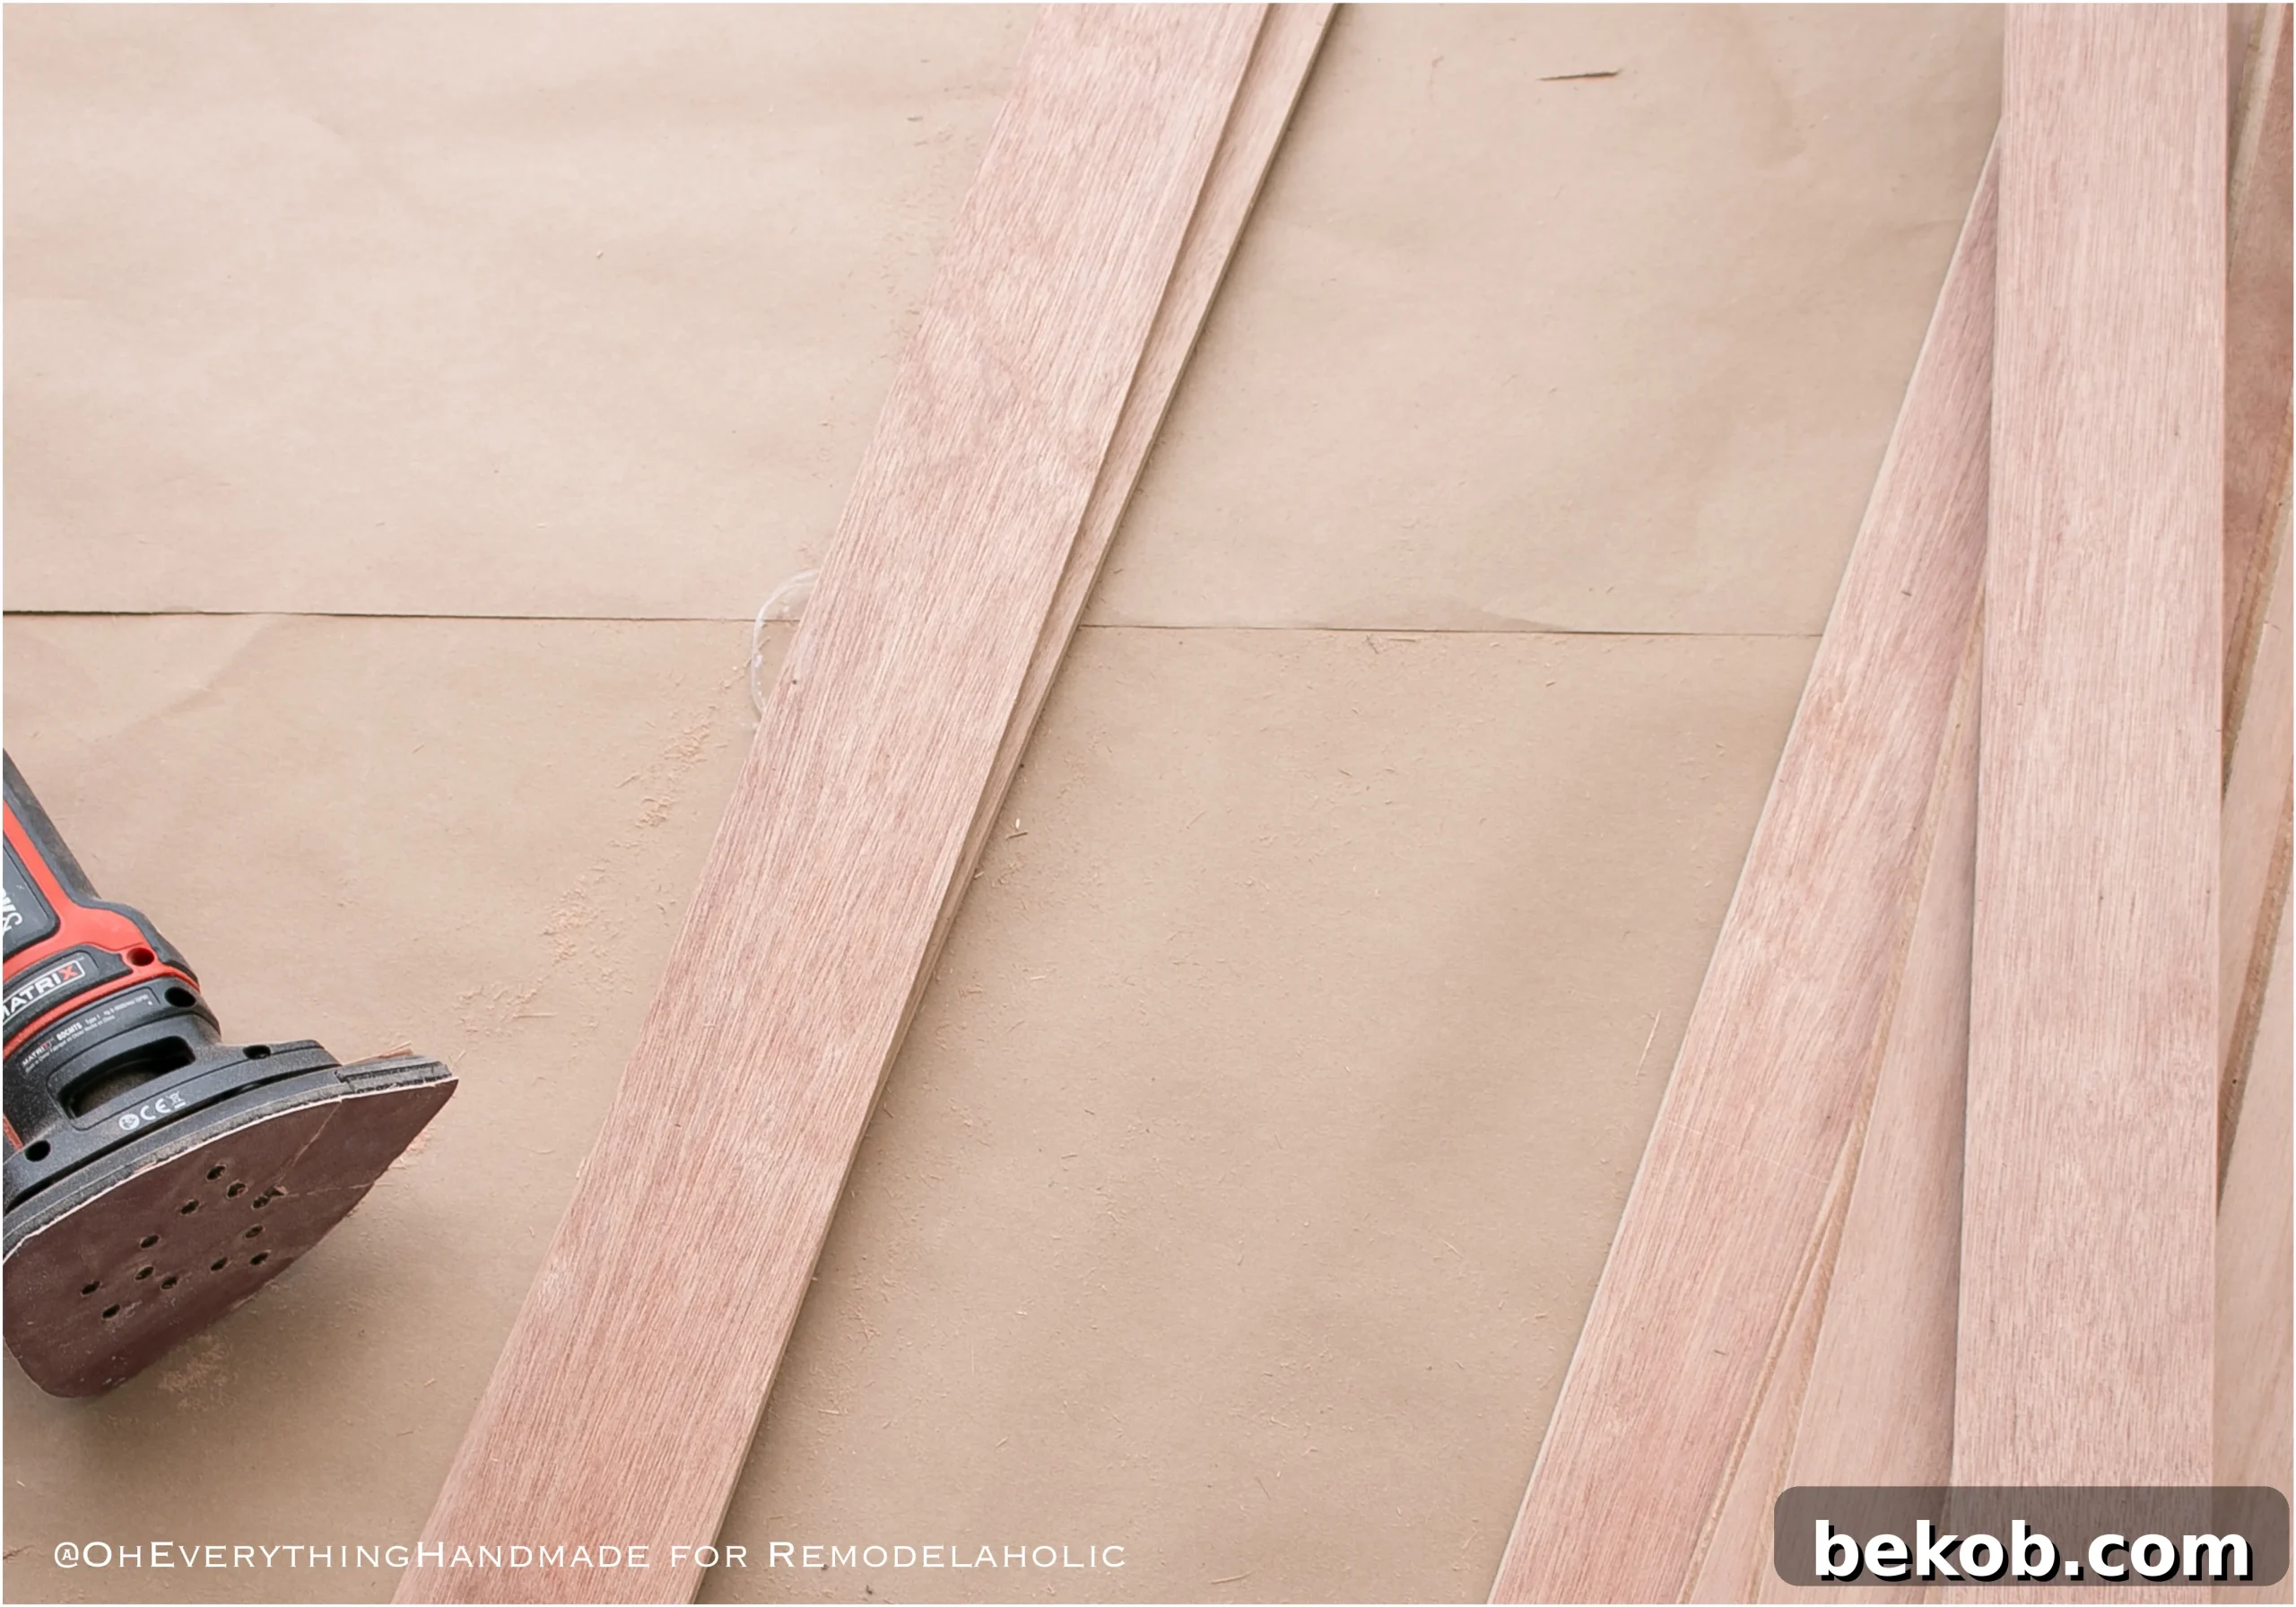
- Preparation & Sanding: Begin by thoroughly sanding all your cut plywood pieces with 220-grit sandpaper. This step is crucial for removing any imperfections, rough edges, or splinters, ensuring a smooth, professional finish that will readily accept stain or paint.
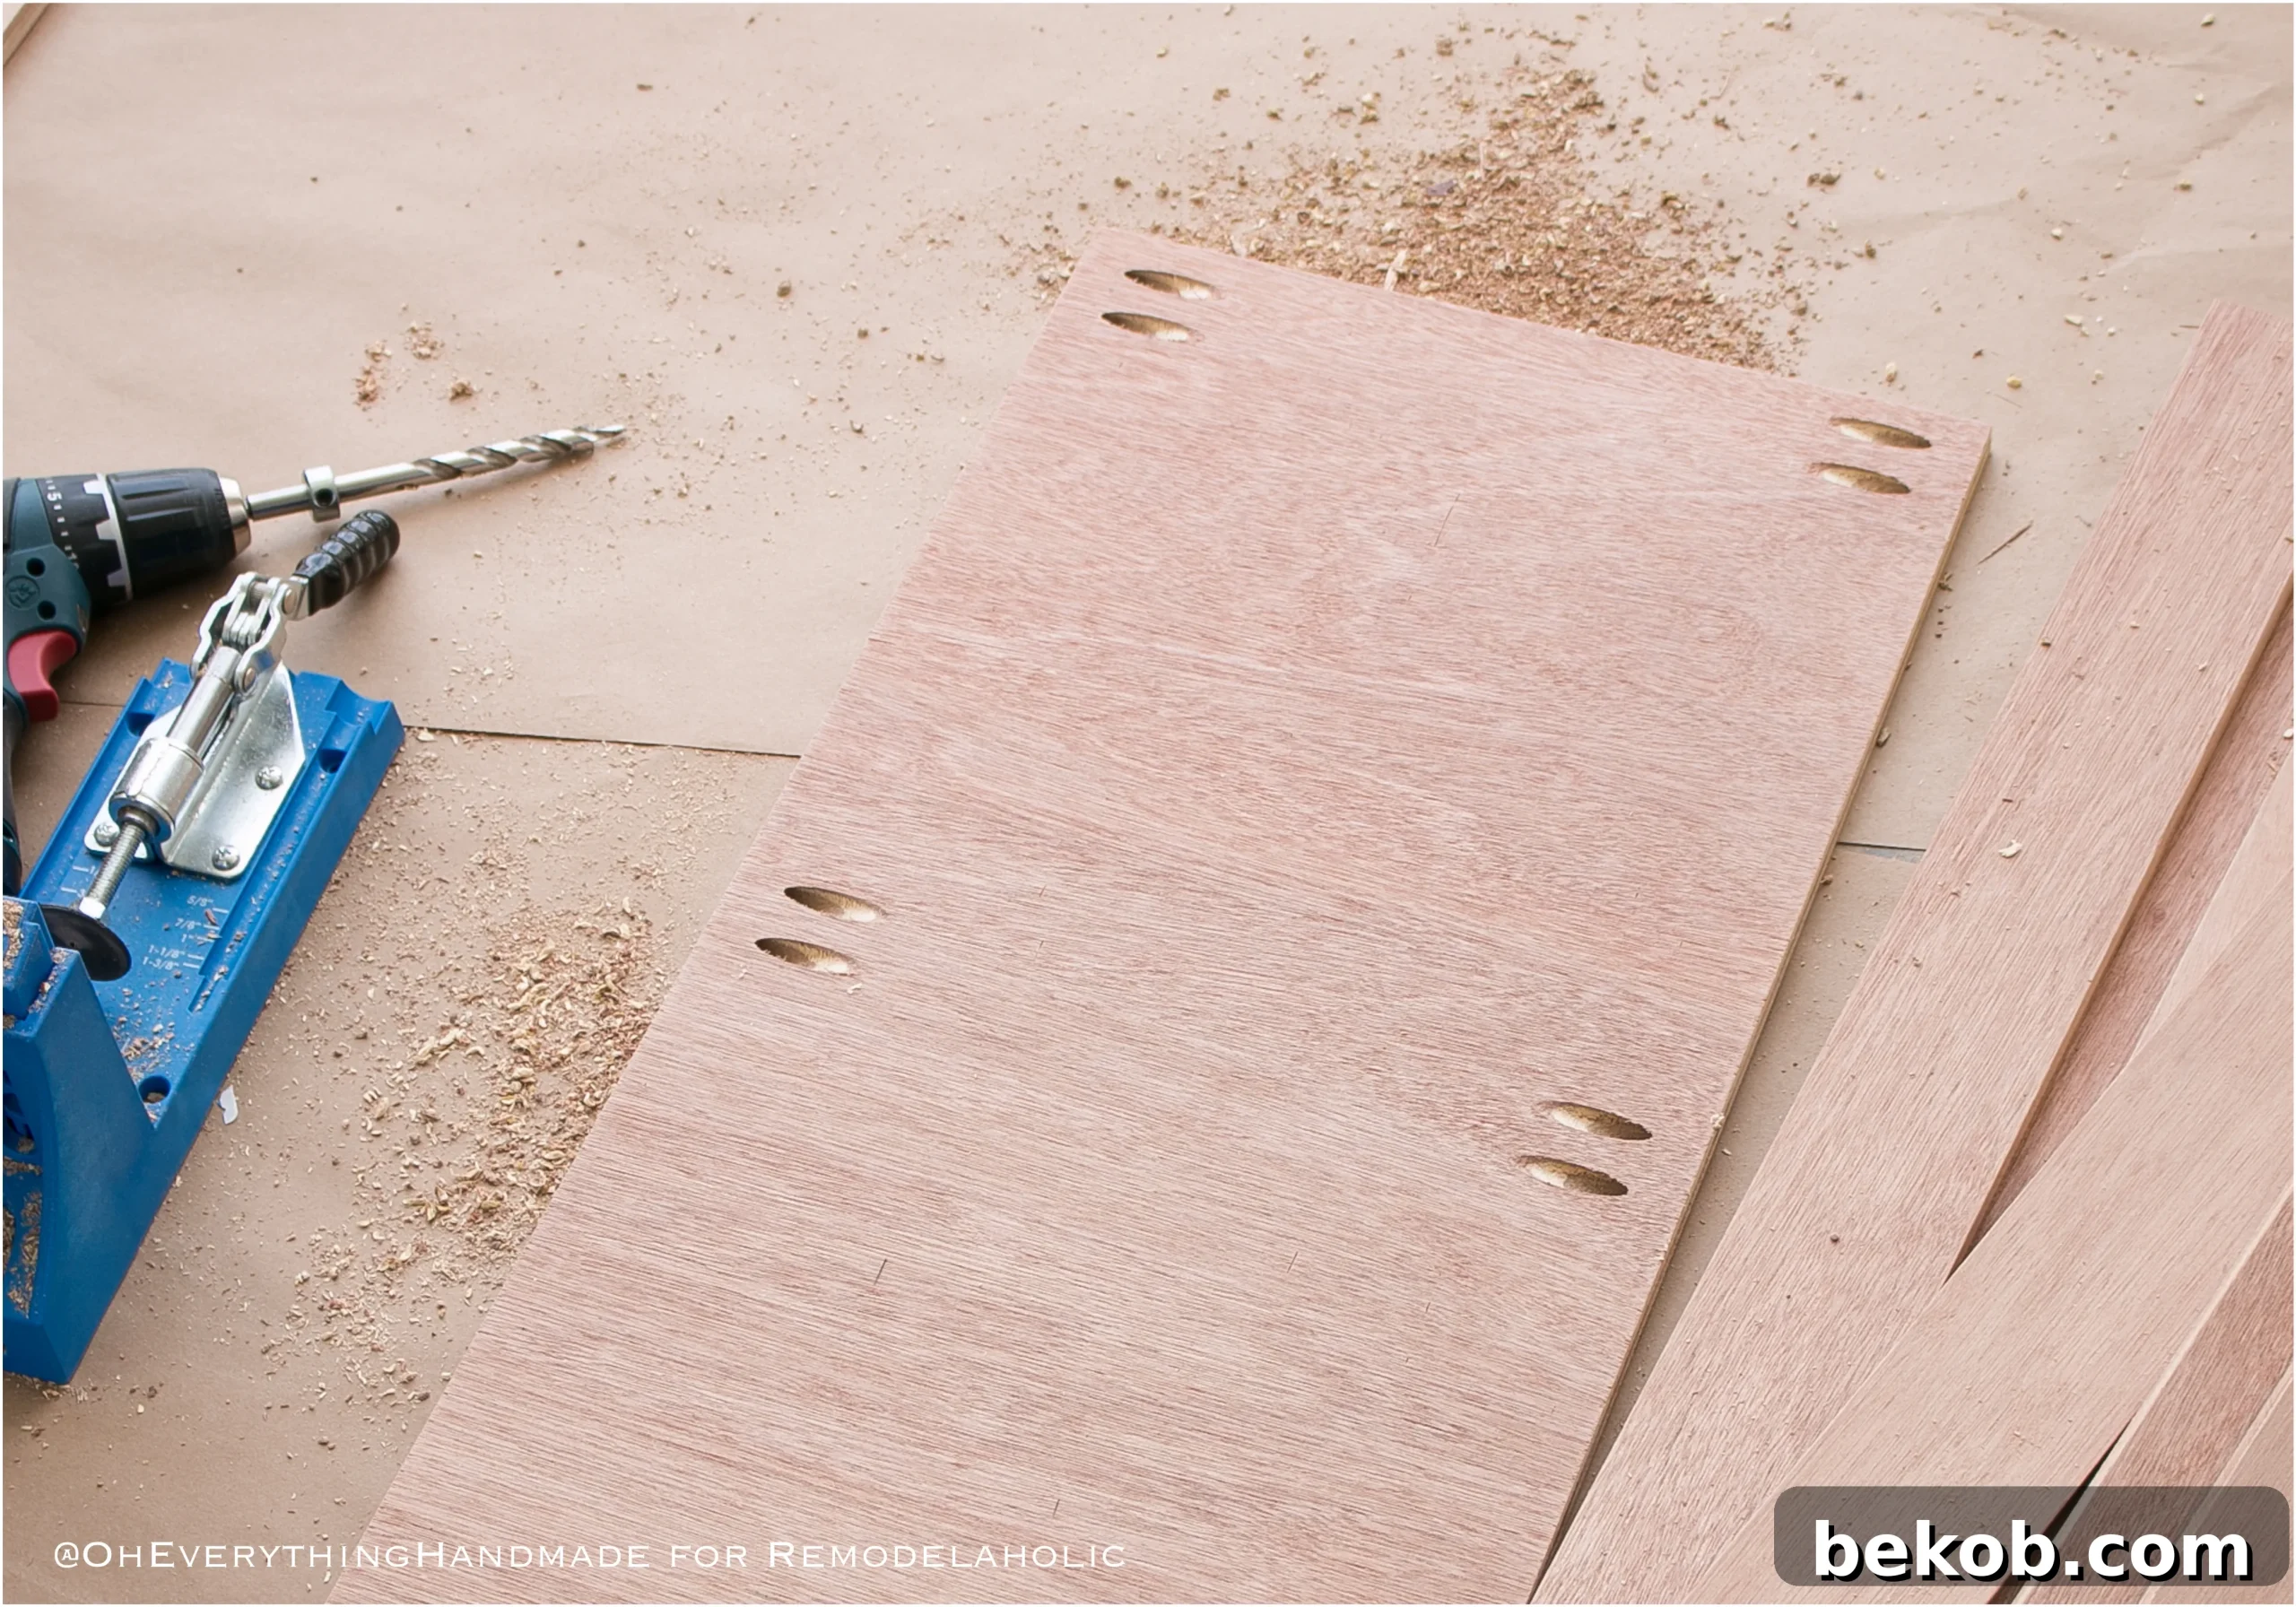
- Creating Pocket Holes: Using your Kreg jig pocket hole system, add pocket holes to the large bottom board. These holes should be strategically placed to connect to the front and back walls. Also, create pocket holes on the outside edges of the sideboard pieces where they will connect to the front and back. This method creates incredibly strong and hidden joints.
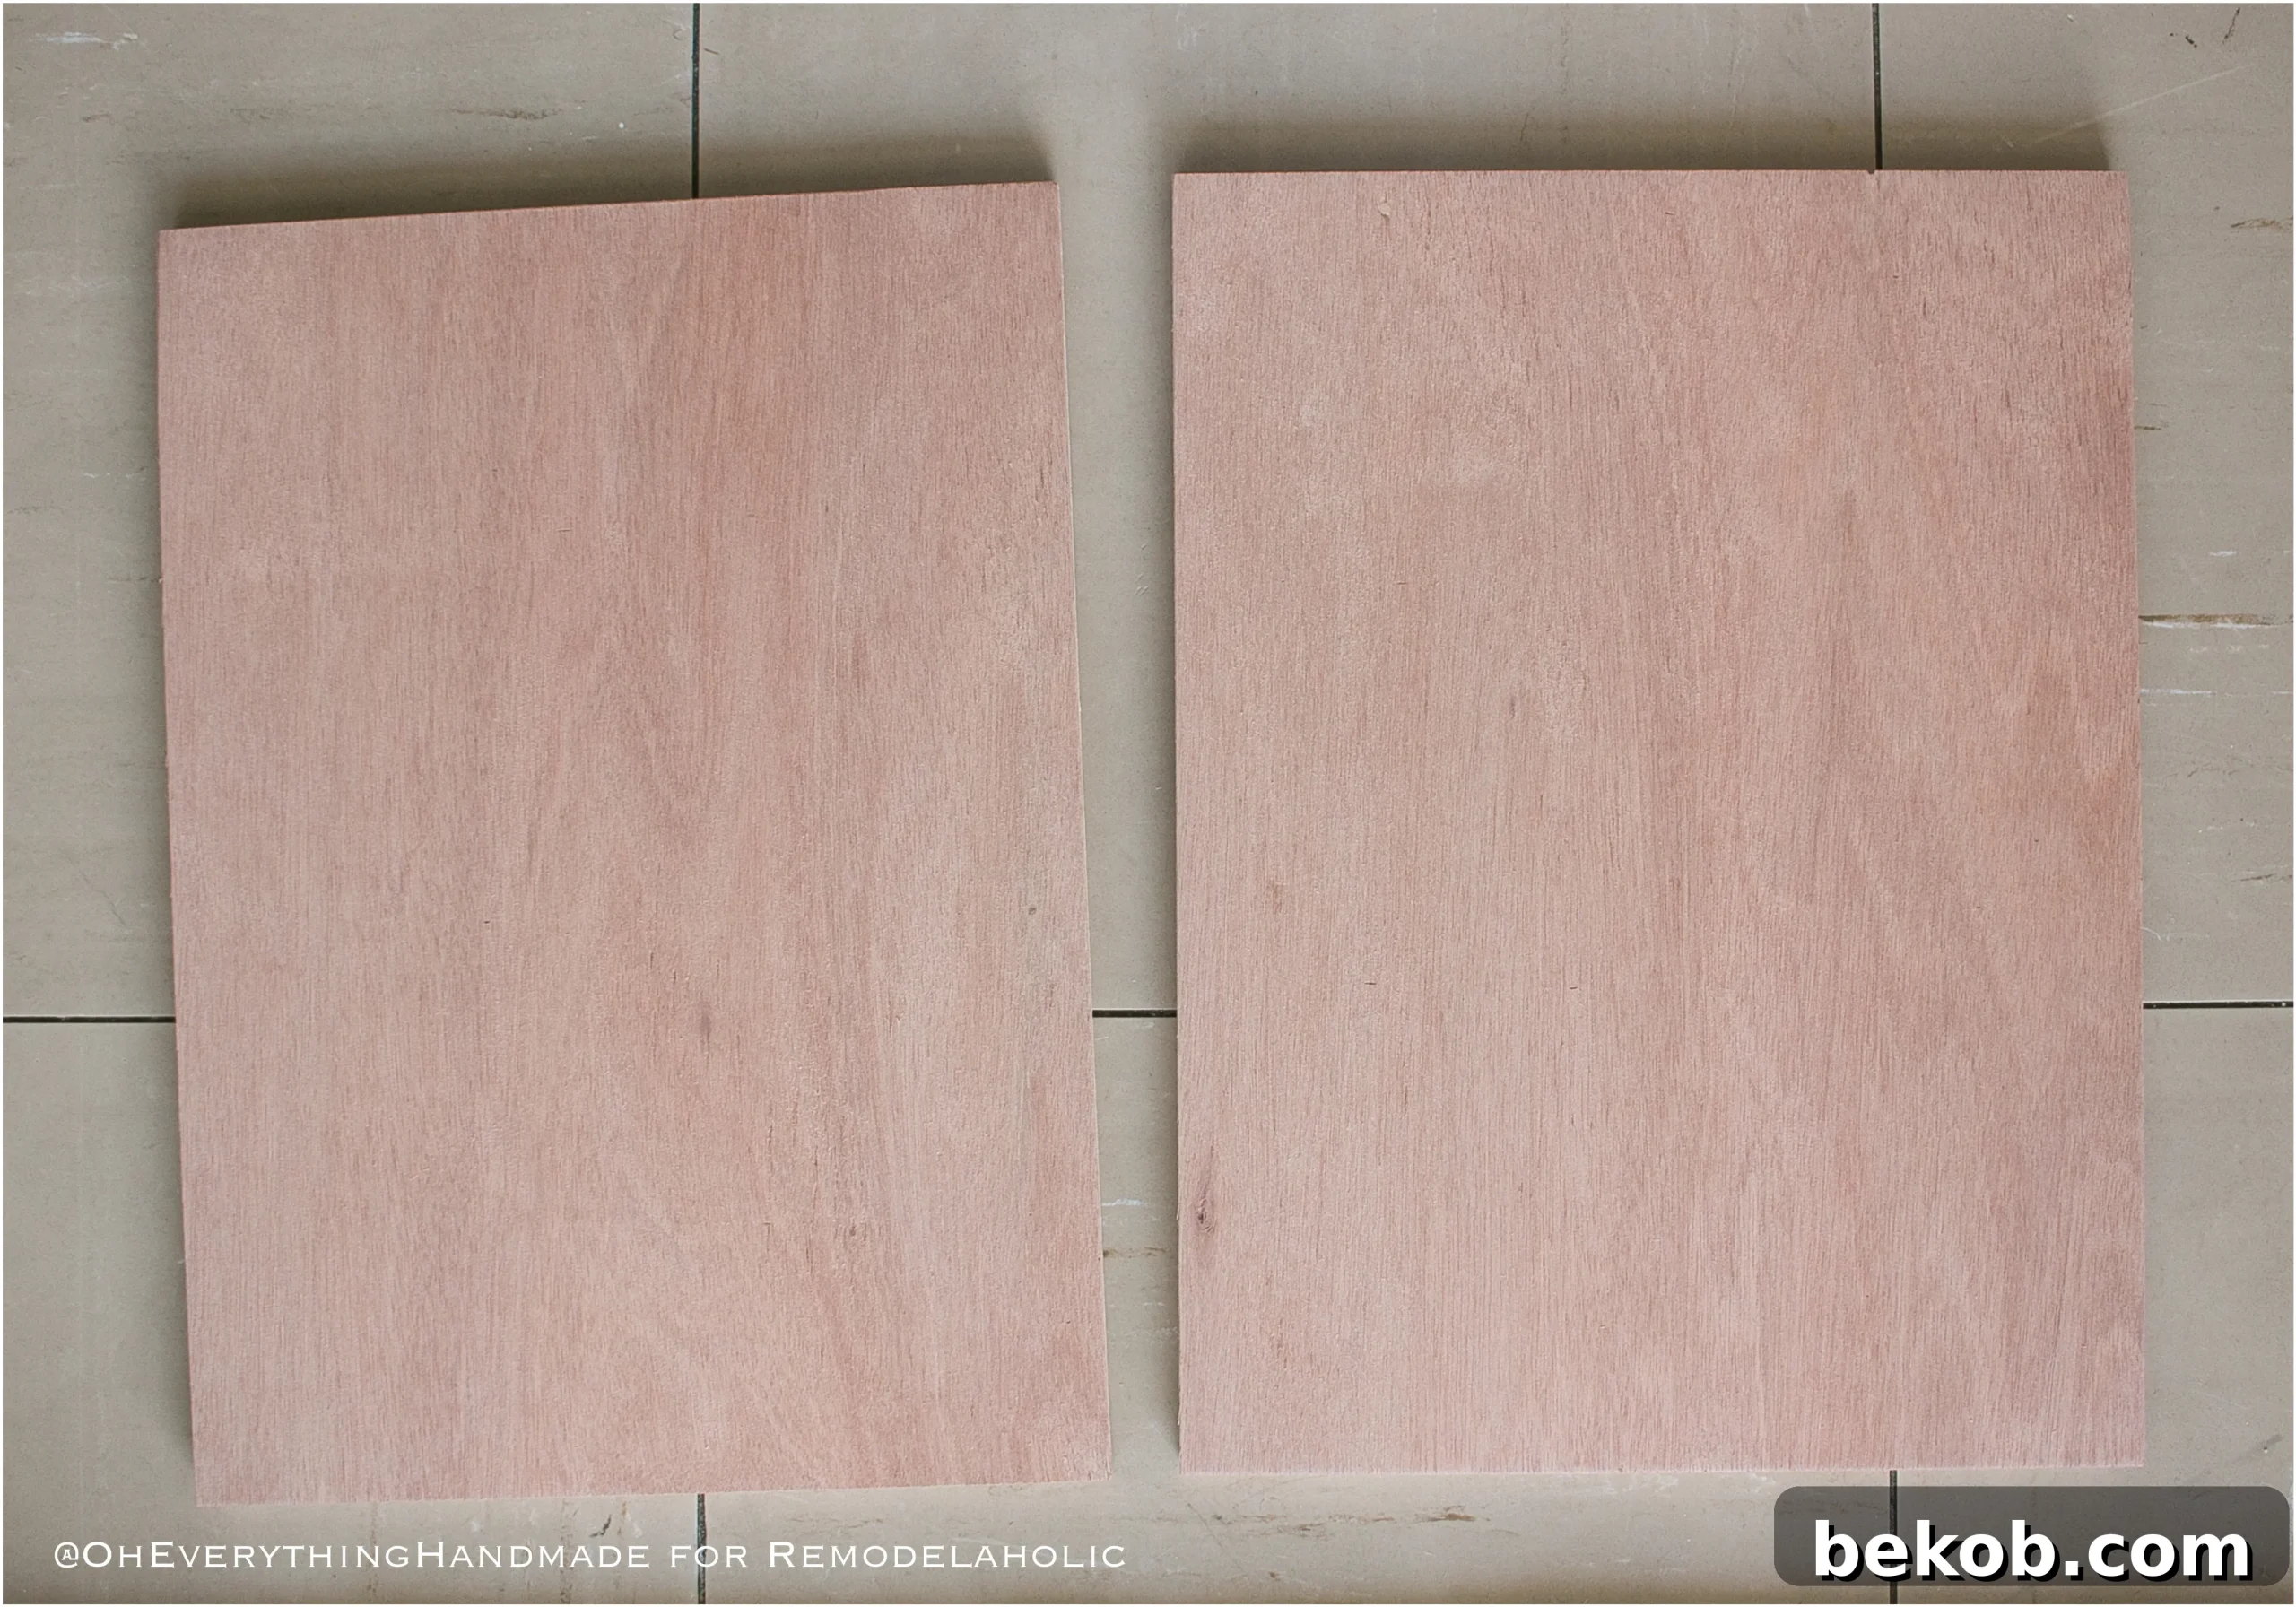
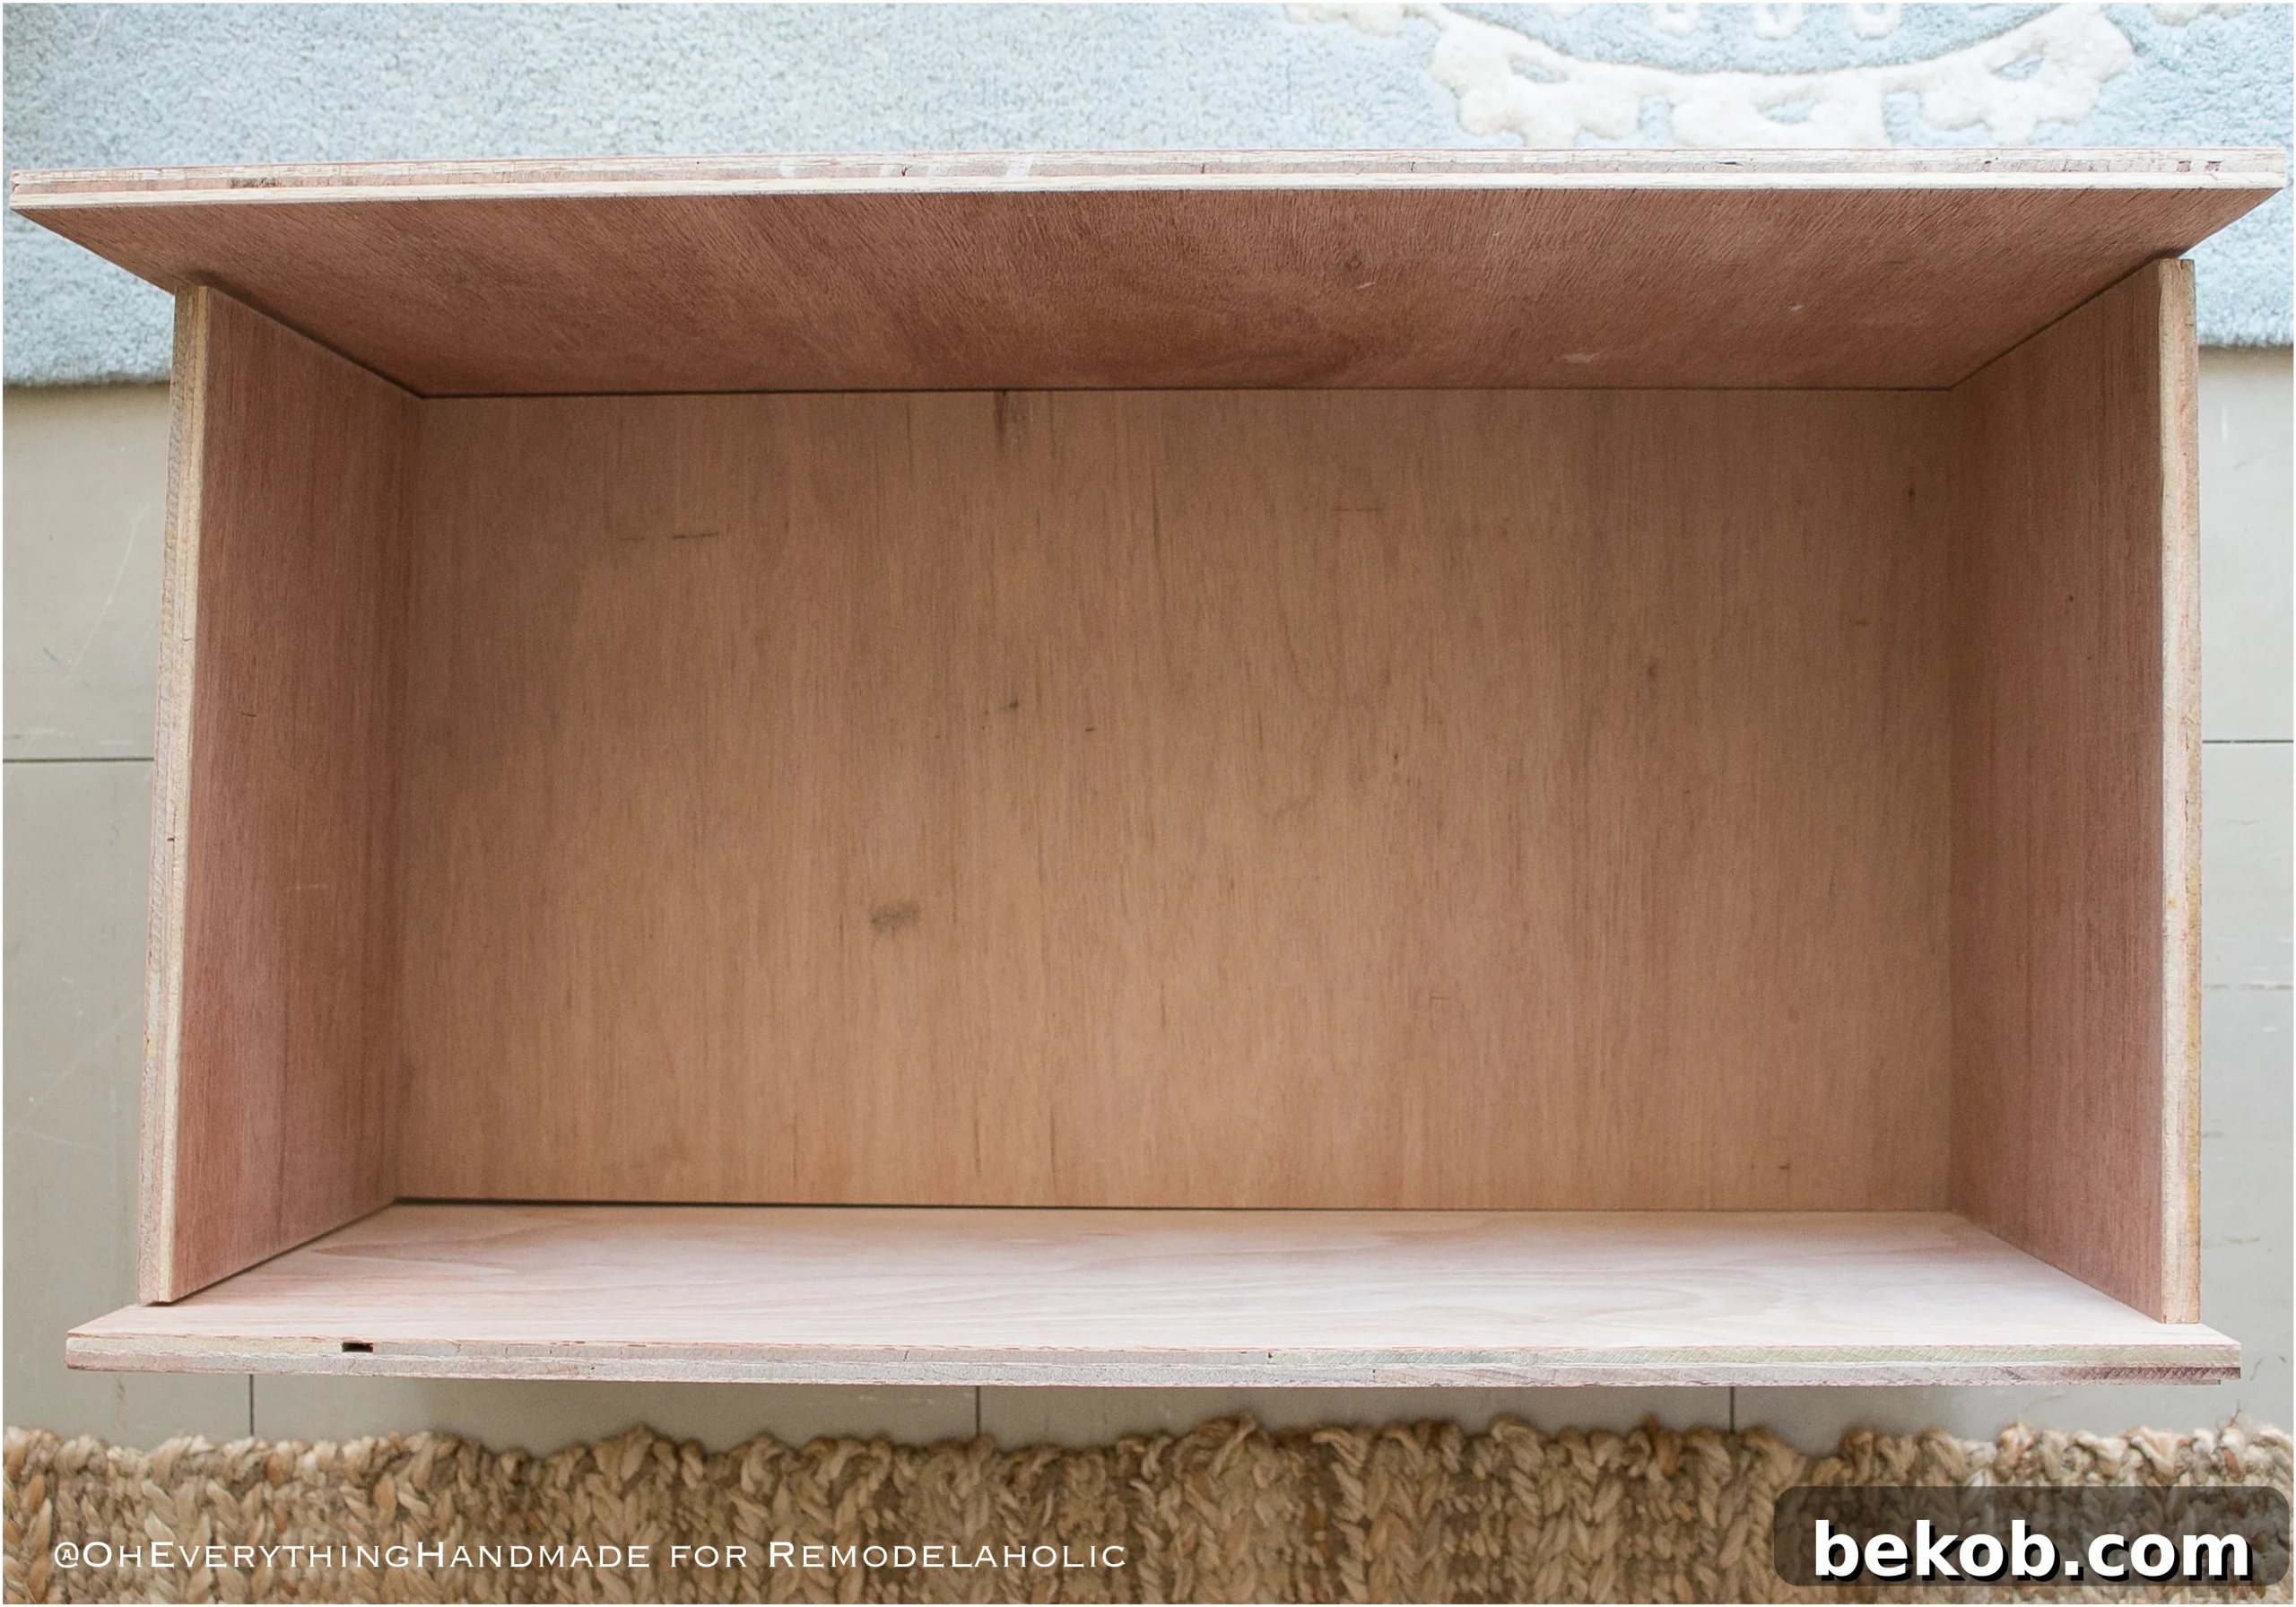
- Assembling the Drawer Box: Apply a bead of wood glue to the edges of the bottom board where the front, back, and side pieces will attach. Carefully align the front, back, and side boards, using clamps to hold them firmly in place. Then, secure them with 1″ pocket hole screws. Ensure all corners are square before the glue sets.
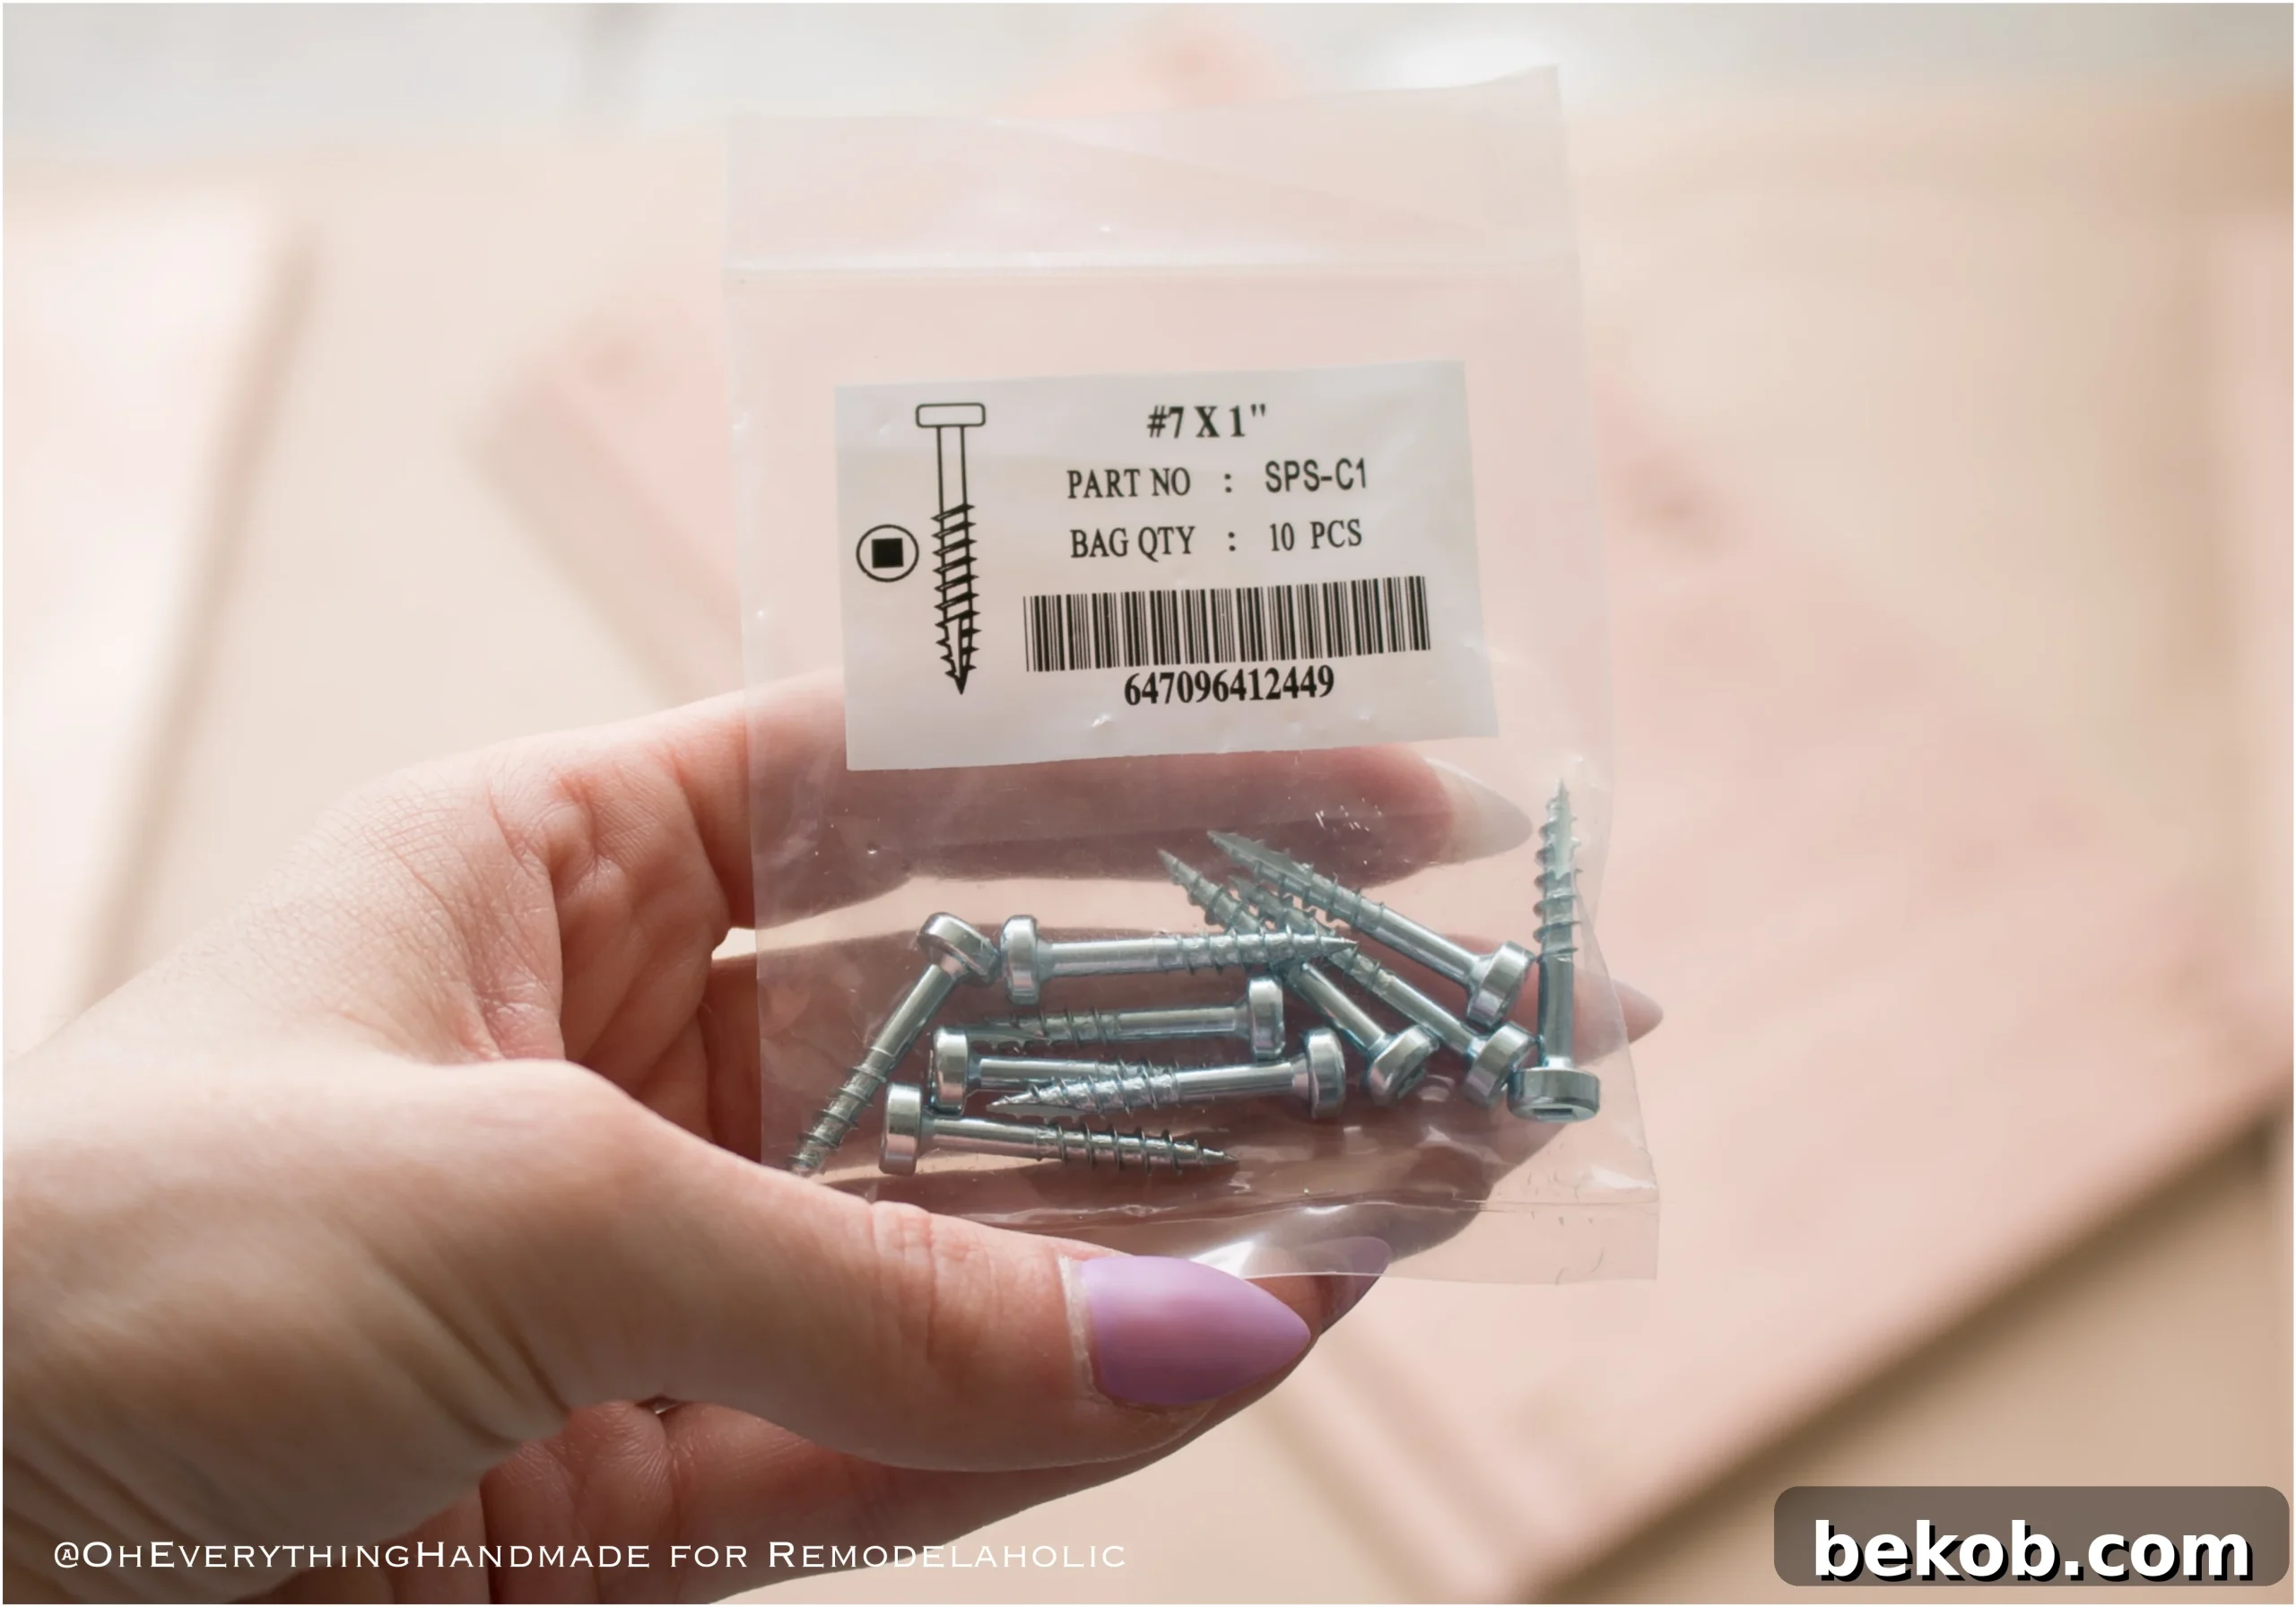
PRO TIP: Drawer Slide Installation Sequence!
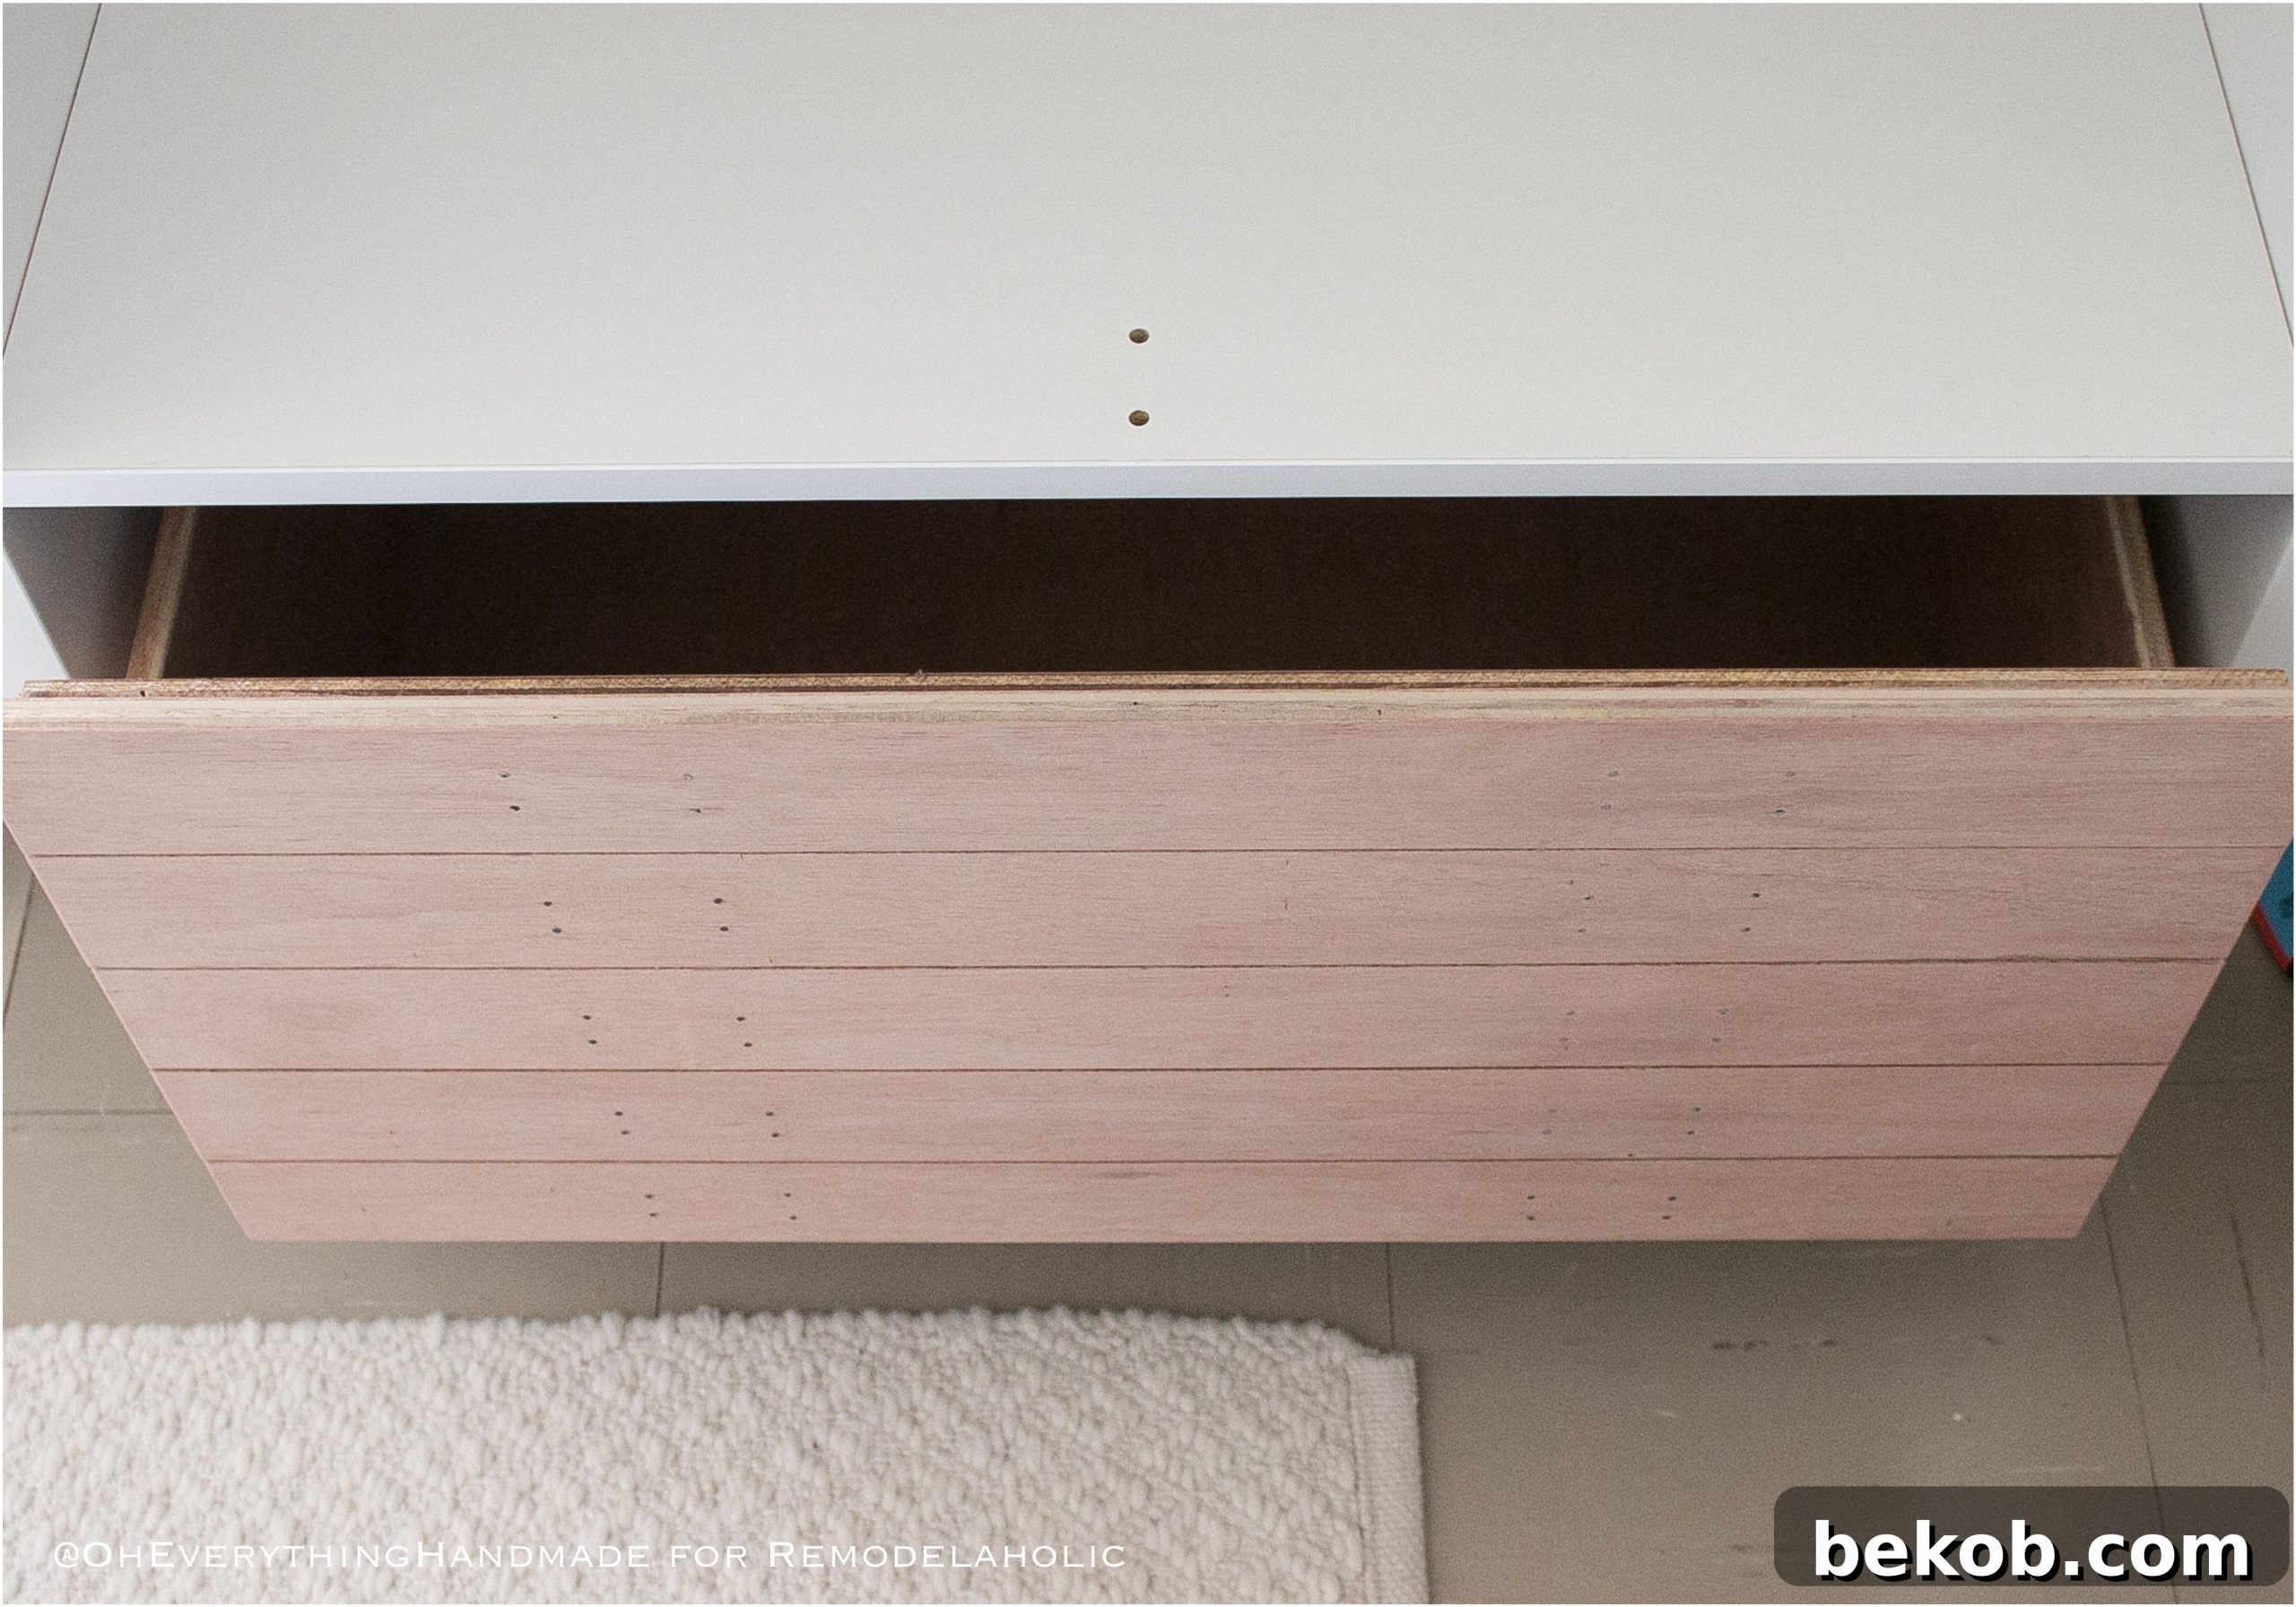
I learned a valuable lesson during my build: always install the drawer slides *before* attaching the decorative drawer fronts. If the drawer fronts are added first, you might find the drawer scrapes against the bottom of the Kallax unit when opened, requiring an inconvenient lift. Installing the slides first allows you to precisely position the drawer, ensuring a smooth operation with a consistent 1/8″ to 1/4″ gap between the bottom of the Kallax and the top of the drawer box.
Once your drawer slides are perfectly aligned and installed, the 2 1/2″ x 26 3/4″ faux drawer fronts can then be securely attached to the main drawer box using wood glue and small nails. Remember to leave a minimal, consistent gap between each faux front to create the segmented look of a true flat file cabinet.
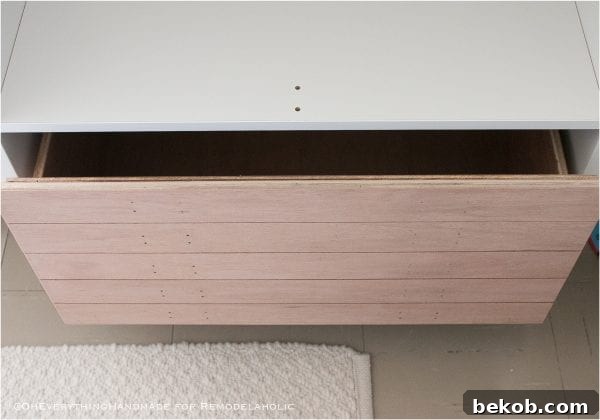
Kallax Hack: Assembling the Flat File Drawers
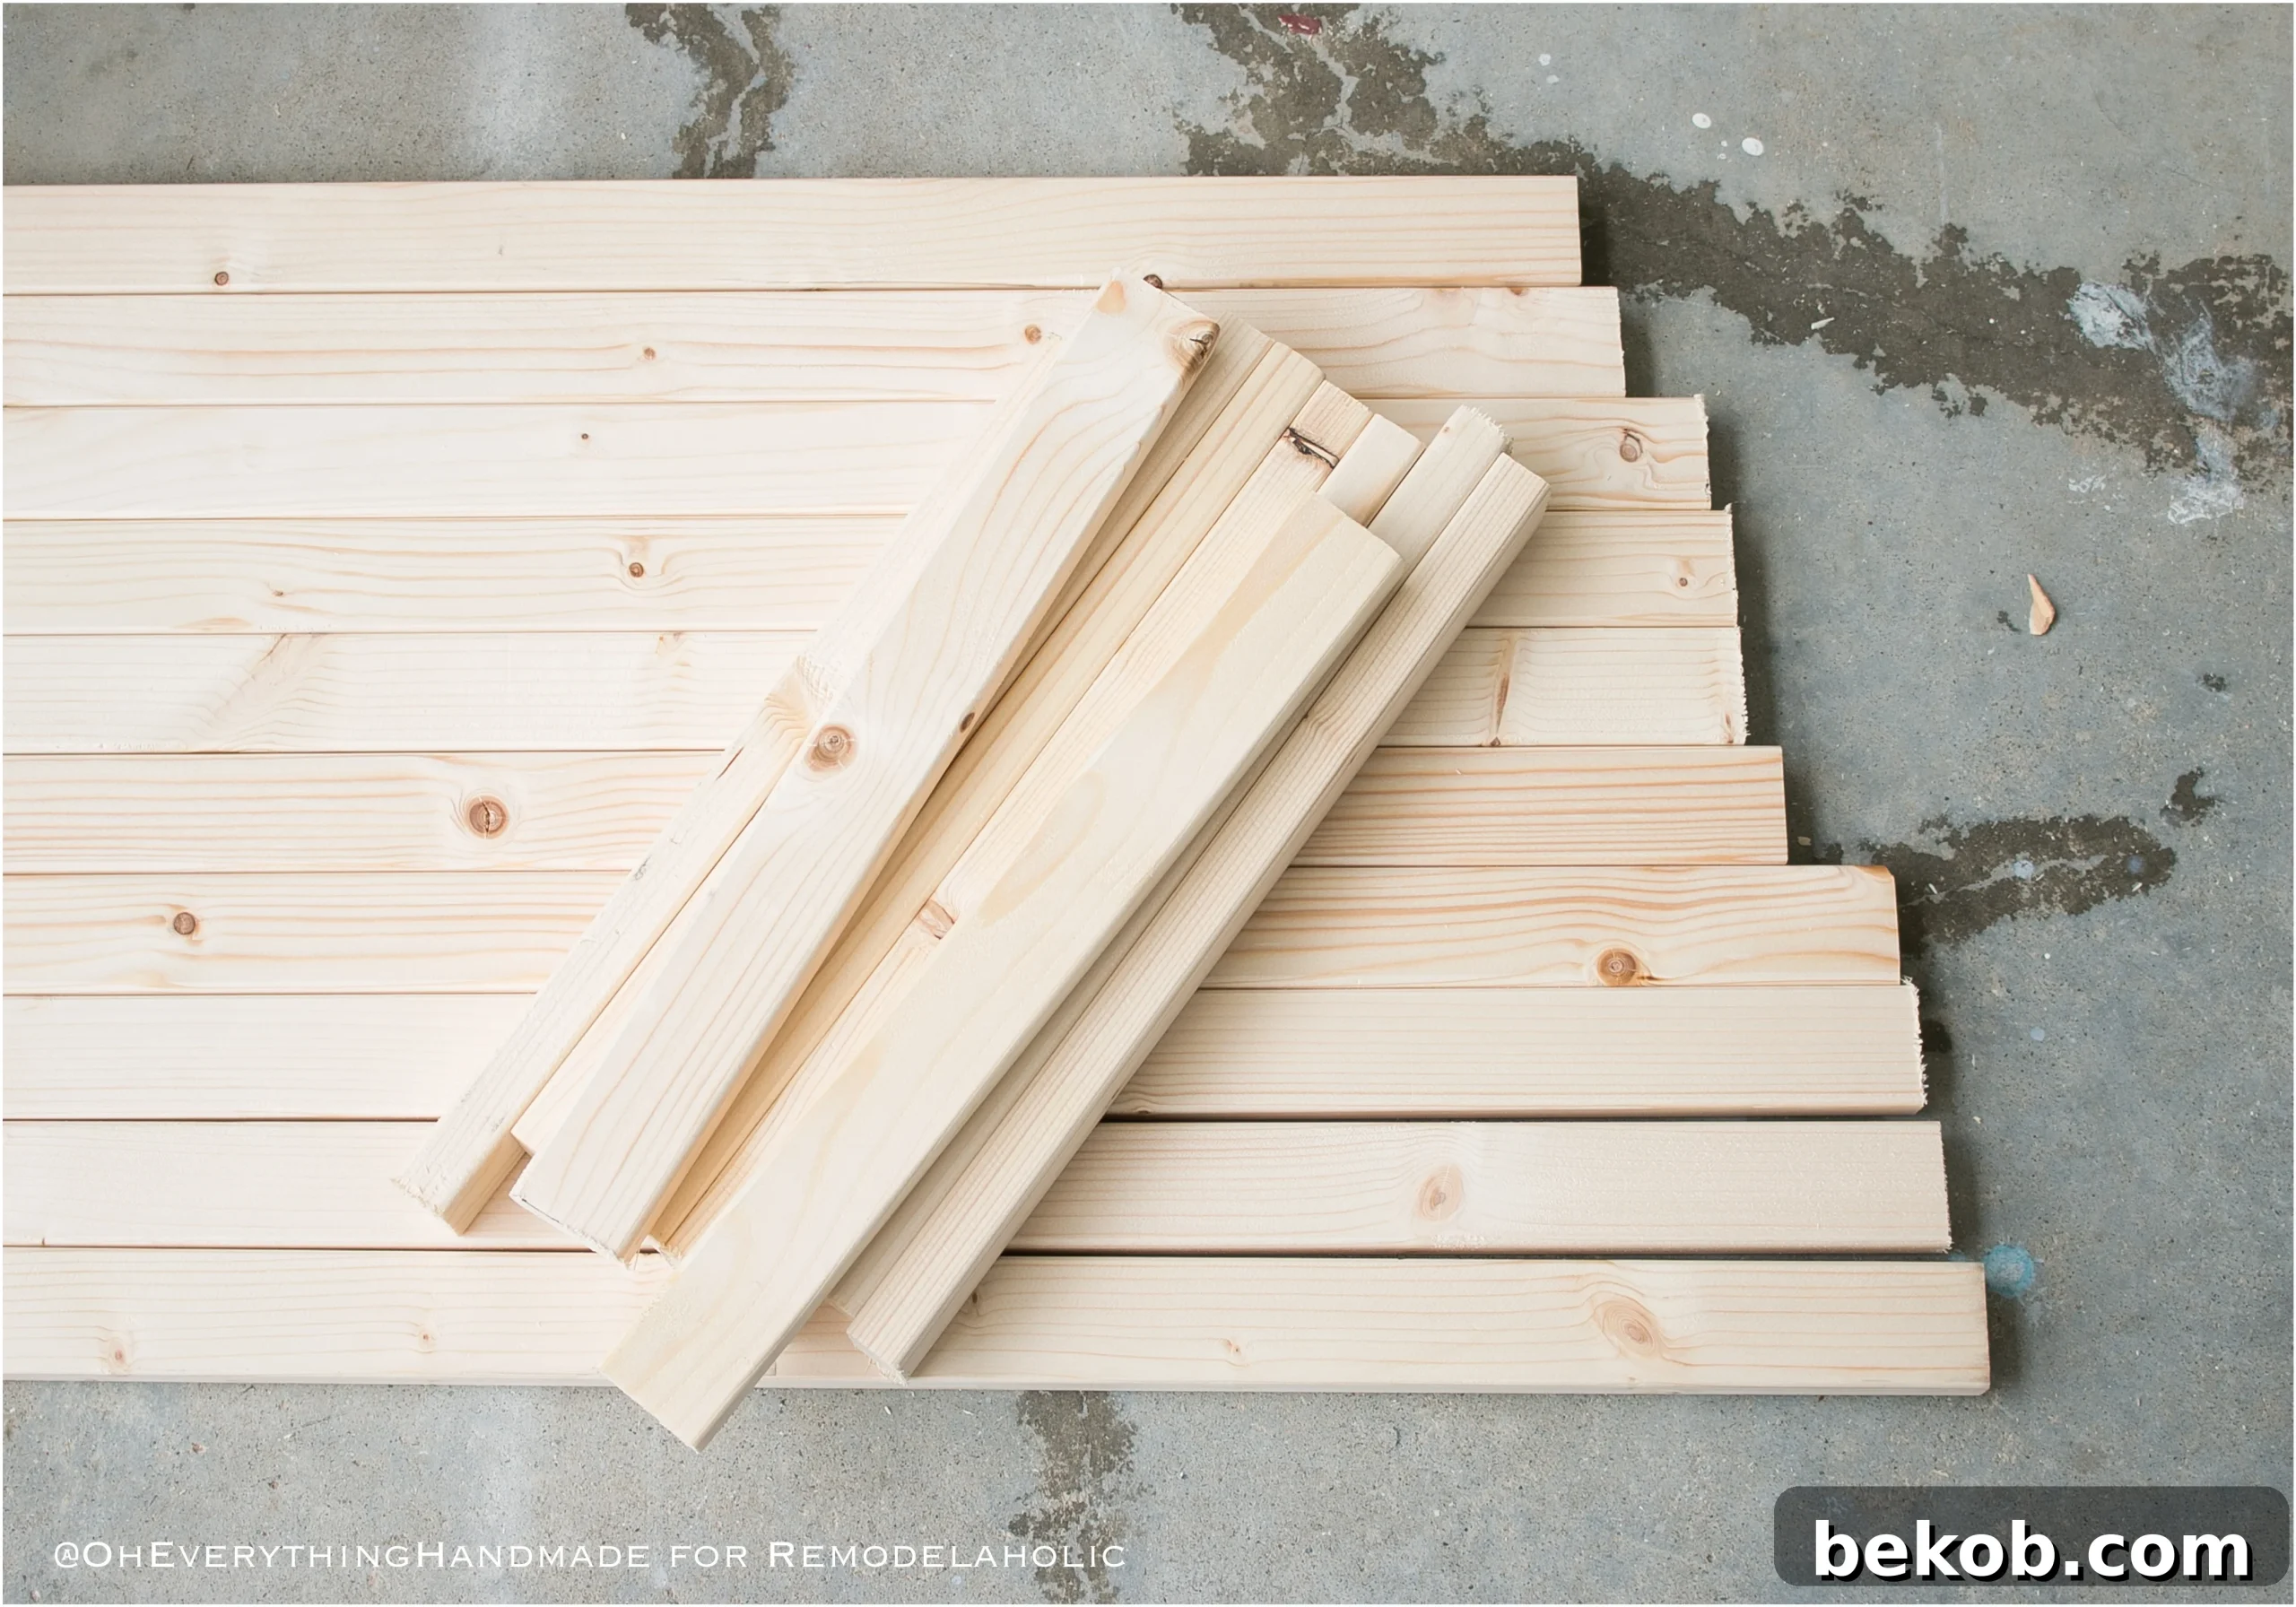
These five shallower drawers are specifically designed to hold your flat items. Their construction is slightly different, focusing on a robust frame and a lighter bottom.
- Frame Construction: Cut your 1″ thick boards to create five frames, each measuring 26 1/4″ x 12 3/4″. As with the larger drawer, sand all cut edges smooth. Then, add pocket holes to the shorter boards of each frame where they will join the longer pieces. This ensures a strong, clean connection.
- Frame Assembly: Apply wood glue to the joining edges and attach the frame boards using 1″ pocket hole screws. Ensure each frame is square and secure, allowing the glue to set properly.
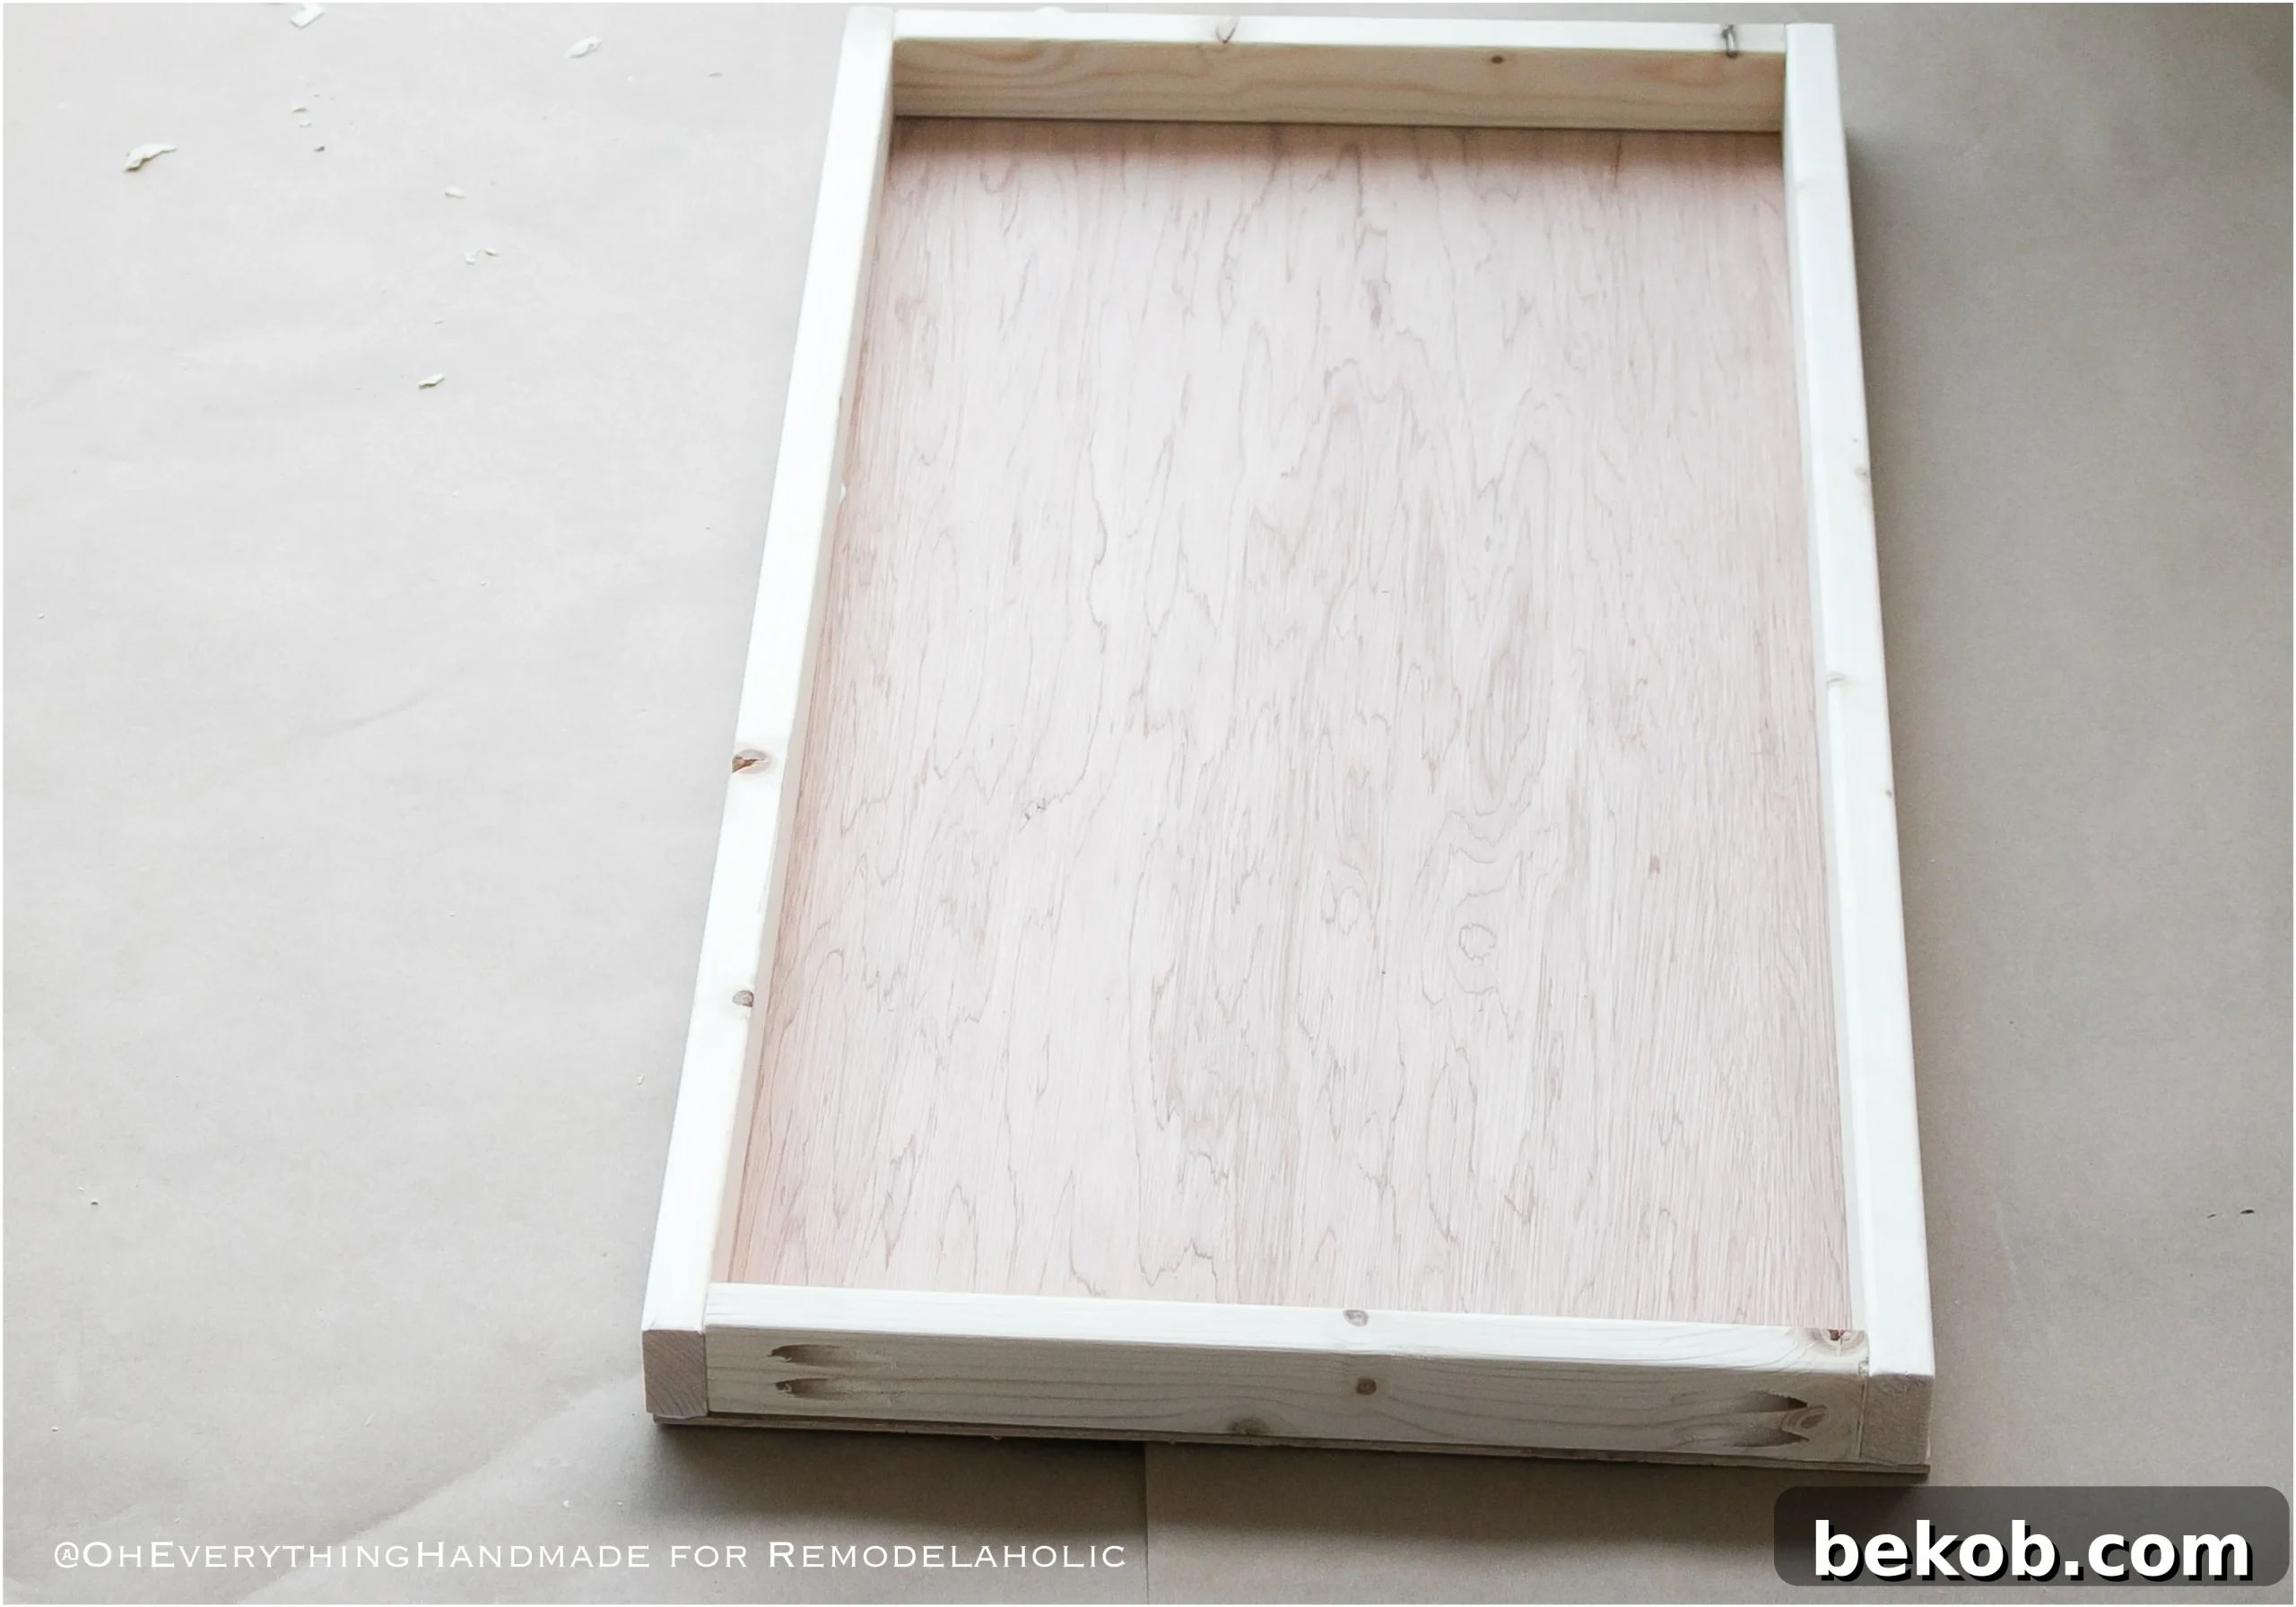
- Attaching the Bottom: Once the frames are robustly built, attach the 1/4″ plywood bottom pieces. Apply wood glue generously along the bottom edges of the frame and secure the plywood with small nails. This creates a lightweight yet stable base for your flat items.
- Drawer Slide Installation & Front Attachment: Just like with the large drawer, install the drawer slides onto the drawer frame and into the Kallax unit *before* attaching the decorative drawer front. This allows for precise placement, ensuring the drawer operates smoothly without scraping. Leave a slight 1/8″ gap between the bottom of the Kallax cubby and the drawer itself. Once the slides are perfectly installed, the drawer front can be attached, aiming for a nearly flush appearance with the edge of the Kallax unit.
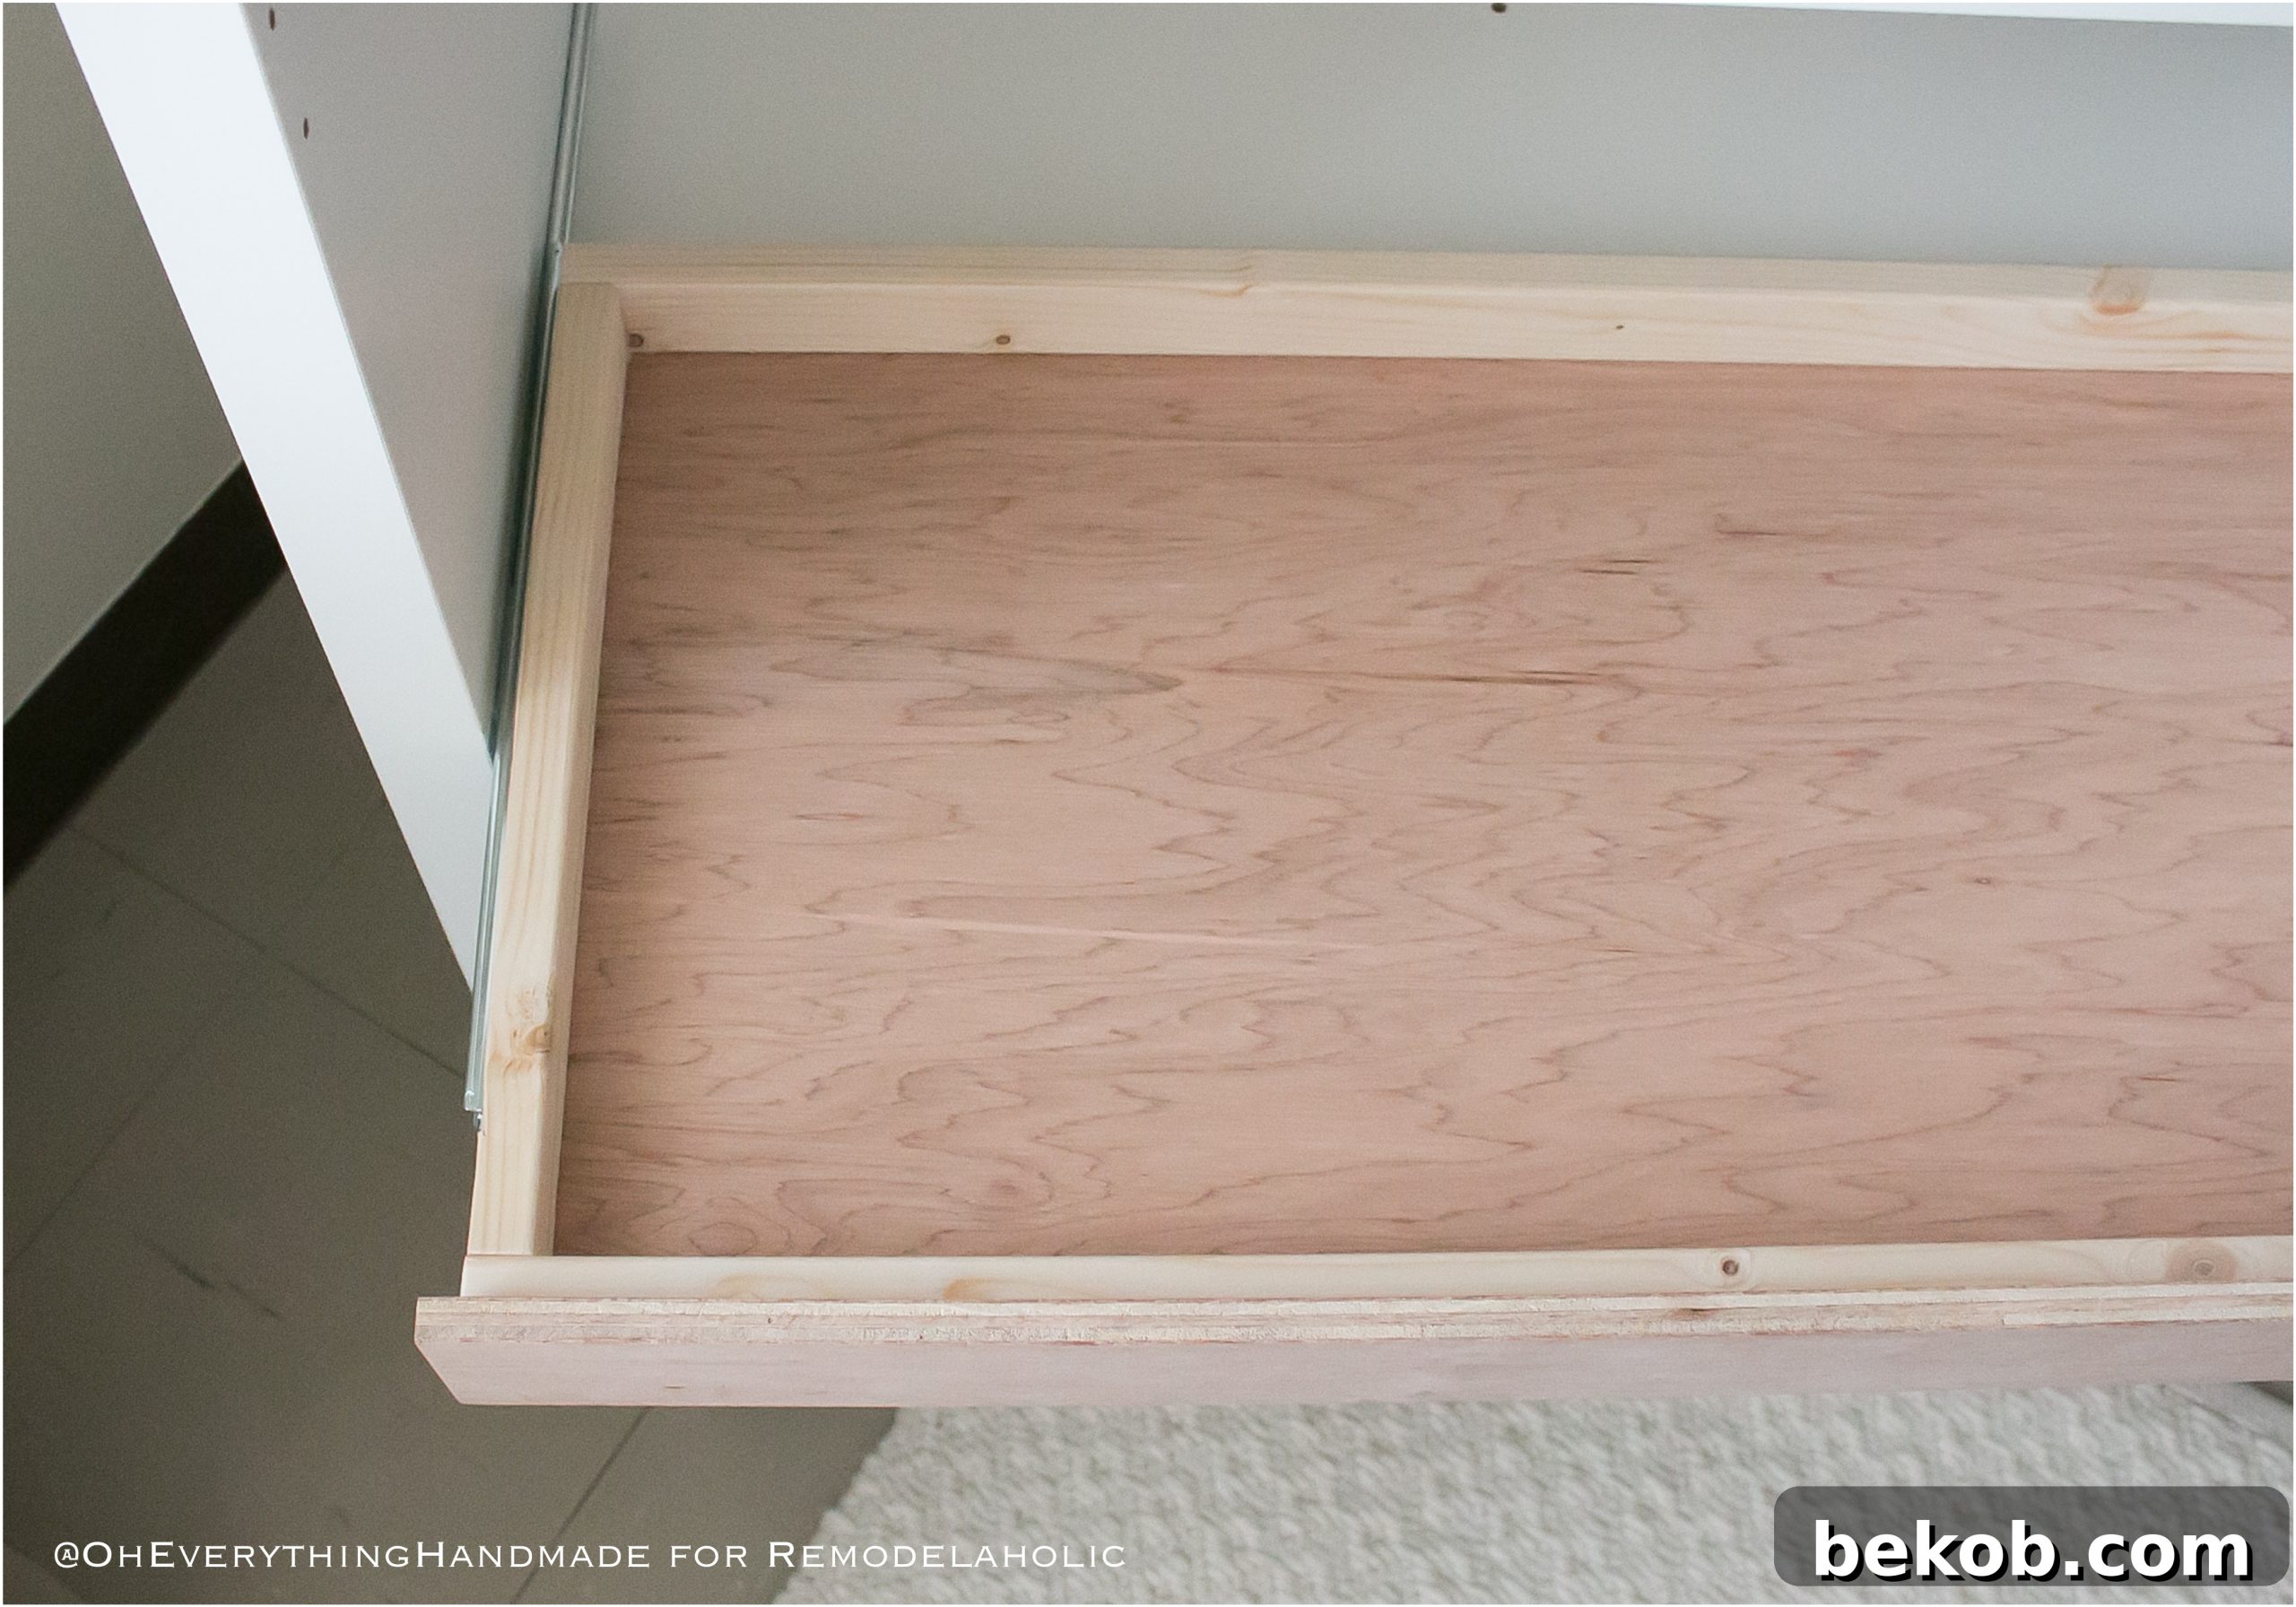
SMART TIP: Achieving Even Drawer Spacing!
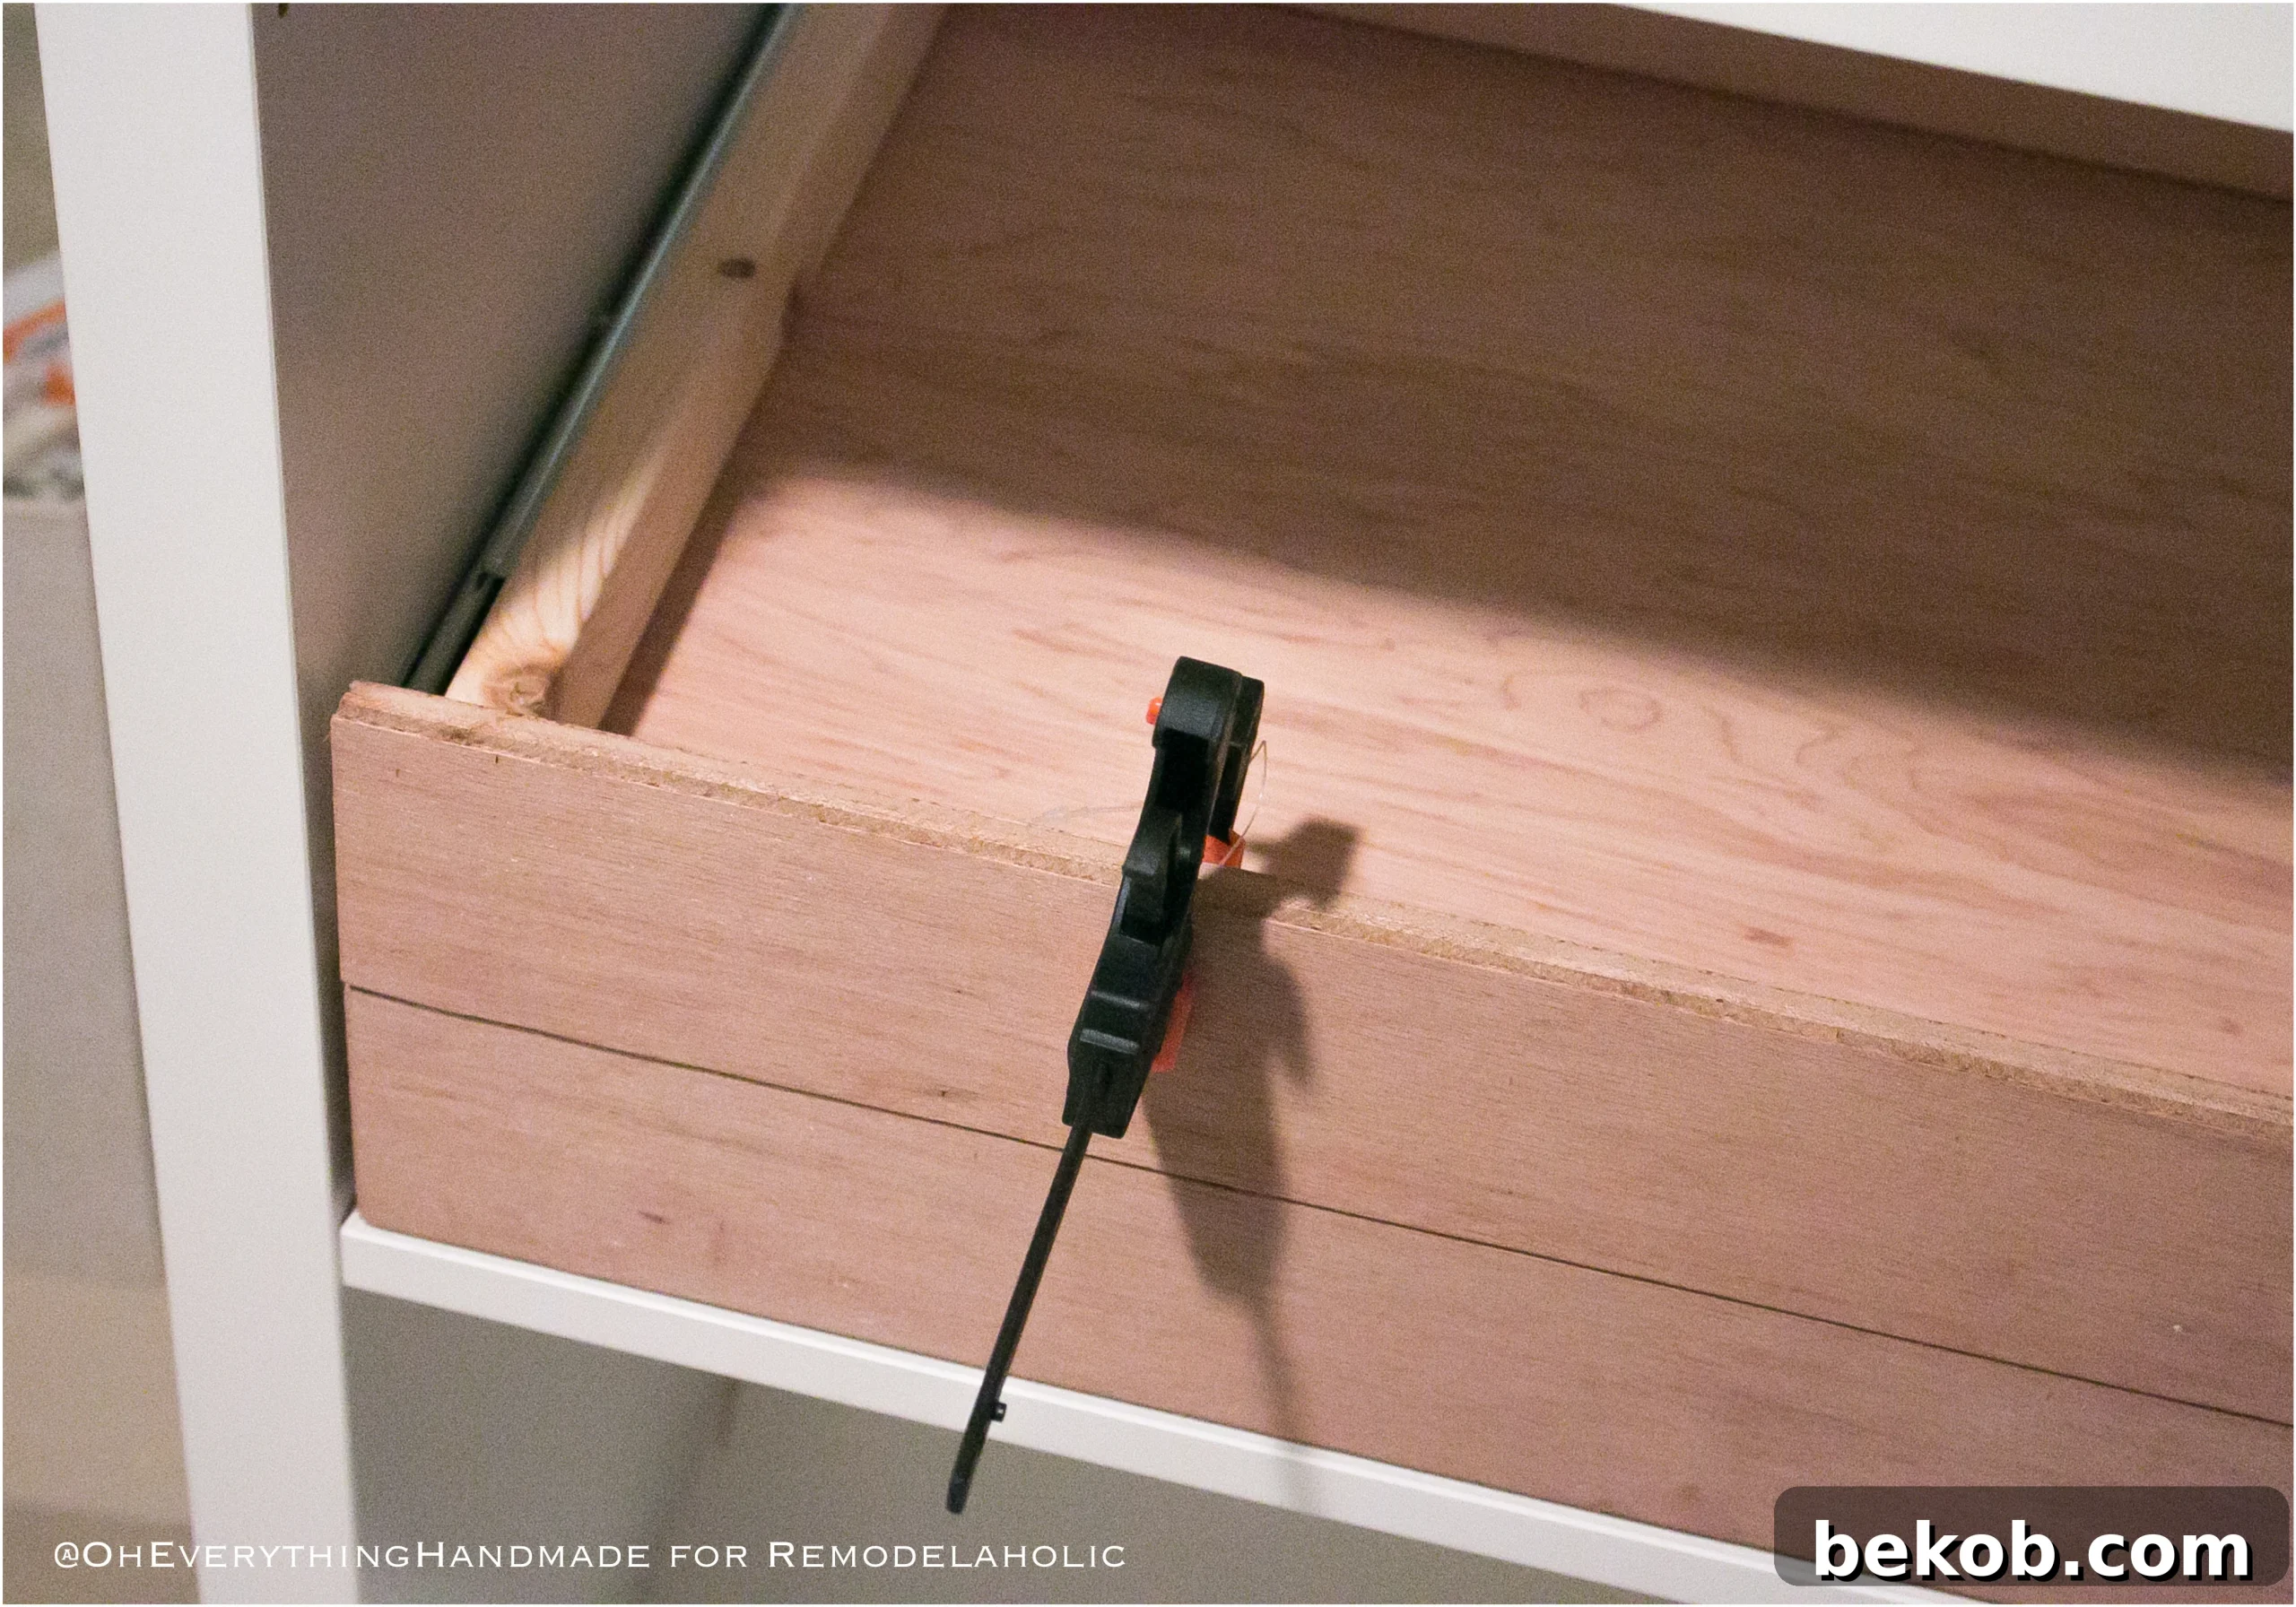
When installing multiple flat file drawers, consistency in spacing is crucial for a polished look. Use a scrap piece of wood (perhaps from your leftover frame boards) as a spacer between each drawer. This simple trick guarantees uniform gaps. Additionally, a small clamp can be incredibly helpful for holding the drawer front precisely in place while you secure it from the inside with a screw. This allows for fine adjustments before permanent attachment, ensuring perfect alignment.
I found that using a small clamp allowed me to easily adjust the spacing and hold the drawer front perfectly while I attached it with a screw from the inside, preventing any unwanted movement.
Finishing Your Masterpiece: Staining & Pulls
Now comes the exciting part: giving your new flat file cabinet its unique character through staining and adding hardware. This is where your personalization truly shines!
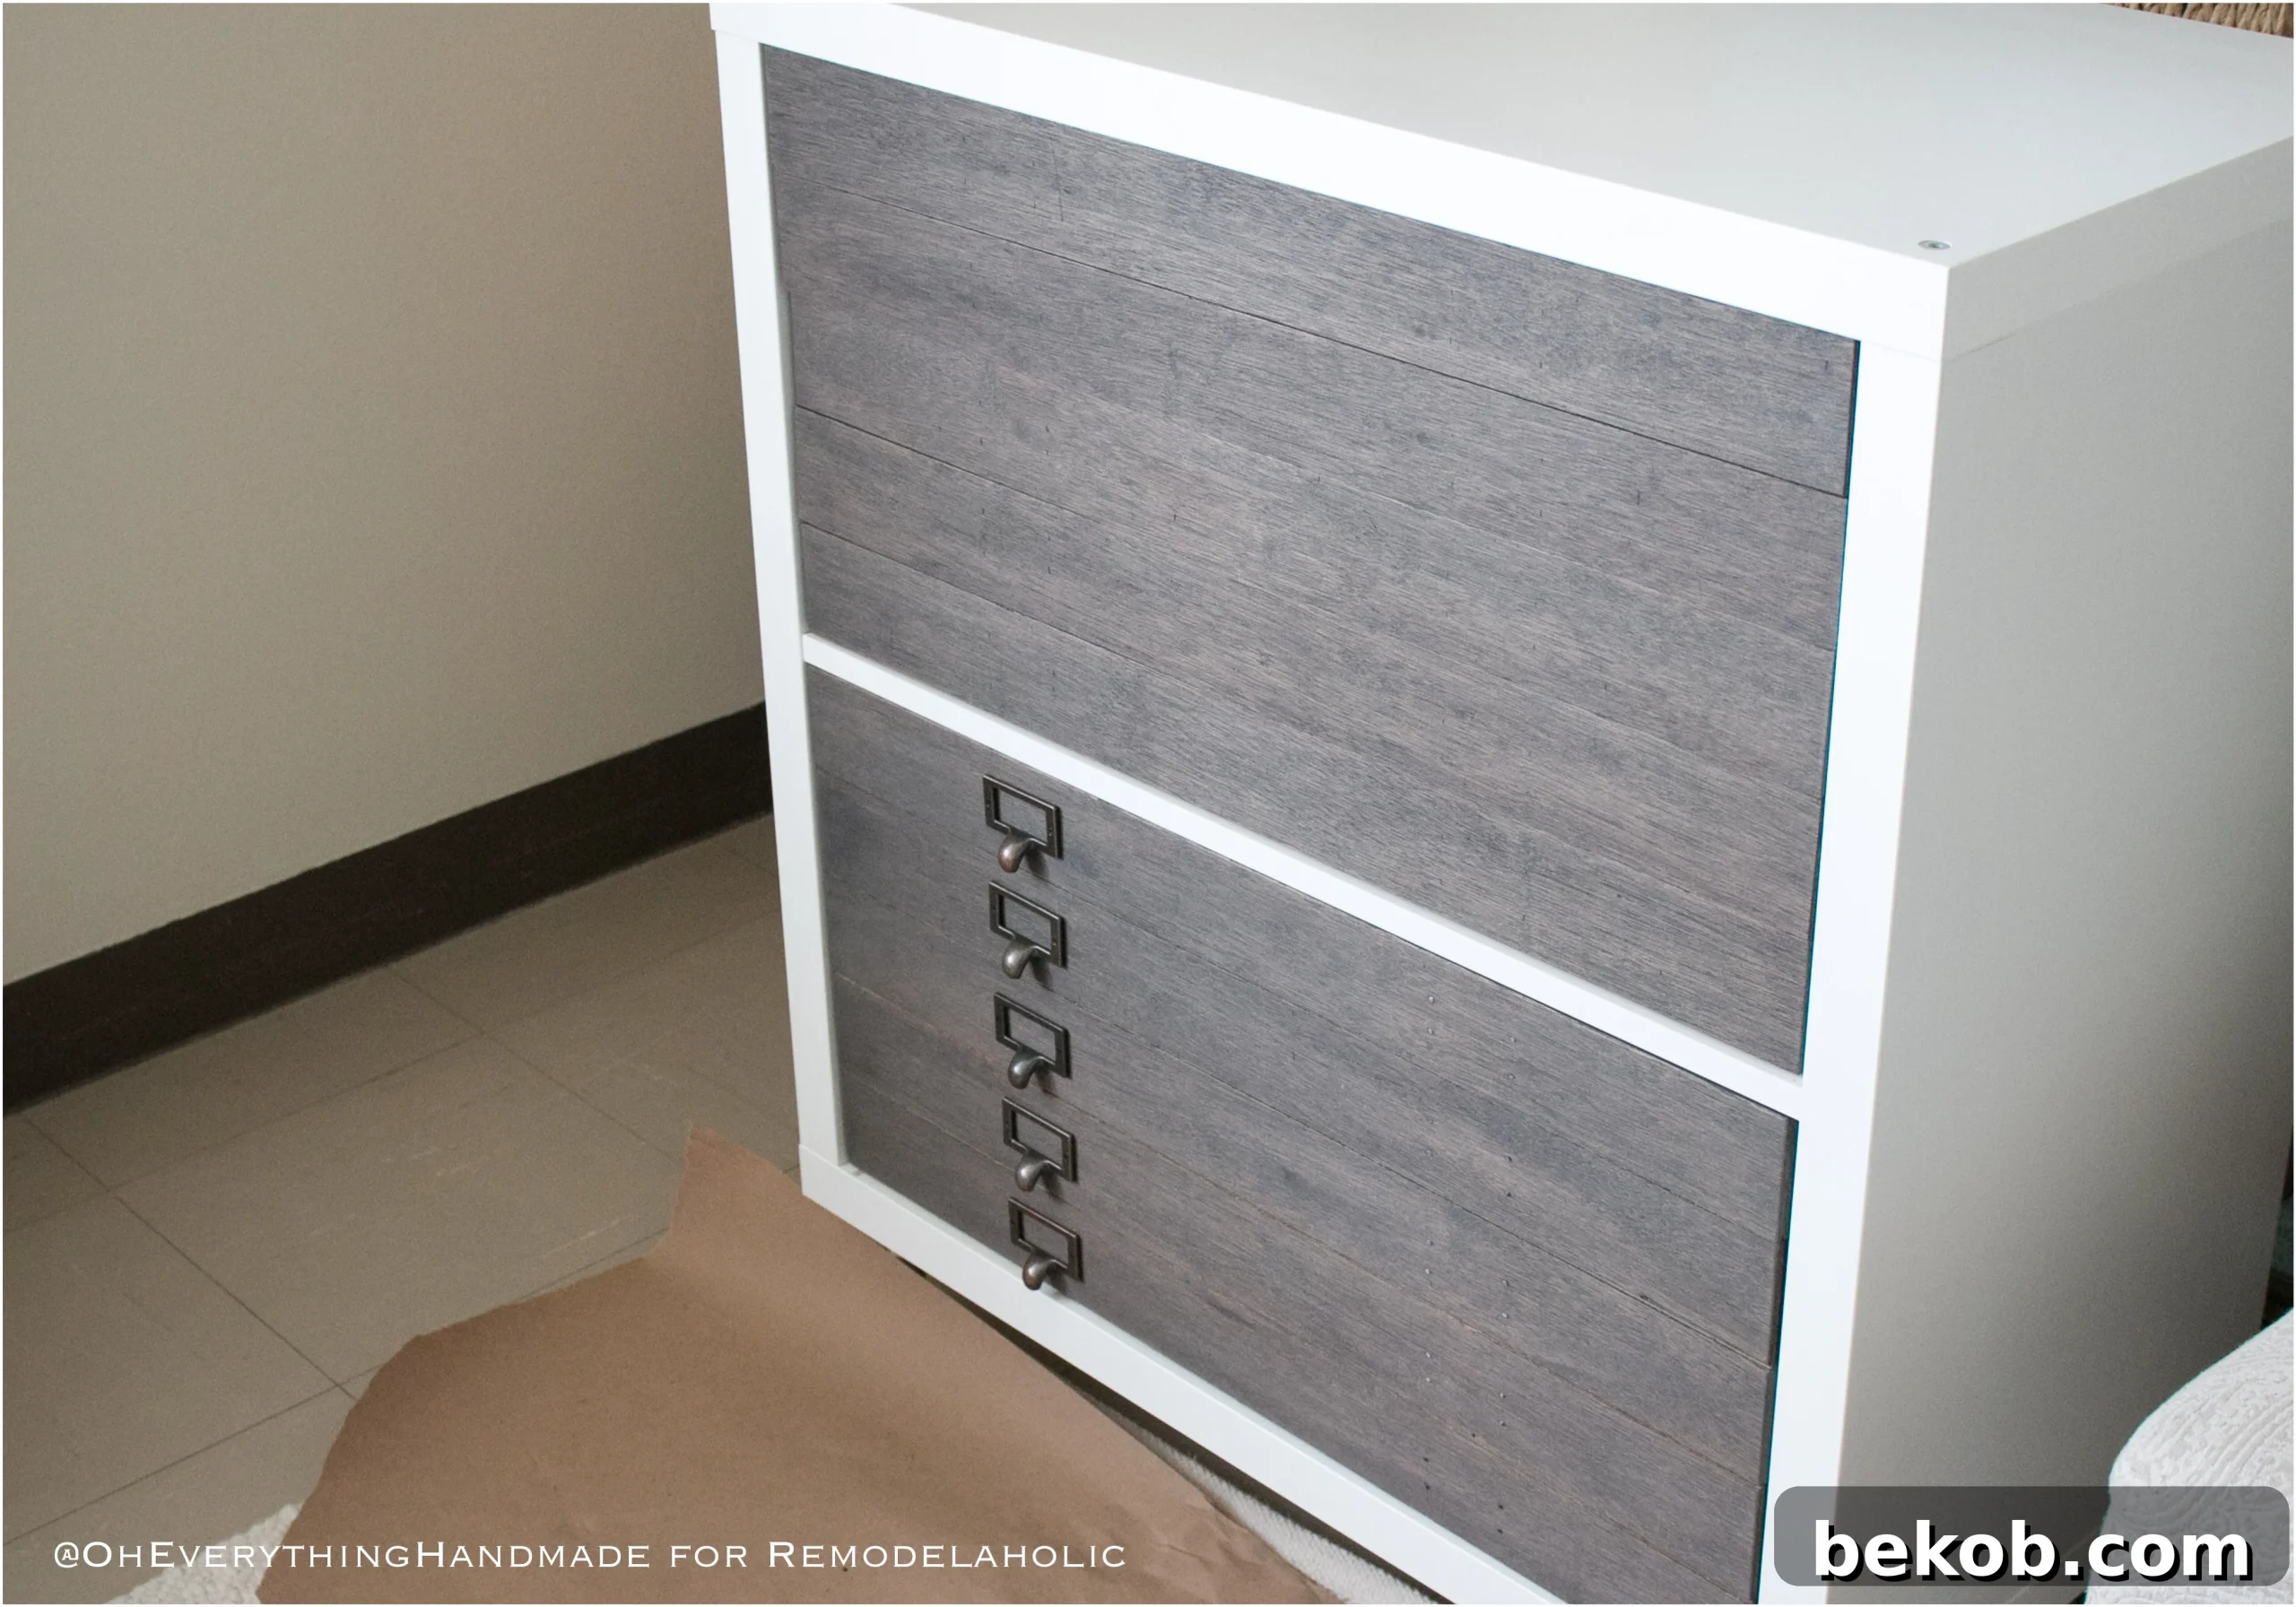
- Staining: To stain the drawer fronts and exposed sides, use an old rag to apply a thin, even coat of your chosen stain. Work from side to side, ensuring uniform distribution to avoid streaks. Allow each coat to dry completely before applying additional coats.
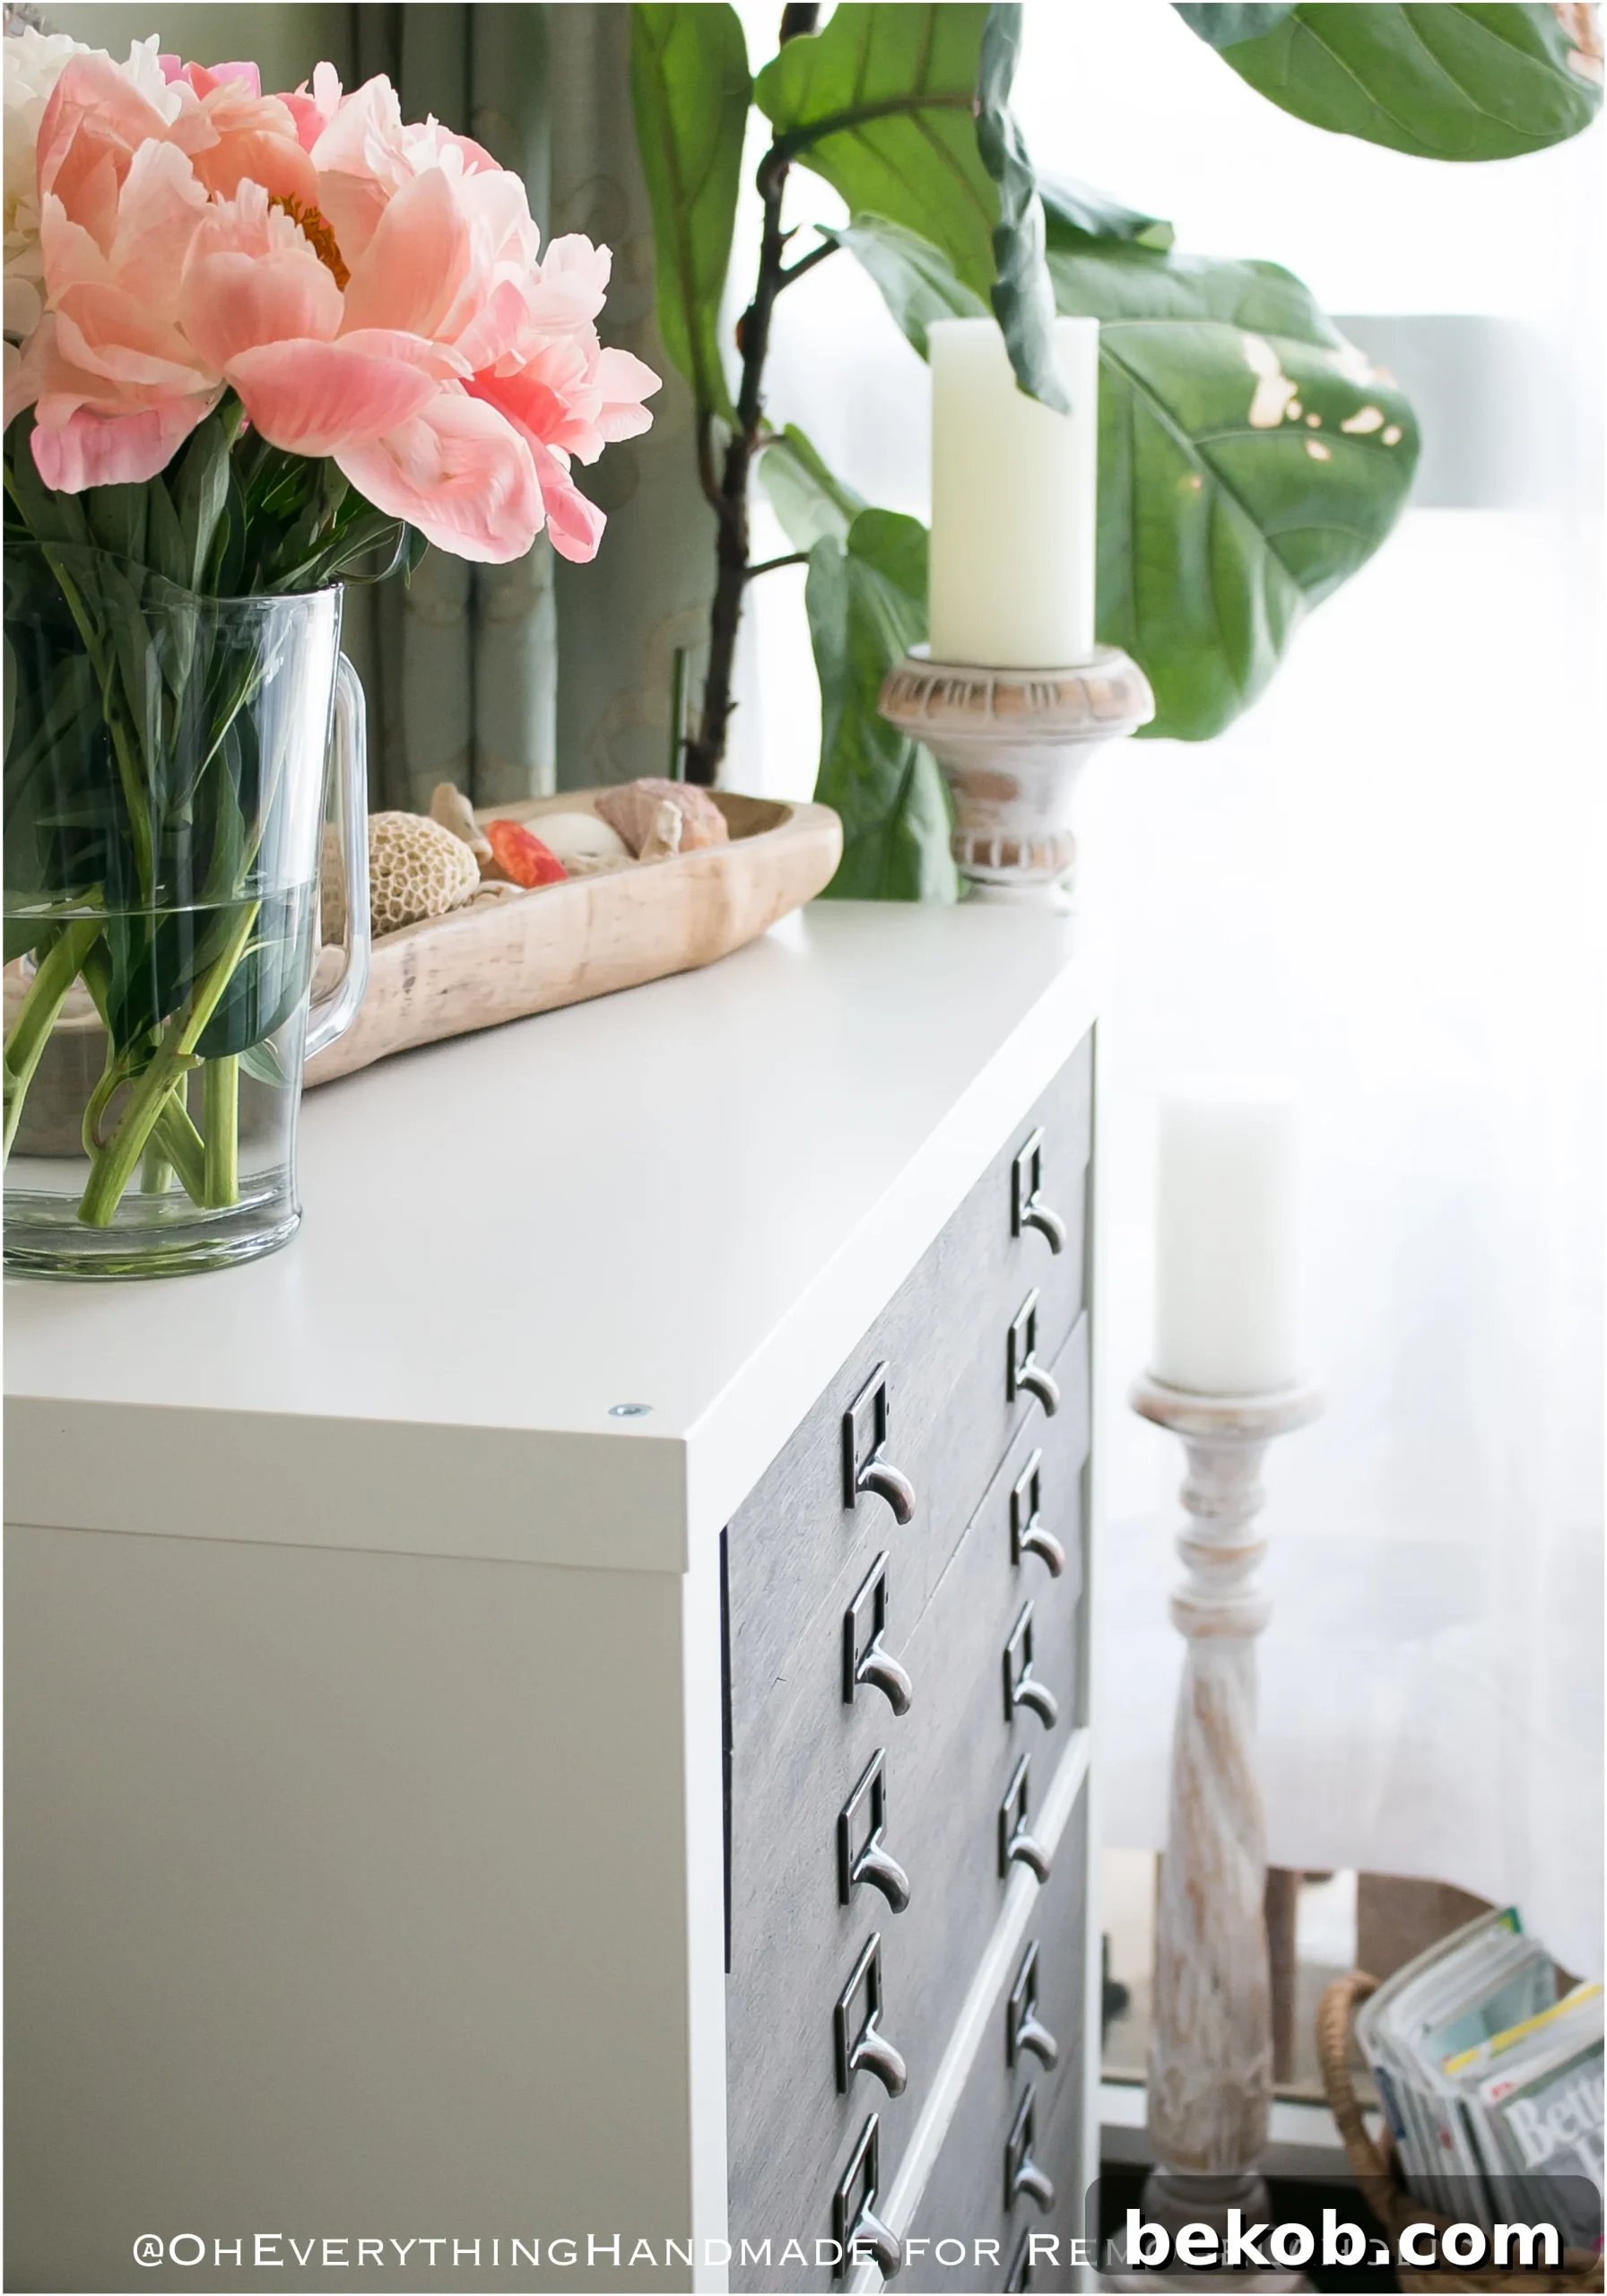
- Adding Drawer Pulls: Once the stain has thoroughly dried and cured, it’s time to install your drawer pulls. Measure carefully to ensure they are centered and evenly spaced. I recommend a 6″ space from the edges for a balanced look. Pre-drill small pilot holes to prevent splitting the wood.
STAINING SECRET: Layering for Depth! I achieved a beautiful, sophisticated finish by applying one coat of black water-based stain, followed by a second coat of gray water-based stain applied directly on top of the black. This layering technique adds incredible depth and a unique, custom hue to the wood.
Customizing Your Kallax Hack Further
The beauty of a DIY project is the freedom to customize! While this tutorial provides a fantastic foundation, don’t hesitate to make it truly yours. Consider painting the entire Kallax unit to match your room’s decor, or experimenting with different paint colors and hardware styles for a completely unique look. You could even line the drawers with felt or cork to protect delicate items. Adding custom labels to each drawer will further enhance organization and ease of use. Let your imagination guide you in making this functional piece a reflection of your personal style!
Your Organized Craft Haven Awaits!
Congratulations! You’ve successfully transformed a basic IKEA Kallax unit into a highly functional and aesthetically pleasing flat file cabinet. This hack not only solves common storage dilemmas for artists, crafters, and anyone with large documents but also adds a touch of bespoke elegance to your space. The satisfaction of building something so useful and beautiful with your own hands is truly rewarding.
We encourage you to share your creations! Feel free to tag me on Instagram or Facebook (@oheverythinghandmade) with the hashtag #OEHIkeaKallax when you decide to give this incredible IKEA hack a try. We can’t wait to see your unique spin on this project!
Explore More Creative IKEA Hacks from Our Collection:
Looking for more ways to customize affordable IKEA furniture? Dive into our other popular transformations:
- How to Easily Transform an IKEA Sofa. (It’s simpler than you think!)
- Create a Custom IKEA Built-in Wardrobe – perfect for maximizing closet space.
- Master this IKEA Hack: Double Dresser for stylish bedroom storage.
IKEA Kallax Hack: Flat File Cabinet Transformation — A Visual Recap
Originally published 11.08.2017 // Updated 08.07.2019