Read the sequence from the top before cutting, painting, or moving pieces.
Lucy at Fly Away Home has had quite the fun with this kids desk and chair project.I finally finished my little project I have been blogging about for weeks. Really, it was, just a small project. Somehow, I ended up with way too many “redo’s”. My daughter needed a new desk for school. Not wanting to pay the hefty $248 for a new one, I chose to scour the thrift stores. I found this one for $40.
Before
I have never had an issue with spray paint – until now – and, we won’t go there. I ended up sanding it down and repainting with a brush.
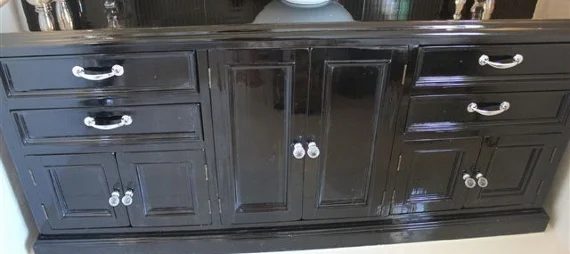
Below is the result after 3 coats of glossy black.
I purchased the chair below from Rooms to Go Kids for $39.
Before
After
Look a tiny bit different?
My husband built and added arms.
What you see is the
(Luckily, I have a very understanding husband)
My third “redo” was the cushions……..
Using leftover fabric from my sewing room remodel (post for another time),
I made the back cushion and was not happy with the fit, soooo….
yep, made another.
Just for fun, I added buttons to the back.
And I am DONE!
Fantastic! I love what you did with that chair. What do you all think about her many redo’s?